Best Punch Needle Troubleshooting Tips
Introduction
Hello, lovely punch needle makers!
As someone who has a crafting membership that focuses on punch needle, I know that punch needle can be a steep learning curve.
There are quite a few factors that need to line up for your punch needle stitches to stick. For example, if your fabric isn’t tight as a drum, you might find that your stitches aren’t holding down in the fabric as you punch along. If this is the case, then they may keep popping up, leaving you with a trail of yarn behind your punch needle. How frustrating!
Or if you're sitting on your ball of yarn, it won’t free-flow through the channel of your punch needle, and your stitches will start popping out. Eeeek!
But don’t worry! In this blog, I will cover lots of troubleshooting tips, so that you can get humming along and get the hang of this wonderful craft.
I want to point out that for some people, punch needle seems to click relatively quickly, and for others, it takes a bit of perseverance and figuring out. If you’re one of the latter, that is totally cool, and you’re not alone by any means.
The most important thing is that you don’t give up on this craft. Please keep trying. Let me help you, and you will get there before long!
From teaching hundreds of women how to build confidence and create beautiful punch needle creations, there are some really common issues I’ve come across. Chances are you’re falling into the same traps, and we can fix things for you quick-smart!
And the great news is, once you’ve learnt the beginner techniques and built up some confidence with your punch needle technique, this will hold you in good stead to make many beautiful punch needle patterns in future.
Before long, you’ll be able to relax, get into the zone, and enjoy making gorgeous punch needle creations!
Ok, let’s look at where you might be tripping up…
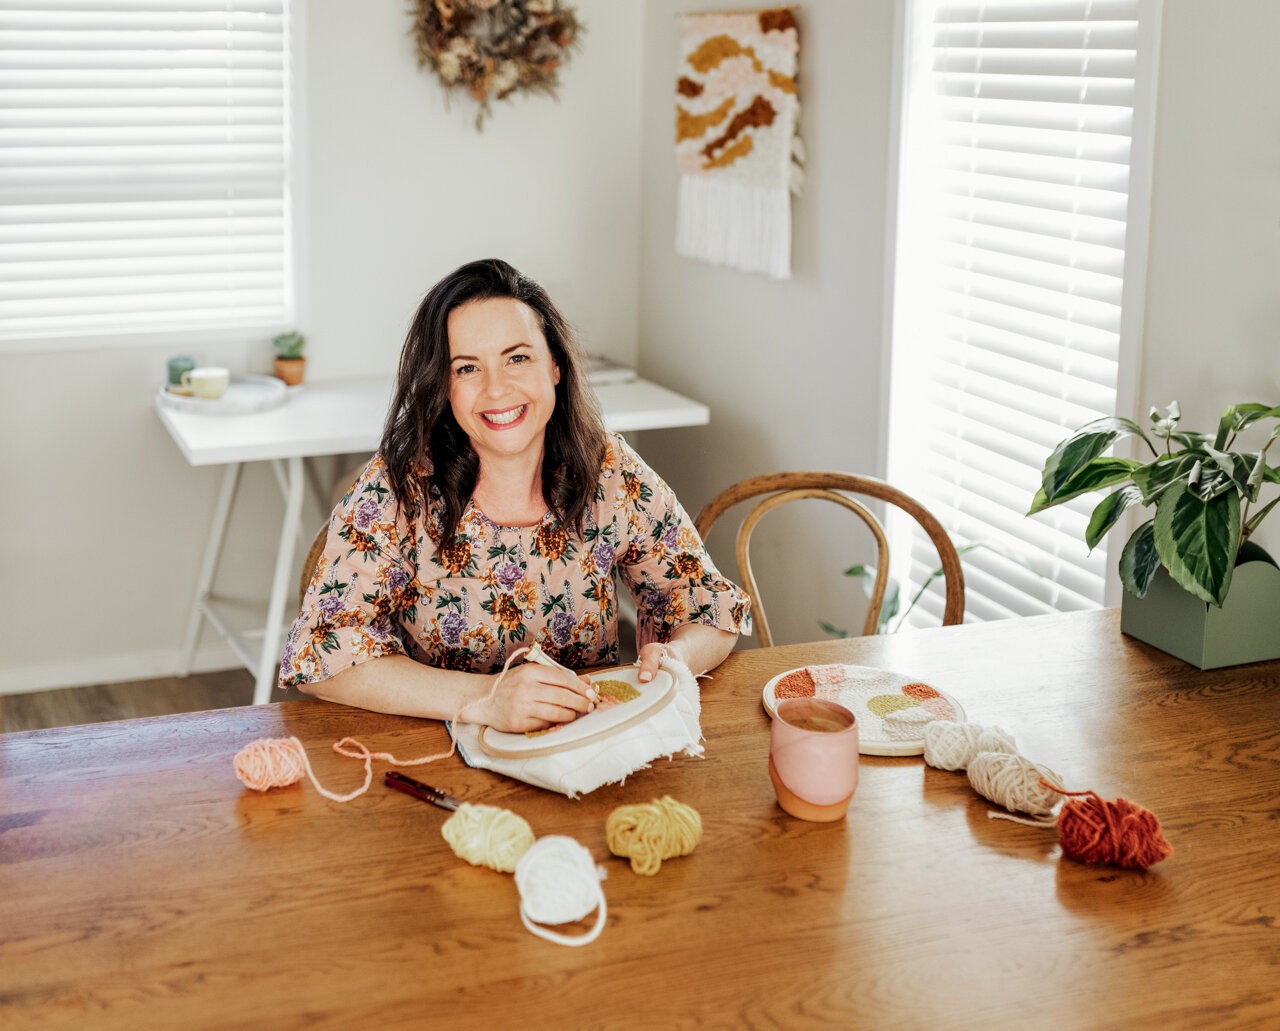
1. Are your golden trio (punch needle, fabric, and yarn) all compatible?
Punch needle is one of those crafts where all the equipment needs to work in sync! You need to have a punch needle tool, yarn and foundation fabric that all suit each other.
Punch needle supplies come in lots of different sizes, but as a beginner, I recommend using what I call a ‘chunky’ size set of supplies:
-
Punch Needle: the Oxford #10 Regular or the Lavor Chunky Punch Needle.
-
Foundation Fabric: Monk’s Cloth (12 or 13 holes per inch).
-
Yarn: a bulky weight yarn (approx 12–16 ply). If you’re really stuck finding such chunky wool, then you can use an 8ply (DK) doubled-over.
While we don’t sell supplies anymore, you can easily find everything you need at your local craft store or online. For beginners, I recommend starting with a basic embroidery kit that includes the essentials to make your project stress-free!
Some projects use finer yarn and needles, but I recommend experimenting with those once you’ve gained confidence in your punch needle technique.
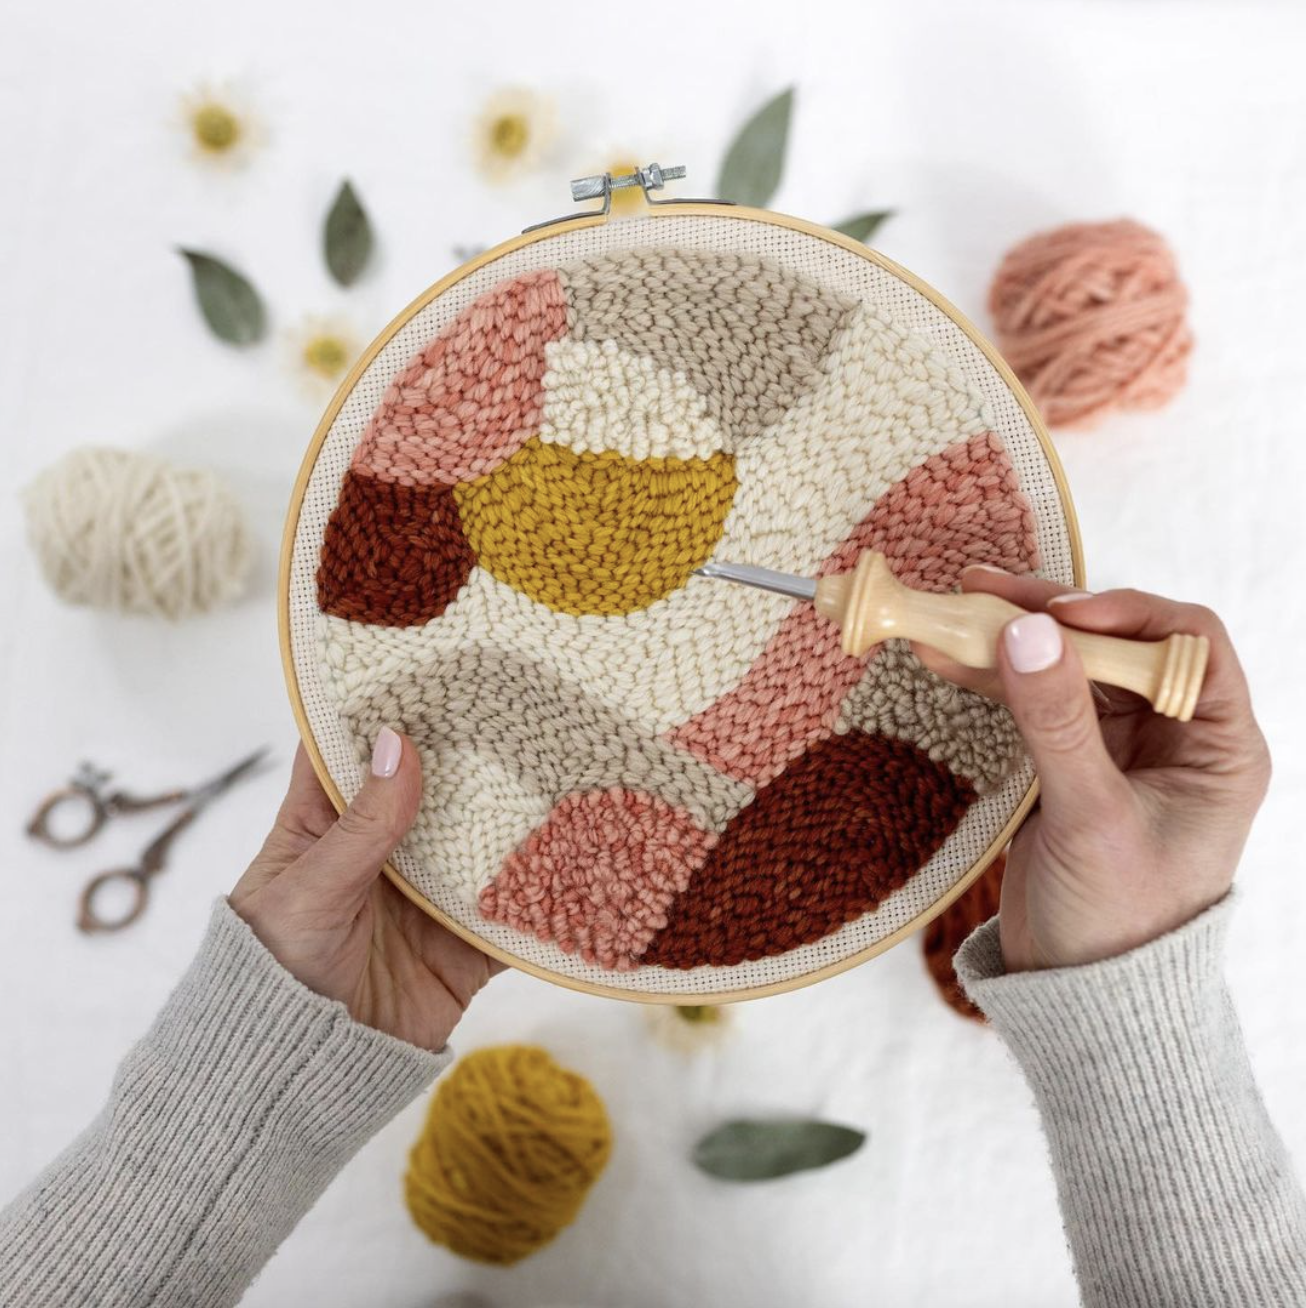
2. Is the yarn free-flowing through the needle?
It’s so important that your yarn is flowing freely through the channel and tip of your punch needle. This is because any tension will stop your stitches in their tracks. And you don’t want that! Unlike other crafts where you might want your yarn to be nice and taunt, punch needle requires yarn to be loose and free.
To check the tension, thread the yarn in your needle then give it a little tug back and forth. If there is any resistance, first check that there is no tension between your ball of yarn and the punch needle. For example, if your yarn is stuck on something (or I sometimes find I’m sitting on my tail of yarn, oops!).
Another thing to check is if you have wound off plenty of slack on your ball of yarn. As that slack dwindles, your yarn might not come off the ball easily, and even that small amount of tension can grind things to a halt.
If you want more info on this, keep reading for tips on how to check your punch needle for blockages.
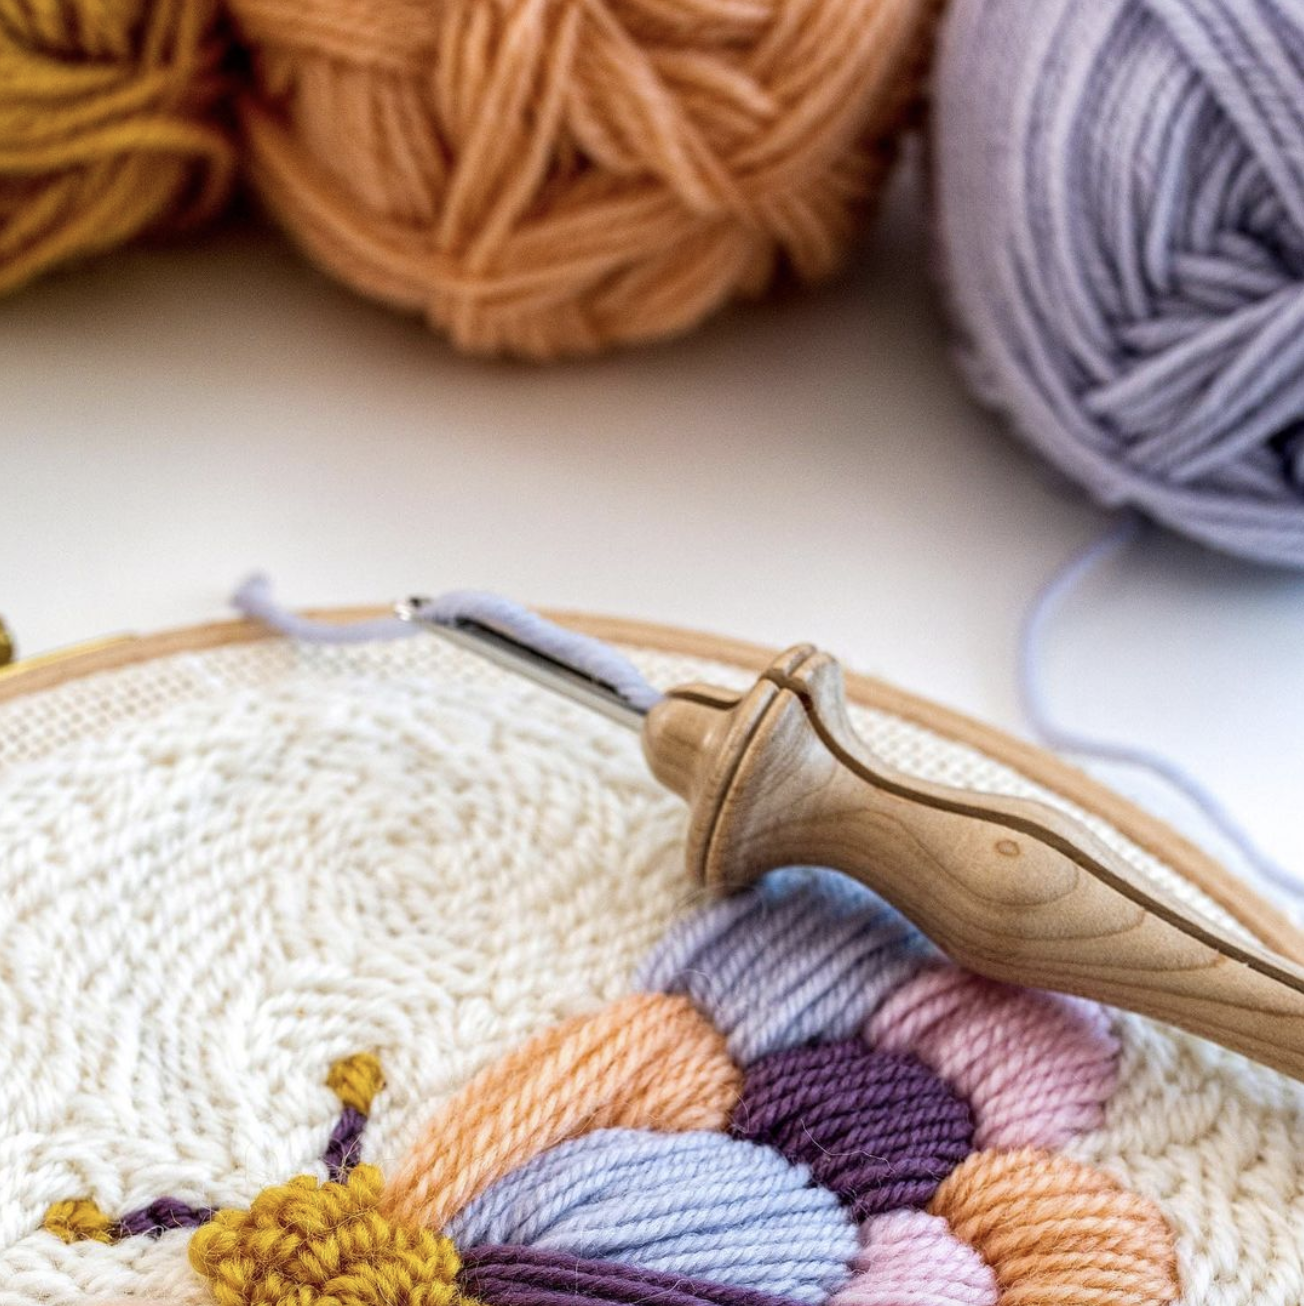
3. Is your fabric tight as a drum?
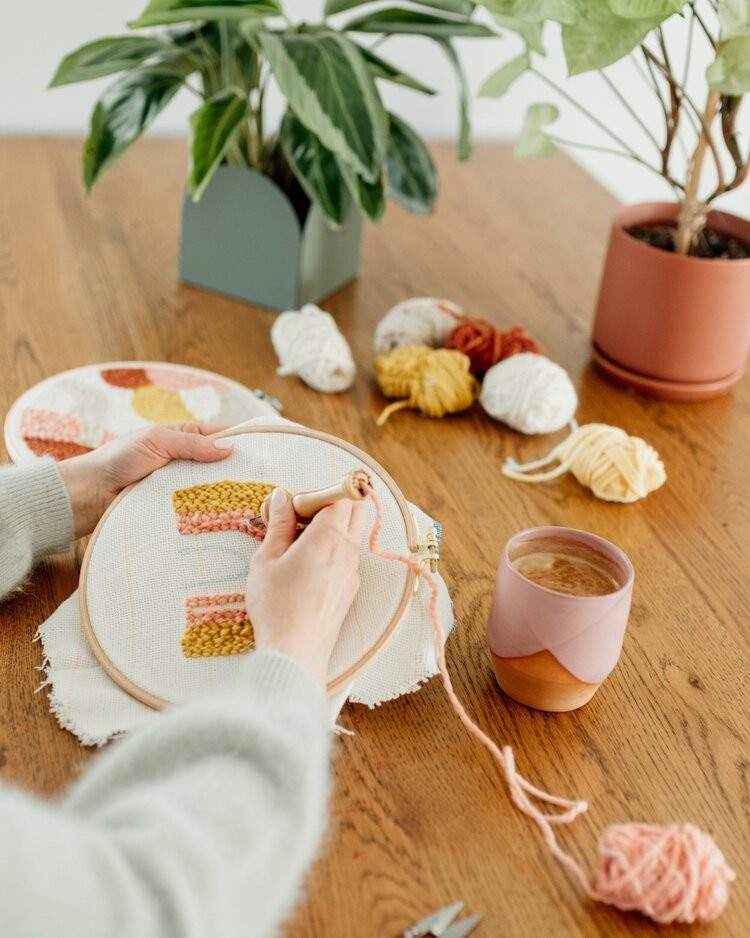
One of the key factors to your success in punch needle is whether your fabric is tight as a drum. This applies whether you’re securing your fabric in a hoop or on a frame - in either case, it’s much easier to punch along when your fabric is a lovely firm platform.
I usually use a ‘non-slip’ hoop, as this allows for a firmer grip on the fabric.
Once you have your fabric in the hoop, go around your cloth and pull the excess fabric towards the back so that it’s as tight as possible. To do this, go around the hoop, pulling small sections at a time and twisting the closure up tighter as you go. Keep doing this until you can’t pull the fabric any tighter. Then do a final twist on the closure to secure it as tight as possible. If your closure can be tightened with a screwdriver, you can do that now too.
And another tip: if you’ve been practising stitches on an area of cloth, it’s probably easier for you to move to a fresh area that hasn’t been punched on yet, and continue learning there.
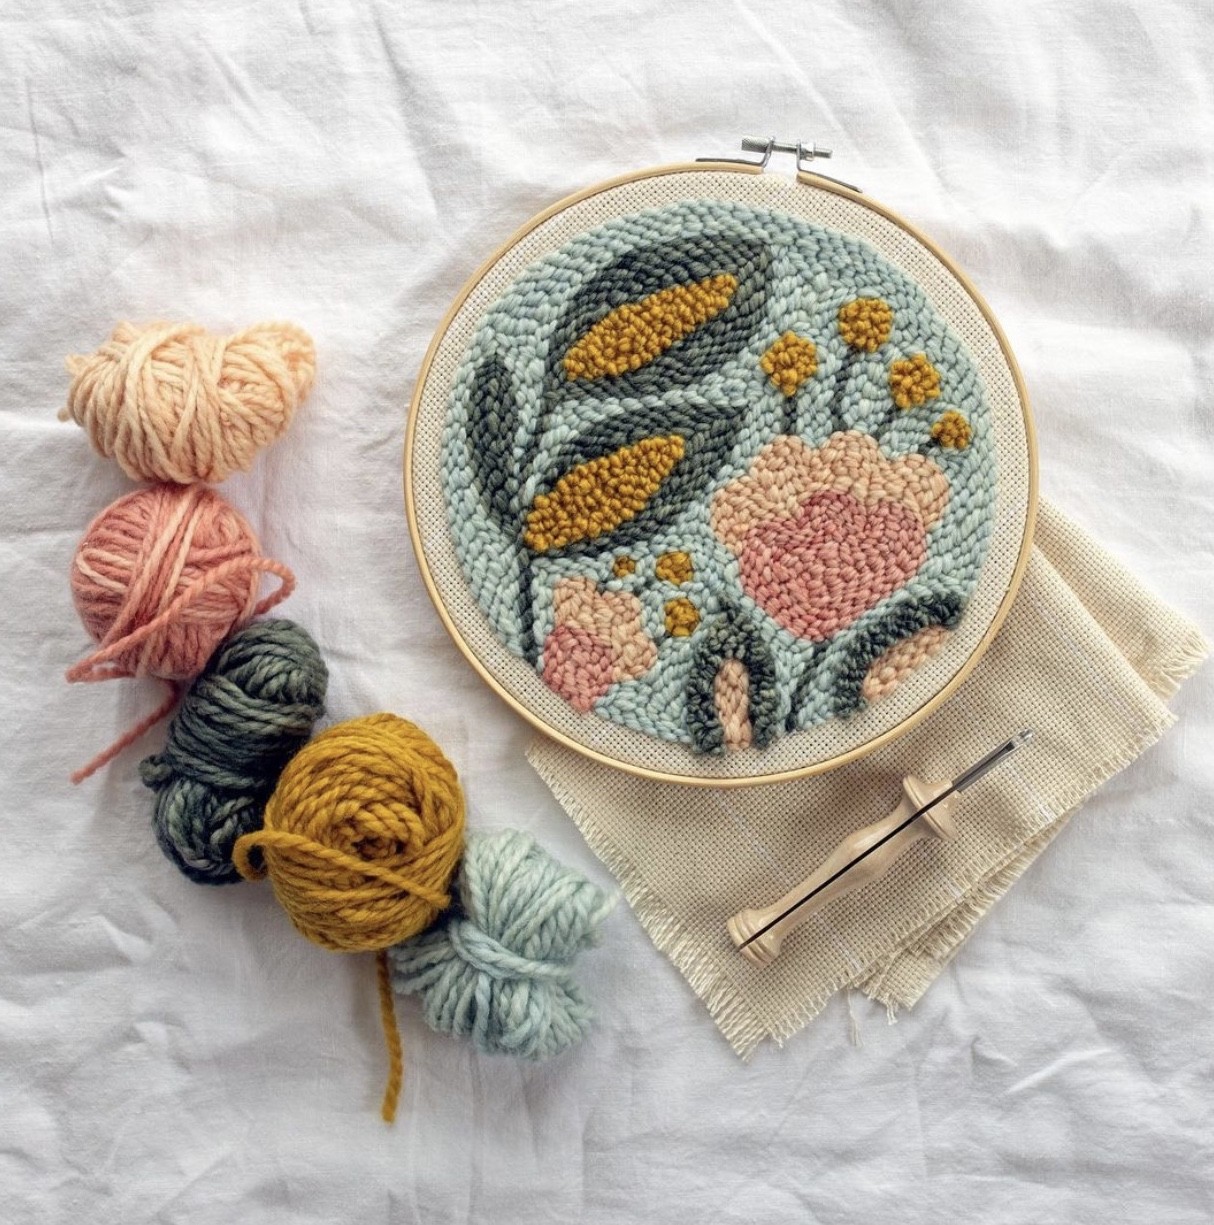
4. Are you punching down fully and with enough oomph?
Another thing to keep in mind is to make sure you are punching down into the foundation fabric with good pressure and right to the full extent of the punch needle tip.
By that, I mean punch down firmly as far as the punch needle will allow (until the tip is fully buried in the fabric).
This is not the time to be delicate! Make sure you’ve got plenty of space behind your hoop, then concentrate on pushing the punch needle right down into the fabric each time, with plenty of pressure. Don’t be shy, this is super therapeutic, and your fabric can definitely handle it!
NOTE: Don’t be concerned if the punch needle looks like it is making a big hole in the Monk's Cloth each time you punch down, this is supposed to happen and you're not actually making holes! The brilliant thing about punch needle fabrics like Monk’s Cloth is that the threads in the weave are designed to make way for your punch needle to push through.
Afterward, the fabric closes up behind them. This will hug your stitches and hold them in place.
So it might look like you’re making big holes in your fabric, but you actually aren't!
And if you make a mistake and want to start again? No probs, you can whip out your stitches then gently nudge the fabric weave back into shape with the tip of your needle.
5. Check your Loop Setting
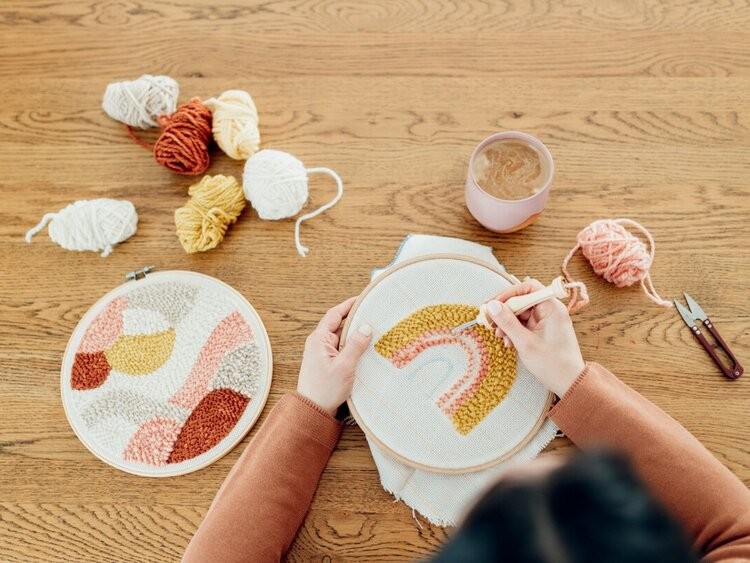
While you are first learning to punch with an adjustable punch needle, I’d suggest having it on one of the longer settings. This will give you a longer loop at the back, which really helps the stitches stay in place. You can always switch to smaller loops later on - particularly when you are making finer designs. But bigger loops will help you along your way.
So if you’re using the Lavor ‘Chunky’ or ‘Medium’ size, I’d suggest using it on setting four (three rungs showing) or setting 3 (2 rungs showing).
You can check out this handy guide here, for more info about Loop Sizes and Settings.
6. Holding your Loops
While you are first getting the hang of it, you can actually hold each loop stitch on the underside of your fabric as you punch along. This technique will hold in your stitches well, and allow you to get a feeling for the motion of punch needle.
Now you definitely don’t need to try this, and you shouldn’t have to continue doing this as you get more experienced, but it might just help to get you on a roll.
7. Angle of your stitches
You could also try punching down on the fabric at more of a vertical angle. I personally punch on a bit of a side angle, but I believe it’s quite normal to punch on more of a vertical angle too. So play around with punching on the side angle or down vertically until you figure out what works and is comfortable for you.
8. Are you skimming?
It’s so important that you don’t bring the tip of your punch needle up too high, as you slide along in between stitches. Just punch down and up, then drag/skim your punch needle along the surface of the fabric as you go, and then punch down again. Punch – skim – punch, that’s how we like to do it!
9. Length of your stitches
You can also check if you are doing each stitch at the recommended punch needle length. This should be about three holes in the Monk’s Cloth around 6 millimetres. If your stitches are too long, this can cause them to pop out.
Oh, no!
10. Is there something in the punch needle channel that is causing a blockage?
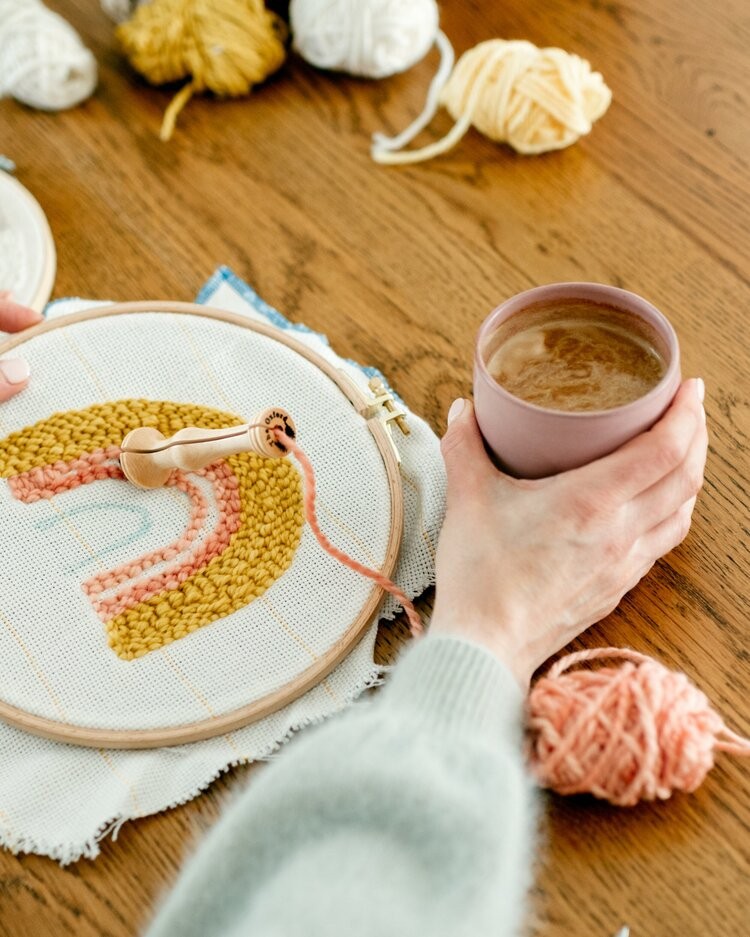
Occasionally there might be an issue where something inside the channel of the punch needle tool is causing the yarn to get stuck. If you think this is the case, have a look and check:
-
EXCESS FUZZ? Sometimes punch needle wool can get a bit fuzzy (that’s the nature of working with natural products), and fluff can block up the channel. If this has happened, snip off the yarn, clean out the channel and start again with a fresh piece of yarn. You could also try changing to a different colour of yarn to see if it ends up being a smoother process, just while you are getting a feel for it.
-
A KNOT? I have occasionally noticed a pesky knot in my ball of wool that is playing hide and seek in the channel. This can cause a blockage. If this happens to you, cut the knot off, and start again.
-
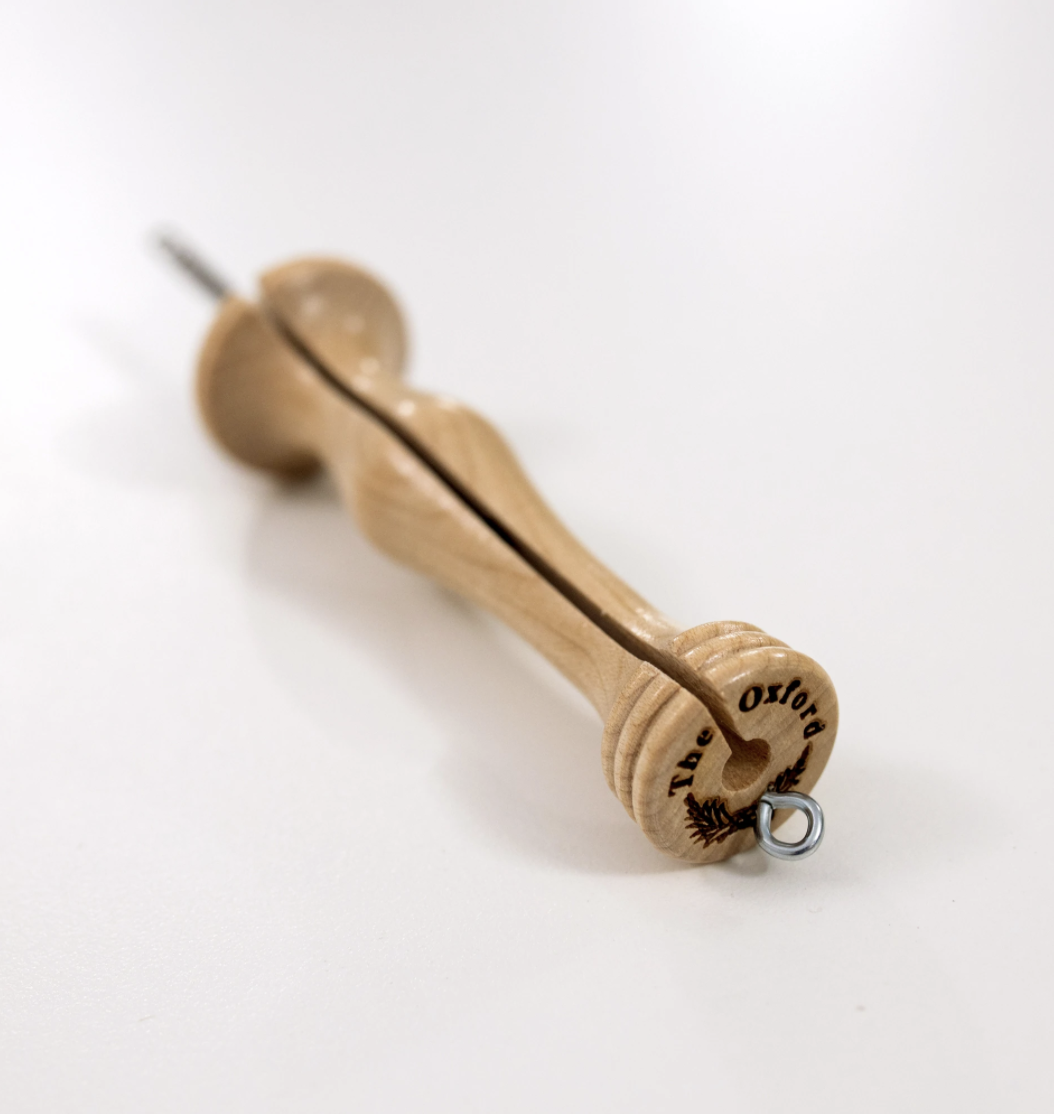
BURS IN THE CHANNEL OF THE PUNCH NEEDLE? While uncommon, there is a small chance that there may be some sneaky metal burs inside of your punch needle tool, which can cause the wool to get caught. This is not ideal or expected, but it’s worth checking this if all the other things I’ve listed aren’t your issue. You can check for burs by holding up your punch needle and peering down the channel. Does it look like a nice smooth tunnel? Or can you see tiny bits of metal obscuring the channel? If the answer to the latter is yes, then you can try removing these burs by using a straw or little pipe cleaner. Otherwise, you can contact your punch needle supplier for further direction on how to do this.
Conclusion
So there you have it, some of my best tips and tricks if you are struggling a little with this wonderful (but at times, challenging) punch needle craft.
I hope you now feel much more confident that you are using the correct punch needle technique to start on your punch needle journey. Just go through each point, and tweak the way you’re working. I am sure you’ll find that it starts to click before long!
I was once a beginner too, so I know how easy it is to make mistakes. But you need to keep going, and before you know it, you’ll be whistling along!
Please feel free to ask me for help if you’re still stuck after trying all of these tips. Or to share feedback on your technique - I’d love to hear from you!
When it comes to finding supplies for your project, you can explore your favorite local craft stores or trusted online retailers. So feel free to choose what works best for you!
If you liked this blog, you may also like my other blog, Beginner Punch Needle Guide: Which Supplies do you need?
So, are you excited to try out punch needle?
