Beginner Punch Needle Guide: Which Supplies do You Need?
Introduction
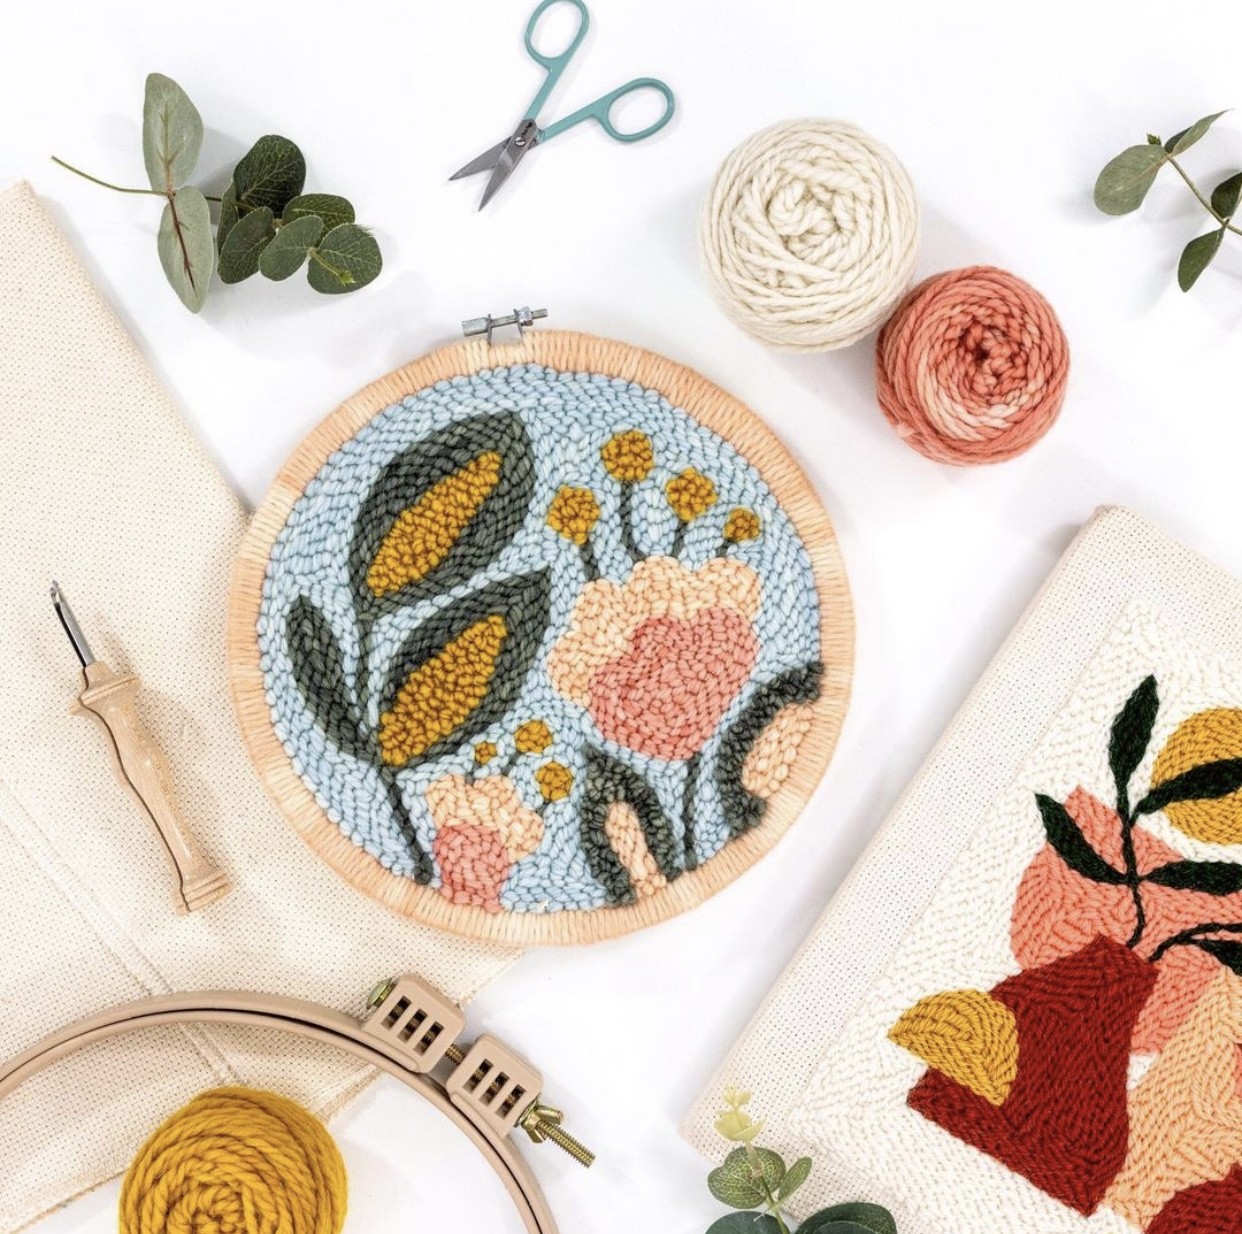
Punch needle is one of those crafts where the supplies really do matter! And there are lots of products and kits out there on the market that aren't that great to use, especially for a beginner.
Plus, you really need your three key items to fit and work well together. So that is the punch needle tool, the fabric, and the yarn. If they don’t work in sync, you’ll find it next to impossible to get your punch needle stitches to hold, and chances are it won't take long before you give up on this entirely. Nooooo!
In this article, I will cover what beginner supplies you will need for punch needle. Plus, I will give you suggestions for which products I recommend using. These products are tried and tested by me, so you can be confident that they are easy to use and will get you punching along nicely, even as a beginner!
But before we go into what beginner punch needle supplies you need, let’s cover what punch needle is...
So, What is Punch Needle?
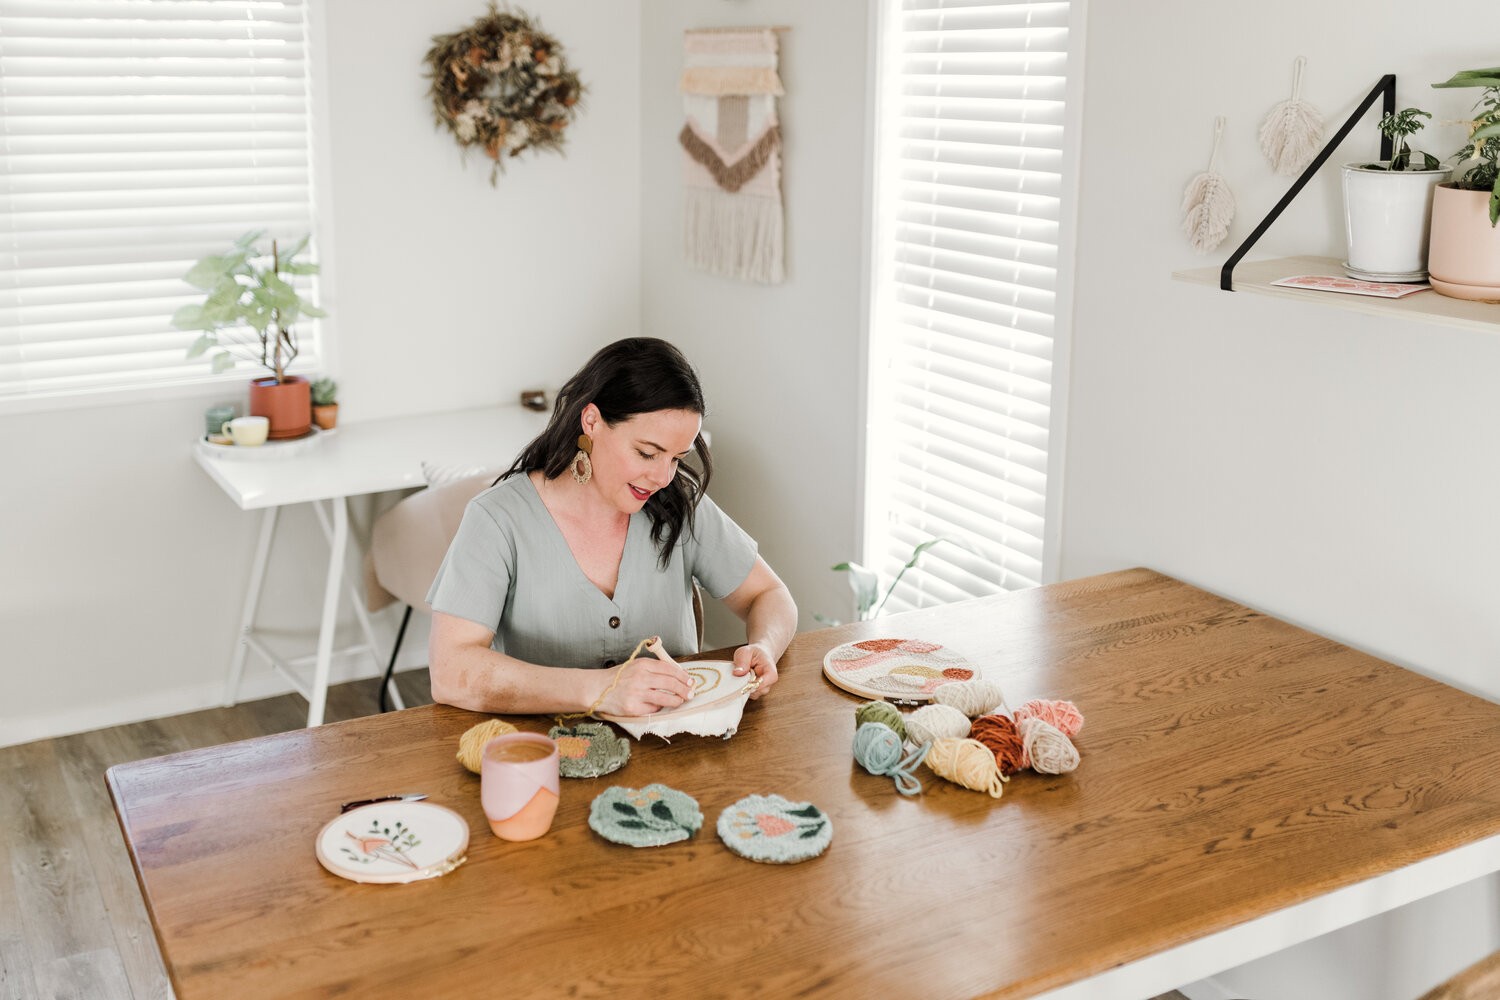
I’m sure a lot of you are wondering what on earth punch needle is? I totally understand how confusing it can be to start out in this craft.
I first discovered punch needle when I started seeing these beautifully textured creations appearing in my Pinterest feed. I gave this craft a go, fell in love with it immediately, and thought, “this is the start of something exciting!”
I've found that this craft is much less daunting to try out once you know how it works!
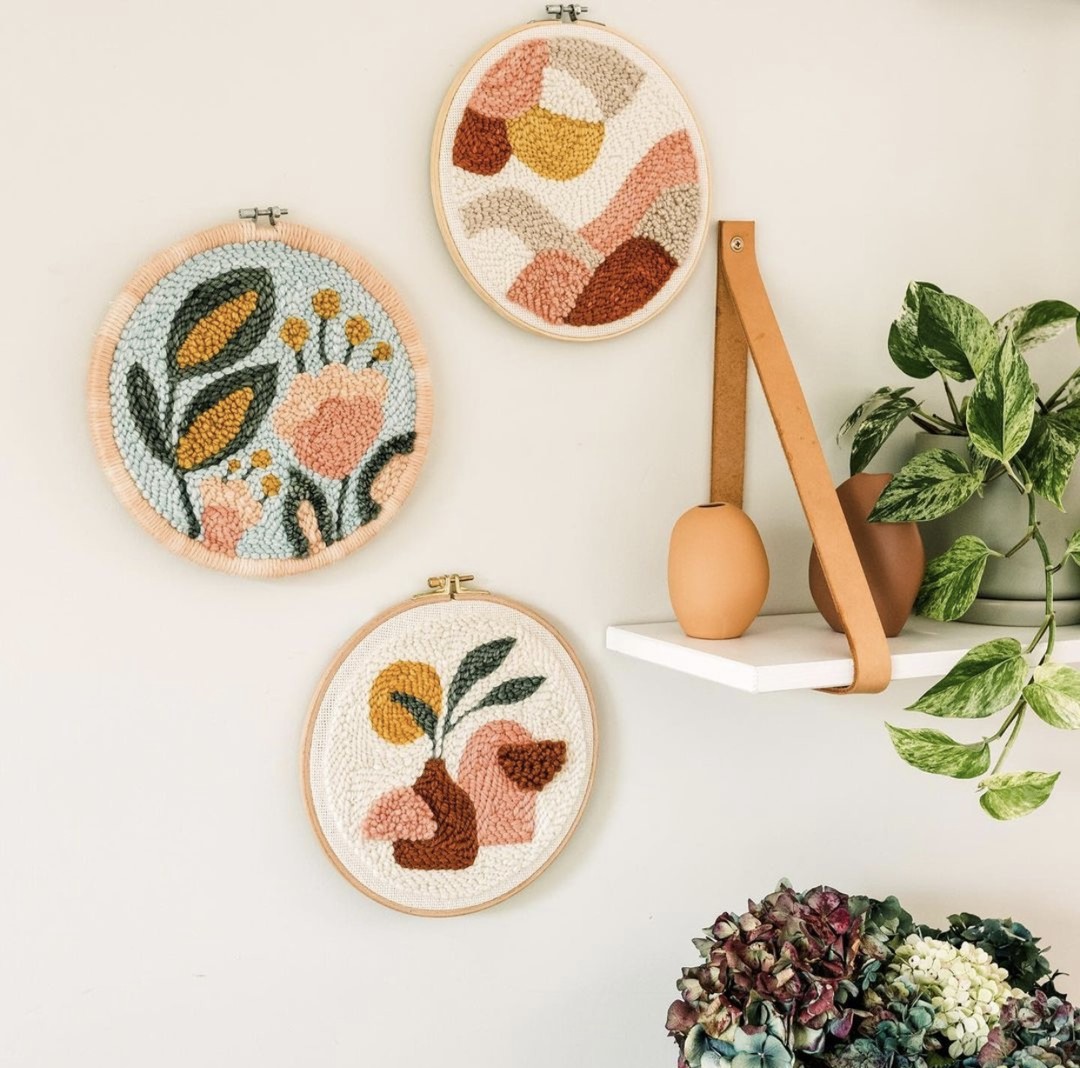
So punch needle is a crafting technique that is somewhat related to rug making and traditional embroidery – but it’s really a whole new modern take on these old-world techniques.
In this craft, you use a punch needle tool to create little loops of yarn or thread in your fabric. As you punch along, the loops rhythmically build up into patterns and designs. Even though you could theoretically pull the loops out, don’t worry; they are all held in place by the overall tension of the piece you’re making. And before you ask, no, you don’t need to secure them with glue. It’s quite cool how it all works and comes together (when you’re using the right tools and supplies)!
As those in our industry know well, punch needle is a steep learning curve, baby! But once you’ve got the hang of it, it’s really simple and methodical. You can create beautiful works of art in a short amount of time, especially compared to traditional embroidery.
So, enough about what punch needle is, let's move on to what punch needle supplies you need as a beginner!
Punch Needles
First off, let me explain what a punch needle is, given this tool is the centre of what this amazing craft is all about!
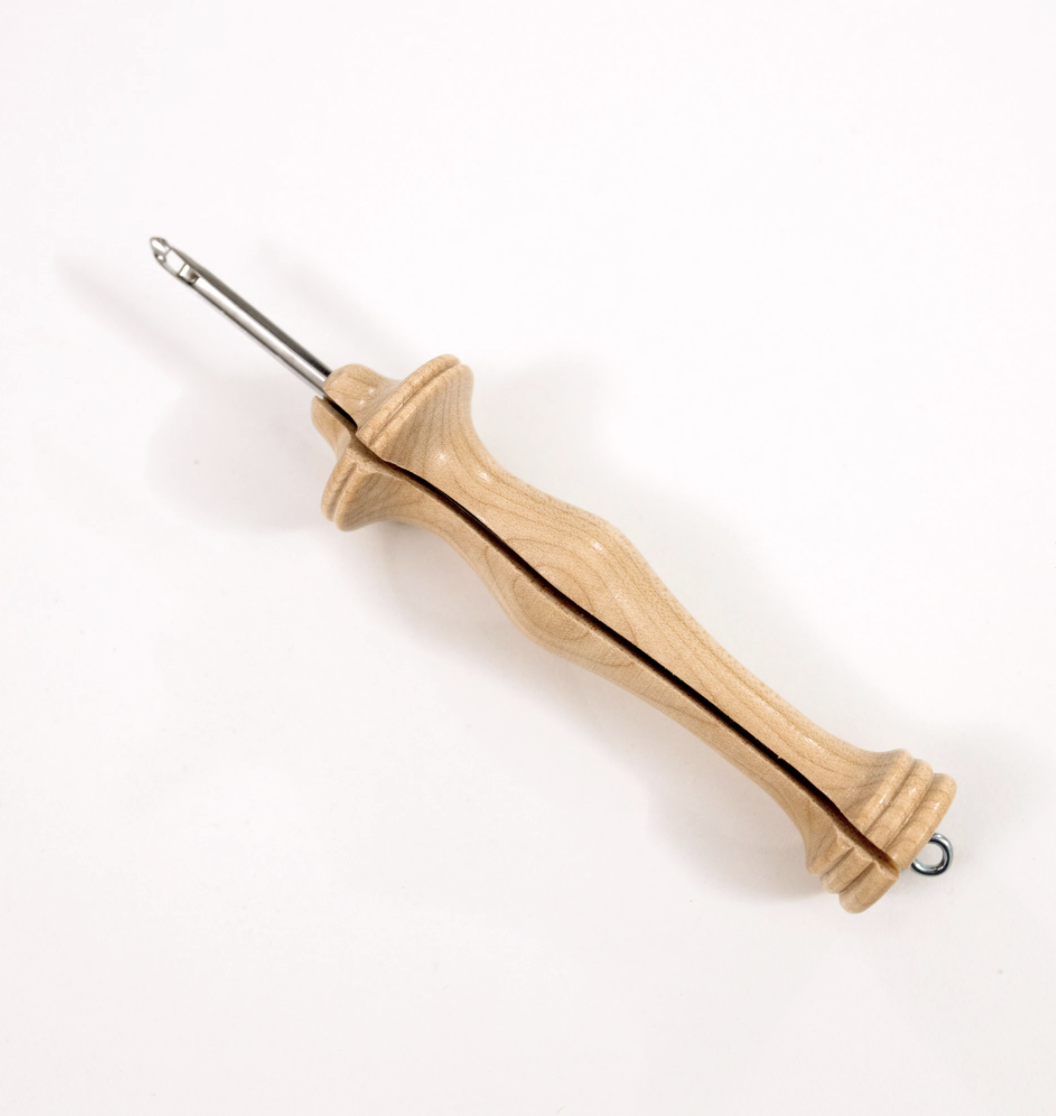
A punch needle is a handheld tool, that has a hollow metal needle with a large eye at the end, and a handle that you hold. The yarn is threaded into the hollow channel of the punch needle and runs down through the channel and out of the tip of the needle (unlike an embroidery needle, where the thread just passes through the eye and out the other side).
There are many different types of punch needles out there. The key difference you need to be aware of as a beginner is the width (or diameter) of the channel and eye because this determines what type of yarn or thread that punch needle is designed for.
For example, a punch needle with a relatively wide channel is designed to be used with chunky wool. Whereas a finer punch needle with a slimmer channel is designed to be used with finer thread and yarn - even embroidery floss!
So when you choose your key trio of supplies (the punch needle, the yarn, and the cloth), you must be careful to choose supplies that will work well together. There's no point buying chunky yarn for a fine punch needle or using thin thread on fabric with a loose weave.
But don’t worry, I have lots of tips on this throughout this blog. And I have made it super simple for you because after teaching hundreds of women this amazing craft, I can recommend exactly what supplies you need!
I think that the best place to start as a beginner is with ‘chunky’ size punch needles, which have a channel with a generous width that suits bulky weight yarns. This punch needle is so fun and forgiving to learn with!
So let’s look at my favourite beginner-friendly ‘chunky’ size punch needles, which are the Oxford and Lavor brands. These punch needles are great quality, beginner-friendly tools, and each has its own strengths and weaknesses.
Oxford Punch Needle
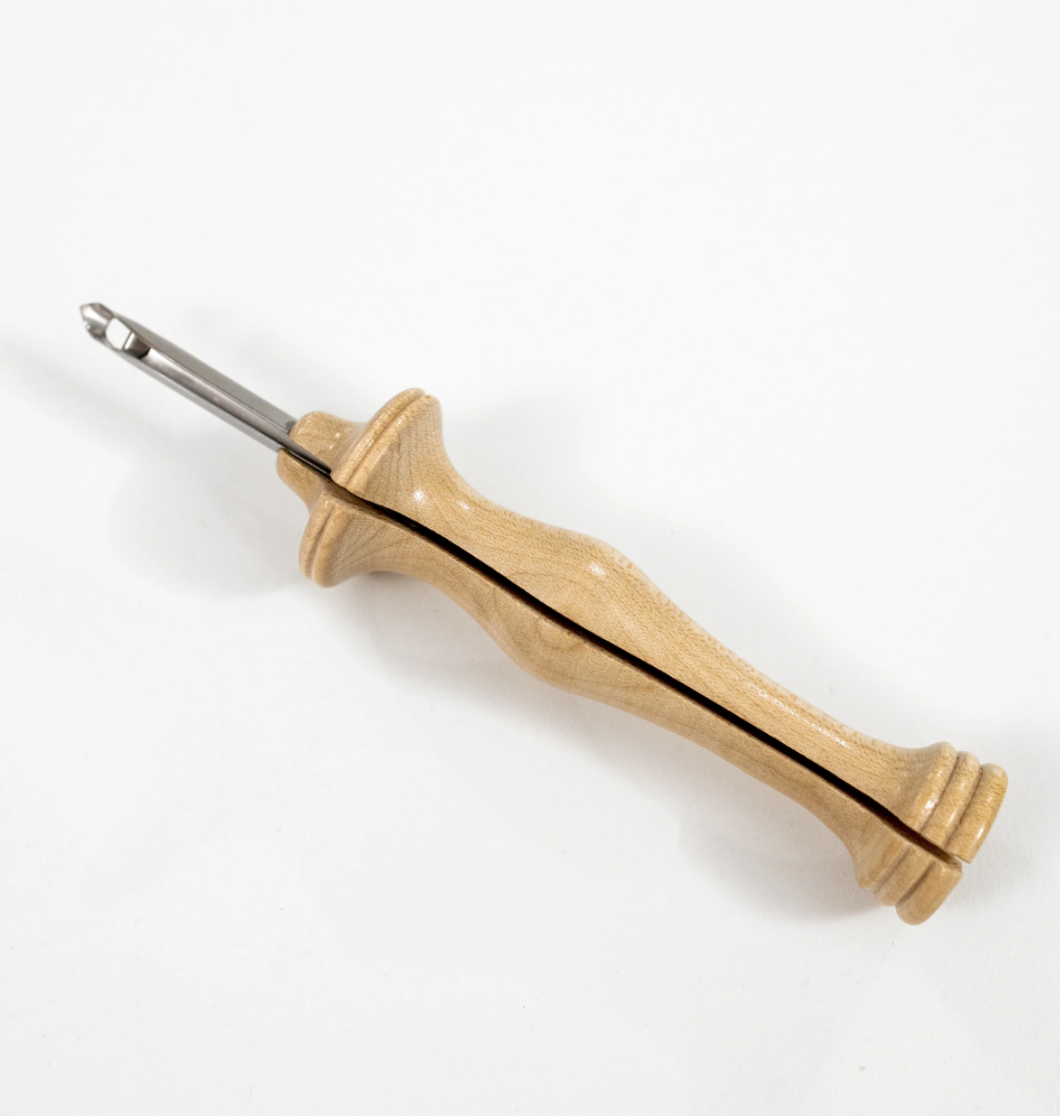
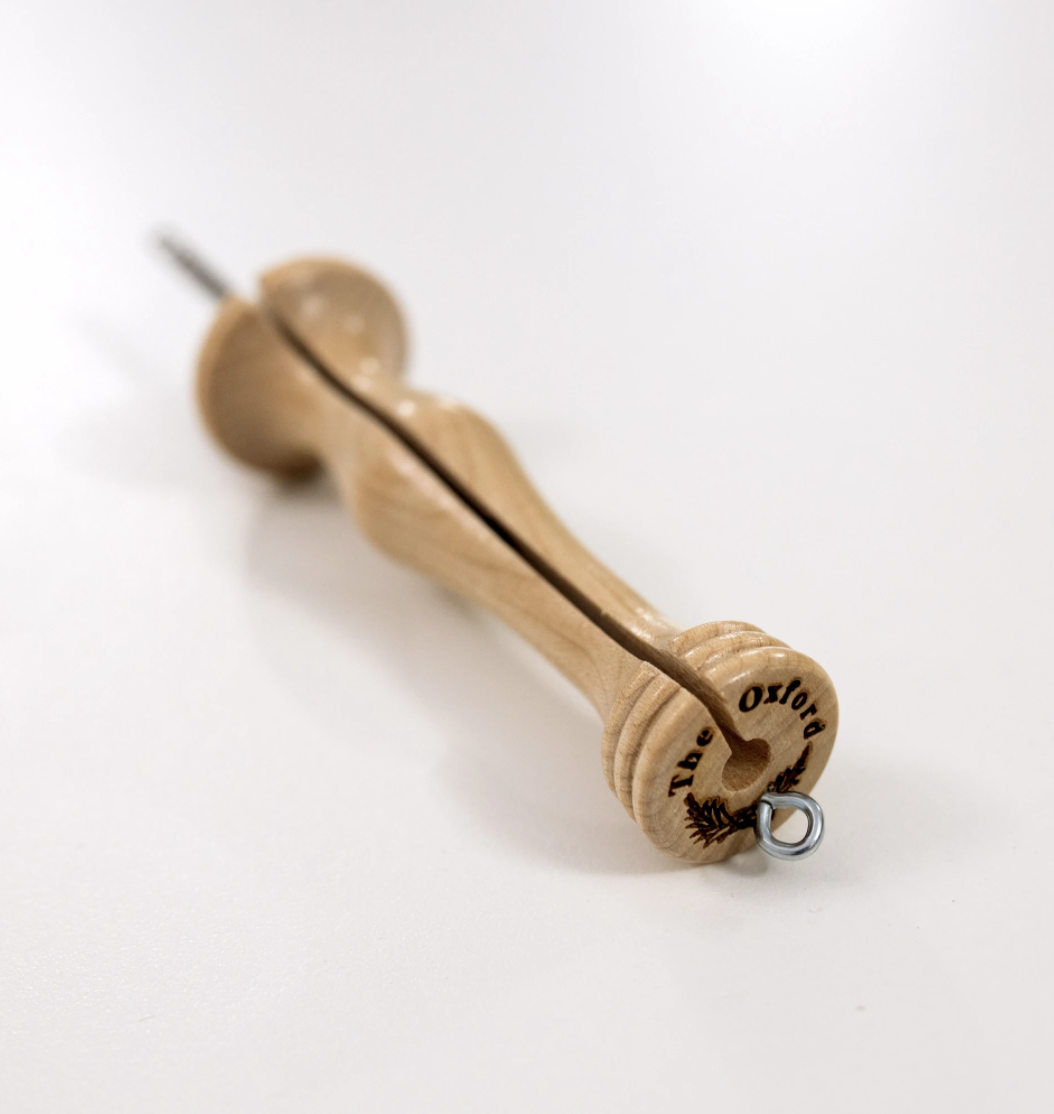
The Oxford Punch Needle is what I would call the holy grail of punch needles. It’s an absolute dream to use! This needle fits so nicely in your hand, which means it’s really comfortable to use (I can go for hours).
Also, the unique design means you can easily thread it without needing to use a 'threader' tool.
As you would expect (from my punch needle fan-girling), it does come with a higher price tag, to reflect the gold-standard craftsmanship and design.
However, I think the high quality, super ergonomic design, and lifetime guarantee more than compensate for this!
This punch needle is a fantastic option for punch needle newbies – right through to confident makers. There are different size punch needles available in the Oxford range, to cater to different weights of yarn and loops sizes.
You don’t need to worry about all of that for now, because I totally recommend the Oxford #10 Regular size for beginners.
Lavor Punch Needle
The Lavor brand of punch needles is another fantastic option that is a bit more affordable than the Oxford range.
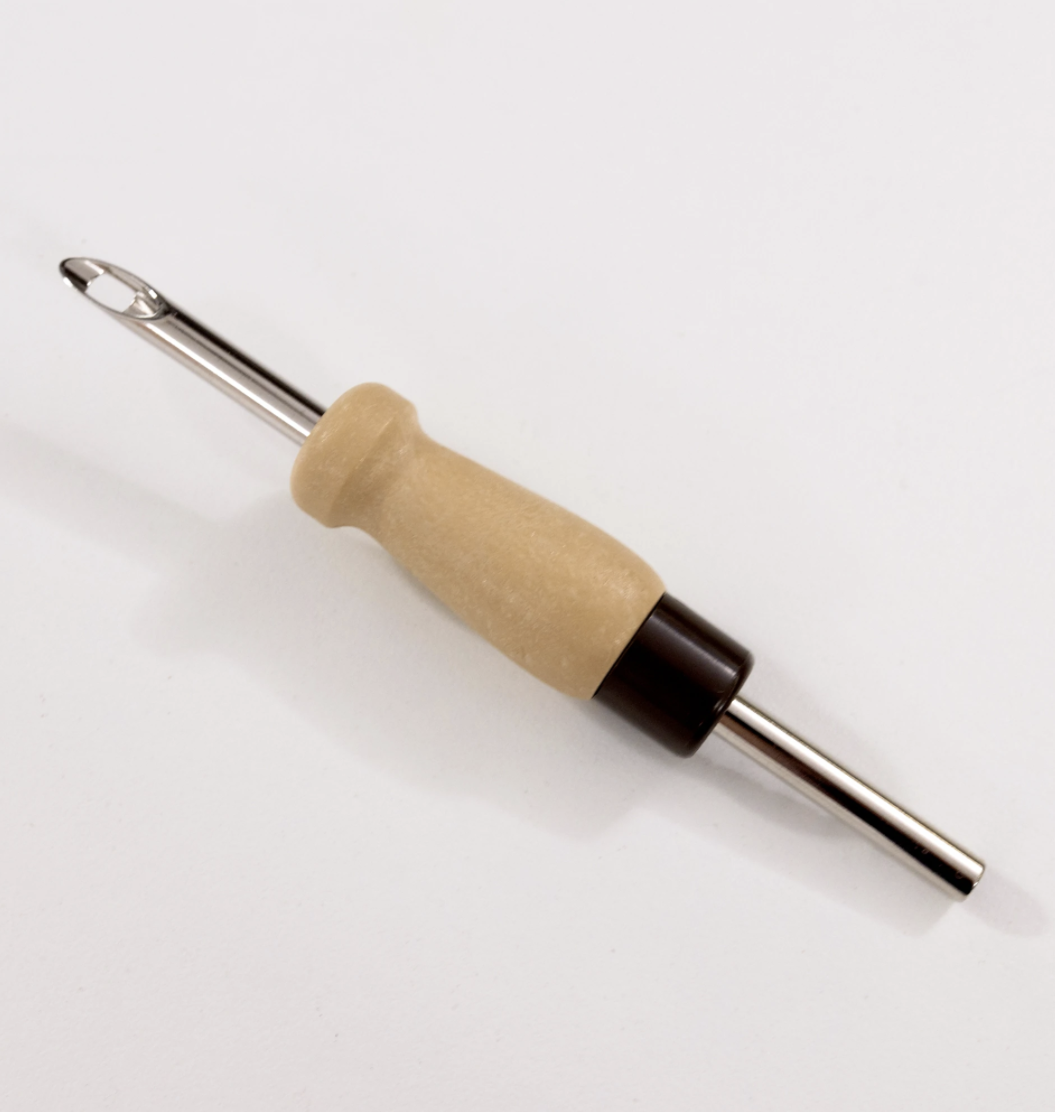
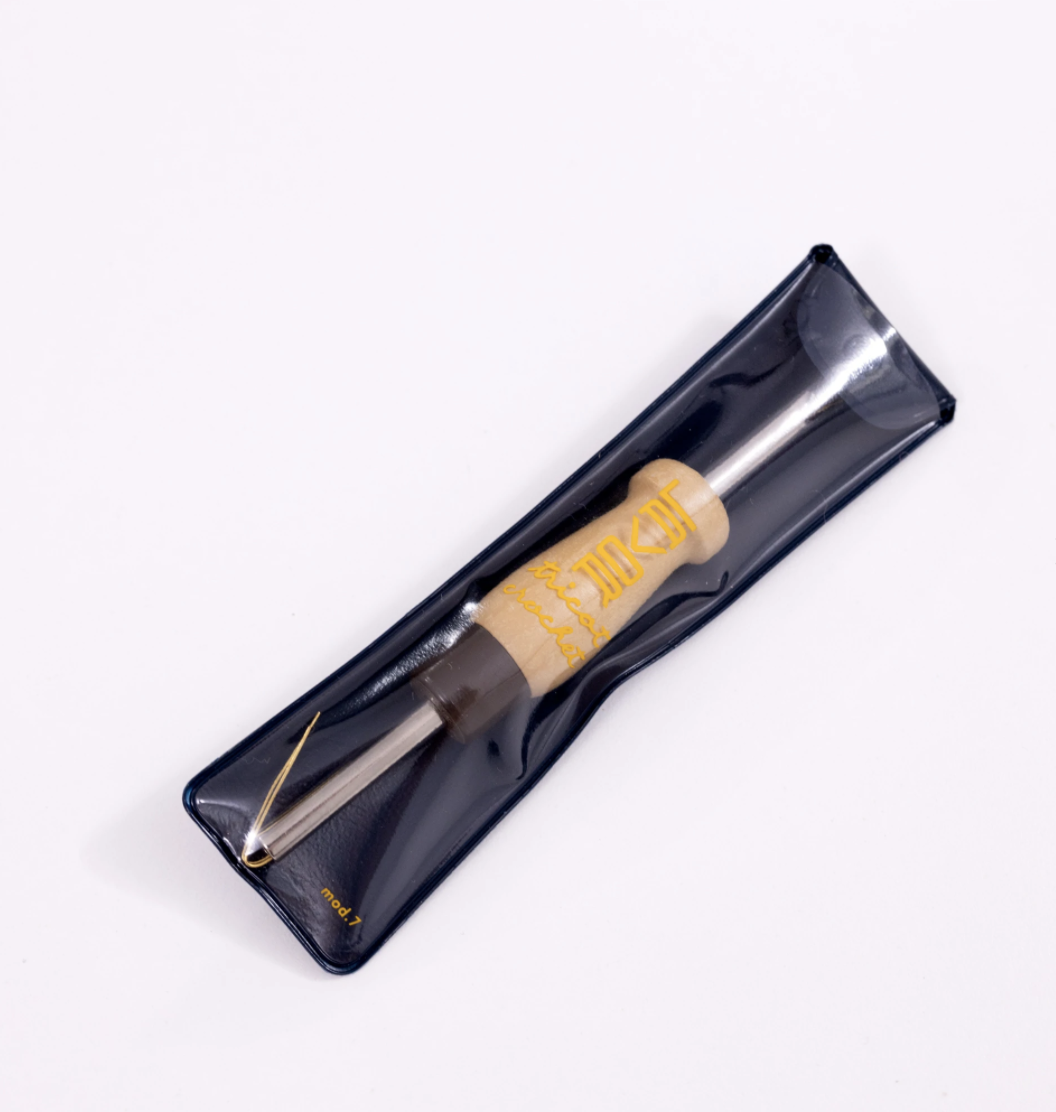
These needles come in a small range of different sizes to suit a variety of weights of yarn. Their needles are also adjustable in terms of the loop size (unlike the Oxford range where each needle has a fixed loop height).
Due to the design of the Lavor punch needles, you need to use a threader tool to get your yarn into the channel and out the eye of the punch needle. It’s relatively simple, and each punch needle comes with a simple threader tool.
Just like with the Oxford range, I highly recommend the chunky-sized Lavor punch needle for beginners.
Punch Needle Yarn or thread
Depending on the size of your punch needle, you can do this wonderful craft with all sorts of yarn and thread, ranging from fine embroidery thread to chunky wool.
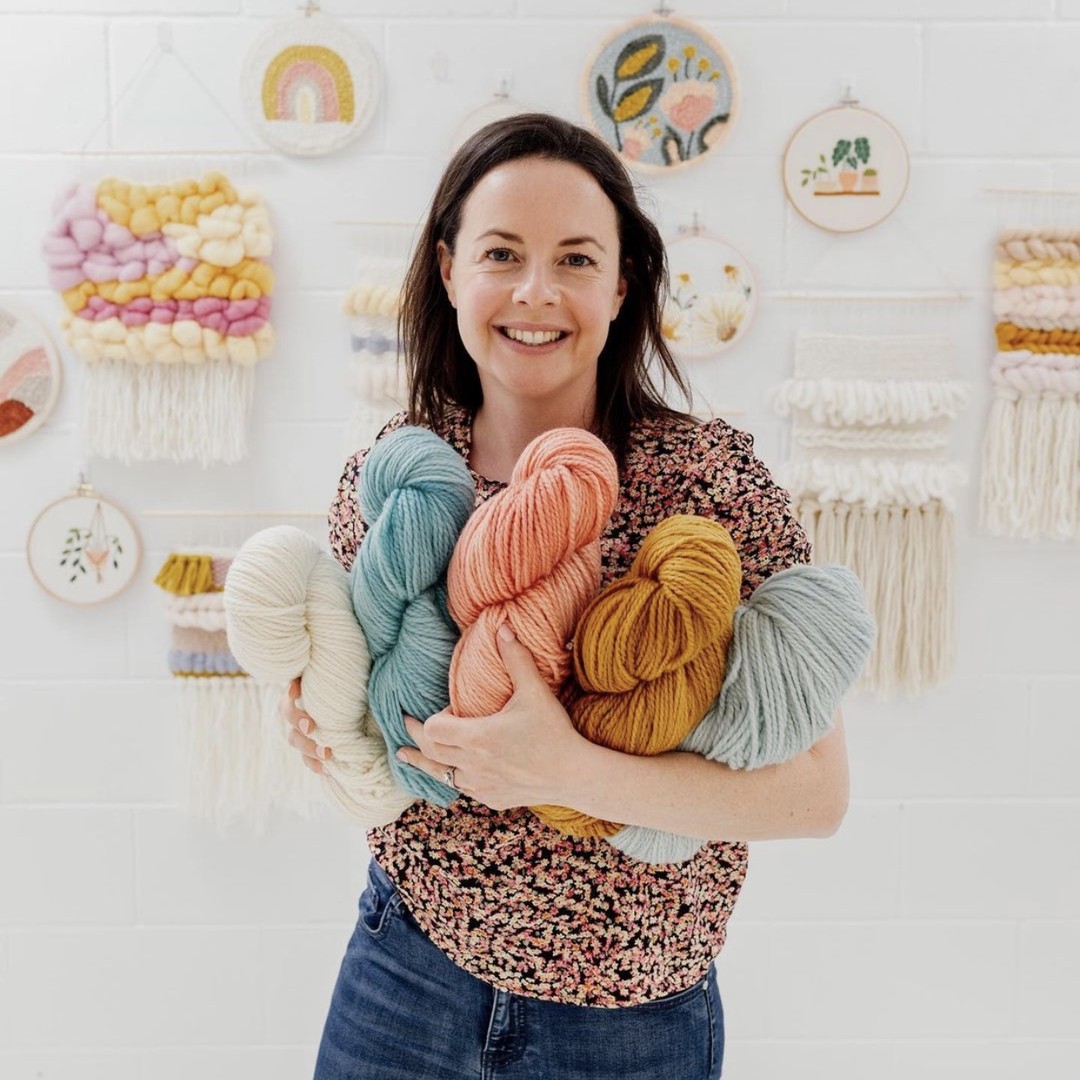
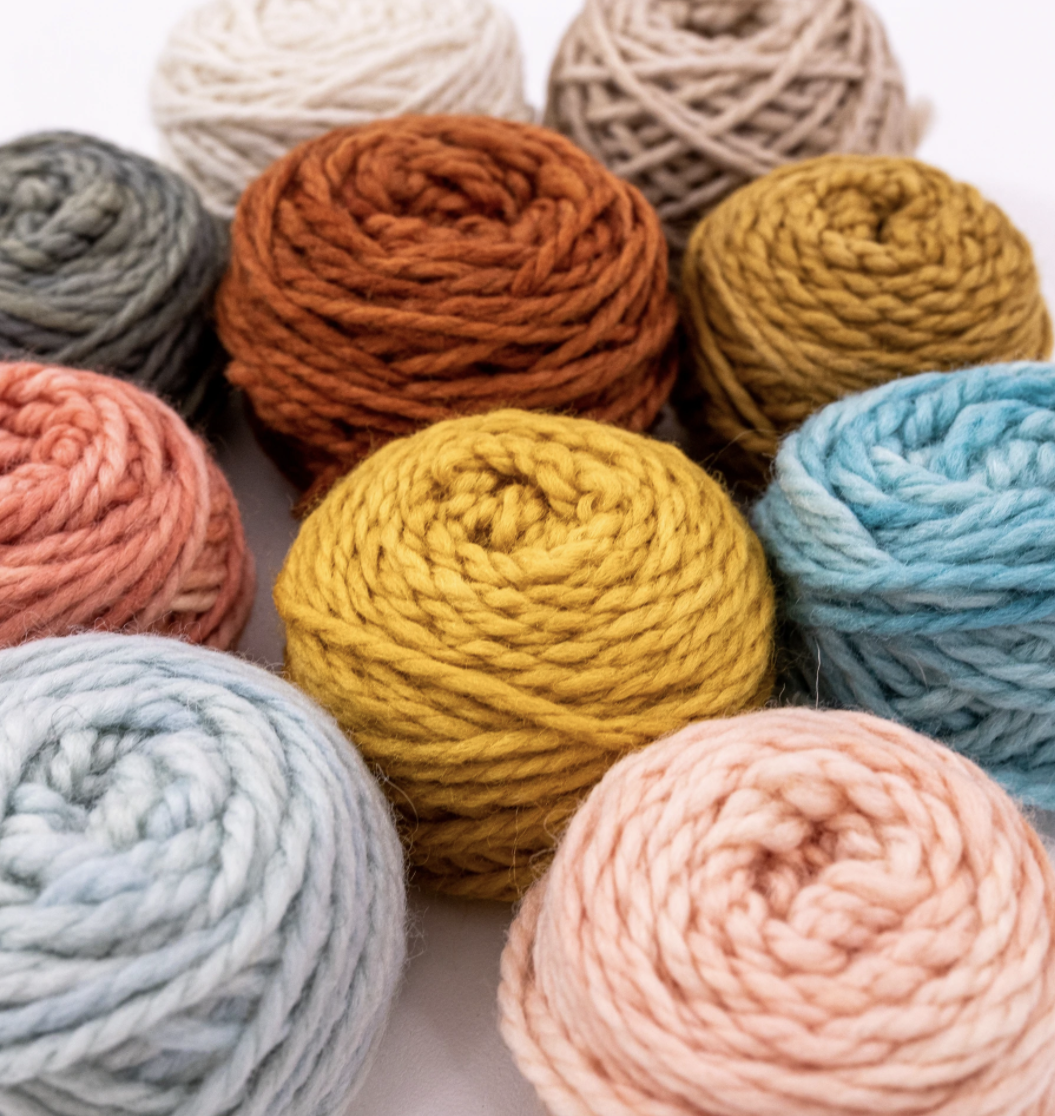
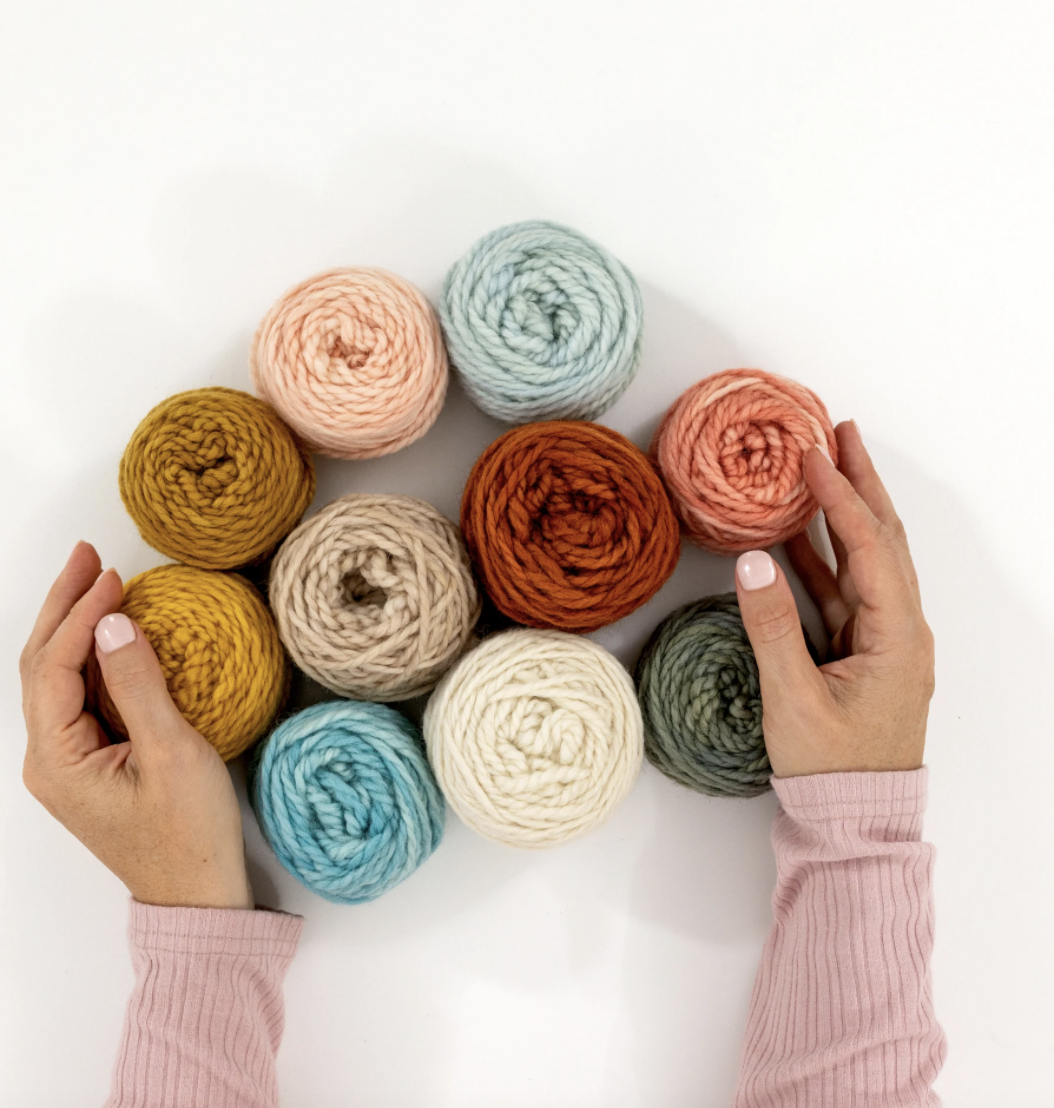
As I mentioned above (in the section about choosing your punch needle), I recommend that beginners use what I class as a ‘chunky’ size punch needle. And this size needle is designed to work with chunky or bulky weight yarn. This means yarn about 12 - 16 ply.
You’ll find that this combo of a chunky-sized needle and bulky weight yarn is just perfect for beginners because it’s so fun and forgiving. Plus, you’ll see your design come to life quite quickly compared to a finer-sized punch needle.
Punch Needle Fabric
You can use all sorts of fabric for punch needle projects, but overall it needs to be a woven fabric that is non-stretchy. It’s usually referred to as ‘Foundation Fabric’.
The fabric that you choose will depend on the size of the punch needle that you’re using because, in a nutshell, the weave of the fabric needs to be loose enough to fit the channel of your punch needle as you punch down (without making big holes).
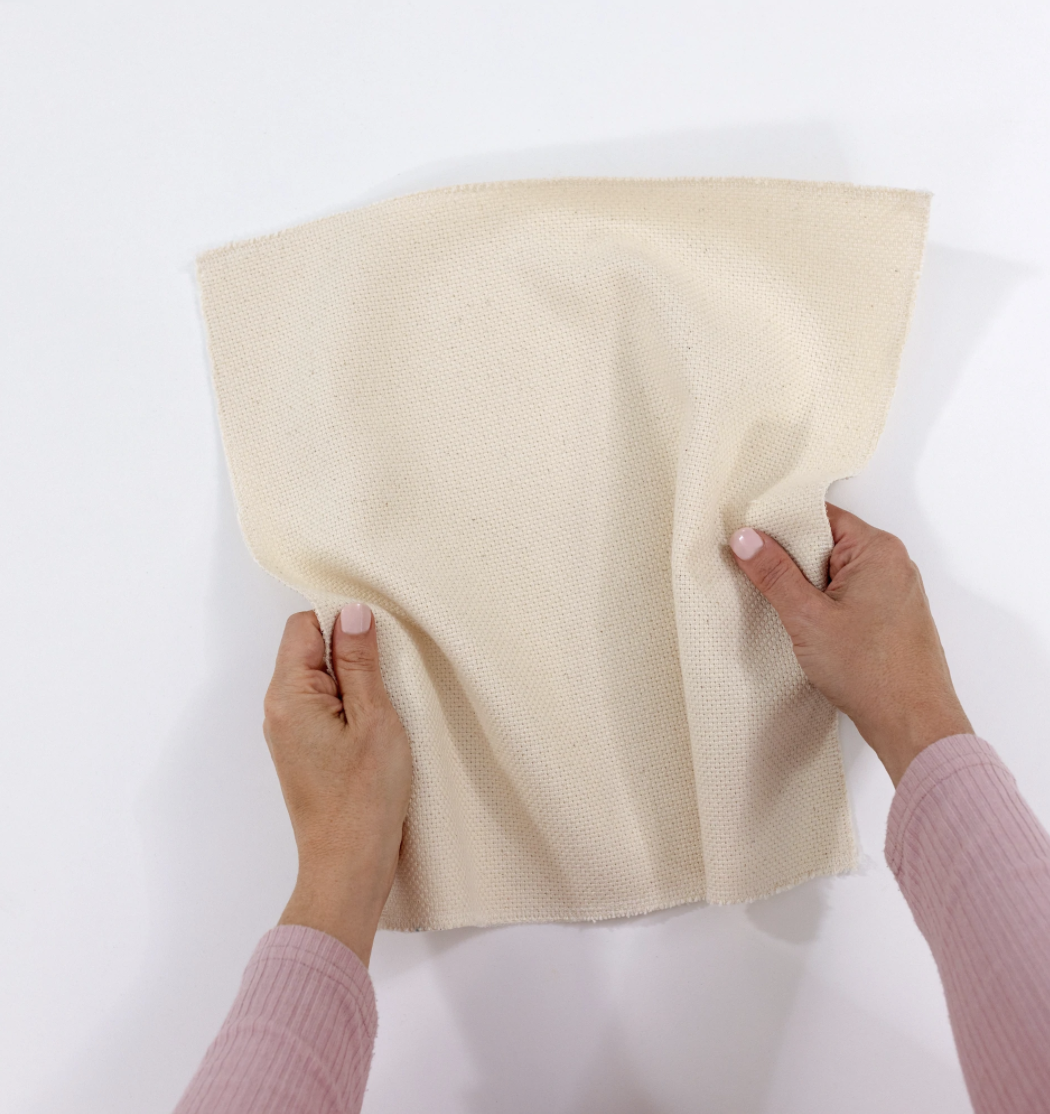
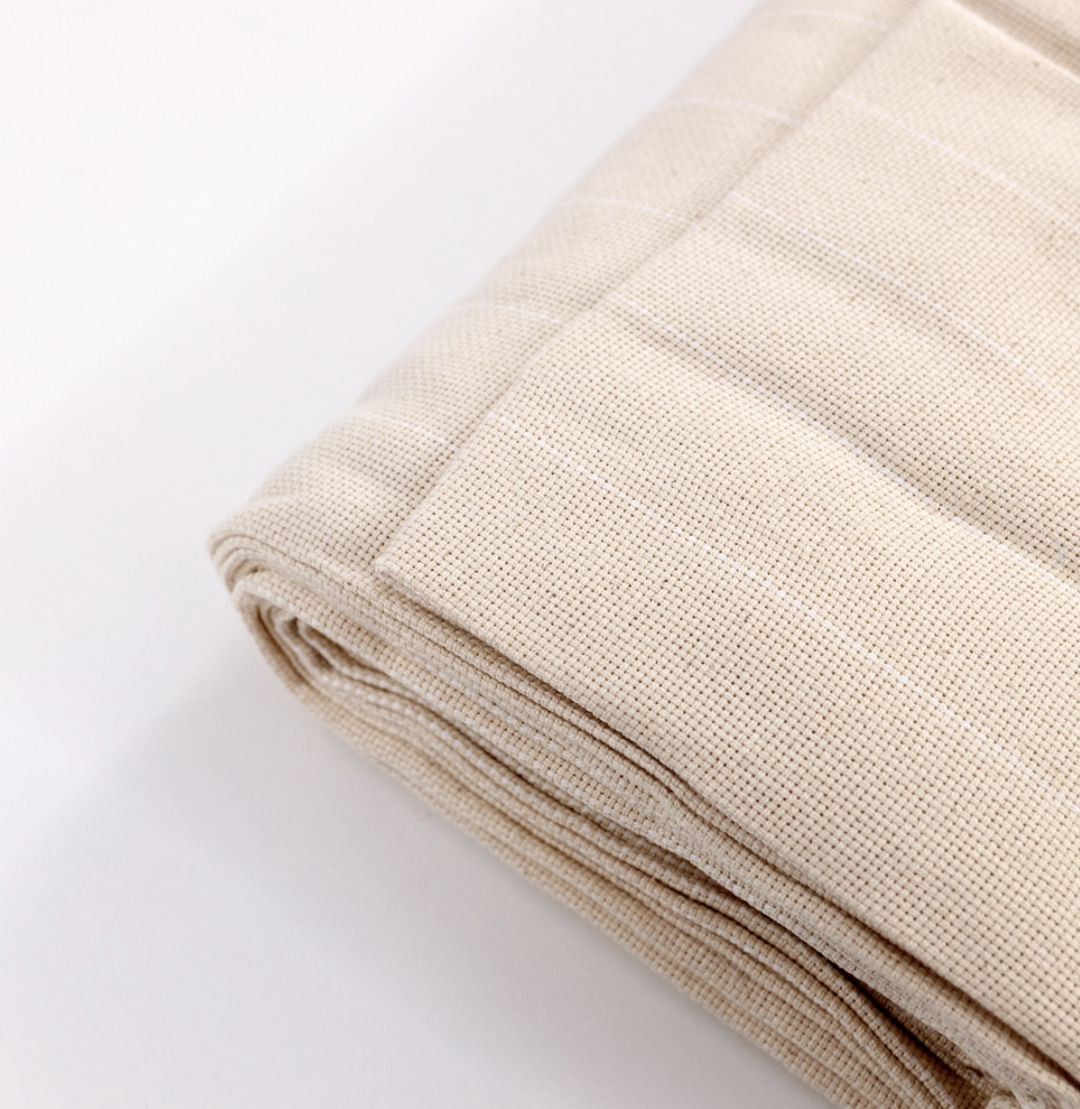
I totally recommend Monk’s Cloth. It’s a really sturdy, 100% cotton fabric, with a loose and even weave. It’s an absolute dream to work with and is really forgiving for beginners. And of course, it’s the perfect fabric to suit the ‘chunky’ size punch needle that I recommend for beginners.
Monk’s cloth is a great beginner fabric because it’s hard-wearing enough to allow you to punch down on it with some oomph, but it is also woven loose enough to allow your needle to pass through. I like to think that it hugs your stitches as you punch along.
Another great thing about Monk’s Cloth is that you can easily remove your stitches and rearrange the weave back into place. This is great if you make a mistake and want to redo sections of your design, even multiple times.
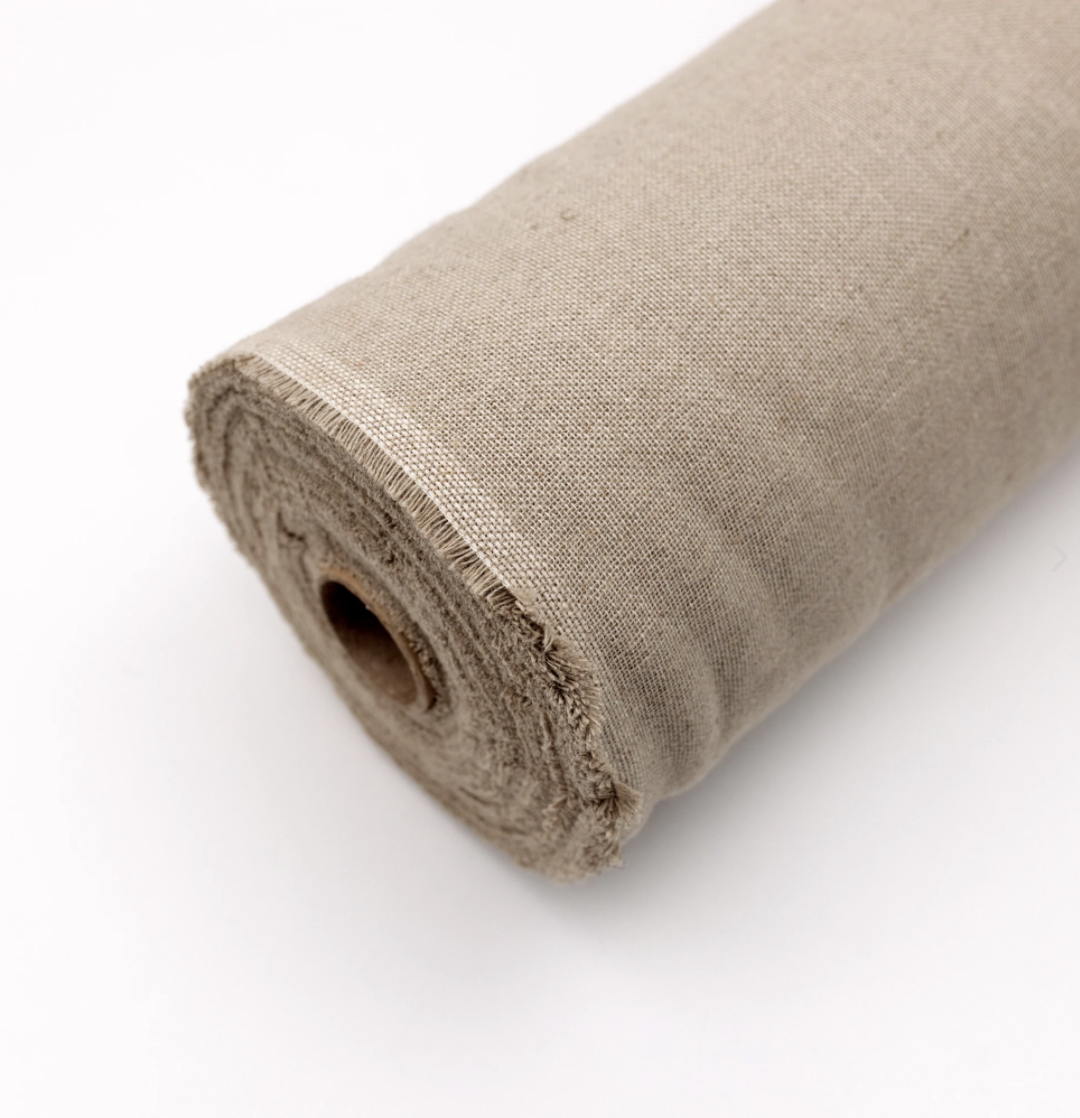
Another punch needle fabric that you can try is linen with a relatively open weave. It won’t be as forgiving and suitable to use as Monk’s Cloth, but it’s great as a backup option if you can’t get your hands on Monk’s Cloth.
You can learn a whole lot more about my favourite beginner punch needle fabrics in this blog.
Summary of the 3 key supplies I recommend
So, a quick recap of what we've learned so far:
-
A chunky punch needle works well for beginners in this craft. I would recommend either the Oxford Regular #10 or Lavor Chunky Adjustable Punch Needle for this.
-
Because we are using a chunky punch needle, we will need bulky weight yarn between 12 - 16 ply.
-
Punch needle also requires foundation fabric. I would recommend Monk's Cloth because of its nice loose weave.
-
Don't worry if you are finding this confusing. The good news is that I have created a handy table that you can refer to for what size yarn and fabric suits the punch needles we stock. You can download this table here.
Punch Needle Hoop
To become proficient in punch needle, you'll need a way to secure your fabric so that it’s nice and tight as you punch away. This is really important for punch needle, because your fabric needs to be as tight as a drum, otherwise you might find your technique doesn’t work and your stitches come out. That’s not much fun!
There are two main ways to stretch your fabric so that it’s as tight as a drum for when you're actually making your designs - by using a hoop, or fixing it to a frame.
As a beginner, I recommend using a special ‘non-slip’ hoop. By this, I mean a hoop where there is an extra groove in the design, that fits flush together between the inner and outer hoop (in contrast to a standard hoop where it’s a flat join).
This means that as you pull your fabric super tight, it has a better hold or ‘bite’ on the fabric so that it stays tight for longer than a standard hoop. This enables your fabric to stay nice and firm as you punch along, without having to re-tighten it all the time.
Let’s be honest, non-slip hoops are usually plastic, so this means they’re often not as pretty as wooden hoops. But they do a fantastic job, which makes the whole experience more enjoyable for you, and means you’ll make better progress.
I’ll just point out that a standard wooden hoop can be used too, so long as it holds your fabric as tight as a drum.
You might find it doesn’t hold your fabric tight for that long, and that you’re constantly re-tightening it as you punch your design. But it’s totally fine as an option if you can’t get your hands on a non-slip hoop.
What Hoop Should I Use?
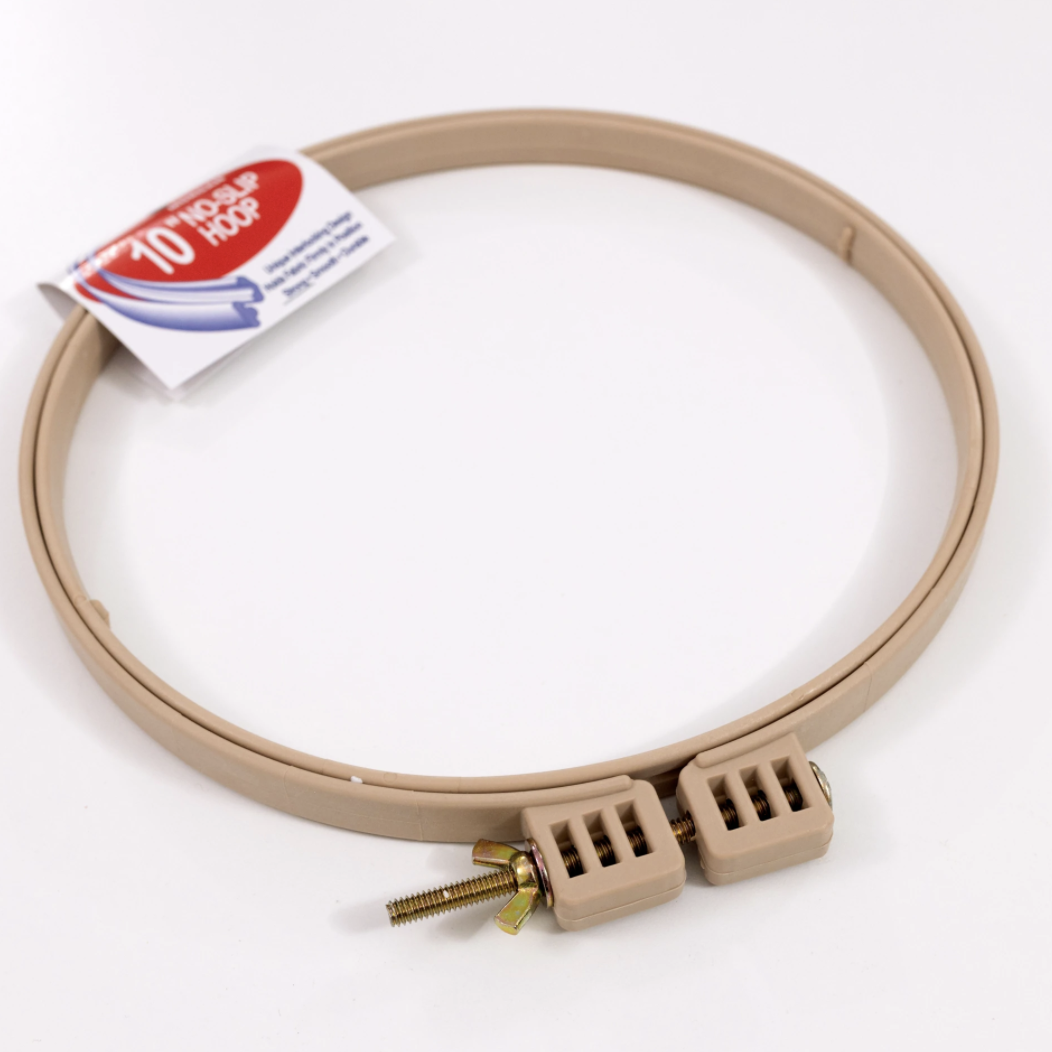
As a punch needle newbie, I would recommend using the Morgan No-Slip Hoop 10.” This hoop is of fantastic quality and designed for this exact purpose. It has a lovely wide frame and grooves to hold the fabric securely between the inner and outer hoops, which keeps the fabric in place while working on your project.
The grooves mean there is no movement in your creation until the outer ring is loosened and the project is removed from the inner ring. This keeps your project taut while you are working on it, and I often find I don’t even need to re-tighten my fabric, even after hours of vigorously punching along. It’s a dream!
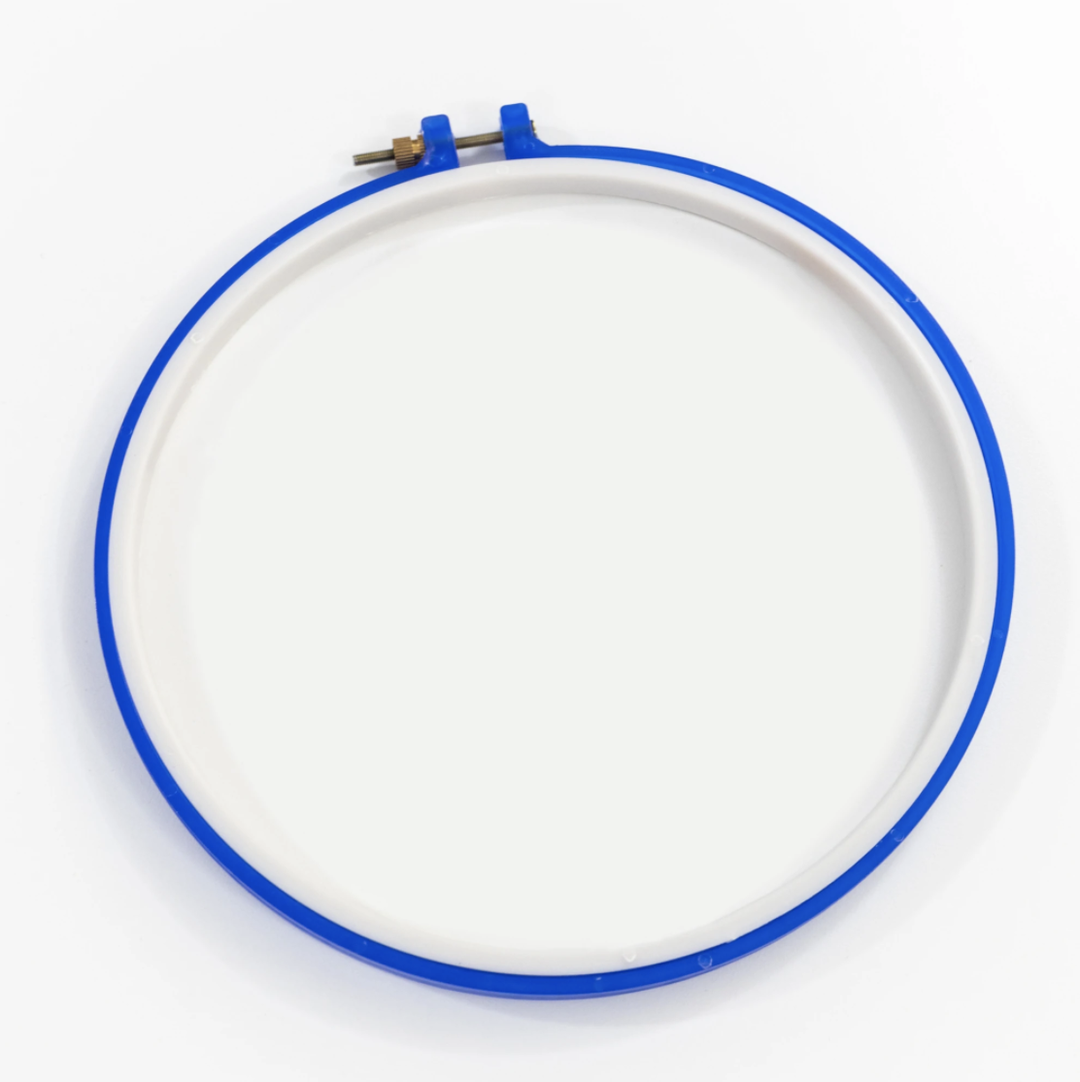
Another more affordable option is a generic Plastic No-Slip hoop 10’’ to stitch your creation in. This hoop isn’t as top-notch as the Morgan No-Slip Hoop" (hence the smaller price tag), but it is fine for stitching your creation in as a beginner.
What Hoop Should I Display my Creation in?
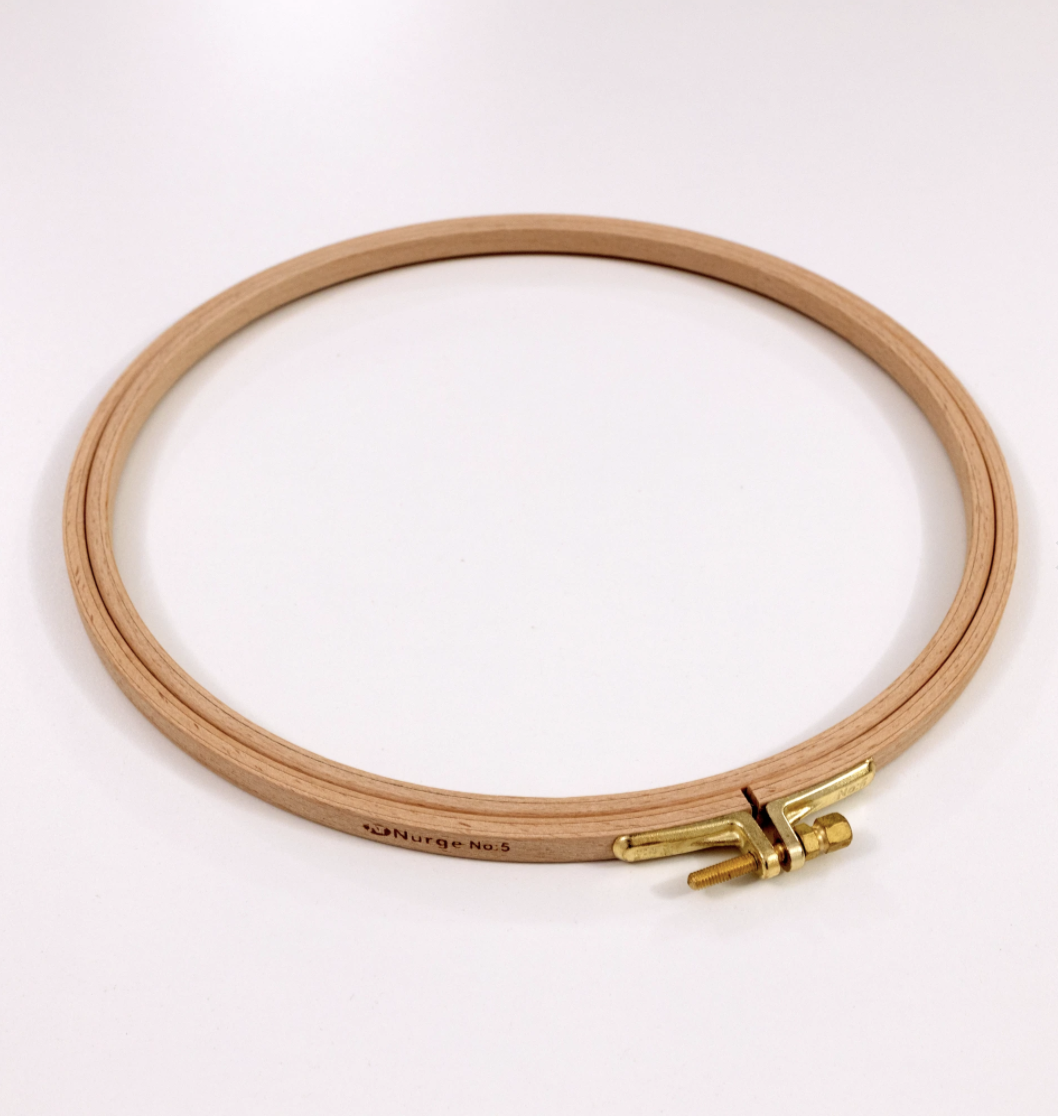
Once your punch needle creation has been stitched, you can be less picky in terms of the hoop you display it in. Nurge Hoops are a great option, and the wooden finish looks beautiful. The size you choose depends on the size of your pattern, but generally, the Nurge #5 size fits my beginner patterns.
Transfer Pen
Whether you are following a pattern or designing your own, I 100% recommend that you draw this onto your fabric before you start punching. This means you can easily follow the lines and concentrate on your punch needle technique rather than designing a pattern on the fly.
As you punch along, most of the pen lines will be covered with punch needle stitches. But this is not always the case, especially if you’ve marked the outer border of your pattern in pen. So it’s great if you’re using a pen that you can easily remove after all the punching is done. This means your punch needle design can be displayed in all its glory!
In the world of punch needle, there are actually quite a few different ways you can transfer your pattern, and types of pens you can use. But let’s keep it simple, and quickly cover my two favourite transfer pens.
Heat Removable pens
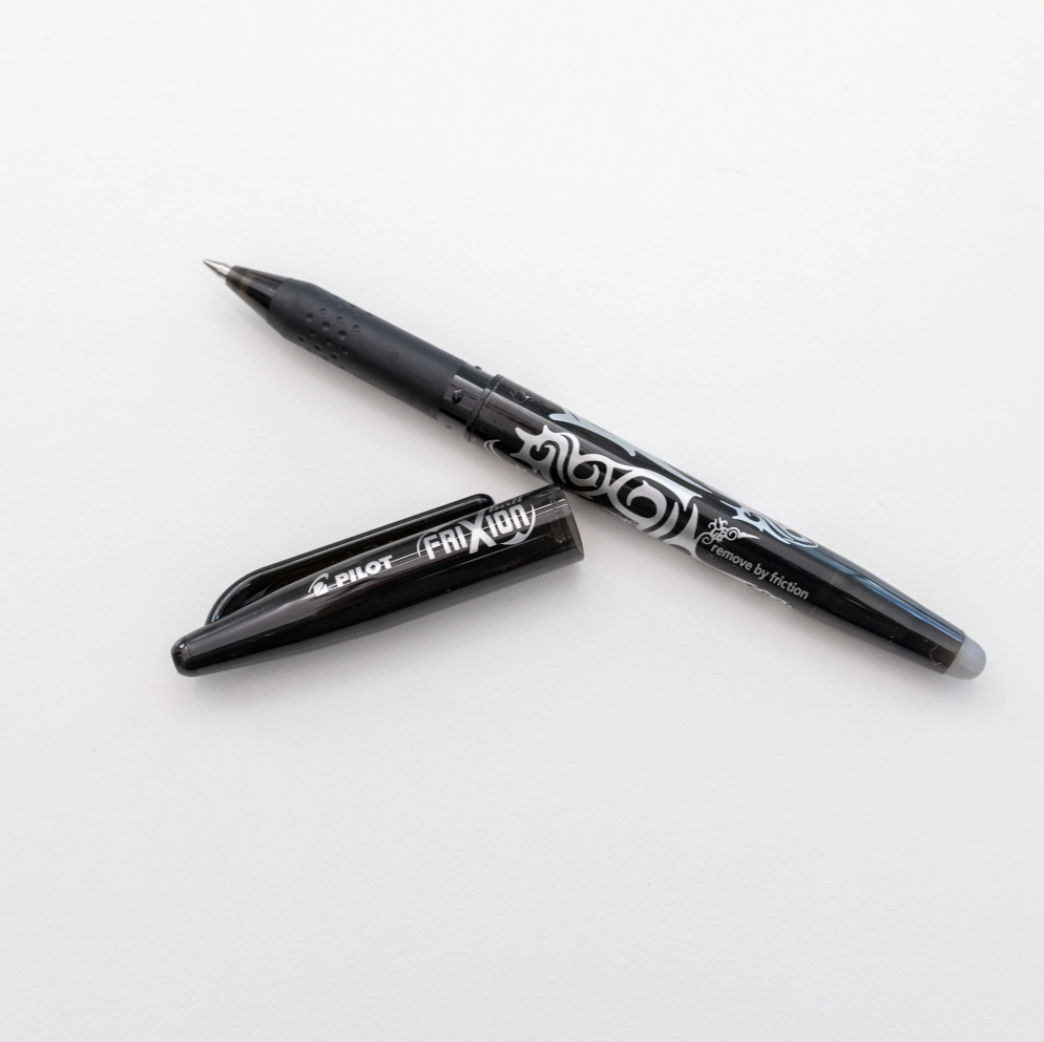
I recently discovered the Pilot Frixion Pen, and I love it!
This pen has a lovely fine tip and is so easy to draw with. But the brilliant thing is that it comes off with heat. For normal writing, you rub the end of the pen on the writing you want to remove, and the friction makes it disappear (it's so cool to watch)!
But for punch needle, you just gently apply heat with a hairdryer (or iron). And the pen marks disappear like magic!
The downside of this pen is that the tip is quite fine, so you might need to draw over your design a few times to create an easily visible line. This is easier to do when your fabric is tight as a drum. But I think going over the pen marks a few times is worth it for the easy removal at the end.
Water erasable pens
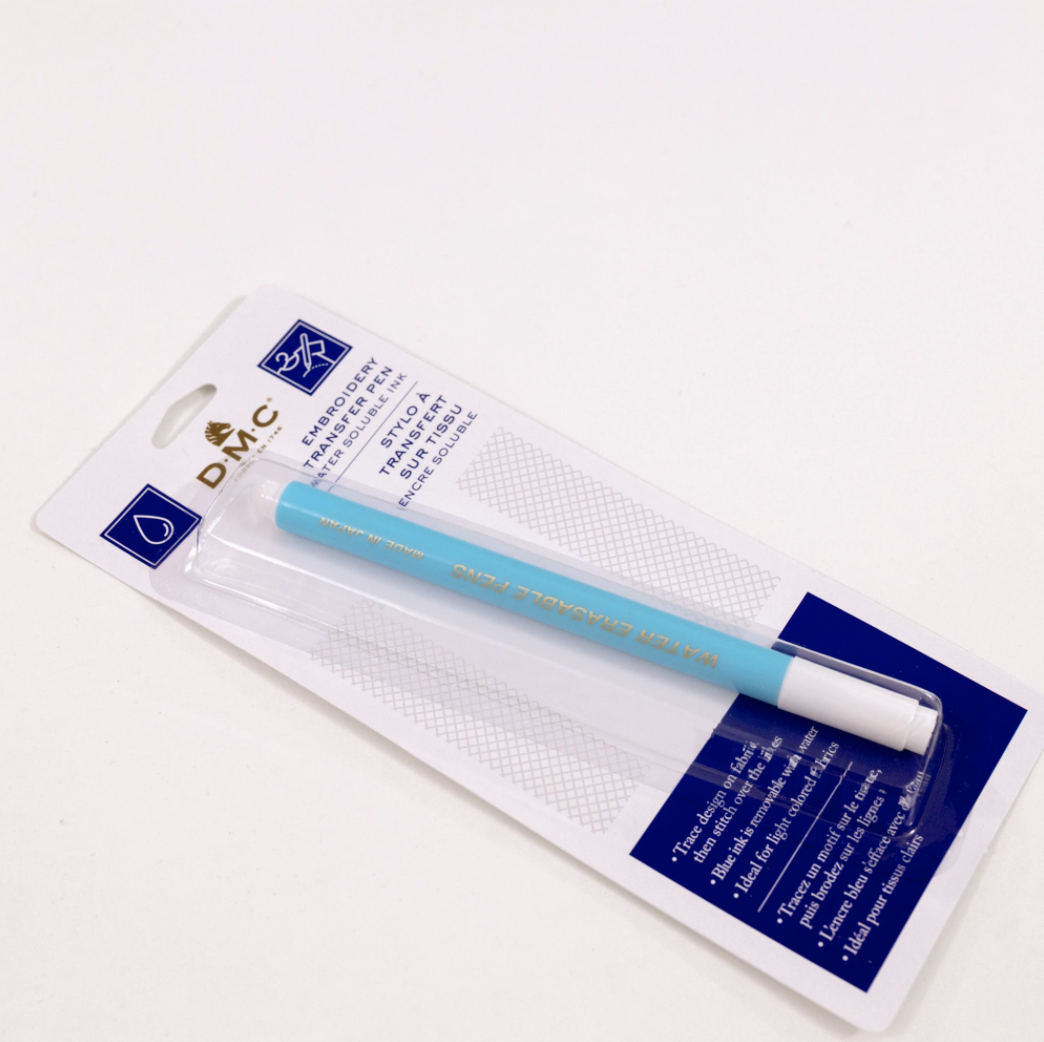
Water-erasable pens are another option. This includes pens like the DMC Embroidery Transfer pen.
Don’t let the word ‘Embroidery’ fool you; this pen can also be used for transferring punch needle patterns onto fabric and pattern transfers for many other crafts too!
The tip of this pen makes it super easy to draw your design onto the fabric - in one go should work a treat. And the outline washes away really easily when you rinse it off - this process isn’t quite as quick and convenient as removing it with heat (like the Pilot Frixion Pen described above), but your creation should dry overnight.
I recommend holding the design under a gentle flow of lukewarm water rather than dabbing at the pen to get it off. This method removes the pen better, and you won’t be left with pen residue that reappears once your piece has dried.
Another alternative
If you don’t have one of these transfer pens and want to get started straight away with punch needle, that’s all good!
You can always use a marker pen to transfer your design. Just go lightly, and bear in mind that any marks you don’t cover with the punch needle stitches will be visible in the finished creation (which is not ideal, but hey we’re just learning, so it’s not a biggie)! But you might like to go extra fine with drawing the outer border of your design.
Sharp Scissors
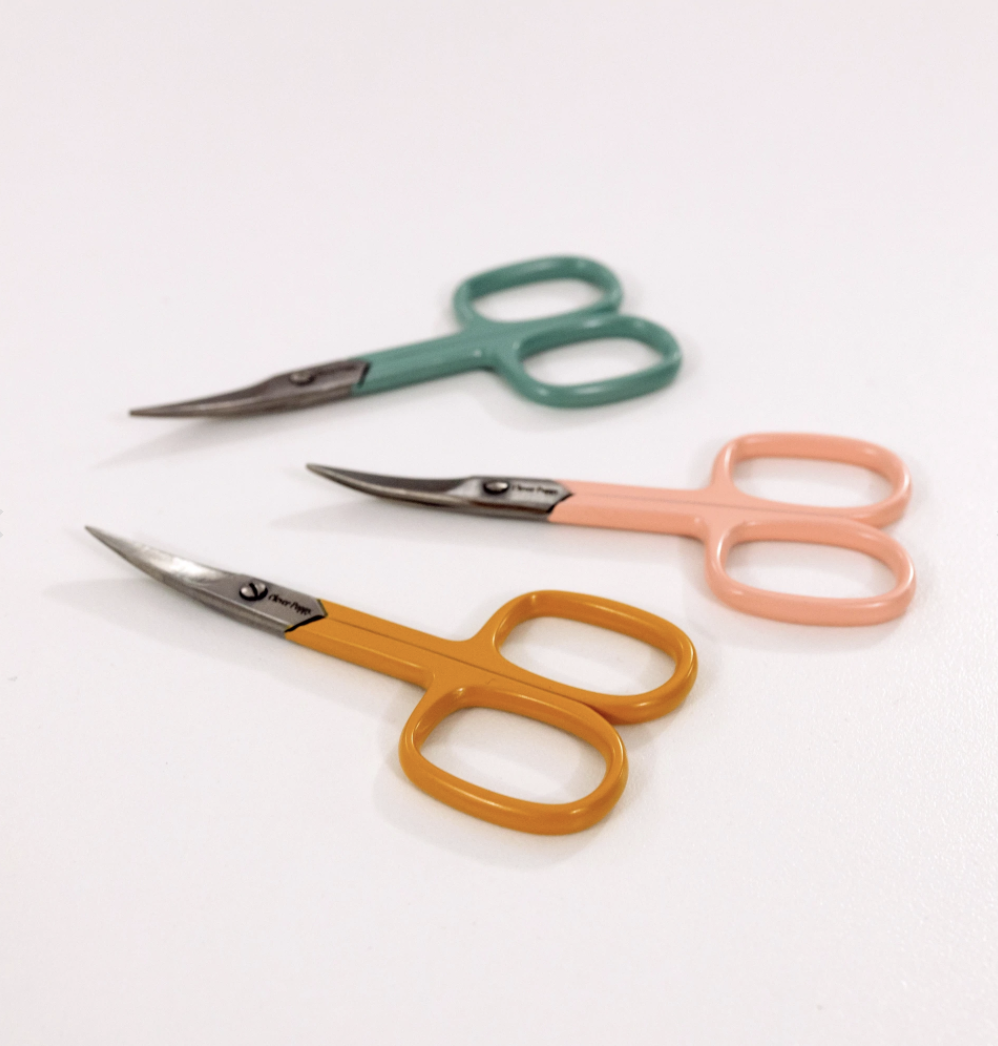
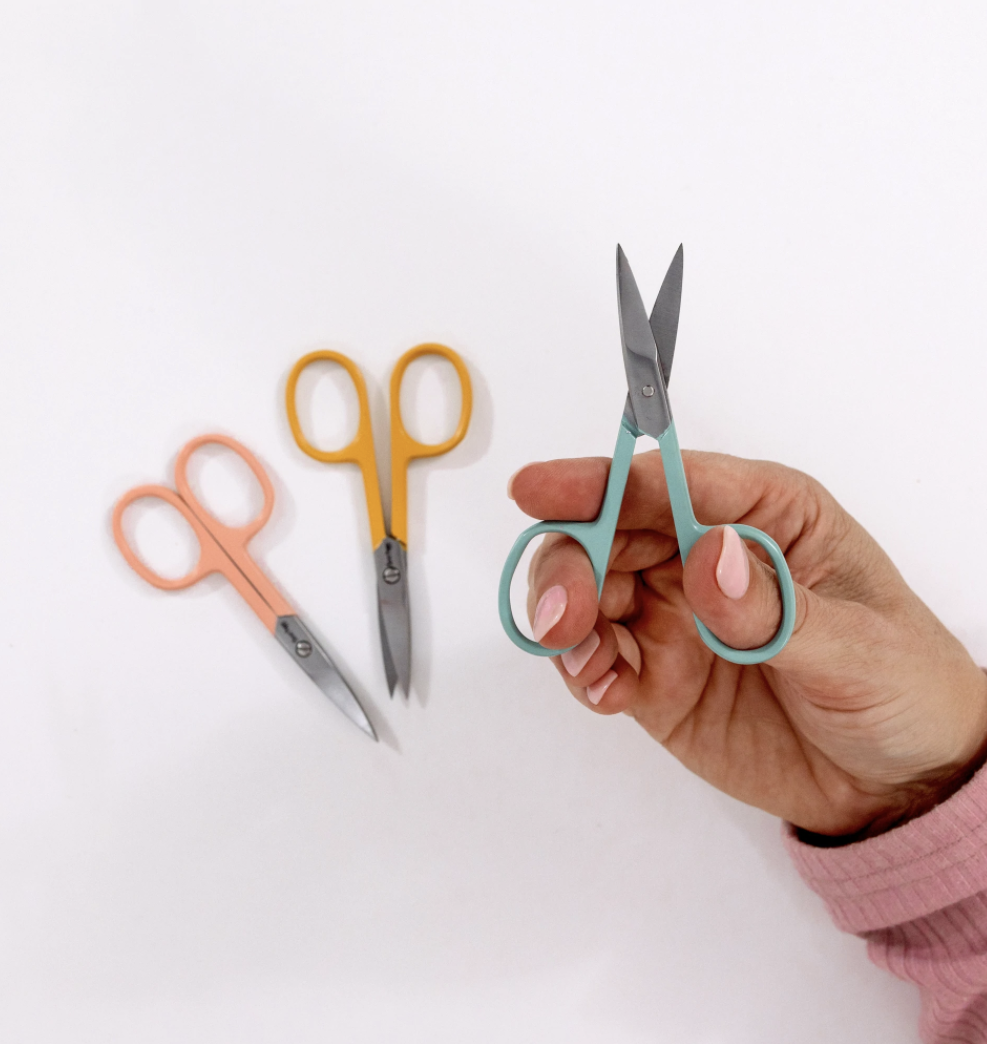
It’s really helpful for punch needle if you have a sharp pair of scissors designed for getting close and personal with your work. The small blades are necessary to snip into the detailed bits of yarn (you’ll probably find that regular fabric or kitchen scissors are too clunky to work with).
Needle and thread
I think the easiest way to finish your punch needle creations as a beginner is to use a hand-sewing method, with a simple running stitch that draws the excess fabric together at the back.
A needle and thread can also be useful for other more advanced punch needle finishing techniques, such as turning your punch needle into an adorable cushion, like this Rainbow punch needle cushion I created for a Maker’s Academy pattern.
Other Supplies
There are some other supplies that you could find useful for punch needle projects, such as:
-
A large tapestry needle - this is useful for doing a whip stitch border to finish your punch needle creation (either in the hoop or to create a free-standing piece like a trivet). I recommend these techniques to people with a bit more punch needle experience because they do add an extra layer of complexity. You can see an example of a whip stitch border and a trivet I made.
- Glue - this really handy to have in your punch needle crafting supply kit. You can use it to help prevent your Monk’s Cloth from fraying while you work on it (just run a fine line around the border, and wait for it to dry before you start your project). Plus, you can use it for finishing your creation in the hoop, as an alternative to the hand-sewing method.
- Pins - these are great for pinning your pattern on the underside of your hoop, so you can transfer it onto the fabric!
-
A punch needle frame - instead of a hoop, you can use a frame with monk’s cloth pulled tightly to punch your creation in.
These supplies can be useful (especially for certain projects), but they are totally non-essential for beginners. So don’t worry if you can’t get your hands on them for now!
Conclusion
I hope you now feel much more confident about choosing the right supplies to start on your punch needle journey.
I was once a beginner too, so I know how it feels when you have all this new information thrown at you. But once you make your first punch needle creation, then everything will come together and make so much more sense!
When it comes to stores to buy your supplies, I recommend finding a shop that specializes in punch needle supplies. I’ve heard so many stories of lovely people buying kits from chain stores and finding the supplies really difficult to use.
Otherwise, when it comes to buying your punch needle and foundation fabric, I wholeheartedly recommend you purchase from a store that specialises in punch needle supplies.
I’ve heard so many stories of lovely women buying kits from chain stores and finding the supplies really difficult to use. You can be a bit more flexible with where you purchase your yarn or thread, but it pays to check with your punch needle supplier that you are getting the right weight.
If you liked this blog, you may also like my other blog, Best Punch Needle Troubleshooting Tips.


