Make your own Paper Dolls (with free printables!)
Introduction
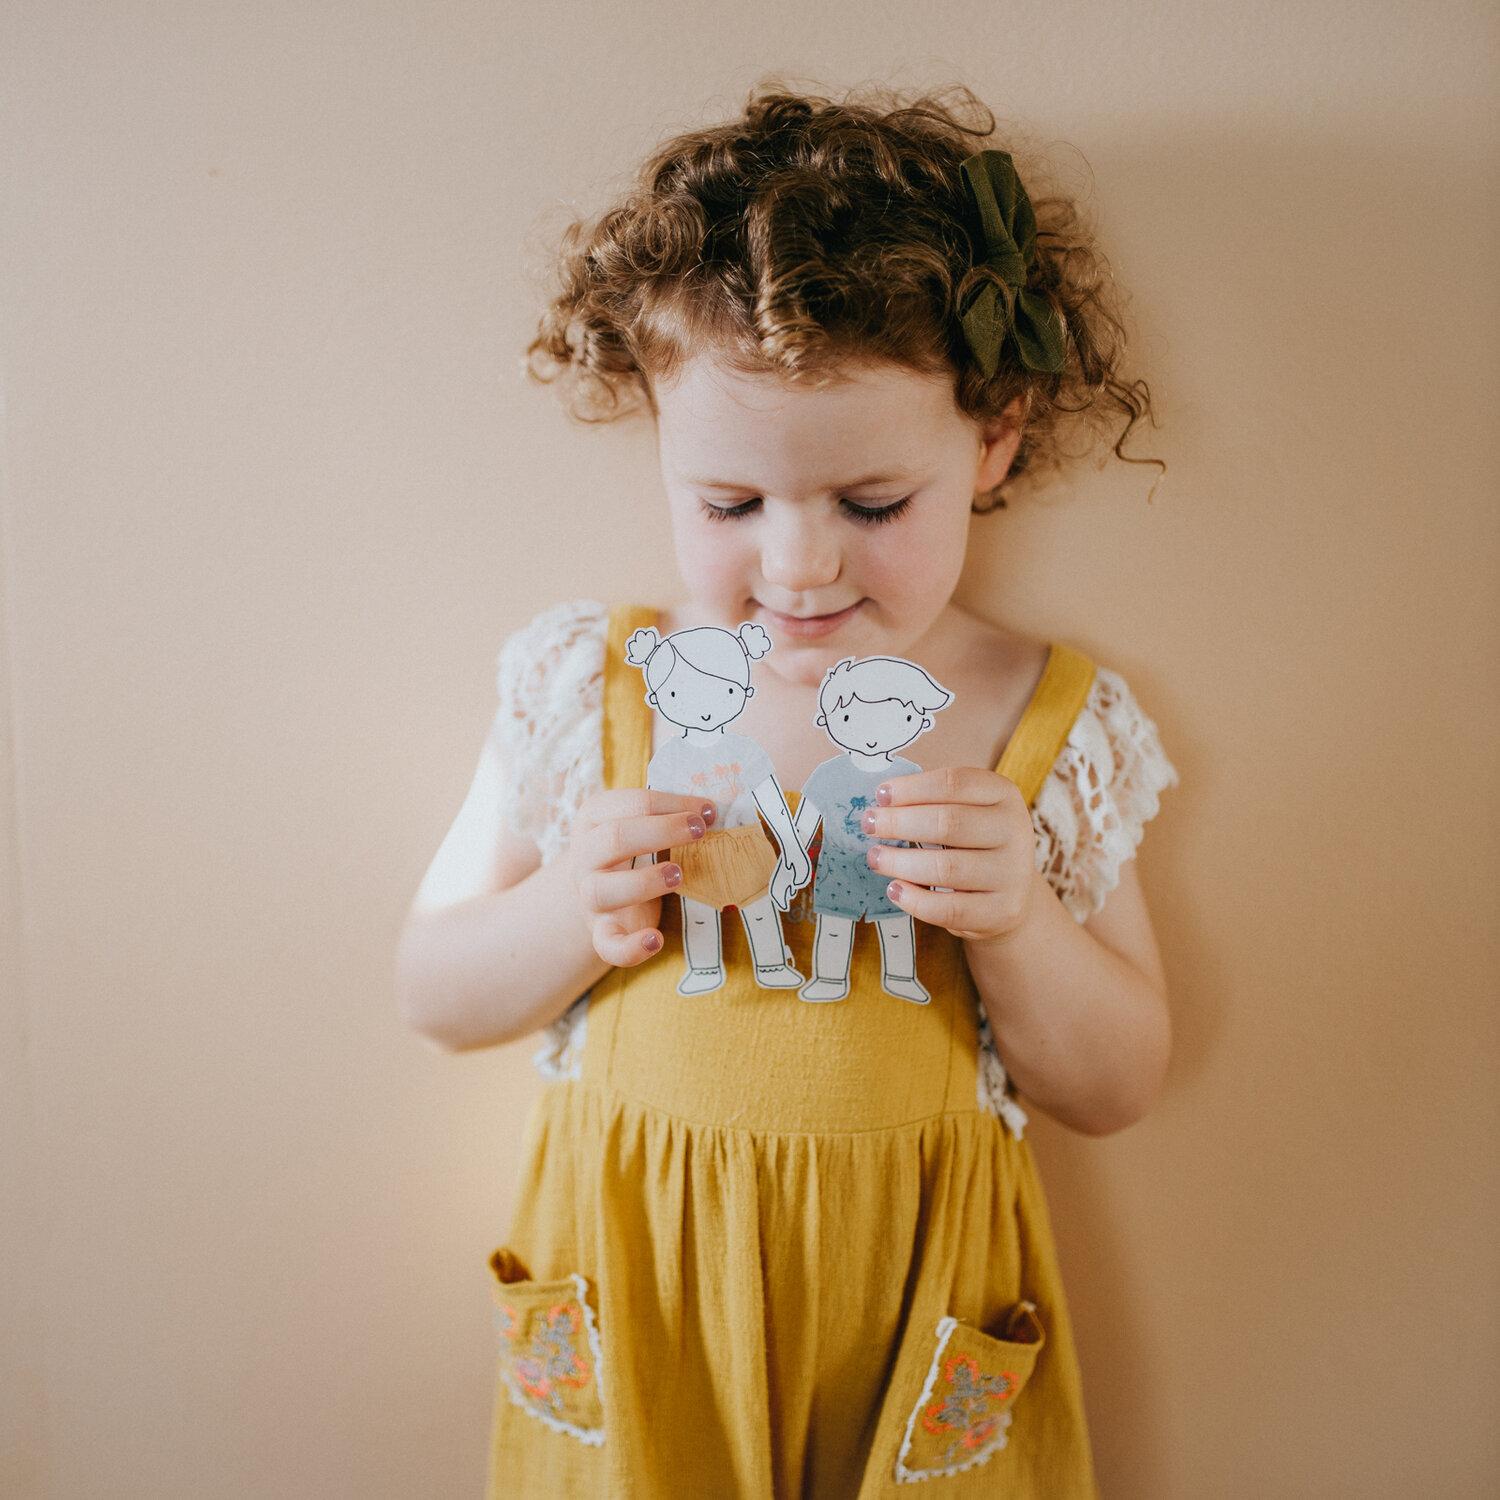
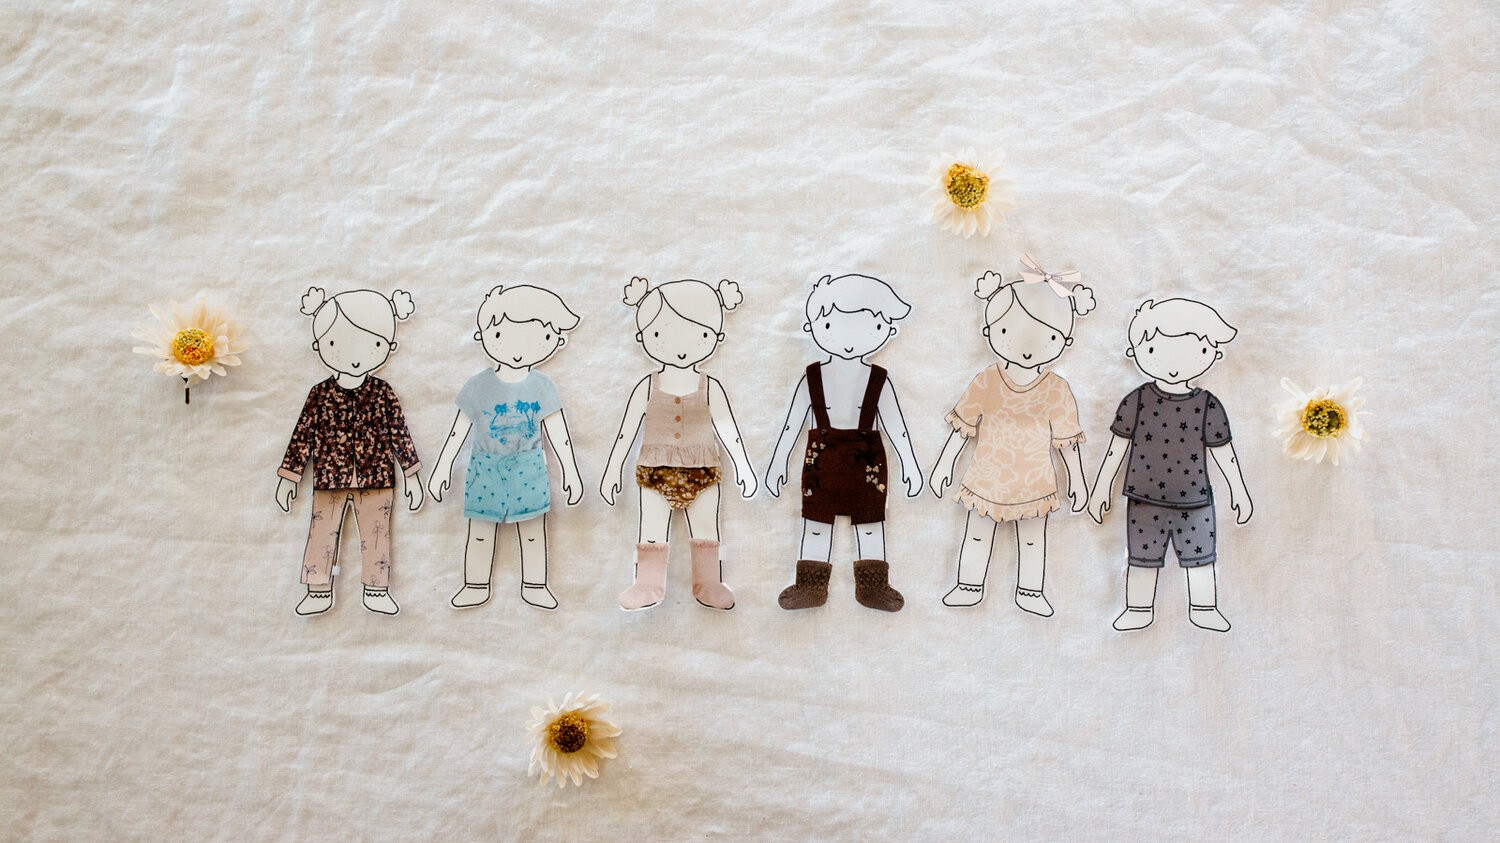
I’m so excited to share this adorable project with you! It’s seriously cute, and it’s going to give your kids hours of pretend play. Not only can you print out some cute dolls that I’ve designed, but you can dress and accessorise them in outfits from your favourite designers!
Do you have magical memories of being a child and playing with paper dolls for hours on end? Well, I sure do, I was completely obsessed with them as a little girl. I’ve been thinking a lot lately that paper dolls would make a wonderful craft idea for kids to play with while we’re spending so much more time at home.
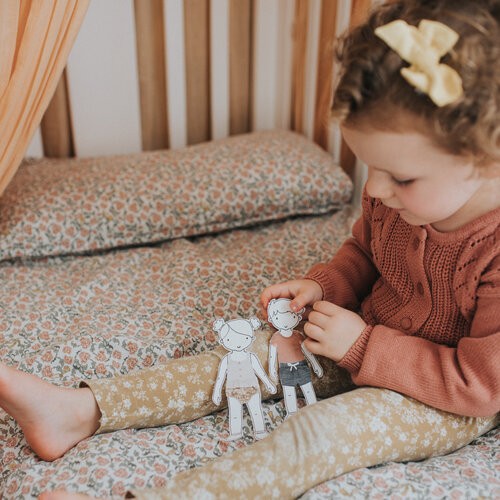
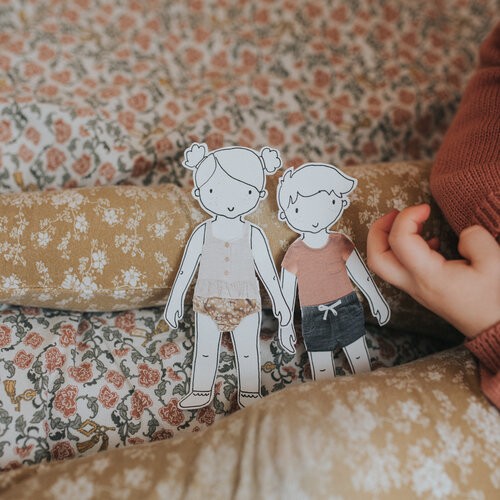
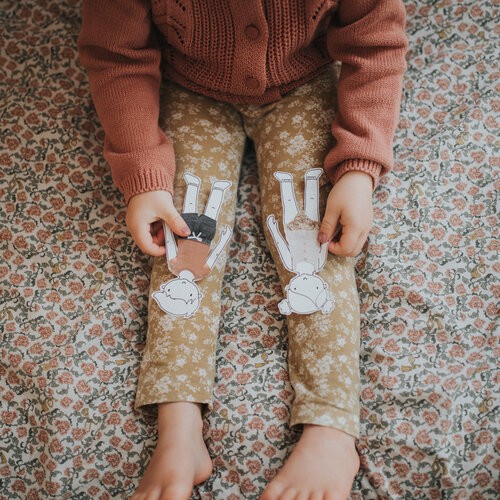
Naturally, that means I absolutely had to make my own little pair of dolls, and get some of our all-time fav brands to come on board! Each of them has designed the cutest set of clothes and accessories for you to dress the dolls in. And I’ve teamed up with my all-time fave kids boutique Little Whimsy for this project. If you haven’t seen Little Whimsy before, you will fall in love with her store and the adorable things in it.
In this printable document, you’ll find the 2 dolls, plus designs from these brands...wait for it...you’re going to be in for such a treat: Jamie Kay, Shirley Bredal, Burrow and Be, G.Nancy, Louise Misha, and Maiko Nagao.
You can make your own paper dolls and your children will love dressing them however they wish!
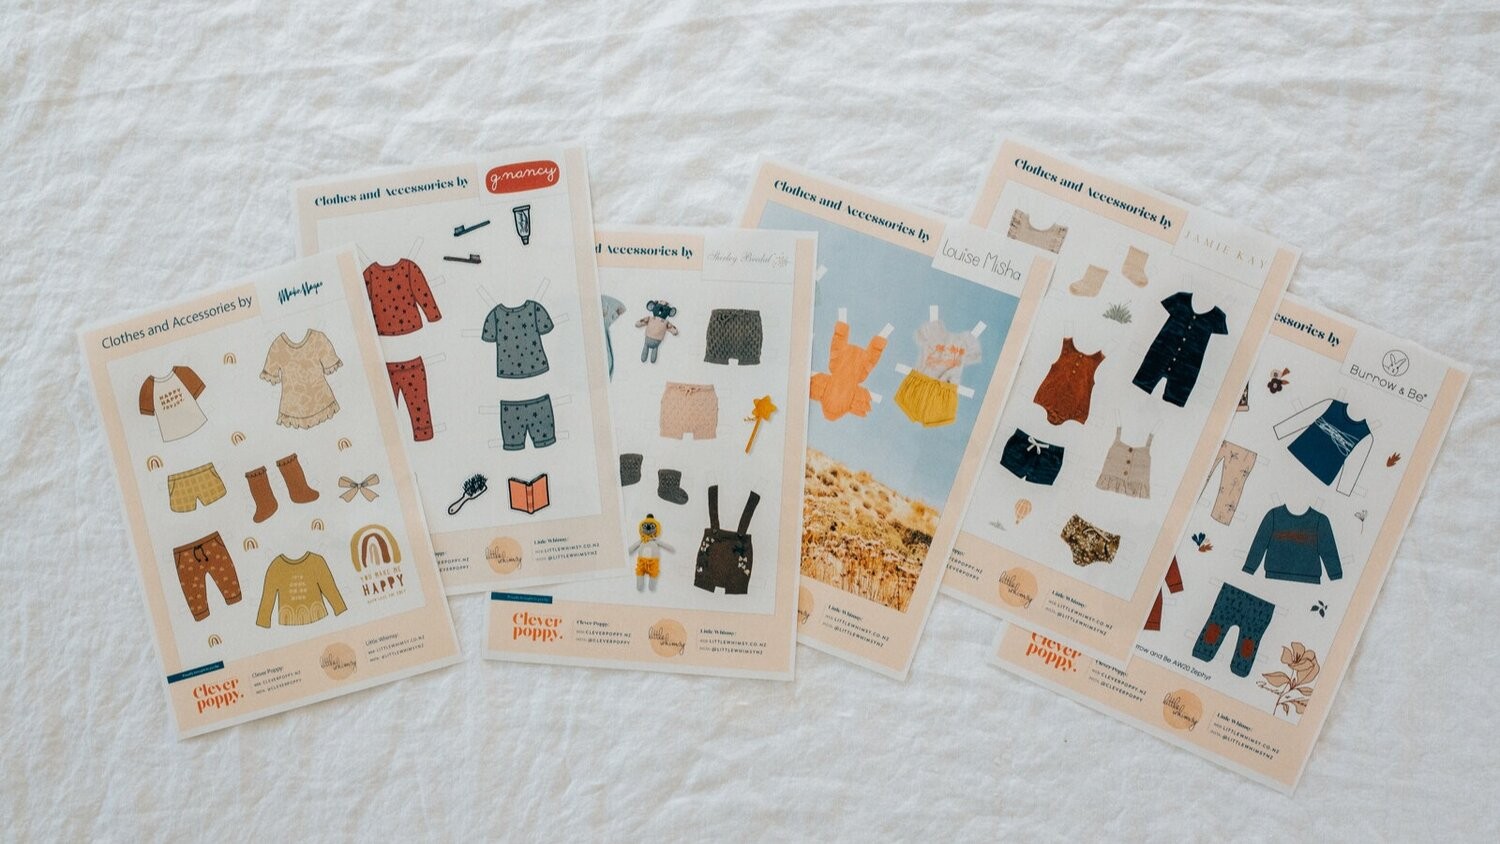
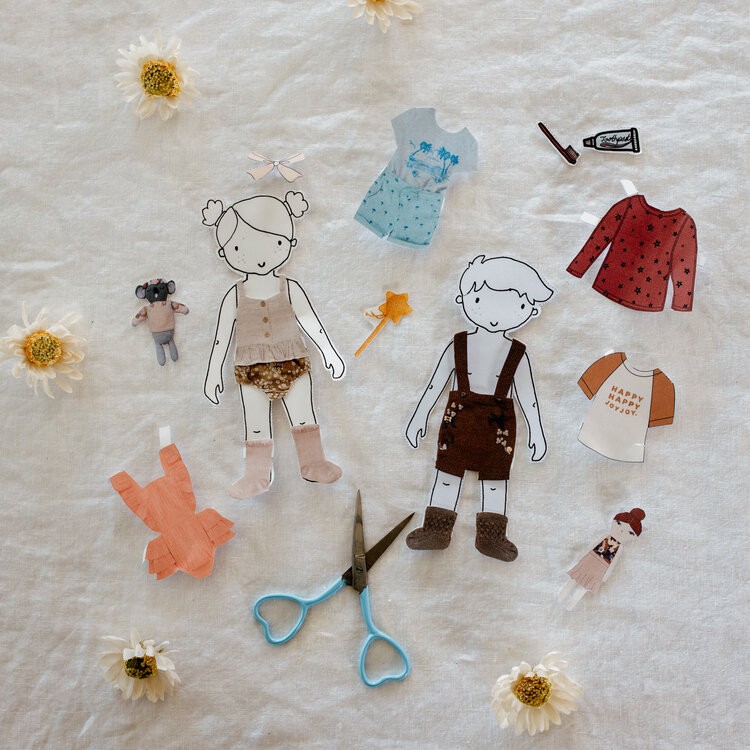
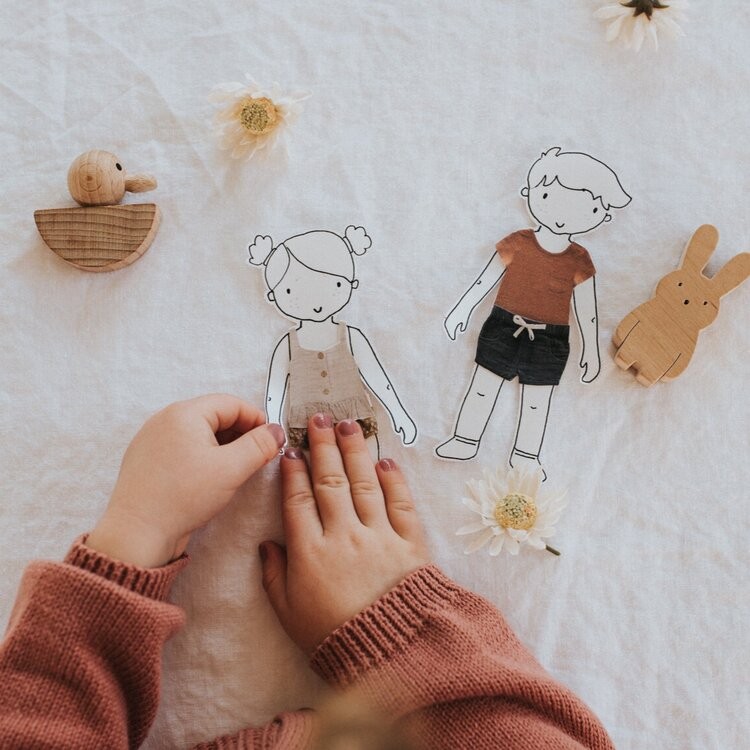
Here is your link to the free printable. You heard right, it’s free! We just all want you to have some fun with it and create some precious play memories with your little ones.
I’ve got some simple steps below on how to bring the paper dolls to life. So keep reading or follow along with my YouTube video. But most of all, enjoy some special time together crafting with your kids! Hopefully, you will love being a part of their magical world- or you can be forgiven for sneaking off for a coffee while they are absorbed in their new little bubble of play!
Julie xx
Step 1
Print out your paper dolls, and outfits on your home printer. Depending on your printer, the quality may not be quite as it looks onscreen. But don’t worry, your kids won’t notice, and the magic of play will be there regardless! You could also print in black and white. Or even better, get your kids to add colour to the designs once they’re printed out, to bring them to life with their own creative flair. They will love having control of their own little doll’s look and style!
If you don’t have a printer, you could open up the pdf and trace it onto some paper. To do this, all you need to do is place a sheet of paper over the computer screen, and you will be able to see the lines that you can trace around.
Step 2
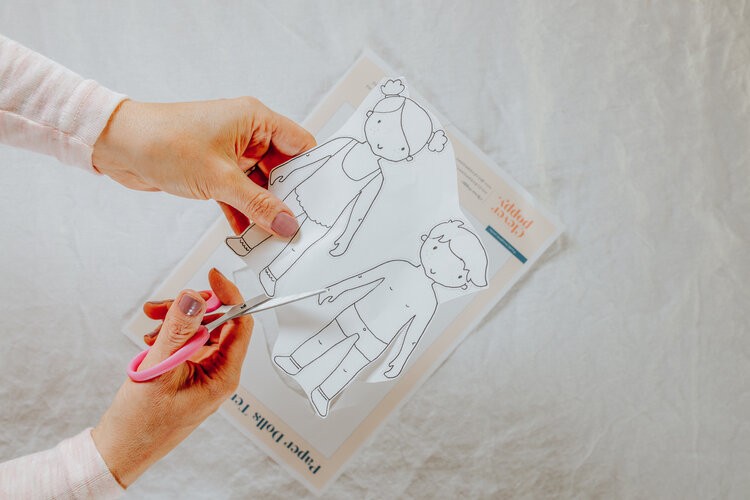
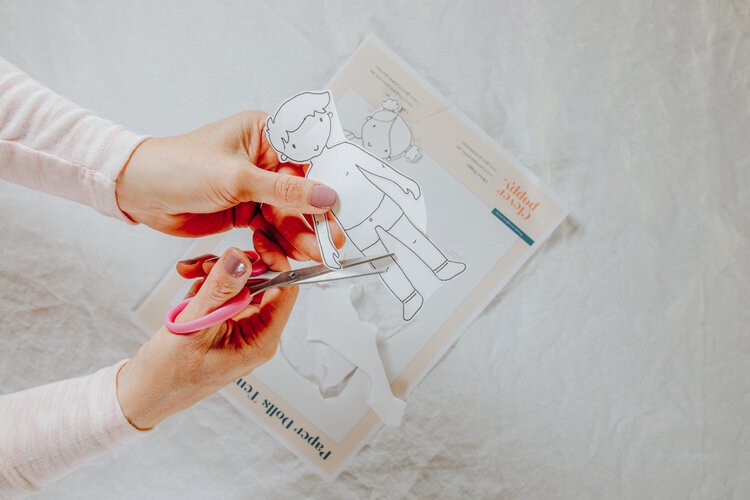
Cut around the paper dolls first, using the dotted lines as a guide. Try to follow the dotted lines rather than the solid black line, so that the clothes fit as well as possible. Depending on the age of your kids, you may want to do the finer side of the cutting yourself.
Step 3
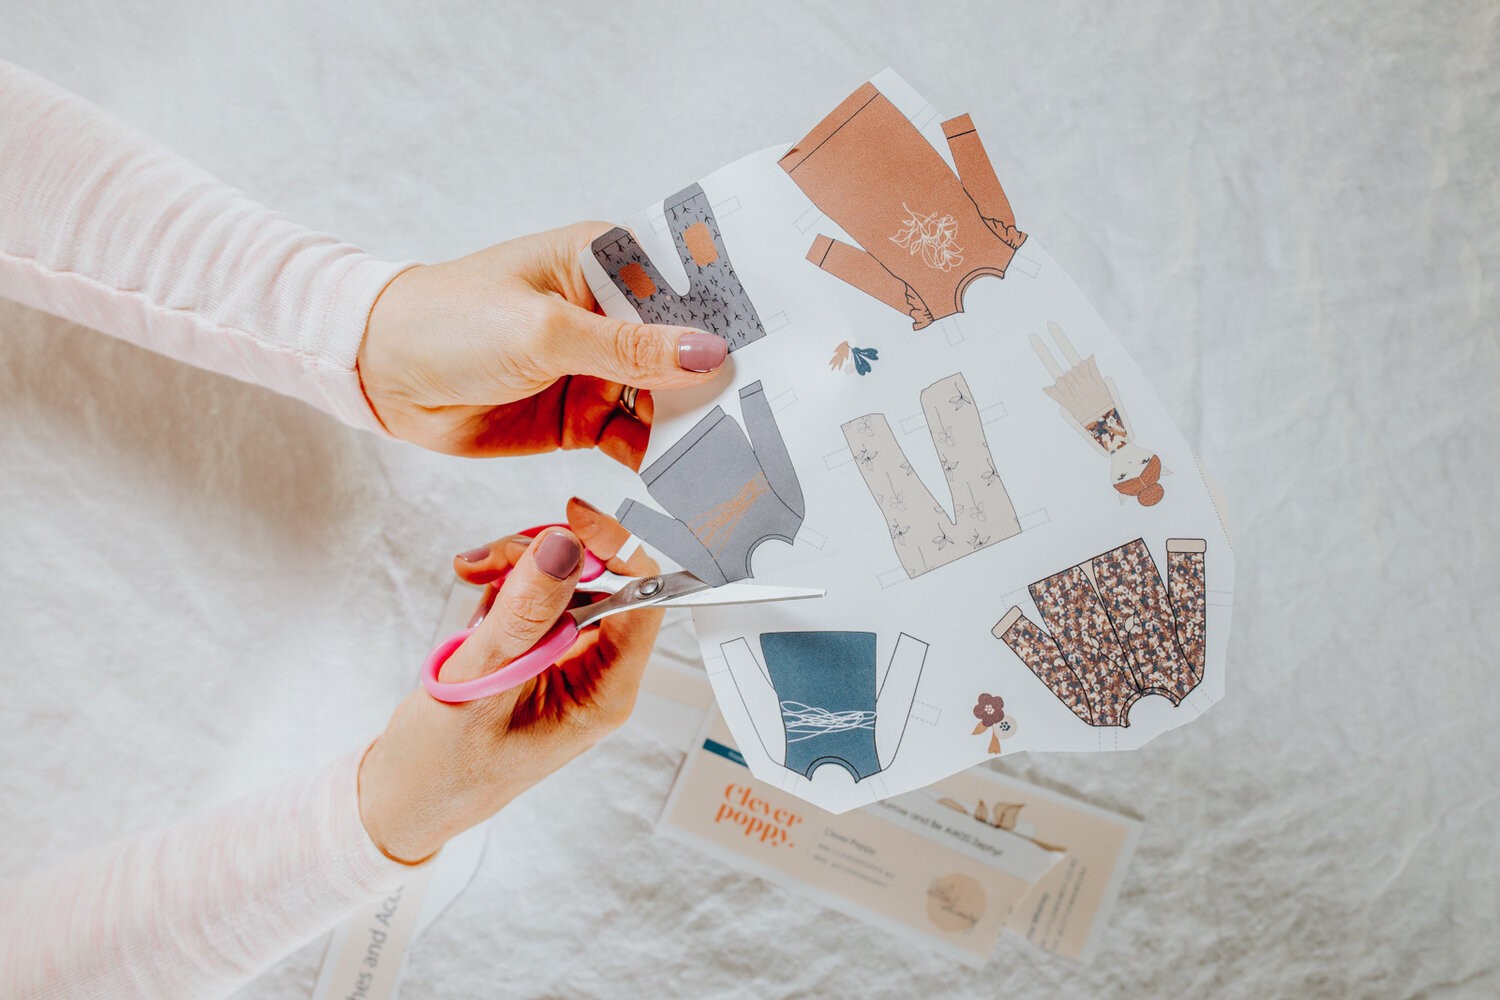
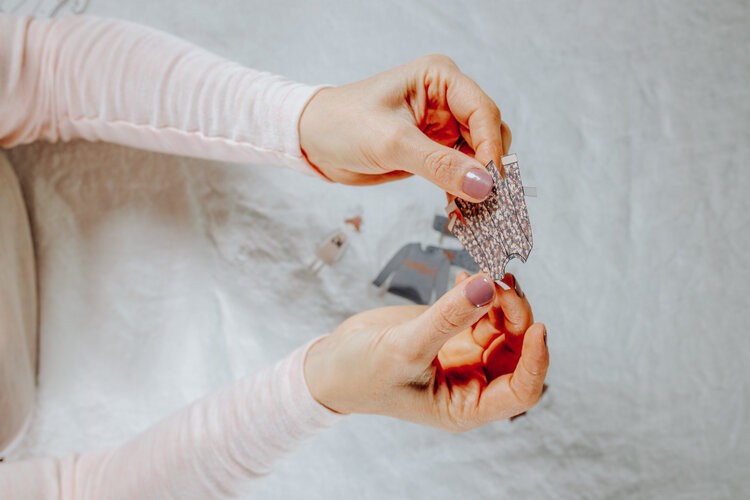
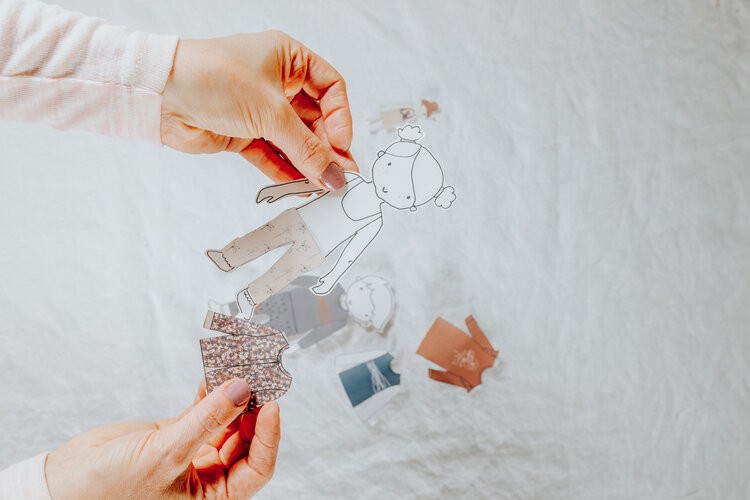
Now cut out the doll’s clothing. Choose your first set and cut out the pieces. Or mix it up with all the lovely designs on offer! Make sure you cut out all the tabs, they are very important to hold the clothes on.
Step 4
Fold all the tabs down on the clothes, creasing them where the tab meets the clothing outline.
Step 5
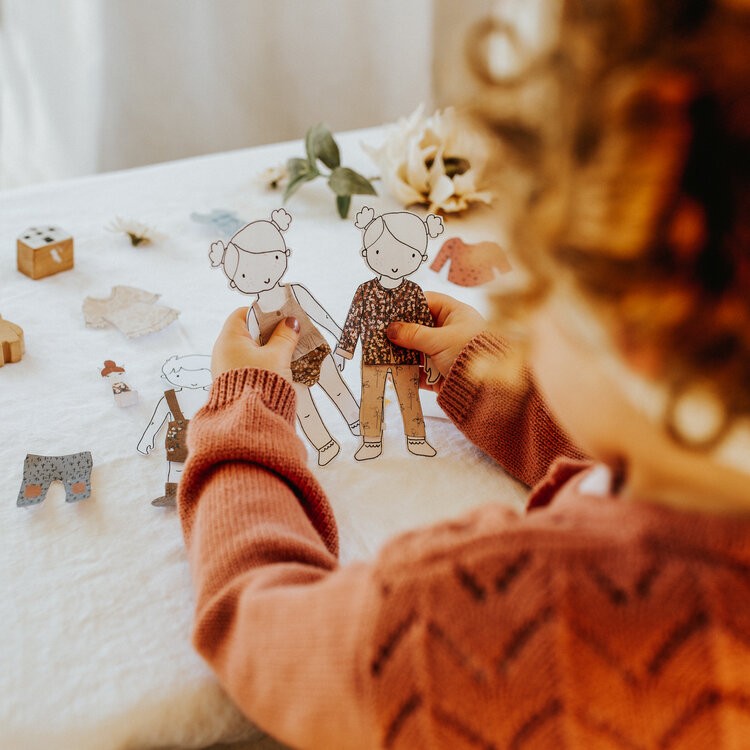
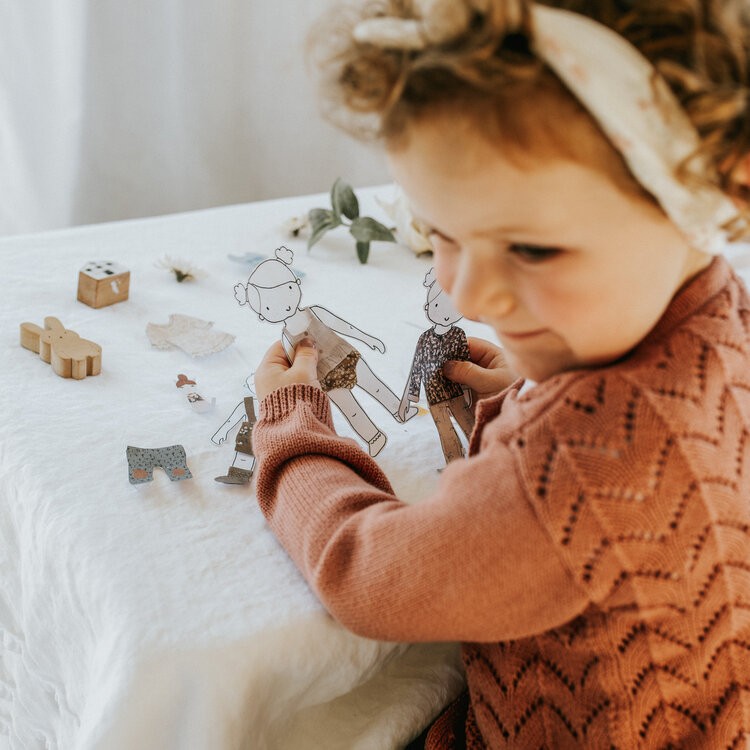
Play-time! Now it’s time to step back and let the dolly daycare begin!
Tip: For little hands, you might want to add some blu-tack or double-sided tape to help keep the clothing and accessories on. Especially for footwear and mittens.
Other play ideas:
-
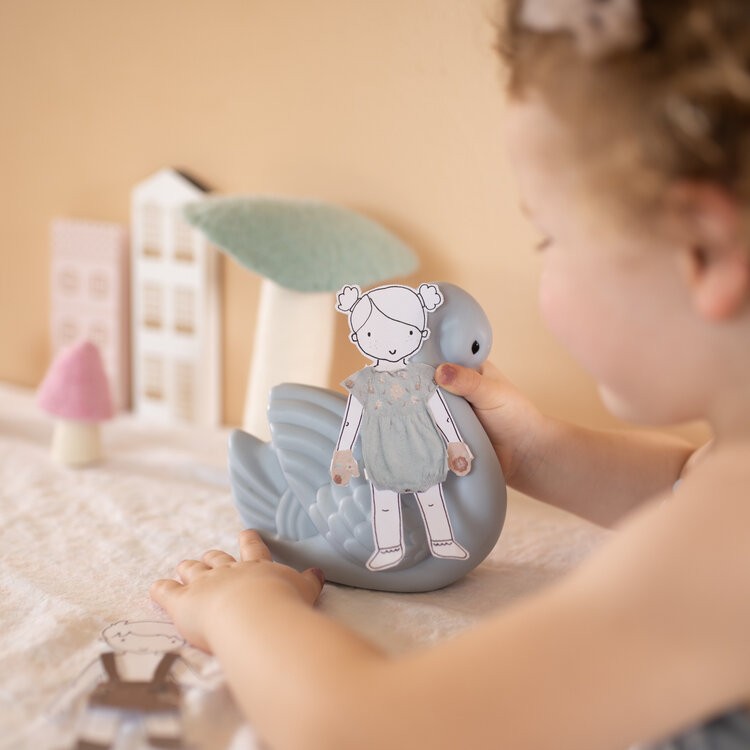
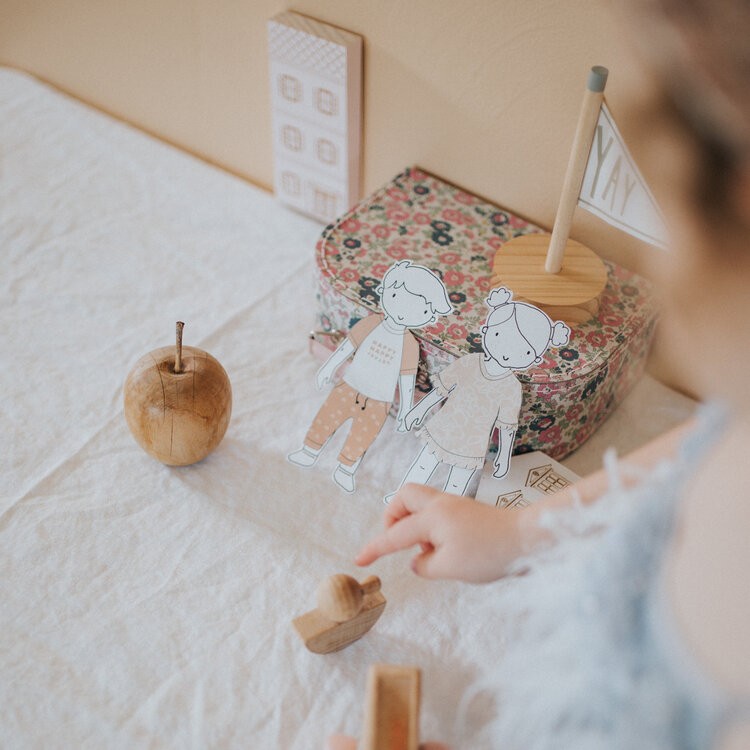
Try adding some props into a little pretend play area, to spark fun ideas. I added a toy swan and before I knew it my daughter was taking the dolls for rides on their new pet.
-
Make your own puppet theatre! I recently made a puppet theatre with a cardboard box and skewers. Watch the video here – because you could turn these dolls into little puppets as well!
-
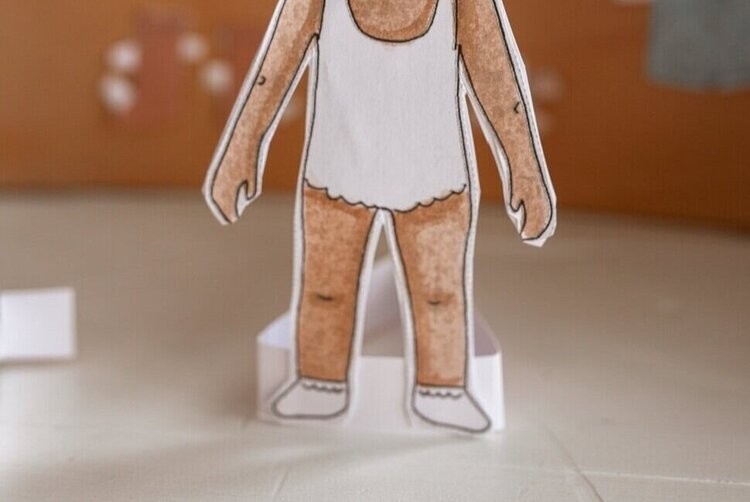
You could glue the dolls to cardboard, and make little cardboard stands. Then you can add outfits with blu-tack, glue, or tape. You might find that freestanding dolls lead to a whole new area of play, as they are moved around like characters.
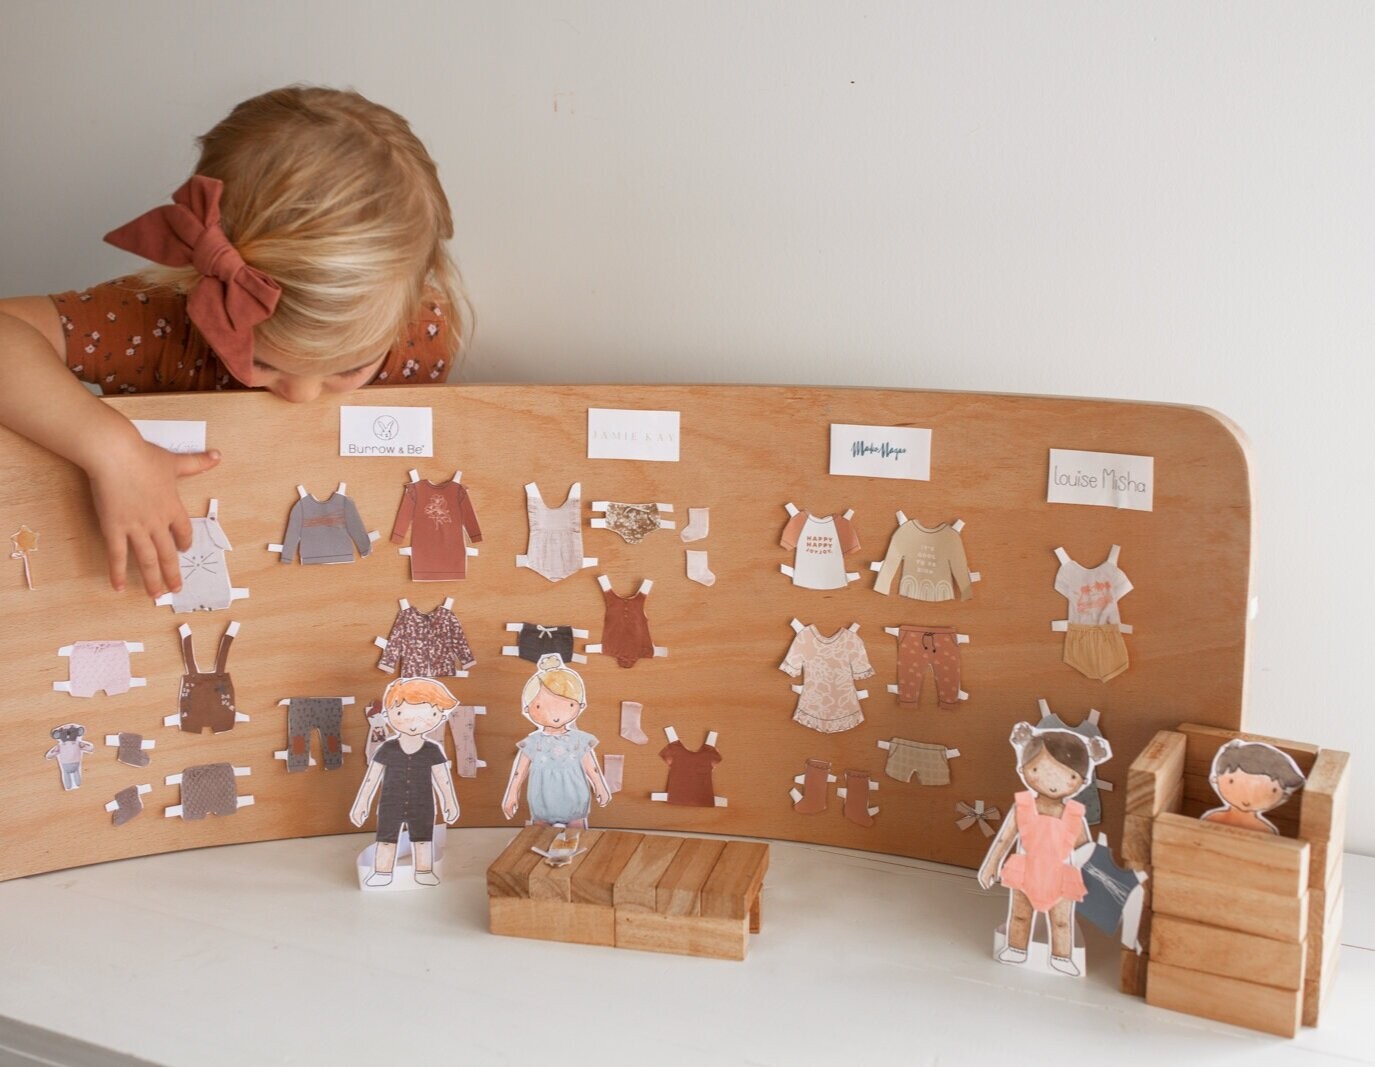
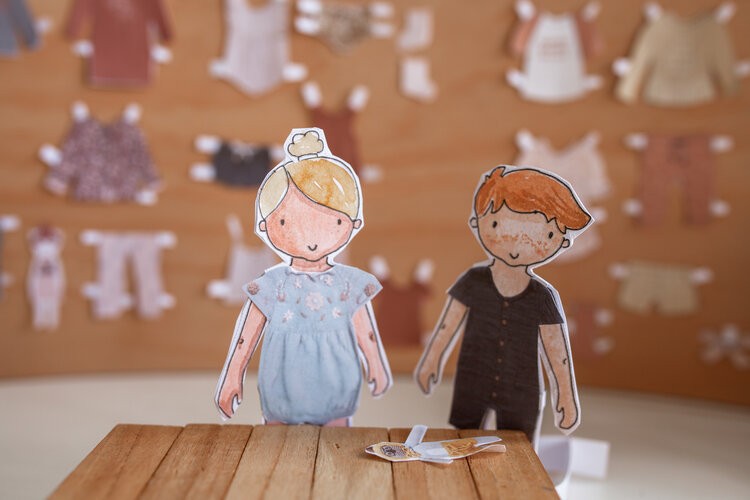
I just had to share this incredibly gorgeous scene by Jess of @uponameadow. She did a little test run of the paper dolls for us, and look at the adorable scene made with her daughter Amelie Belle! I can’t get over how cute this is, and there are so many ideas here for playing with these dolls. First, they’ve made their own shop using a wobble board as a backdrop, and jenga pieces for desk and changing room. They’ve also painted the dolls to bring them to life. And to top it off, I love the idea of using a simple cardboard triangle to make the dolls freestanding. Thanks so much for this gorgeous inspo Jess, I hope Amelie gets lots of play out of her set.
Conclusion
I hope you absolutely love this project, just like I do!
And more importantly, my kids have been entranced by their new little friends. Piper, in particular, has been quite taken with them and especially loves cutting them out and playing houses.
For those of you who are interested, I’ve been using a Canon Pixma Printer at home lately (which they kindly gifted to me). It has been such a dream to use, and I can’t recommend it highly enough (it’s the TS9560 model). The quality of the printing is really gorgeous, as you can see on the dolls clothing.
If you get a chance, we’d just love to see the creations you make and your little ones at play! Make sure you tag Clever Poppy, Little Whimsy, and any of the designers you used work from, in posts you share. Feel free to use the hashtag we’ve made: #paperdollsplaytime. Plus, keep an eye out on our Instagram because we have a giveaway for this collaboration too!
If you are interested in learning how to do modern embroidery for beginners, check out my blog, 'Learn Modern Embroidery for Beginners with this FREE Pattern.'
Julie xx


