Make these DIY (no sew) Leather Pouches
Introduction
I can’t get enough of creating things with leather. It’s such a special material to work with because it instantly adds a touch of quality and natural beauty to any project. I feel like there are so many cheap, mass-produced vinyl knock-off bags and homewares around. So, by getting your hands on some soft, pliable real leather, you have a wonderful starting point for so many DIY décor ideas.
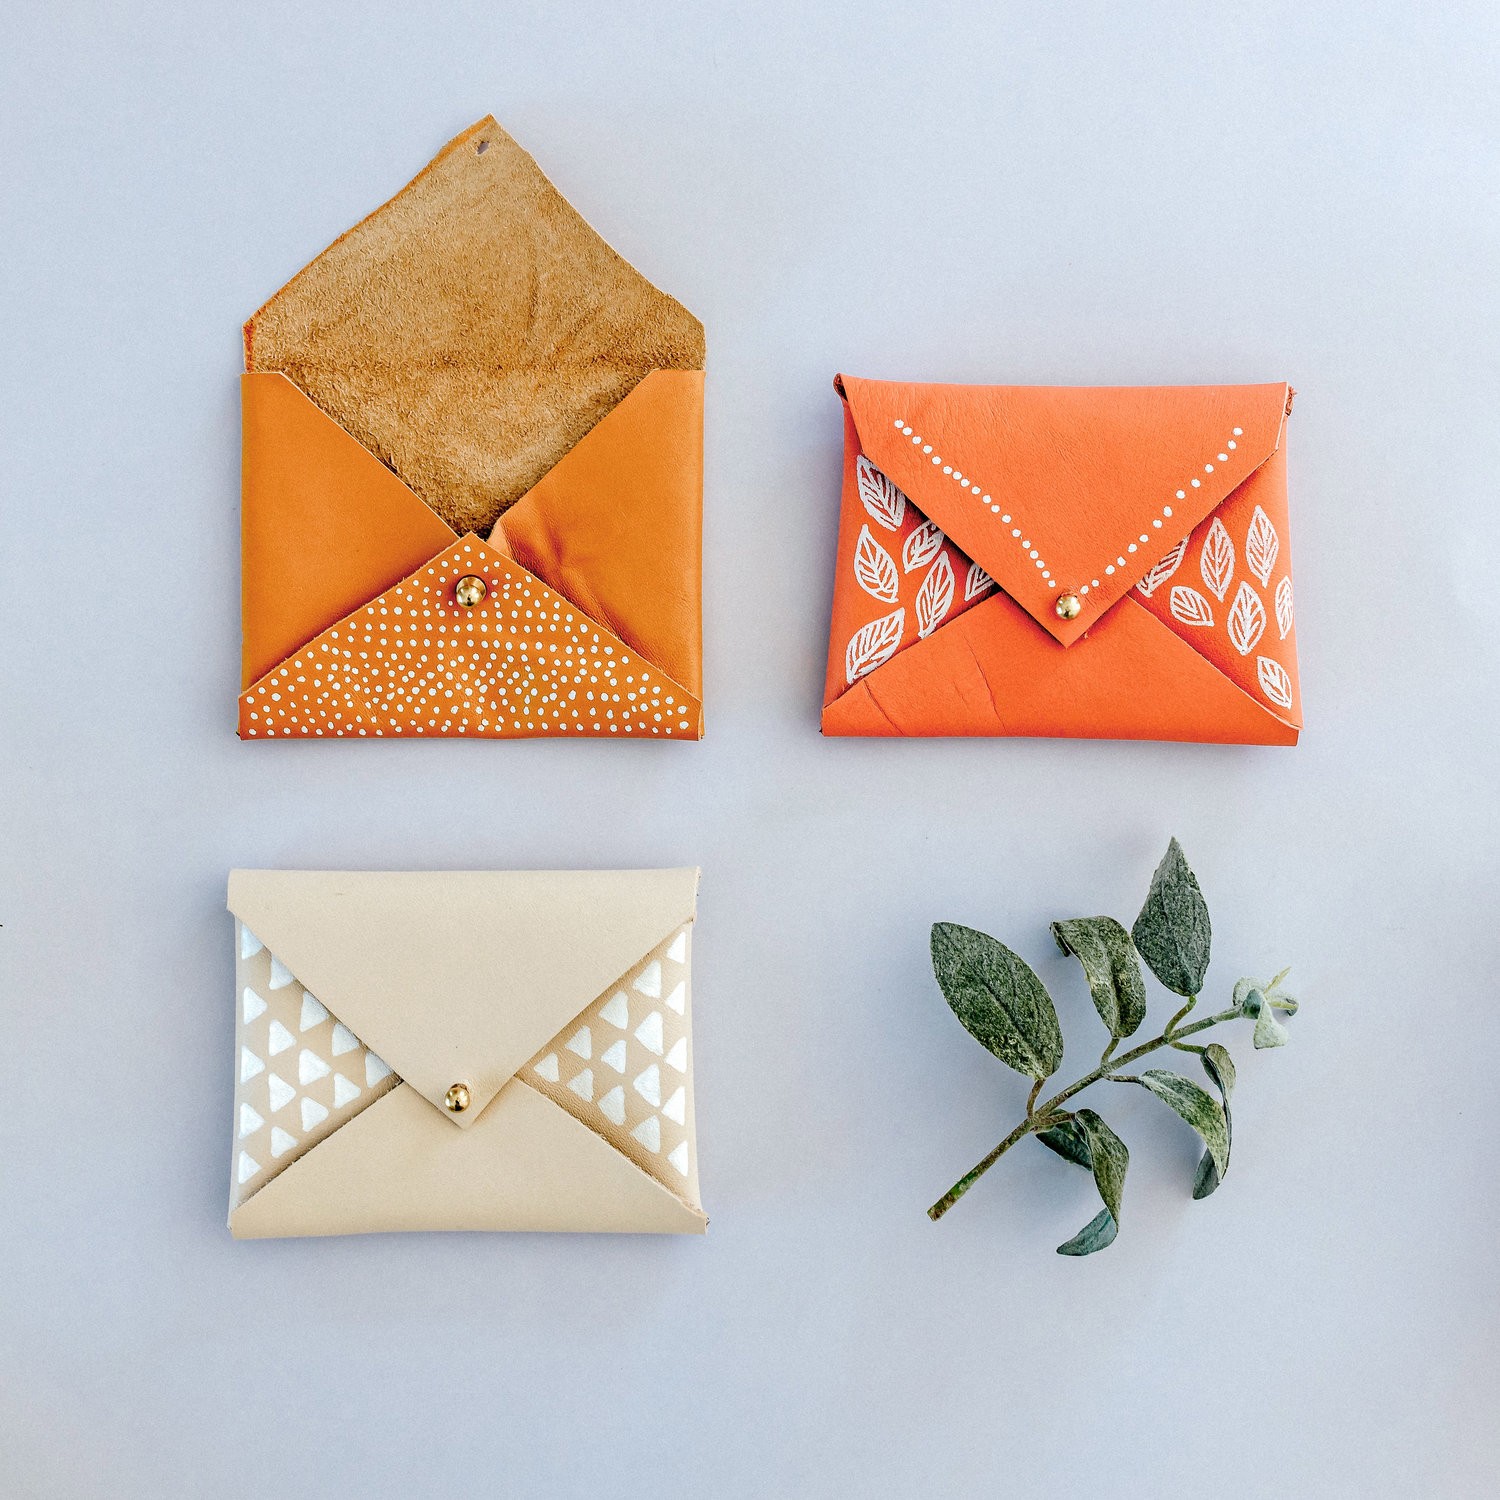
Today, let’s use some dyed leathers to make handy little pouches. These are great to store things within your handbag, so they’re easier to find. Or you can use as a stand-alone mini clutch for a couple of cards and keys.
One of the things I love about this project is that there is no sewing required, all you need is the list of supplies below.
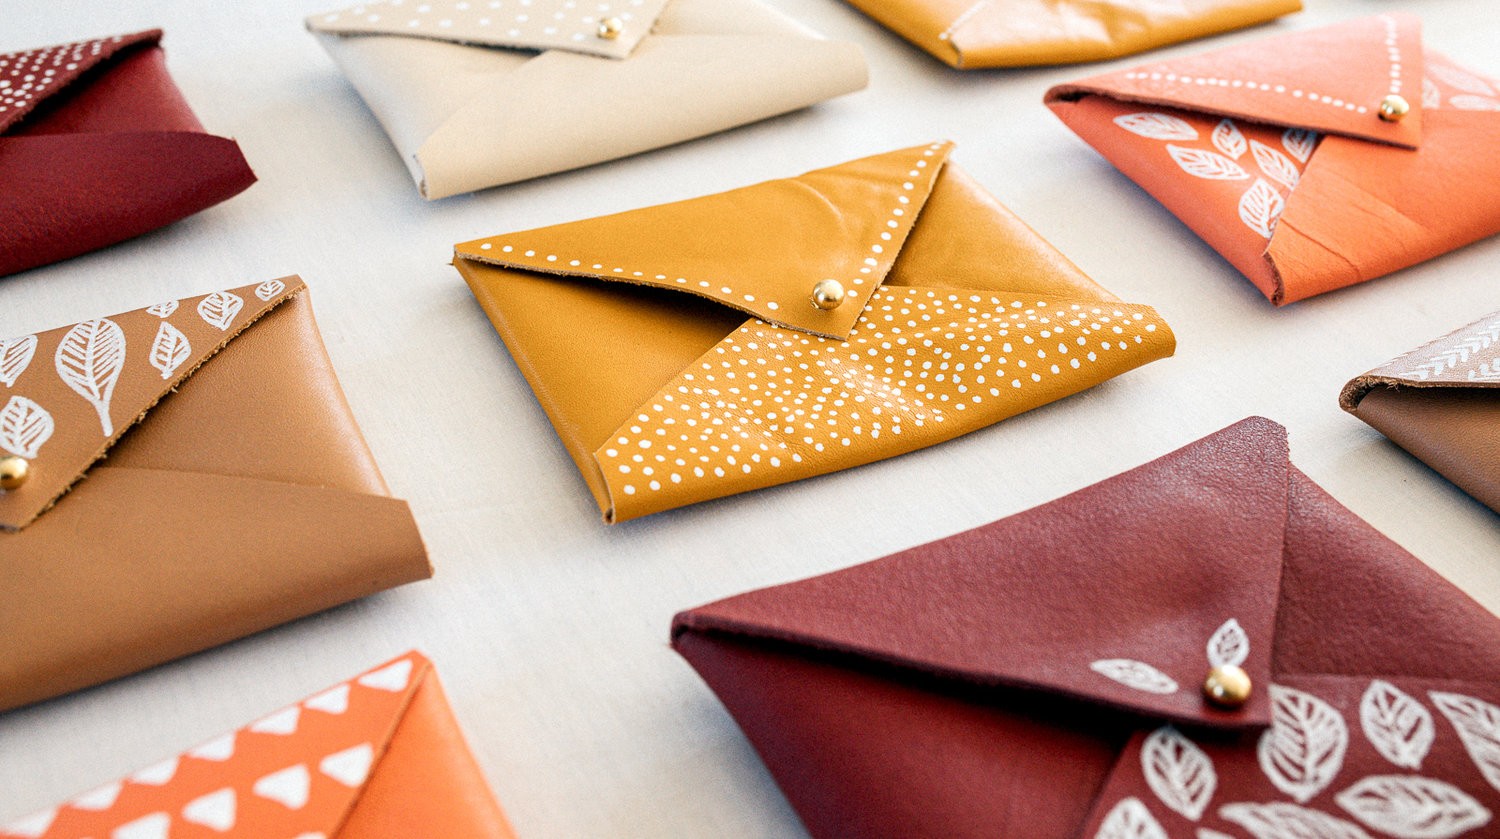
You can also tailor the size of the bag to suit your needs. I plan on making a smaller size one to store business cards in, or you could make a bigger one to use as a clutch for a night out.
Kids would also love playing with these, as they are relatively easy to open and close, and they can store all their little treasures inside.
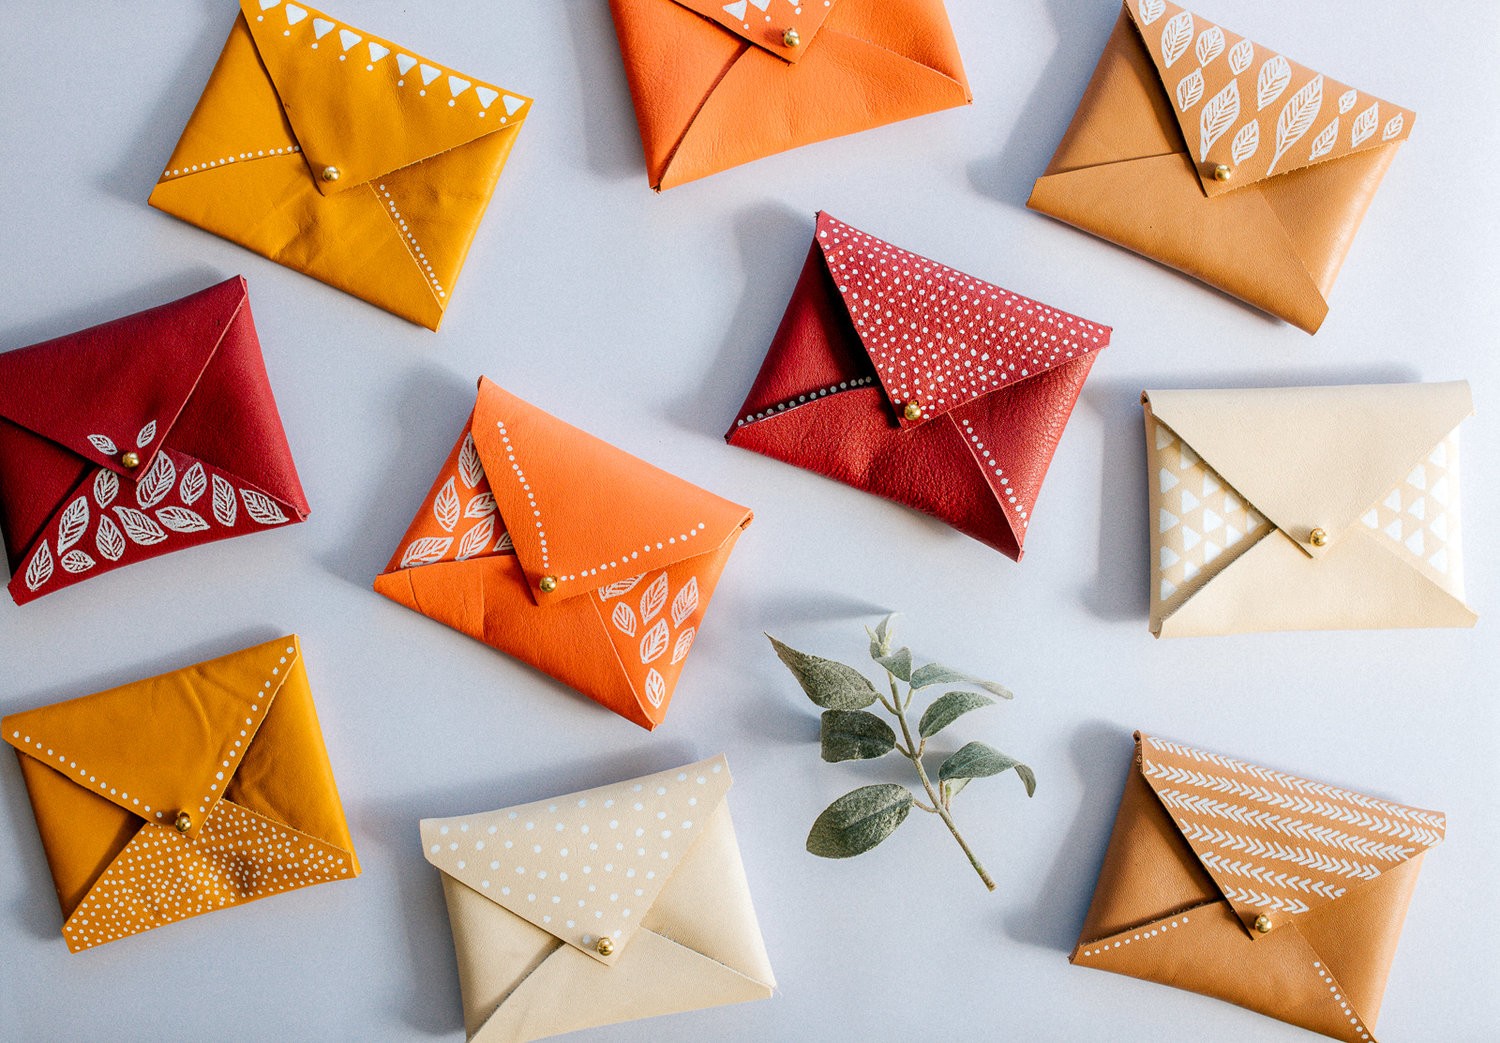
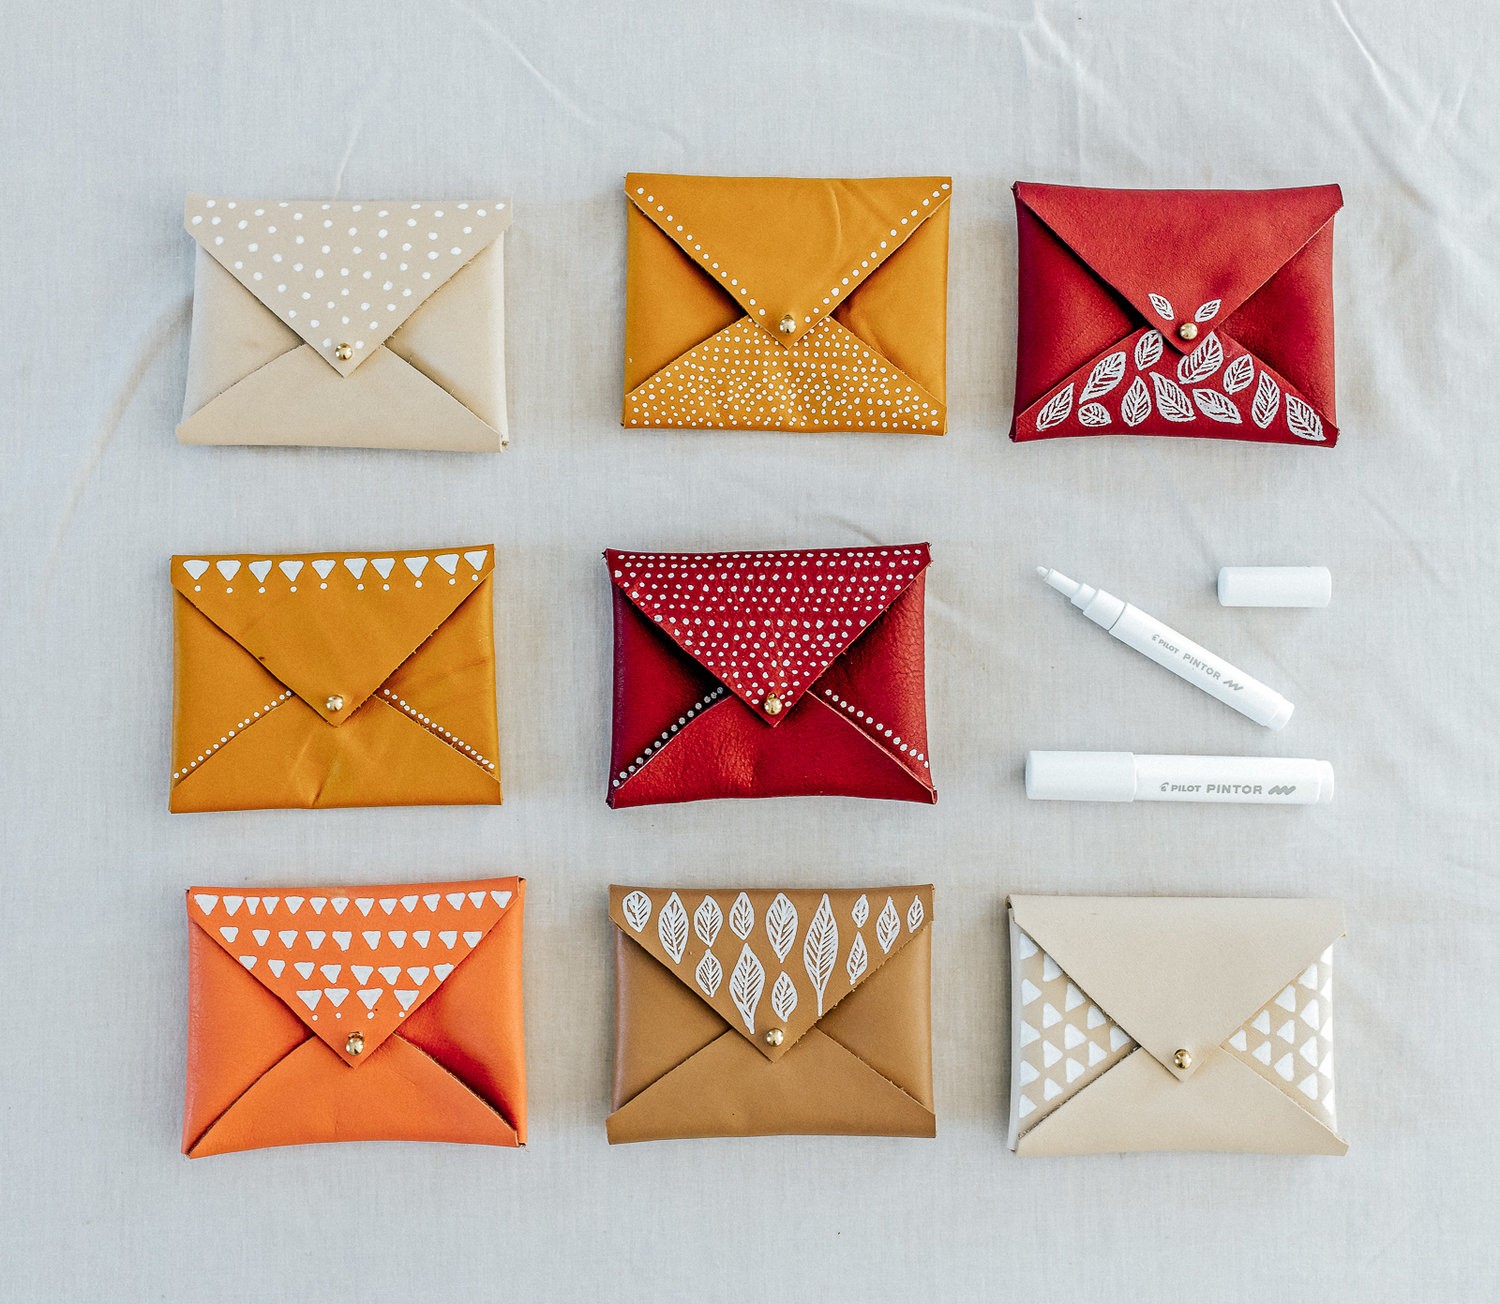
To add some interest and a bit of tribal / boho style, I have also painted patterns on the leather in white. I’ve kept the look natural and stylish, by only using white pen and repeating designs. Don’t they look great?
For the drawing I’ve used the new range of Pilot Pintor pens, which are perfect for use on many different surfaces, including leather. I’m so excited to try these pens on ceramics, canvas and wood too!
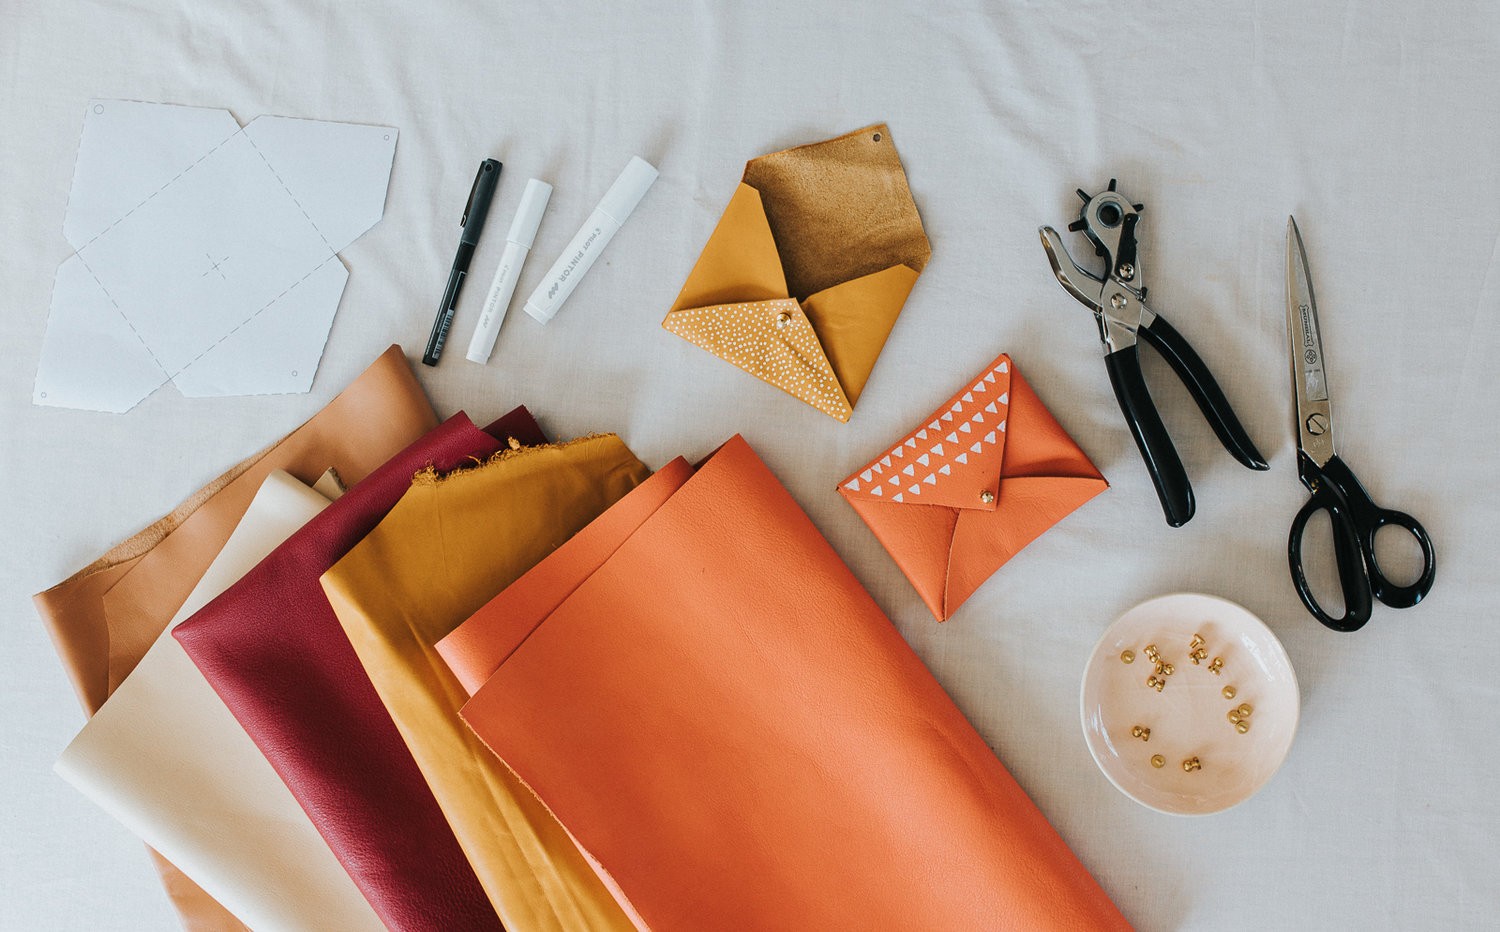
You will need:
-
Leather: I used beautiful dyed leather from my local The Fabric Store. If you’re lucky they will let you cut pieces off the hides in store, the hardest part is choosing which colours!
-
Screws: I used small brass Harness Posts from Lapco for Leather. I think these are also called collar buttons, G.I Studs or button stud (they screw together)
-
Sharp fabric scissors
-
A fabric hole punch
-
My pouch template (download below)
-
Pilot Pintor Pens: I used White - the Extra Fine size will be perfect. Buy them online at Office Max or Mighty Ape
Step 1
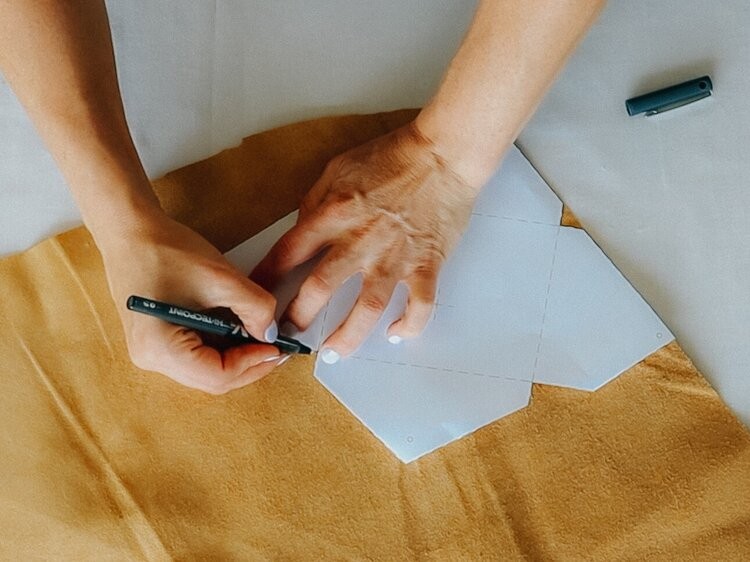
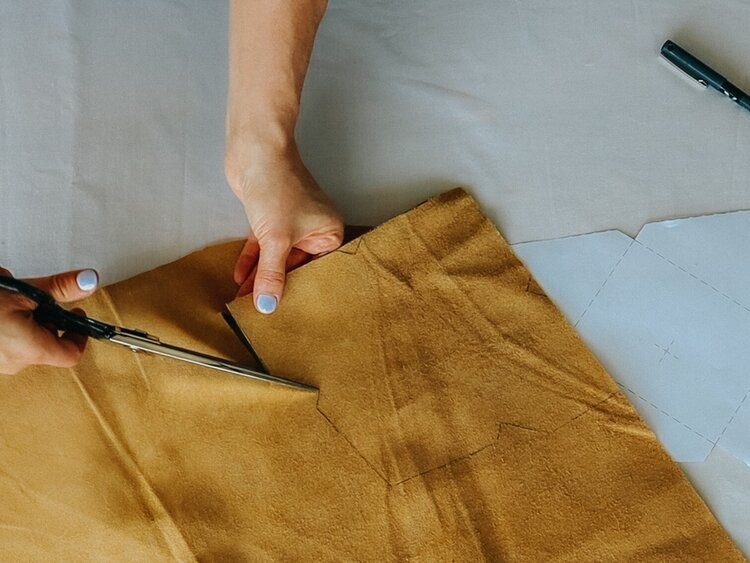
Print out my template, cut it out, and lay it over a piece of leather. Trace around the outside with a fine pen, then cut out the shape.
Step 2
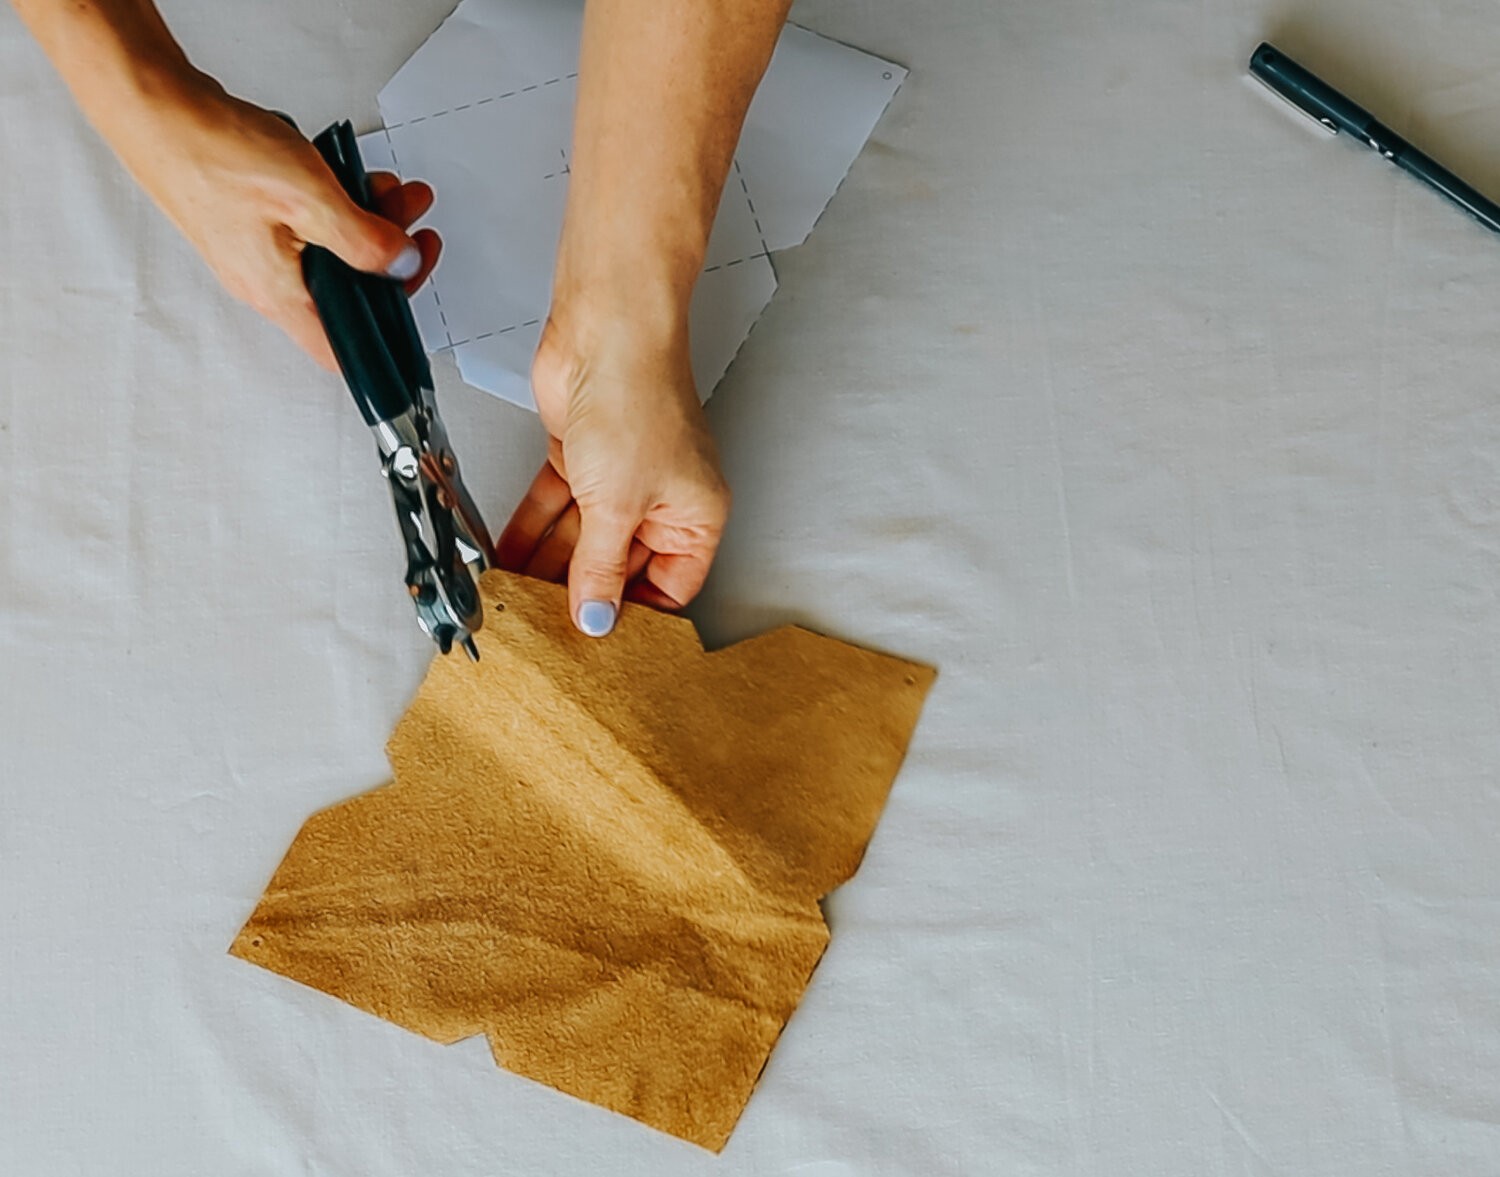
Following the guide on the template, use the hole-punch to add a hole to each corner. The top flap which folds over needs a larger hole.
TIP: Grab a piece of scrap leather to test the size holes and how they fit over the button stud before you hole punch the actual pouch.
Step 3
-
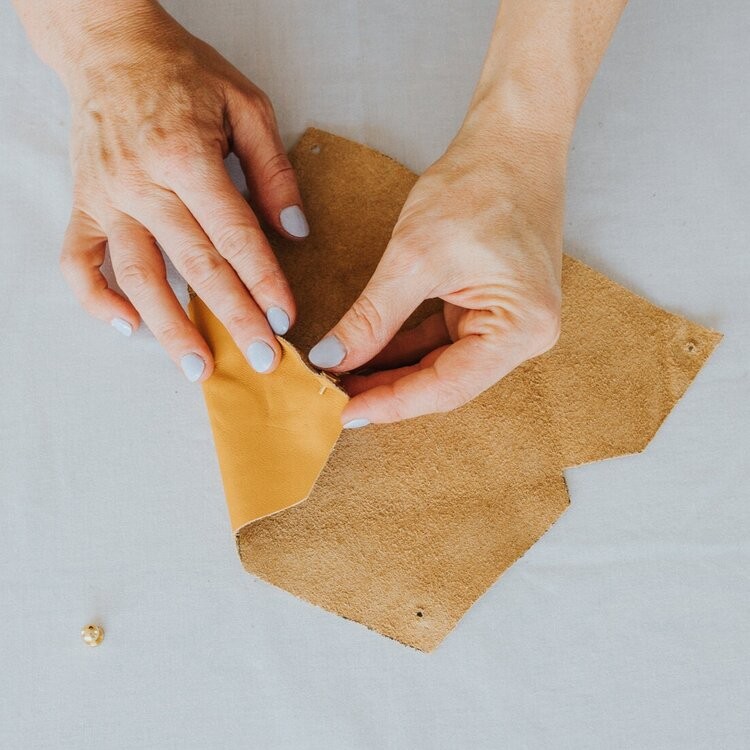
Poke the bottom piece of the button stud up through the hole on the left-side flap.
-
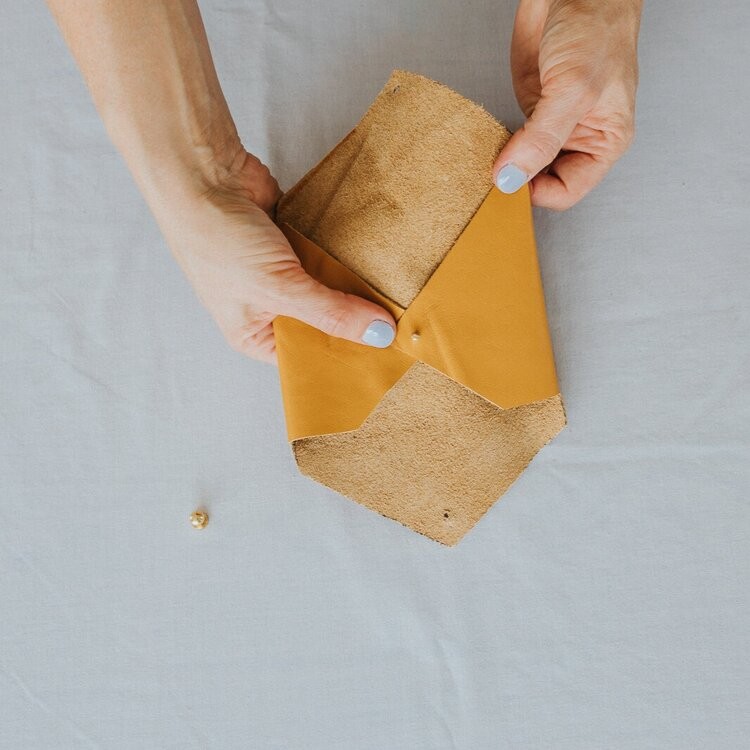
Then fold over the right-side flap and push the hole down over the screw.
-
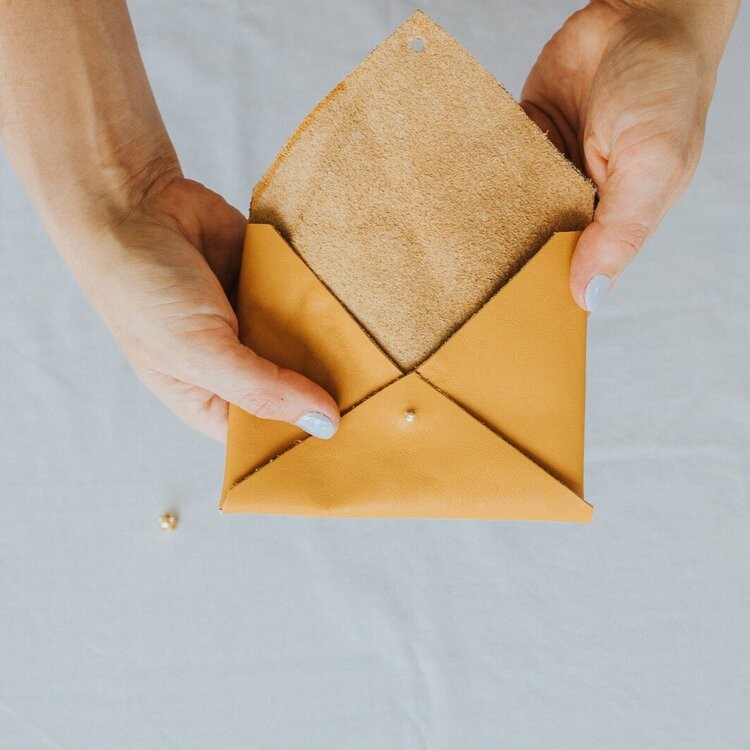
Pull up the bottom flap and secure that over the button stud too.
-
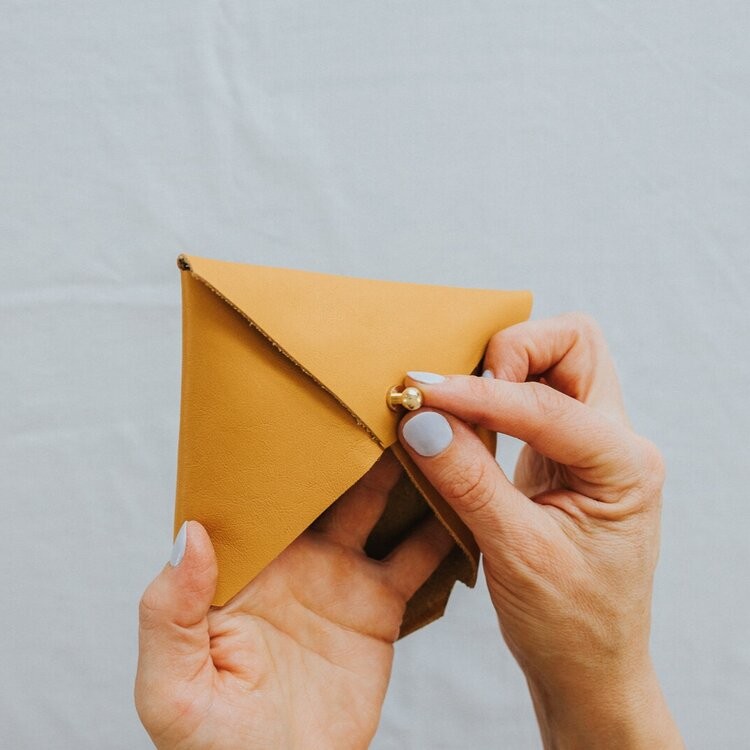
Now screw the top of the button stud on to hold the pouch together.
Step 4
You can now pull down the top of the pouch and secure it by pushing the Button Stud through the larger hole.
Step 5
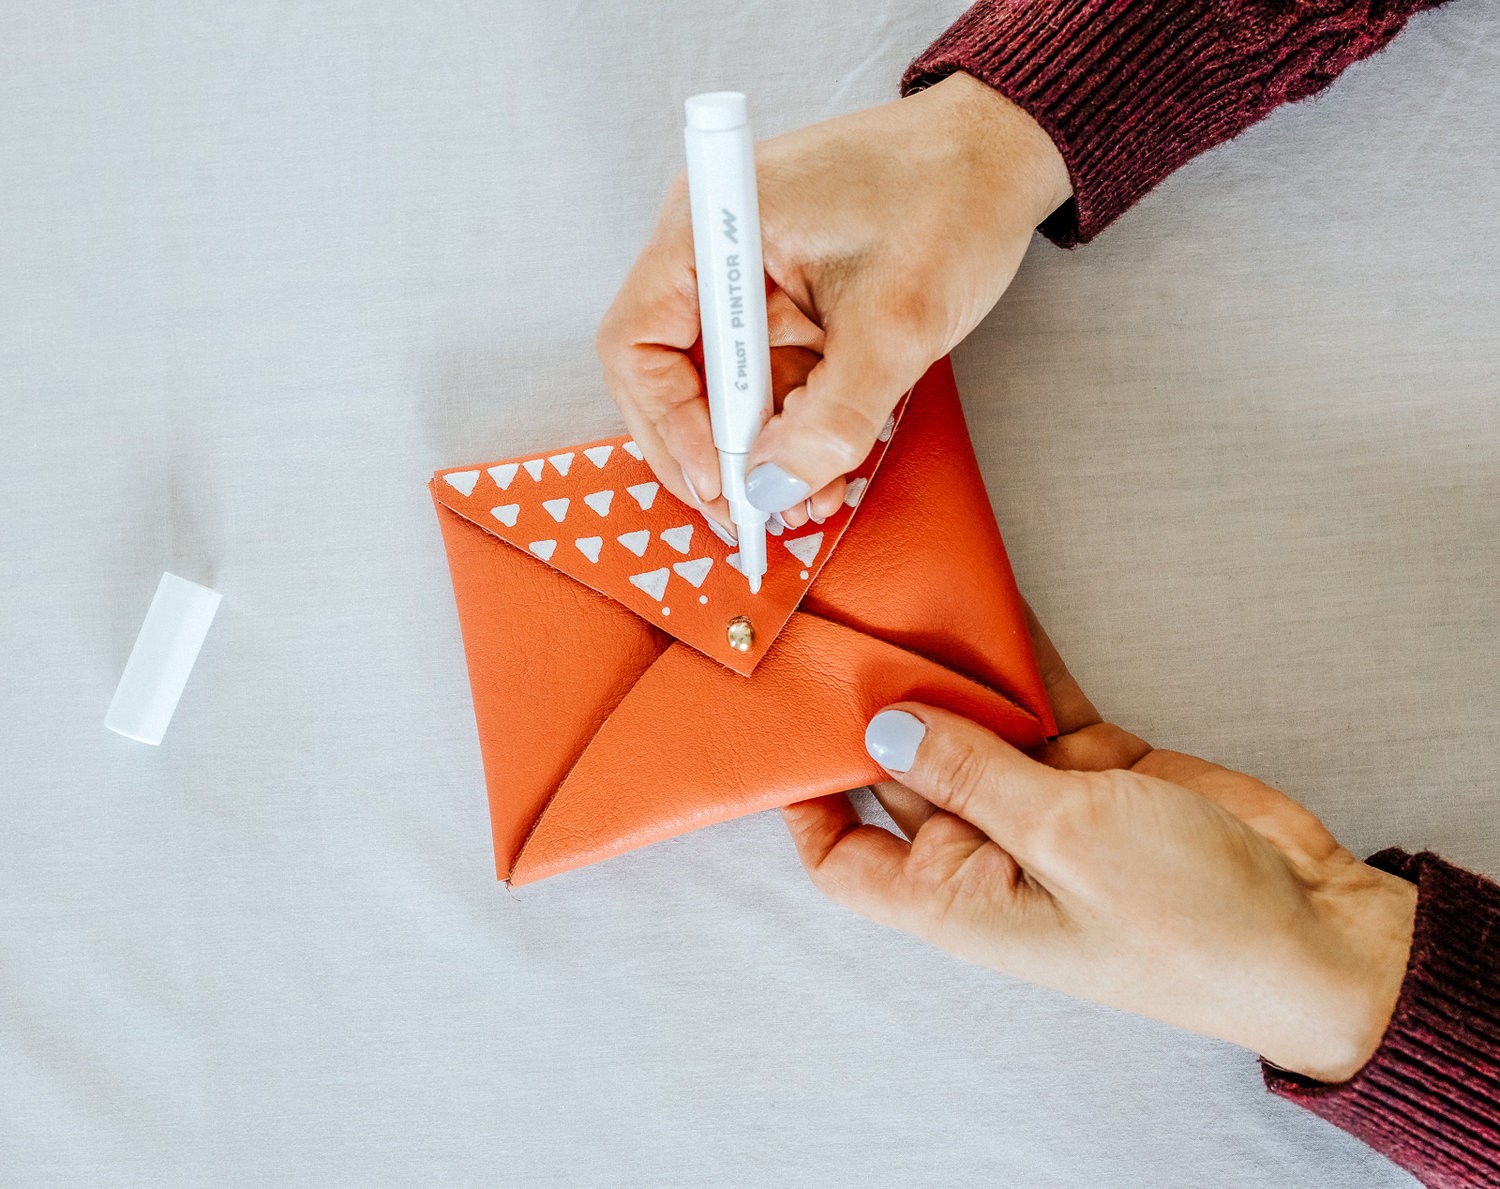
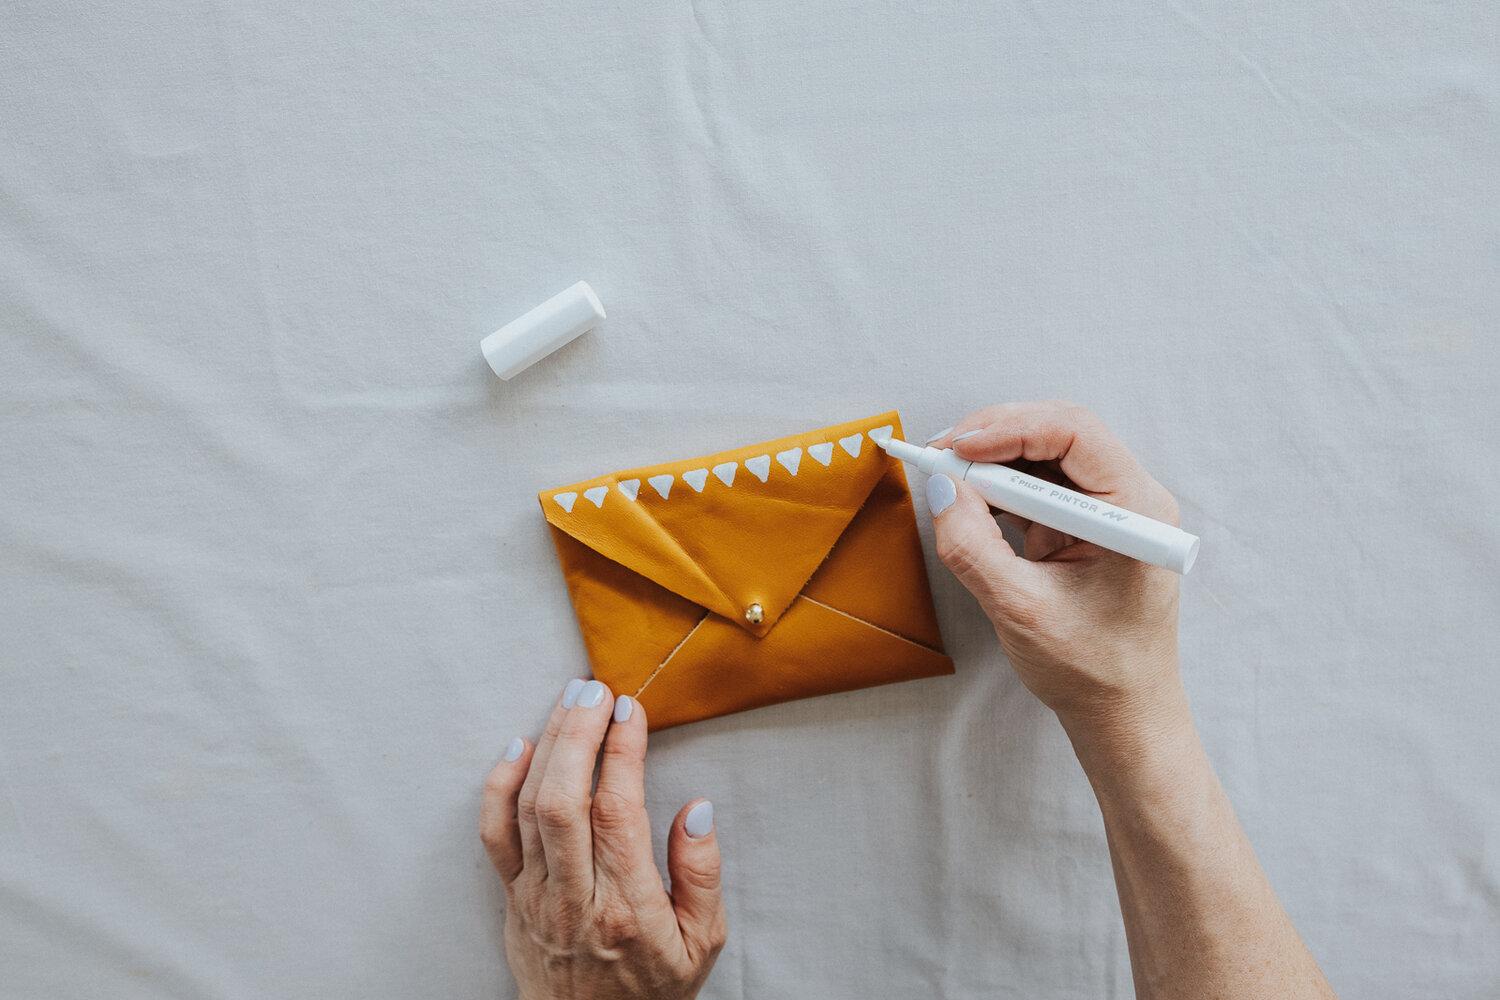
Take a white marker and draw little patterns, repeating them to suit the shape of the pouch.
Mix up simple dots, triangles, and more intricate leaves. I chose one or two areas of each pouch to illustrate, while leaving the rest plain leather, to keep the look a bit understated. If you wish, you can wait until it dries and do a second coat, to make the colour really pop.
TIP: You can fix the paint by spraying on an oil- based varnish.
Conclusion
And it’s that easy! Now you can enjoy your new handcrafted leather pouches. I would love to hear how you go, so be sure to share any creations and thoughts with me here, by email (julie@cleverpoppy.nz) or @cleverpoppy.
If you are interested in learning how to do modern embroidery for beginners, check out my blog, 'Learn Modern Embroidery for Beginners with this FREE Pattern.'
Julie xx
