DIY - Upholstered Headboard
Introduction
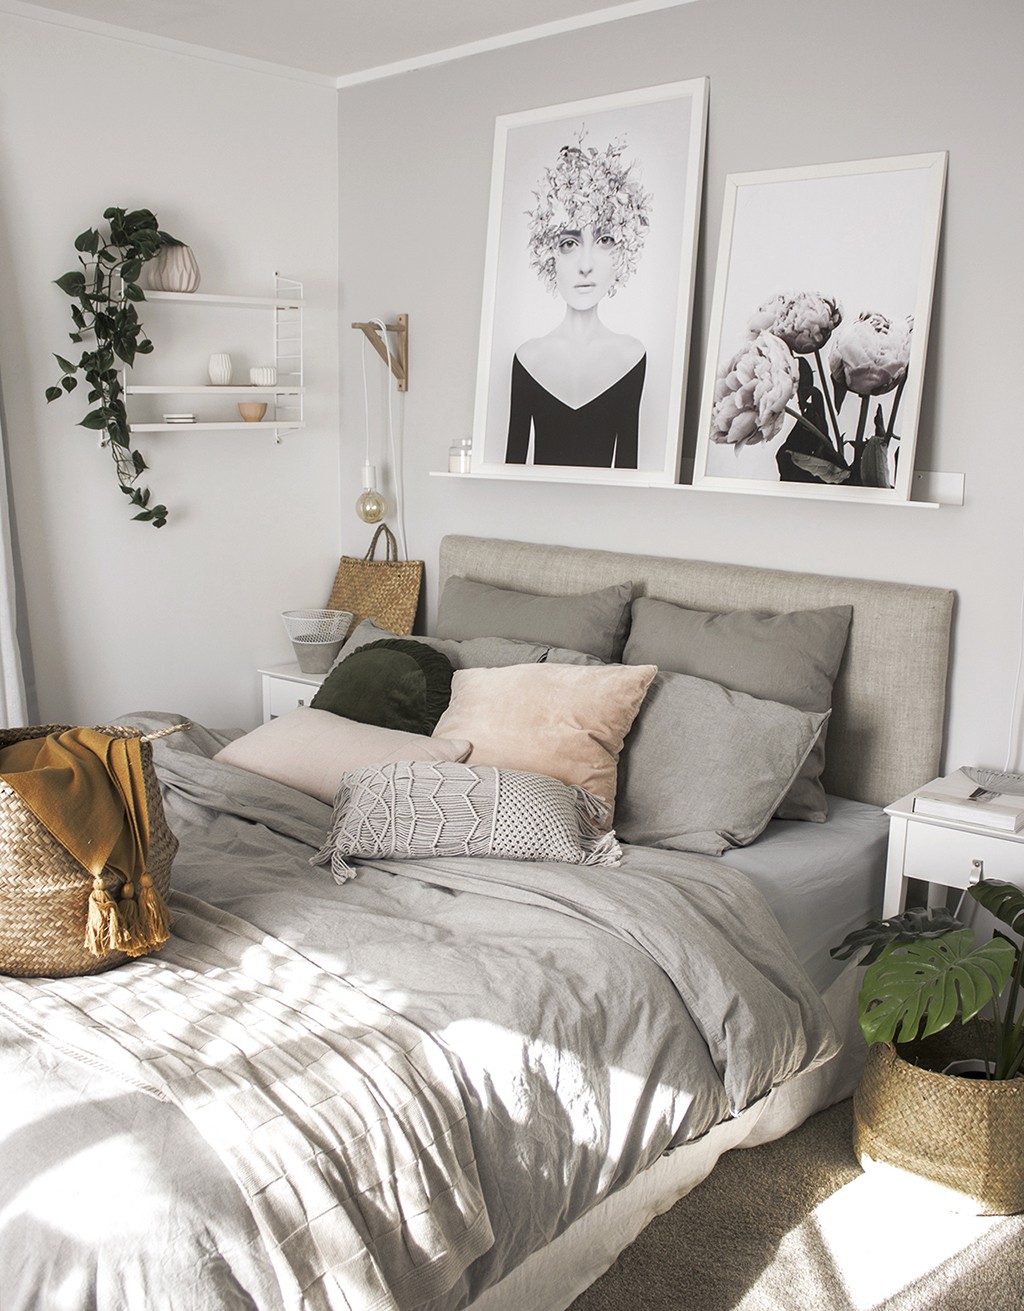
If there is one thing that can make your bedroom look amazing, it's an upholstered headboard. I have been wanting one for so long, but a quality piece can cost hundreds of dollars. So me being me...I decided to tackle making one of course!
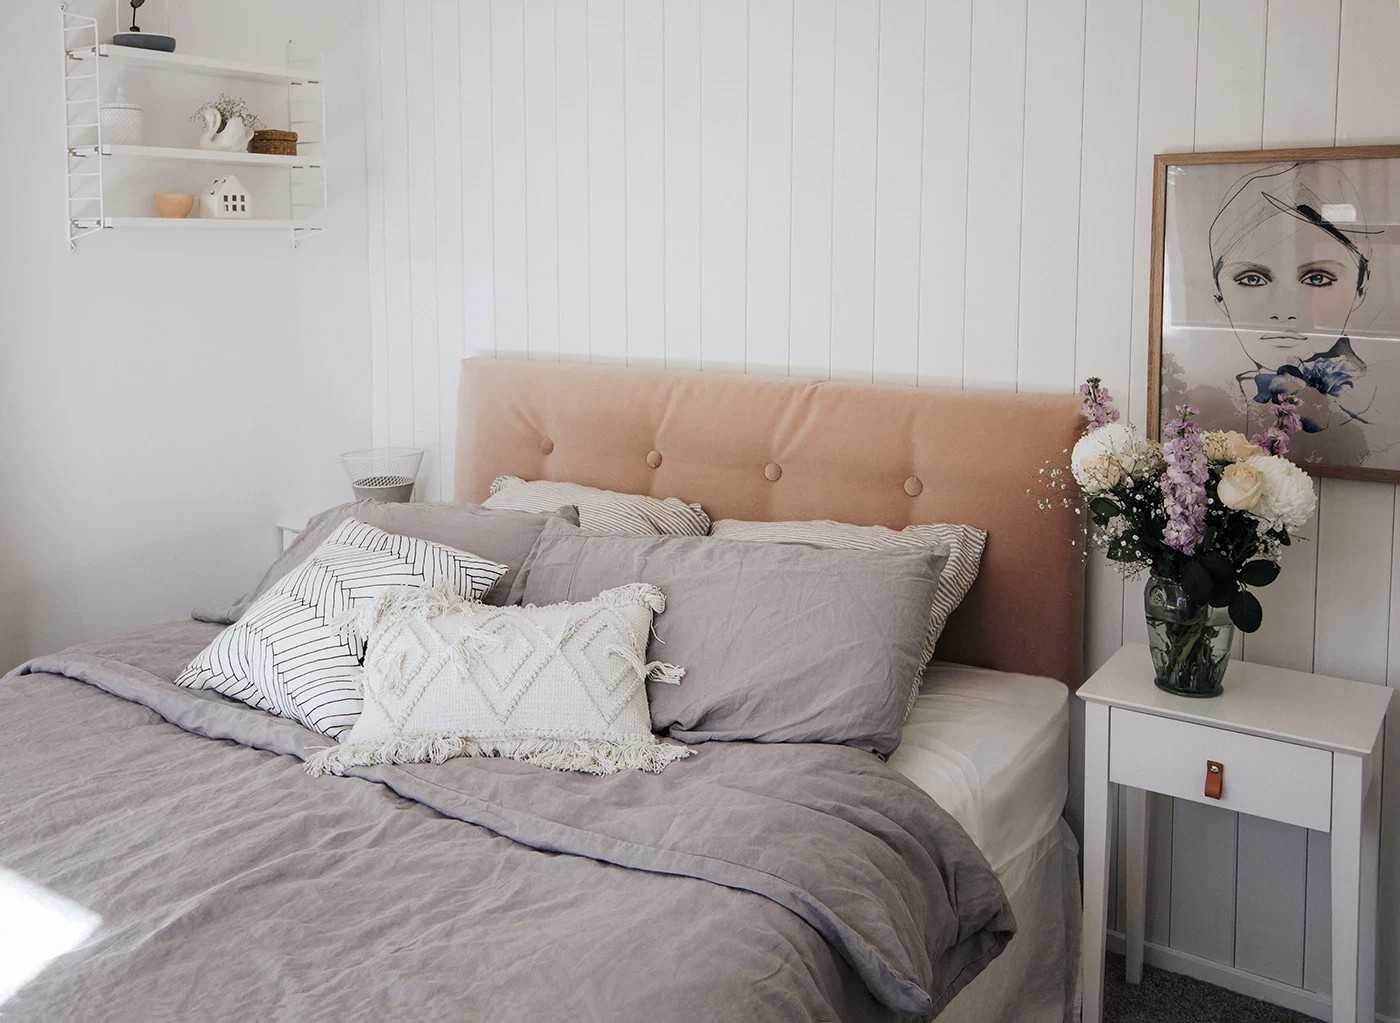
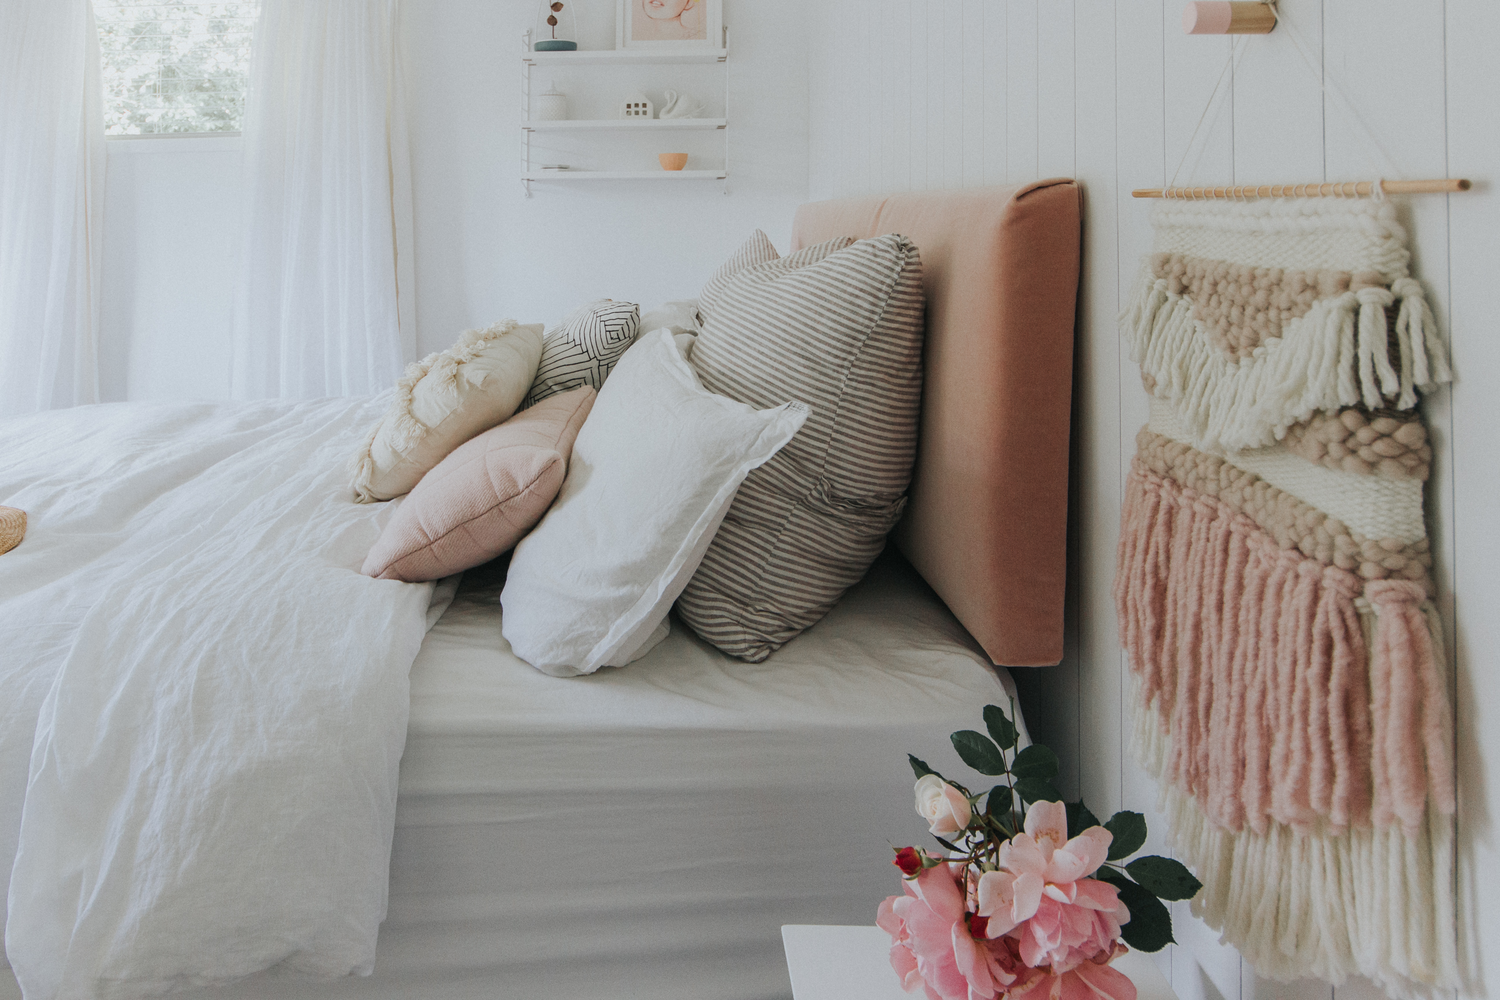
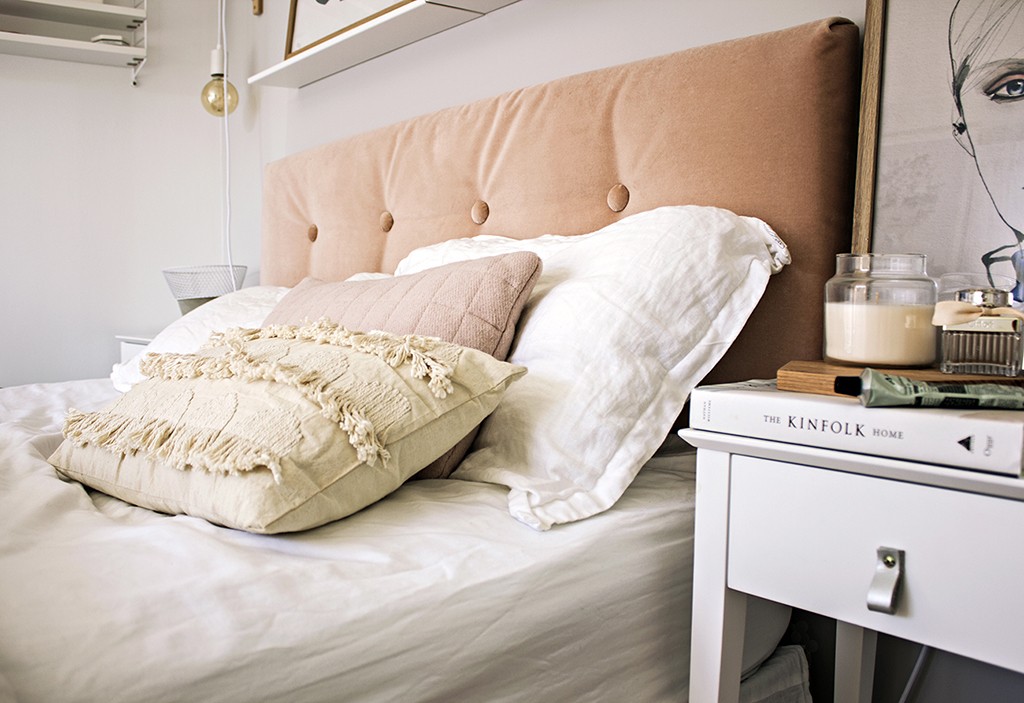
And it's fair to say I'm absolutely in love with the results. The headboards I've made look totally gorgeous and make the room so inviting, at a much more affordable price than buying new.
Check out this video for the instructions:
This blog has literally been months and months in the making (where did this year go?), because not only have I been crazily busy, but I've made three prototypes and a final version, so four in total which all takes time. I've done this so that I could test and refine my technique and supplies, to make sure it's as achievable and affordable for you to make as possible.
Cost-wise, it was about $170 for all the supplies (including the staple gun) plus the fabric on top of that. That also assumes you have basic tools like ruler, scissors, drill etc. So depending on the fabric you chose, you could make one of these in $200 or less, how great is that?!
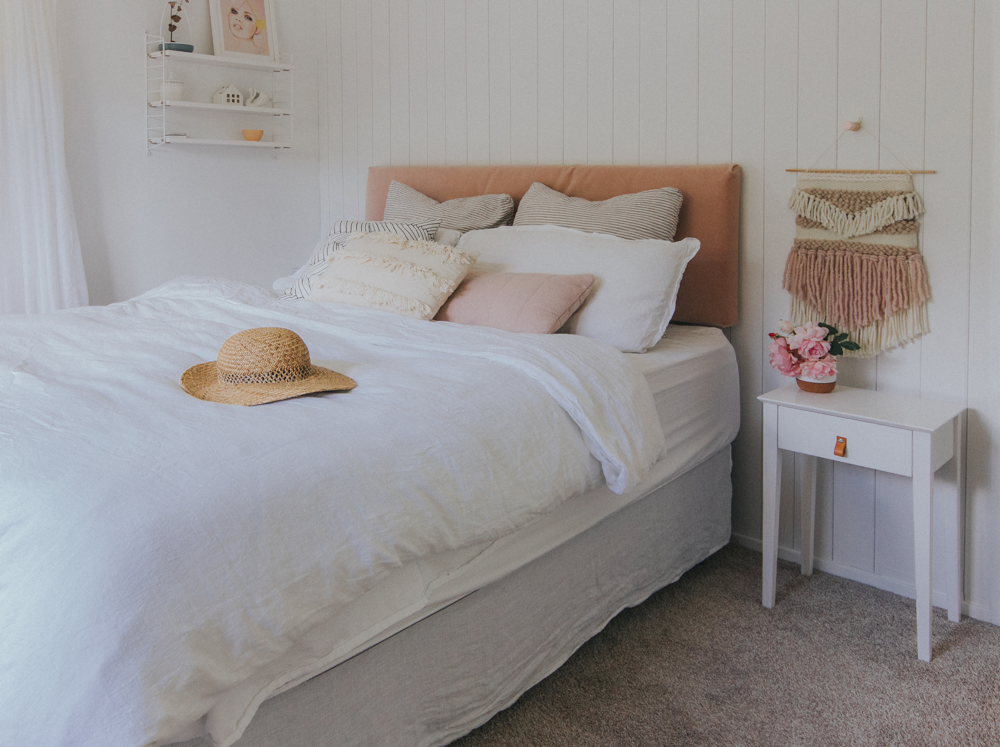
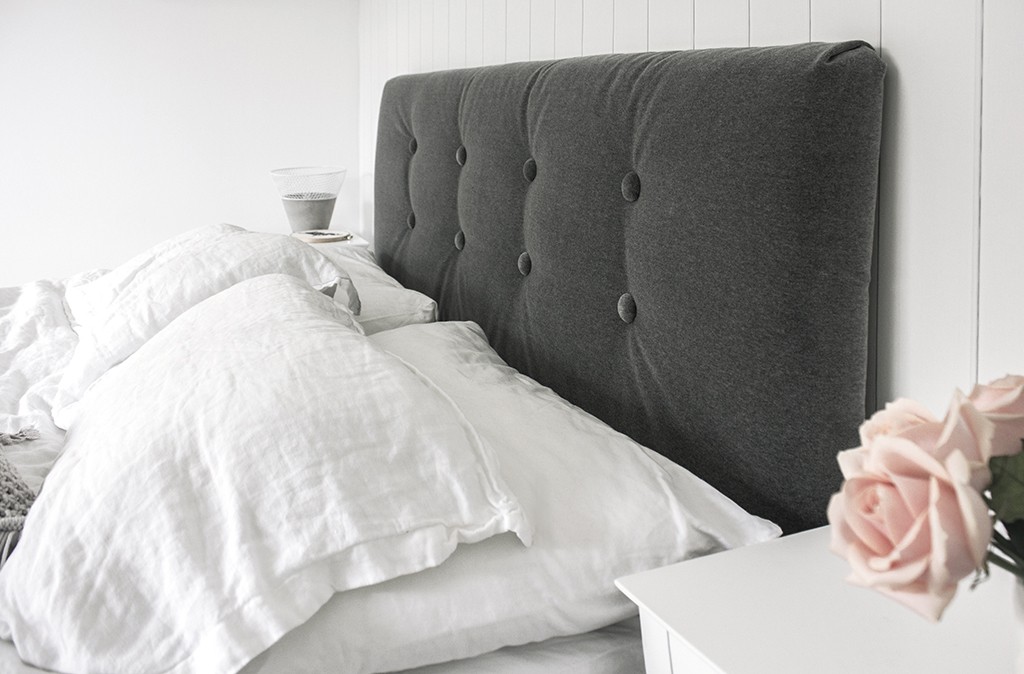
The result is that anyone can make their own DIY headboard with these instructions. The finished headboard is lovely and definitely gives the 'luxe' look in your room. I can't promise you'll get the perfectly smooth fabric finish that an experienced upholsterer would achieve, but so long as you aren't a perfectionist (which I definitely am NOT) you will make something you love for sure!
Ok, let's get into it. First of all, just note I made my headboard for a Queen Bed, and it is propped up with legs (rather than fixed to the wall). It literally just leans against the wall. The legs are good because it means you only need to make a headboard piece that is visible above the bed (which saves on the cost of the project). You can make any size you want, just measure up the width of your bed and think about how high you want it to sit and how many buttons you want to add. Or don't add buttons for a simpler look.
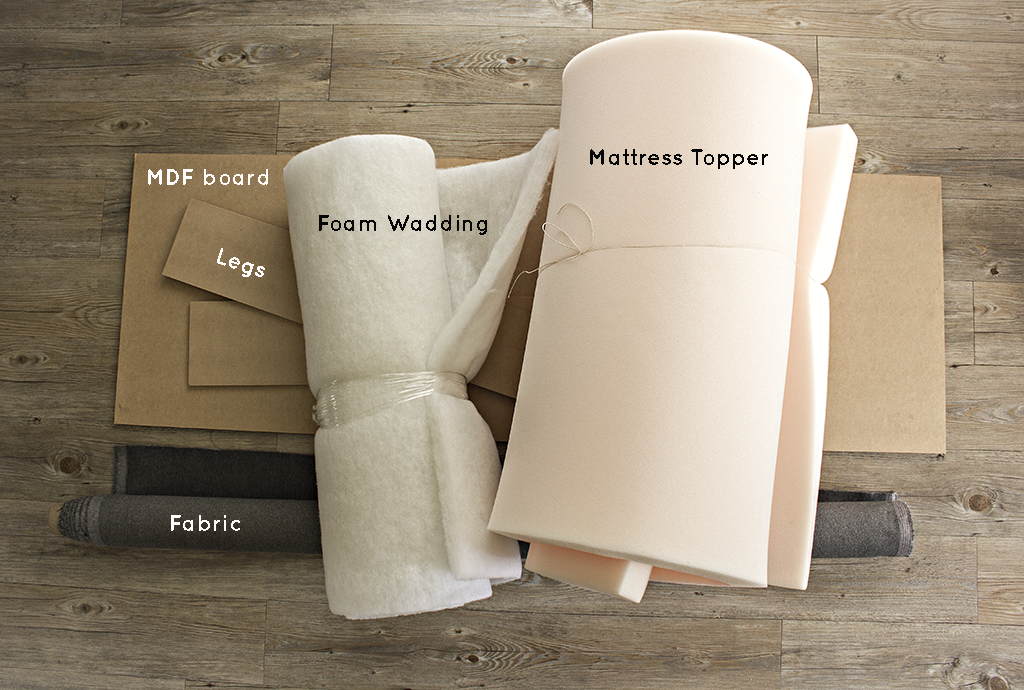
Here are the supplies you'll need:
MDF Board - we have a queen bed so I bought a piece of MDF from Mitre 10 and asked them to cut it to the following size: 1.5 m wide x 0.5 m high. You could also use Plywood or any other similar material.
Legs - I also got the team at Mitre 10 Mega to cut a couple of legs off the same piece of MDF. These were approx 0.8 m long x 0.15 m wide.
Foam - You want some nice thick foam to make the headboard plush. You can get foam cut to the exact size you want at a store like Para Rubber. But I found that purchasing a foam mattress topper was the most affordable option, which I cut to size with a stanley knife. I bought a mattress topper approx 5cm thick. Para Rubber sell mattress toppers too, but I also found a more affordable one on Trademe. Note you can use one that has a flat top-side with a wavy underside - just make sure the flat side is face up!
Foam Wadding (or batting) - I purchased 2m of this off the roll at Para Rubber - it's 1.5m wide and described as '170 gsm bonded fibre'. This gives extra softness and a more rounded appearance (perfect for wrapping foam before upholstery).
Fabric - Upholstery type fabric will work best - it's thicker so will sit better. I used a couple of different fabric types for the headboards I made. First was a lovely linen from The Fabric Store. Then I also tried velvet from Martha's Furnishing Fabrics. Both of these stores have gorgeous options in a lovely range of colours, so I'd definitely recommend going in to choose the one that suits your room the most. You'll need fabric that is wide enough to wrap around your headboard, plus extra to cover the buttons, so to be safe I got 2m of the fabric length.
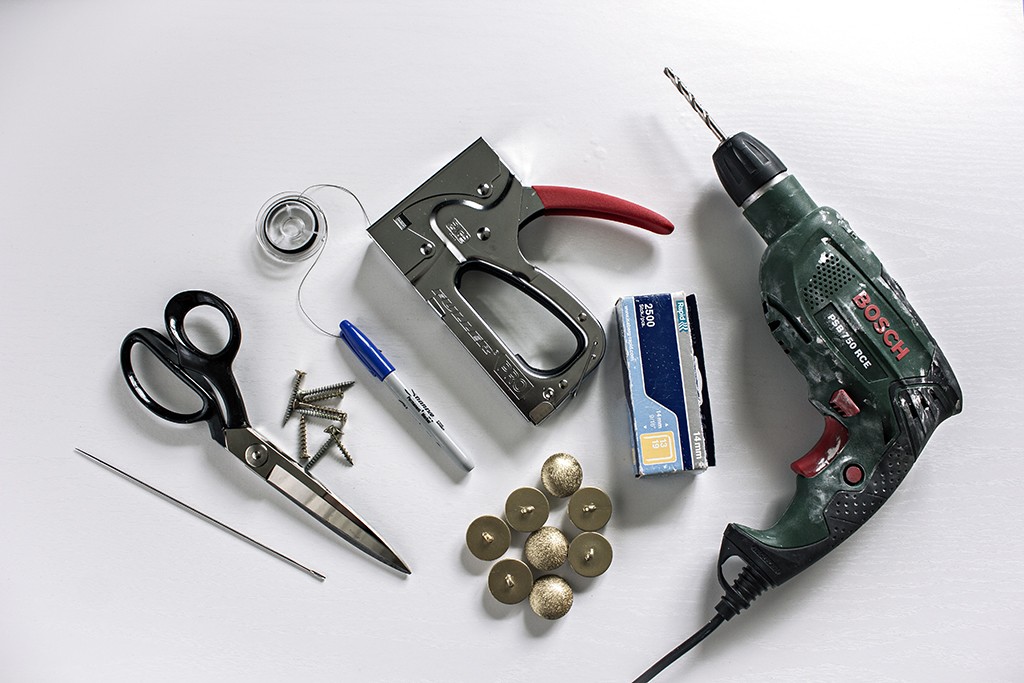
Staple Gun - Ideally you would use an air powered staple gun, but I didn't have access to one, and found that the standard staple gun I purchased from Bunnings did the job well (I just needed to push it with both hands to get it to staple firmly into the headboard). I used the Fuller Pro Heavy Duty Staple Gun with 14mm staples.
Buttons - You want shank buttons that you can cover in the same fabric as the headboard (they'll be completely covered so it doesn't matter what they look like). I bought ones about 35mm wide. It pays to shop around for these because they can get quite pricey - in the end I found a packet of 16 on Trademe for about $12.
Upholstery Needle - you need a long straight needle that can poke right through the headboard, which most craft stores will have. I used one about 20 cm long.
Thread - You need strong thread to tie on the buttons with. I used thread from the jewellery making section at a craft store. I'm sure you could also use a strong thread from a sewing centre.
Small needle - A plain sewing needle is required for covering the buttons.
Hand drill - I used this to drill the button holes and to screw on the legs.
Screws - These are to screw the legs on, you'll need 8.
Sharp Scissors
Sharpie or dark pencil
Ruler
Stanley Knife and Cutting board (if you are cutting your foam yourself)
Hammer
Step 1
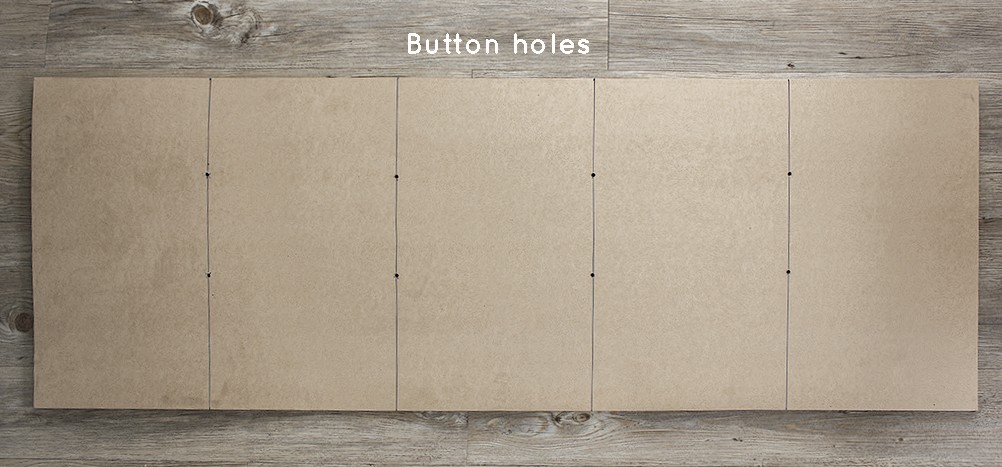
The first step is to drill holes in the board for the buttons (which we will put in at the end). Measure out evenly where you would like them to go, depending on how many you want. I did two rows of 4, and I placed them a bit closer to the top than the bottom (I find when the headboard sits on the bed the pillows etc cover the bottom of the headboard so the buttons are more visible placed a bit higher). The holes just need to be big enough to thread the upholstery needle through.
Step 2
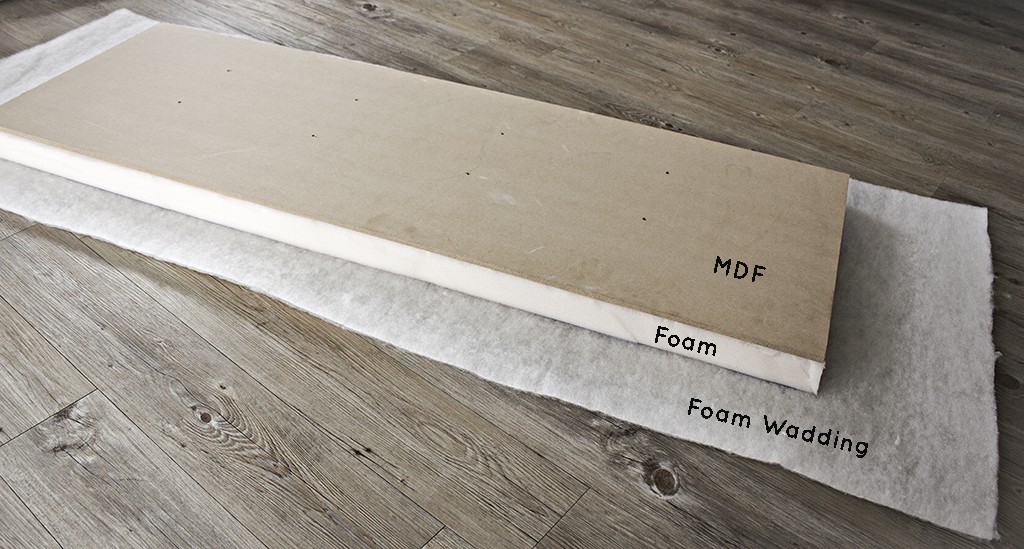
Then lay the wadding flat on the floor, place the foam in the centre, and lay the board directly on top of the foam. You can spray glue the foam to the board here, but I didn't find it necessary. Cut the wadding so it overlaps about 15cm.
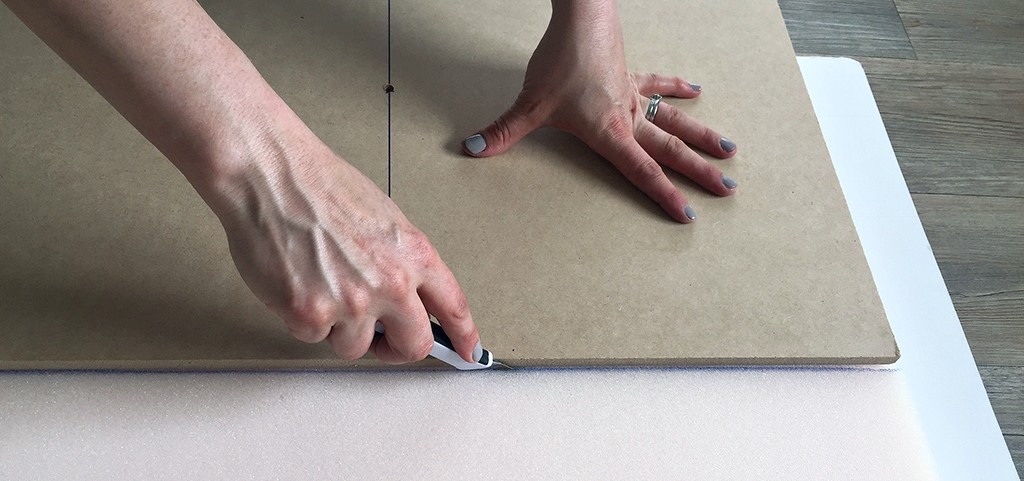
Now we staple the foam and wadding to the board. If your foam isn't cut to size, use a stanley knife to cut the foam so that it is the same size as the board.
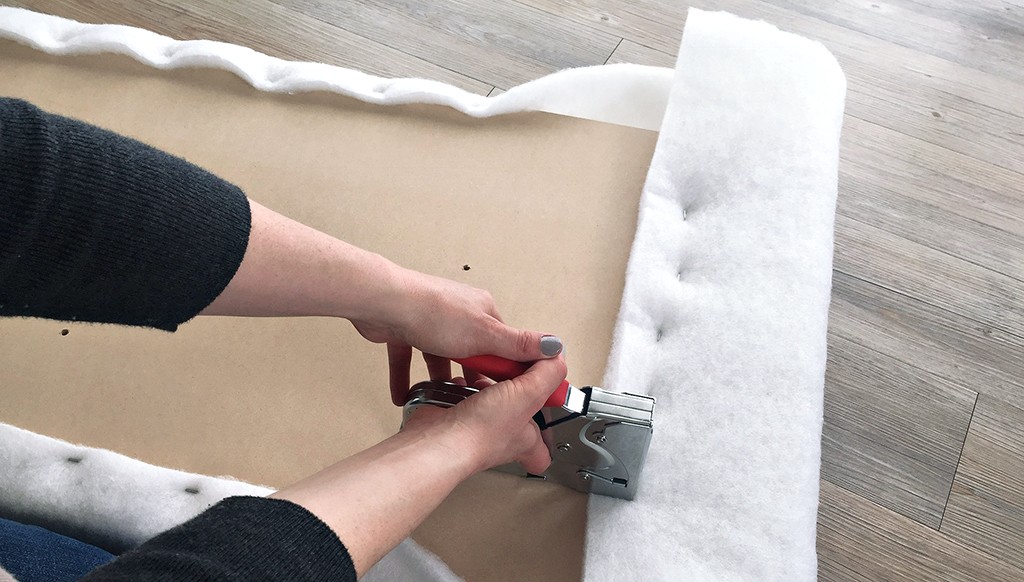
Now wrap the wadding up around the other two layers and staple it to the board. Start by stapling along each side, stopping about 10cm from each corner.
For the corners, the idea is to fold the wadding in by making lots of small folds and stapling those down (this creates a smoother look than a big fold). Here's a video I made, plus I found the second video below really helpful to learn the technique. When you're done, cut away any excess wadding around the corners (leave a couple of centimetres so the staples can still hold).
Step 3
Time to staple the fabric to the board. Lay the foam and board in the centre of your fabric (make sure the fabric is right side down).
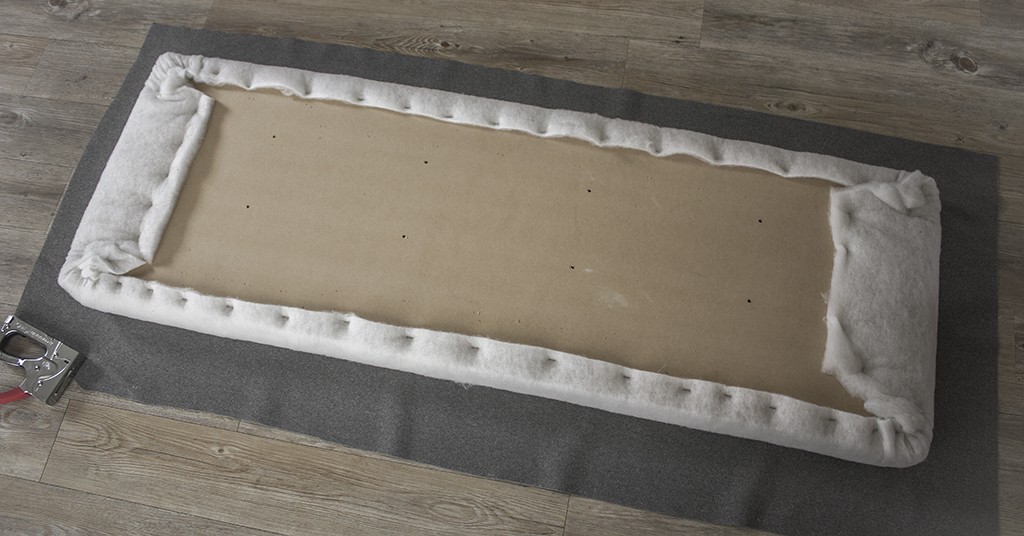
Wrap the fabric firmly up around the board and staple along the sides, once again leaving the corners. Pull the fabric firmly up but don't stretch it out of shape or you'll get more creases.
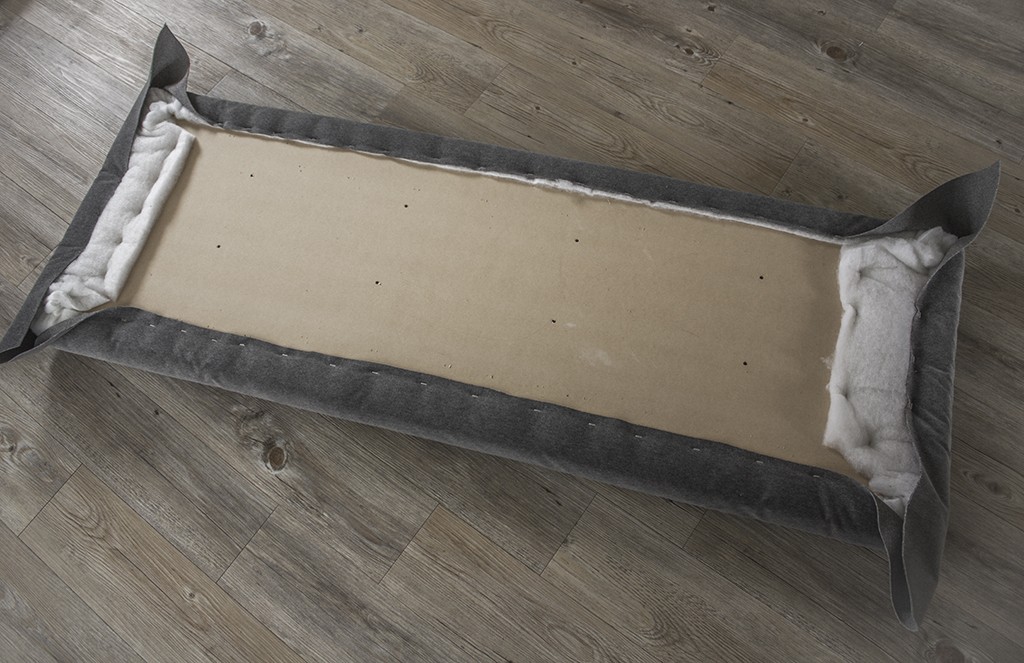
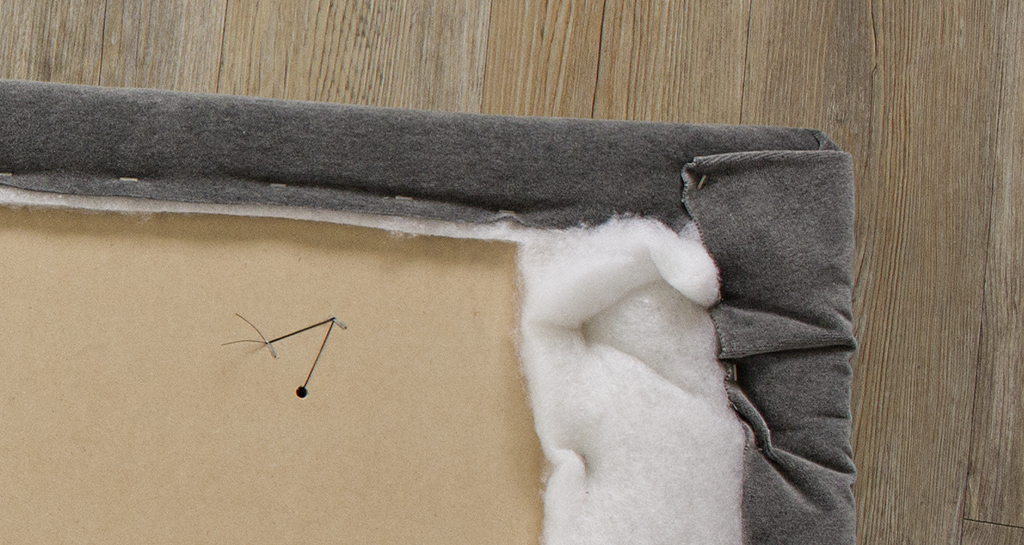
We use a different technique with the corners than we did for the wadding, because this time we do want a nice tidy fold. I watched a bunch of videos on Youtube to perfect the technique. You'll see a video I made of the technique below, plus I've linked in the one I found most helpful online (sometimes it helps to see a couple of different ones!).
Basically you want to fold the fabric tidily down from the top and secure it with a staple. And then you fold the fabric in from the side, to create only one visible fold. The video is key here!
Repeat for all four corners. Make sure you fold both top corners in the same direction (i.e. so they have folds which mirror each other).
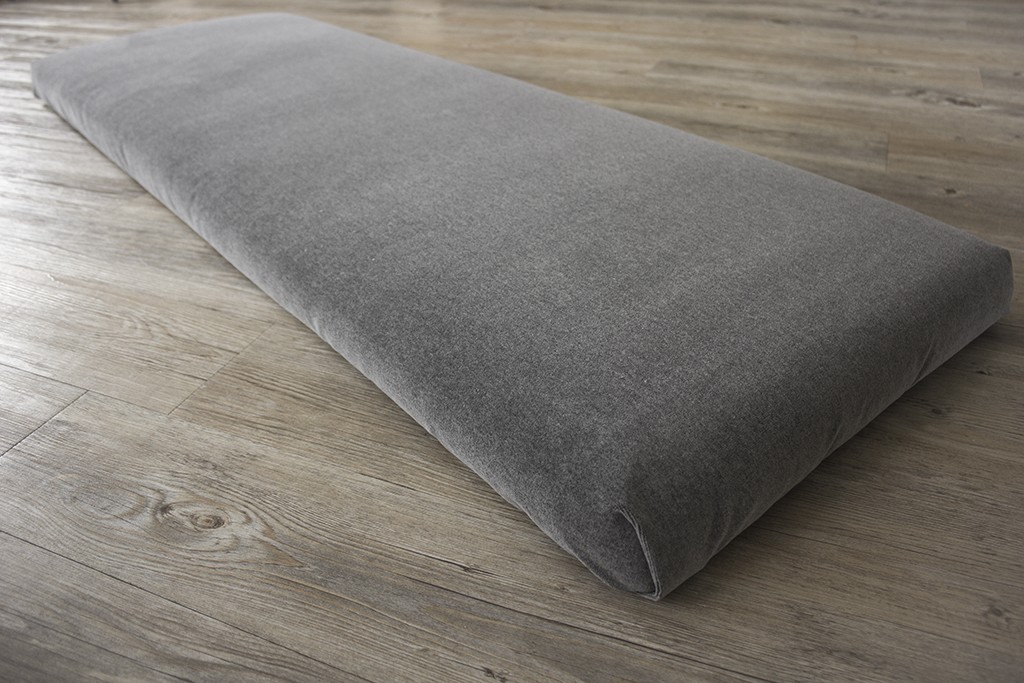
Step 4
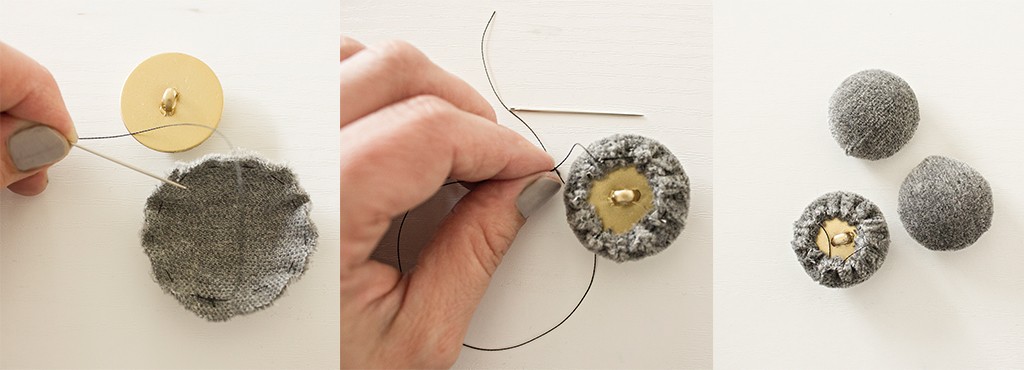
Now it's time to cover the buttons in the same fabric as the headboard, which will give a professional look. I did this by hand, but you can get button covering kits at sewing and craft stores - they don't tend to work well with thick upholstery fabric though.
So here is the hand sewing technique, which is still super easy:
-
Cut out round circles of fabric, big enough to fold up around the button with a bit of a border.
-
Hand sew around the edge of the fabric circle
-
Place the button in the middle and pull the fabric tight so that it overlaps around the button.
-
Knot off the thread. If you have any bits which haven't pulled in tight then go around once more, tighten and tie if off.
Step 5
Next up, we will tie the buttons on to the headboard. There are various ways you can do this (like with wire tied to another button on the reverse side), but I found this technique the easiest and cheapest:
1. Position the headboard upright by leaning it on something.
2. Grab your upholstery needle, thread it with a long length of thread, and push it through from the back to the front of a button hole. Try to thread it as straight as possible (it helps if you look at the headboard side on), and make sure there is a big tail of thread left on the back side (it's such a pain if you lose the thread during this process!).
3. Now thread the button on and poke the needle back through the same hole (front to back this time). This can be tricky to get it back through, because you have to feel for the hole again.
Here are some tips:
-
Try to position yourself on the same angle as when you pushed the needle through back to front.
-
Again, try to keep it as straight as possible.
-
Feel around until it finds the hole.
-
If you are really struggling, start again (sometimes it's easier on the second go).
-
If you still can't find the hole, take the needle off and thread it back to front again but don't pull it all the way through. Then carefully tape the thread to the pointy end and pull the needle back through. This is a last resort because the thread is tricky to secure to the pointed end without coming off as you push it through, but it can work if you are desperate!
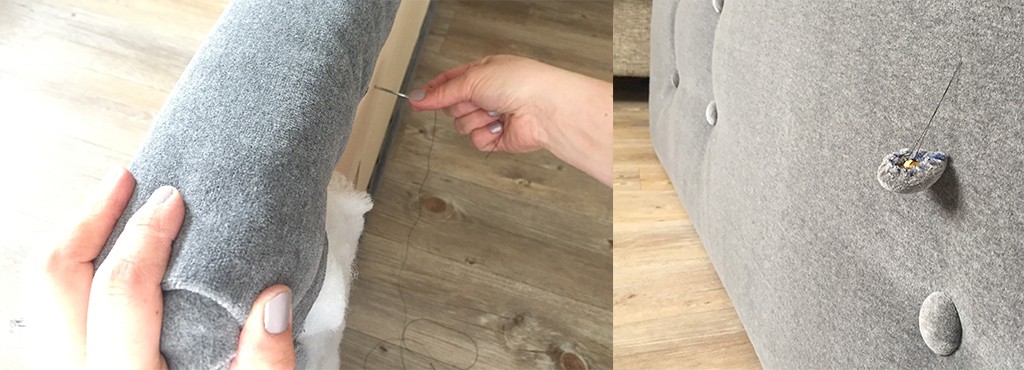
4. Tie off the thread on the back, so that the button is hanging off the front side. Now lay your headboard face down and pull the button tight to created that tufted look (have a look at the underside to check you're happy), then staple the thread against the board. My staple gun didn't get a tight hold, so I pulled it tight and hammered the staple in. Then reverse direction and do the same again.
5. Repeat with all your buttons.
Step 6
Lastly we need to add the legs to the headboard. I measured how far up the wall I wanted the headboard to sit, and this gave me the figure of how long the legs needed to be. Then I lay the headboard face side down and measured out where the legs needed to go on the back side. Make sure the legs are sitting evenly from each side and the bottom, so that your headboard will sit straight when you put it behind the bed. I found tracing around them a good way to keep track.
Then choose where you'll screw them on, and mark the holes on the legs and headboard. I did four screws per leg.
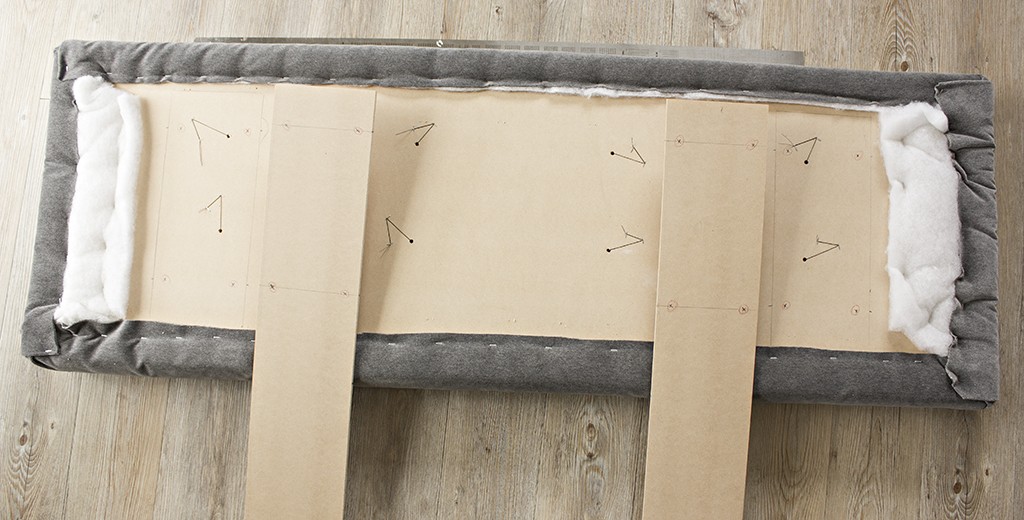
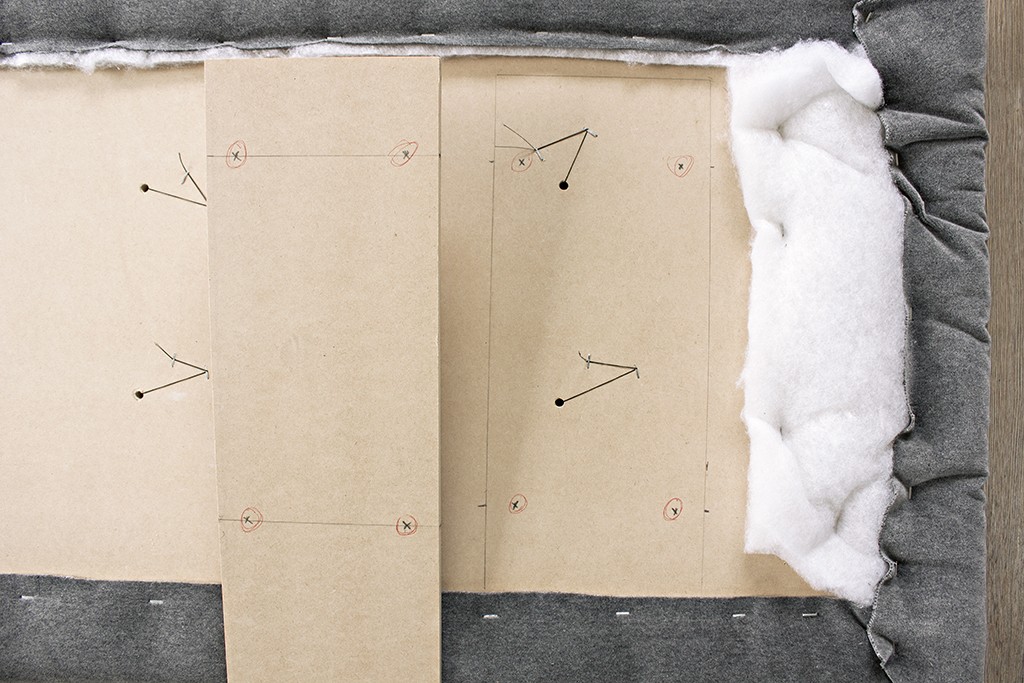
Drill the pilot holes, being careful you don't drill right through the fabric (I found it fine, just make sure to stop drilling as soon as you feel the drill bit go through the MDF).
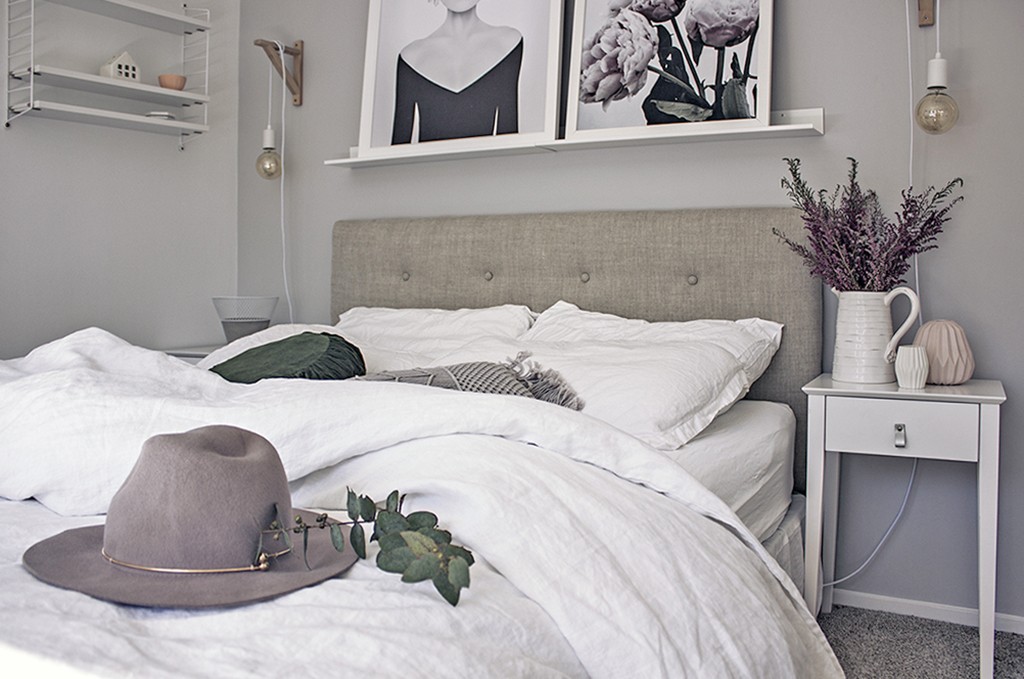
Lastly screw the legs on, and you're all done! Your headboard is ready to put behind your bed as a statement piece in your bedroom.
Conclusion
I hope you found this project really inspiring and that you are now keen to give one a go! If you have any questions just get in touch, and please share photos of any finished pieces because I would love to see what you make.
If you are interested in learning how to do modern embroidery for beginners, check out my blog, 'Learn Modern Embroidery for Beginners with this FREE Pattern.'
Enjoy.
Julie xx


