What Beginner Weaving Supplies do you Need to Create your First Woven Wall Hanging?

Introduction
It may seem daunting to start out in the world of weaving, but once you know what supplies to use, you’ll feel much more confident about getting started!
Weaving is one of those crafts where the supplies really do matter! And there are lots of products out there on the market that aren't that great to use. Plus, there are lots of different types of looms to choose from (confusing)!
In this blog, I will cover what beginner supplies you need to get started in this amazing craft (as well as a few extras). My aim with this blog is to give you all the information you need so you can get to the fun part, making a beautiful wall hanging to decorate your home with!
As an avid weaver myself, I will also give you recommendations for which products to use. These products are tried and tested by me, so you can be confident that they are easy to use and will get the job done right from the get-go!
If you buy supplies that work well from the beginning, this will save you so much frustration with your weaving and make the whole process so much more enjoyable.
So, let’s get started on what weaving supplies you will need!
Frame Loom
One of the first stages of your weaving journey will be getting your head around what loom to use. There are all sorts of looms available for weaving beginners. But I always prefer keeping things nice and simple!
I typically use a simple handheld frame loom, and this suits my style of weaving well. When looking for a frame loom to use, it should be small enough so you can comfortably weave with it on your lap.
But you may be wondering… what is a frame loom?
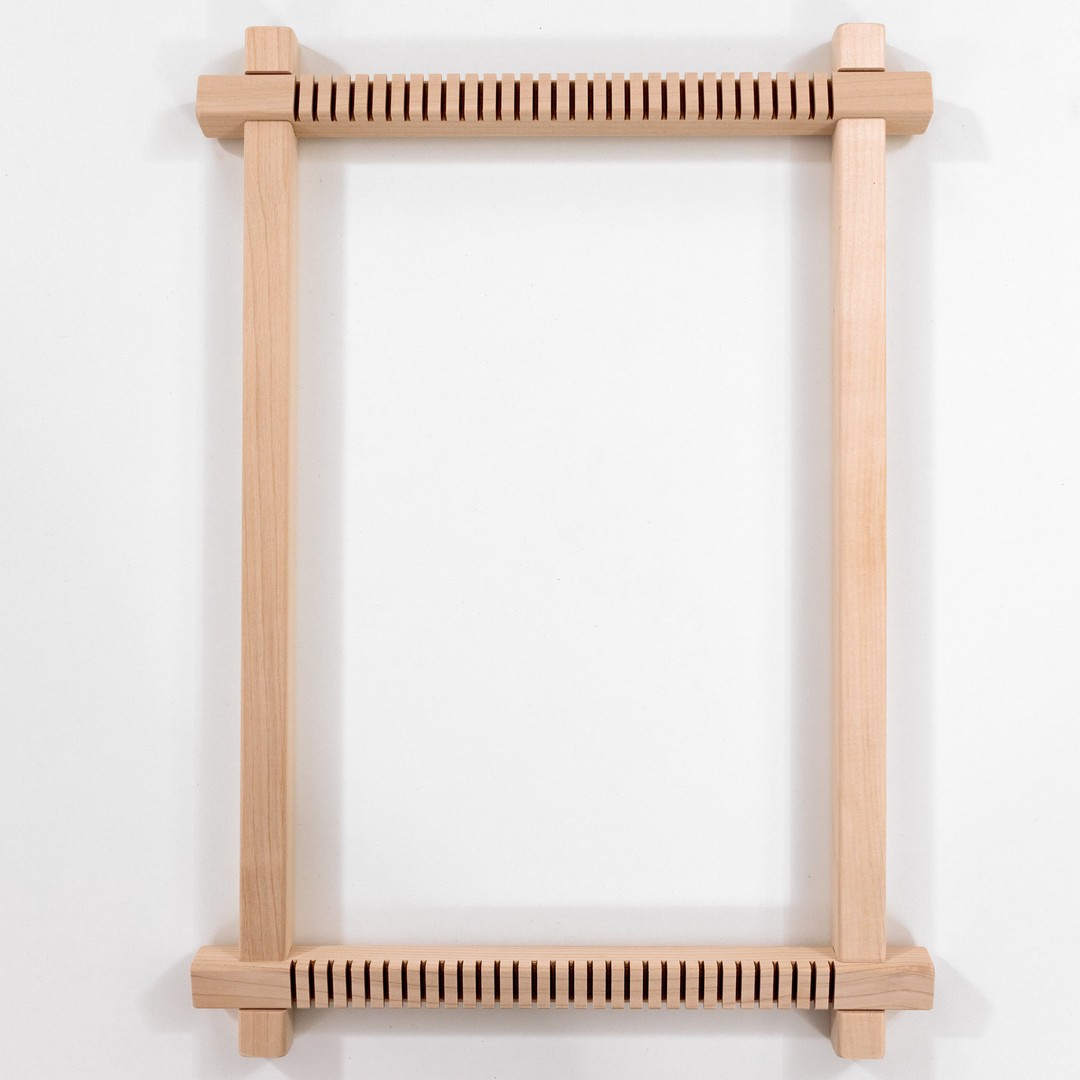
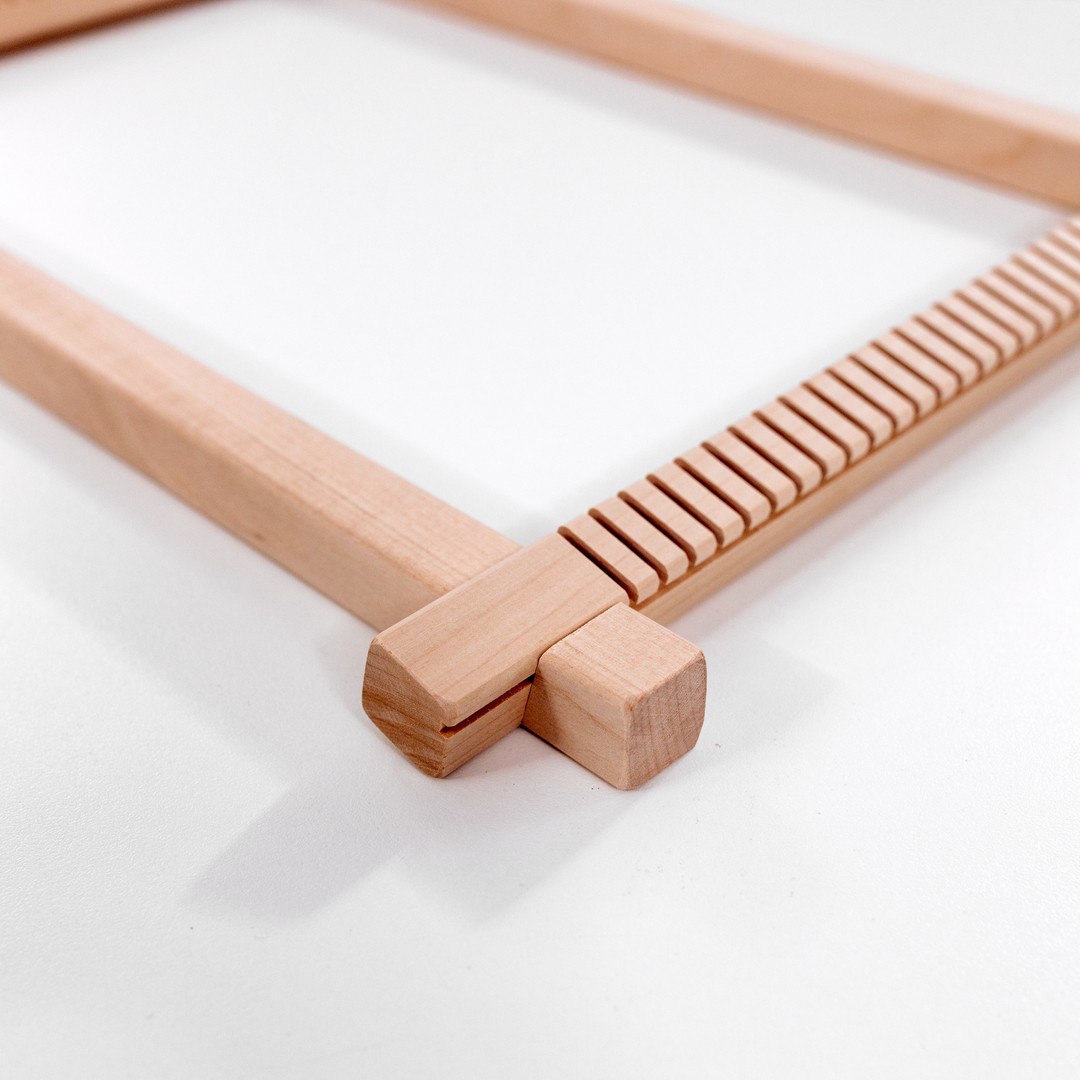
A frame loom is a rectangular fixed-frame loom, which is usually held on the portrait. This type of loom is widely used worldwide for beginners.
As a beginner in weaving, a frame loom is a wonderful place to start. You’ll be amazed by the varied and beautiful woven wall hangings you can make using this loom. When it comes to sourcing a frame loom, you can either buy one, or you can even make your own DIY Beginner Frame Loom!
If you’d prefer to get hands-on and make your own loom, then you may be interested in blog, Make Your Own DIY Easy Beginner Frame Loom for Weaving.
Warp Thread
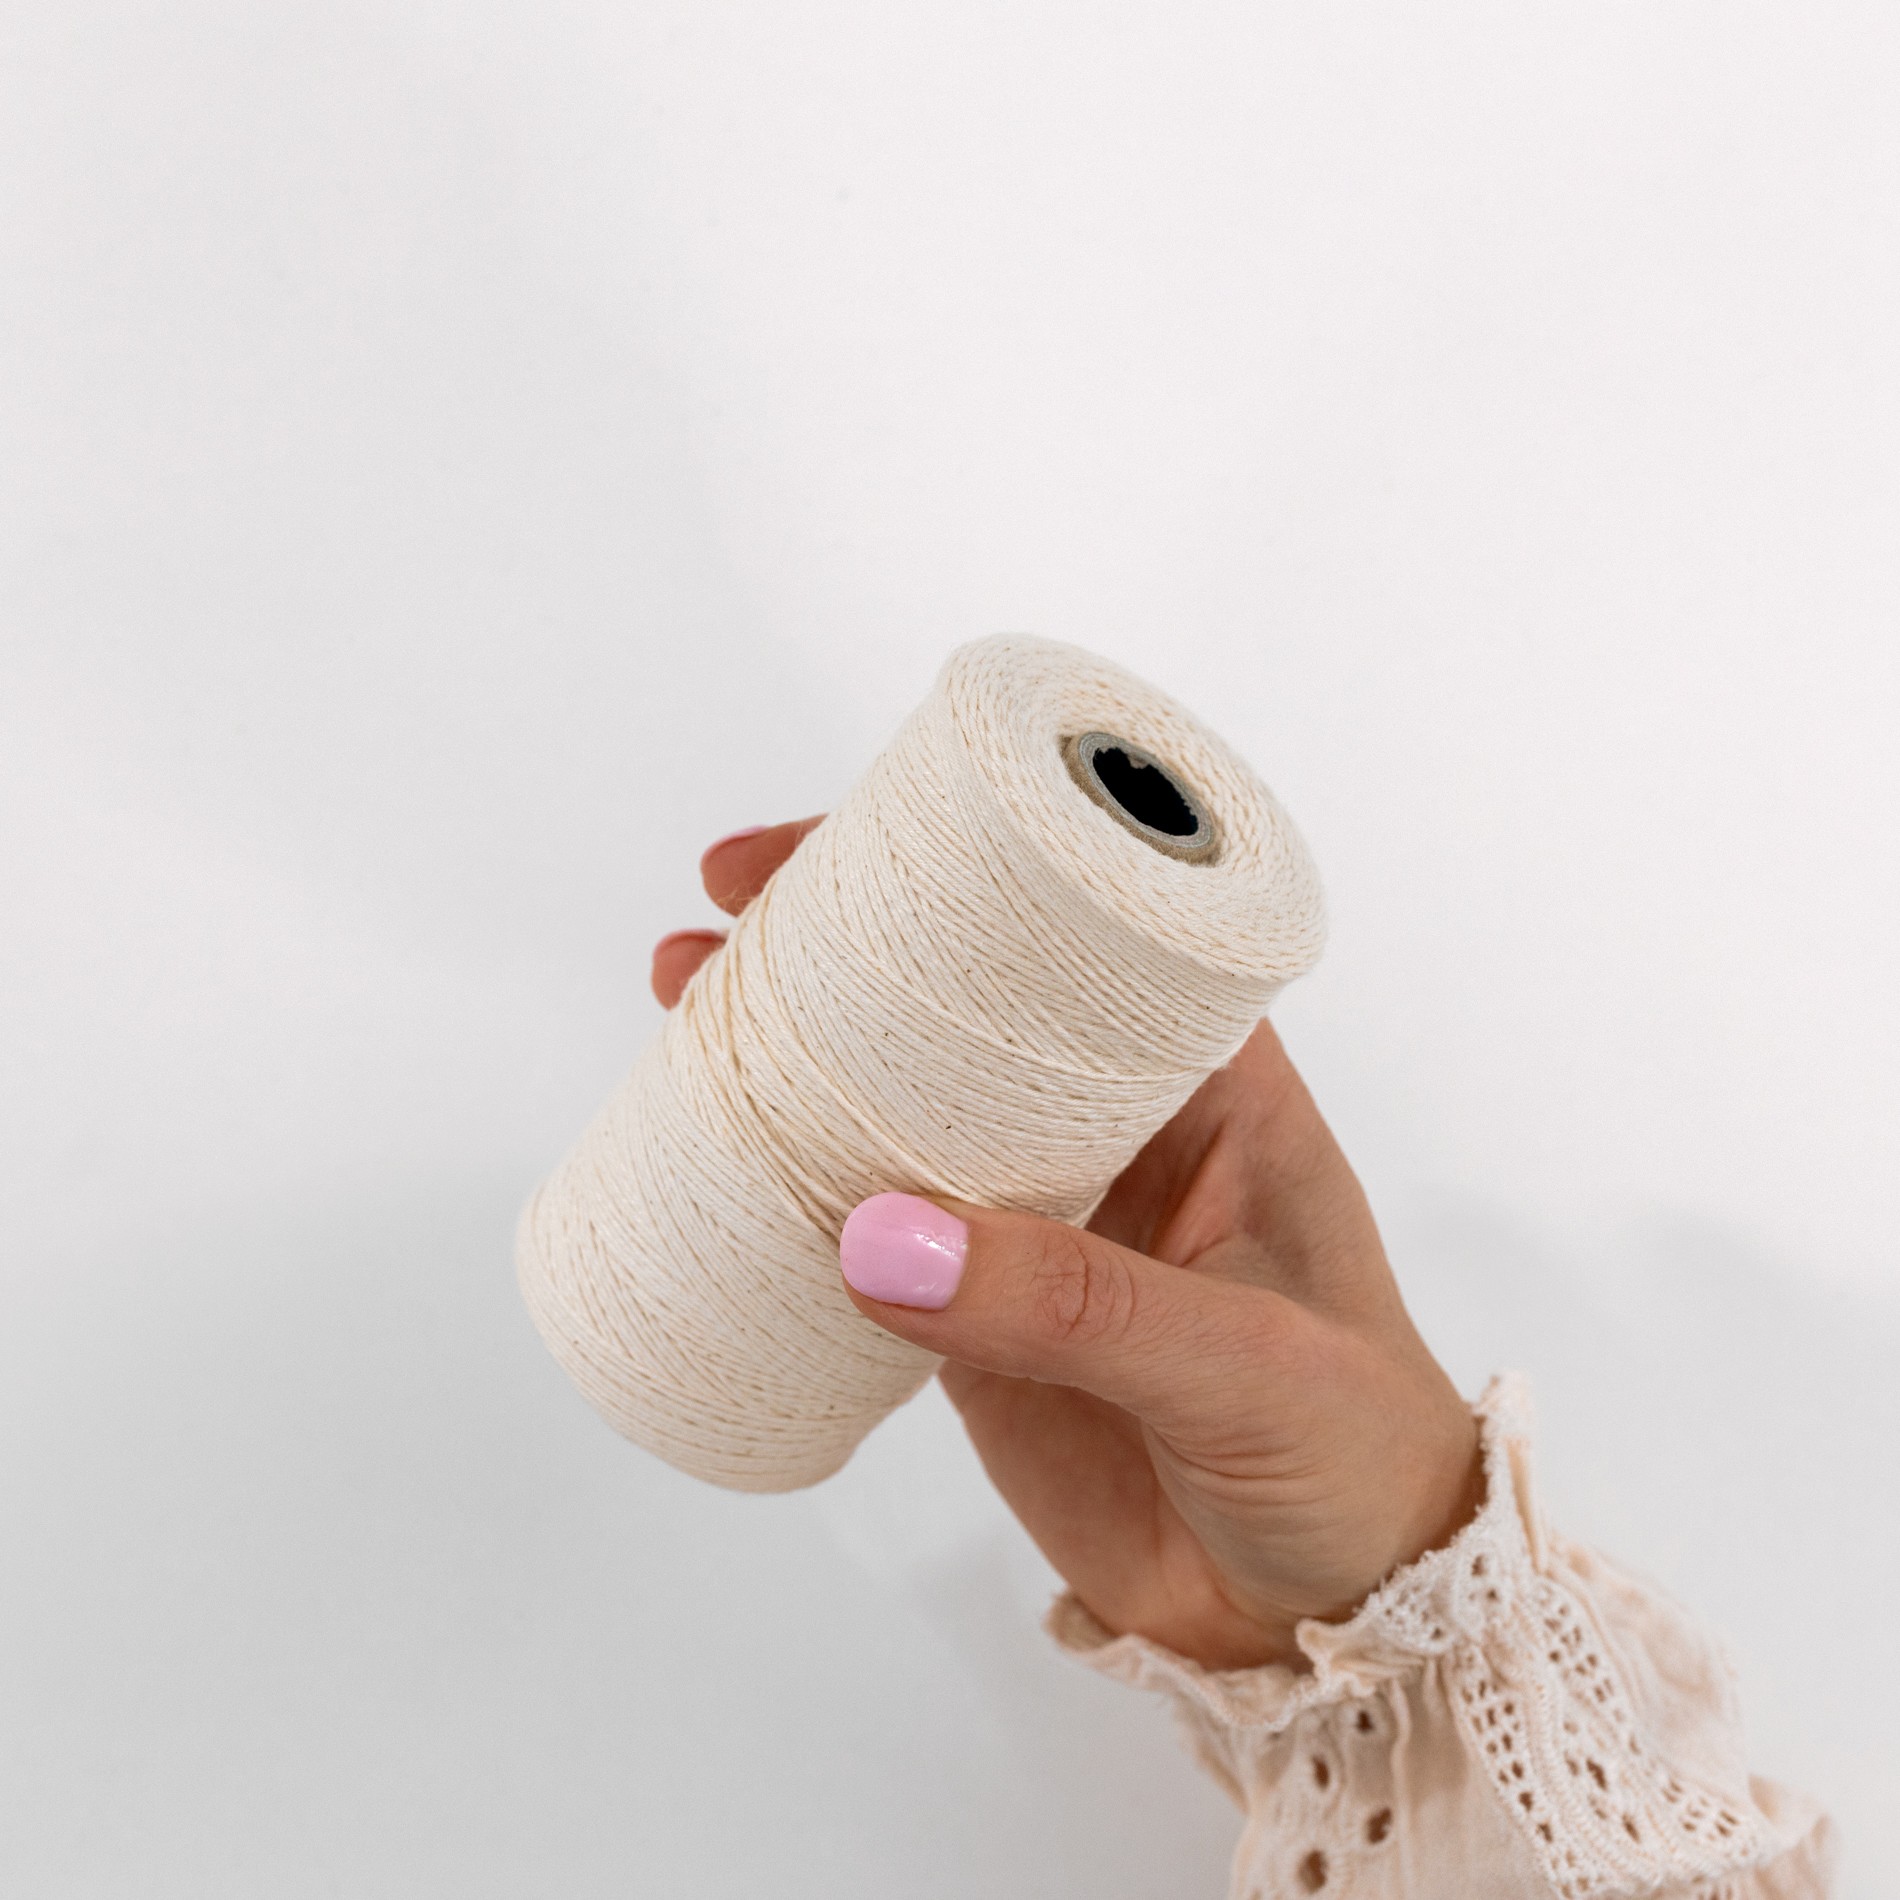
Warp thread is the vertical thread that forms the structure which you’ll weave upon. For this, I would suggest using a strong, non-stretchy cotton thread.
I use 100% cotton warping thread and have found that it works really well. You can find it at most craft stores or online.
Weft Yarn
These are the horizontal threads that you weave backward and forwards with to make up your woven wall hanging.
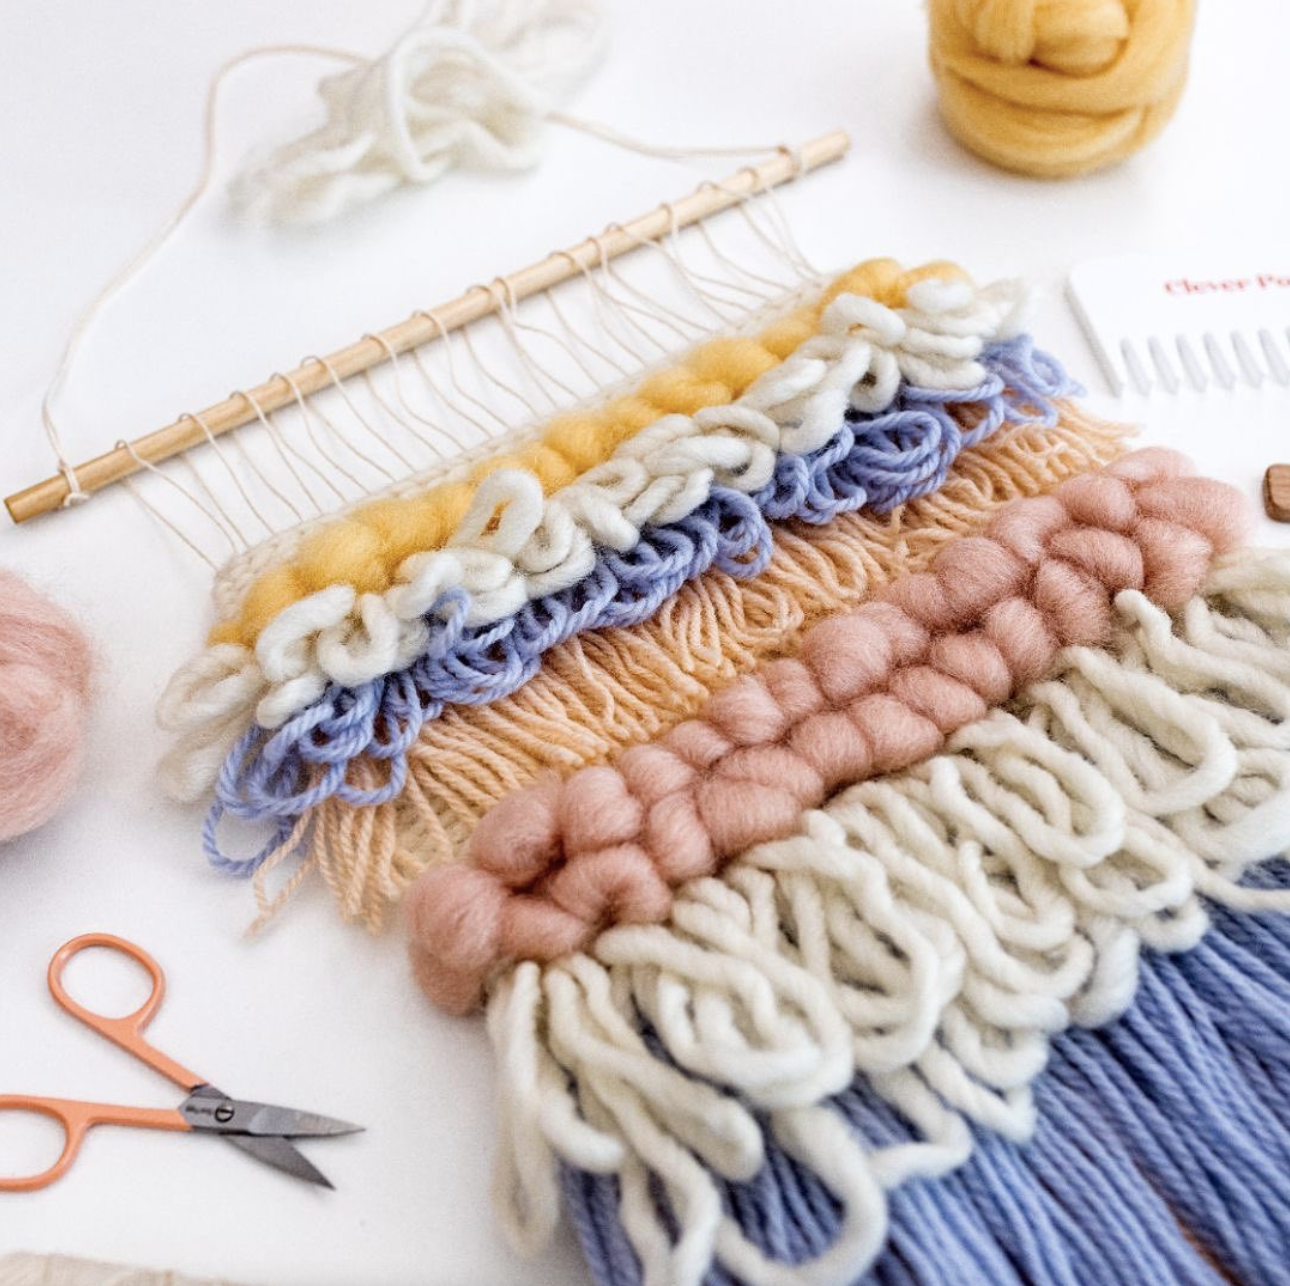
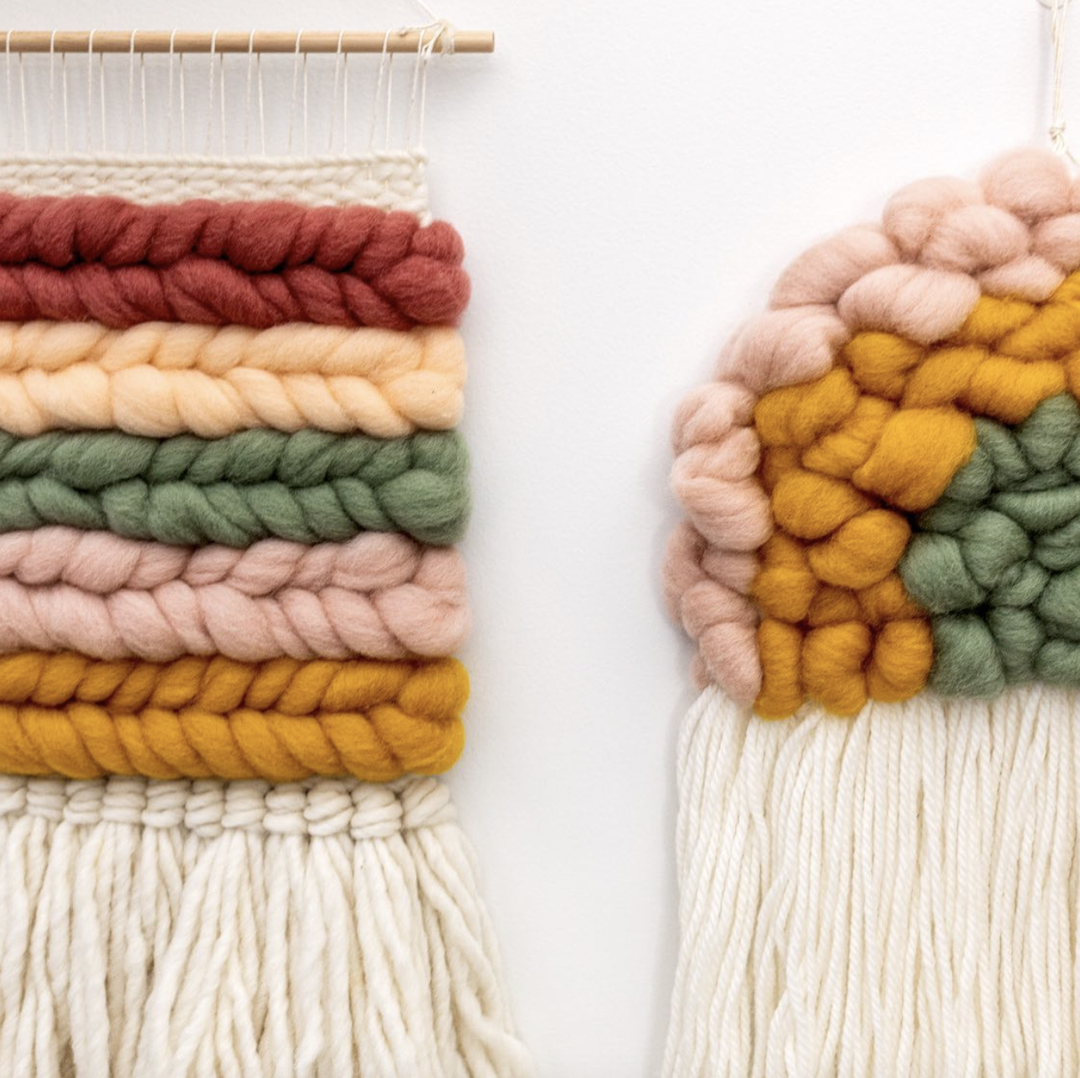
You can weave with pretty much anything your heart desires when it comes to the weft! For example, you could use yarn, wool roving, ribbon, rope, or chunky thread.
You can even cut your own fabric strips to use as your weft. It’s a lot of fun choosing your weft yarns for each project! I encourage you to raid your craft stash, explore op shops, or grab what's on special at your local craft store.
Here are my top suggestions for beginner weaving weft yarns:
-
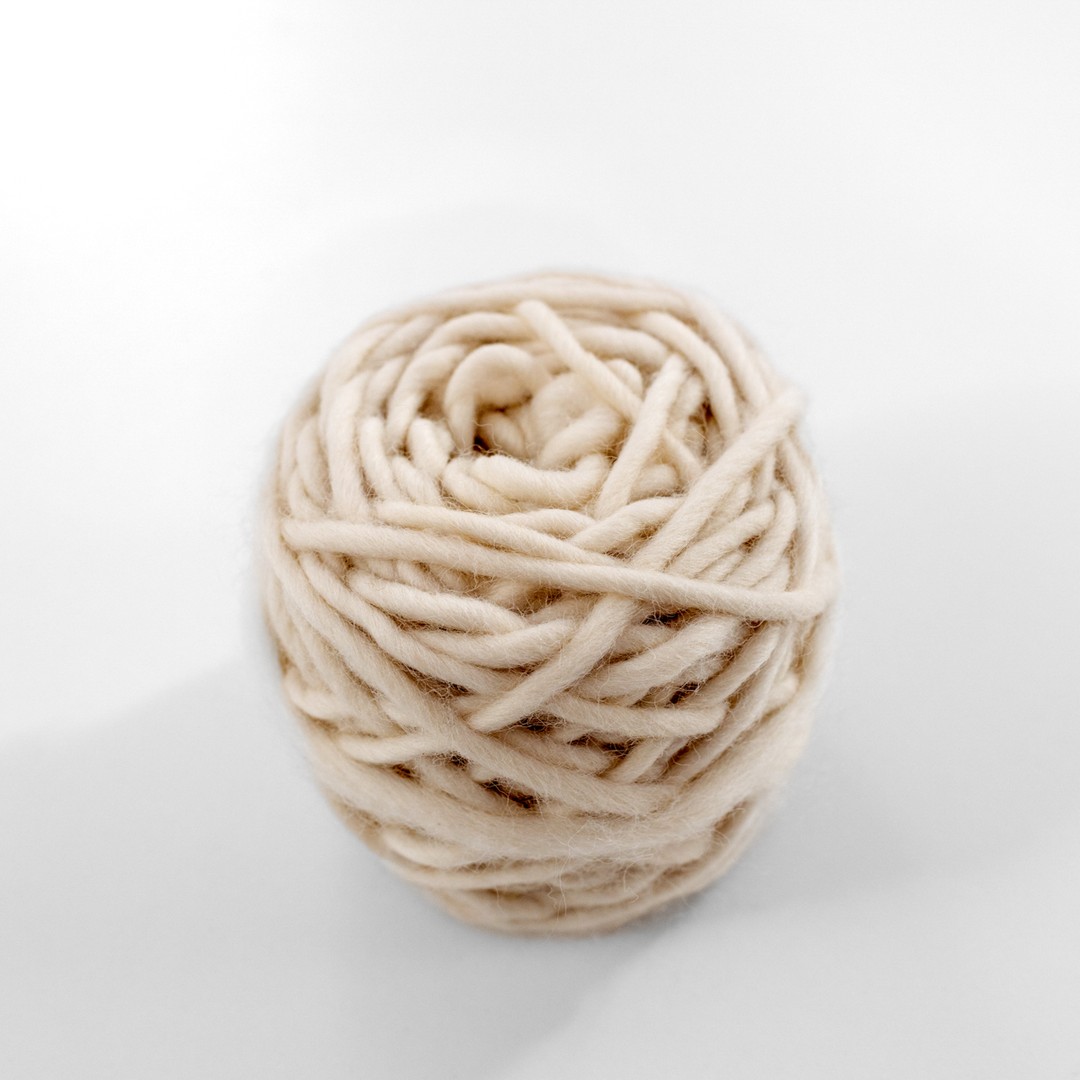
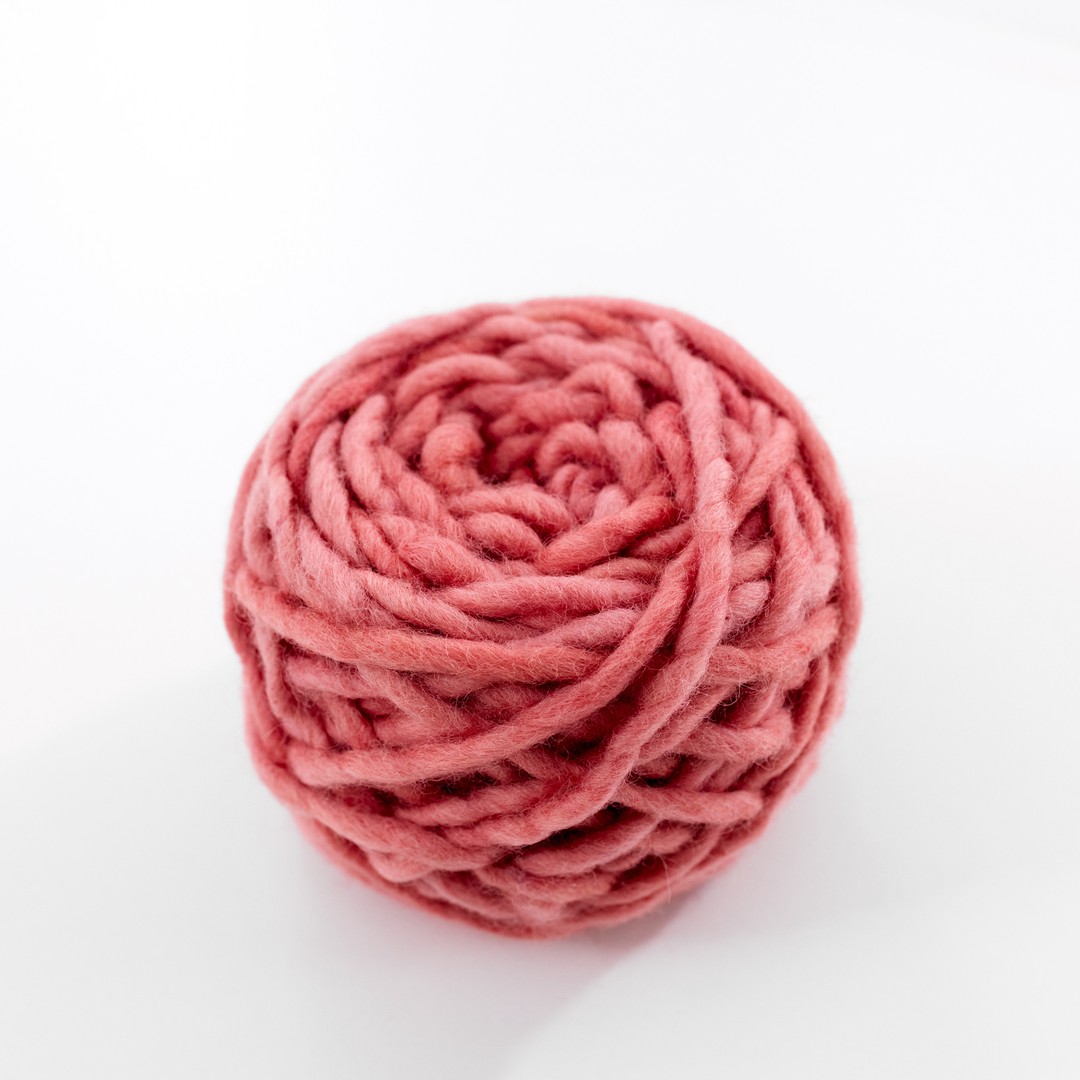
My favourite weft to use has got to be chunky yarn! For this, I’d recommend anything 12 ply and above. You can use 8 ply or finer, but in that case, you might like to double it over.
-
Wool or a wool blend weft works well. The nature of real wool means that it has teeny tiny scales. This helps it grip nicely to its surroundings, holding itself in place. Having said that, you’re more than welcome to weave with acrylic yarns! Just note that they might be a bit more slippery in terms of a hold than wool.
-
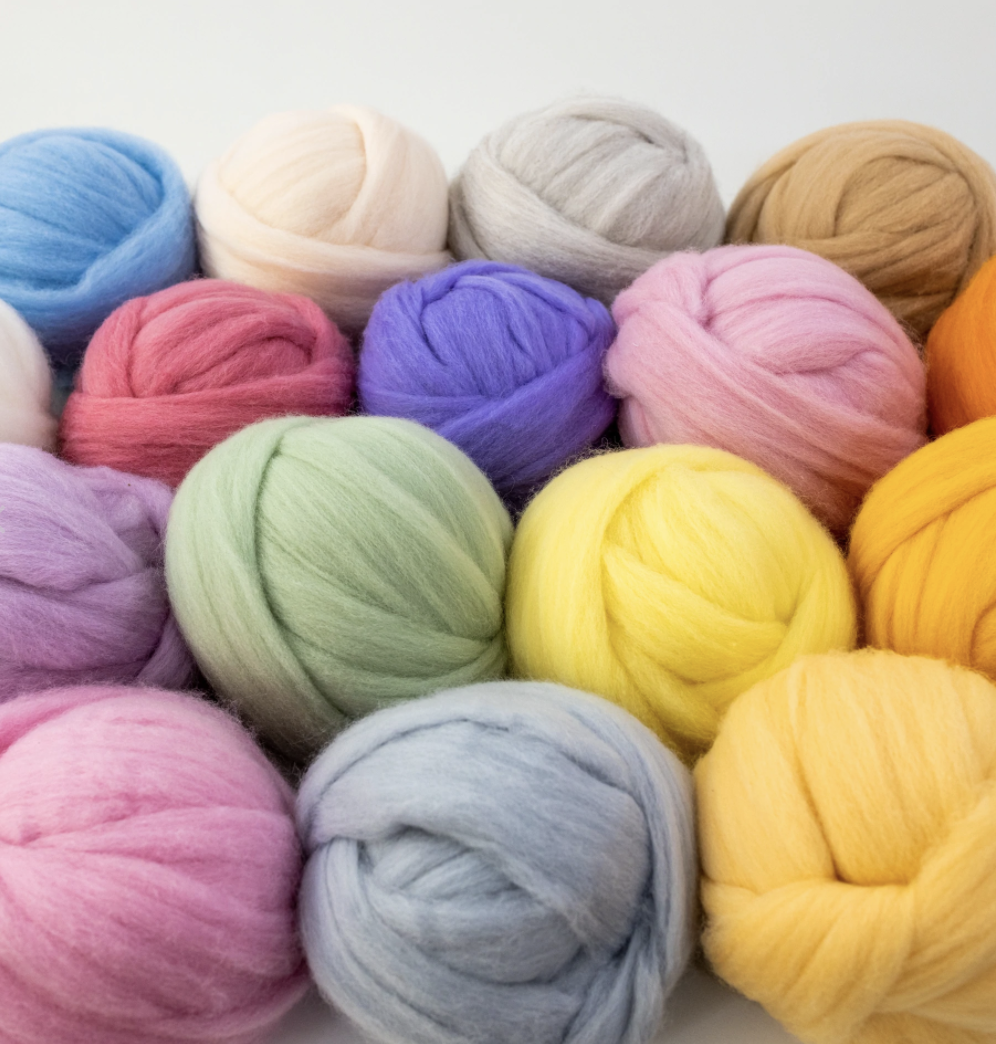
Wool Roving (also known as fibre or sliver) is such an amazing material to work with for your wall hangings! You really can’t beat this supply for the wow factor. I would suggest using Merino or Corriedale grade wool roving for this.
Something you will notice in your weaving journey (but I will tell you now) is that the chunkier your wool is, the quicker you will finish your weaving. This is because chunky wool fills up your warp more quickly than finer yarn.
Weaving Needle
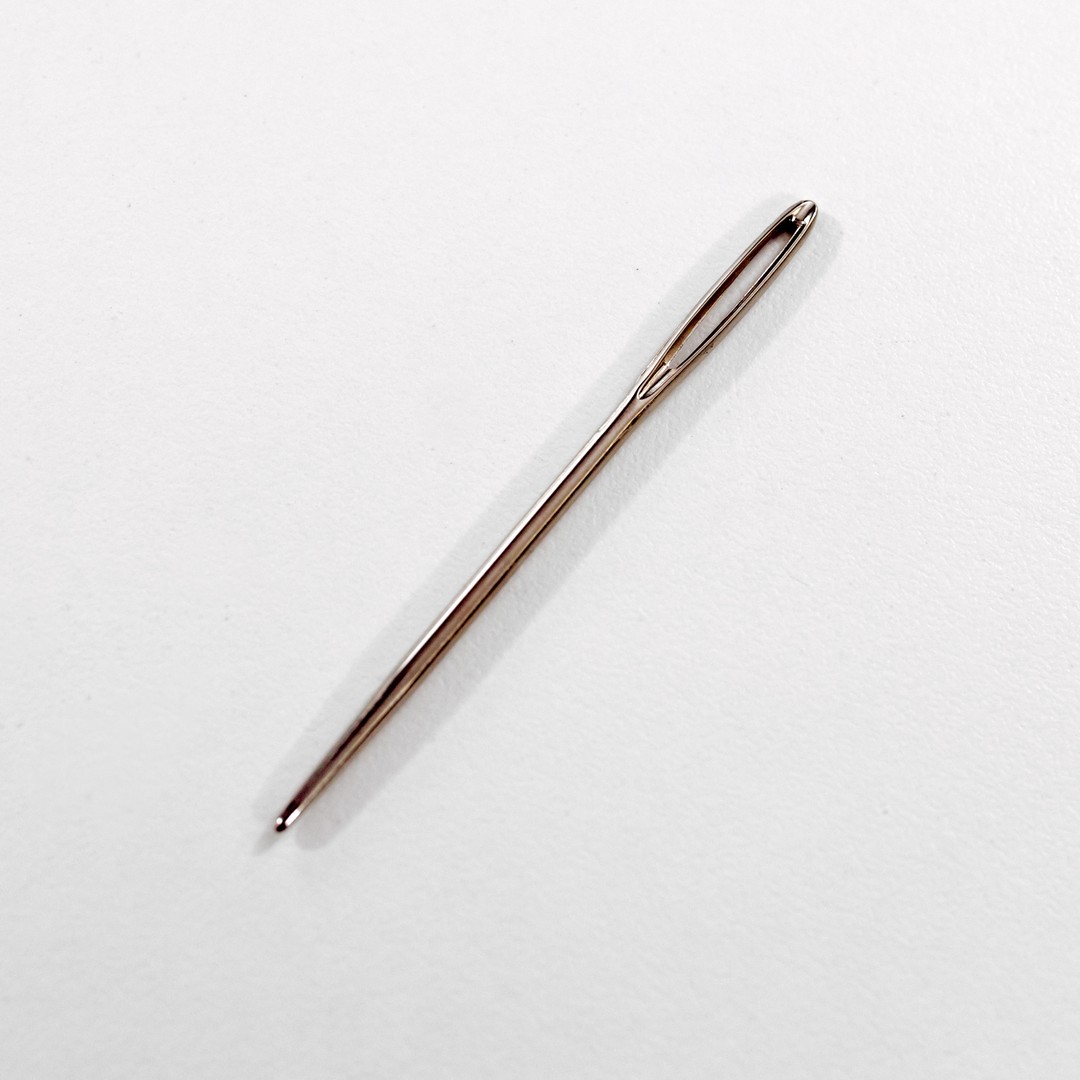
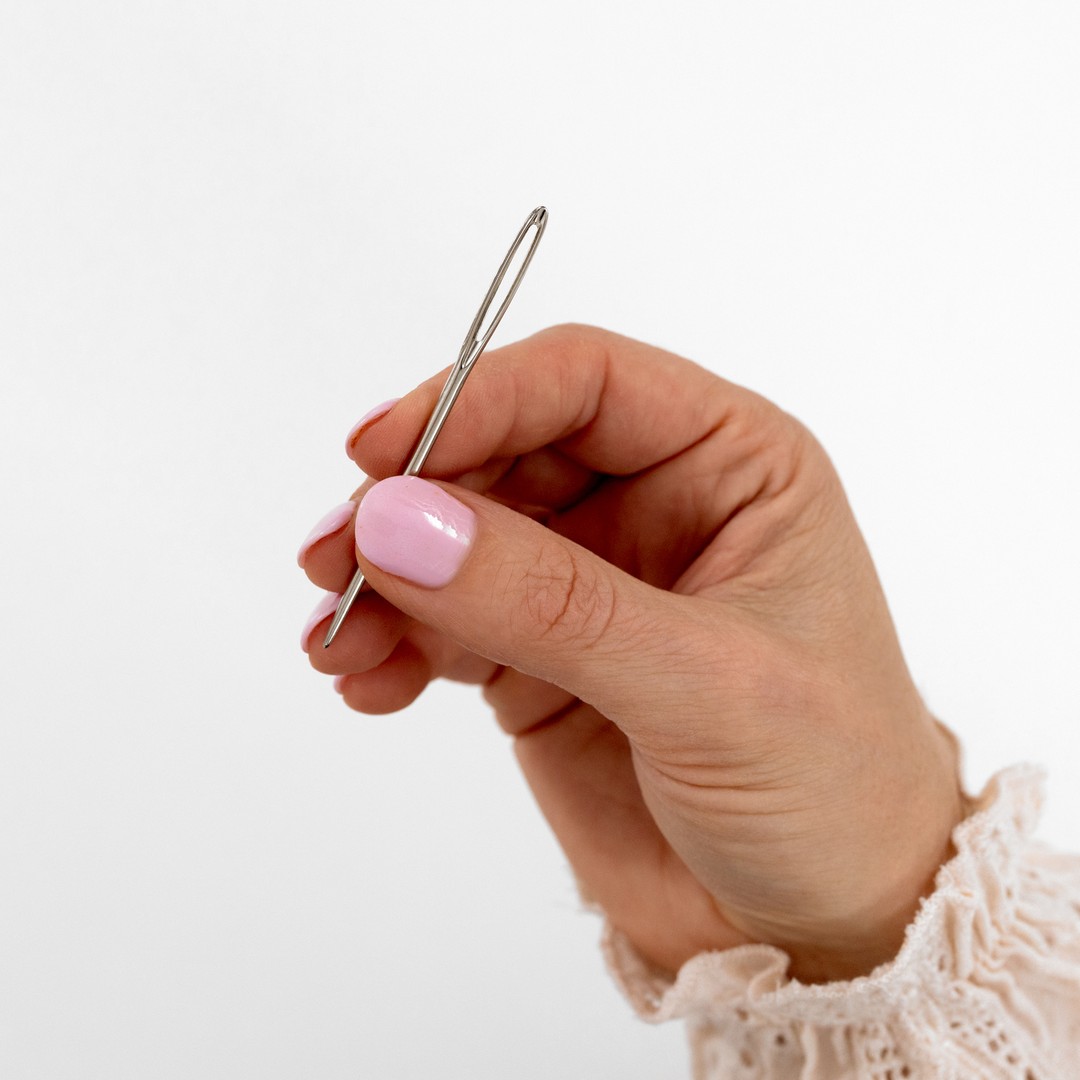
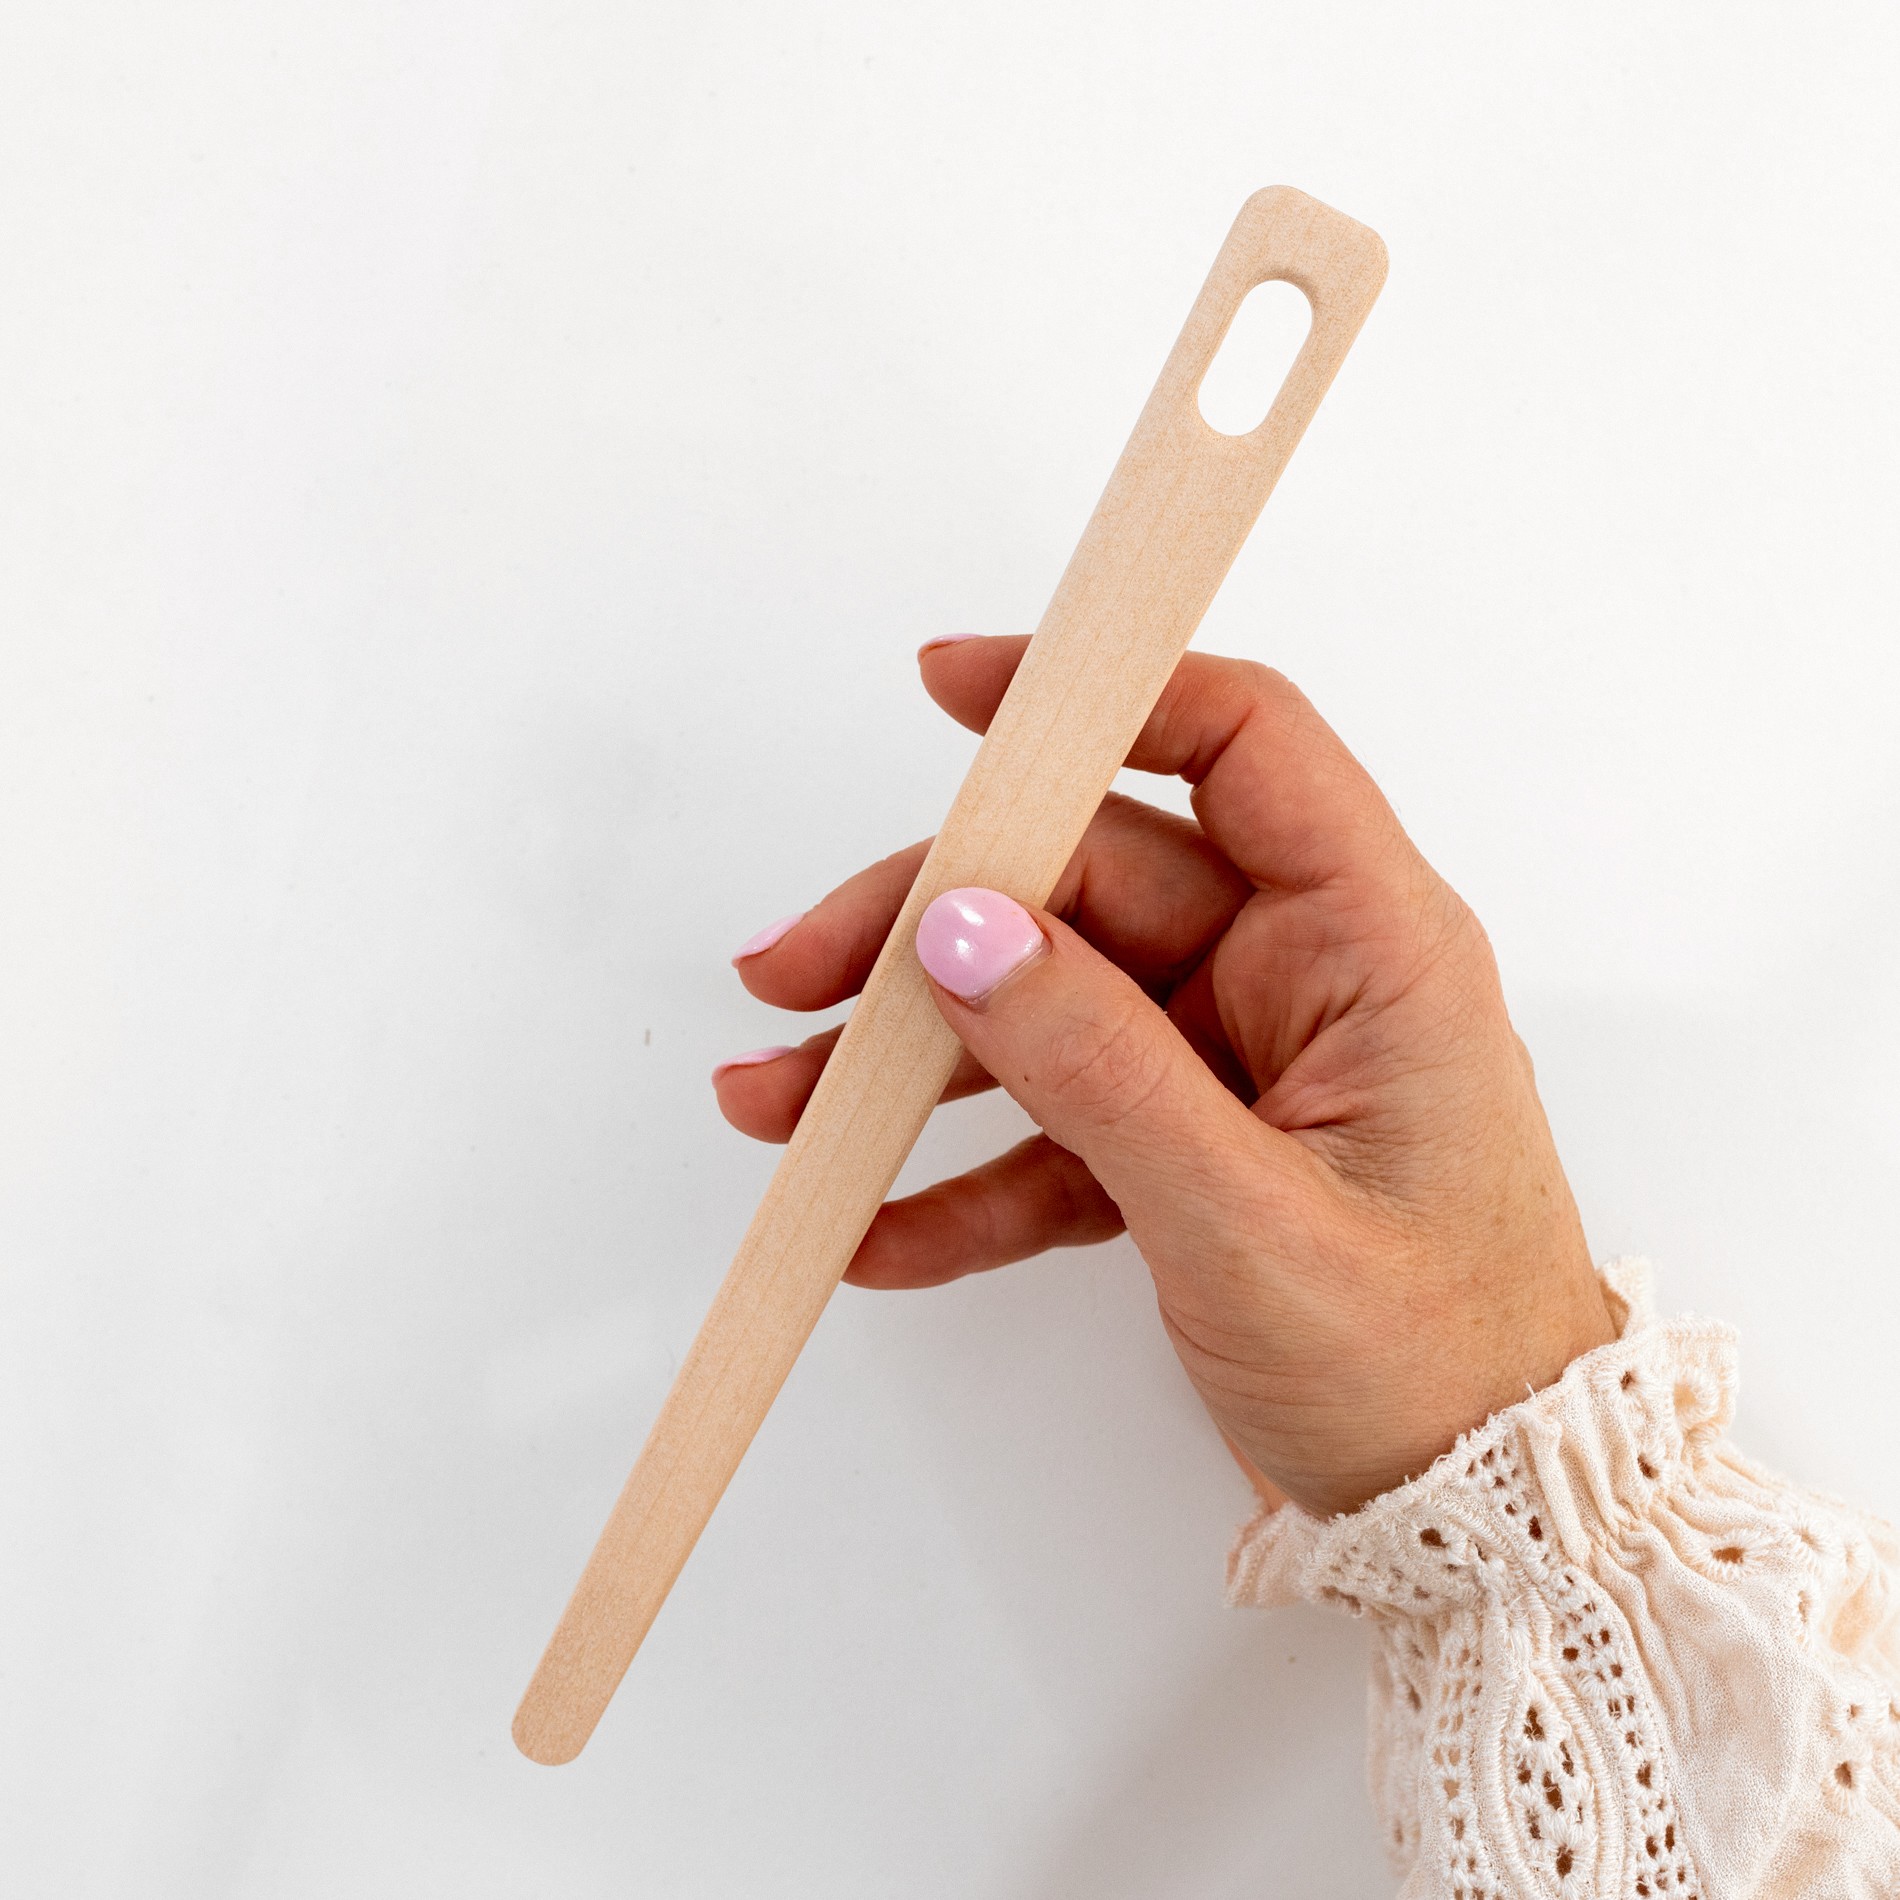
A weaving needle is a super-sized, large, blunt needle that comes to a tapered point. This needle carries your weft yarn across the warp. These come in all sorts of sizes and are made with all kinds of materials (wood, acrylic, etc). The difference between this needle and a yarn needle is that a weaving needle is generally a lot bigger and longer. Because it's bigger, you can carry it across a lot of warp threads in one motion, which is really helpful. I’ve found that the longer the needle is, the better!
Another thing to keep in mind is that your weaving needle needs an eye big enough to thread your weft yarn with.
But if you don’t have one, that’s fine. You could always just use a yarn needle.
Weaving Comb
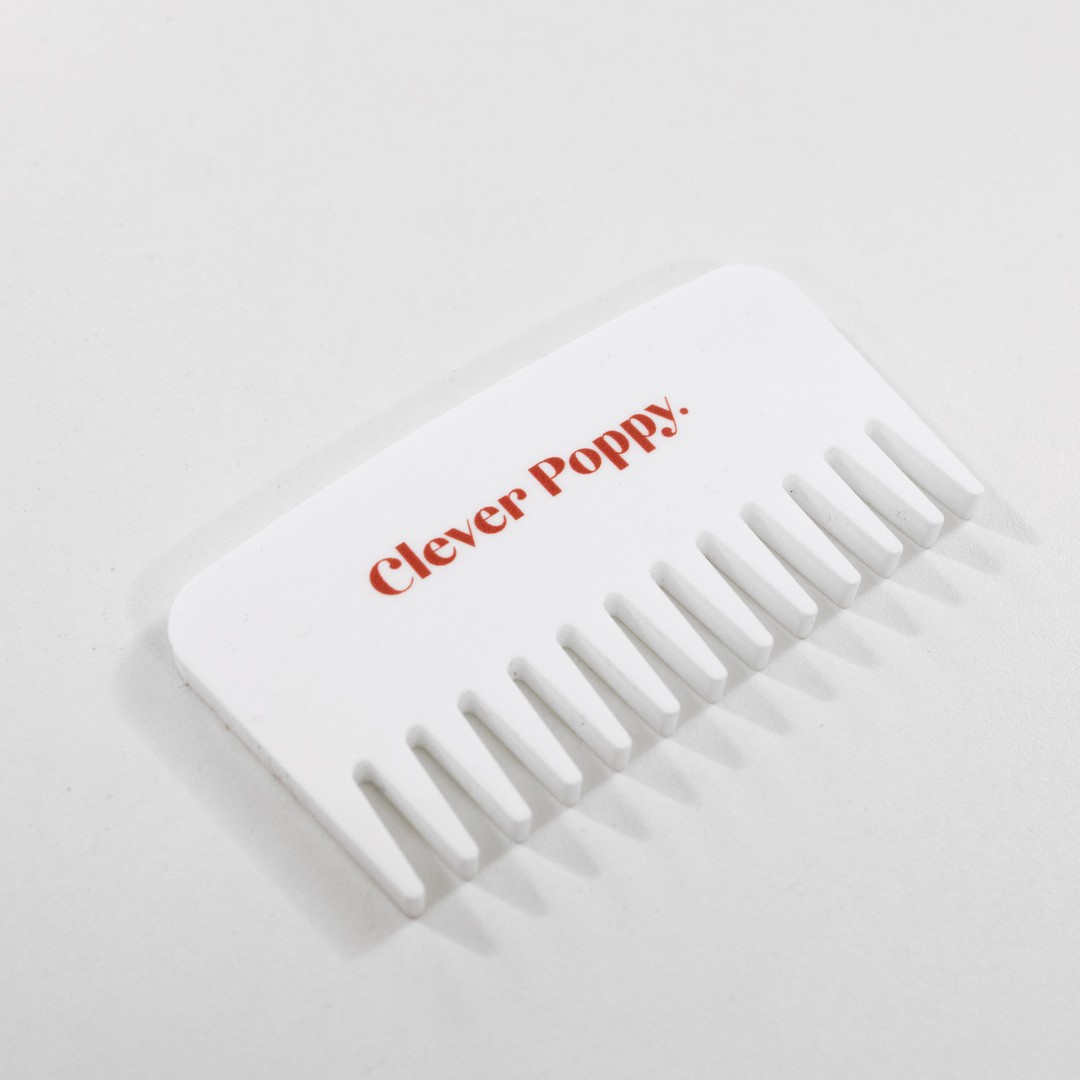
A weaving comb is a super helpful tool that you can use to beat down your weft rows into place. This will help you achieve good tension across your weave. But don’t worry if you don’t have one of these available, a fork is a great alternative.
Scissors
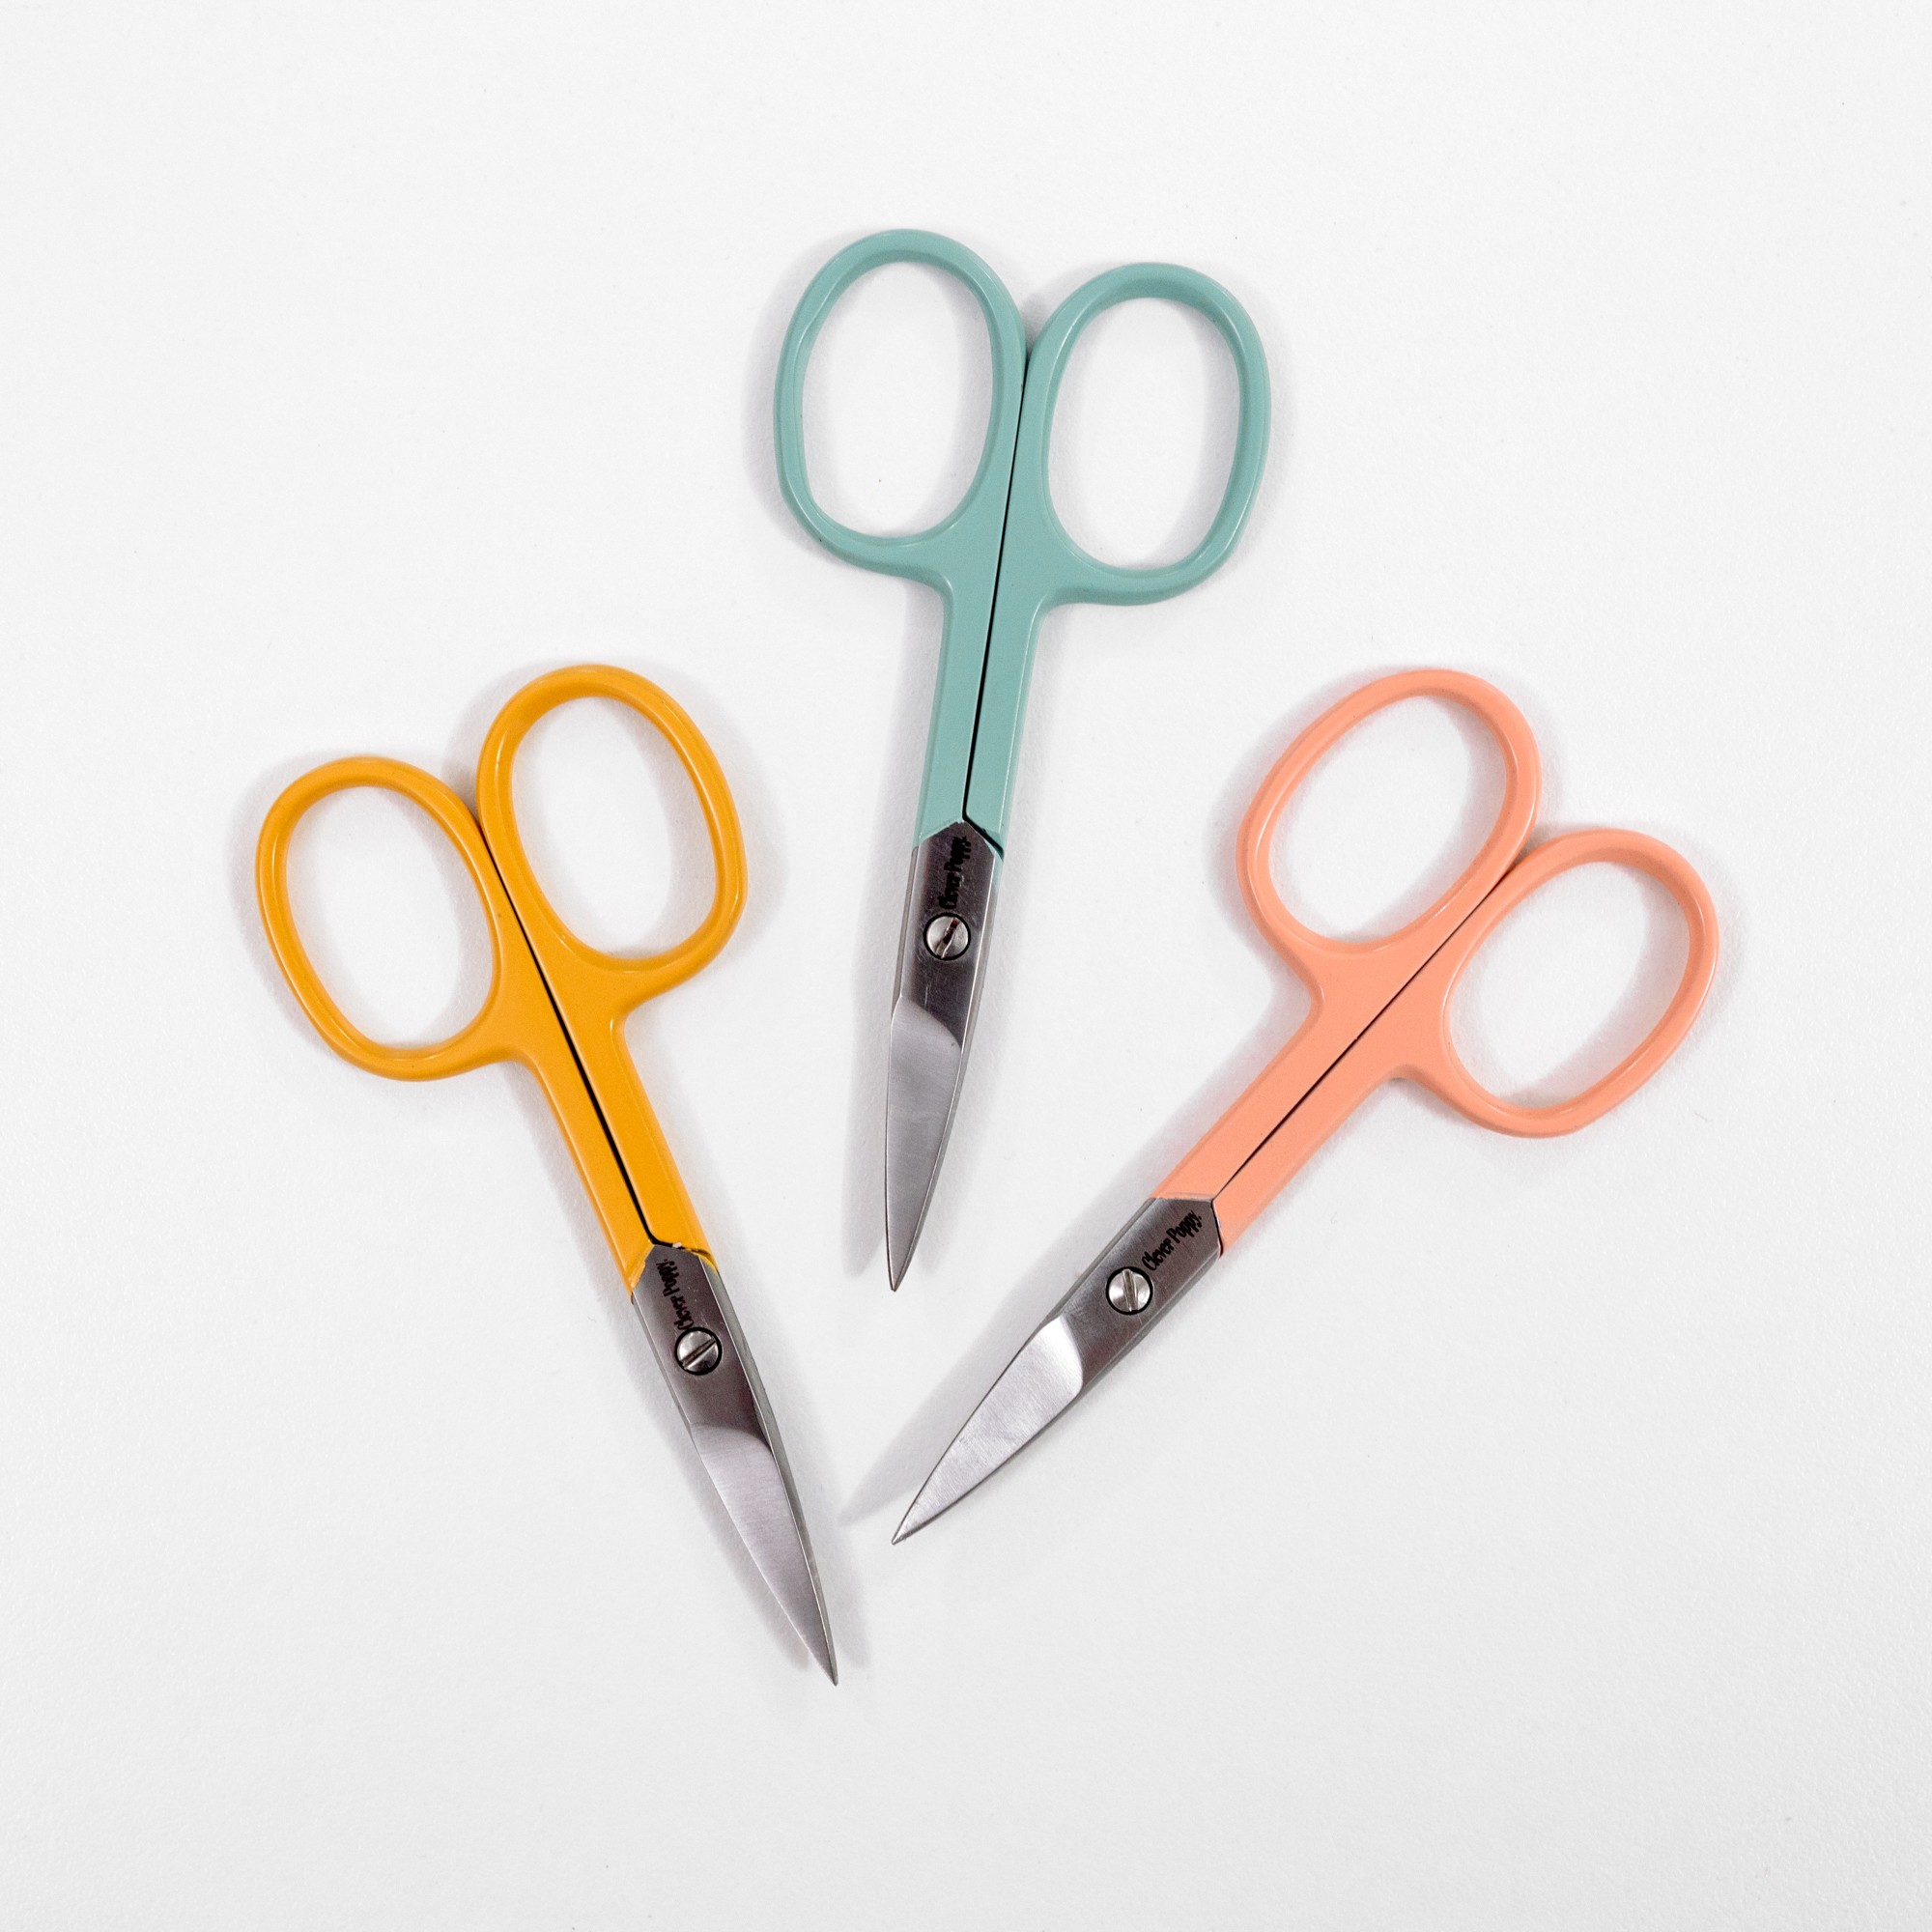
As a weaving beginner, you’ll need some nice sharp scissors. I would recommend embroidery scissors as these are smaller, so this will allow you to get in close with your weaving and snip bits with precision (and not accidentally snip off the structure that holds it together). But it’s also useful to have some bigger scissors on hand to help trim the tassels.
Yarn or Tapestry Needle
A yarn needle is useful in weaving for tidying up your tails and for other weaving techniques such as hem stitch and sewing your dowel onto your weave.
But you may be wondering what a yarn needle is? This is a large blunt needle (usually metal or plastic) that has an eye large enough to thread your weft yarn through. It's also called a tapestry needle.
Dowel
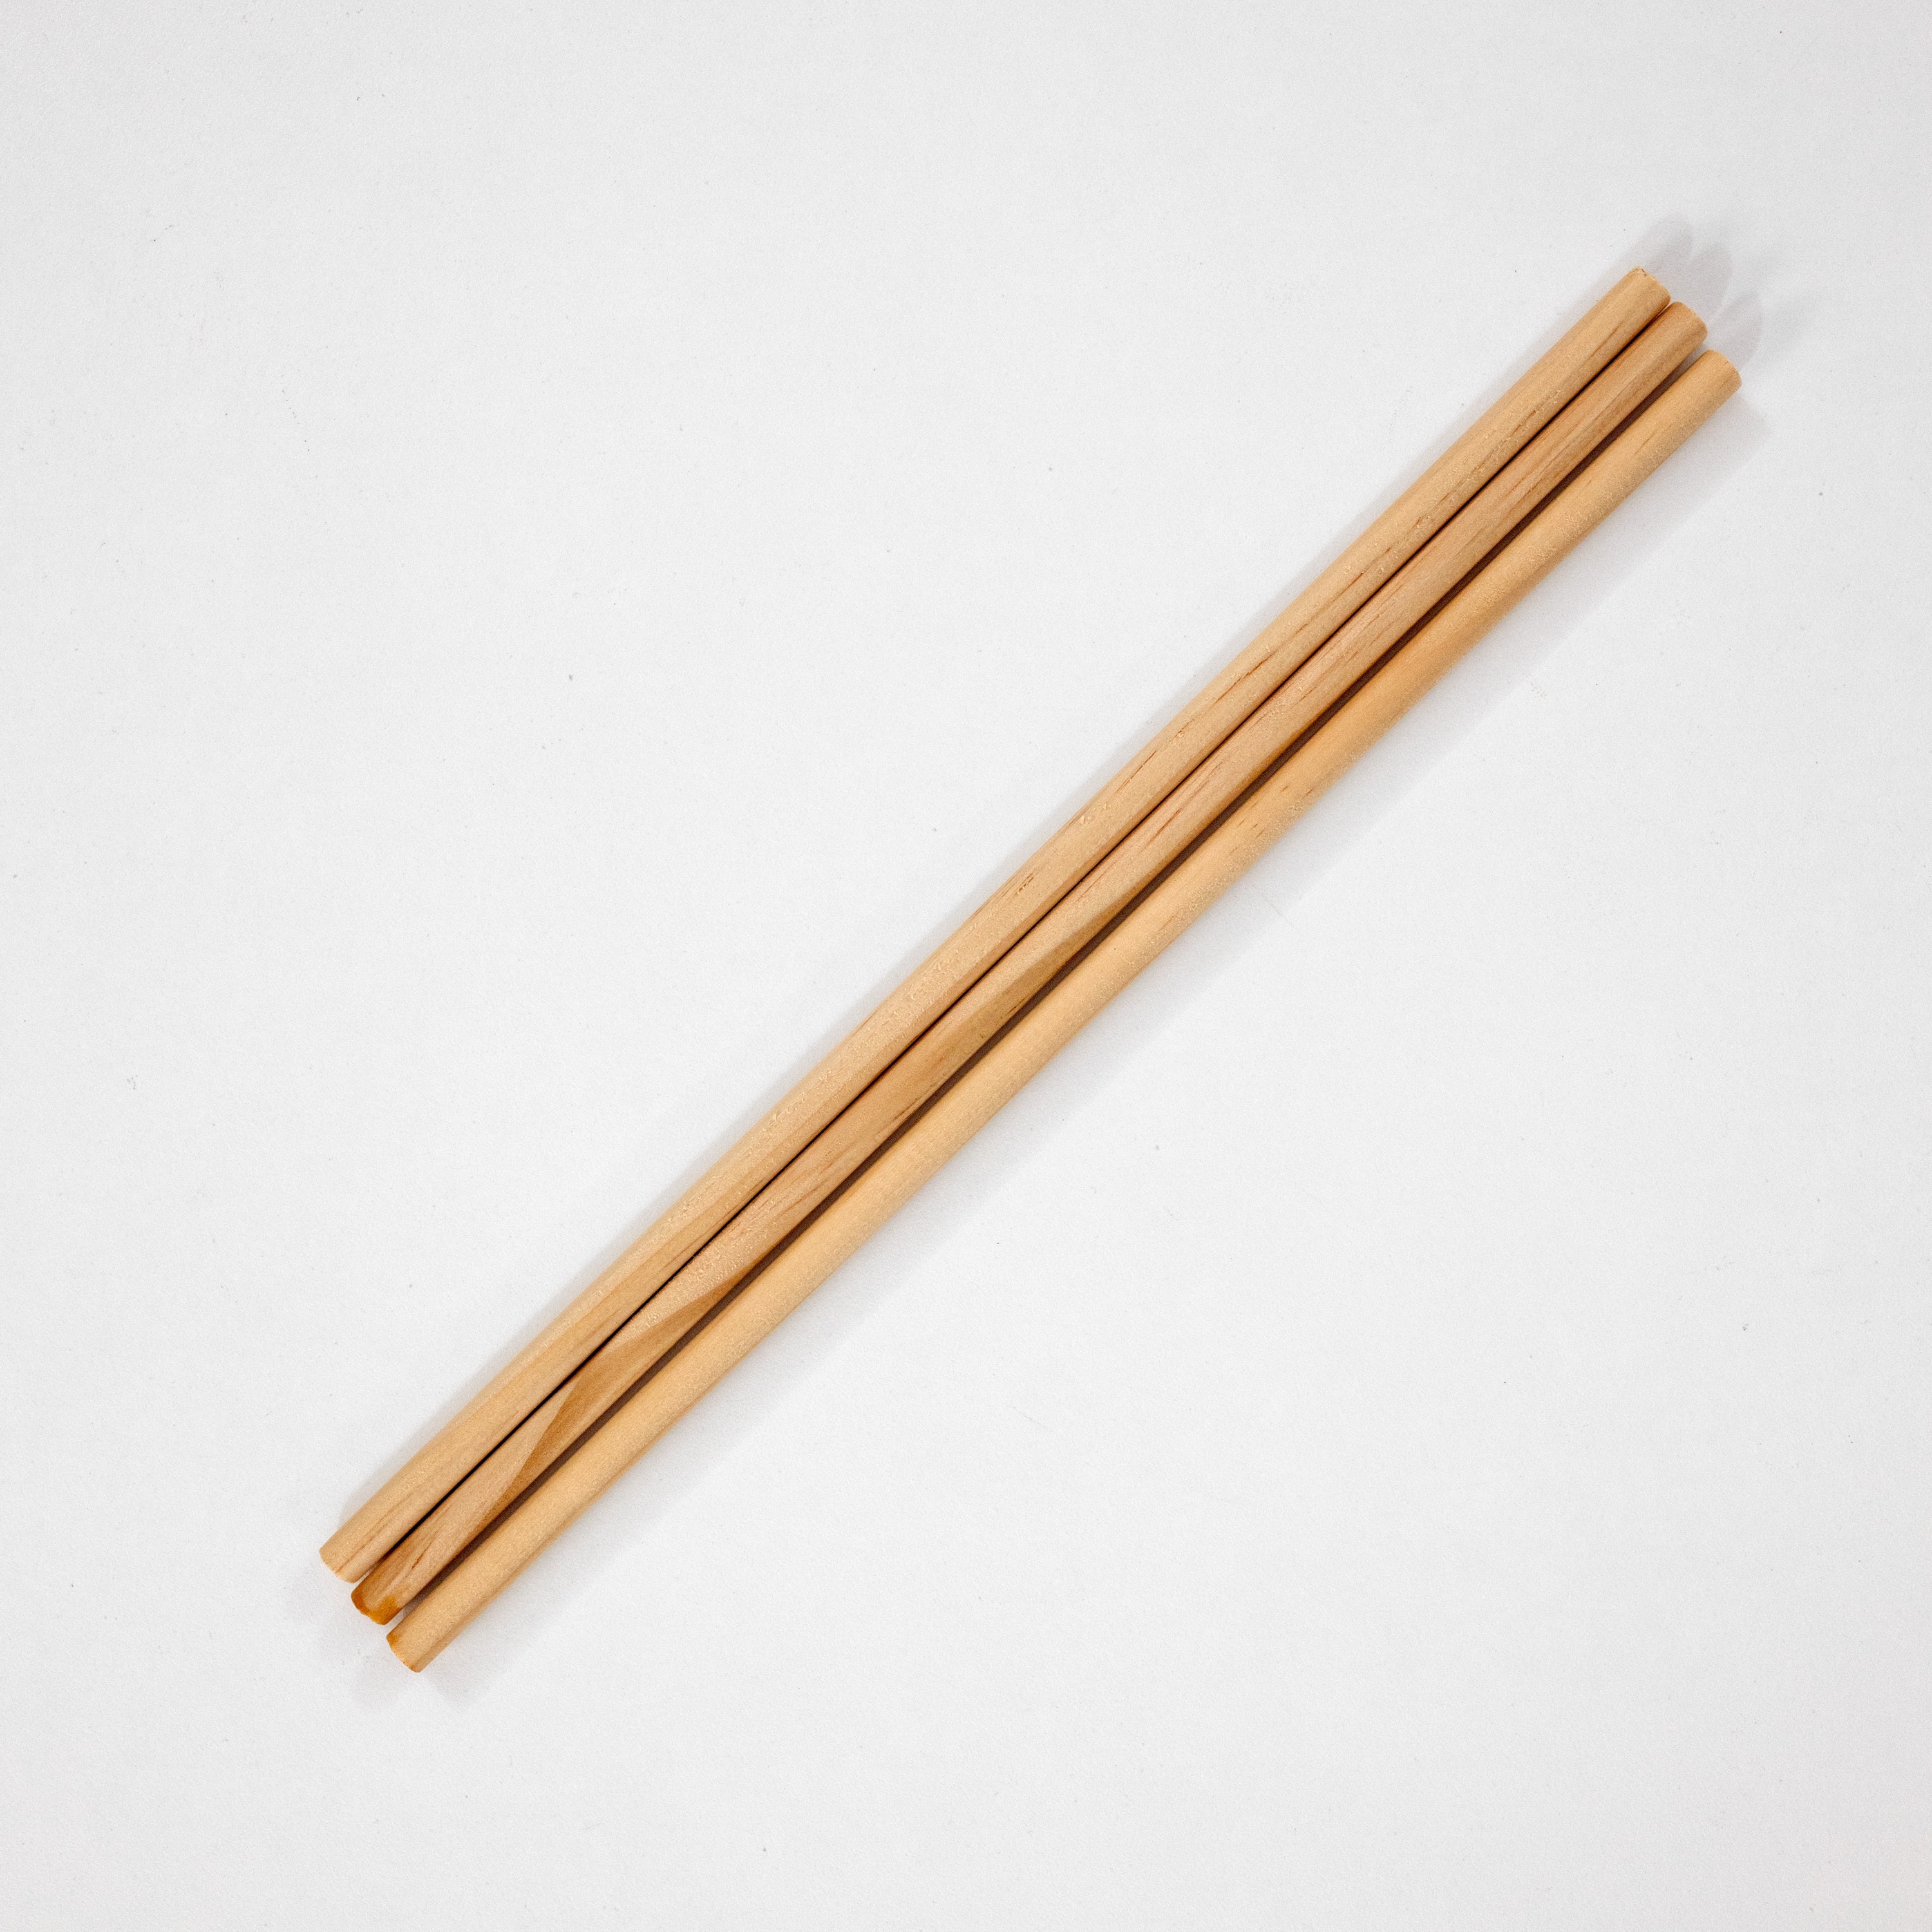
A dowel is what you will hang your wall hanging on once it's finished. You can buy wooden dowels at craft stores, use a branch, driftwood, or anything else that’s stick-shaped.
Warp Card
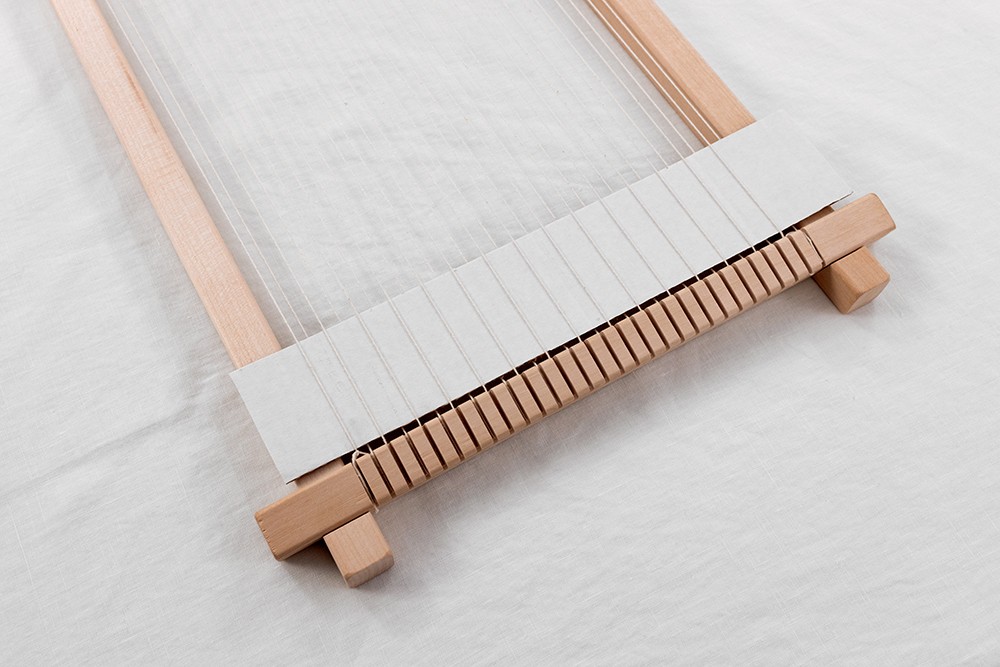
When you are weaving, a great idea is to weave a thin, flexible piece of card into the bottom of your warp to hold your first row of weaving in from the bottom of your weave (this becomes useful later, once you are tying the warp threads together to finish your weaving). I would definitely recommend using a warp card as a beginner!
To make your own warp card, cut a piece of thin cardboard a bit wider than your loom, and weave it over and under across the warp (as you do with your weft yarn).
Keep the warp card in place while you’re weaving, and remove it once you’re ready to take your woven wall hanging off the loom.
Other Tools
These bonus tools aren't necessary for a beginner weaver, but it’s helpful to know what options are out there for later on in your weaving journey!
-
SHUTTLE: This is a tool that helps you carry larger quantities of weft yarn across your warp. This means you spend less time pulling through the slack on your yarn and rethreading shorter pieces.
-
SHED STICK: This is a flat stick, which you can insert into your warp to open up a passageway through the warp threads. A shed stick allows you to weave back and forth faster across your loom. It can only open up the warp threads one direction at a time.
-
HEDDLE BAR: This is an addition to your loom, which you add to the mix when you warp your loom. It opens up a passageway in both directions through the warp threads, meaning you can speed up the weaving process even more!
Conclusion
I hope you feel much more confident in your weaving journey now that you have all the information about weaving supplies you will need to create your own DIY wall hangings.
I was once a beginner too, so I know how it feels when you have all this new information thrown at you. But once you make your first woven wall hanging, you’ll see how everything comes together and makes a lot more sense!
When it comes to buying supplies, you can find great options at your local craft store or even a second-hand shop. Many online stores also offer a wide range of weaving materials, making it easy to get everything you need to start your project!
If you liked this blog, you might also like my other blog, Make Your Own DIY Easy Beginner Frame Loom for Weaving.
I would love to know what the first project is that you will weave?
