A Beginner's Guide to Using Transfer Pens
Introduction
One of the first steps for working on an embroidery pattern is transferring the design onto your fabric.
But before you get started, you're going to need to learn about all the different and wonderful transfer pens you can use to transfer on your design.
This a key thing to consider – because you might not end up covering all of the template lines with your stitches – for instance, if you alter the design, or go off track (we all do it!). That’s why using an erasable pen is fantastic – once you finish stitching, you can easily remove any visible marks, and your final piece will look neat and tidy.
So buckle yourself in, let's get started!
Tip to test before you start stitching: Just cut off a surplus corner or edge of your fabric, draw some lines with the pen, carry out the removal method, and check it works as expected. Better safe than sorry, right!?
Tip to draw fine lines: With any pen, it is usually better to draw a nice fine line than a super chunky outline. So long as it’s visible, this means less hassle removing pen marks at the end.
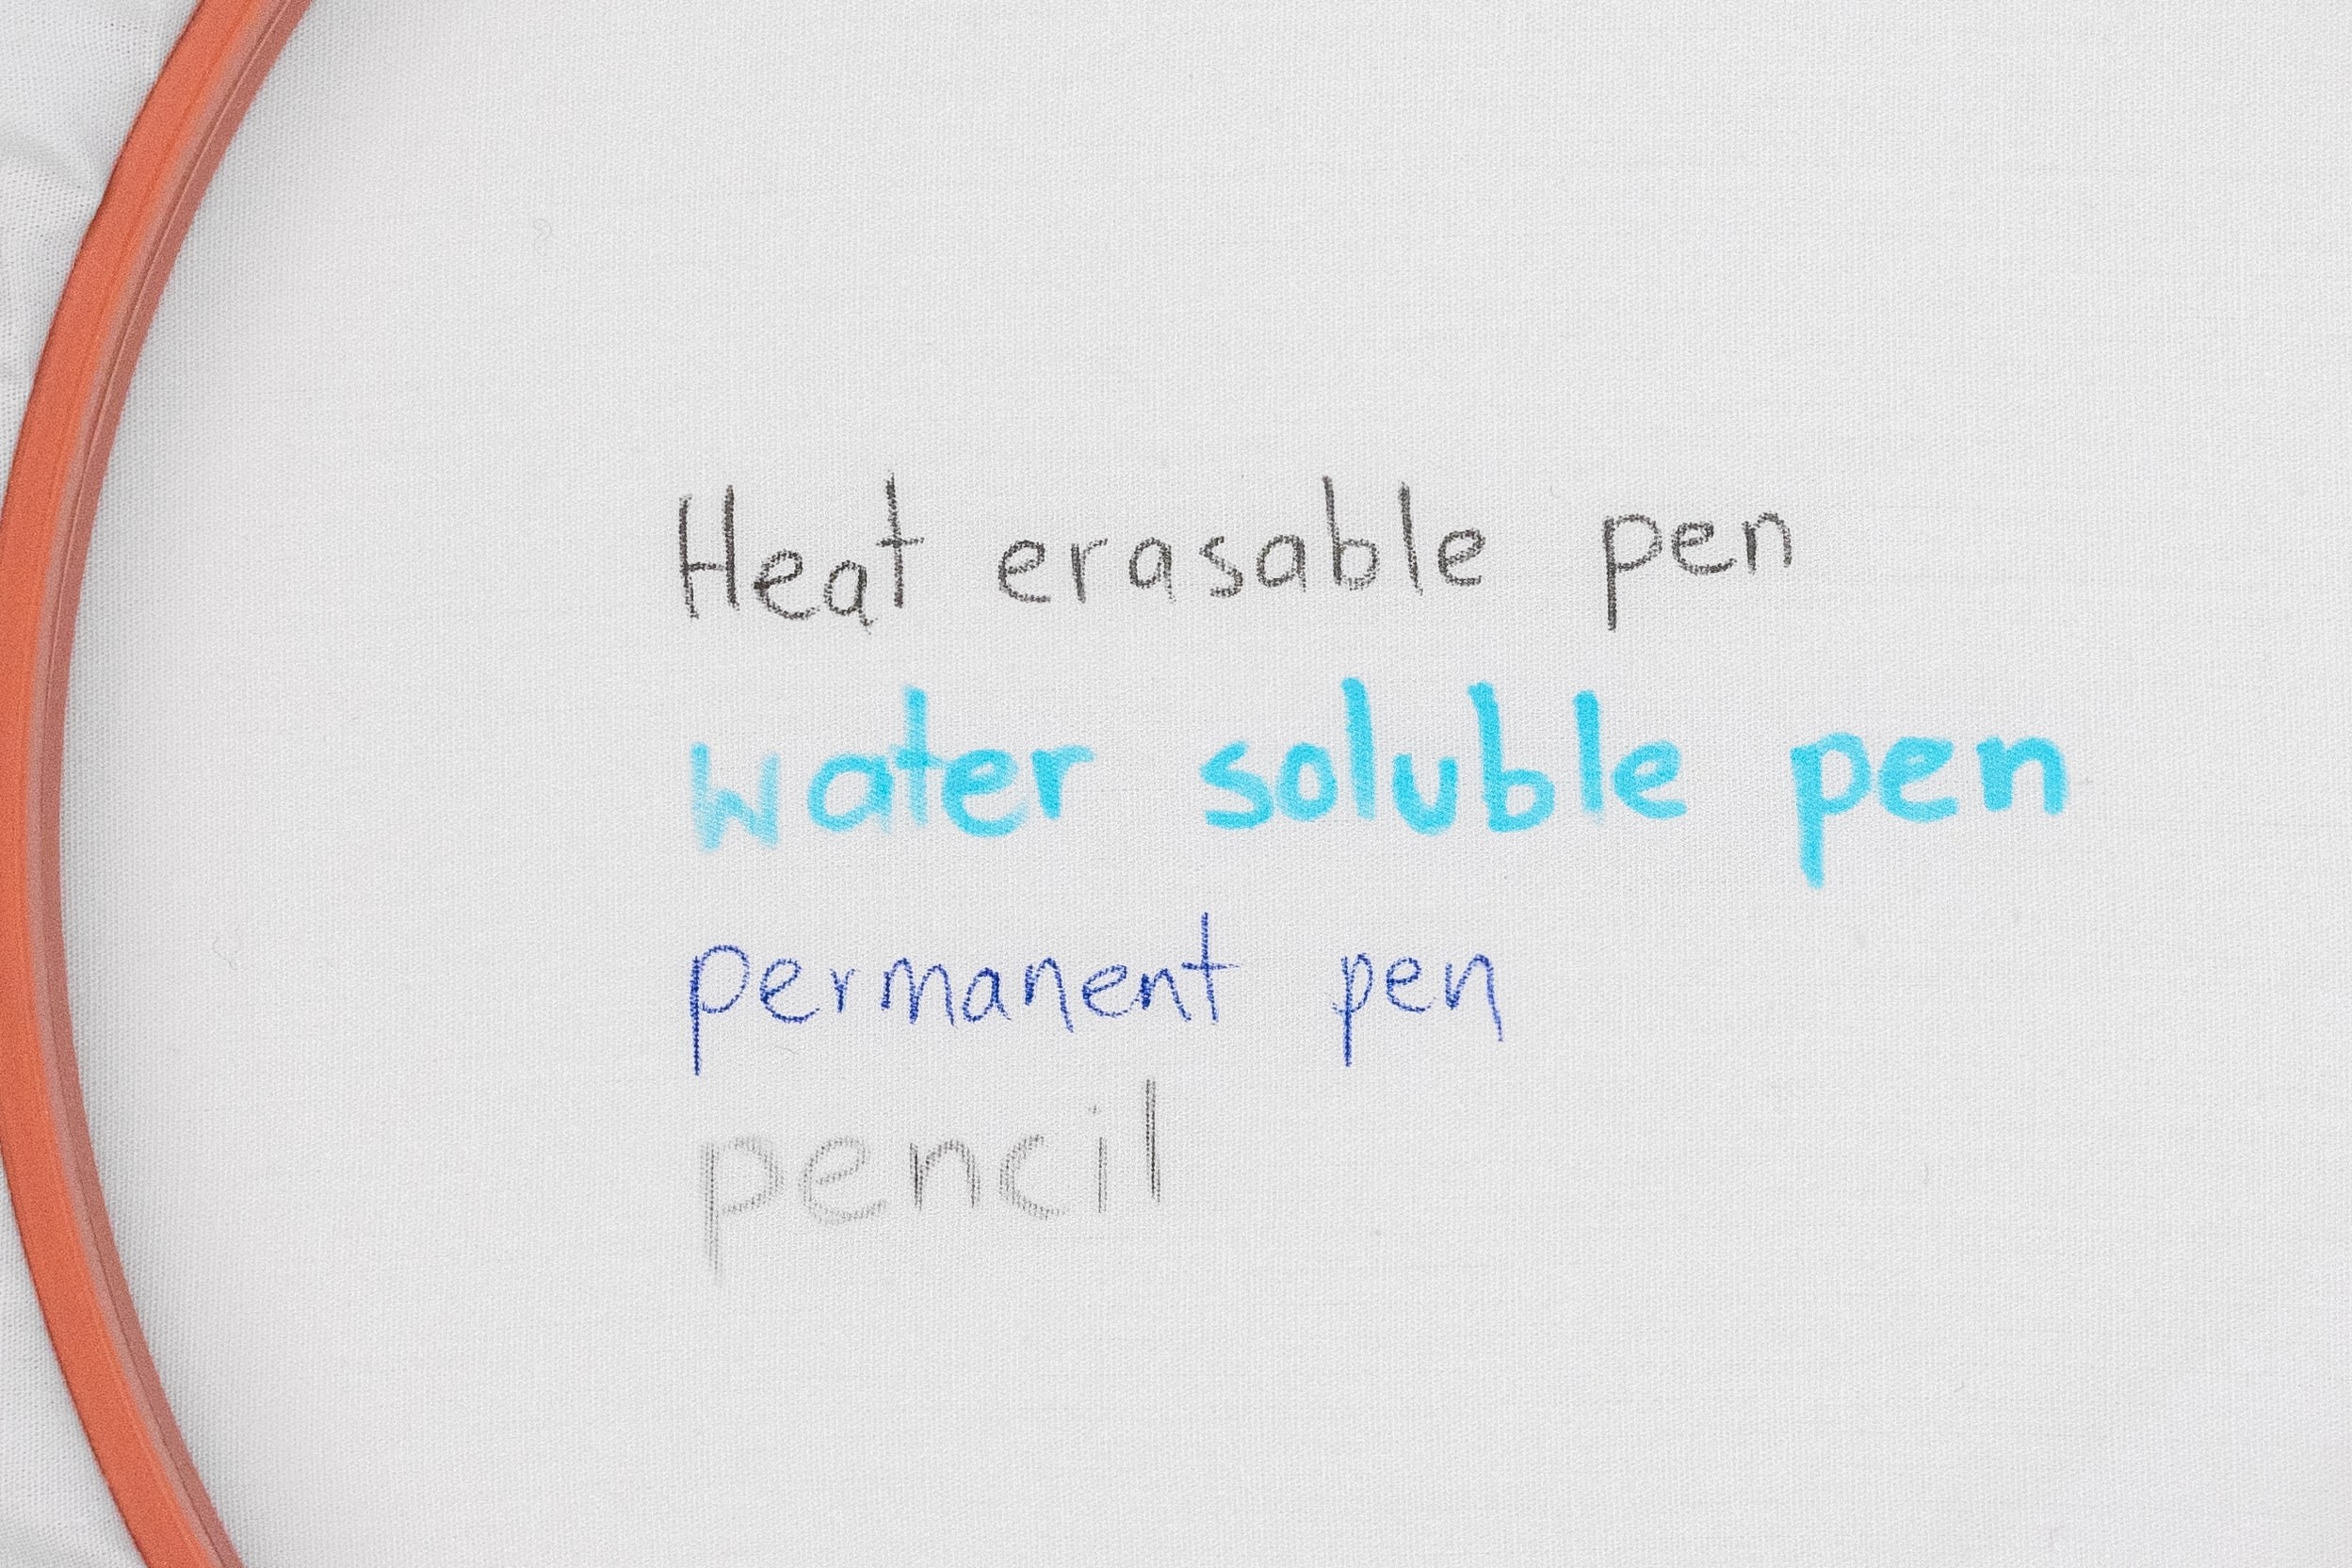
Let’s look at different types of transfer pens and how they work:
Heat Erasable Pens
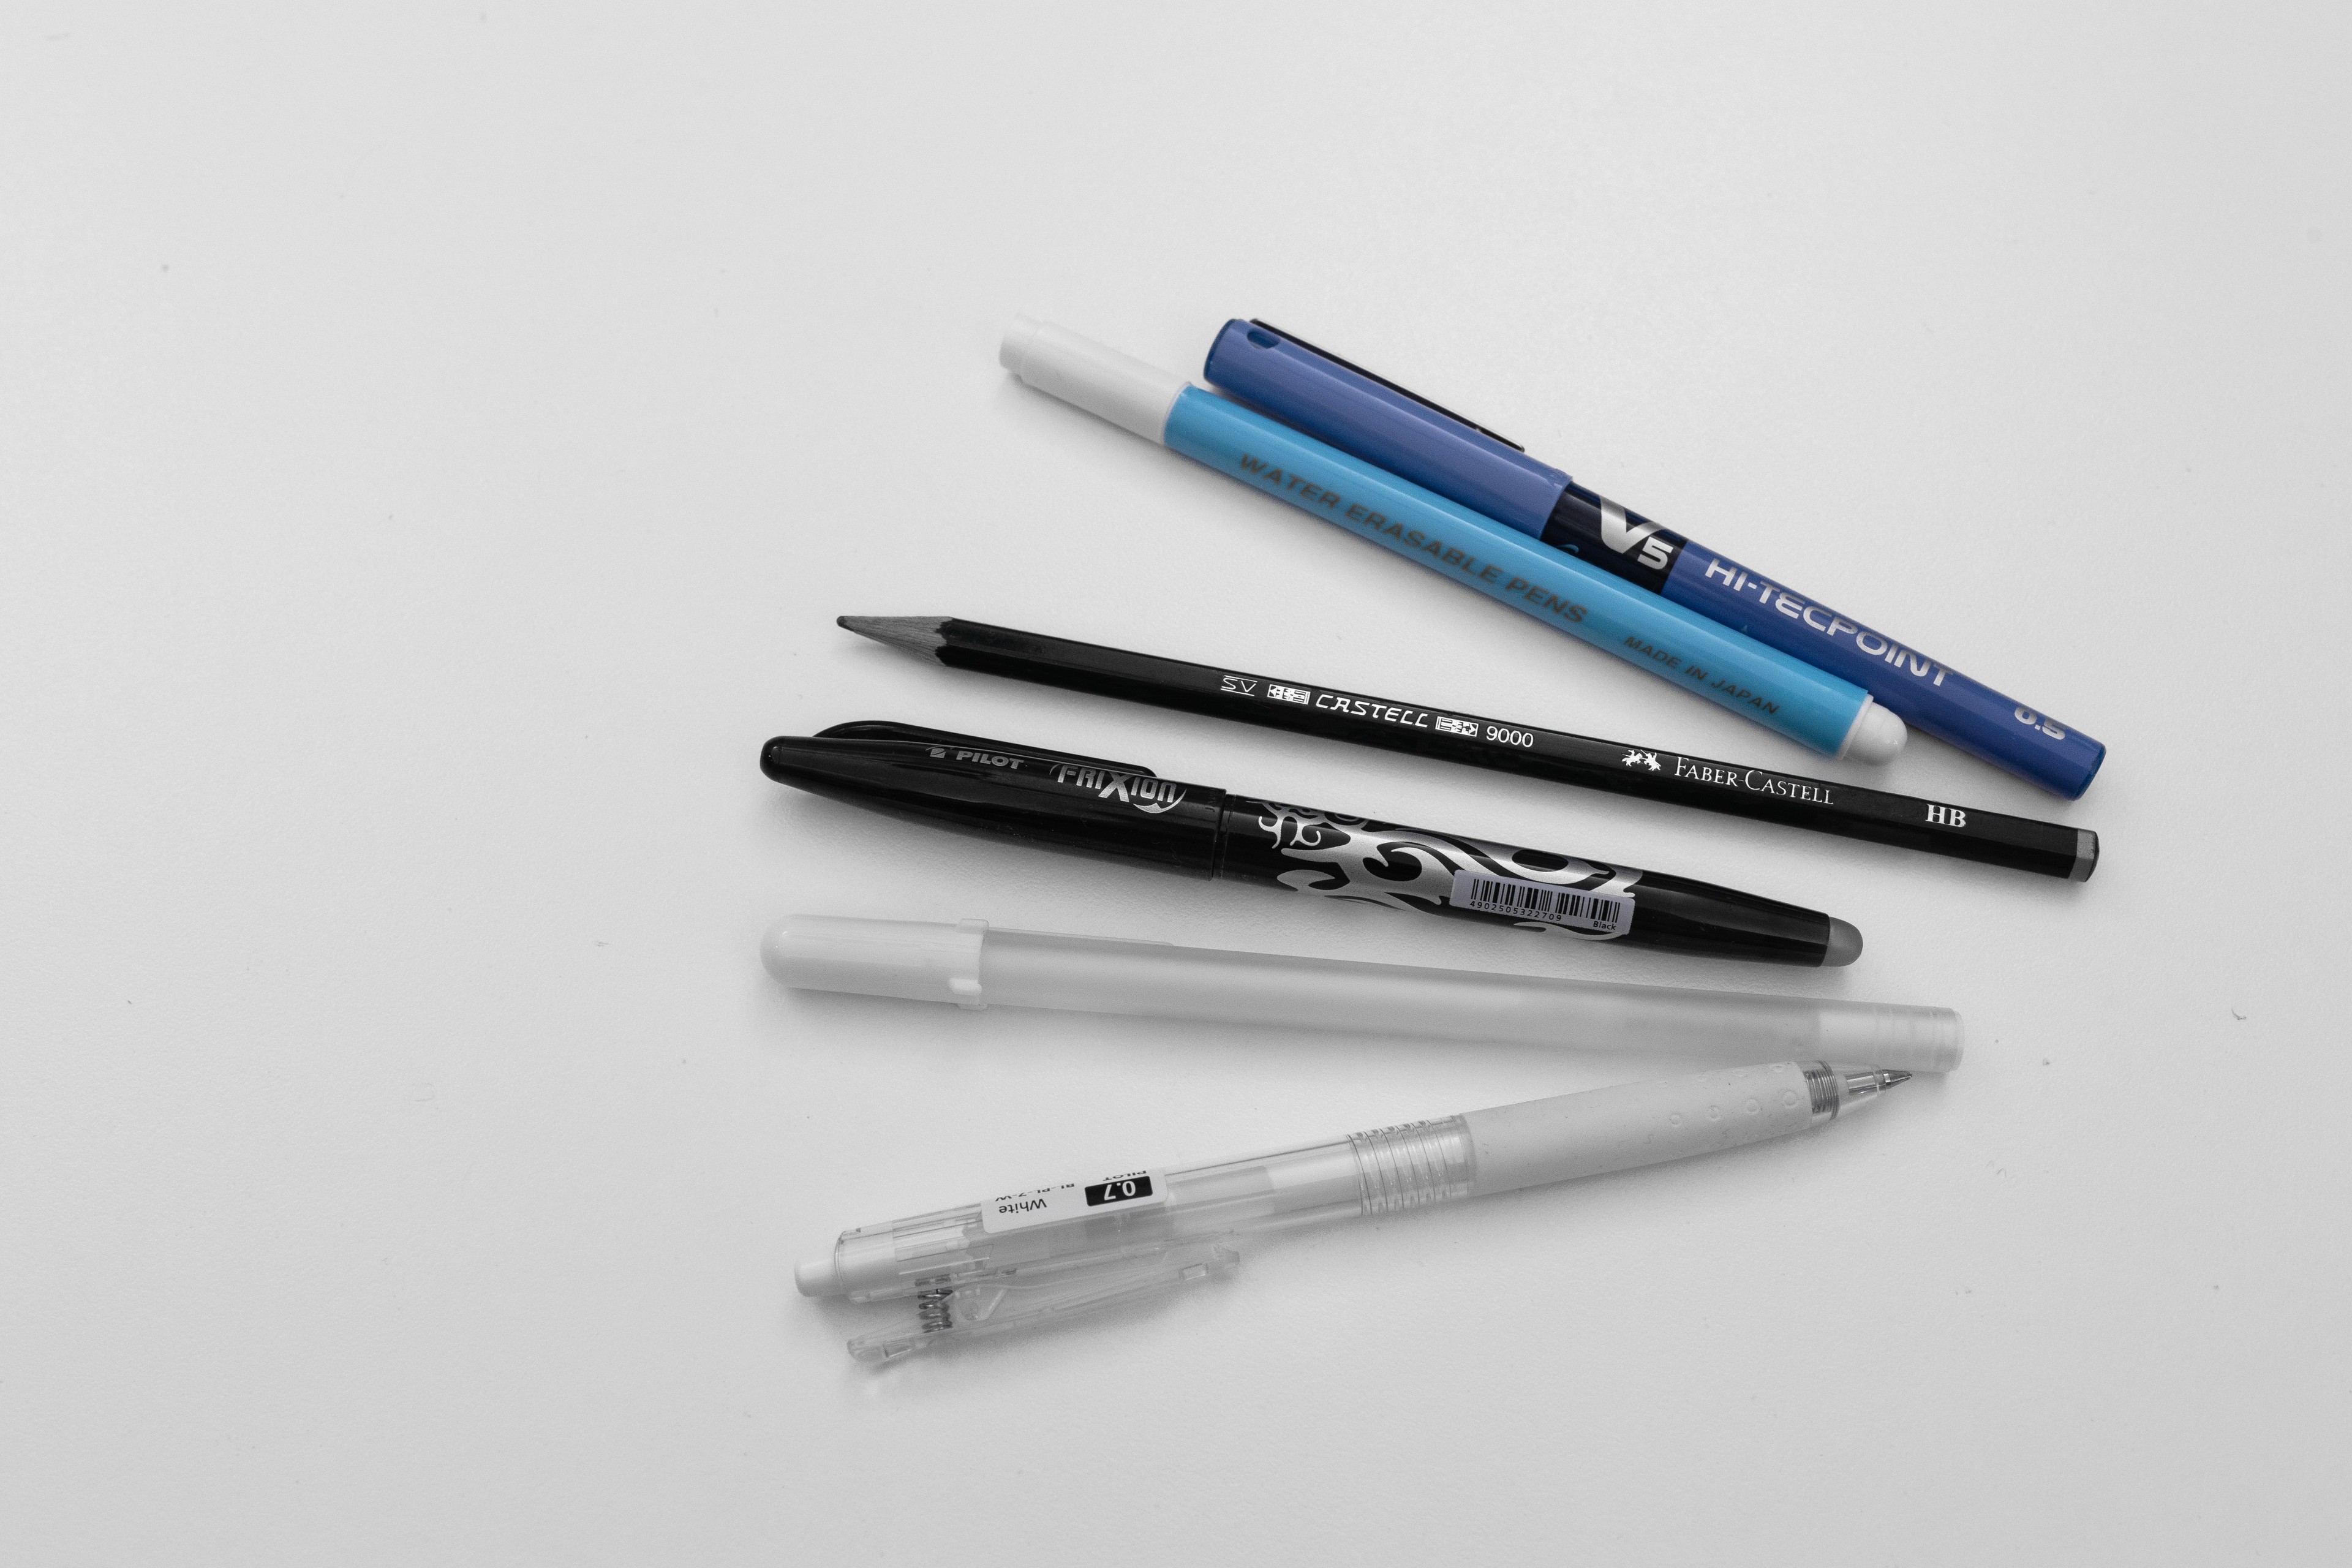
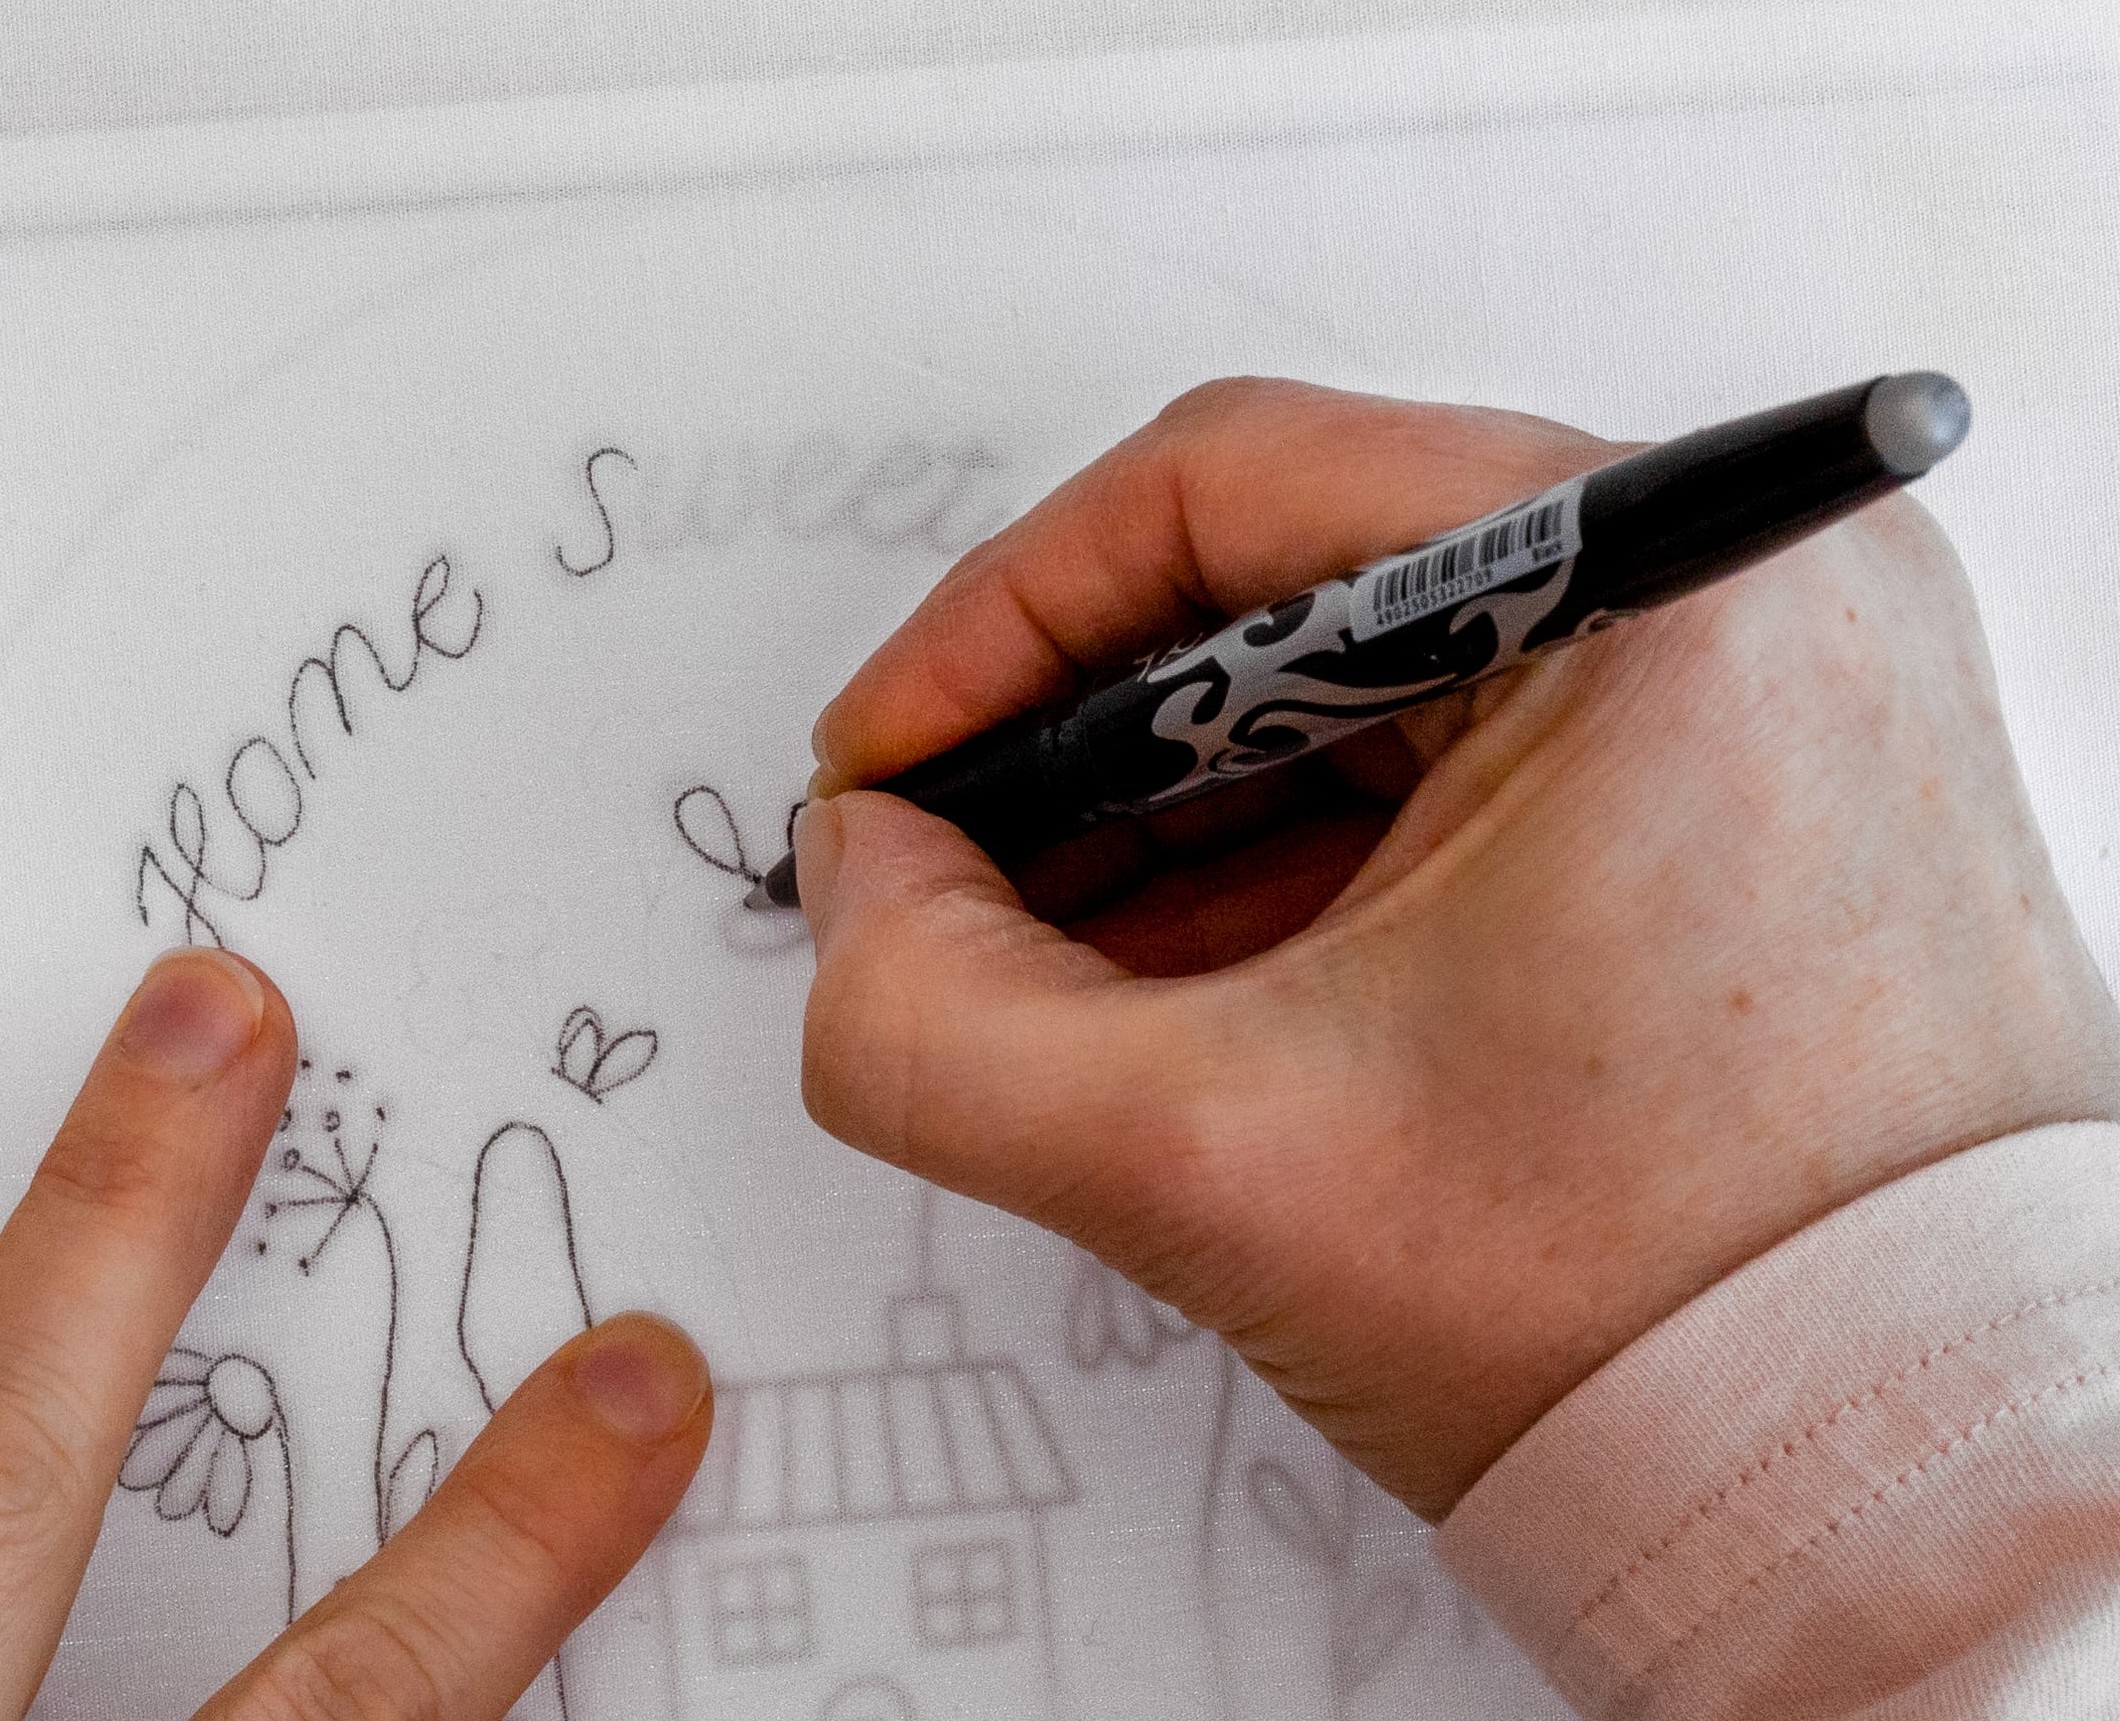
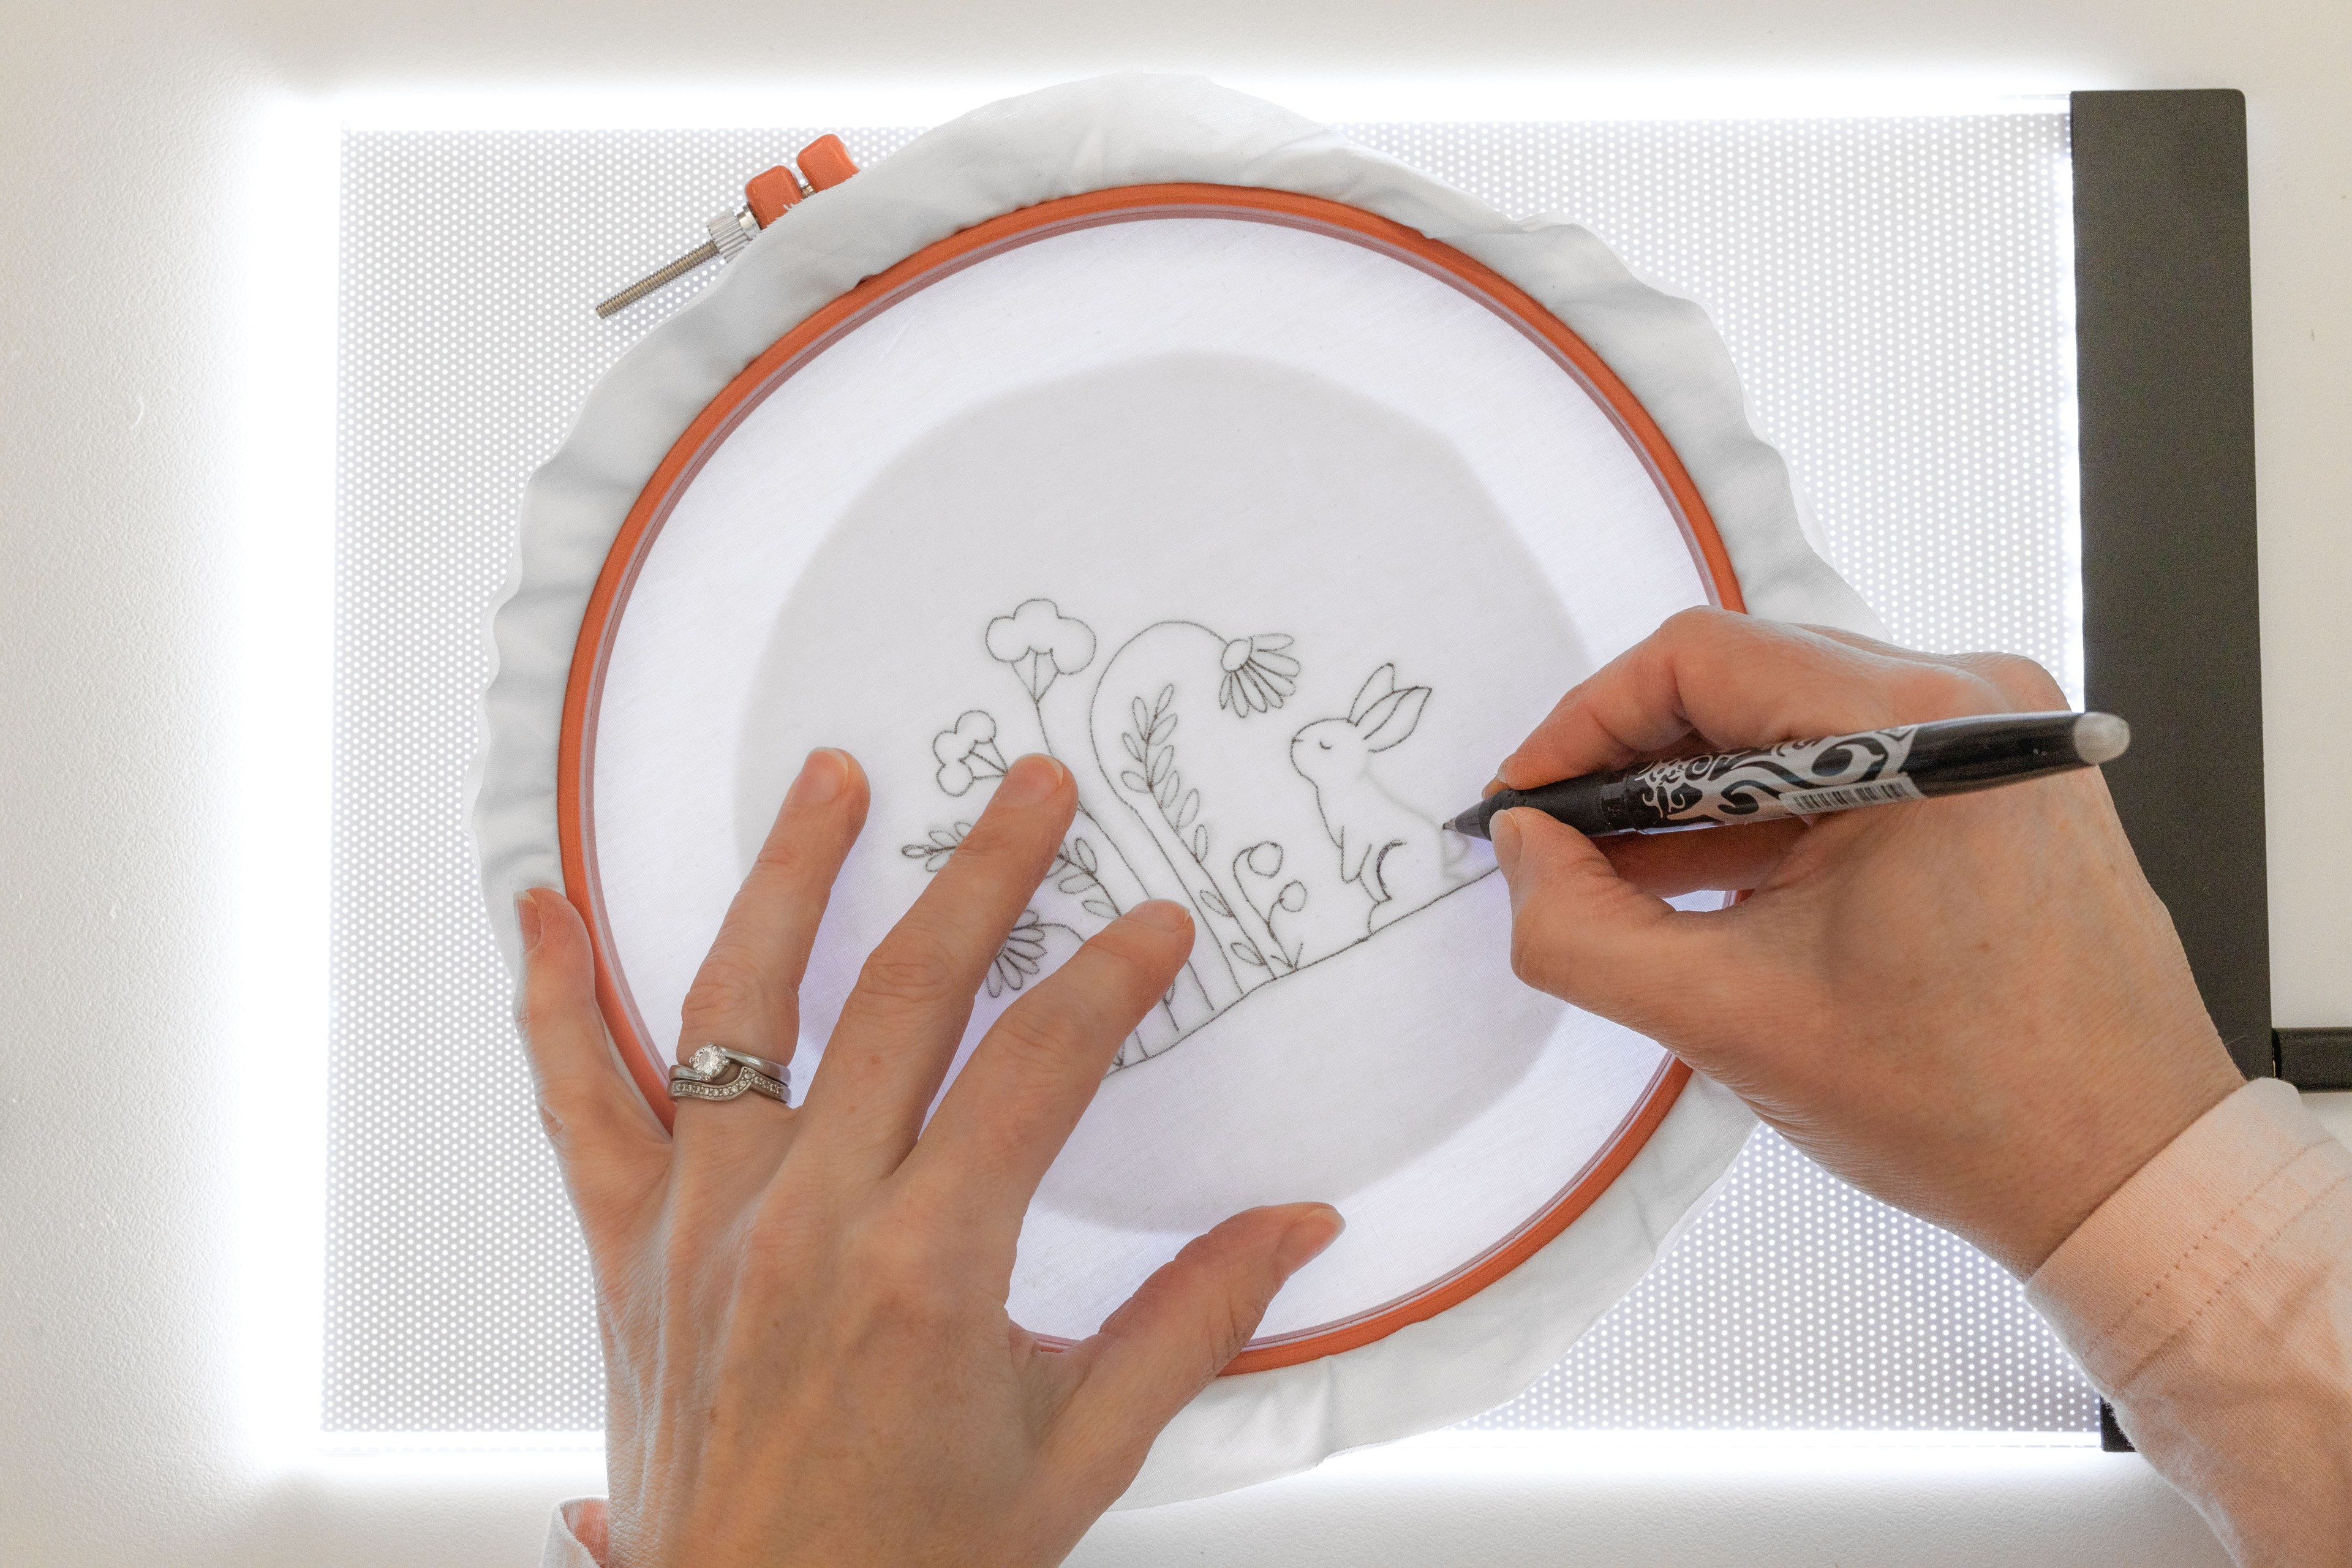
I love these pens, because you when you’re finished stitching, just apply heat from a hair dryer or hot iron (taking care) and watch the lines disappear. You may need to go over each area 2-3 times until the pen actually disappears. If your stitching is delicate, you can aim at the underside of the fabric instead. And note that these pens can leave a residue or outline, even after heat removal (more noticeable on dark fabric). You can try steam removal if it’s bothering you. In terms of brands, there are lots on the market, but my fav for light coloured fabrics is the Pilot Frixion fine rollerball pen in black. You’ll be more likely to find this in a stationery store than a craft store (they are primarily used for writing on paper). For dark fabrics, I’d recommend a white pen that’s designed to be heat- erasable for dark fabric.
Water-soluble Pens
These pens are a great option too, and are relatively easy to remove. When you’re finished stitching, just run your entire piece under lukewarm running water, and watch the lines disappear. I suggest using this removal method rather than just dabbing the lines with a wet cloth because, in that case, lingering marks often reappear after the fabric dries. DMC has a water-soluble pen which is quite easy to draw with and creates a clear bold line.
TIP: There may be cases where you don’t want to wet your stitched work – e.g. if it’s really delicate or the threads/fabric aren’t colourfast. In that case, you’ll need to choose a different type of transfer pen.
Permanent Pens or Pencils
By all means, use these! I mean, it’s not the end of the world if some marks are visible at the end, especially if you’re learning and just want to get started before you invest in specialist supplies. You can minimise pen-marks by doing dots for Lazy Daisies (e.g. instead of drawing the full curve, just do a dot at each end of the stitch). And try to draw your outline as faint as you can so that it’s not too obvious.
White Pens
In terms of creating visible lines on dark fabric, you may need to switch to a white pen.
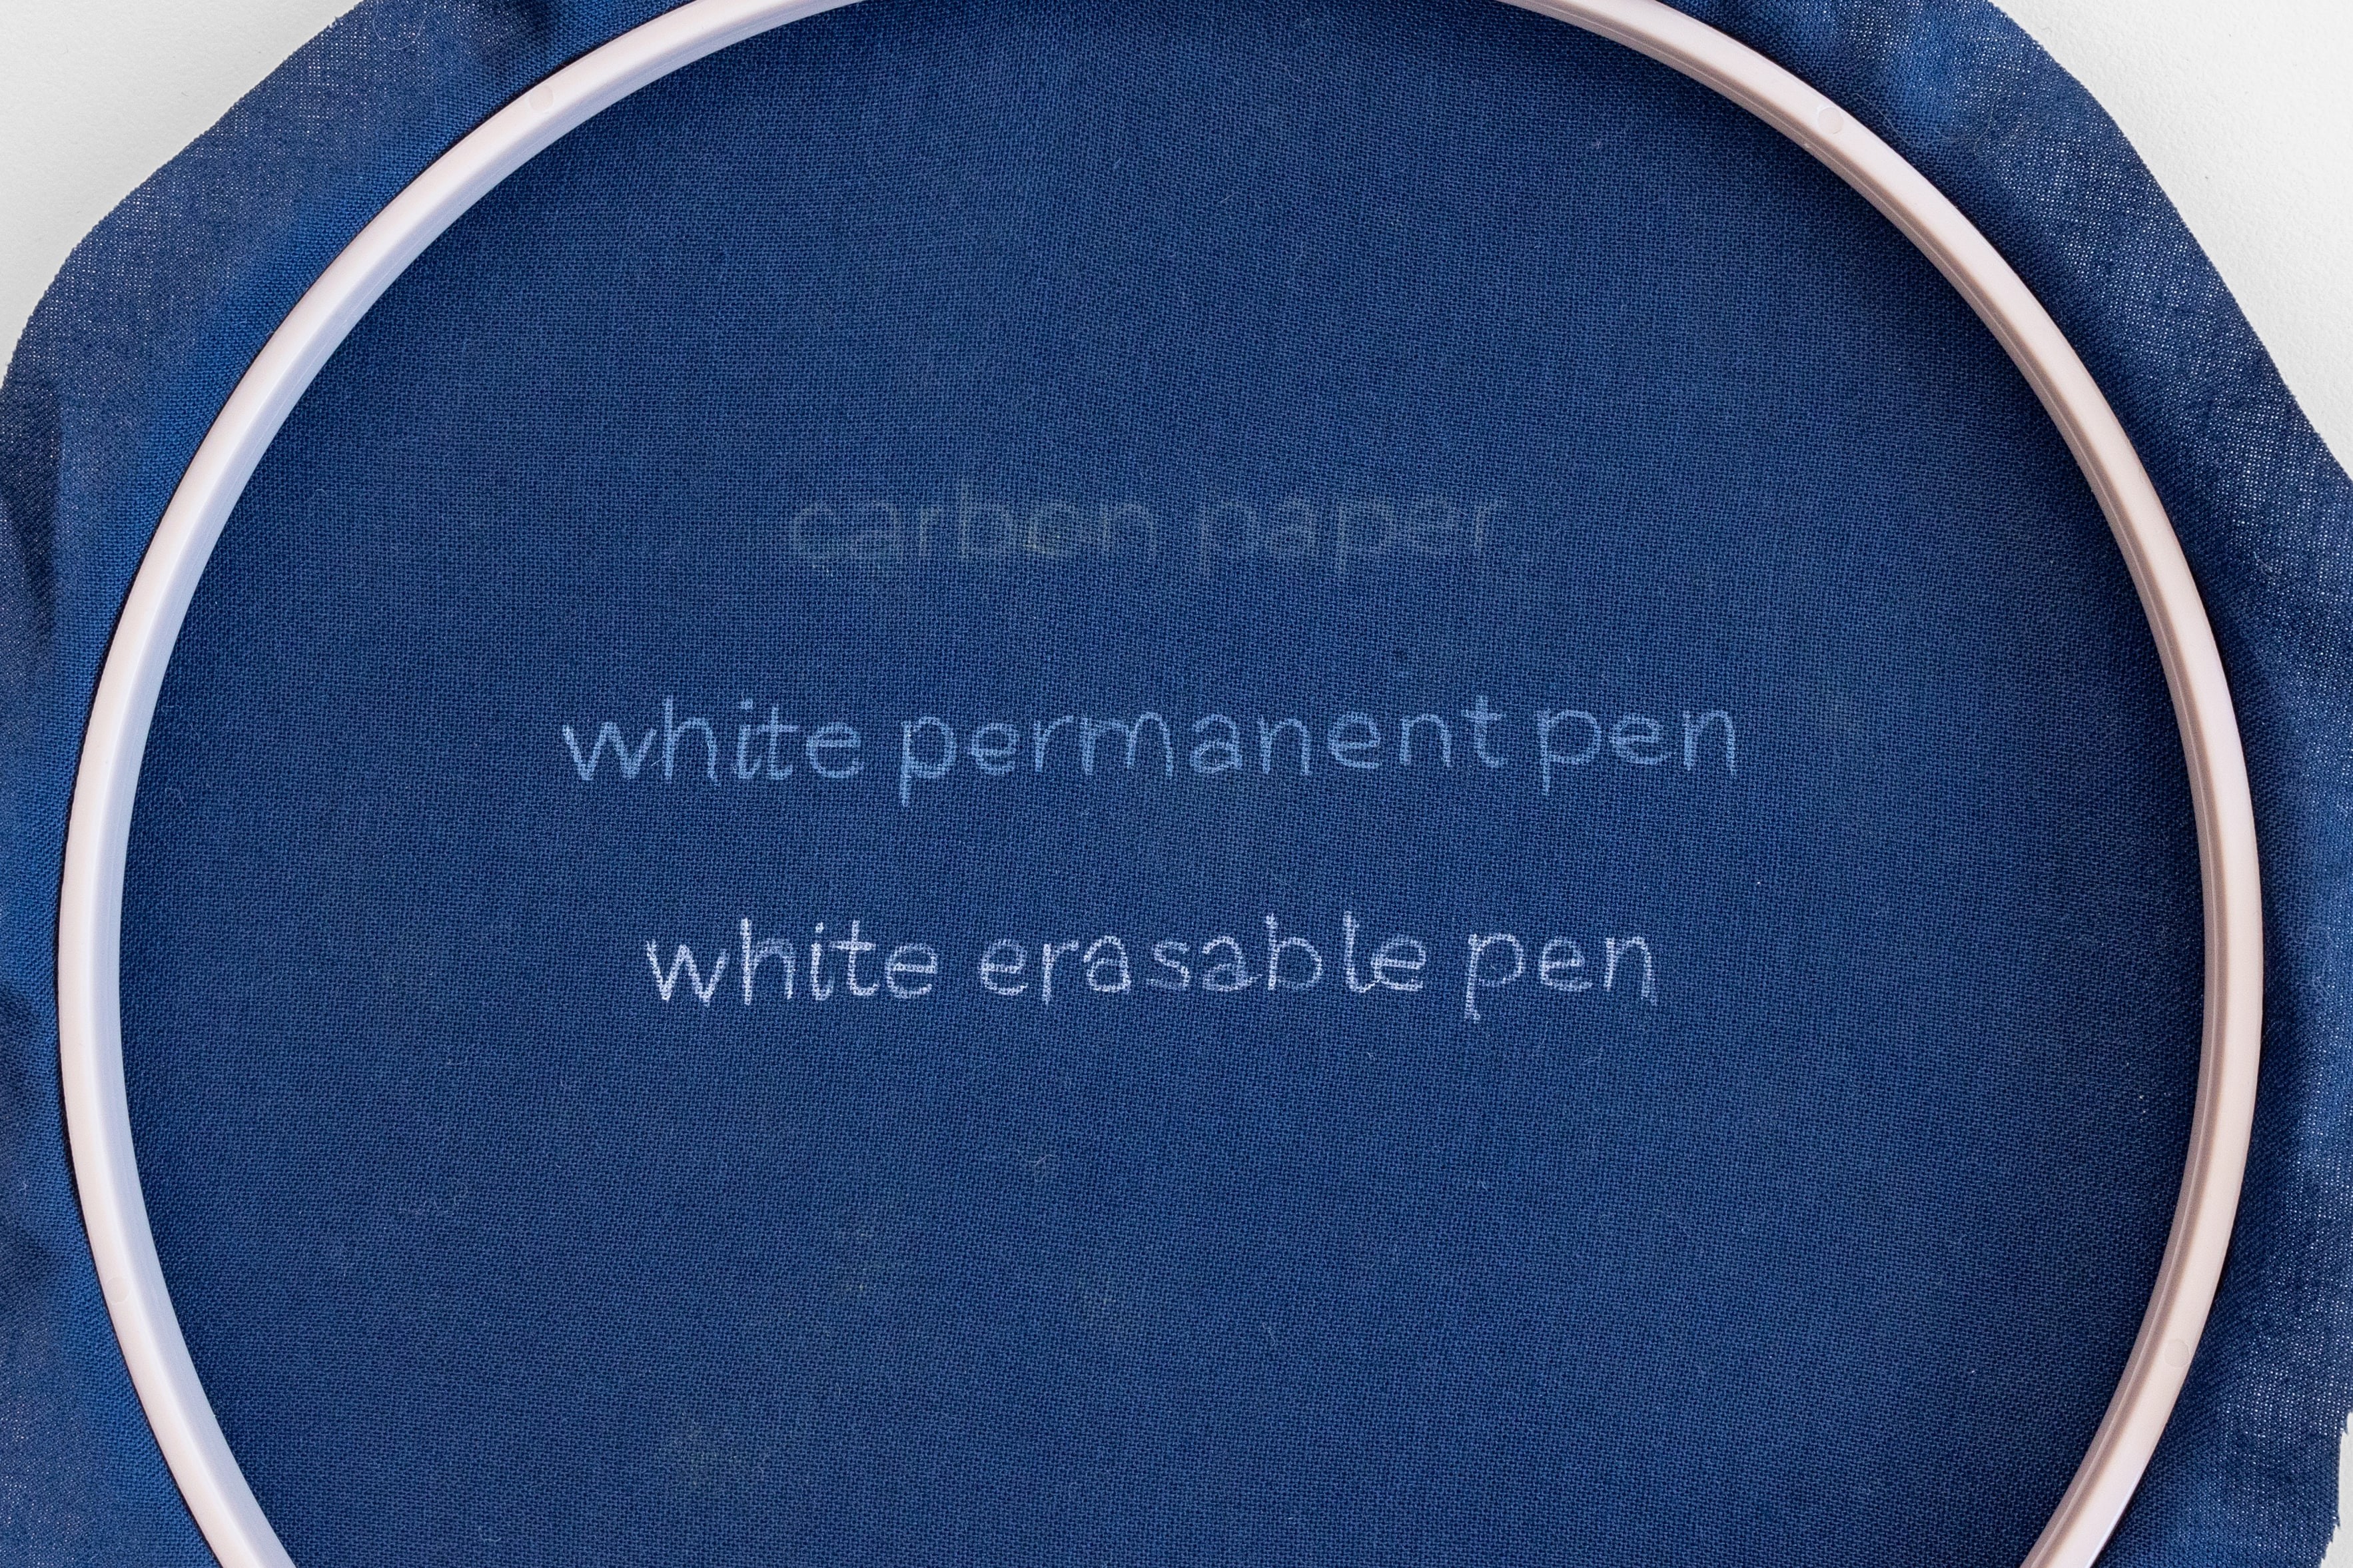
Great news is that you can get some great erasable white pens! But they may be a bit trickier to source, or pricier than their dark counterparts. If you find a good one, you can draw onto dark fabric and the lines will be nice and clear – although note that there is sometimes a delay before they actually show up on the fabric (so just be patient).
In terms of brands, I’ve used a White Clover Pen and found it worked well, and I’ve been told that the Panda Pencil by Helen Godden and the Gelly Roll are fantastic. I’ve also heard white mechanical pencils are excellent.
You can also get white gel pens which show up really well against dark fabric, and are often easier to source and more affordable from a stationery store. But take note – they are NOT removable, so all of your template lines need to be covered with stitches.
Conclusion
As you can see, there are lots of options to transfer your embroidery patterns onto fabric. But I hope that this blog has helped you to choose a pen/pencil that best suits your needs and preferences – without overwhelming you!
I encourage you to practice with different pens/pencils, and you’ll find a favourite one that you can easily whip out each time you start a new project.
Enjoy the process of transferring your pattern and bringing your embroidery to life!

What's next?
Check out this blog to learn how to transfer your design onto fabric: Beginner’s Guide to Transferring Patterns to Fabric.
Our beginner embroidery kits are a favourite among new stitchers for their simple, step-by-step instructions and beautiful designs that make learning easy and fun. Whether you’ve been wanting to learn embroidery or are just searching for your next creative hobby. These kits are the perfect introduction to embroidery.
Why people love our beginner kits:
-
Everything you need is included: fabric, thread, hoop, and more!
-
Clear instructions to guide you every step of the way.
-
Gorgeous designs you’ll be proud to display.
Our most popular beginner kits
Ready to get started? Explore our full Beginner Embroidery Collection and find the perfect kit to kick off your stitching journey!
I would love to hear how you go on your embroidery journey.
Make sure you share you progress with me! Just tag me on the 'gram @cleverpoppy.
Happy stitching!
Julie xx


