
Finishing Your Hoop - Learn This Modern Embroidery Technique
Introduction
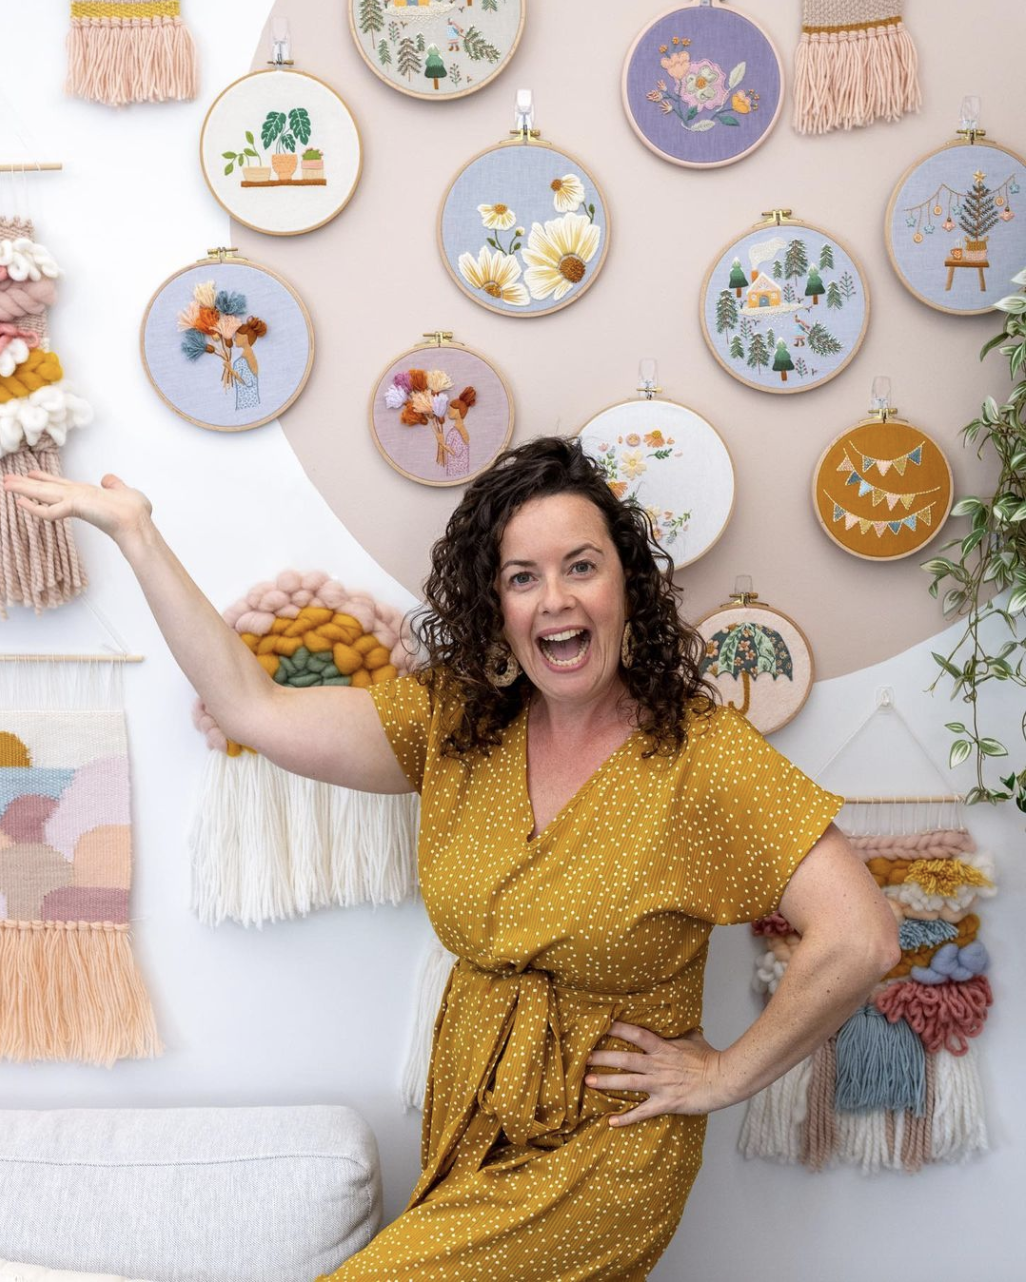
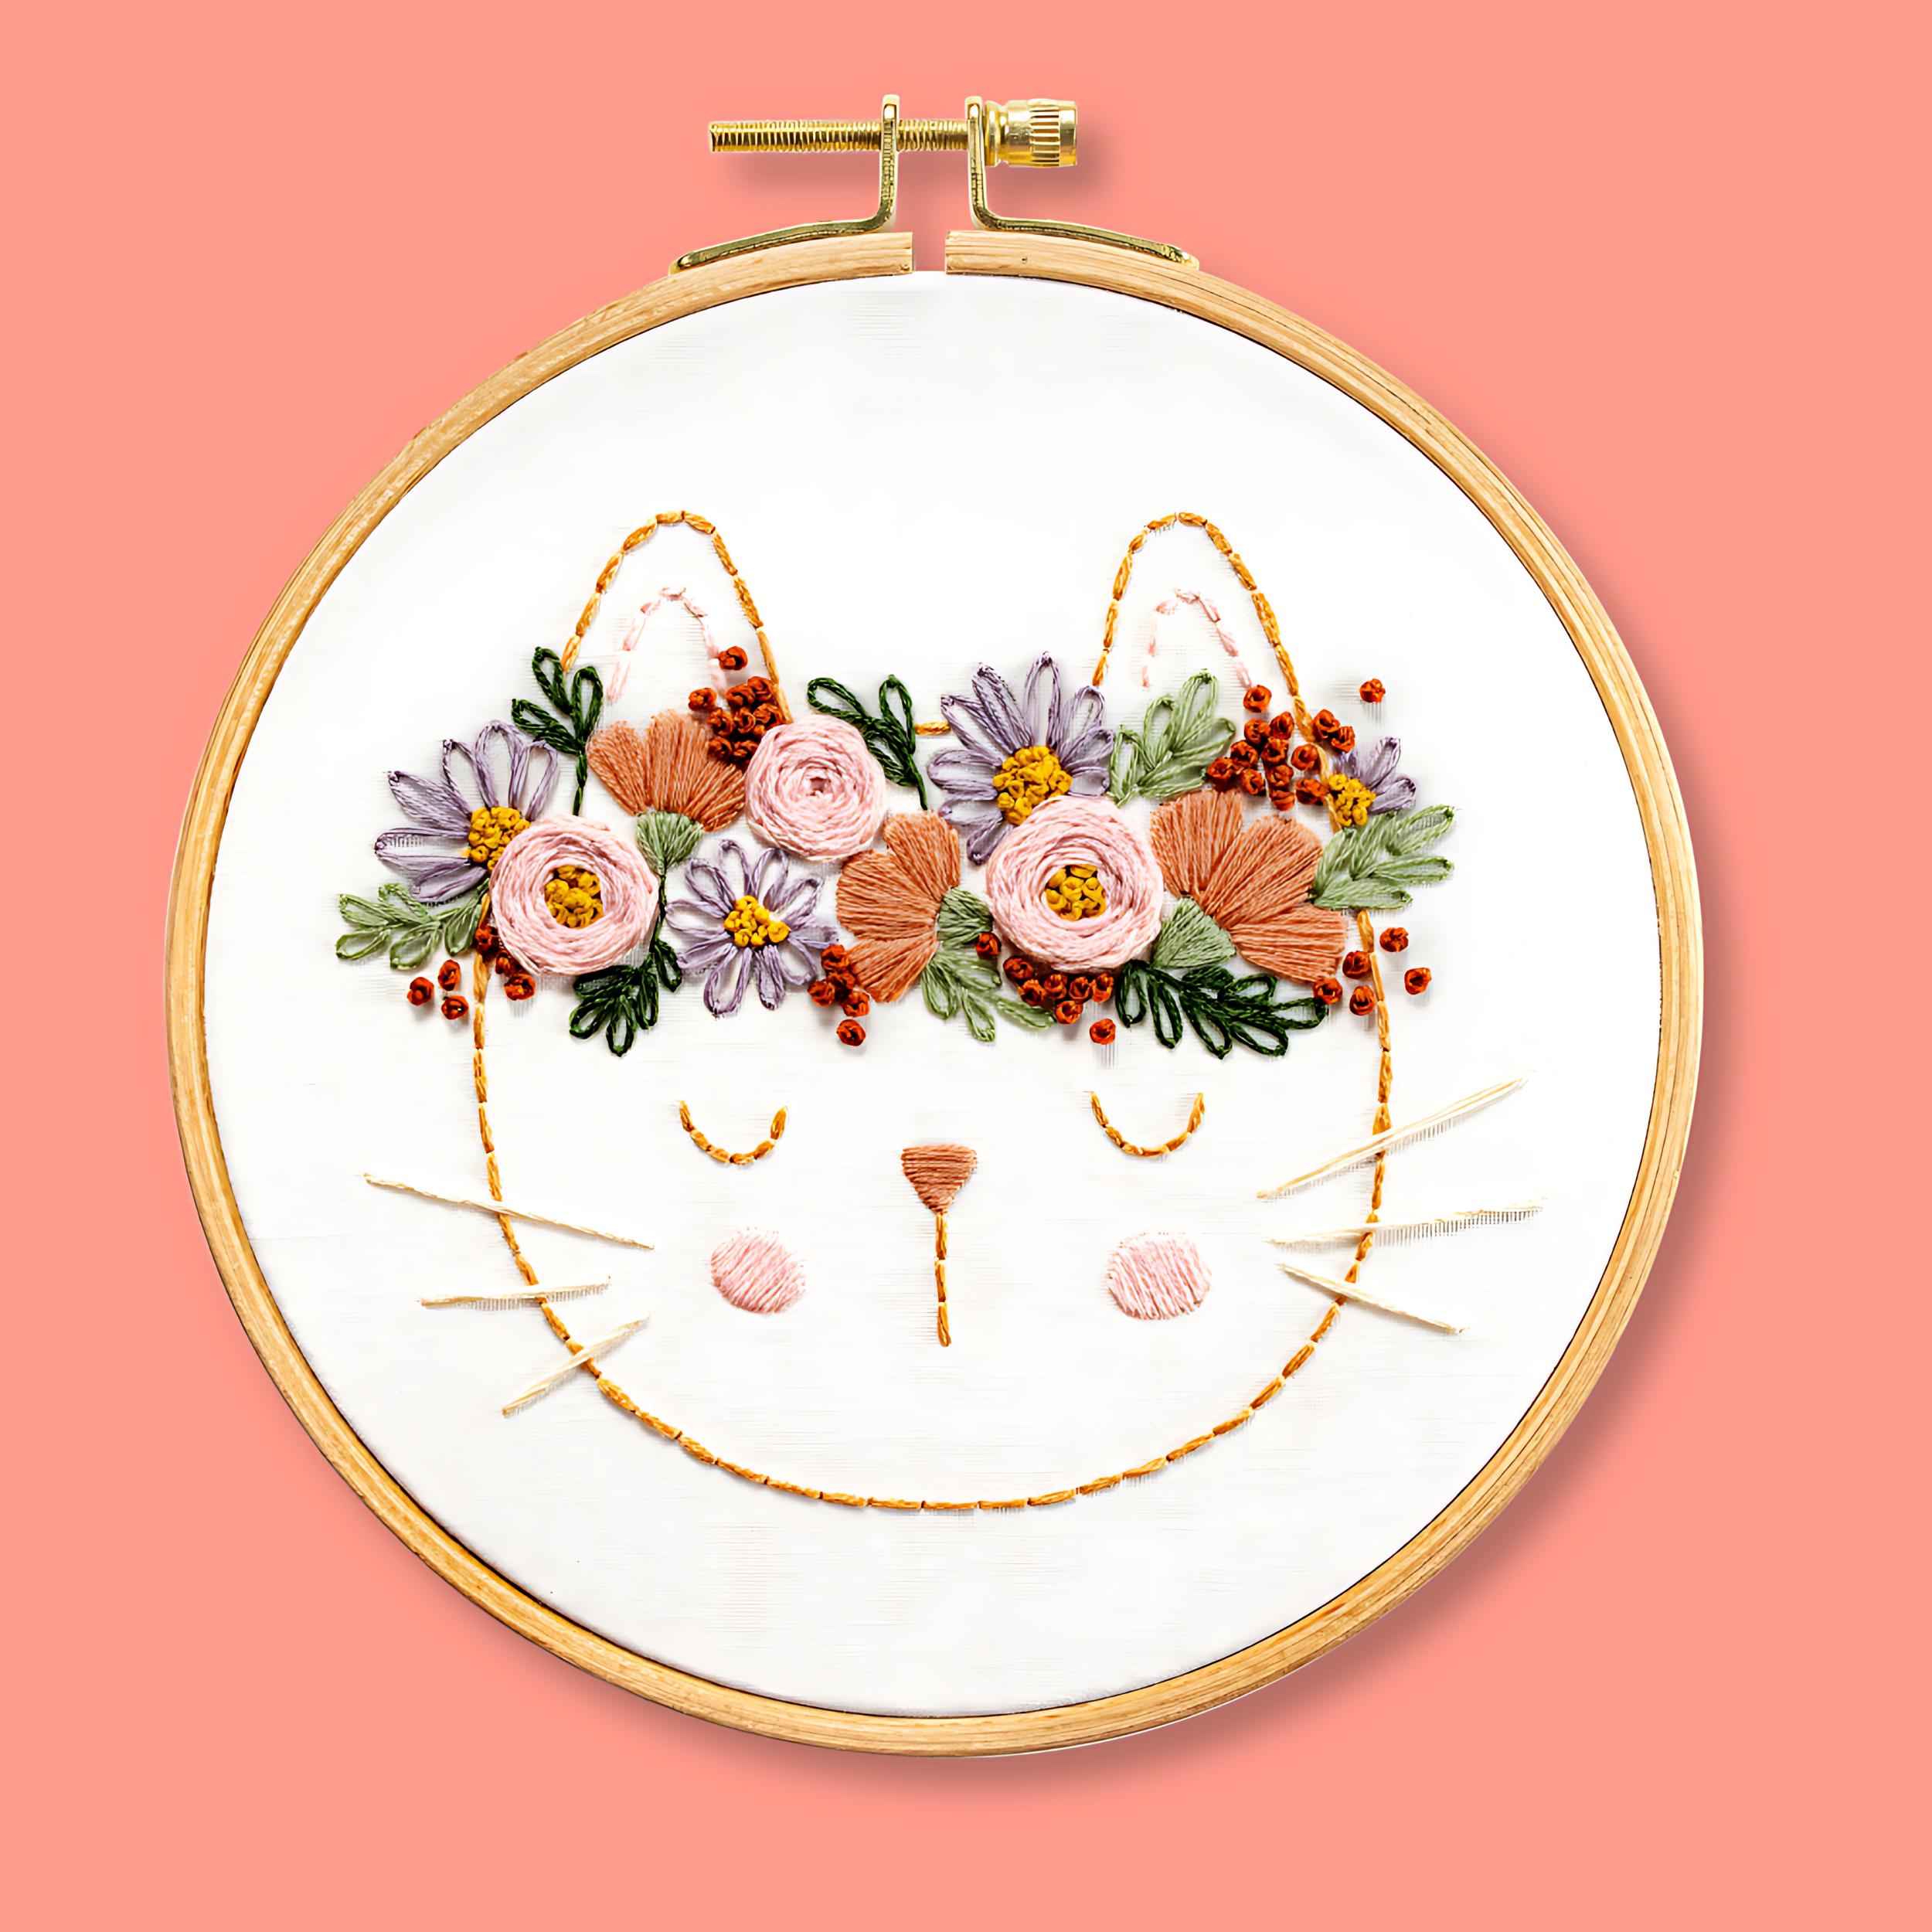
Congratulations, you've completed your first modern embroidery piece, but now you need to know how to remove any markings and finish off your hoop so it can be hung on the wall. You've come to the right place to learn how!
This blog has all the tips and tricks you need to finish your hoop beautifully so you can hang it on the wall with pride.
Let's get into our tips and tricks, shall we?
Removing any Transfer Pen Marks
Once you’ve finished stitching, you may notice that not all outlines of the template are covered with stitches so some pen marks are visible. Don’t worry this is completely normal, especially when you’re still getting the hang of things! Let’s delve into different ways to handle this based on what you’ve been using:
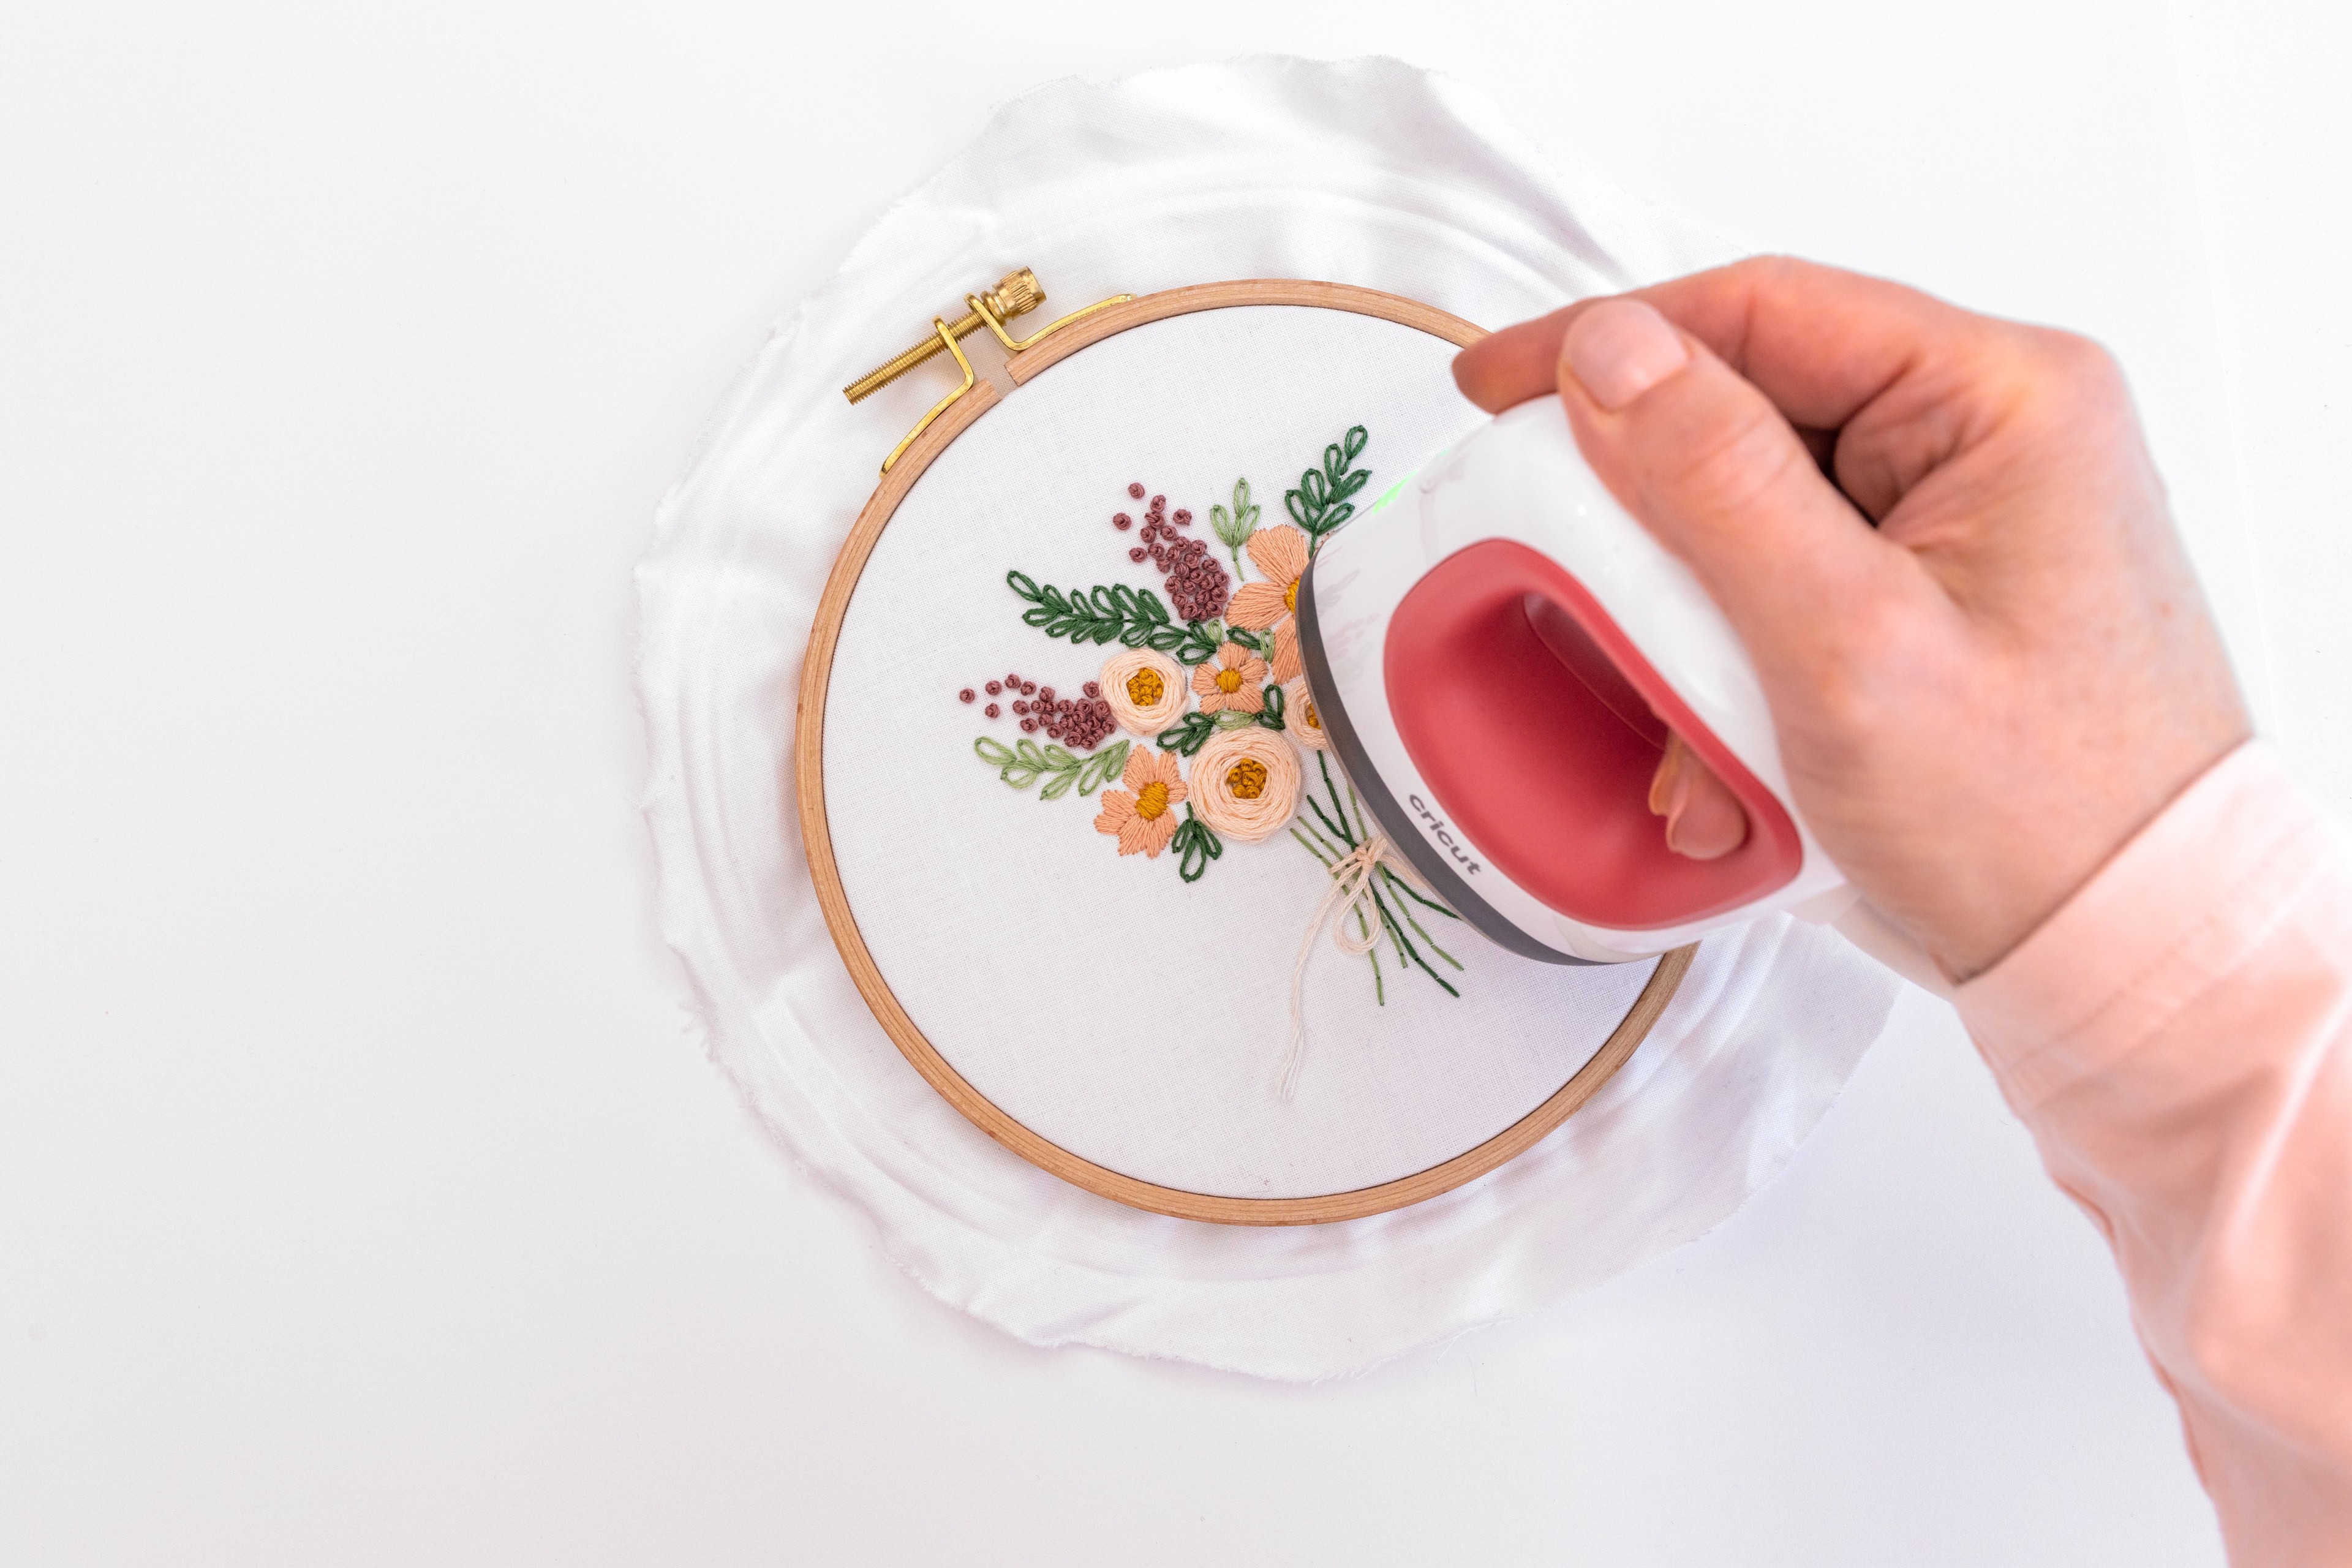
Heat-Erasable Pens
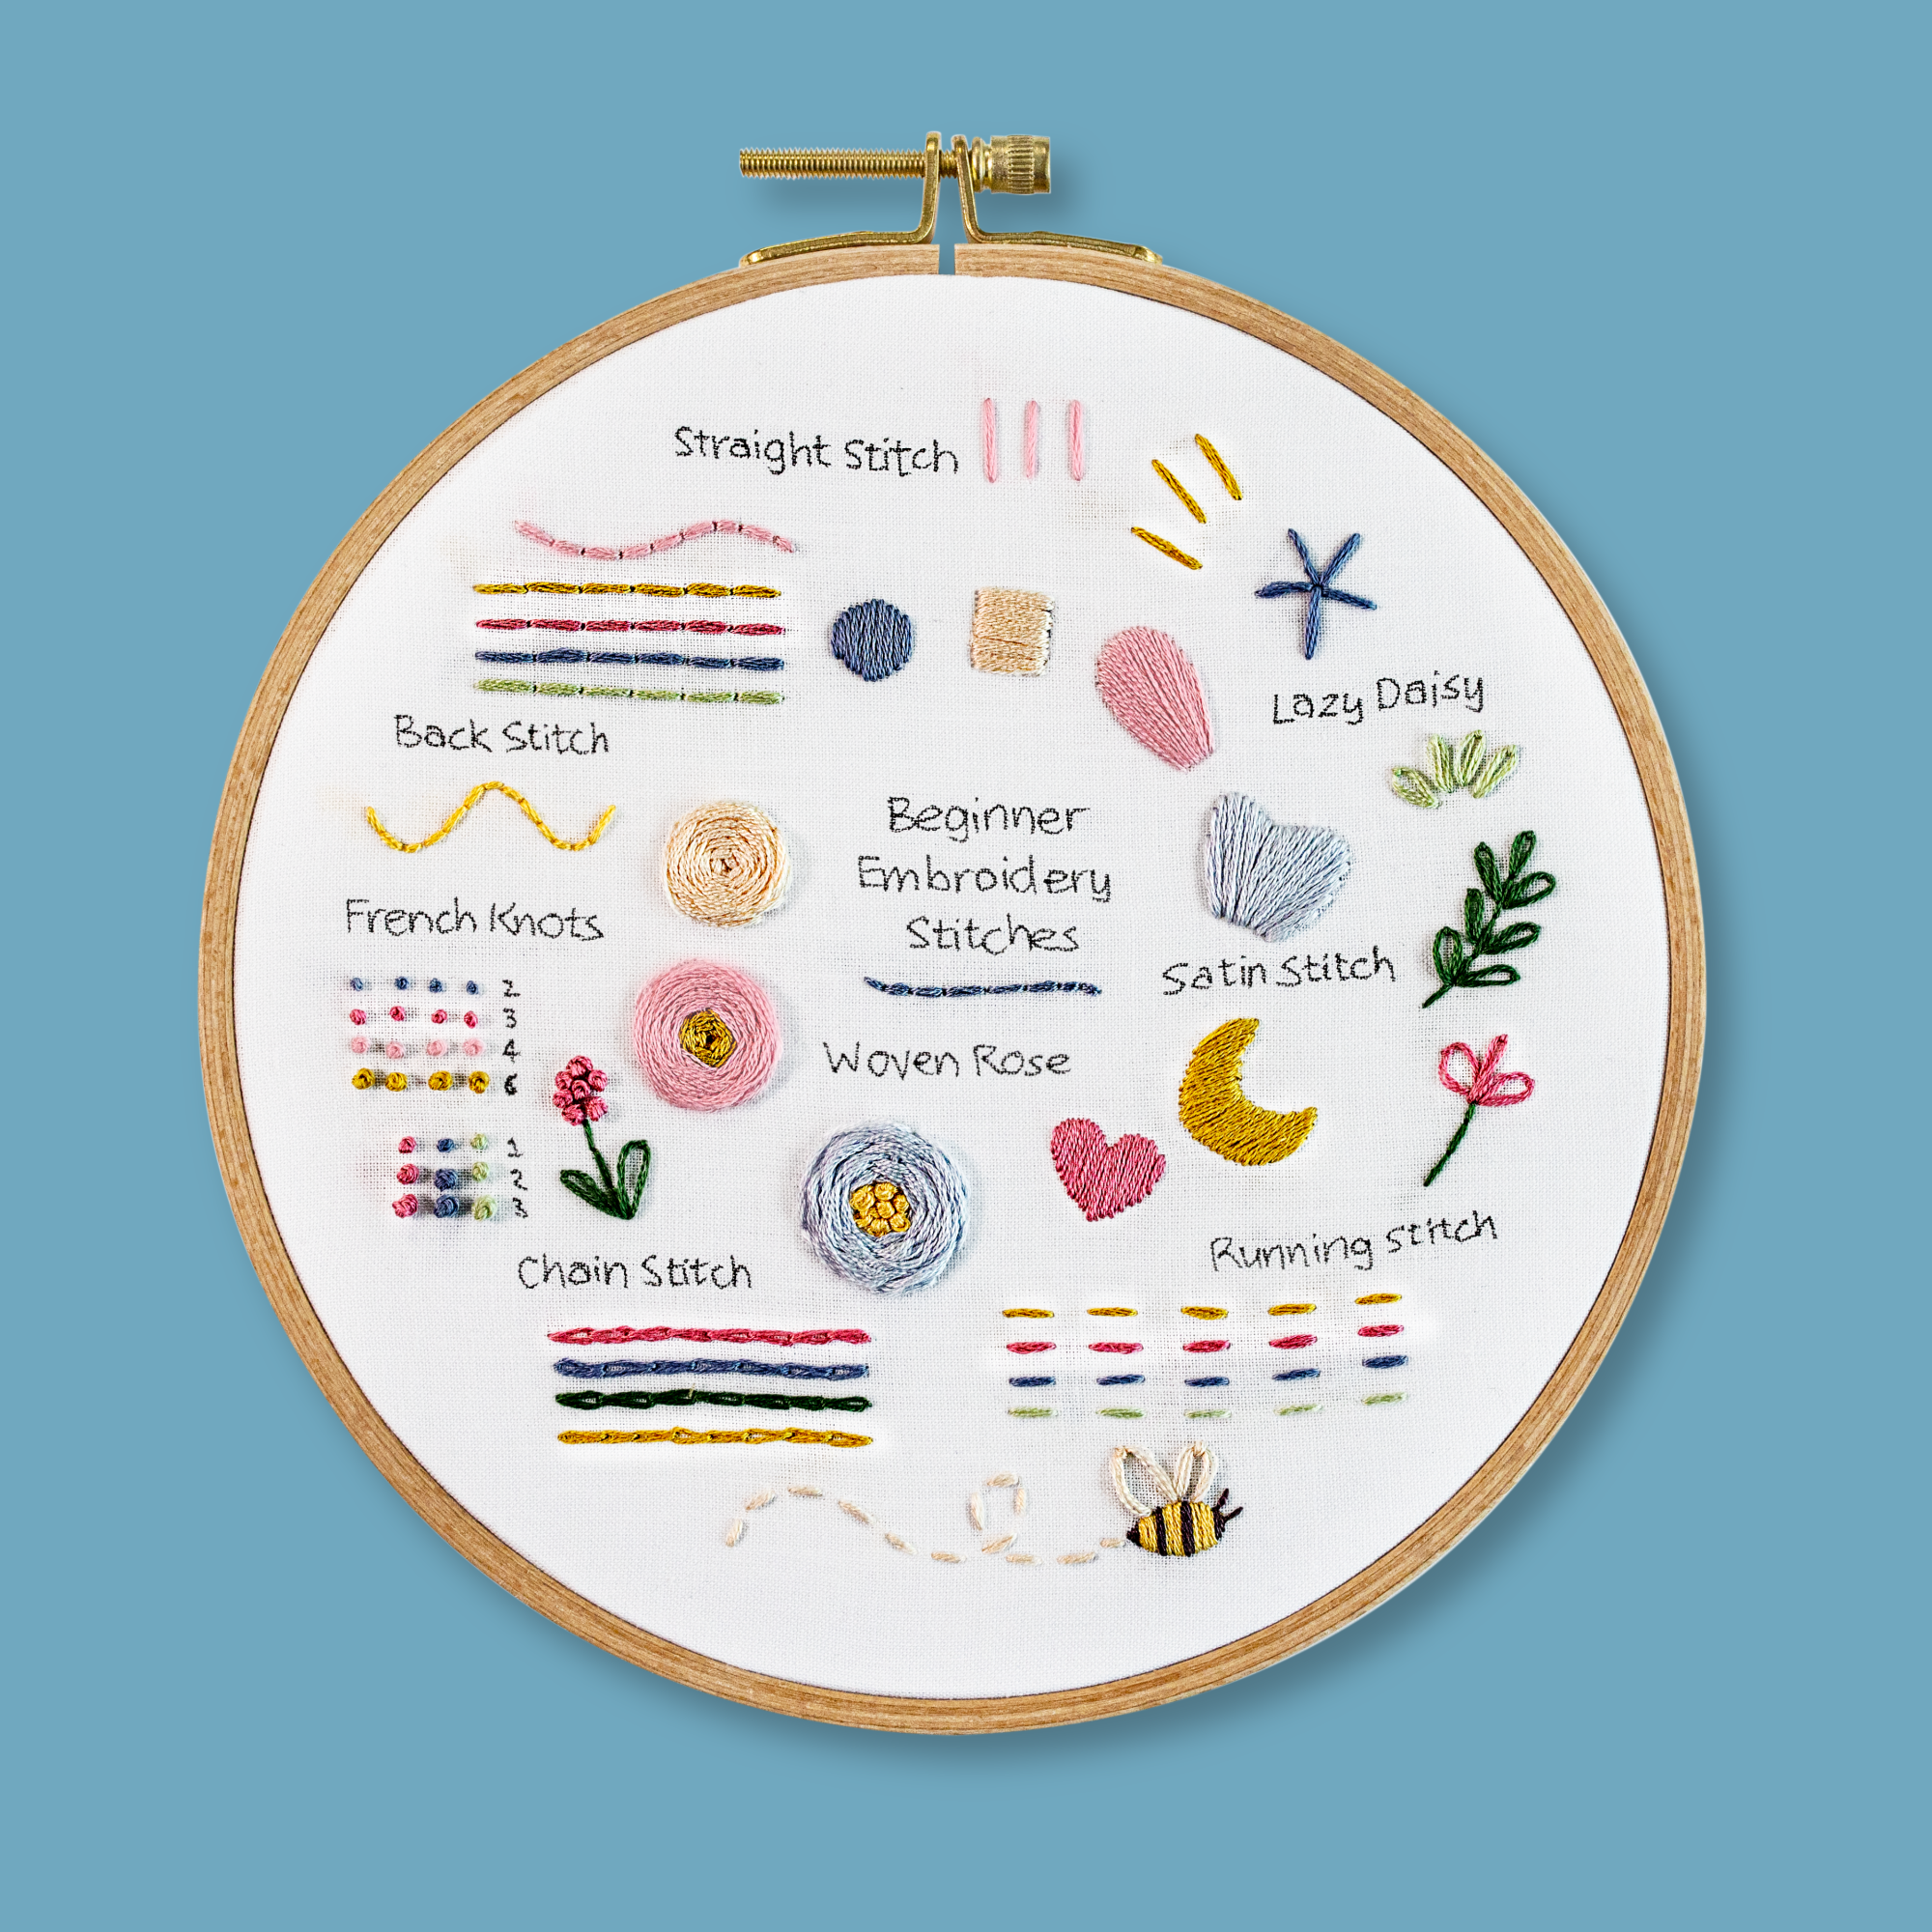
You can run a hot hair dryer or iron over the area. You’ll be amazed as the pen marks vanish like magic! Just remember to be cautious with heat on your project, and that you don’t disturb delicate stitches like the Woven Rose. If you’d rather, you can apply the heat to the backside. Keep in mind that this pen might leave a faint residue outline, though it’s usually not very noticeable on lighter fabrics.
Water-soluble Pens
Wet the pen marks and watch them disappear! I recommend that you gently rinse the areas under lukewarm running water, rather than just dabbing at them (be careful not to disturb any decorative stitches, like the Woven Roses, while you’re at it). This way, the pen ink gets carried off, and you won’t see any hazy pen spots coming back once it dries. Afterward, softly pat most of the water away using a clean towel. Then, let it dry fully by laying it flat or giving it a gentle re-hoop.
Pencil or pen
It’s difficult to remove these marks, so I encourage you to take a step back and admire your amazing progress, regardless of whether some pen marks show through!
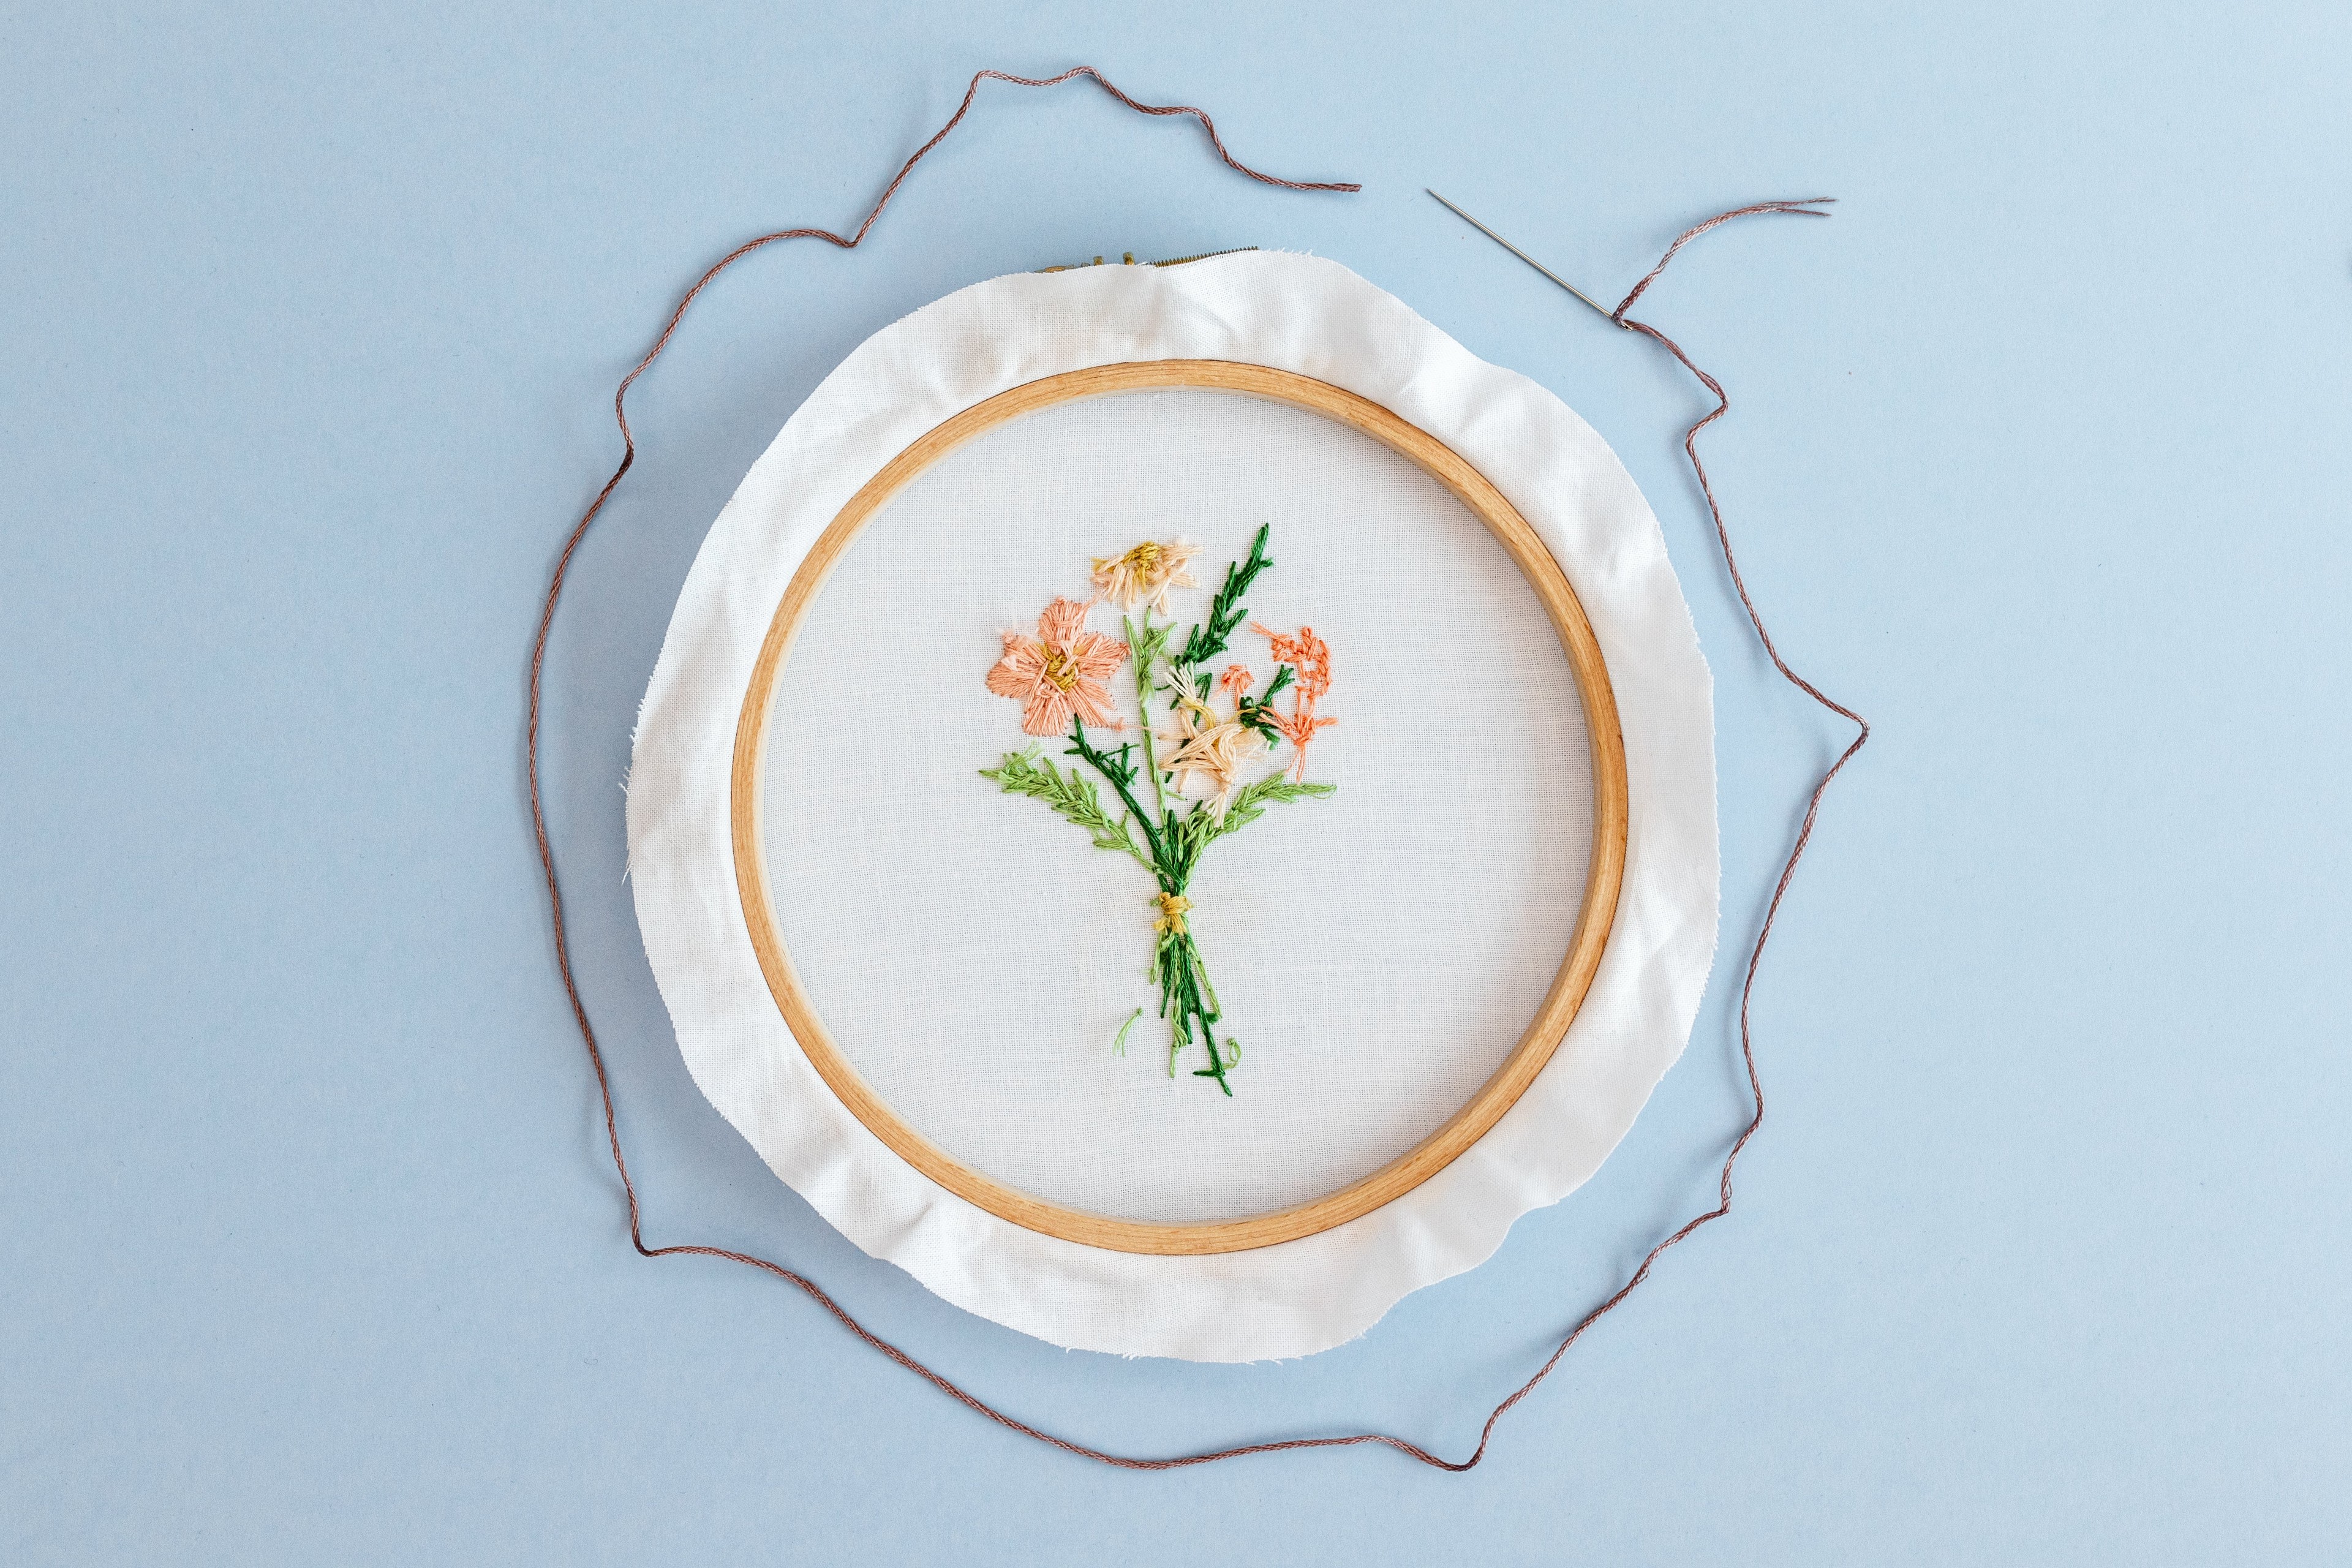
Finishing your hoop
Once you’ve completed your embroidery project, you’ll want to frame it for all your friends and family to see! There are lots of different ways to finish your work. But for now, let me explain my go-to method, which is great for beginners.
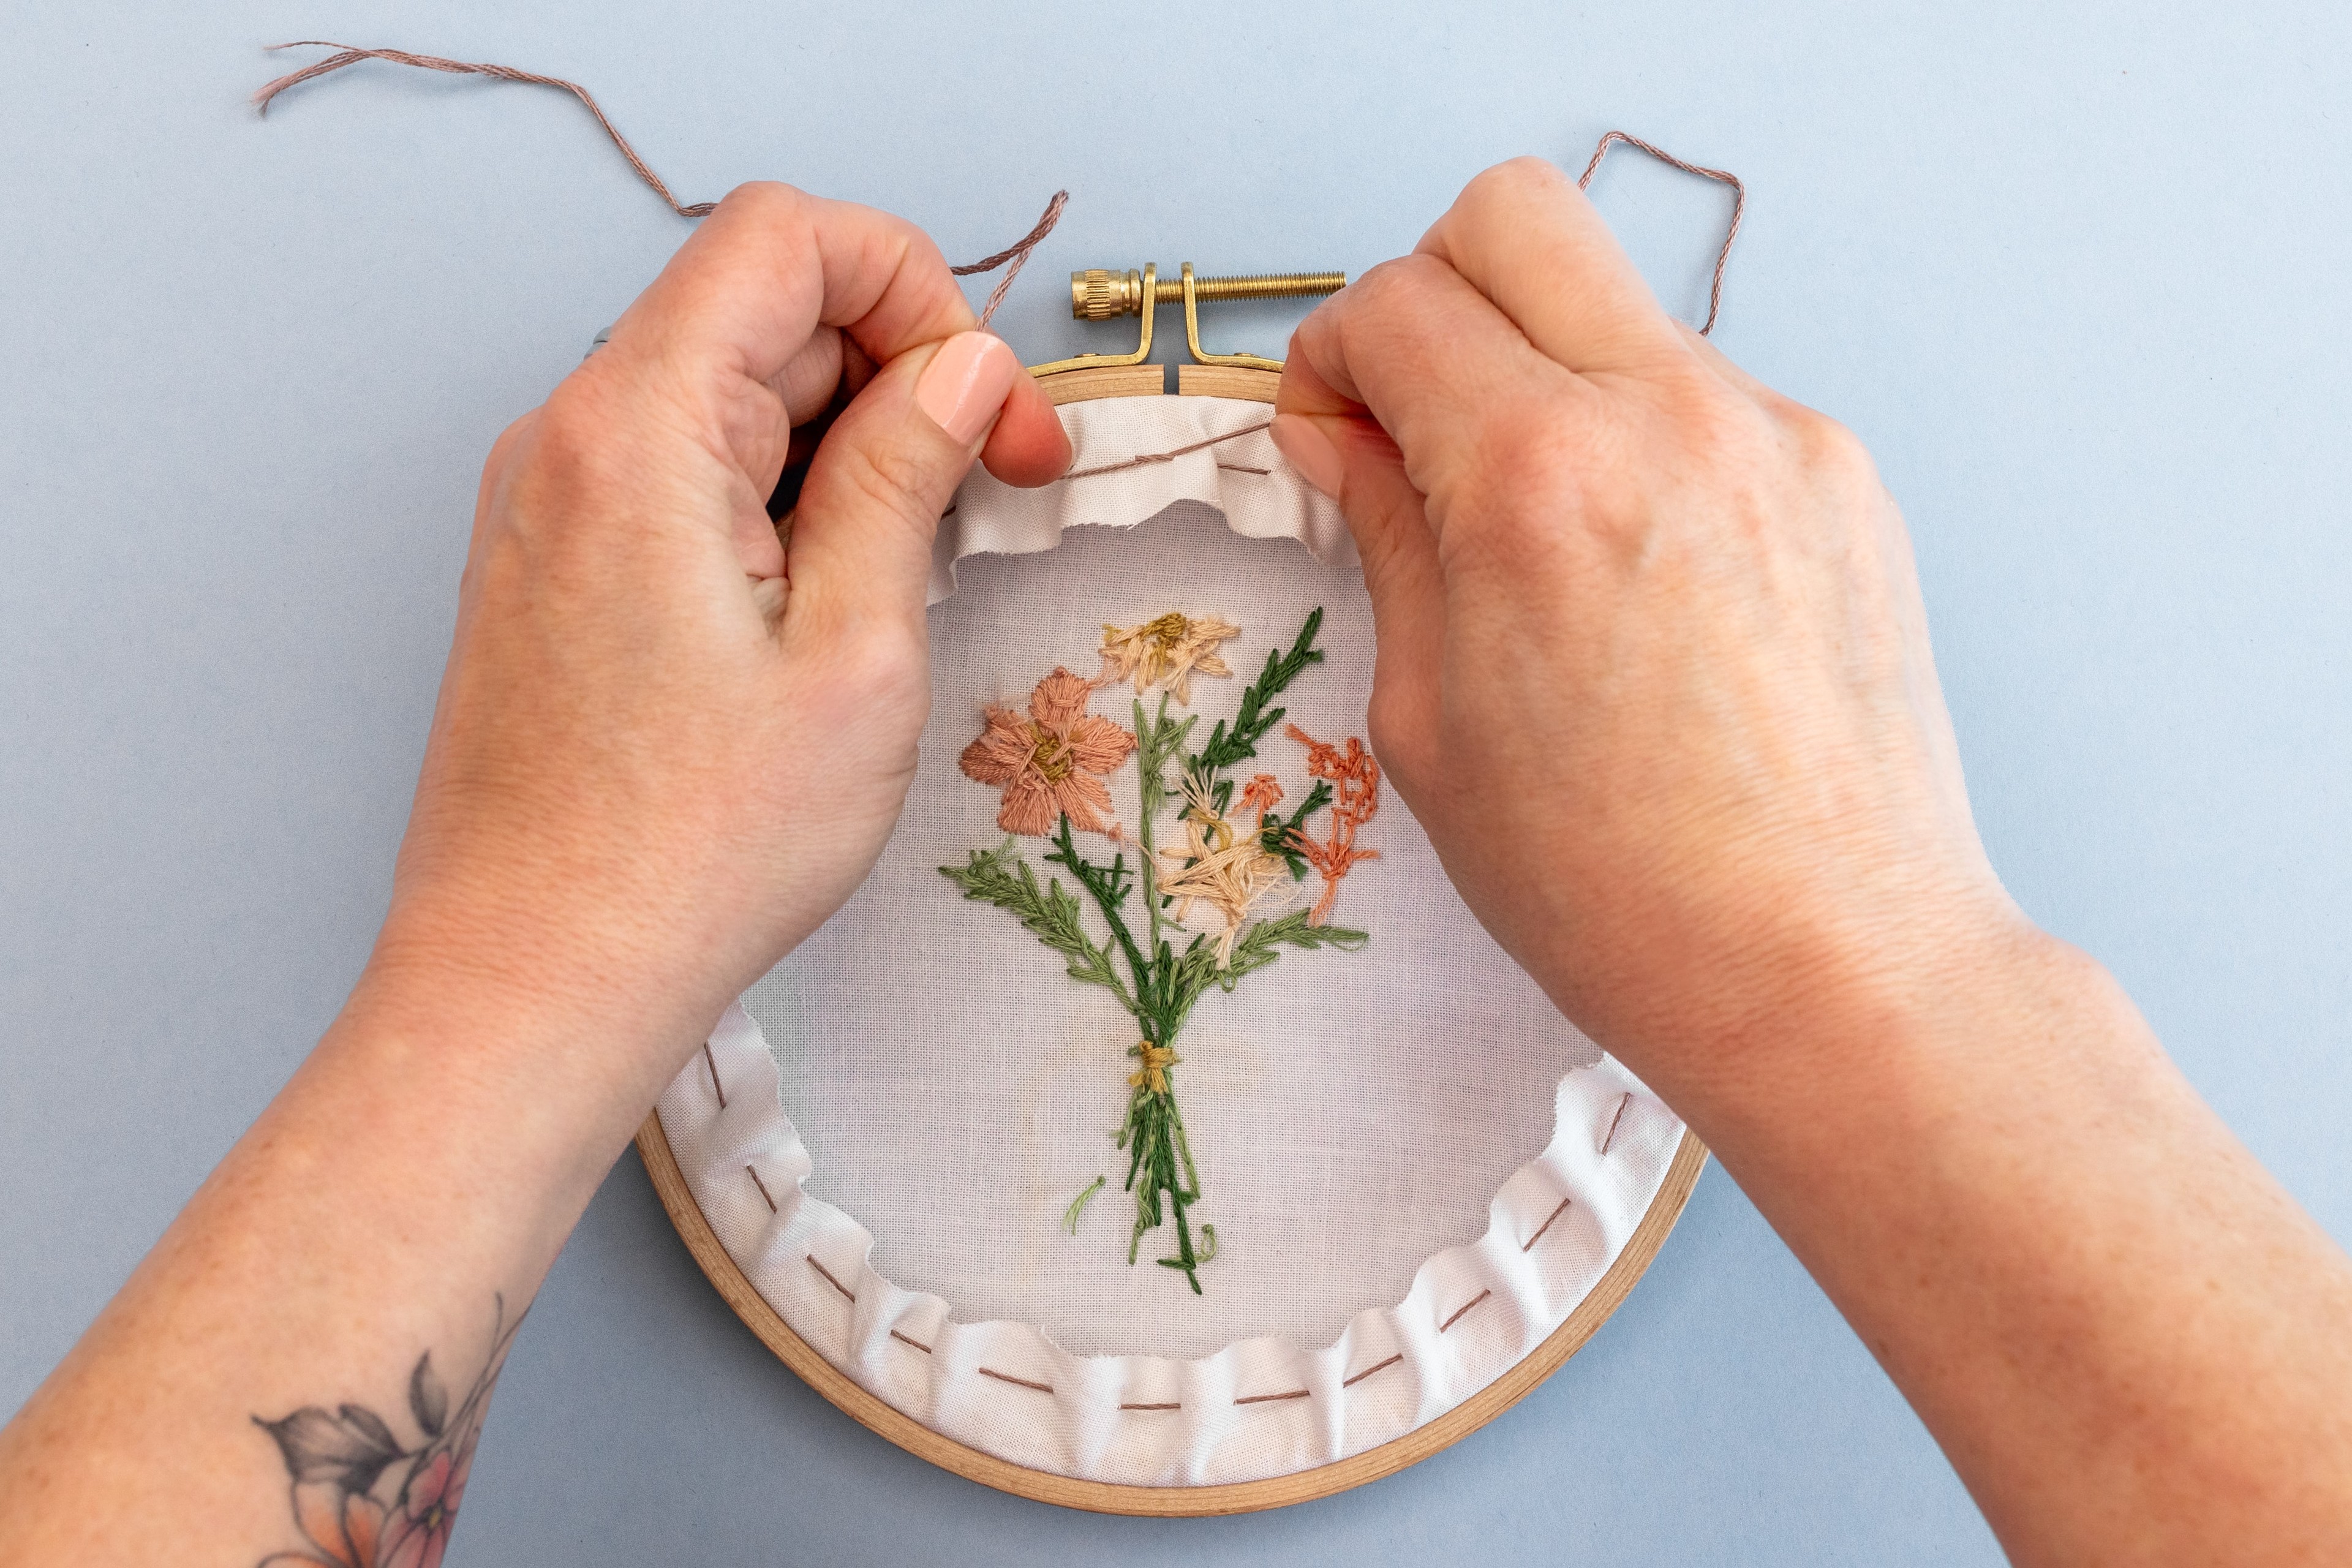
Gathered Fabric Method:
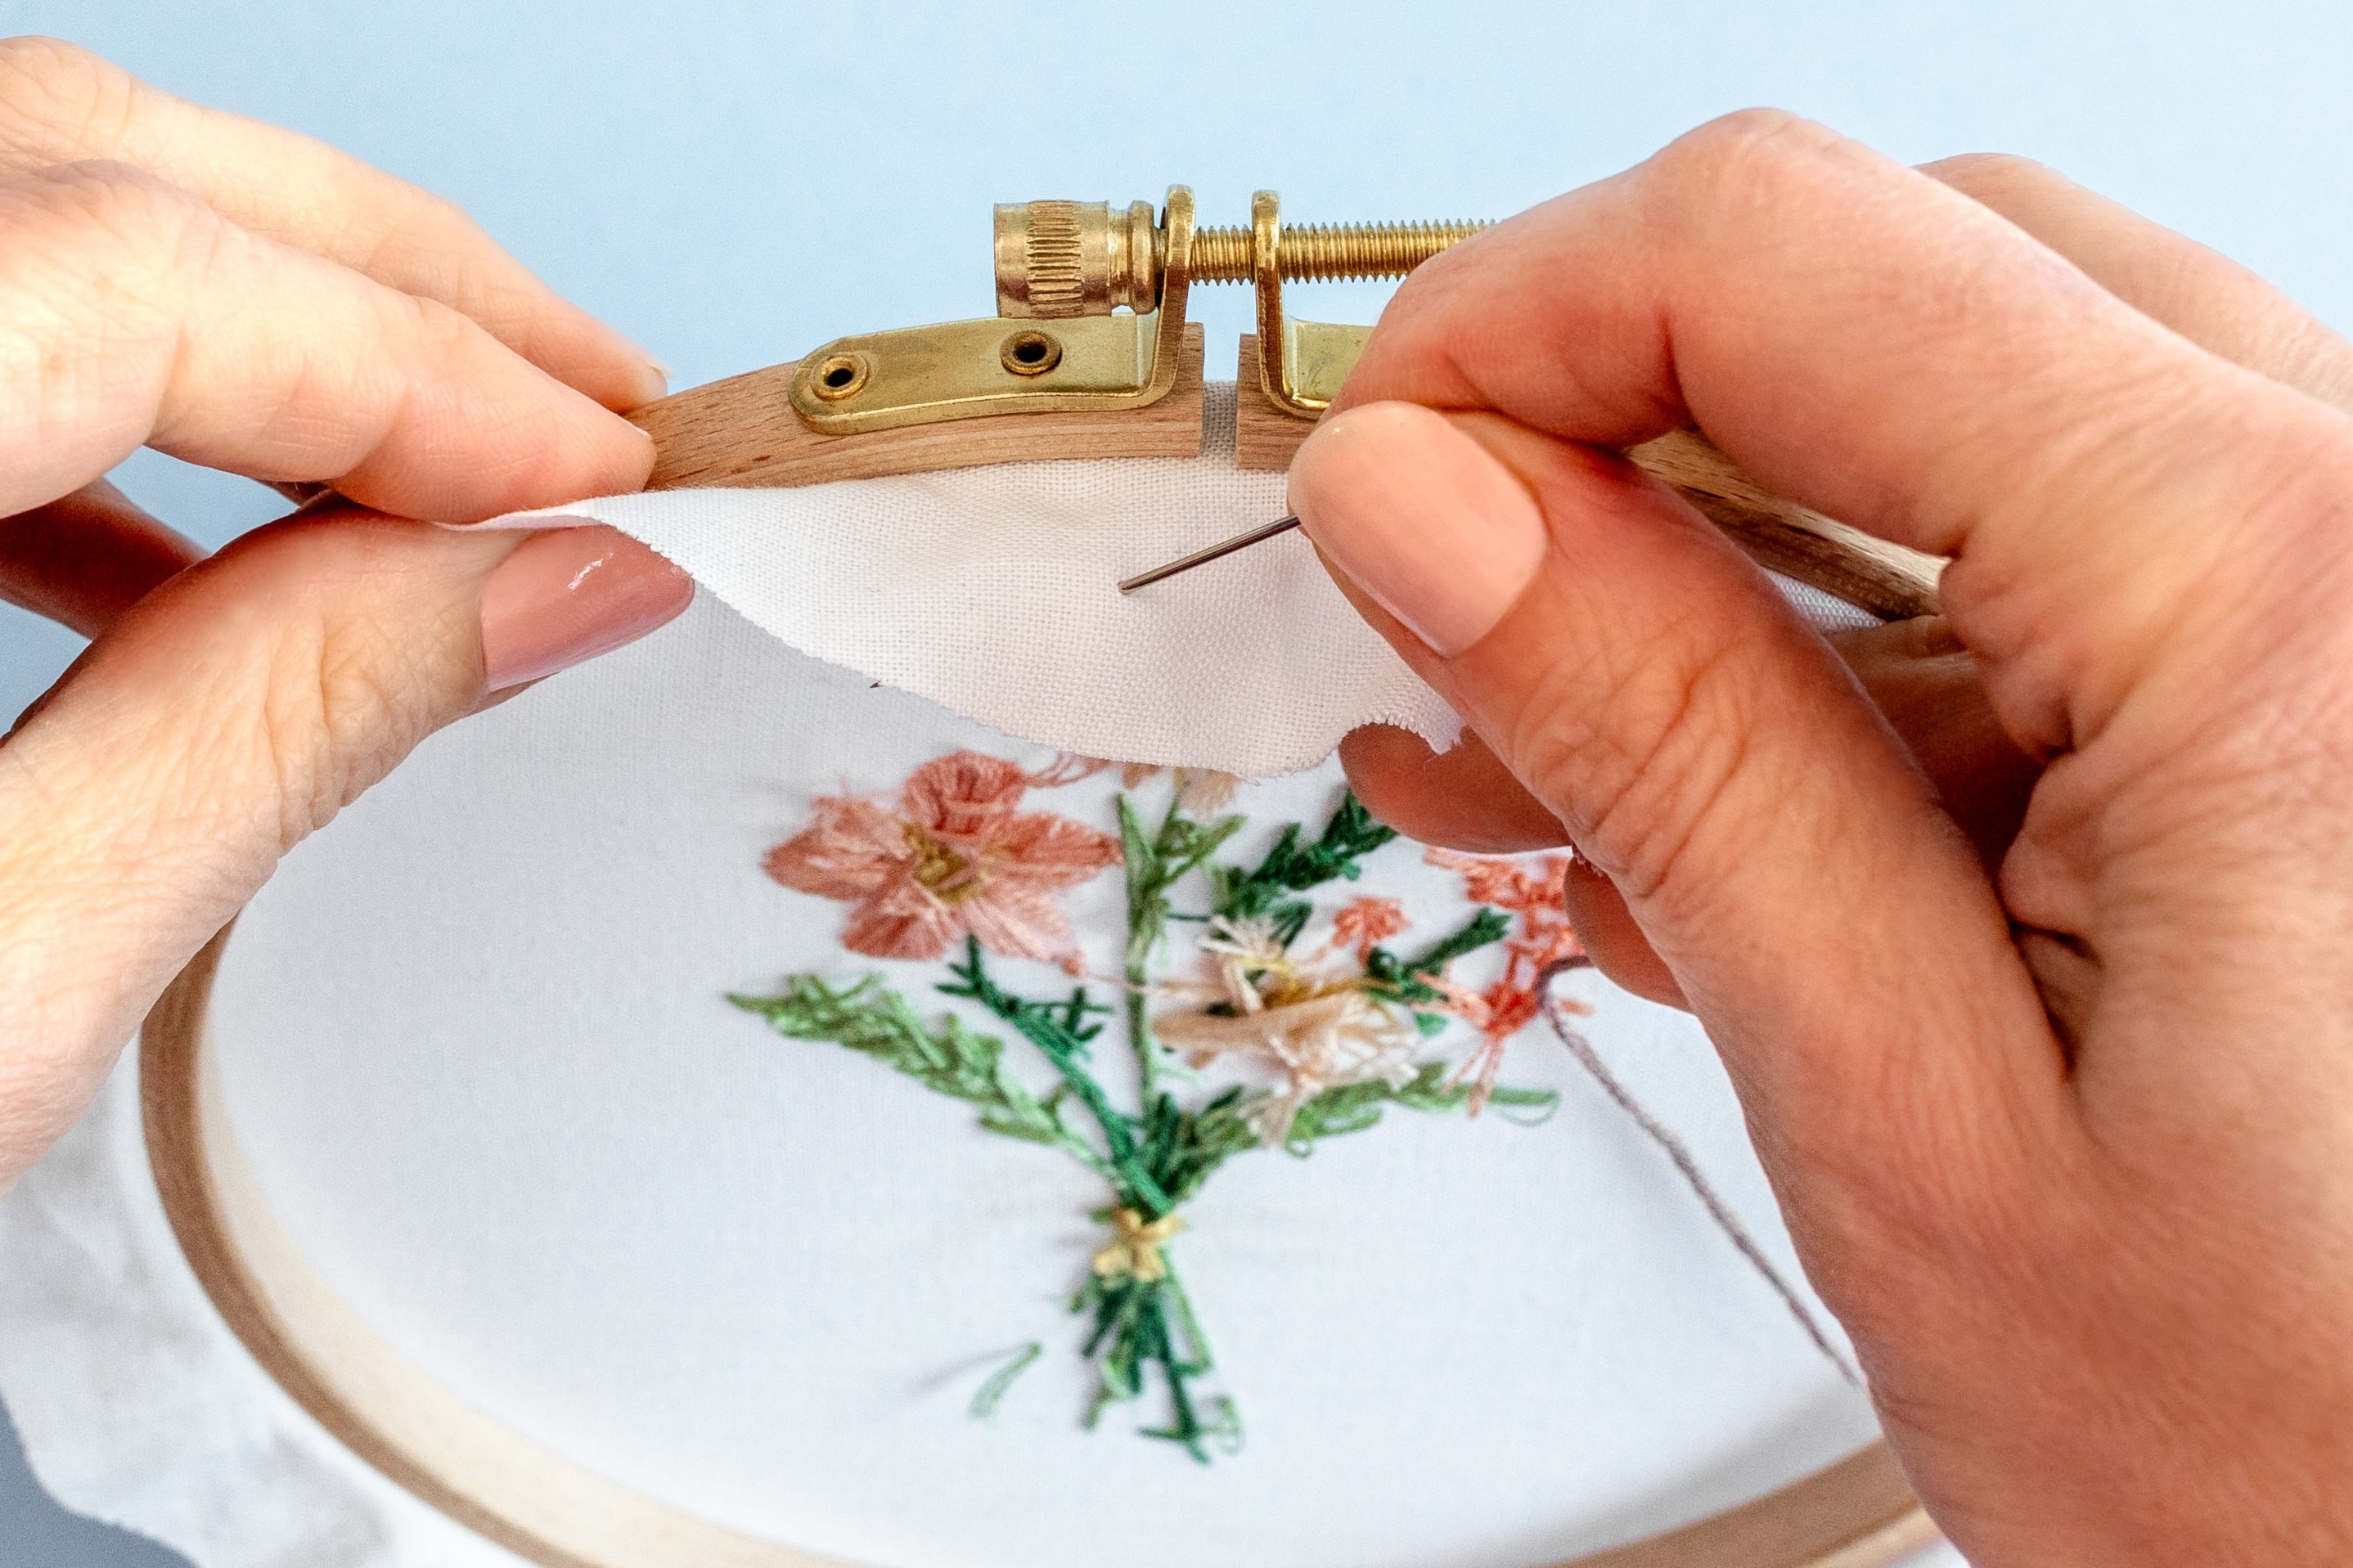
Step 1.
Dress your piece in the display hoop, ensuring it’s taut like a drum. Trim any excess fabric, leaving about 3⁄4 inch extending beyond the hoop.
TIP: If you want to add a cardboard backing (or a second piece of backing fabric), do that now.
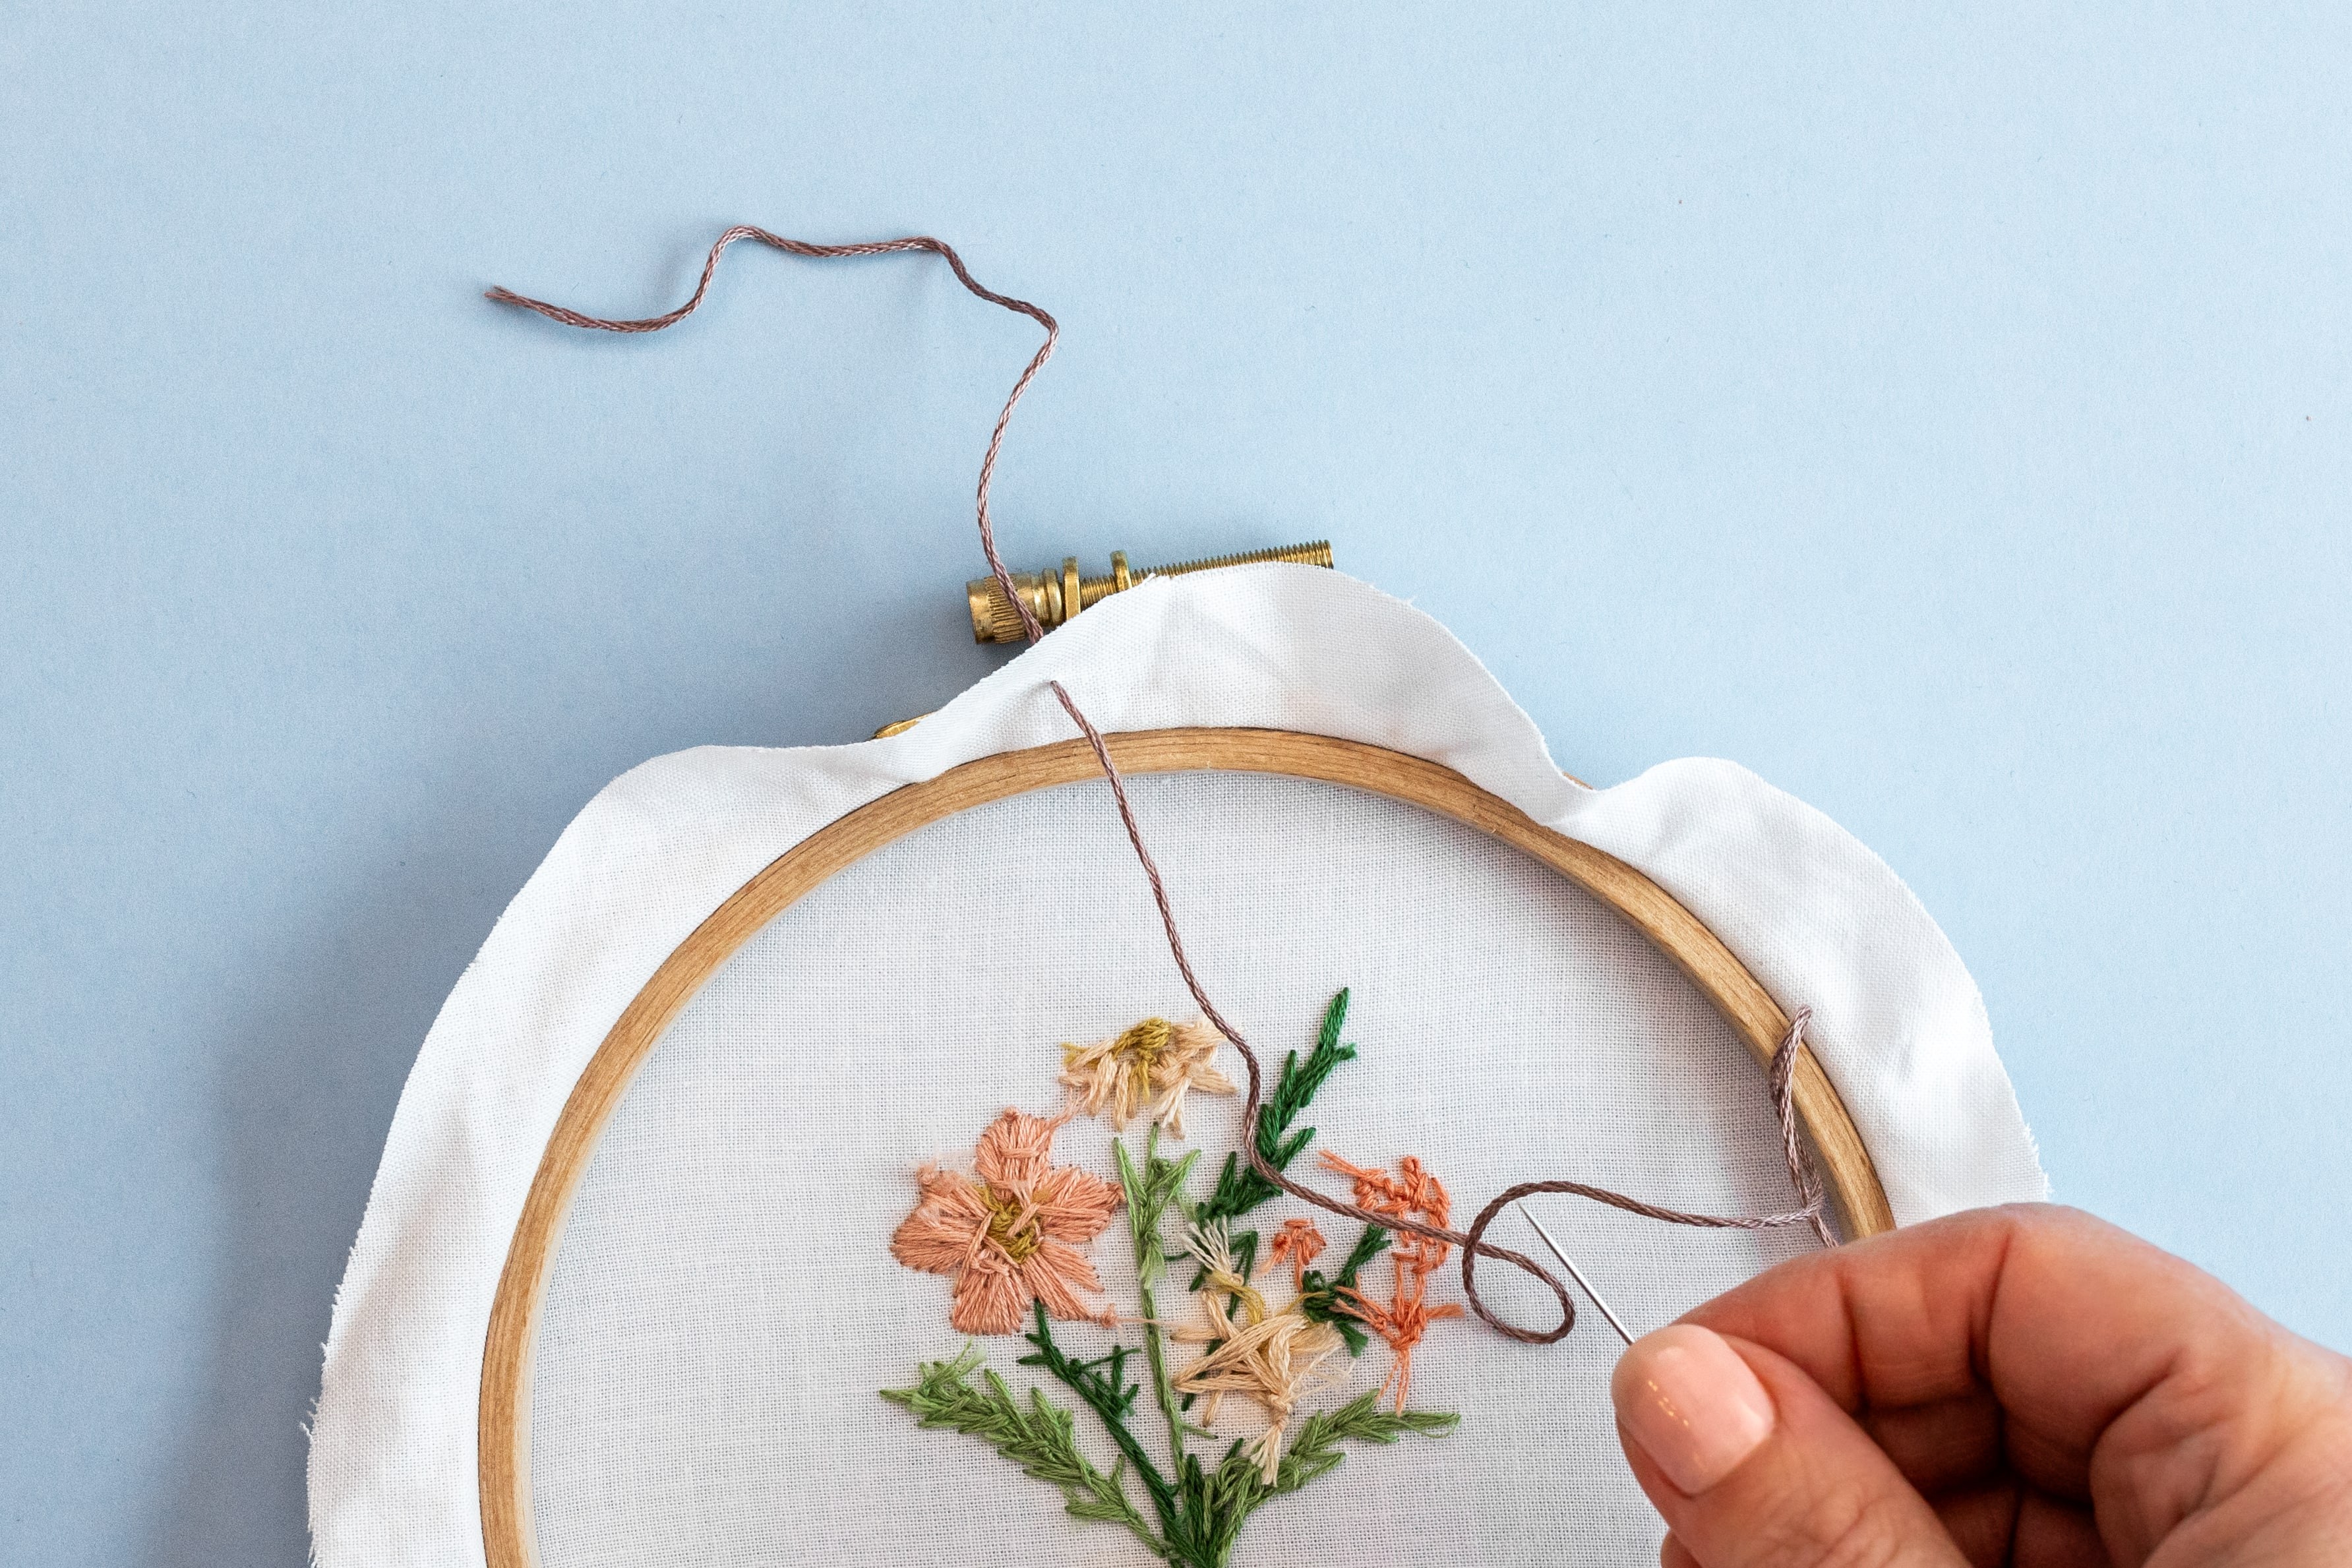
Step 2.
Cut a piece of thread that’s easily longer than the hoop’s circumference. Thread it through your needle without tying a knot at the end.
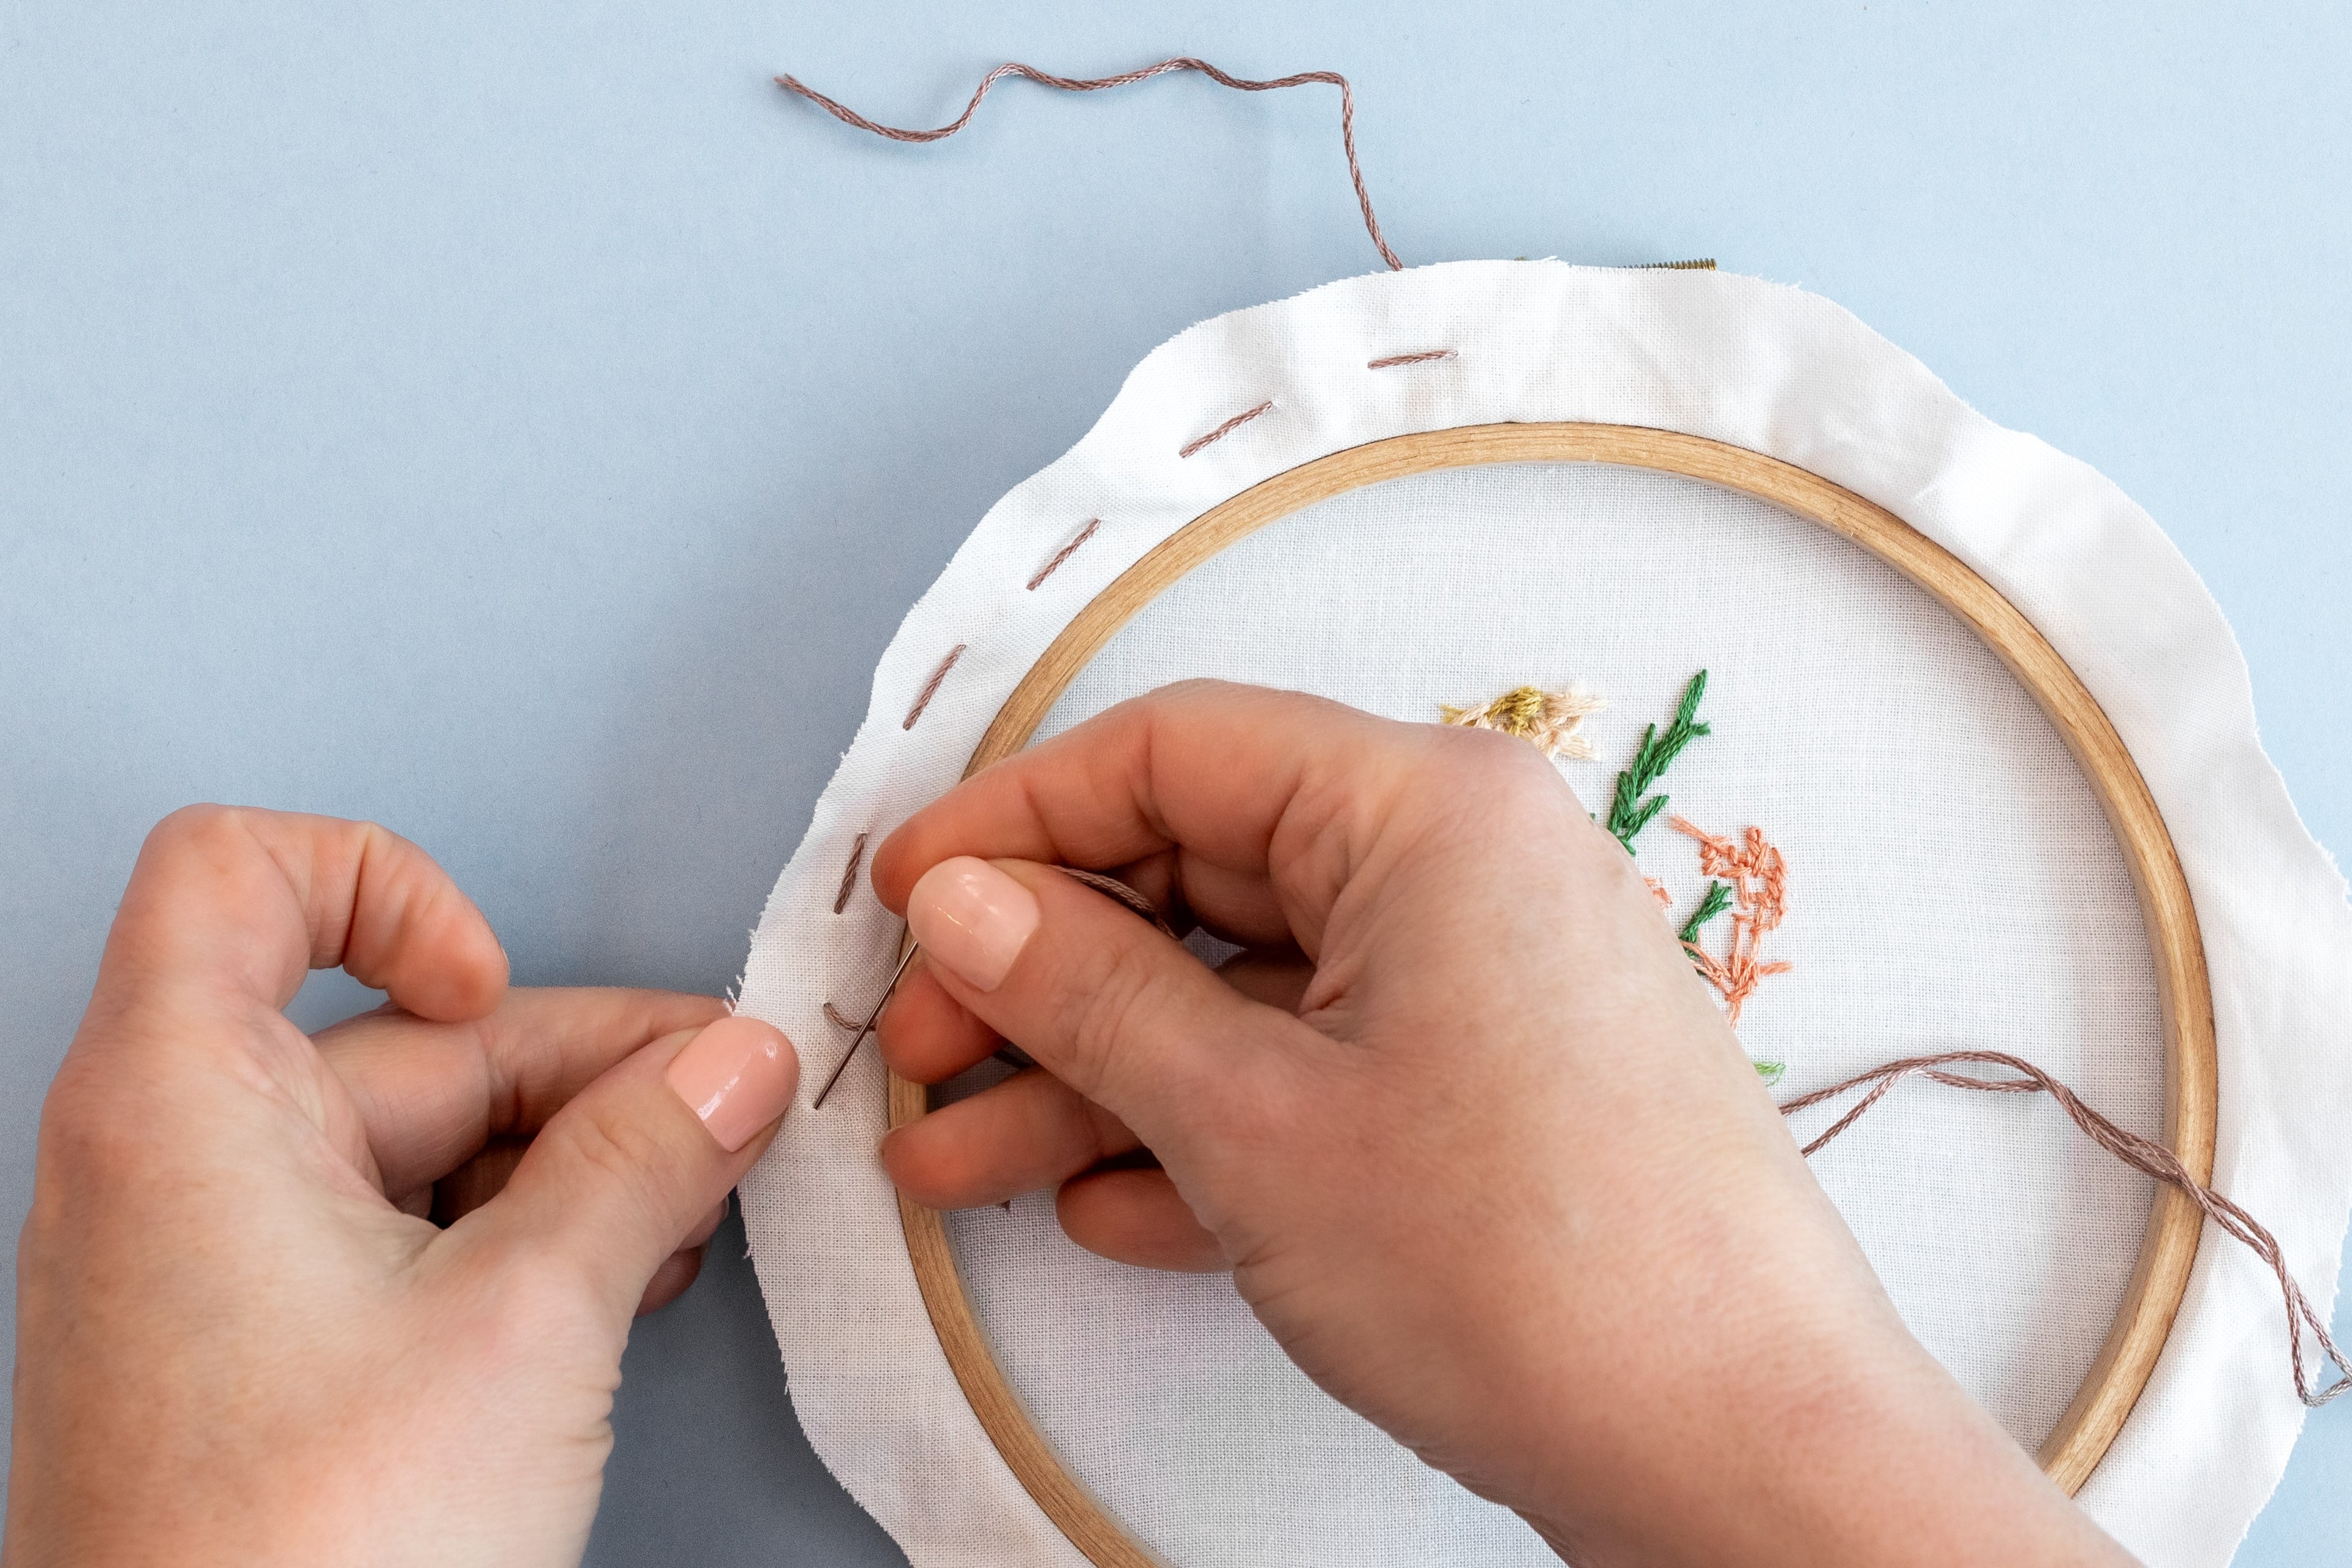
Step 3.
Begin near the top of the hoop, close to the clasp. Poke the needle through the fabric to the underside of the hoop. Pull through the working thread, leaving a tail of approximately 2 inches or more hanging outside the fabric.
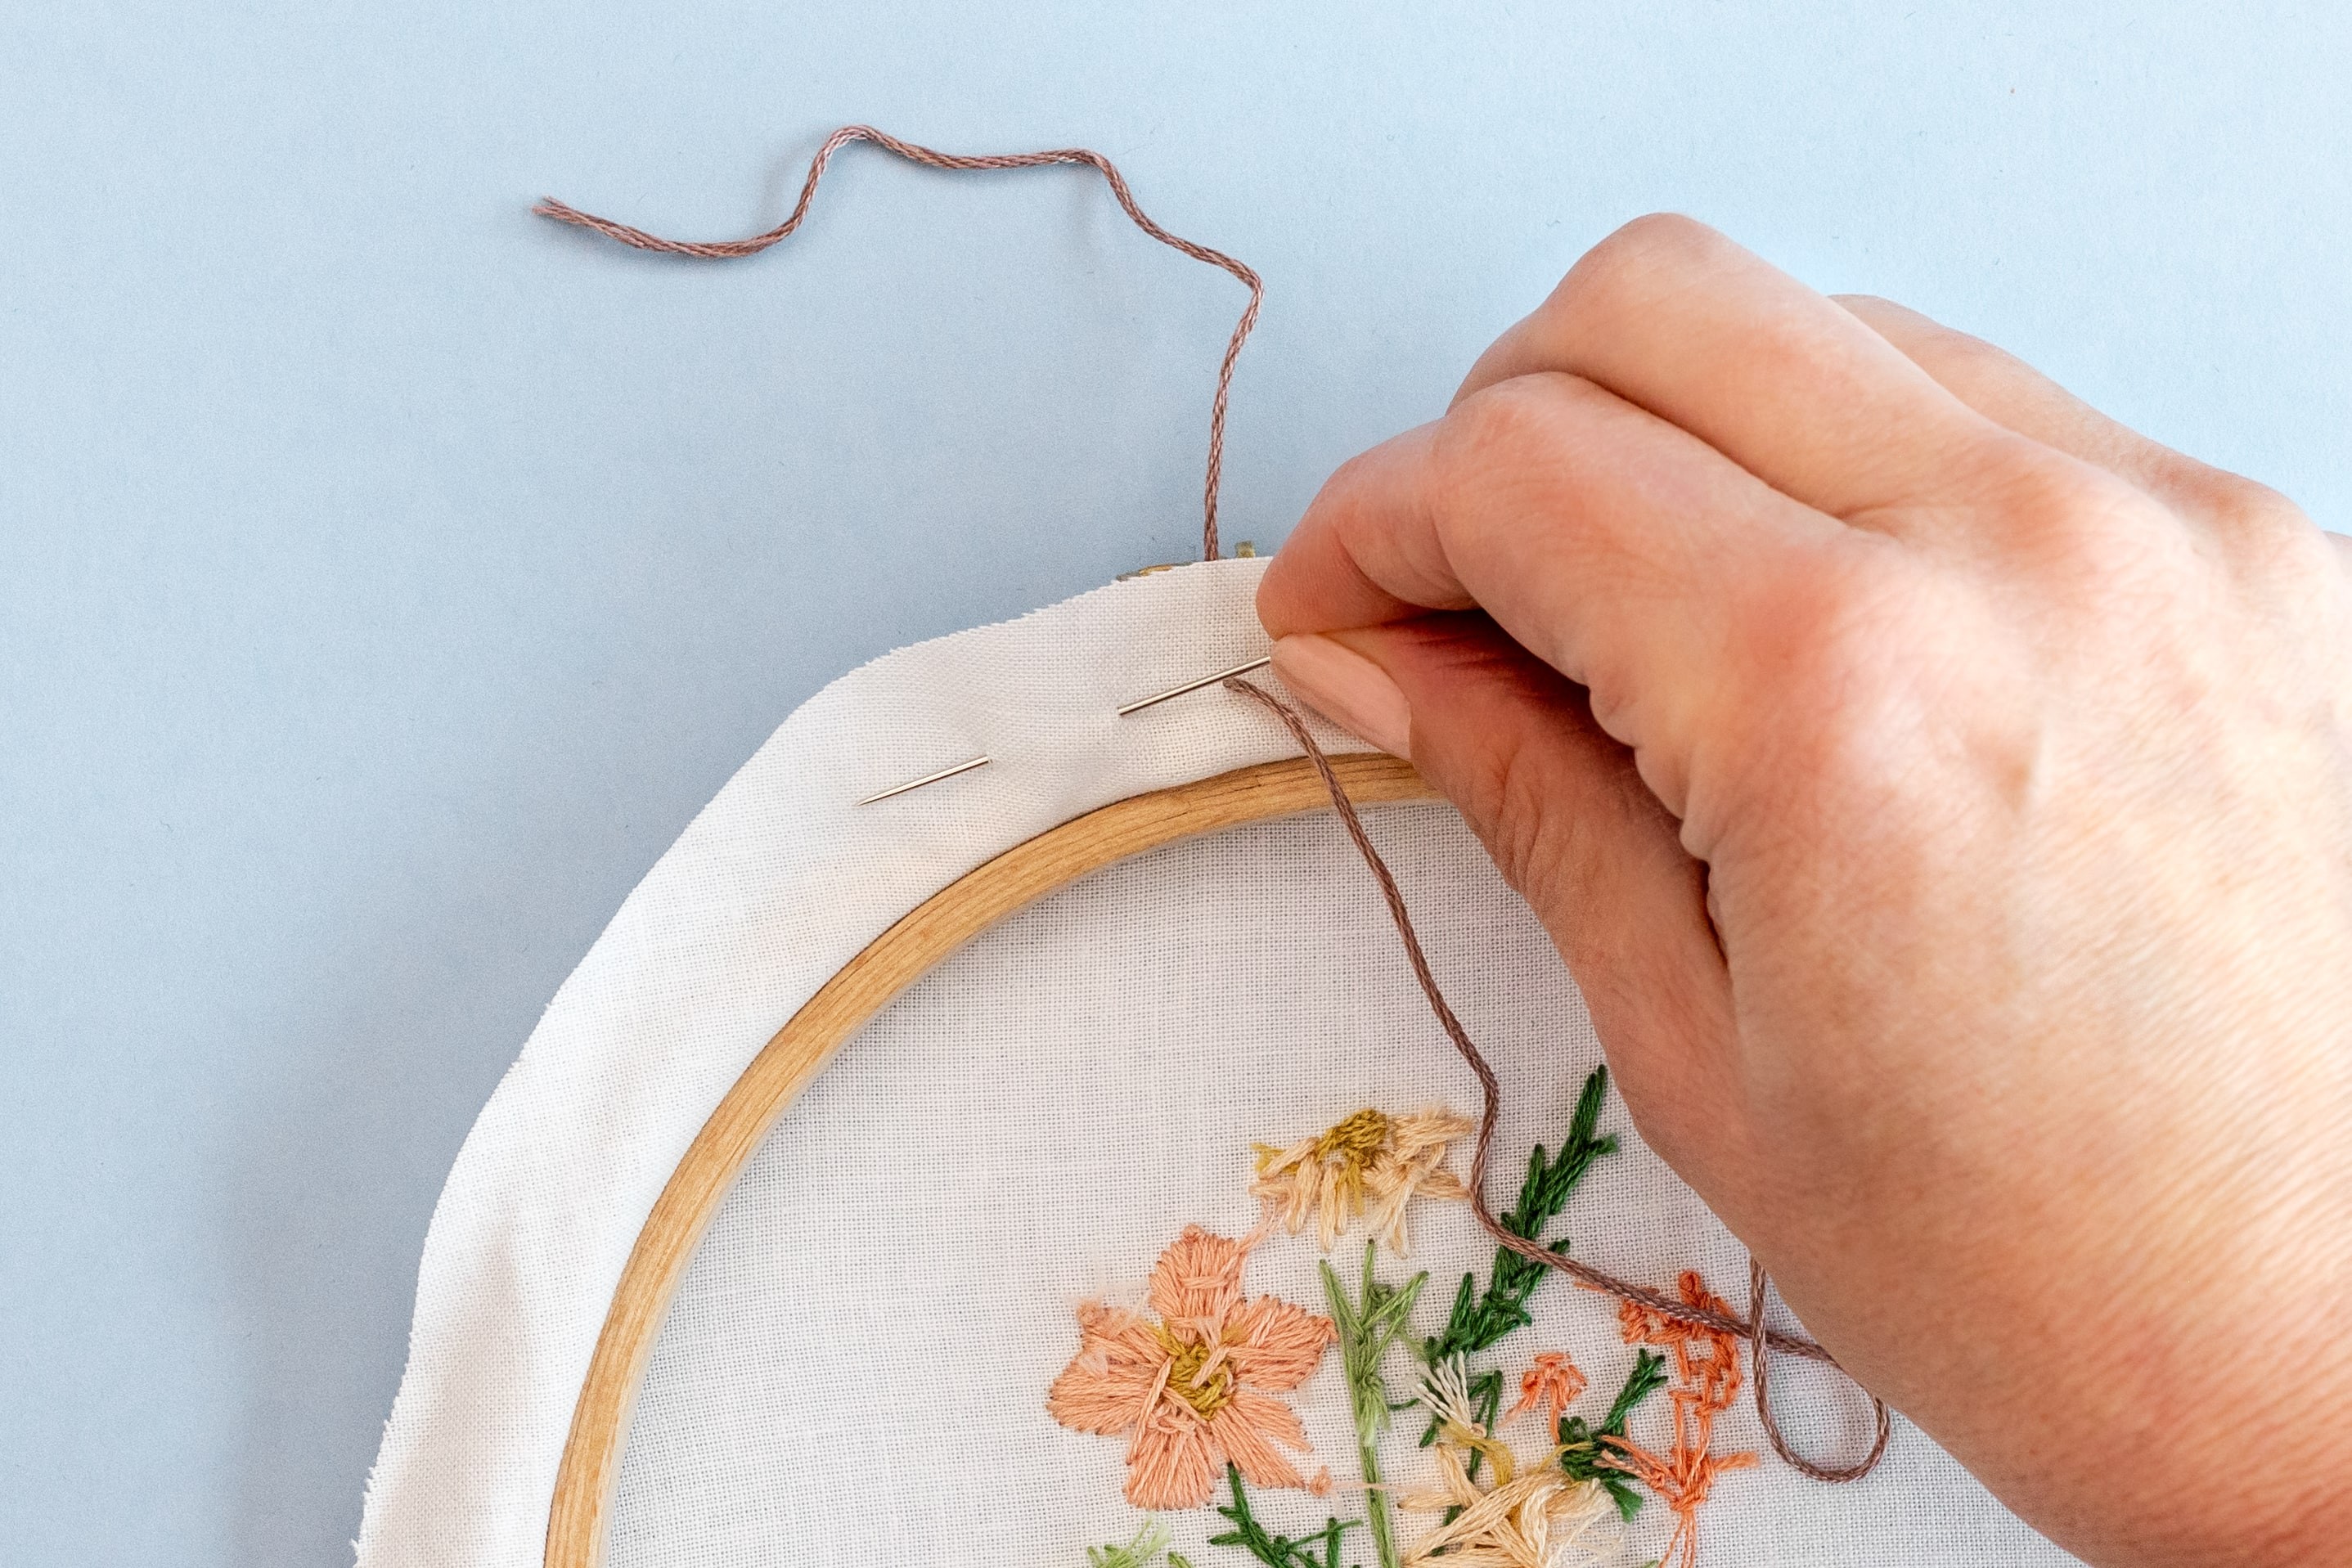
Step 4.
Now work a simple Running Stitch around the hoop’s circumference. Keep this outline just under 1/2 inch from where the fabric emerges from the hoop. Your stitches can be relatively large, about 1⁄4 inch each. But don’t worry about making each stitch exact – they’ll be hidden on the underside anyway! Also, remember that your tail isn’t secured, so don’t by mistake whip it through the fabric.
TIP: You can try ‘sewing’ your Running Stitch by scooping the fabric as you go.
Step 5.
When you are about a stitch length away from where you started, poke your needle through the fabric to leave the tail on the outer side beside your first tail.
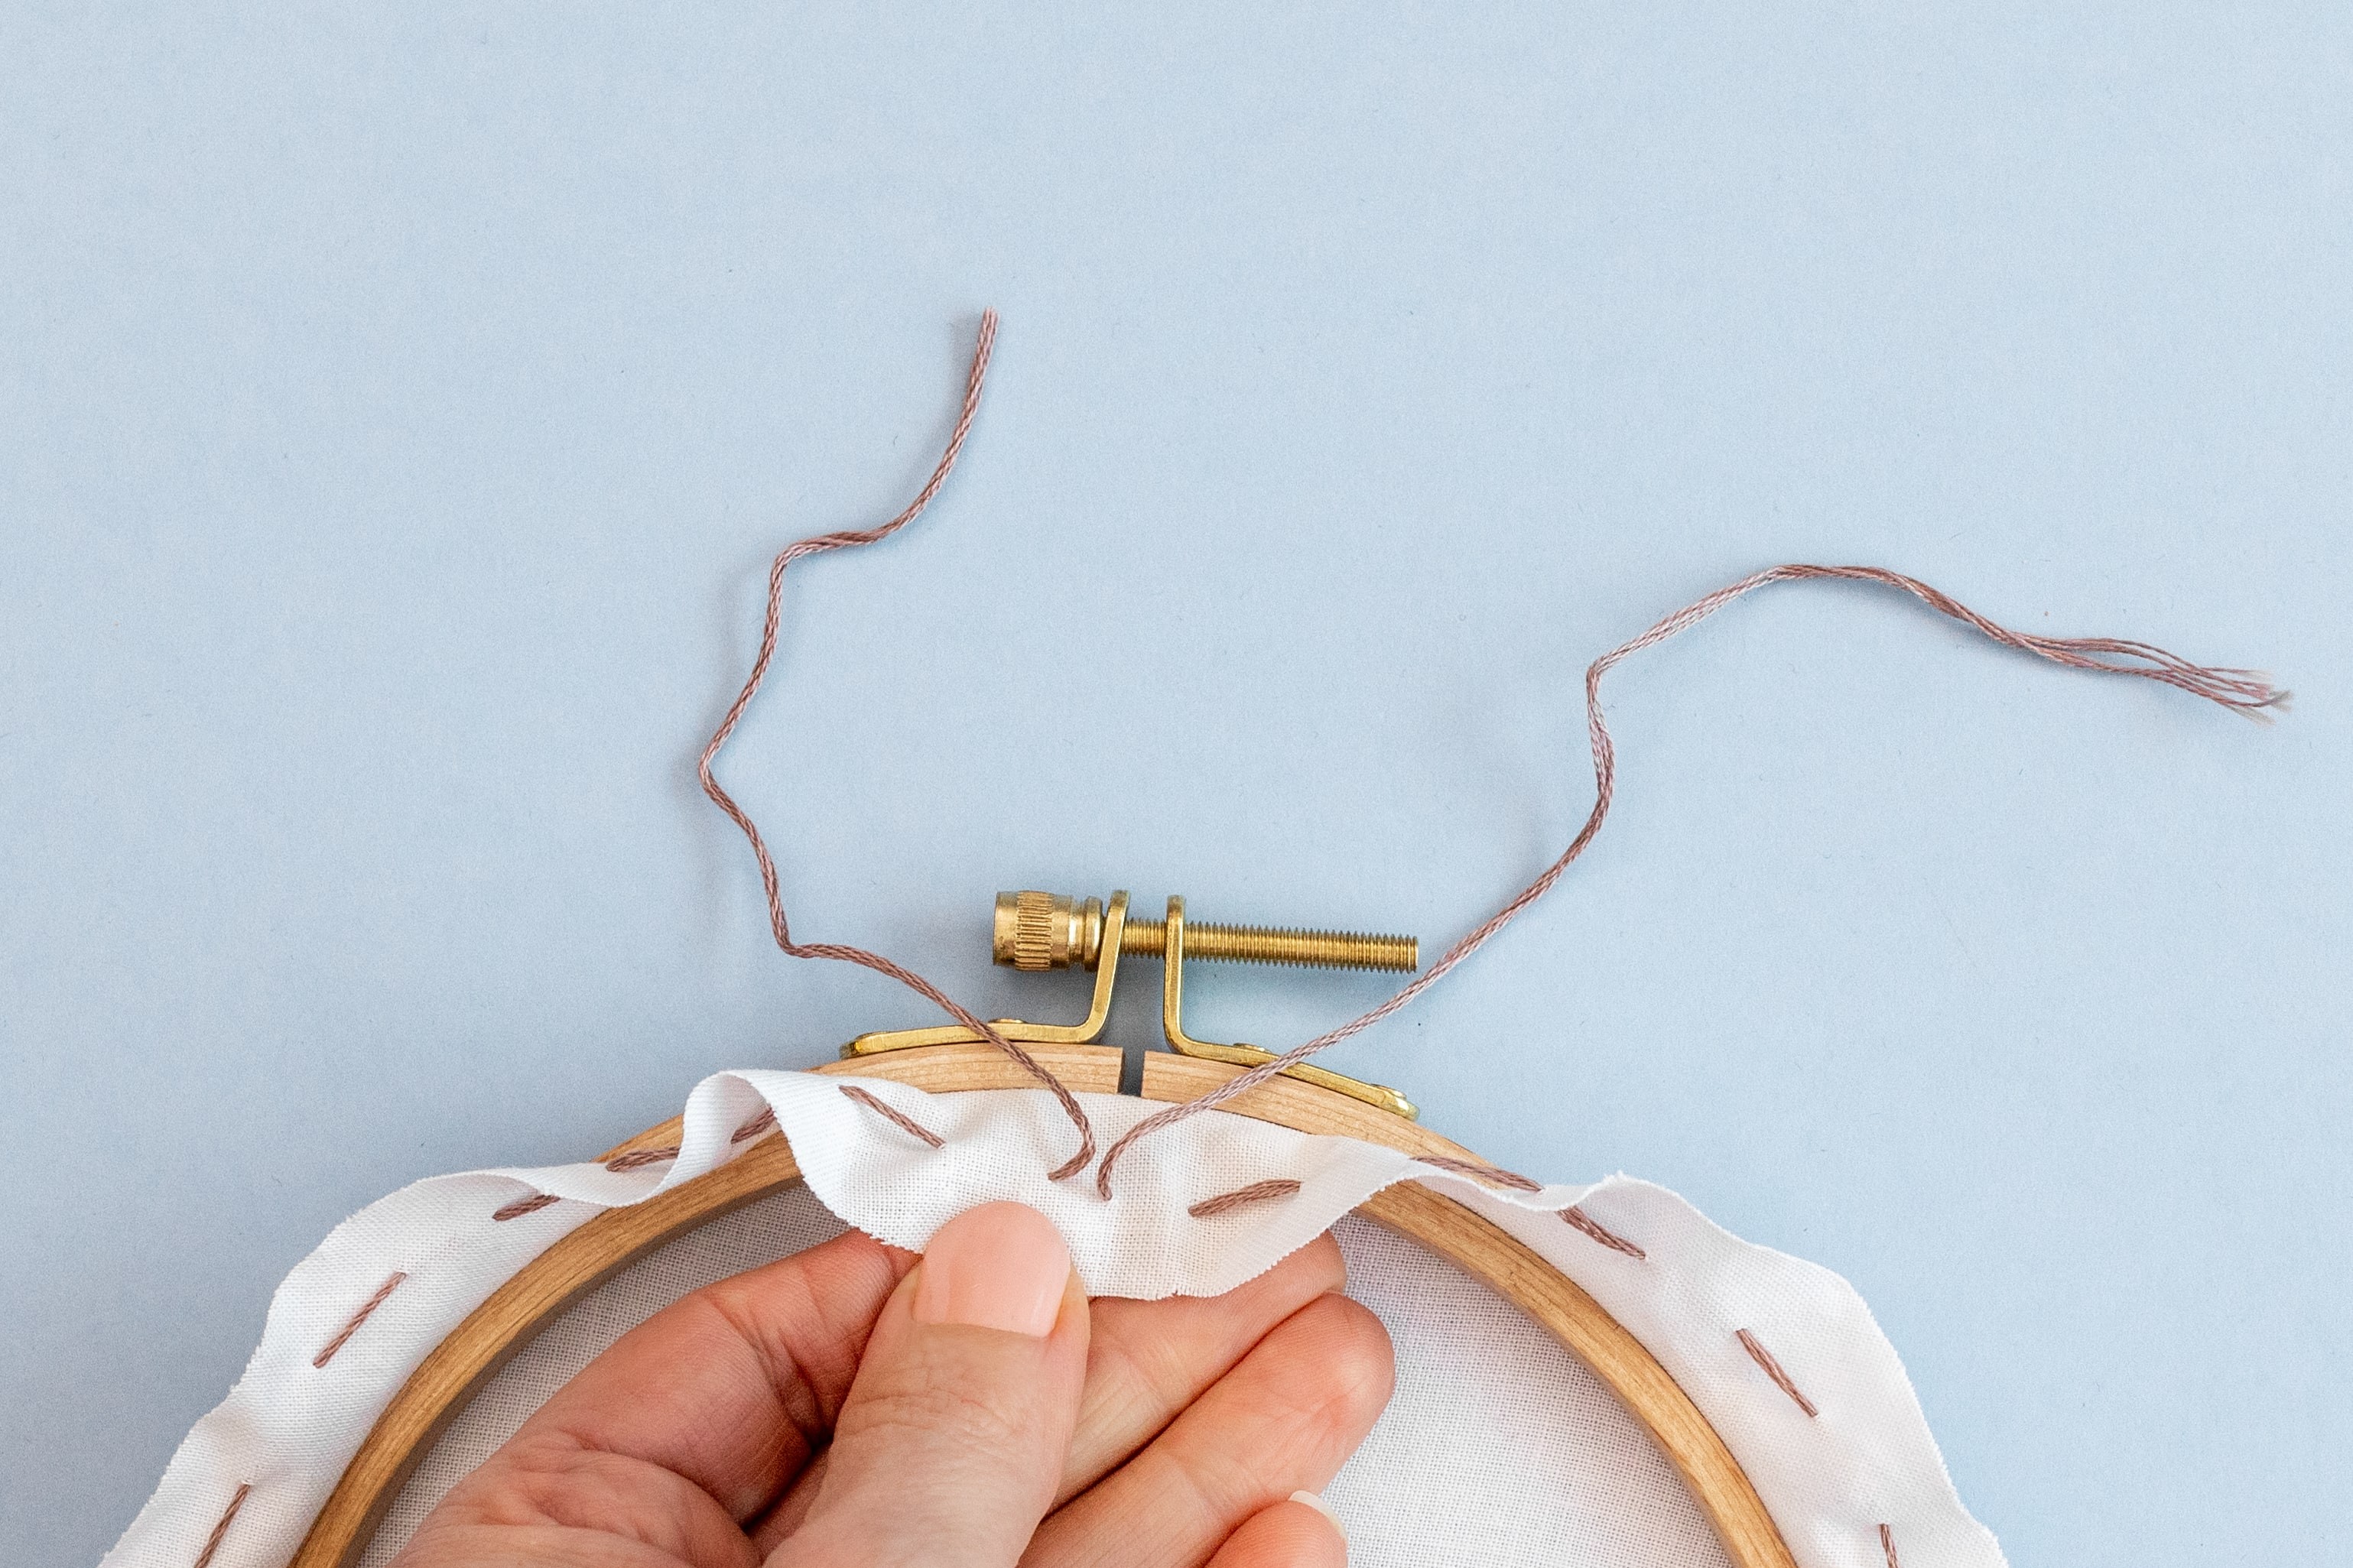
Step 6.
Create a simple overhand knot, then gently tug both thread ends – see how the fabric comes together and bunches on the underside? This means it will be nicely tidied away at the back.
How to tie an overhand knot: Cross the left tail (A) over the right tail (B). Tuck tail A around and back through the loop to the front. Pull both ends gently to tighten the knot. It’s just like the first step of tying your shoelaces – you’ve got this!
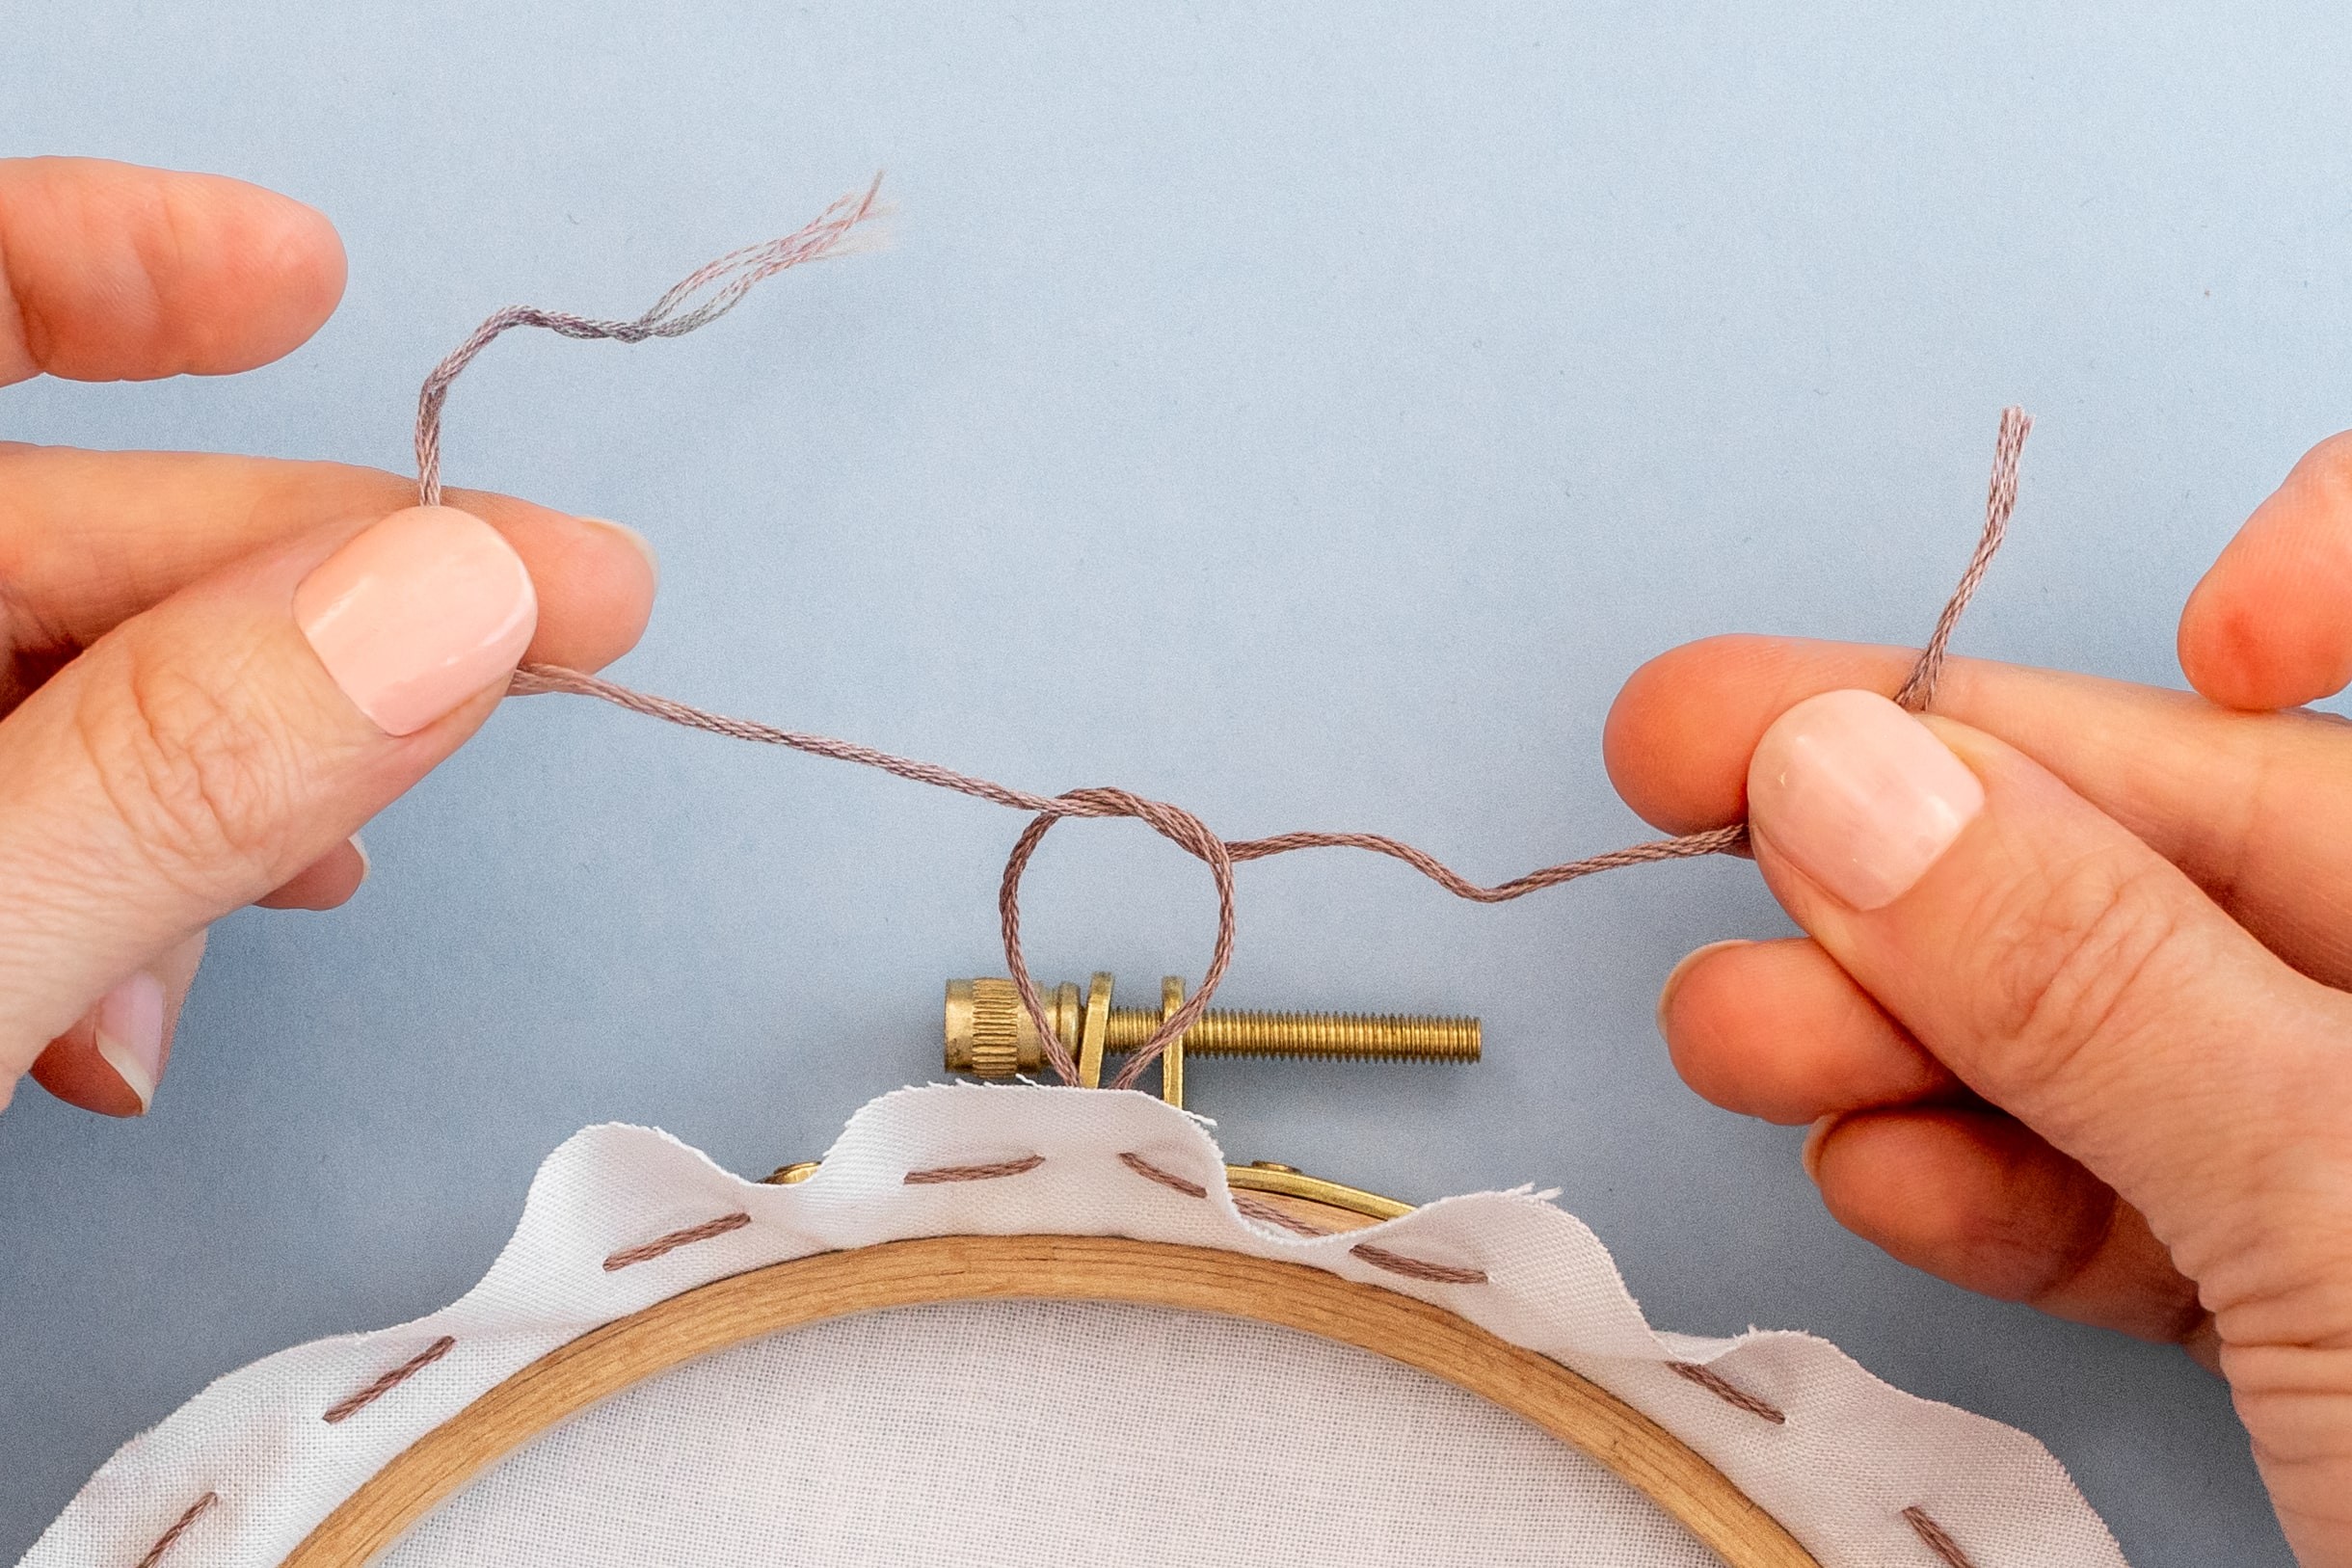
Step 7.
To secure, tie a second overhand knot on top of the first. It helps if you keep the first knot taut while you secure the second, to hold the tension in place. This can be easier said than done, but just do your best. Snip the tails short, and you’re done!
Video example
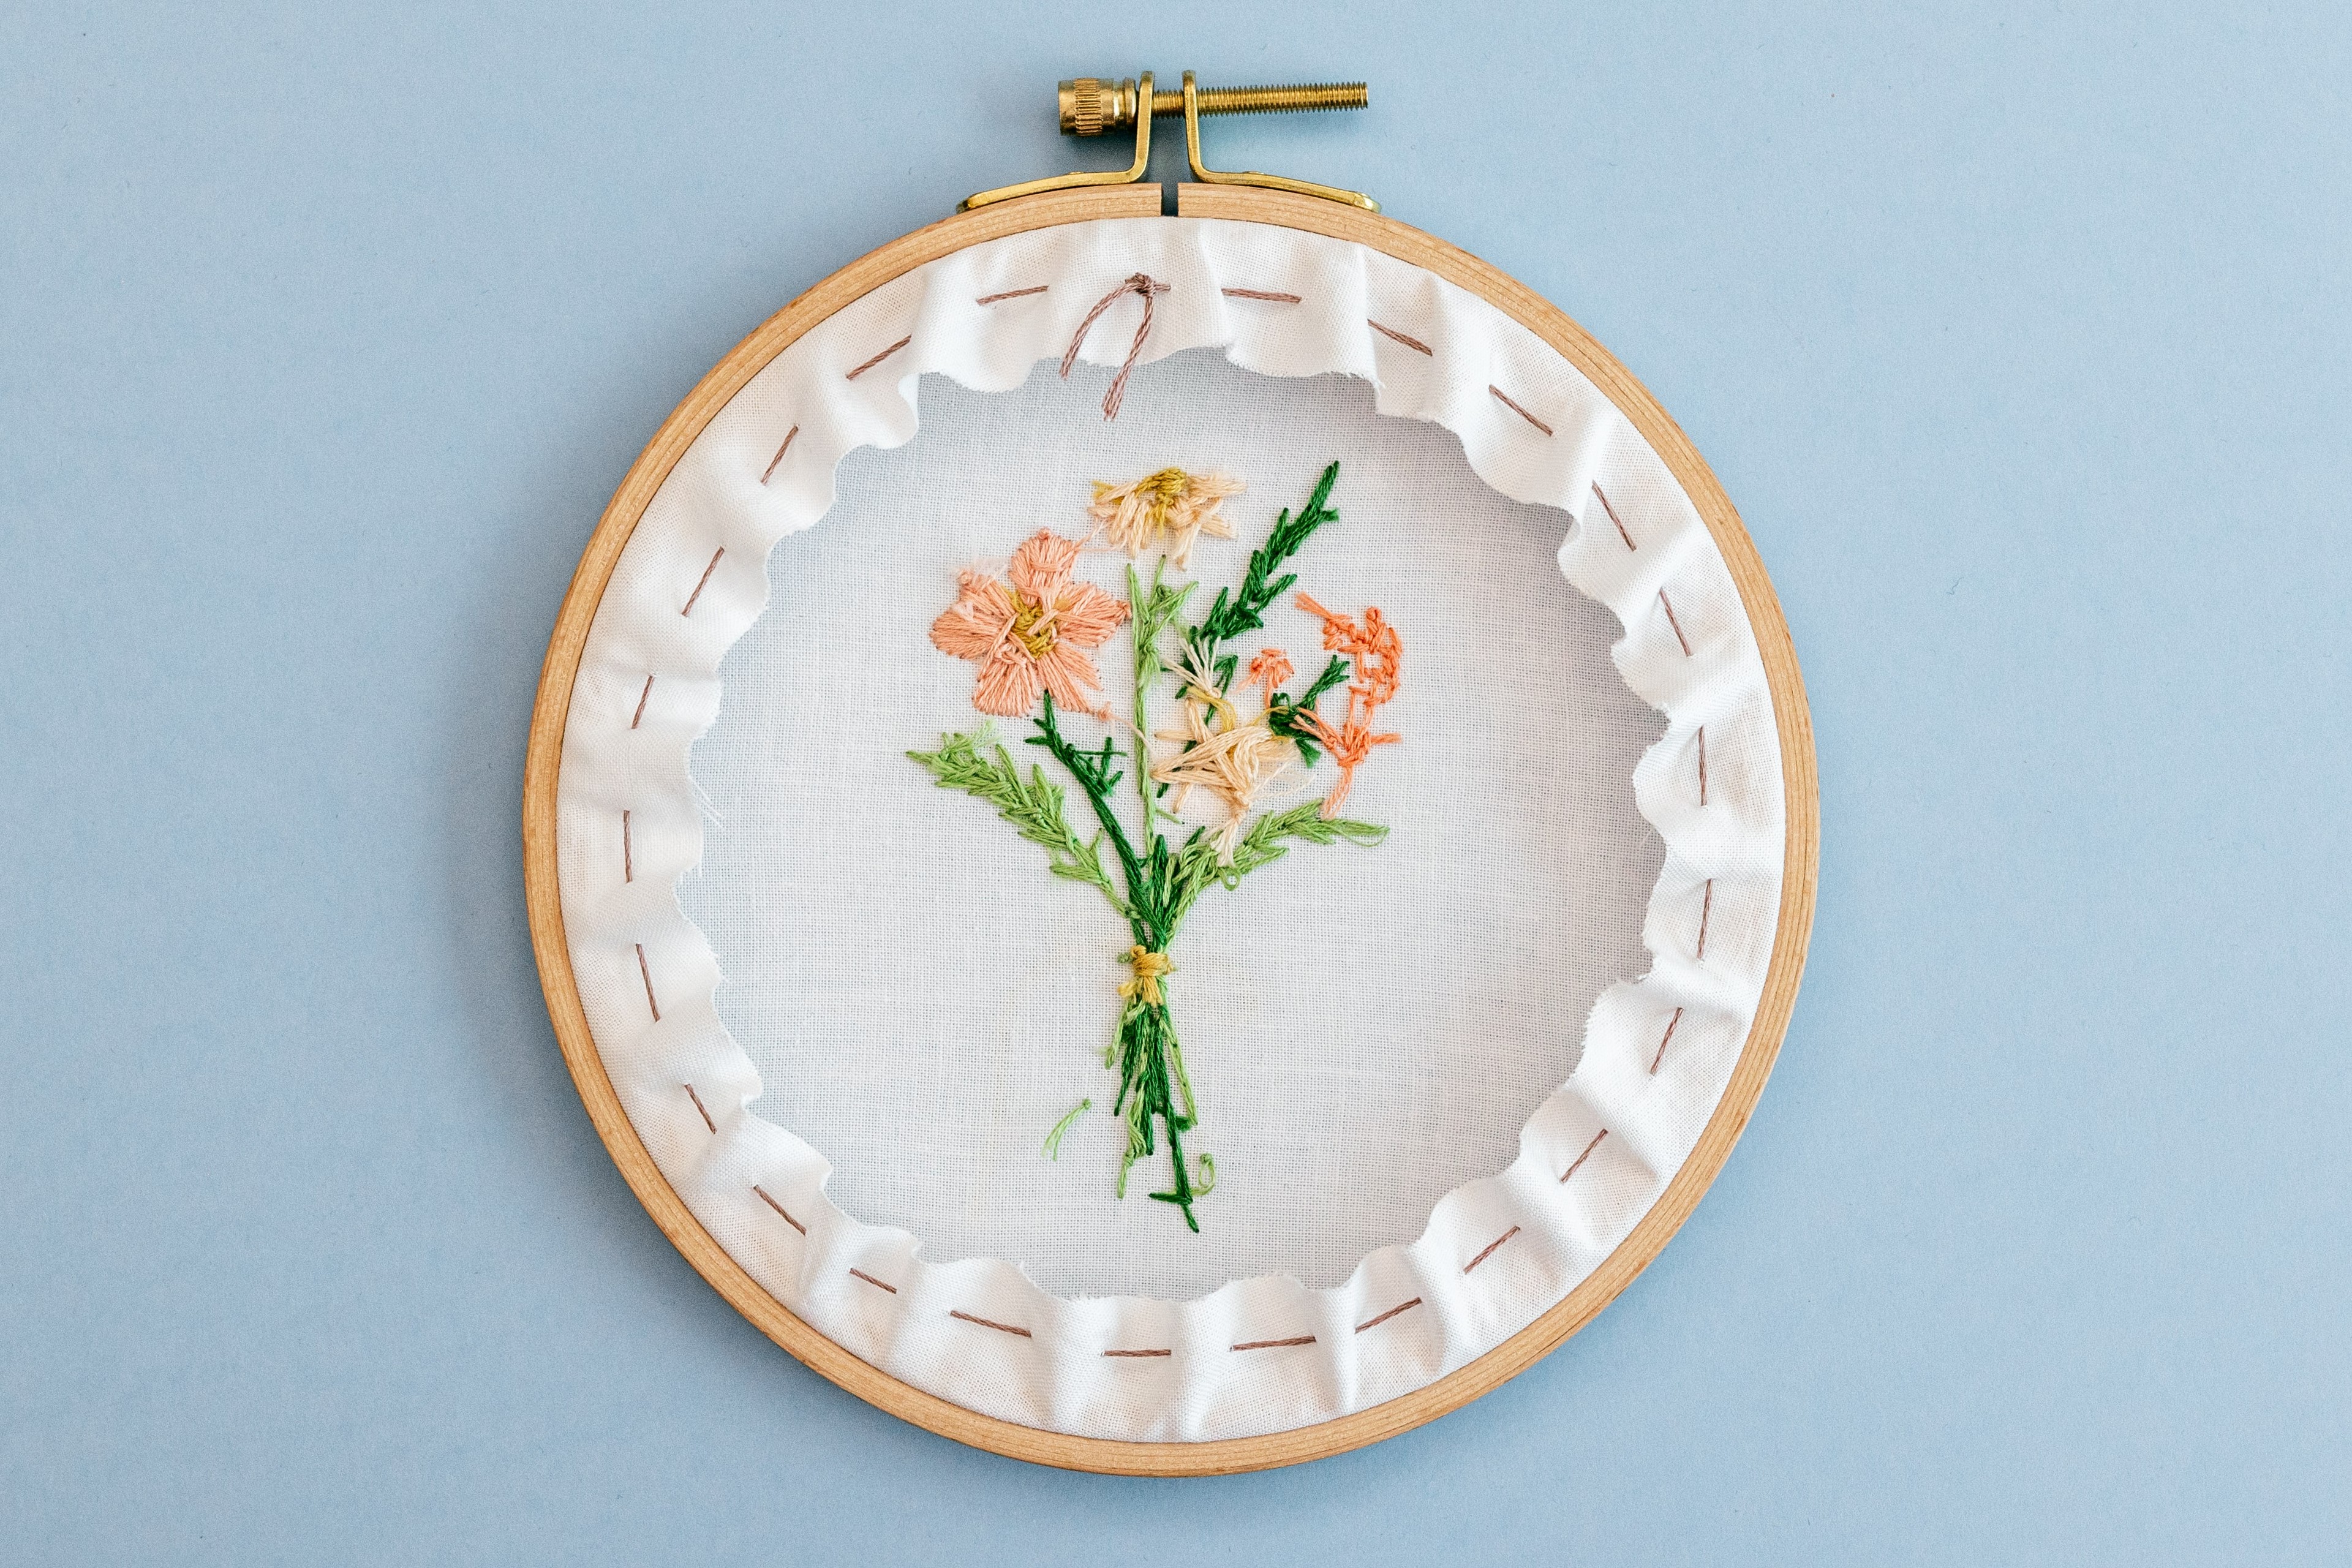
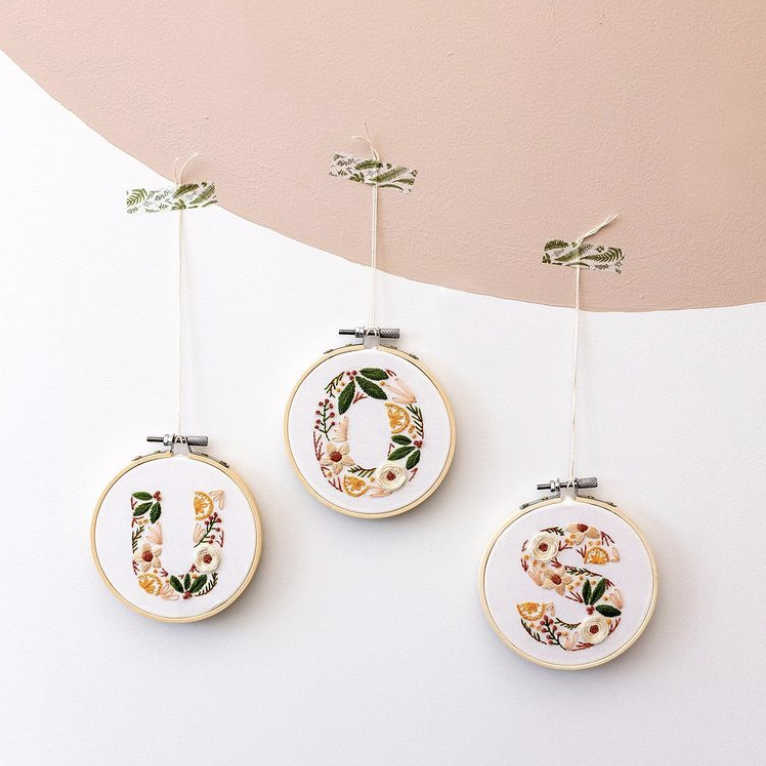
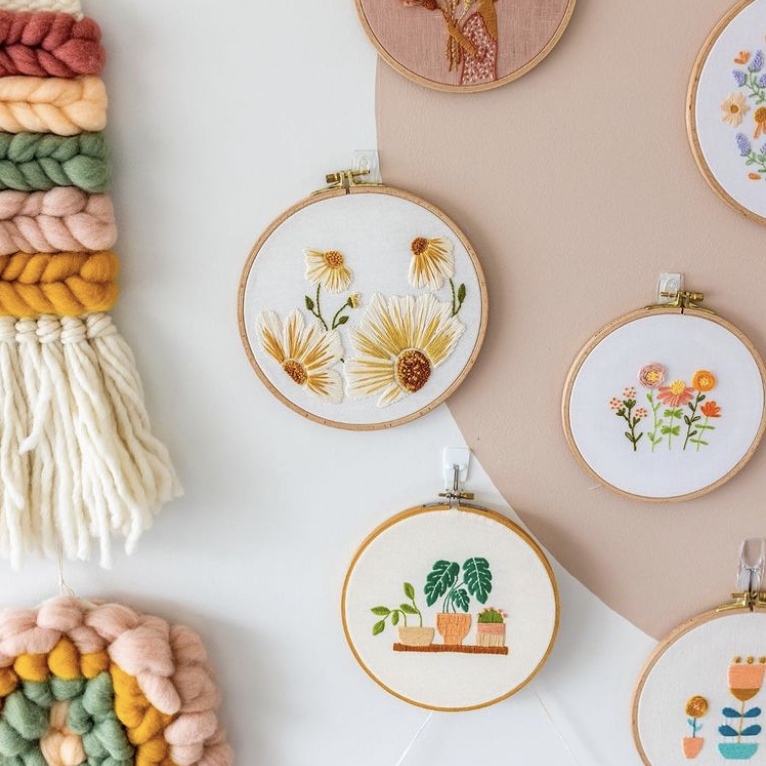
Your hoop is now ready to be put on display or gifted to a loved one, and it will look super neat and tidy on the wall.
Conclusion
So there you have it, all the beginner techniques and knowledge you need to beautifully finish your first modern embroidery pattern. And these tips and techniques will be used and built on over and again as you make more patterns on your embroidery journey.
I’m so excited for you!
What's next?
Our beginner embroidery kits are a favourite among new stitchers for their simple, step-by-step instructions and beautiful designs that make learning easy and fun. Whether you’ve been wanting to learn embroidery or are just searching for your next creative hobby. These kits are the perfect introduction to embroidery.
Why people love our beginner kits:
-
Everything you need is included: fabric, thread, hoop, and more!
-
Clear instructions to guide you every step of the way.
-
Gorgeous designs you’ll be proud to display.
Our most popular beginner kits
Ready to get started? Explore our full Beginner Embroidery Collection and find the perfect kit to kick off your stitching journey!