
Whipped Back Stitch - Learn This Modern Embroidery Technique
Introduction
Hello, modern embroidery enthusiasts!
If you’ve never heard of whipped back stitch before, then you are in for a treat.
This technique is a great way to create a nice smooth outline or border. It’s basically a case of wrapping back stitch with a continuous spiral of floss, which creates height and a smooth line. You can use this technique with one or two colours of floss. If you use two strands then this creates a really fun candy cane style effect!
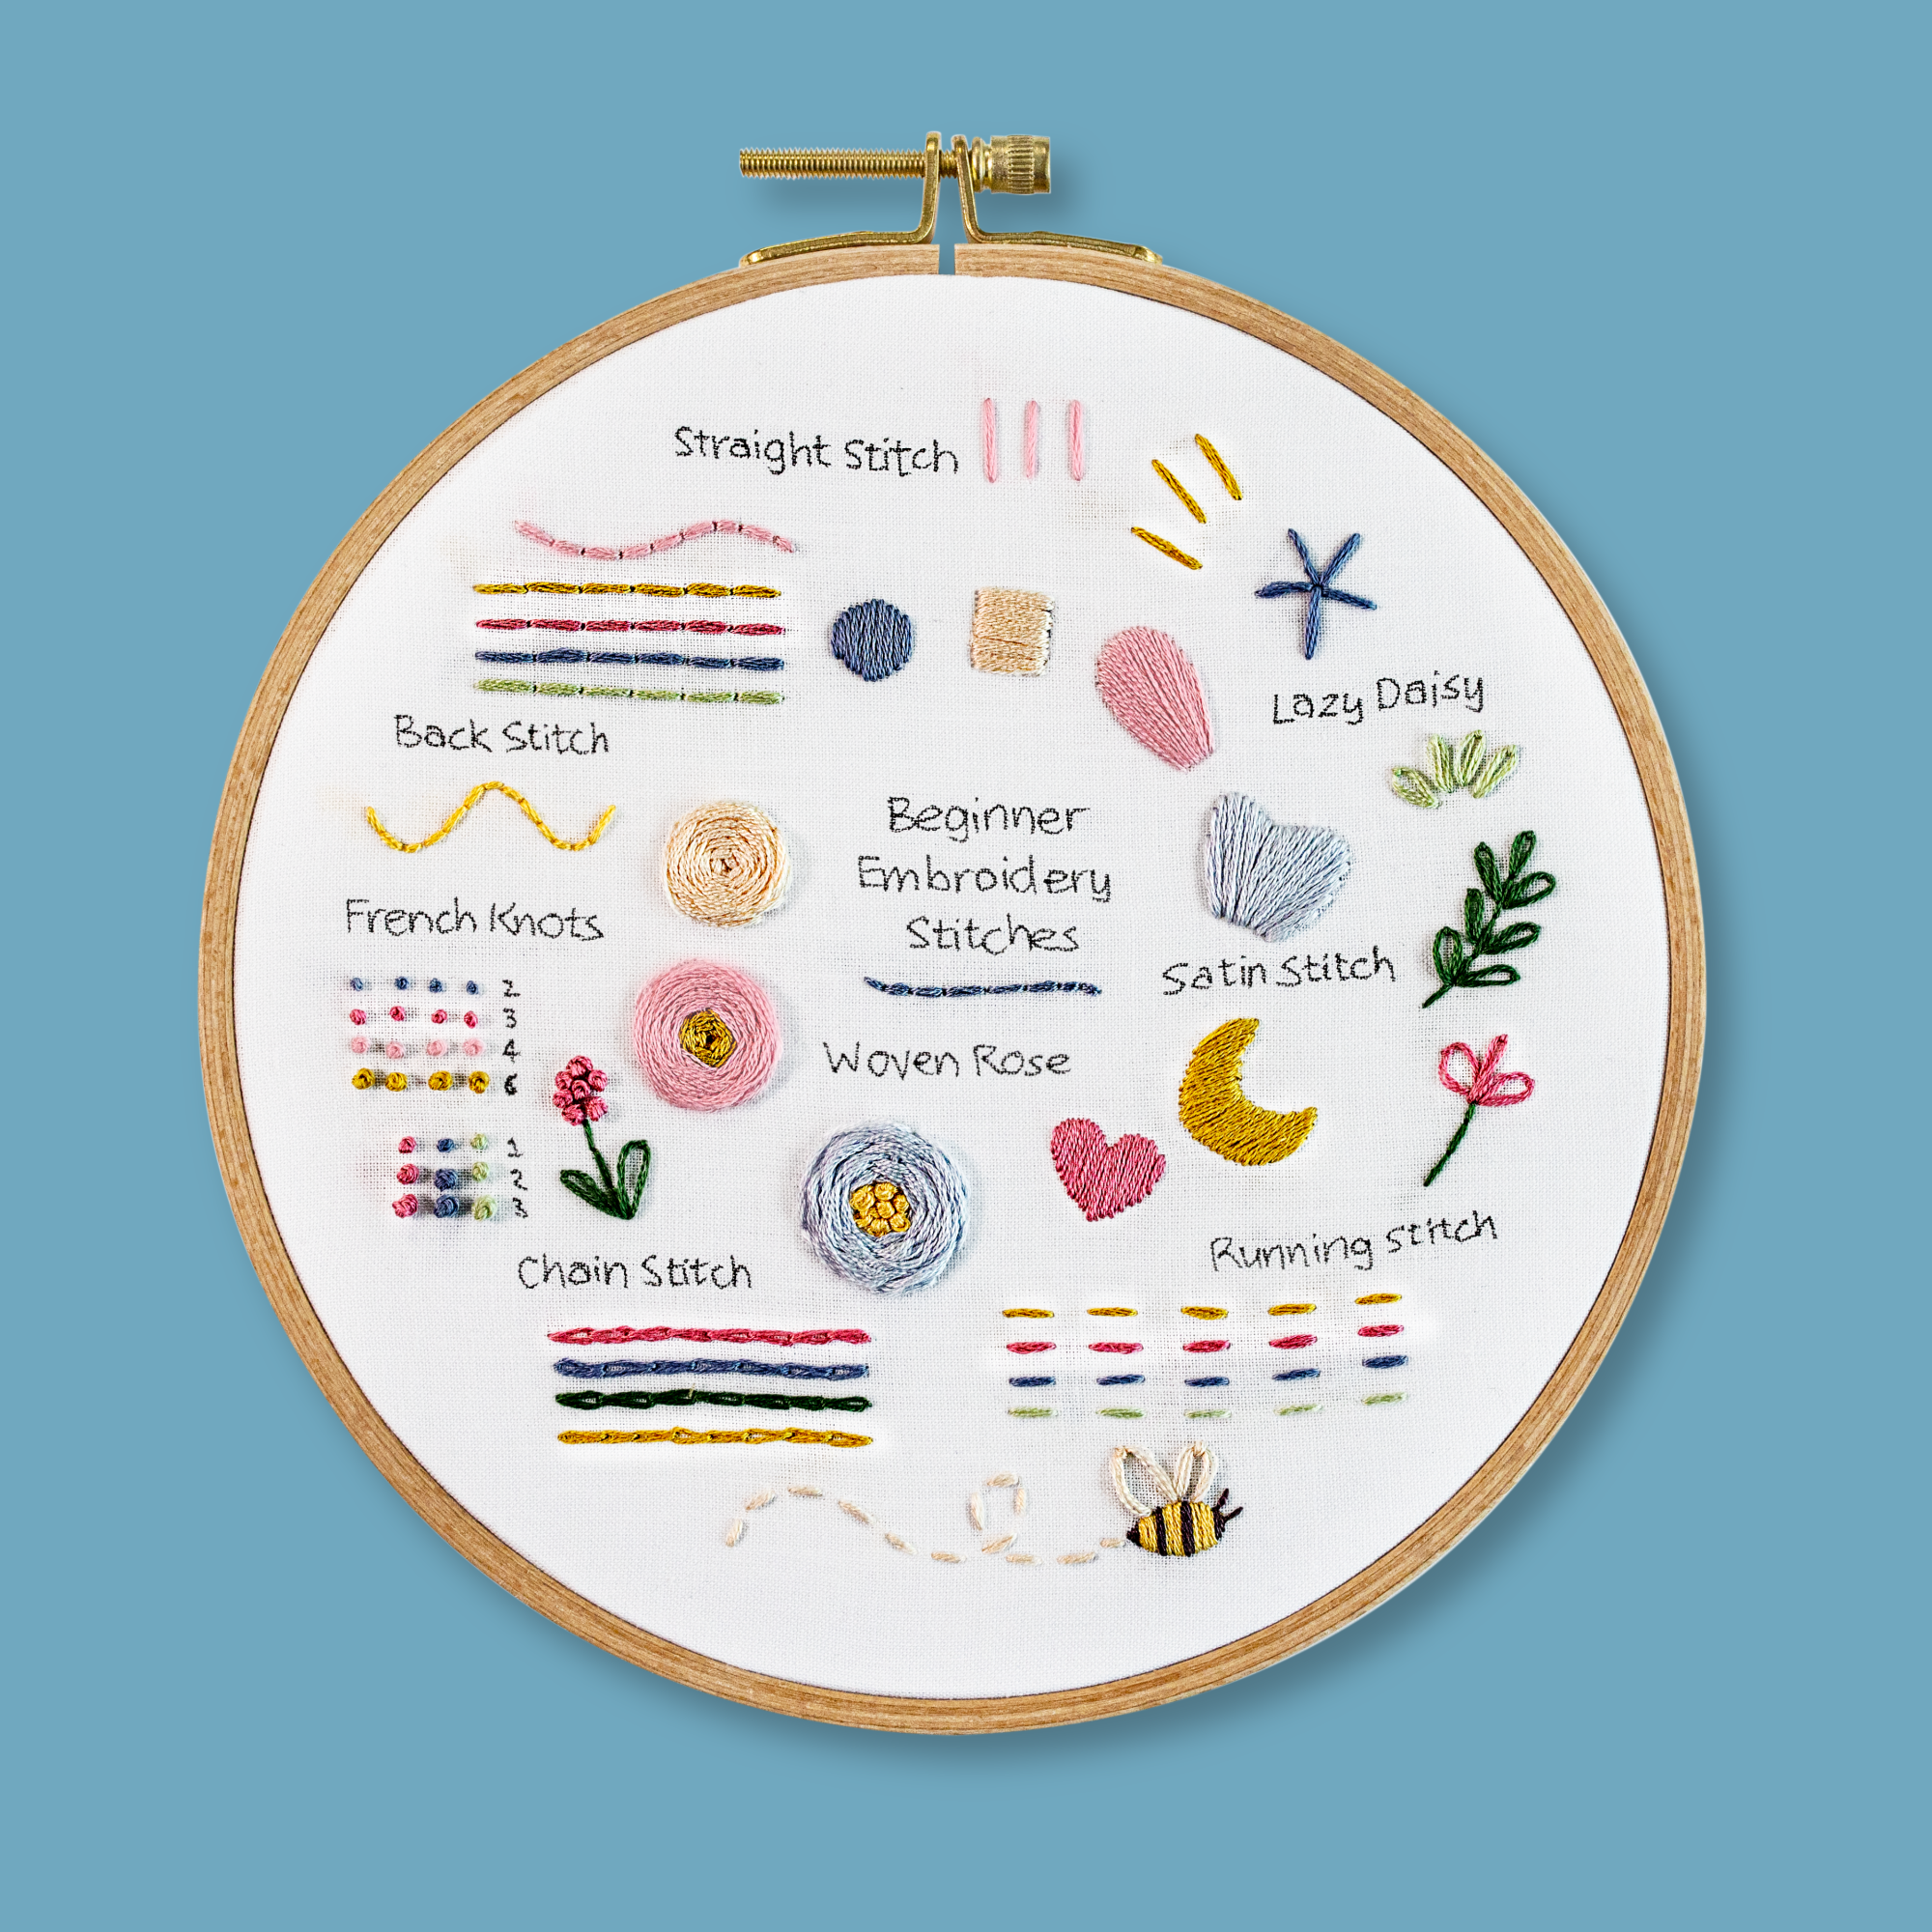
Whipped back stitch is a more advanced stitch, that relies on you already knowing how to do Back Stitch. So I would recommend learning this stitch later on in your embroidery journey, once you've got the hang of the basics.
So, let’s look at how to do this stitch.
Step 1
Stitch your design (line or curve) with back stitch. Just note that if you keep your back stitch nice and consistent, this will in turn help create a whipped back stitch that looks tidy too. Also, if you are going around tight curves or corners, keep your back stitches nice and short (this helps keep the curve defined).

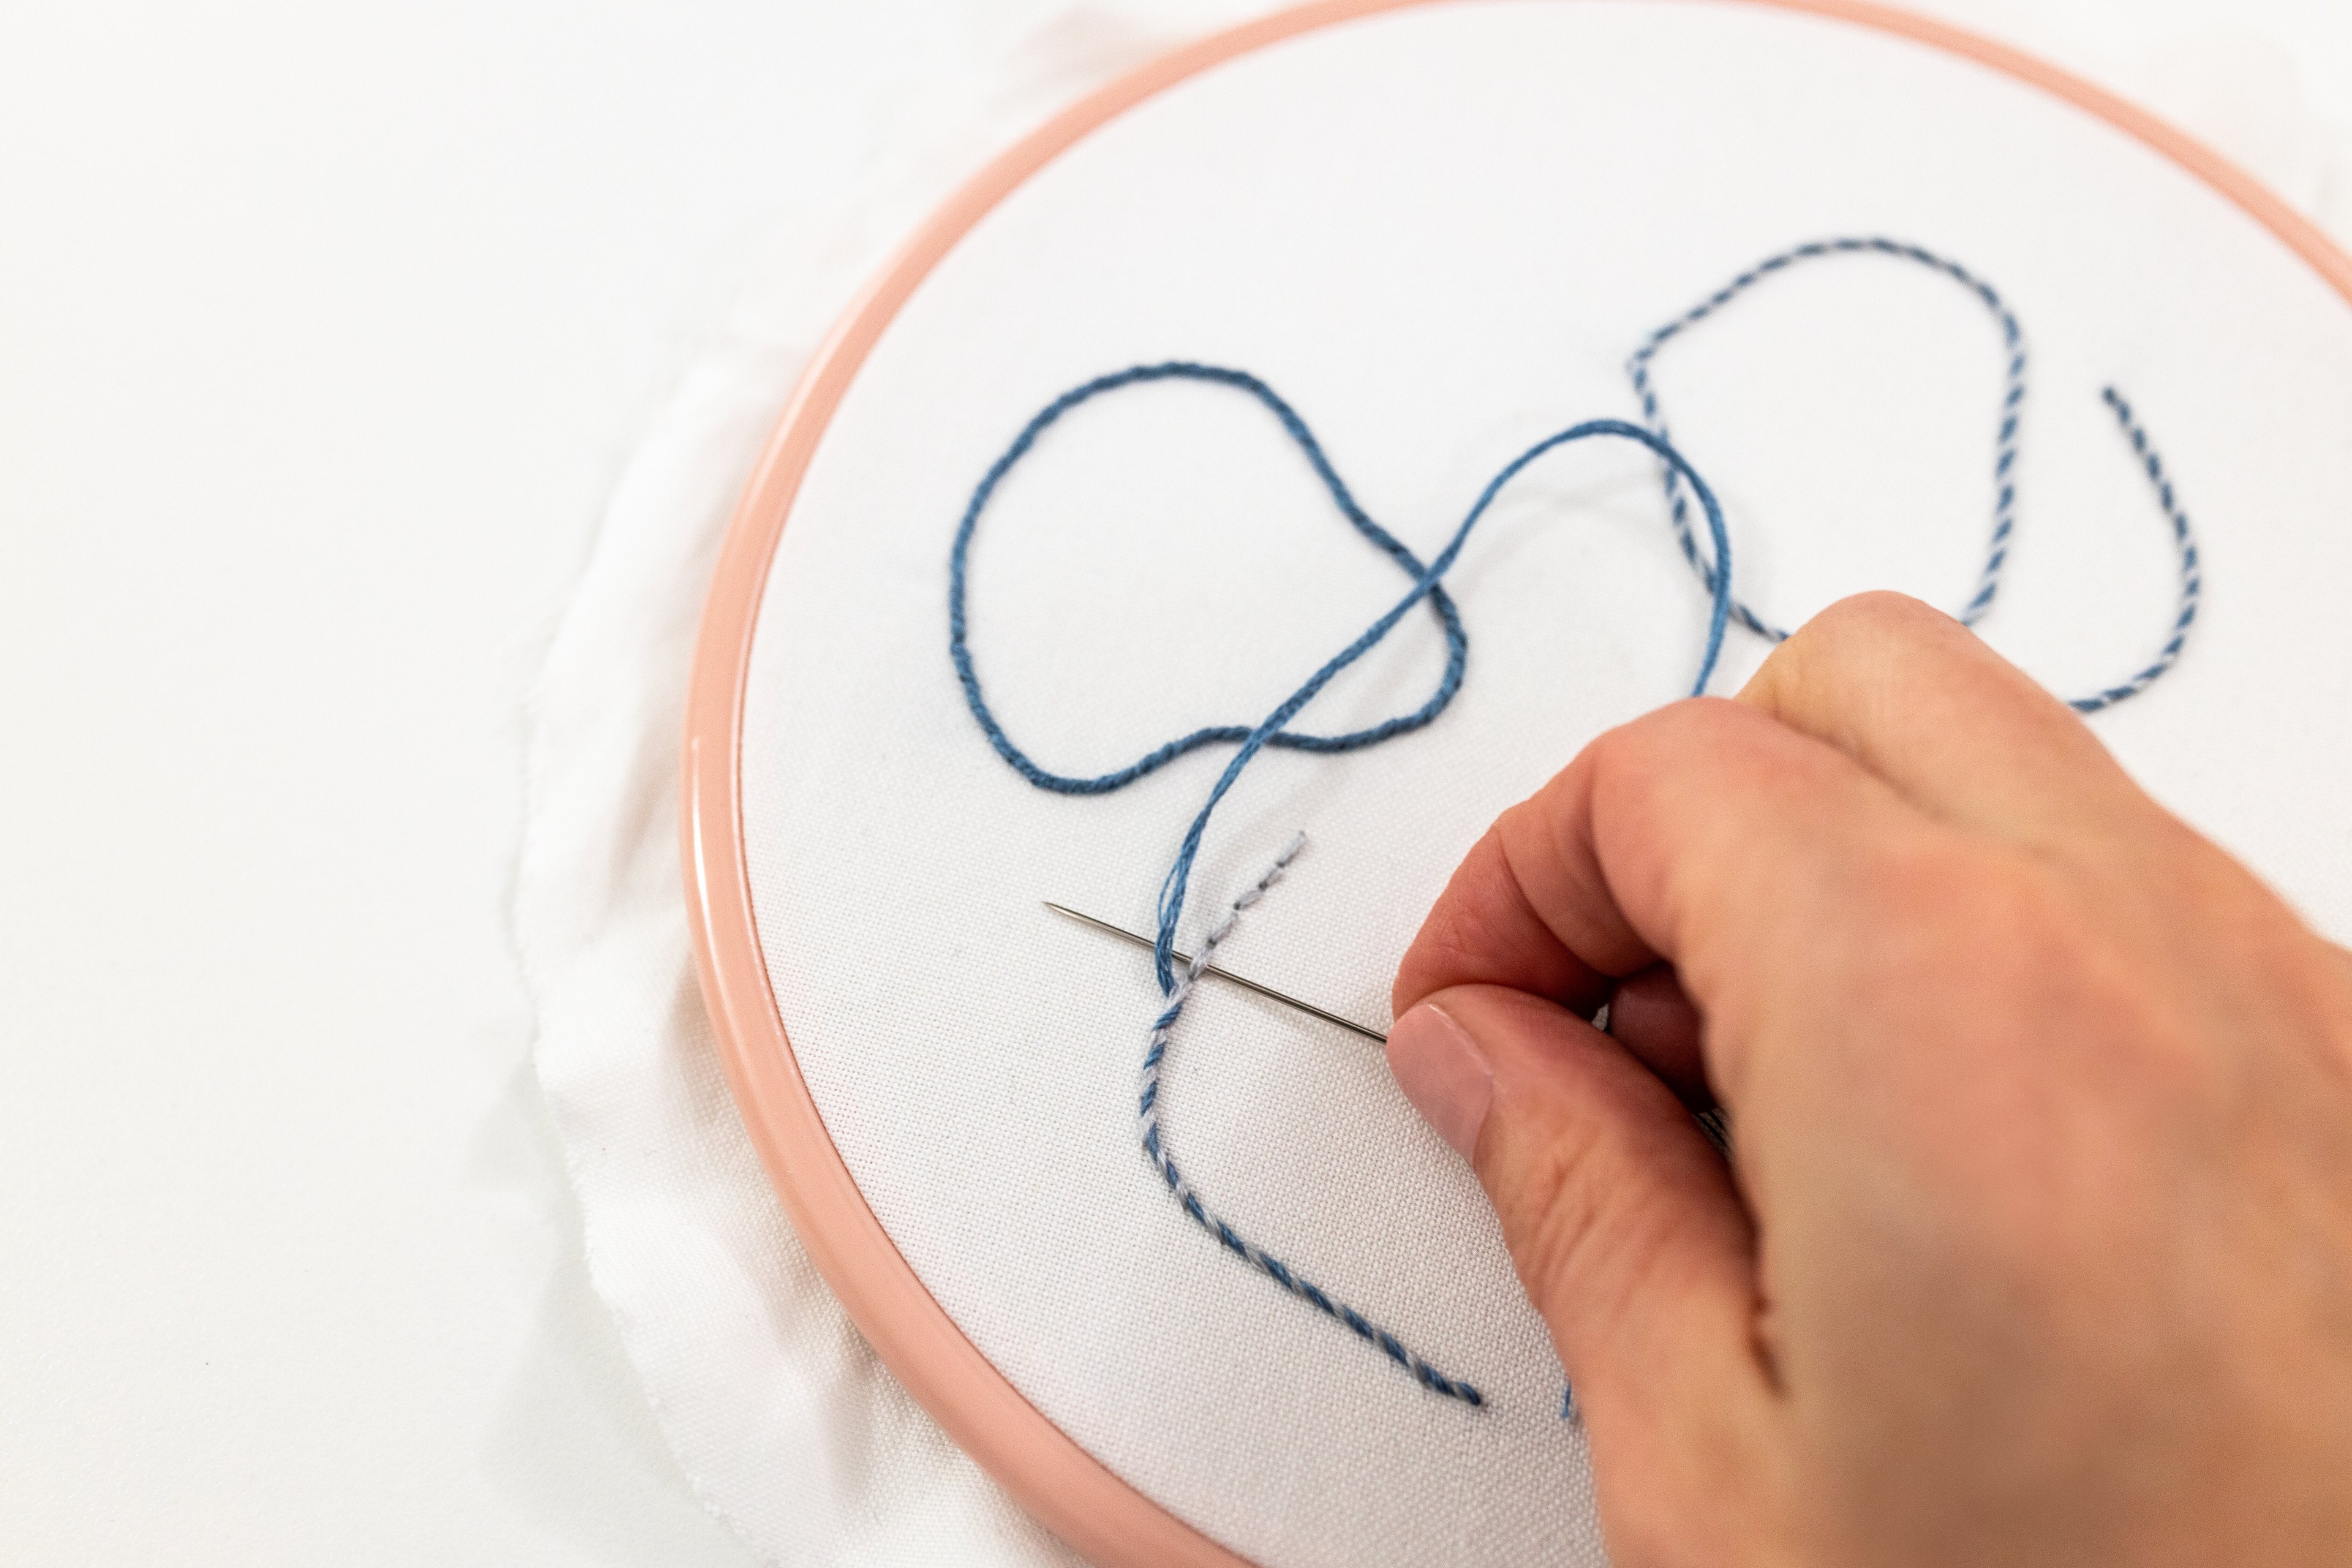
Step 2
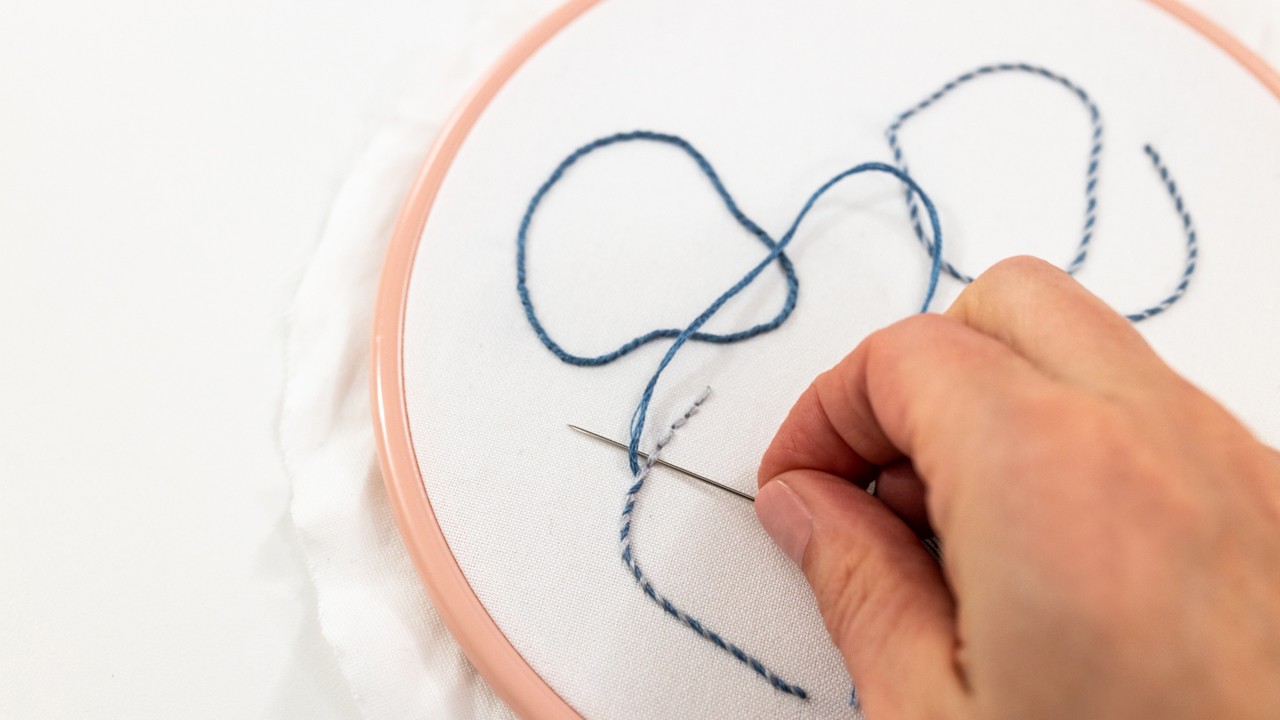
Prepare a new piece of thread, and bring your needle up from the back of your hoop, at the starting point of your back stitch. Note that the needle won’t be going back down through the fabric again until we finish up the whipped part.
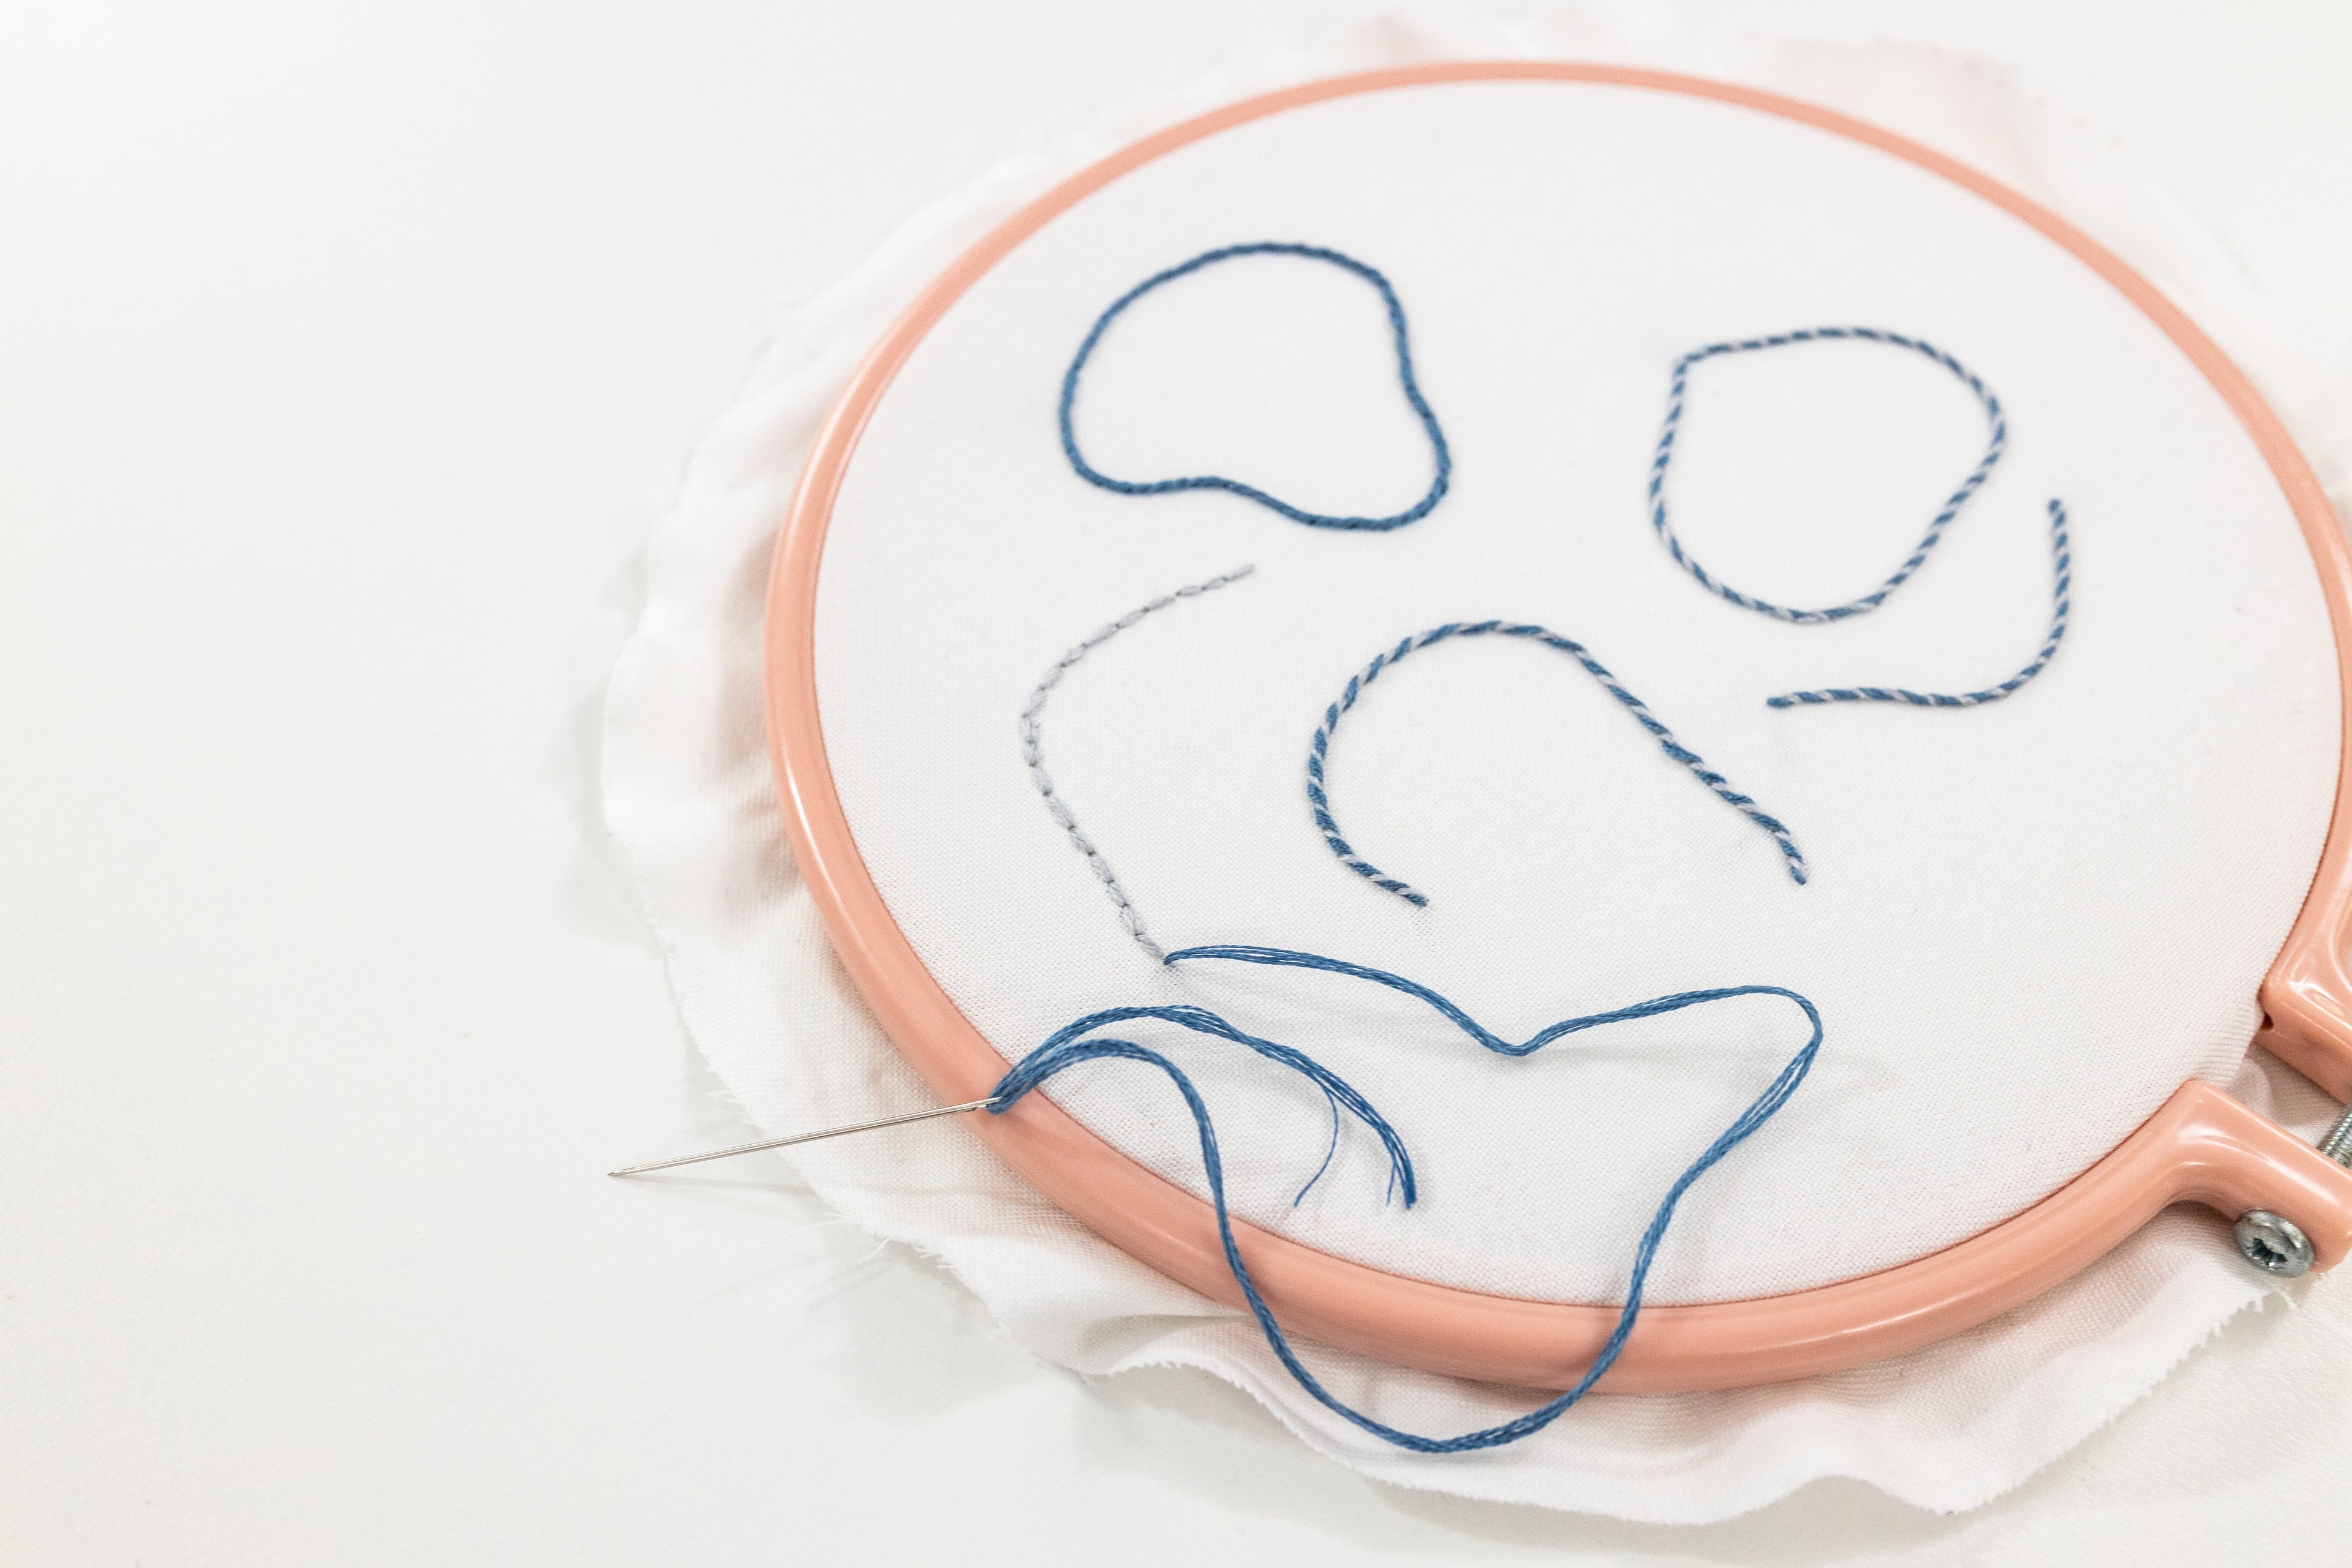
Step 3
Take your needle, and weave it under the first stitch, without actually piercing your needle through the fabric. You can go in whichever direction you prefer, but I usually go right to left (as I am right-handed). Note that your needle always stays on the top side of the fabric - it’s just weaving under the stitch.
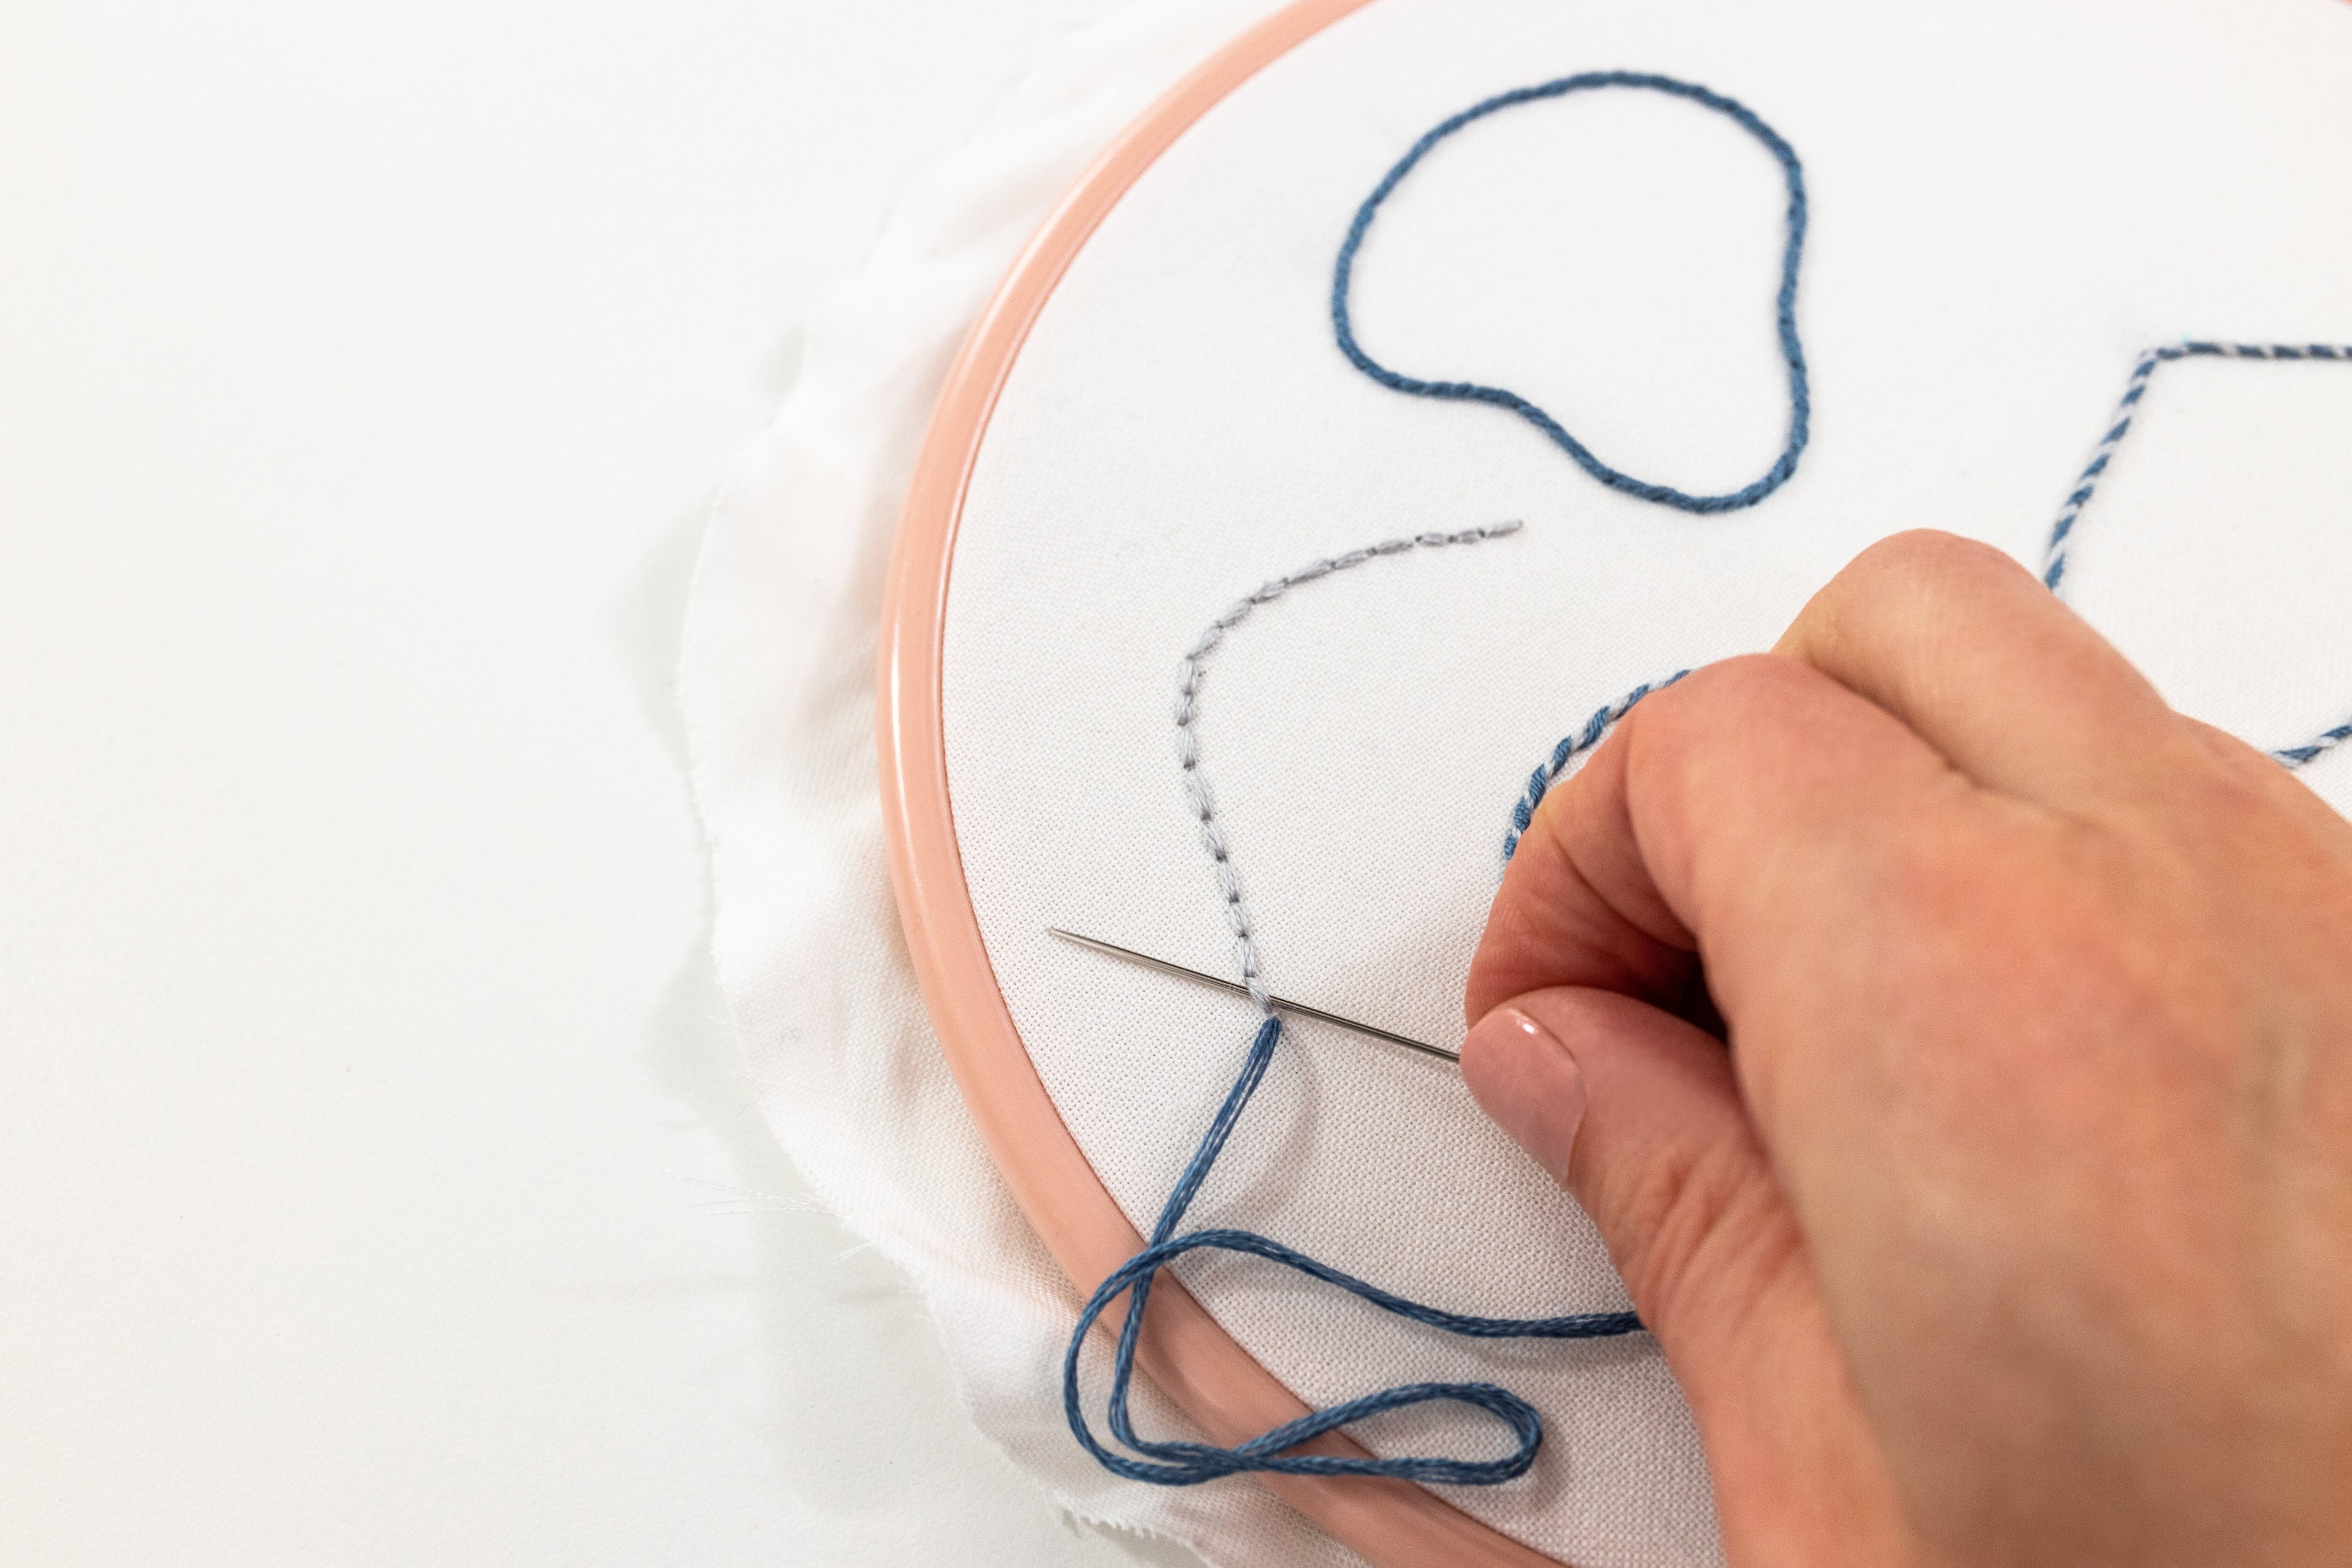
Step 4
Now you can pull all the slack through.
Step 5
After this, bring your needle back over to the side you started on (in this case the right-hand side), and weave it under the second stitch. The key here is that you’re wrapping your floss in the same direction as your first little whip. If you come back from the other direction, it creates quite a different look.
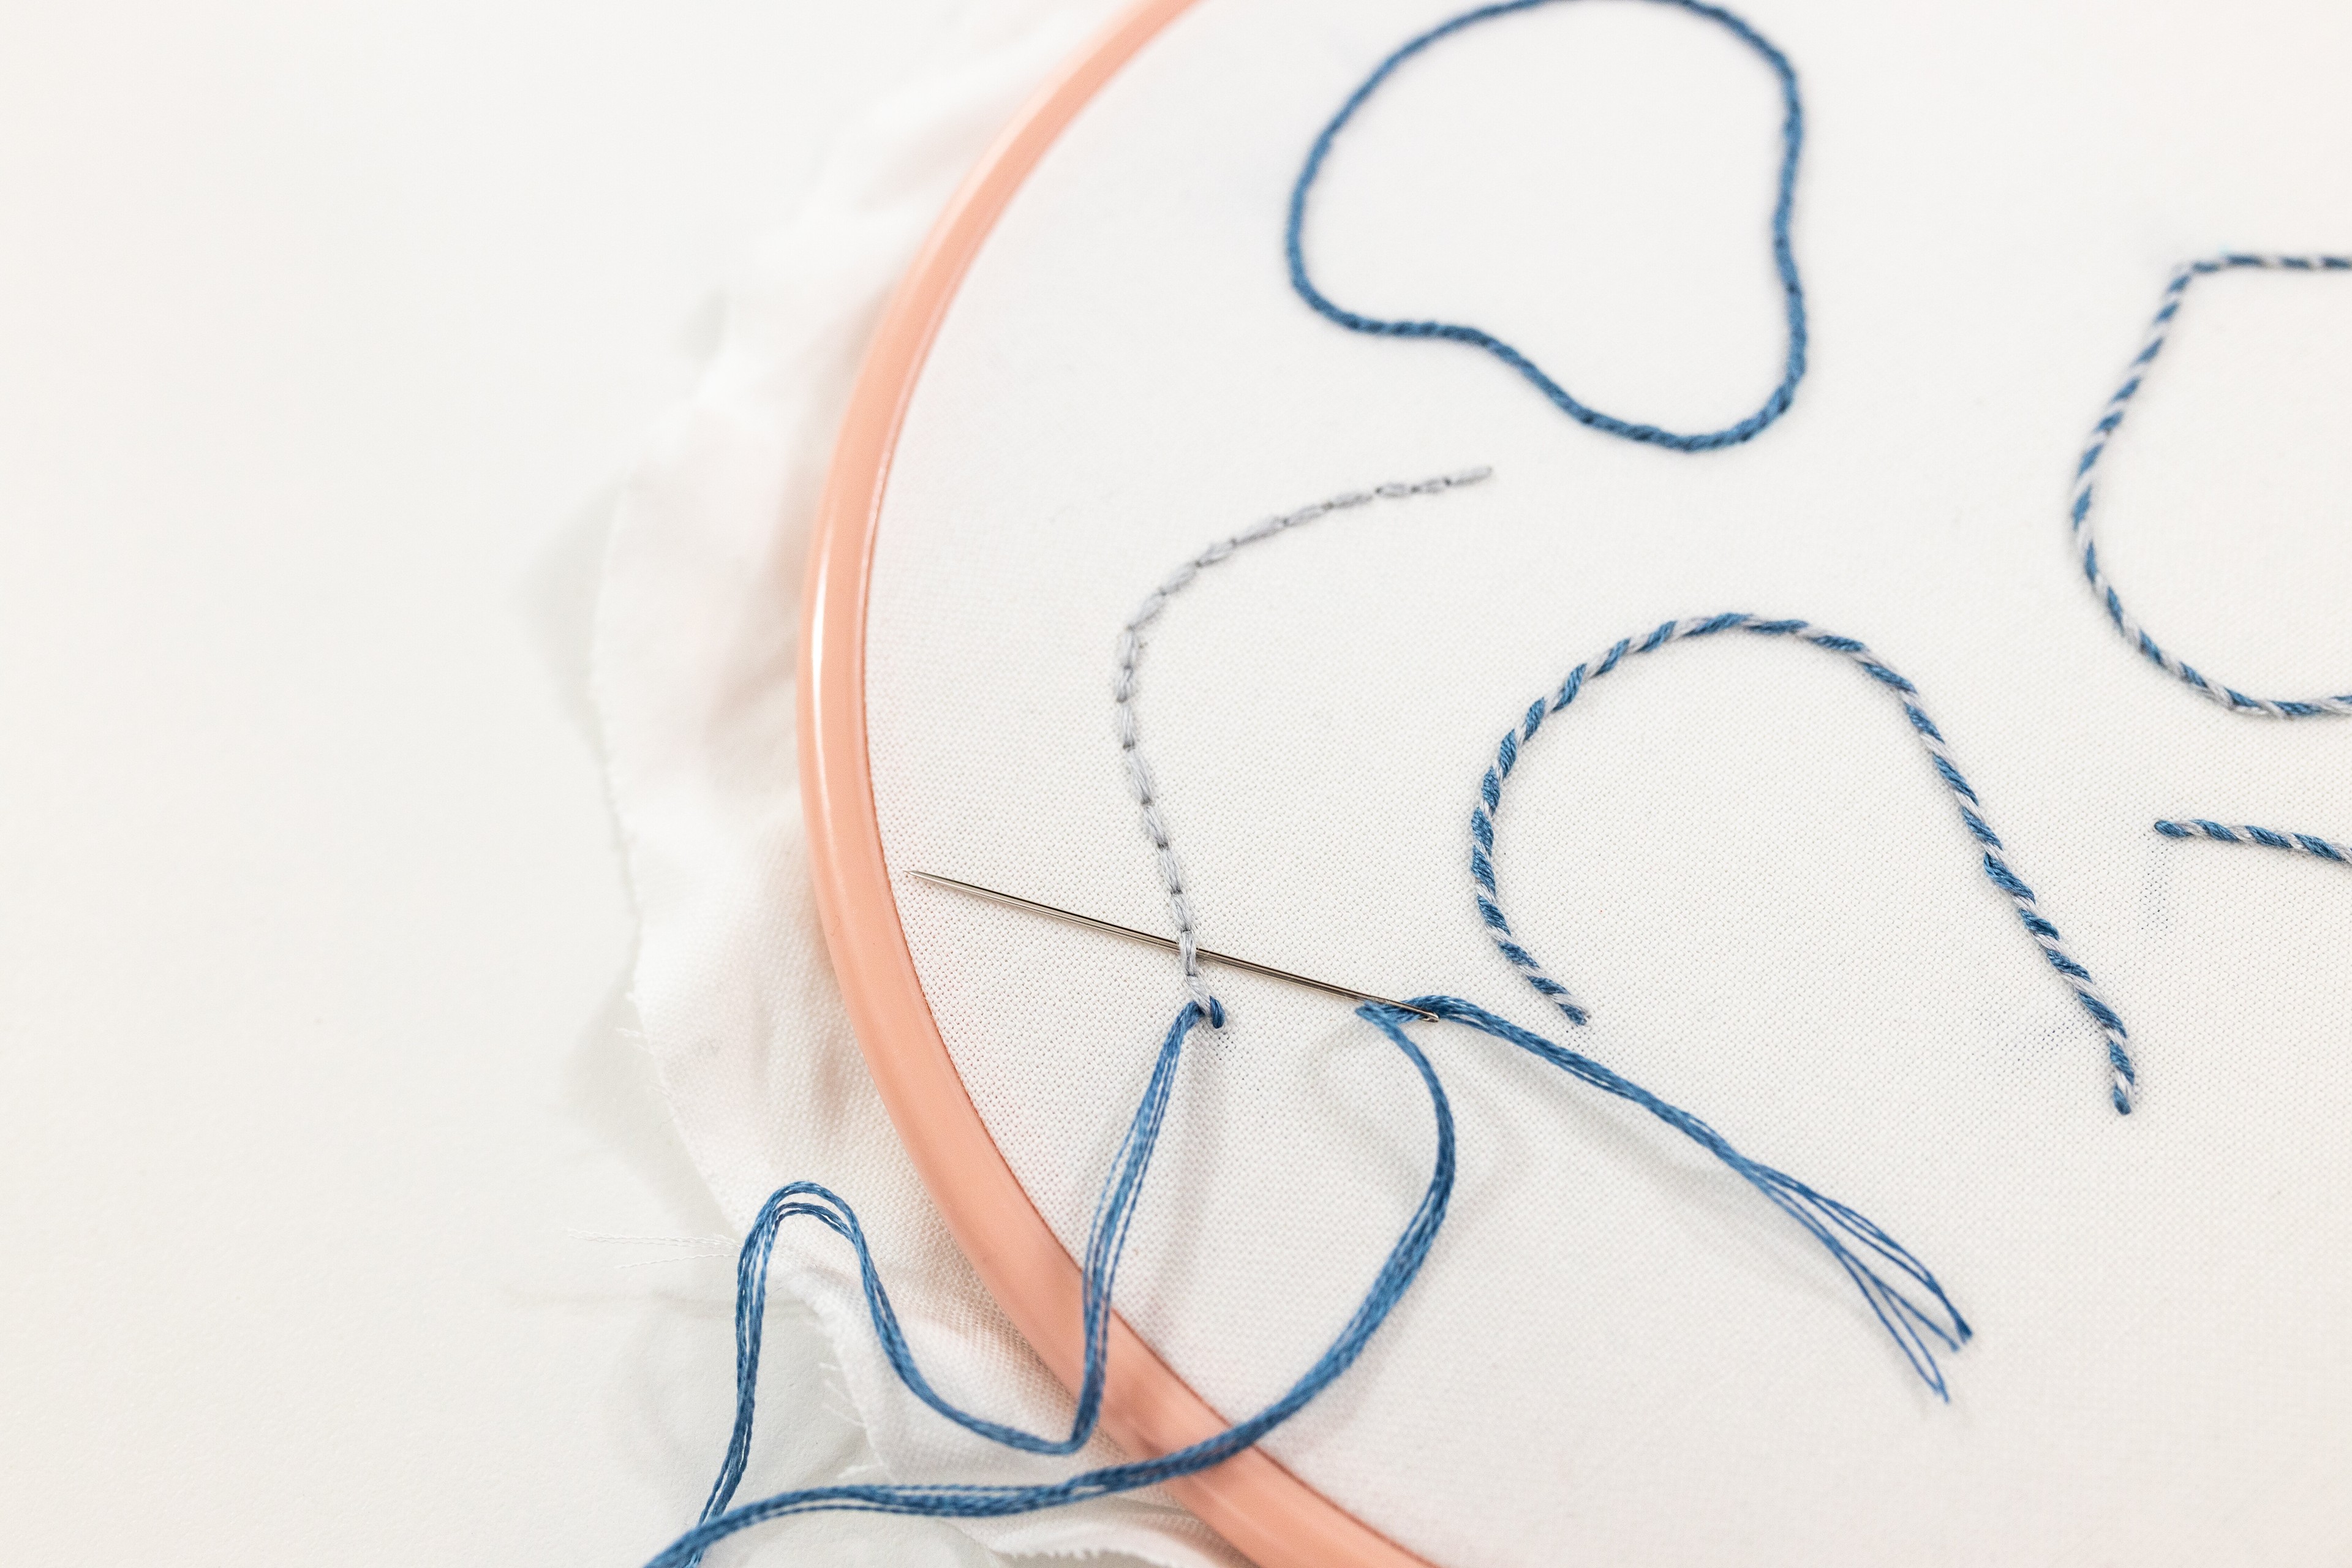
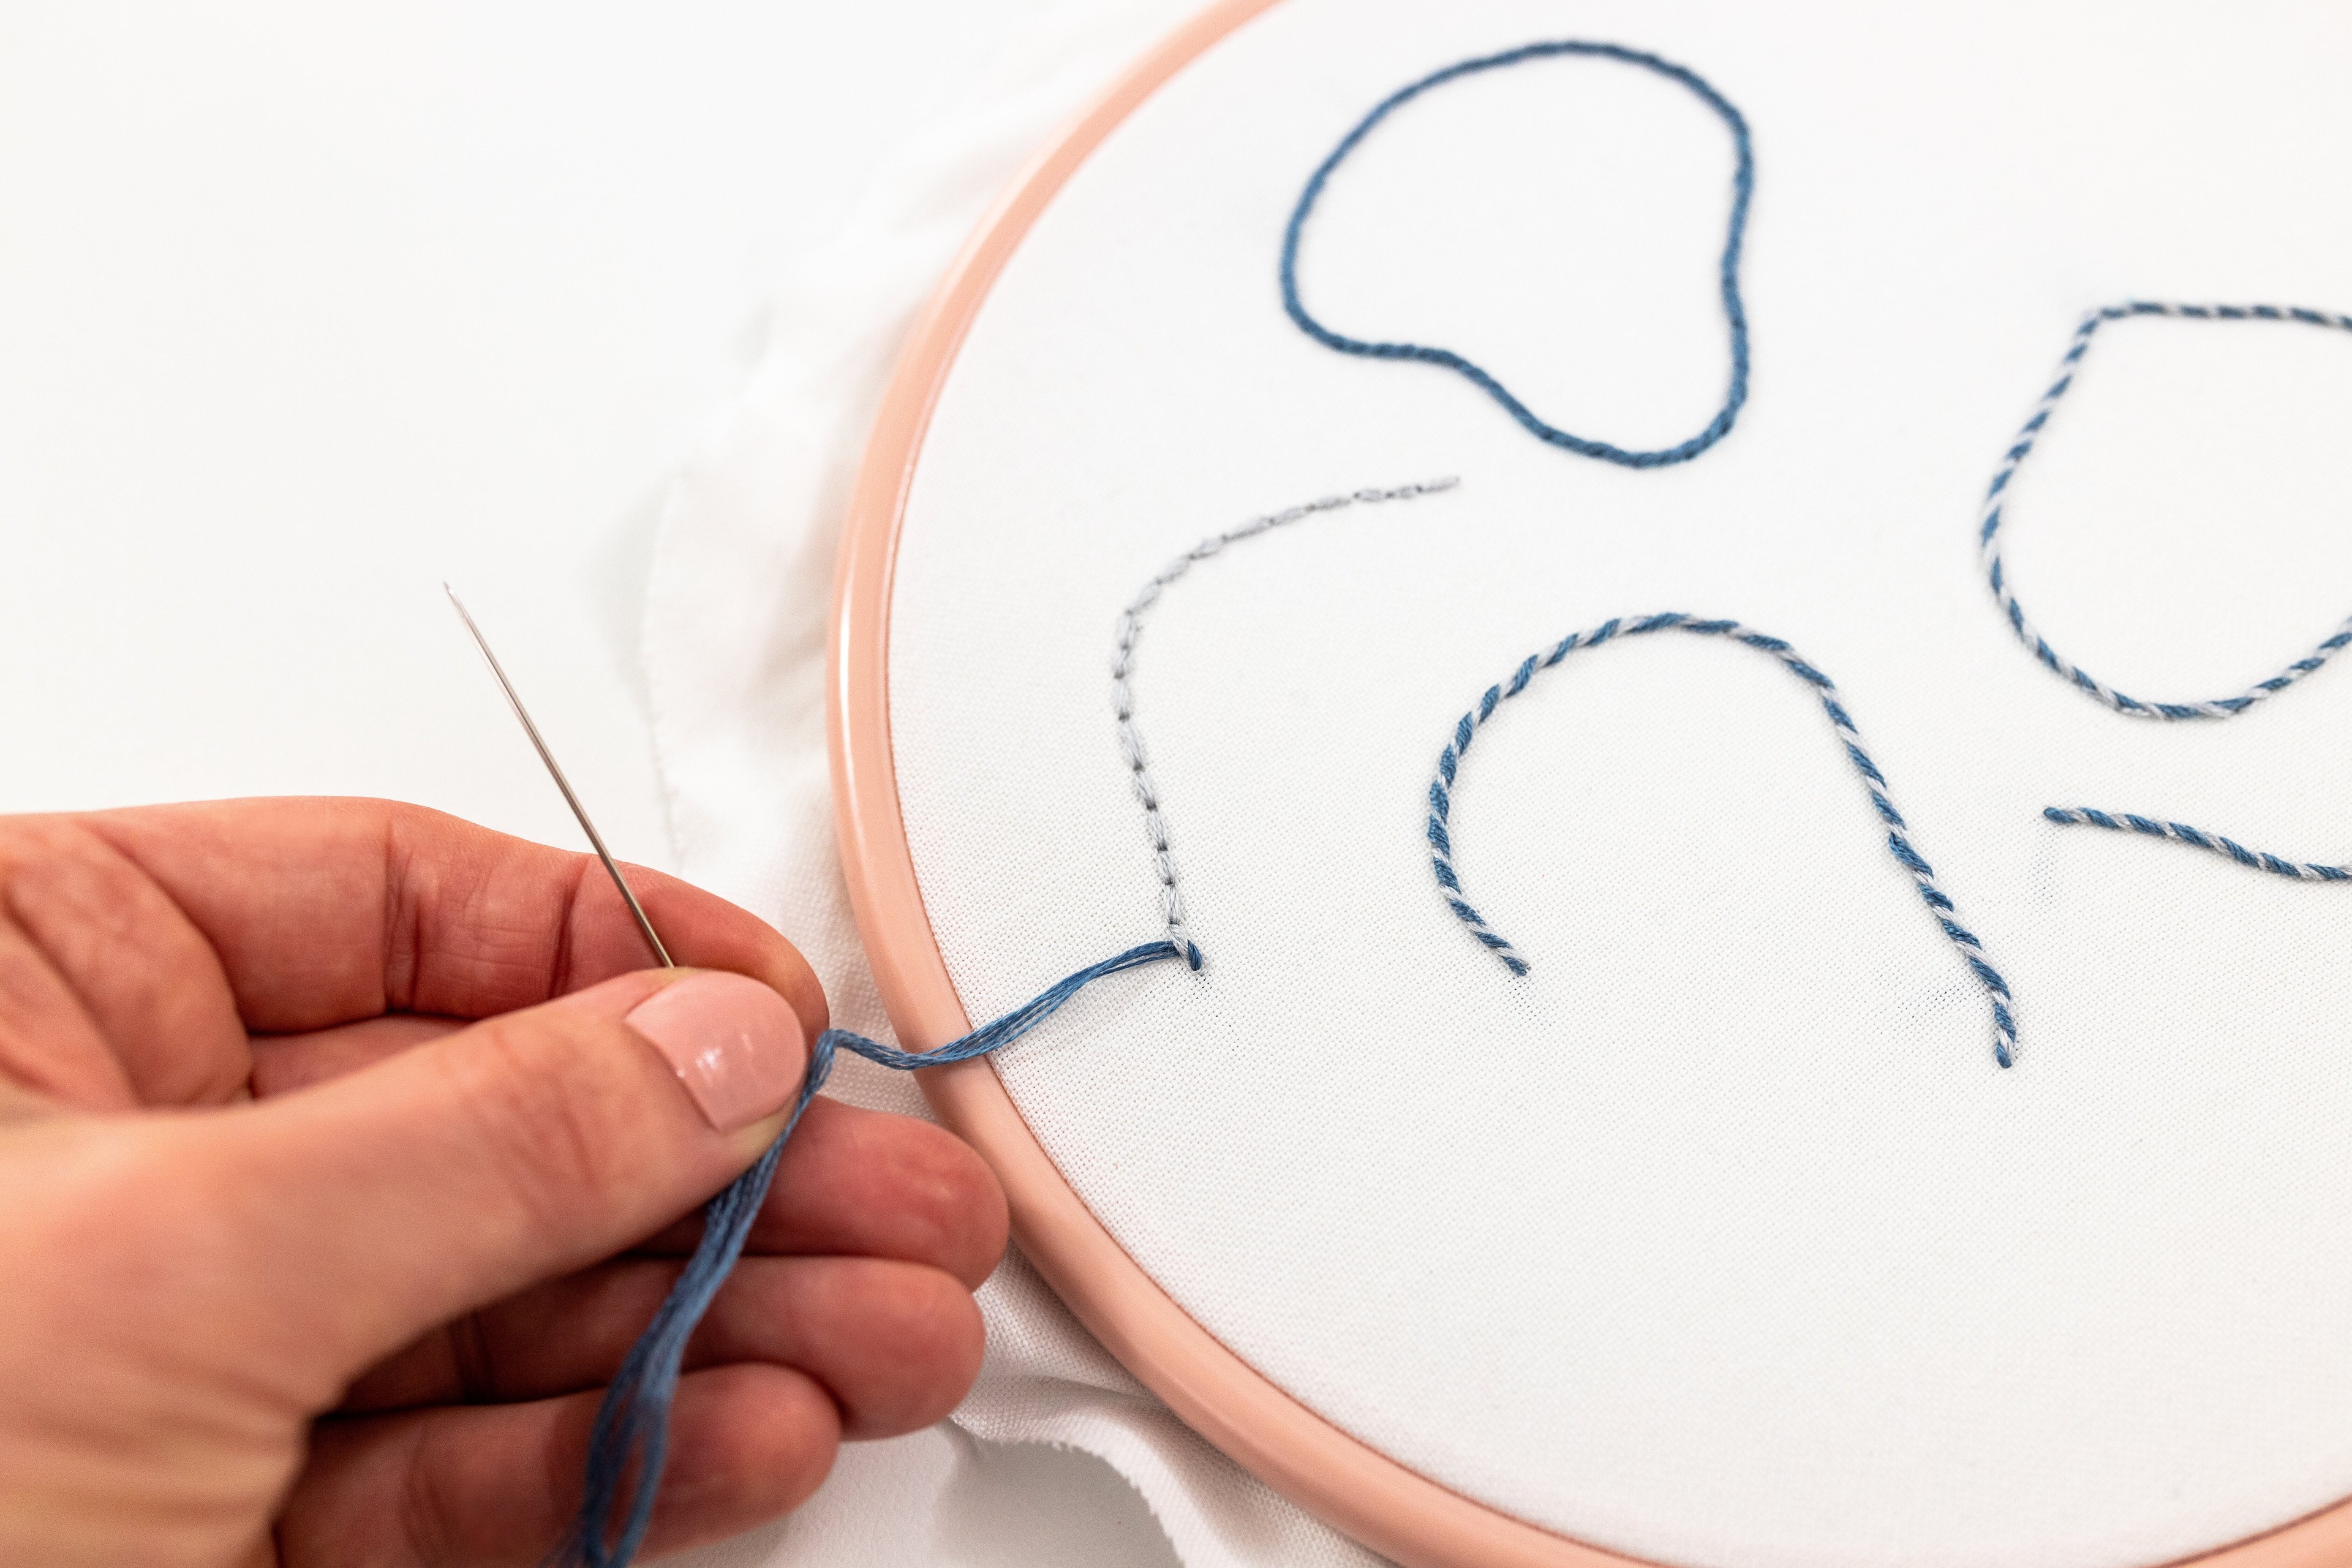
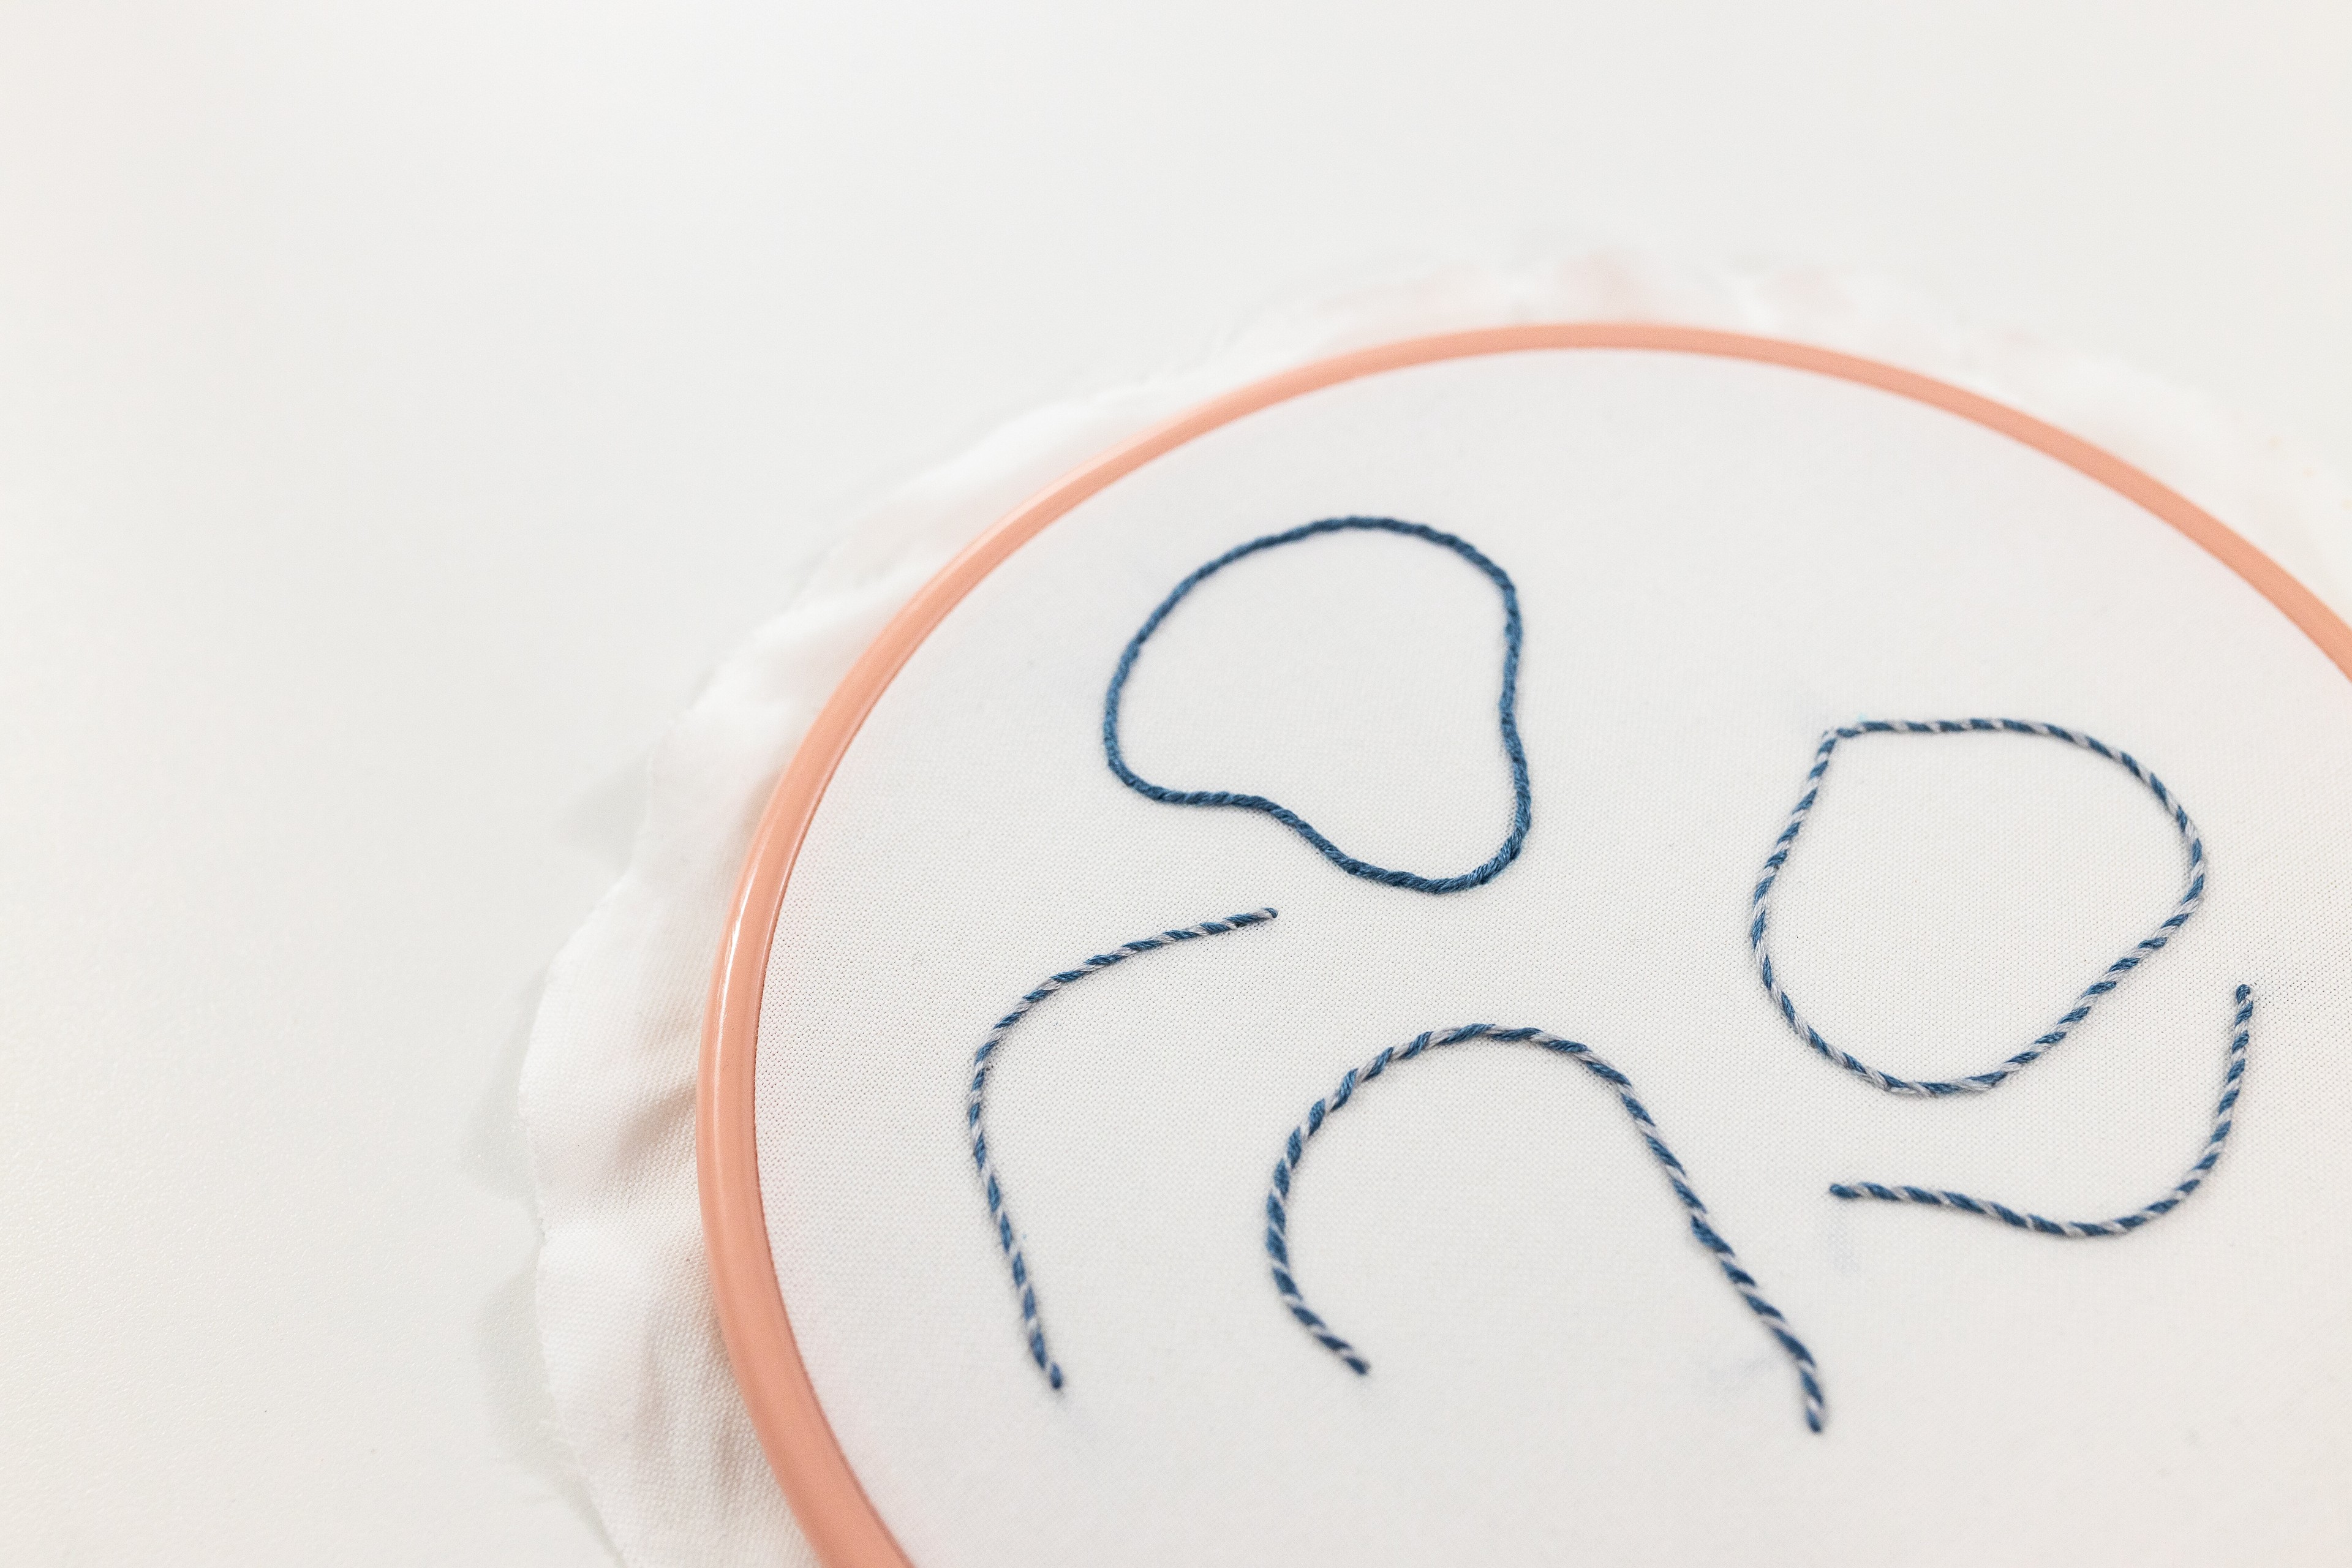
Step 6
Keep following this process along the row of back stitch, and see how the second thread is whipping around and wrapping over the back stitch? It creates such a cute candy cane effect!
Step 7
When you’re finished, poke your needle down the underside of the fabric, then tidy up your thread.
Examples of Whipped Back Stitch in my patterns
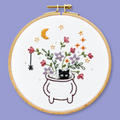
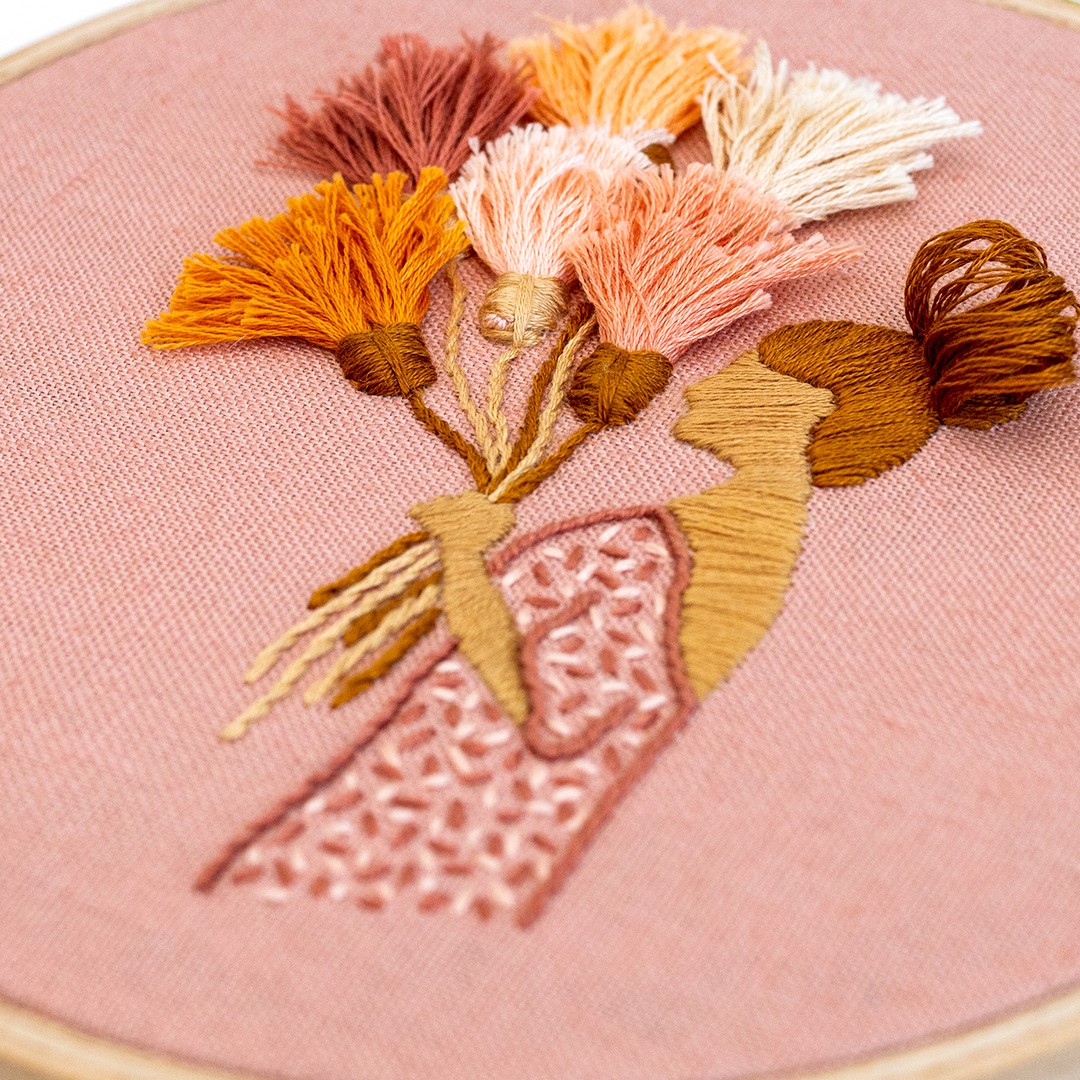
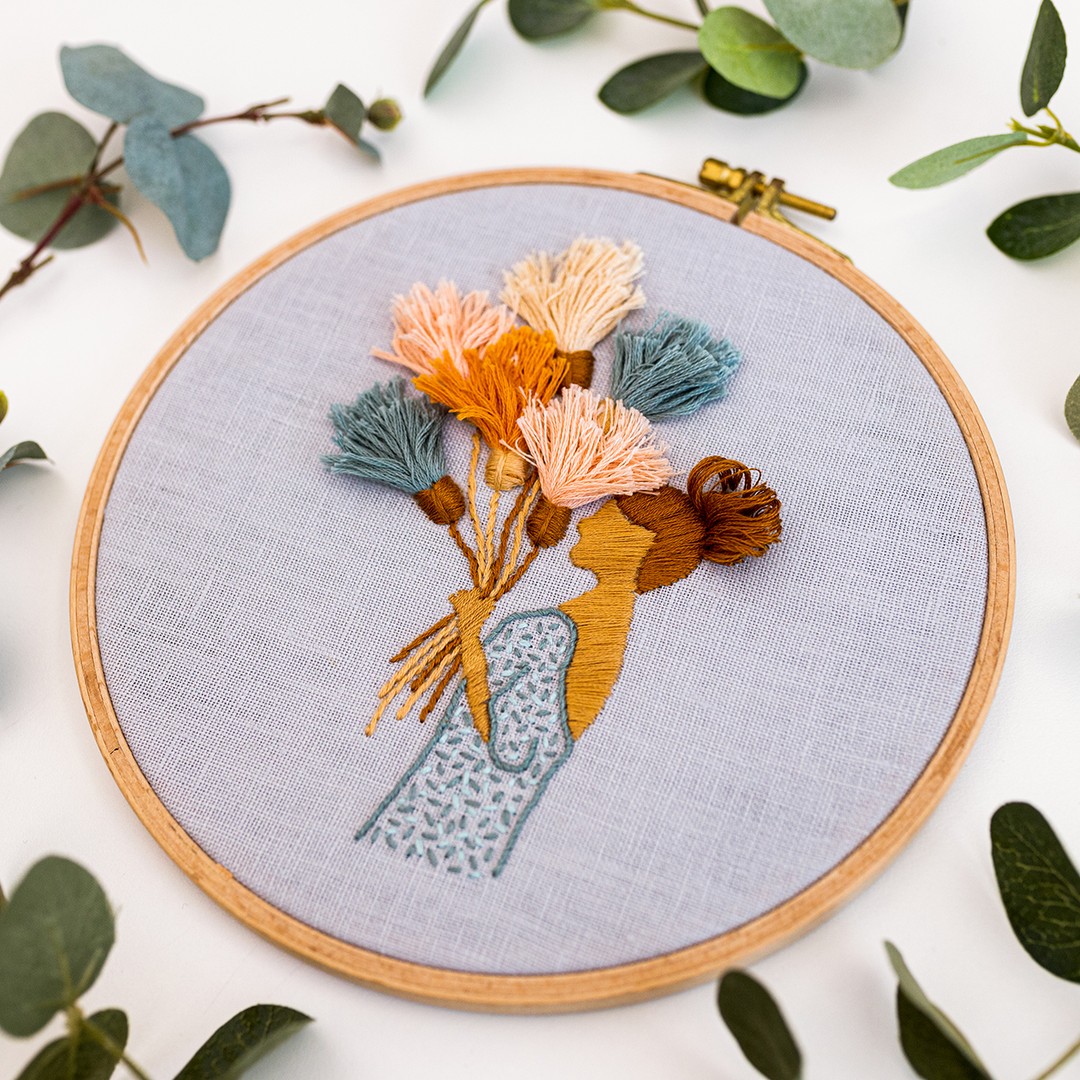
Let's look at some beautiful examples of this stitch technique in my patterns. First up, here is my pattern The Florist. As you can see, the outline of her outfit is worked with whipped back stitch.
Doesn't it look gorgeous? It creates a really nice bold outline.
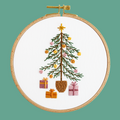
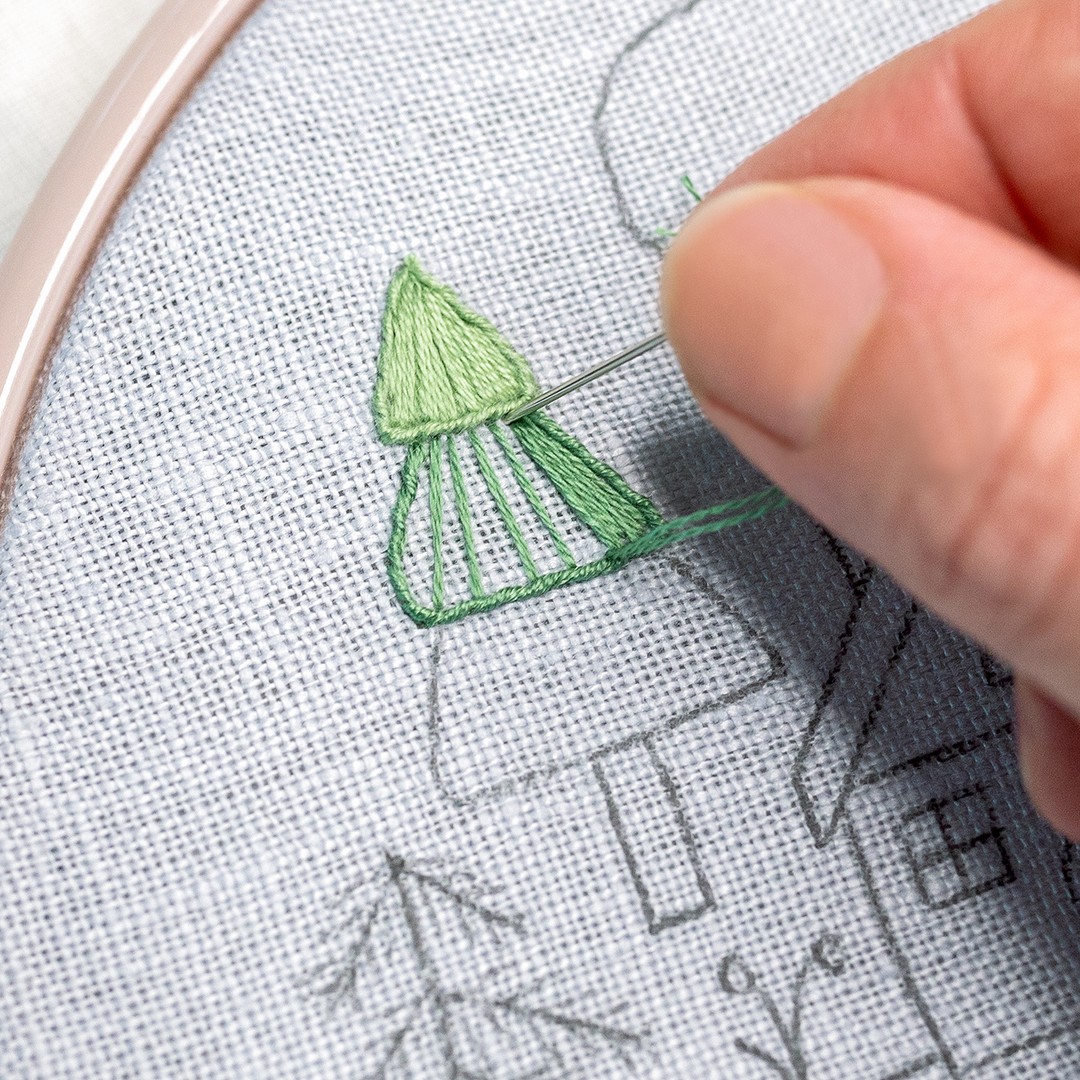
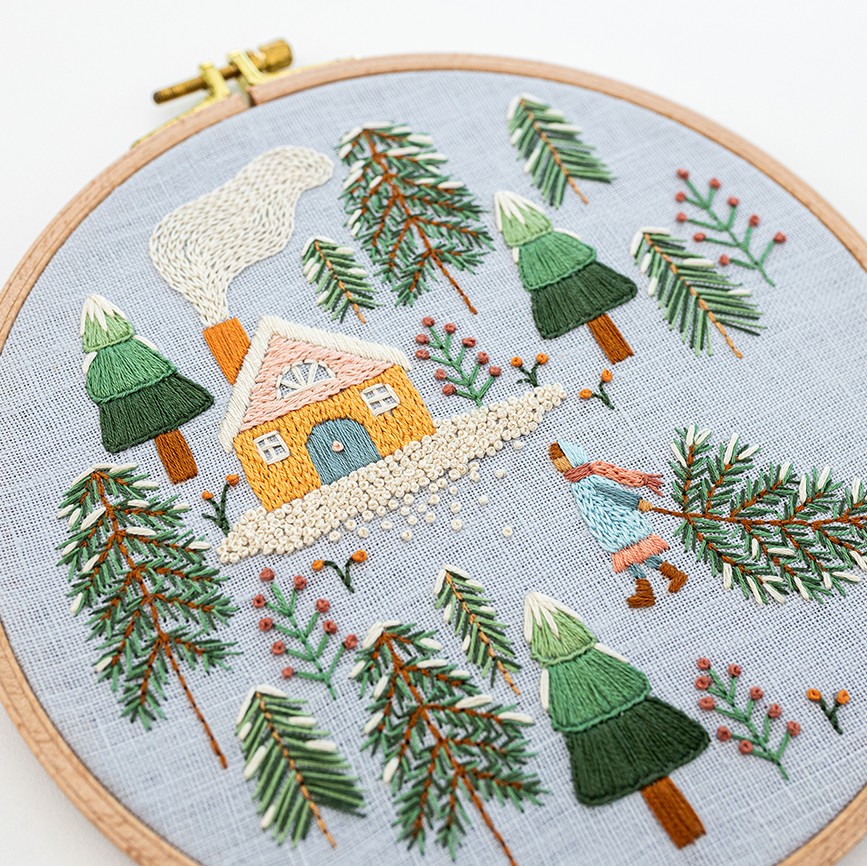
Another example of this stitch technique is my Winter Wonderland pattern. See how the triangle shaped trees are full of Satin Stitch, but the outline is worked with Whipped Back Stitch?! It creates such a cool contrast!
Conclusion
Woo-hoo, congratulations on learning the more advanced (and absolutely gorgeous) modern embroidery whipped back stitch! I’m sure you’ll have fun trying this stitch out, and using it as an outline on many lovely embroidery creations.
I hope you found this blog super useful, and you should now have all the knowledge you need to create your own whipped back stitch!
What's next?
Our beginner embroidery kits are a favourite among new stitchers for their simple, step-by-step instructions and beautiful designs that make learning easy and fun. Whether you’ve been wanting to learn embroidery or are just searching for your next creative hobby. These kits are the perfect introduction to embroidery.
Why people love our beginner kits:
-
Everything you need is included: fabric, thread, hoop, and more!
-
Clear instructions to guide you every step of the way.
-
Gorgeous designs you’ll be proud to display.
Our most popular beginner kits