





5 Top Tips for Using Wash Away Stickers
Introduction
Wash away stickers are hands down my favorite way to get started with embroidery onto clothing. There's no tracing, no light box, no transfer pen, and no wondering whether your pen marks will wash out. You just peel, stick, stitch and rinse!
They're so simple to use. But a little bit of thought before you make your very first stitch will save you a lot of frustration later – and most of my tips today are about setting yourself up properly right at the start.
So, take a deep breath, put your phone to the side, and let's dive in together!
This blog will cover:
-
Choosing a washable item
-
Pre-washing new fabric
-
Testing precious pieces first
-
Where to place your design
-
Looking after your fabric while you stitch
Prefer to watch? Everything below is covered in the video below.
Tip 1: Choose something you can wash
This is the one that catches people out, so I always mention it first!
You can use these stickers on pretty much any item you like – that's the joy of them! The one thing you do need to check is whether you can wash it. Because washing is how we remove the sticker once all your stitching is finished.
So before you fall in love with an idea, just ask yourself: can I wash this? If the answer's no, the sticker can't come off, and you'll be left with it stuck around your stitches.
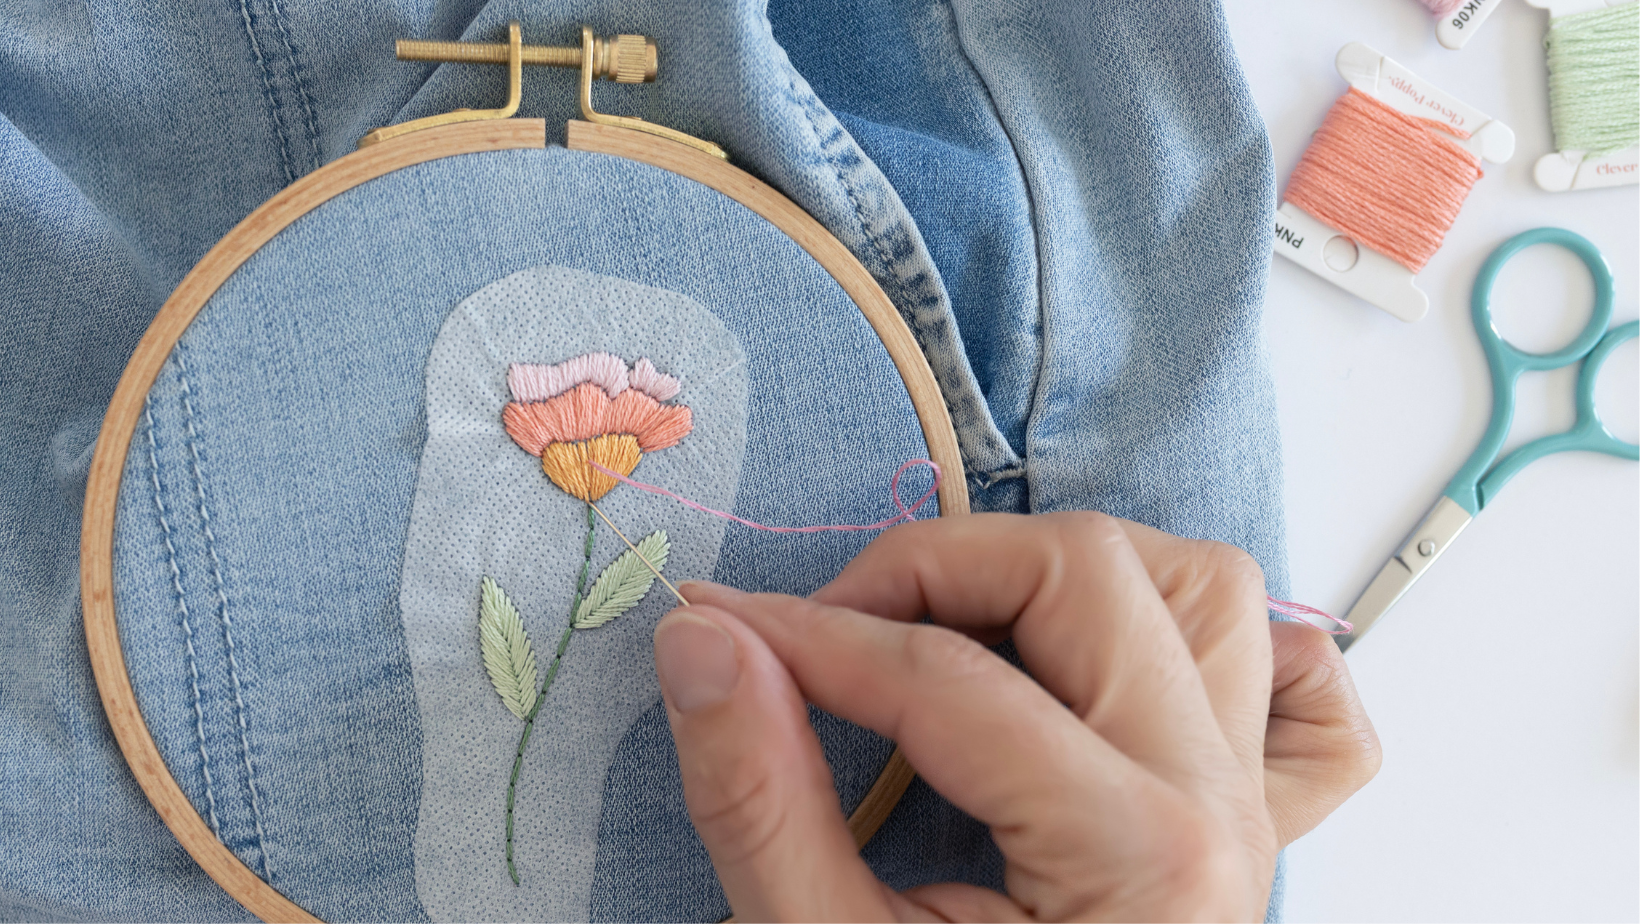
My fave items to stitch on are cotton t-shirts and denim jeans or jackets. They're washable, they're a lovely weight to stitch through, and they hold up beautifully over time. Tote bags, kitchen towels and pillowcases are gorgeous too.
Just a heads up: think twice about anything dry-clean only, anything with structure you don't want to soak (like a stiffened collar or a lined jacket), and anything you'd be heartbroken to put through water.
Tip 2: Give new items a wash first
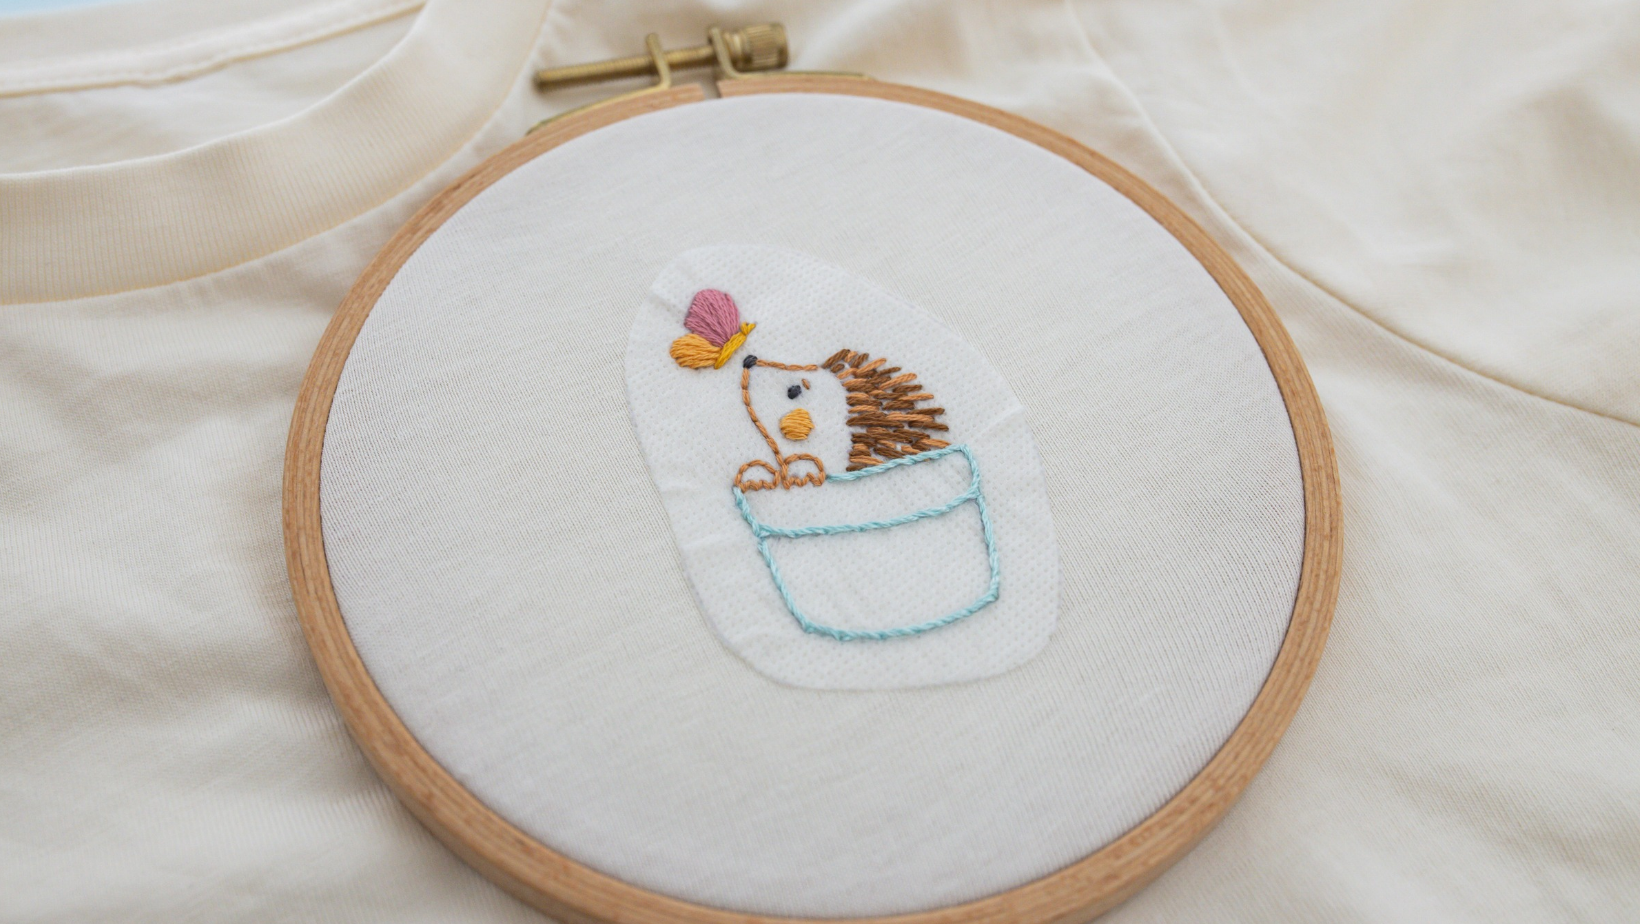
If you're stitching onto something brand new, pop it through the wash before you stick your sticker down. There are two reasons for this, and they're both worth knowing.
Shrinkage: new fabric almost always shrinks a little on its first wash. If you stitch first and wash second, that shrinkage happens around your design – which can leave your stitching looking a bit puckered. Washing first gets it out of the way.
Residue: new clothing often has finishes left over from the manufacturing process – that slightly crisp feel you get from a fresh t-shirt. That residue can interfere with the sticker's adhesive and stop it gripping properly, so it lifts at the edges while you're working. A wash clears it away and gives you a nice clean surface. It's a small extra step, but it makes such a difference to how well your sticker sticks, and to how your finished piece looks!
Tip 3: Do a test run on precious pieces and check thread is colorfast
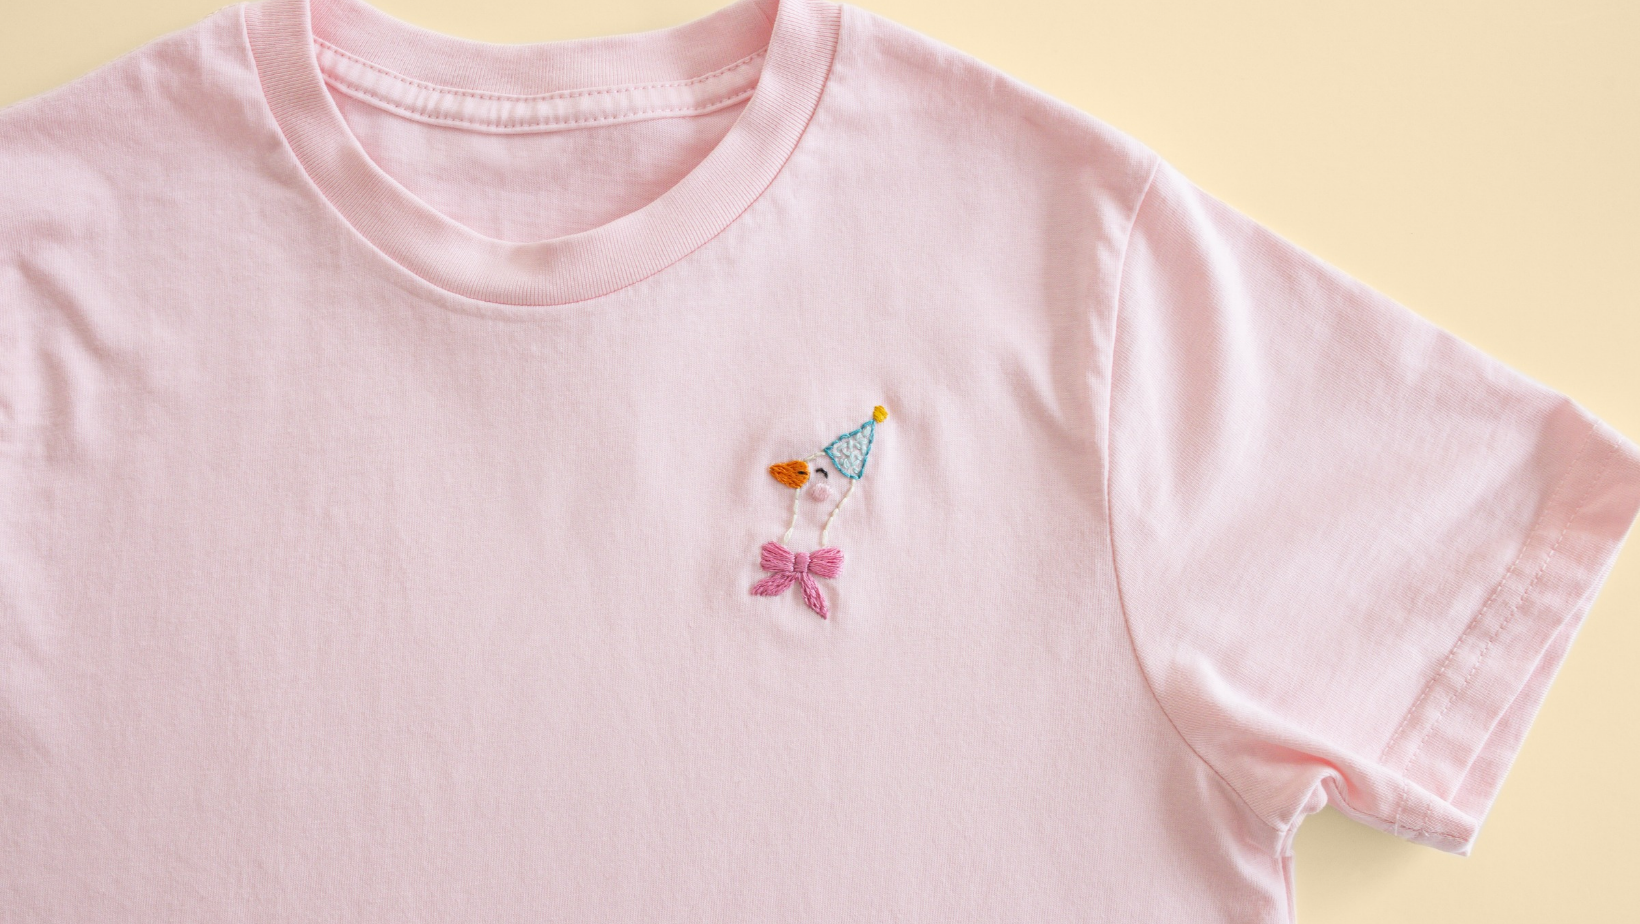
If you're stitching onto something you really love – a special gift, a favorite jacket, an heirloom piece – please do a little test first. I'd hate for you to discover a problem on the real thing!
There are two things worth checking:
-
The fabric. Stick a small offcut of sticker onto a hidden area, or onto a similar scrap, and rinse it off. You're checking that the fabric copes fine with being wet, and that nothing marks or distorts.
-
Your thread. Because your finished piece is going in water, you want thread that's colorfast – meaning it won't bleed color when it's washed. Our Clever Poppy threads are colorfast, so you're all sorted there! But if you're using thread from elsewhere and you're not sure, it's well worth a quick test. Lay a small piece of thread on a light colored scrap of fabric, wet them both, and check whether any color transfers. If nothing bleeds, you're good to go.
Let me tell you something - the last thing I'd want is for you to do all that beautiful stitching, only for the color to run in the wash. Especially on something precious!
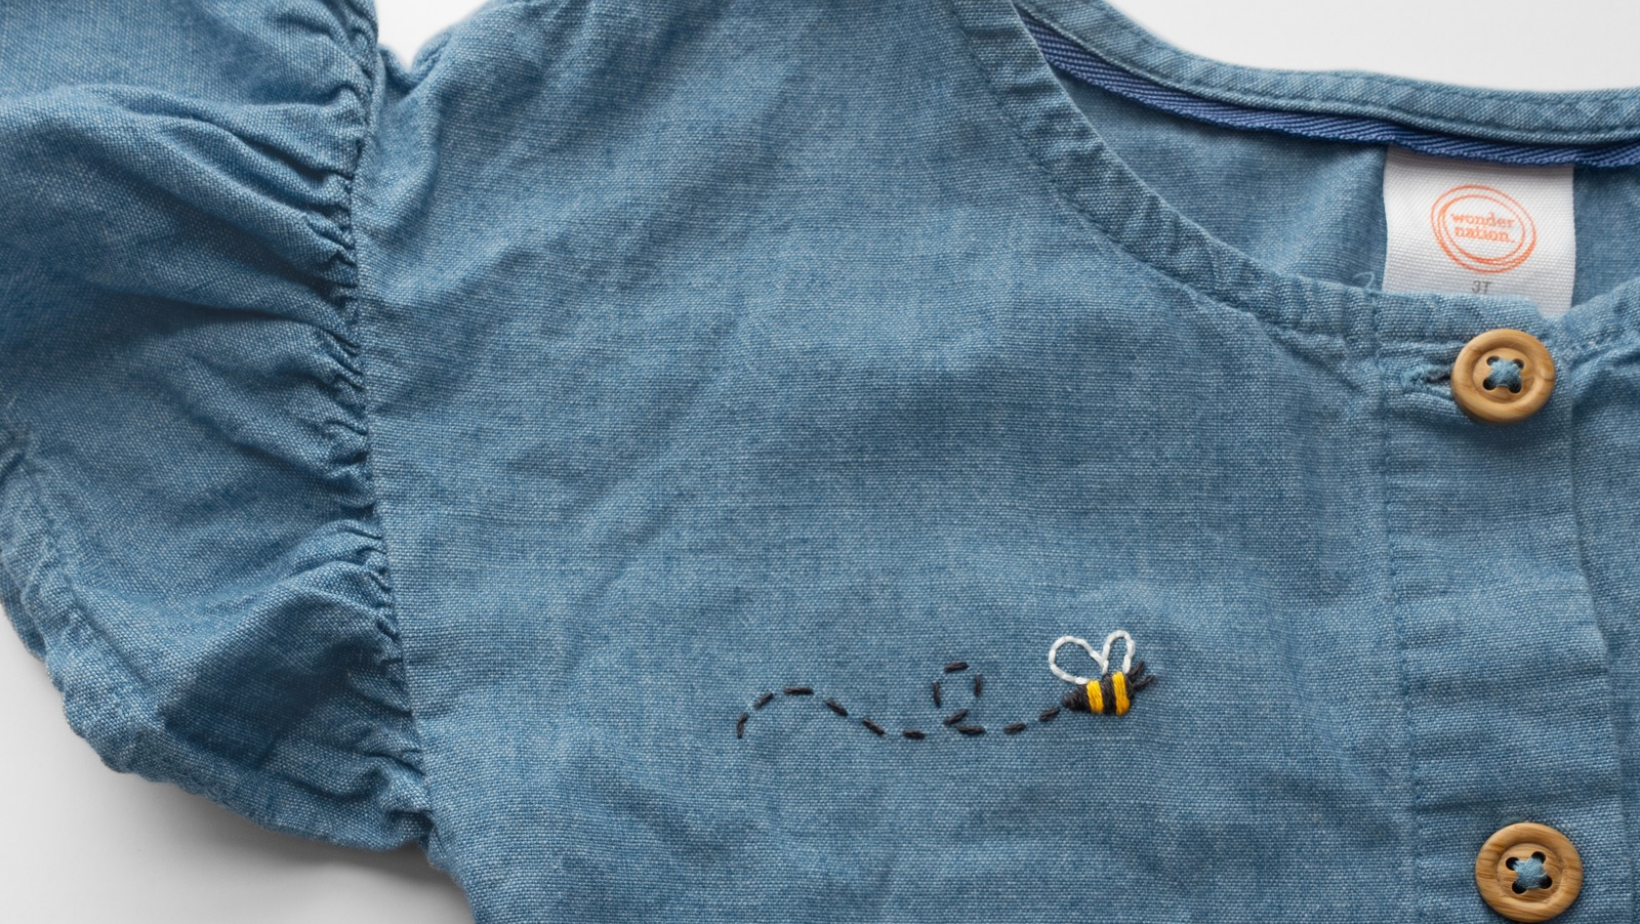
Tip 4: Mind your placement - including the back!
Everyone thinks about where a design will look good. But here's the thing I didn't even consider when I started, and it's honestly my biggest learning of all – think about whether you can reach the back of your design.
If the underside is tricky to get to - say it's on a pocket or surrounded by folds of clothing - you won't be able to stab your stitches and you'll have to sew them all instead. Or in other words, you will have to all the needlework on the front of your fabric, which can be quite challenging. So that adds a whole extra layer of complexity!
It really depends on the item, too. It's pretty simple to reach inside a sweater through the wide neck opening, compared to getting behind the knee of a pair of leggings. I've found areas near the neckline or waistline are the easiest to work with.
I'd also steer clear of bulky seams, or stitching over a pocket. They make it really tricky to get your needle through, and much more complicated to stitch your design in place.
So before you peel: lay the sticker on top with the backing still on and have a look, then slip your hand behind that spot and check you can move around comfortably.
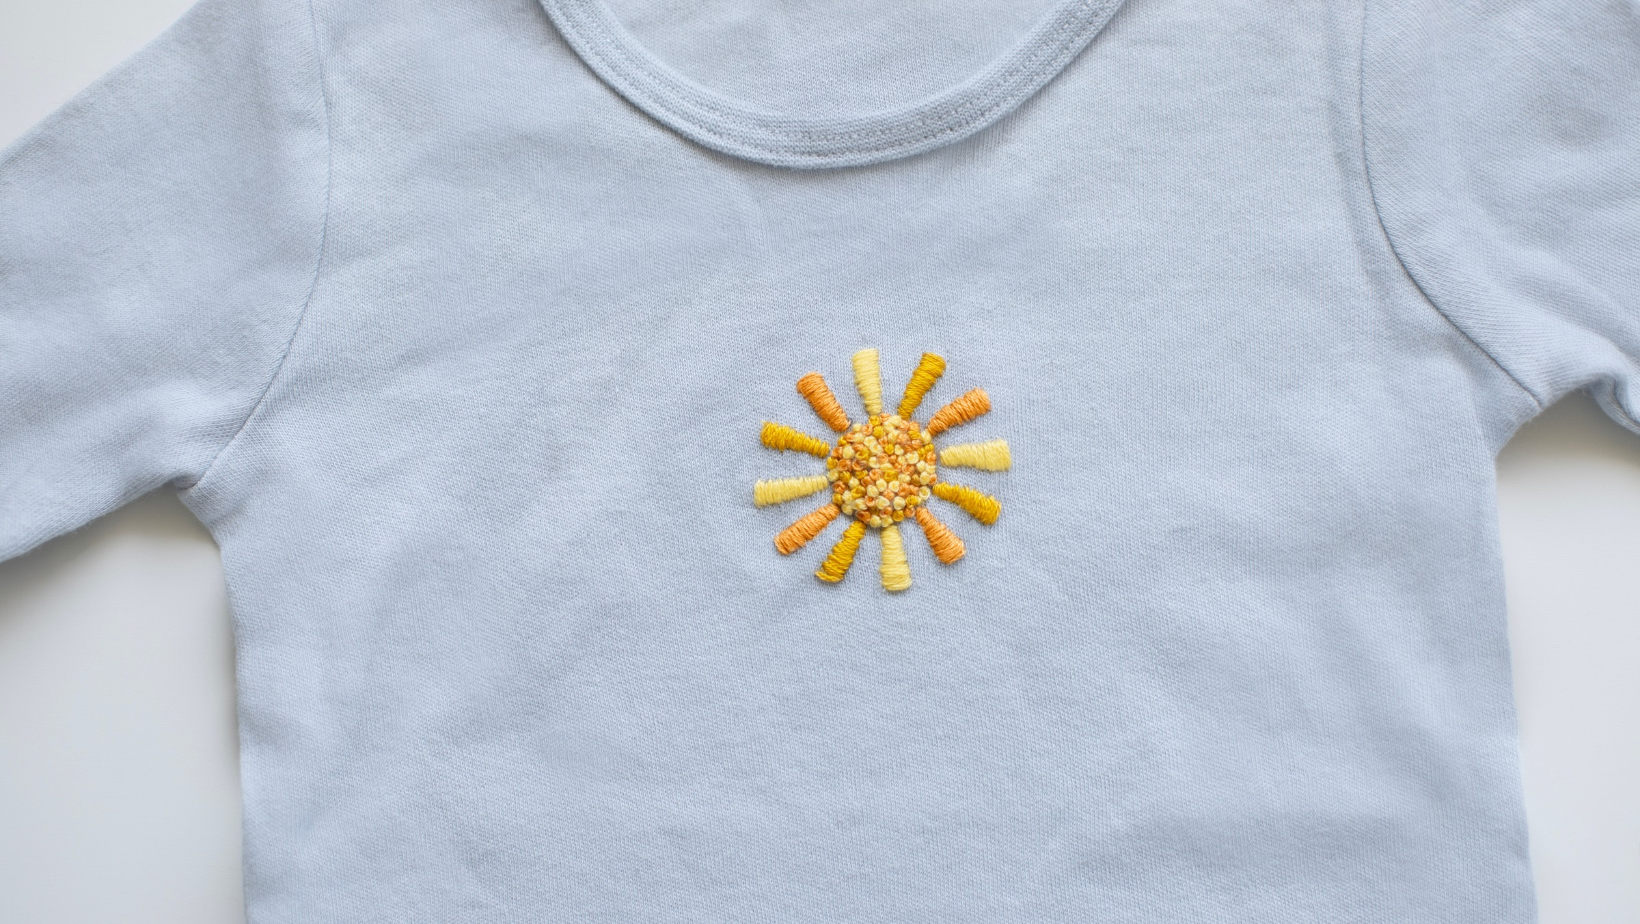
Tip 5: Take your hoop off between stitching sessions
Using a hoop is a great idea – it keeps everything nice and taut, and makes stitching so much more enjoyable. But here's a habit worth getting into, and it's a bit different to what we'd normally do with embroidery. Take your hoop off in between each stitching session!
The reason is something called hoop burn – an indentation in the shape of the hoop, left behind on your item. It comes from pulling too tight or overstretching your fabric. And since your finished piece isn't going to live in a hoop the way a wall hoop does, we really want to minimize that. Taking the hoop off between sessions helps such a lot.
While we're here, do take care not to pull your clothing as tight as you would a plain piece of fabric. You can stretch a garment out of shape permanently, especially with t-shirts and lighter weight items. Dress it just enough that it feels firm to stitch upon, then have a look at the fabric inside the hoop compared to the fabric outside – it shouldn't be stretched a whole lot more.
And one more thing while your project's resting: store it nice and flat. The stickers go a bit wrinkly if they're scrunched up in a project bag, so I find it's best to finish your stitching within a few days of sticking one down.
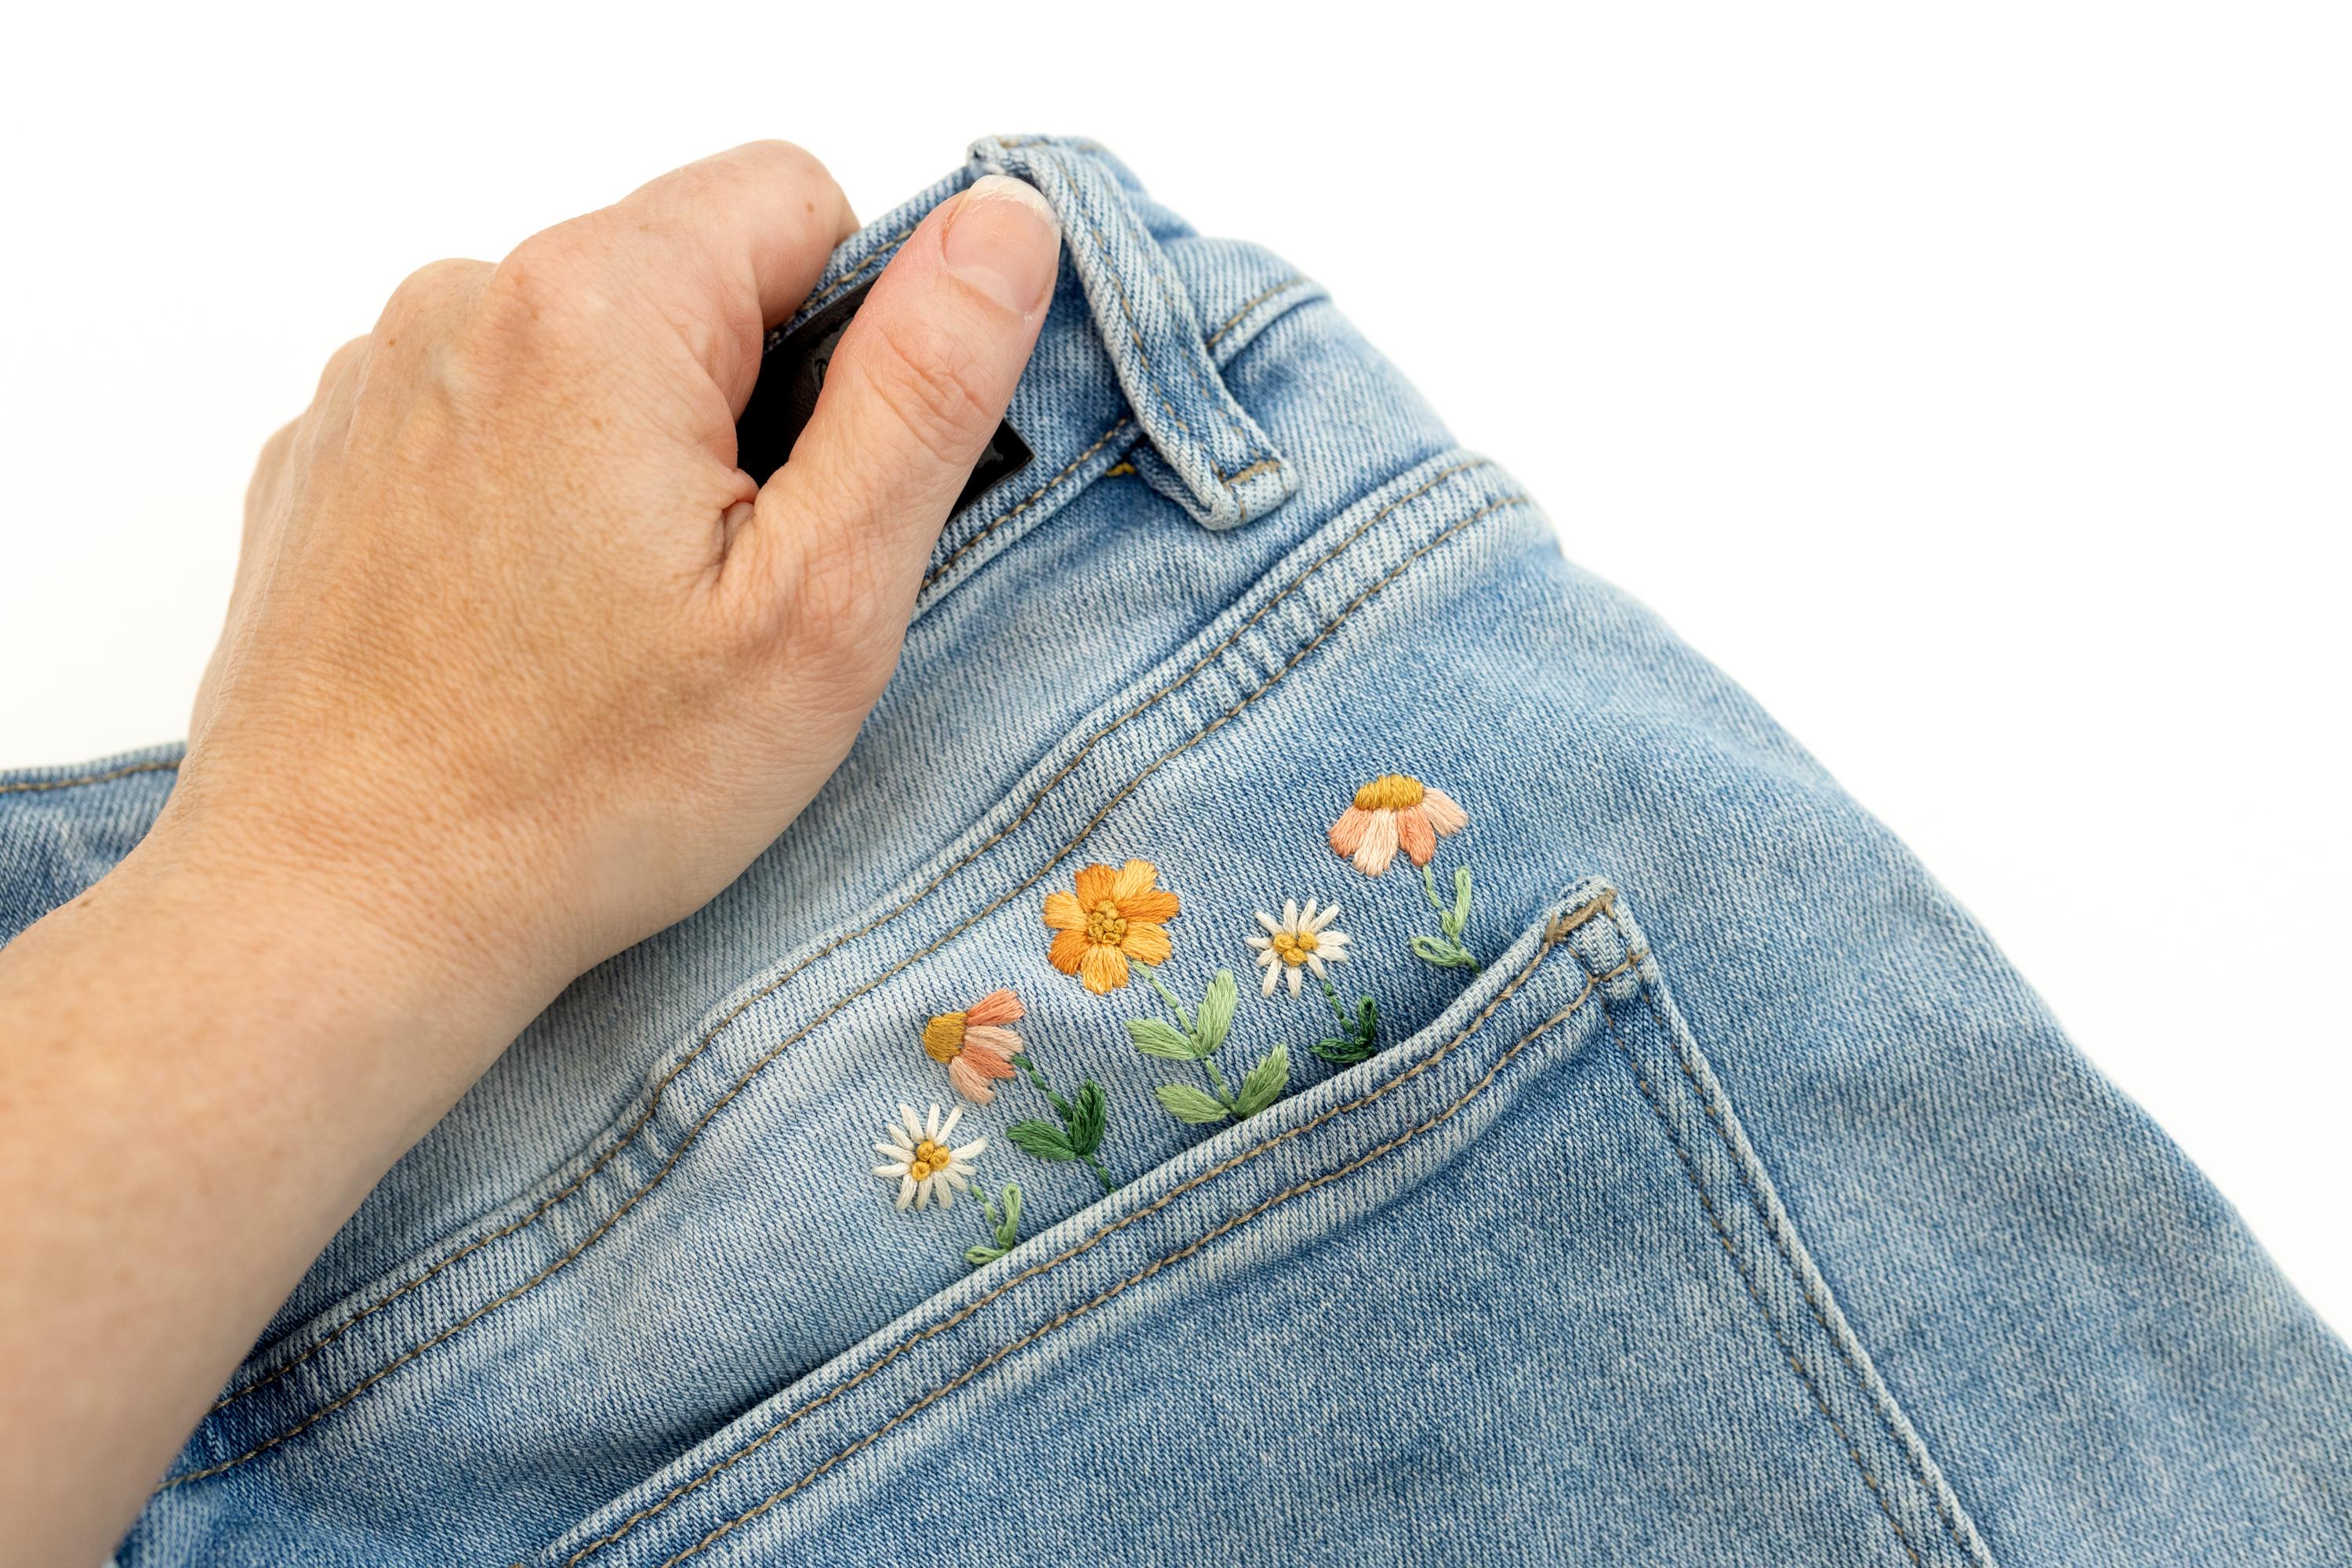
And once you've finished stitching?
Rinsing the sticker away is the really satisfying bit!
Immerse the whole area in lukewarm water – not hot – and after a few moments you'll see the sticker go see-through and start to dissolve. Now gently rub it away with your fingers, giving the bits right beside your stitches a little more encouragement.
Keep going until it's completely gone. This is the step people rush! There's often a faint film left behind that you can't really see, and if it dries in, your stitching will feel stiff and a bit crunchy. Another 30 seconds under the tap sorts it out.
Then gently squeeze out the water (don't wring it), lay it flat to line dry, and give the whole garment a wash. It'll feel a little stiff at first – that's completely normal, and it softens up beautifully after a second wash.
Conclusion
I hope you feel so much more confident about using your wash away stickers after reading this! There's really not much to them, and a few small habits at the start make the whole thing so much smoother.
So there you have it, my 5 top tips for using wash away stickers. They're one of the easiest and most rewarding ways to stitch – not only do you get some lovely me time, you get to actually wear what you make! I'm so excited for you.
If you'd like to go deeper on any of these topics, there are further videos in the troubleshooting section of your video tutorials. And for everything to do with stitching onto clothing – fabrics, hoops, stitch choices and washing – head over to my Beginner's Guide for Embroidery onto Clothing.
What's next?
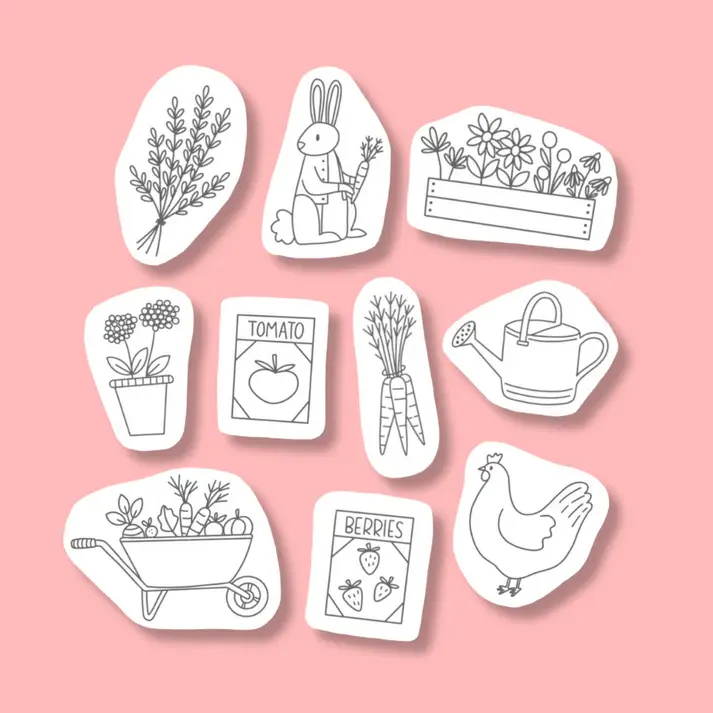
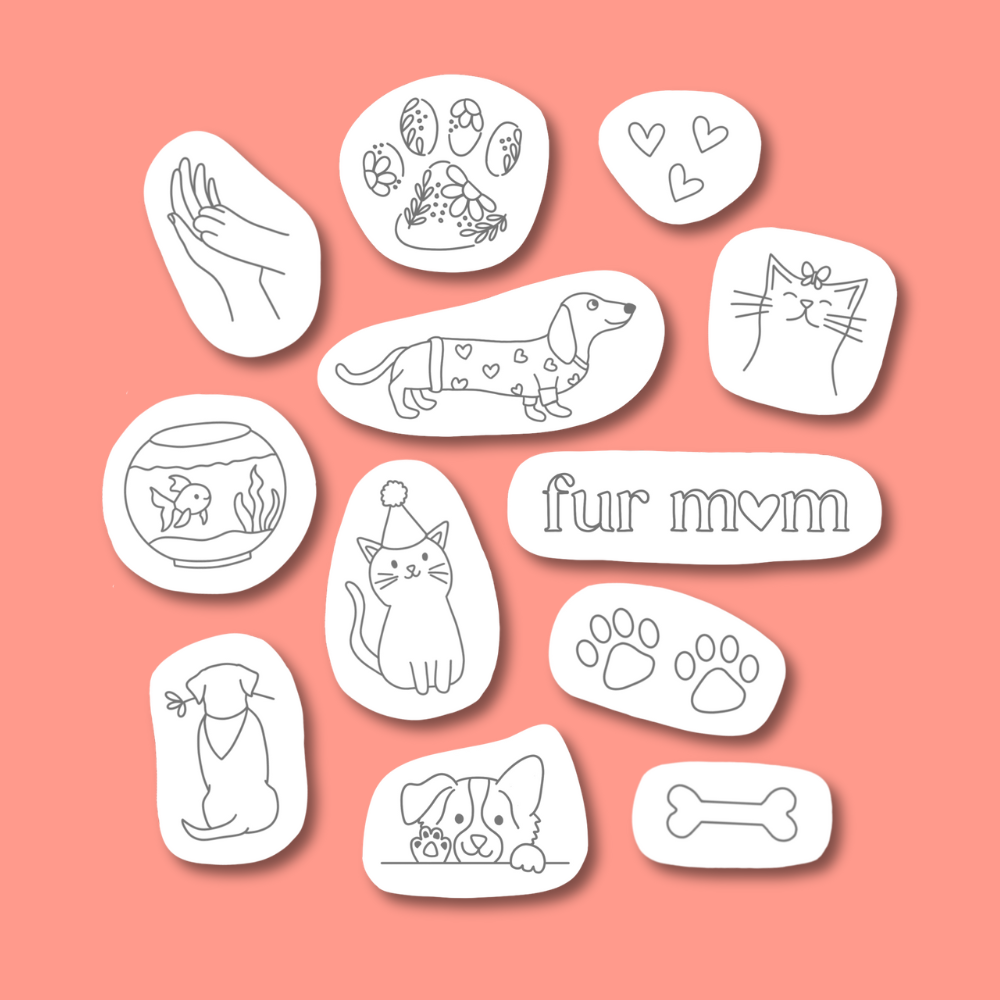
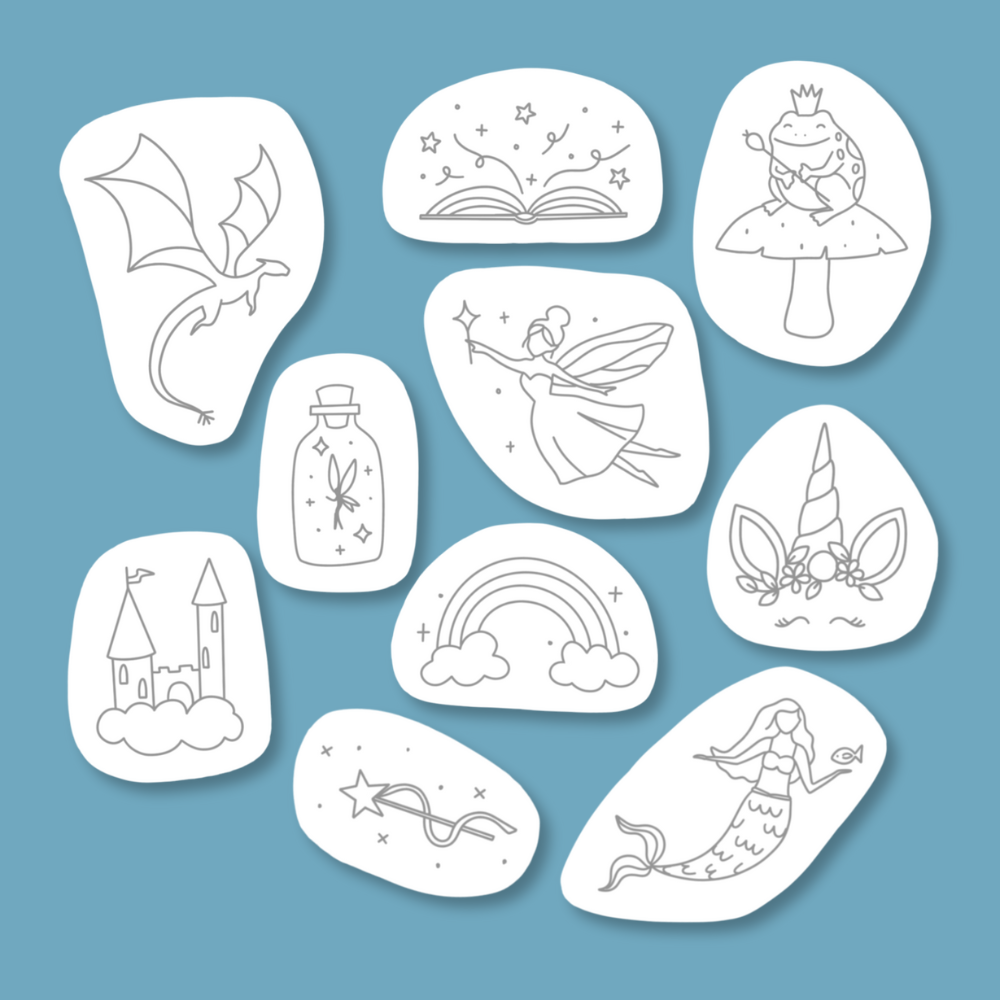
Our wash away sticker packs are the easiest way to start embroidering onto your clothes and accessories. Each design is single-use and comes as a blank canvas – you choose the colors and the stitches, so no two finished pieces ever look the same.
Why people love our wash away stickers:
-
Fun, pre-printed designs that simply wash away in water
-
Step-by-step video instructions included
-
Perfect for beginners – no tracing or transferring required
-
Gorgeous on t-shirts, denim, tote bags, tea towels and more
Our sticker packs