Tabby Weave - Learn This Woven Wall Hanging Technique
Introduction
Tabby Weave is like the bread and butter of woven wall hangings.
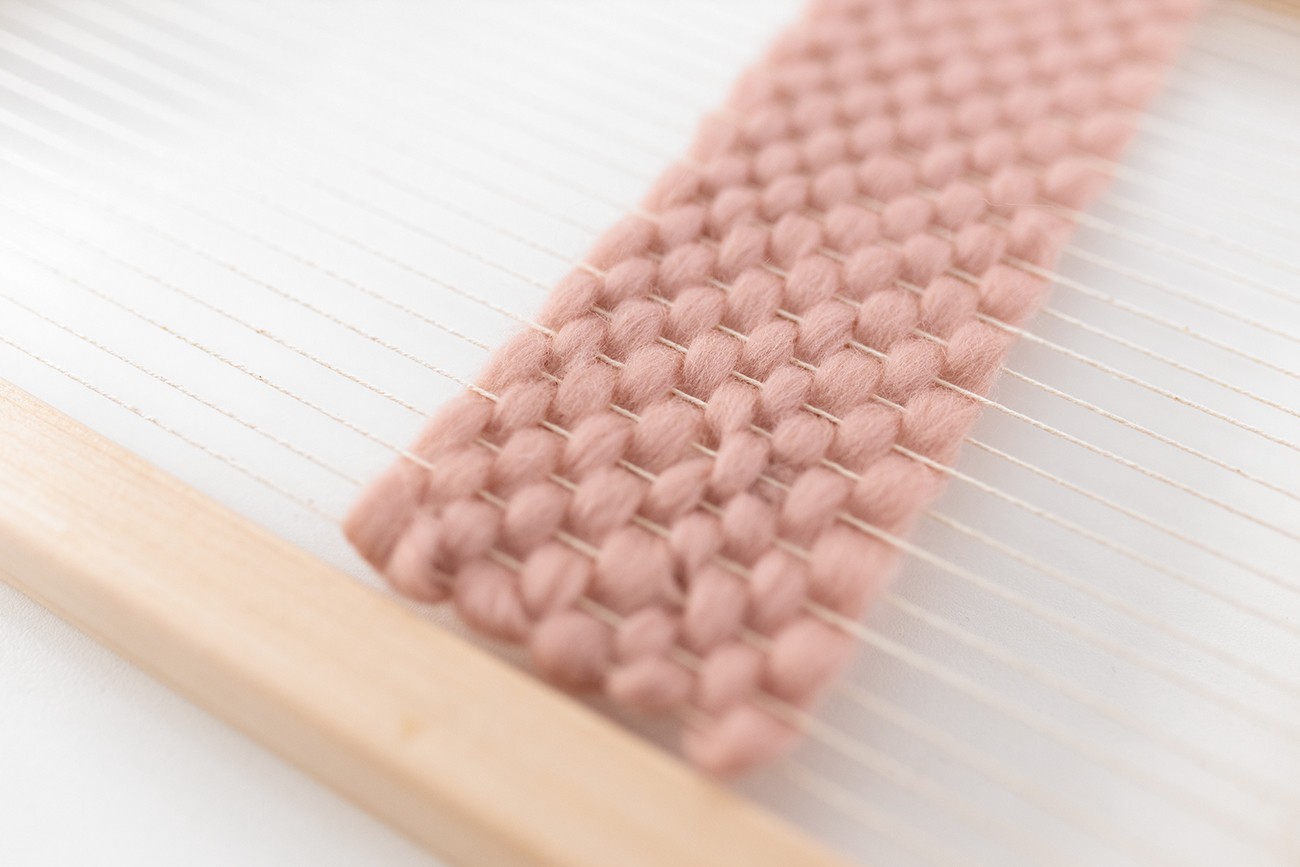
You’ll also hear it called ‘basic’ or ‘plain’ weave because it’s the easiest and most basic stitch to create. You are simply going over and under alternating warp threads, building up a lovely consistent area of weaving.
The thing I love about Tabby Weave is that you can vary the look and how long it takes to cover an area, by changing up the thickness and style of the yarn you use.
For example, using a single strand of 8 ply yarn will take a lot longer to build up the stitches, but the result will be a finely detailed effect. Or if you want to cover ground faster with a more textured look, you can double (or triple) over your yarn, or use a chunky style yarn.
You can even use wool roving for Tabby Weave, which will create an entirely different look.
Ok, let's look at how to weave this technique:
Step 1
Cut a length of yarn and thread it in your weaving needle.
You can go a bit longer with the yarn for this stitch once you’re used to it, but I’d suggest using a piece less than 1m long while you are learning.
Step 2
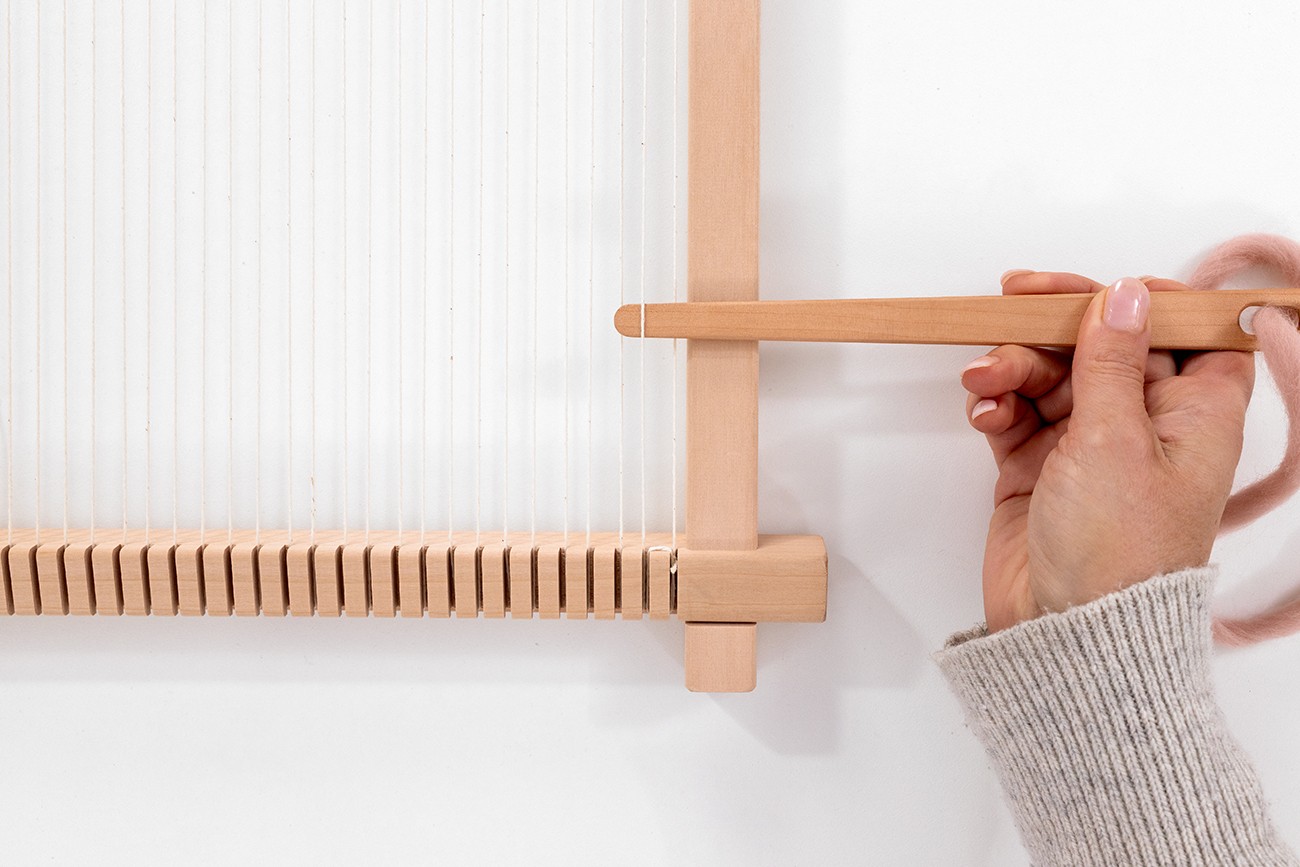
Start on the right-hand side, and weave over the first warp thread, and then under the second warp thread, working from right to left.
Step 3
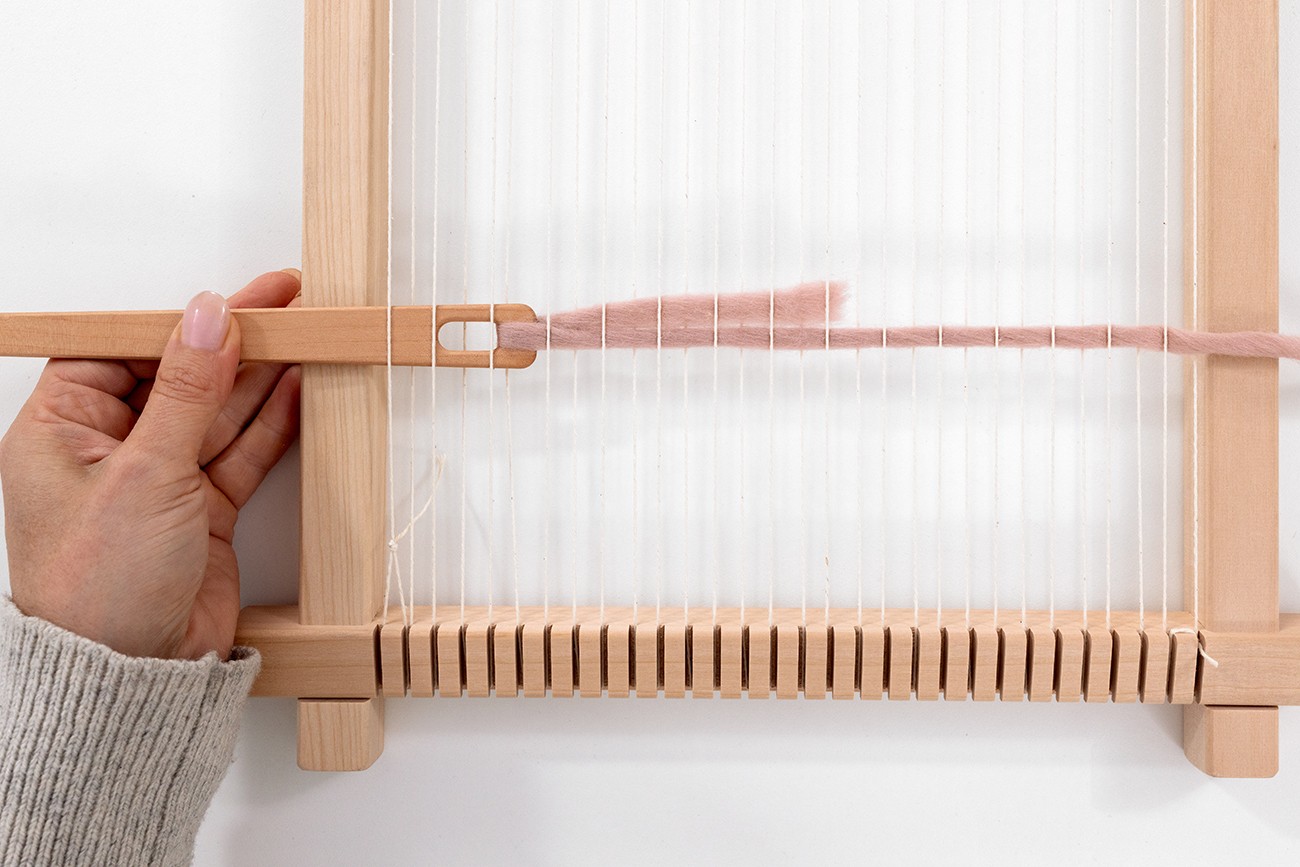
Repeat this stitching process across the loom, going over and under each alternate warp thread.
Step 4
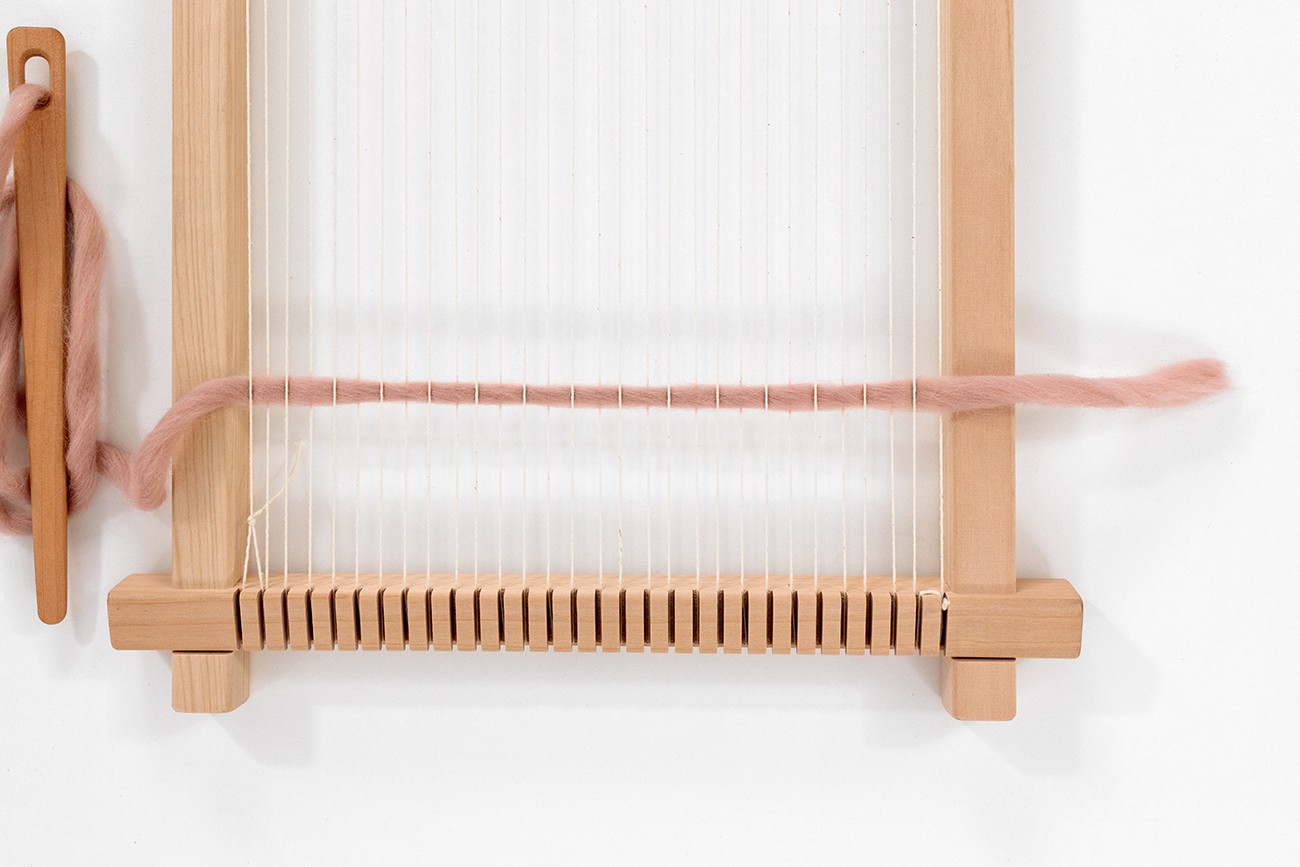
When you get to the far side, pull the yarn slack through from right to left, until there is a tail of about 10cm on the right-hand side.
It helps if you pinch the yarn firmly against your needle when you do this, to prevent it from slipping out of the eye, oops!
Step 5
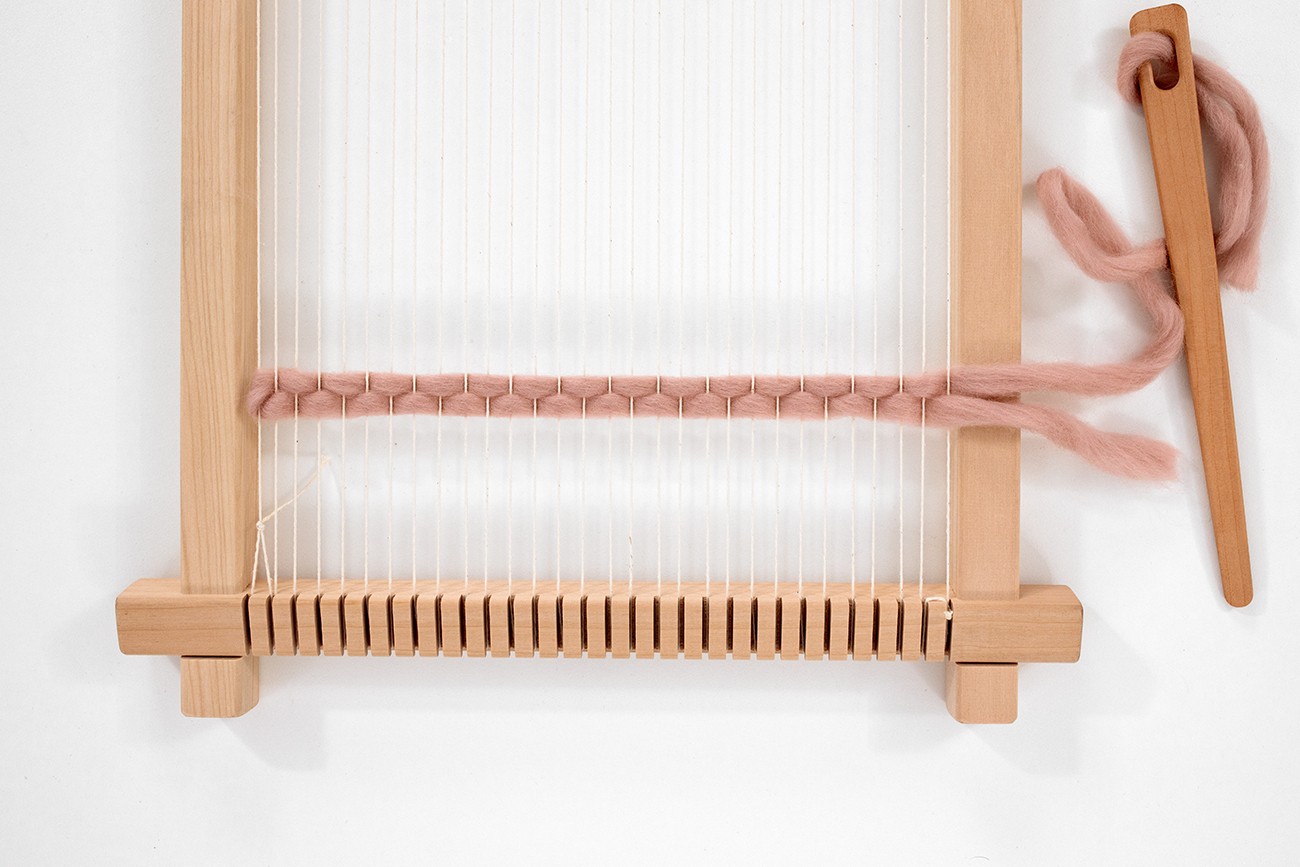
Turn around and go back the way you came, creating a row of stitches above the first row. Here’s the key – this time, go under and over the opposite warp threads to the first row.
Step 6
Keep doing rows of Tabby Weave, and gently beat down the rows with a comb (or fork) as you go along, so they are sitting nicely on top of each other.
These rows shouldn't be too squished together, or have any gaps between them, you are aiming for them to be nice and flush against each other.
Tip: As you do your Tabby Weave, it’s great if you can do the Weft Hills technique, which can learn about in this tutorial here.
The Weft Hills technique helps you to create nice even tension across your piece as you go.
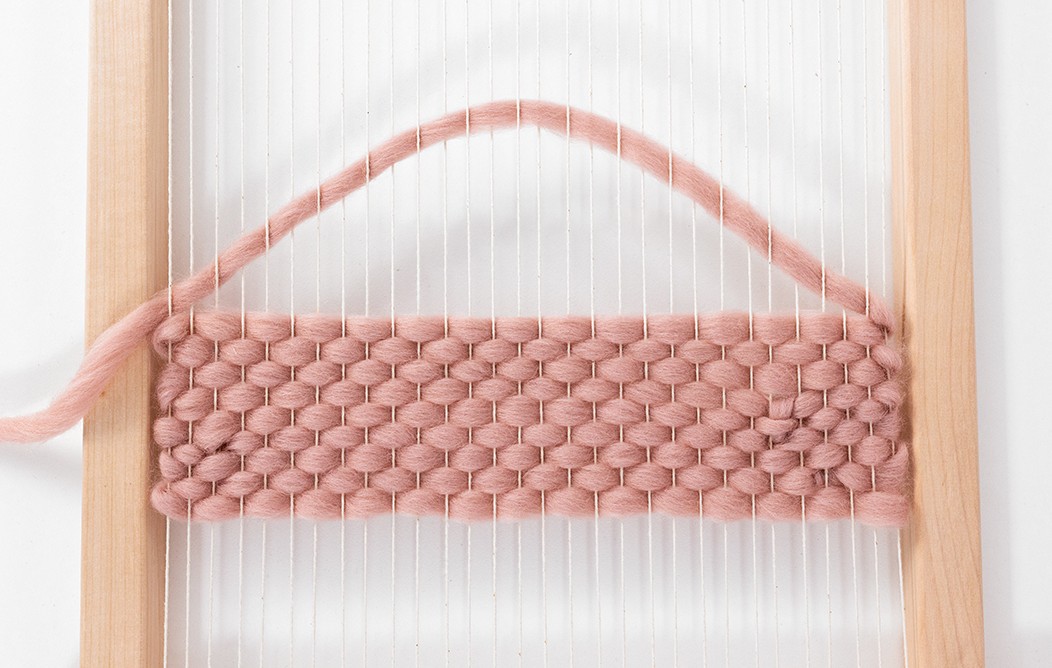
Step 7
When you finish your section of Tabby weave, bring the tail around the outside warp thread, even if this means bringing it around 2 warp threads on the last stitch.
This means when you tidy off the tail, you won’t be left with a warp thread hanging out all lonely on the side.
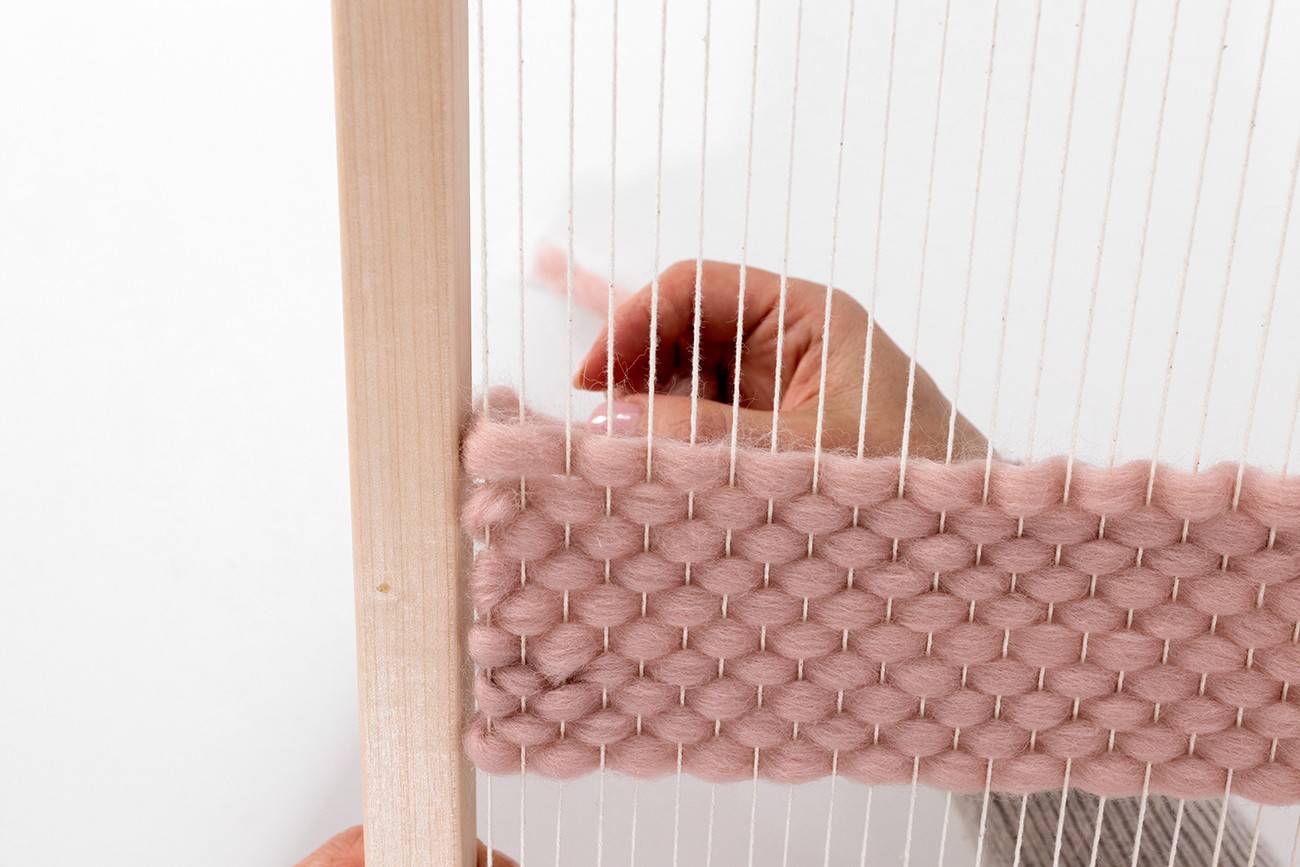
Now you can experiment with creating Tabby Weave with all sorts of looks.
For example, try doubling over your yarn for a chunkier look. Or go under and over pairs of warp threads instead of singles. Have so much fun!
Tip - hold onto your side warp thread
Try not to pull each row too tightly in on the sides of your weave. Keep this in mind each time you reach the far side of your piece and turn around that last warp thread to start a new row.
Now I know you might naturally want to pull it as tight as possible (I used to do exactly that!), but that’s not the way to go.
It’s actually more important to keep the tension even across the row, rather than pulling it tighter at the sides. Because if you pull in too tight, your weave will end up with an hour-glass effect as it draws in at the middle.
On the flip side, you also don’t want your last stitch to have slack against the far warp thread, resulting in little bubbles down the side.
So here’s what to do: as you pull through the slack in your tail of yarn, hold on to the far warp string. This prevents it from being drawn in by the yarn as it wraps around it.
Keep holding the far warp thread and gently pull your yarn so that it sits snugly against it, without pulling it in. Now you can let go and keep weaving. Before long you’ll do this without thinking.
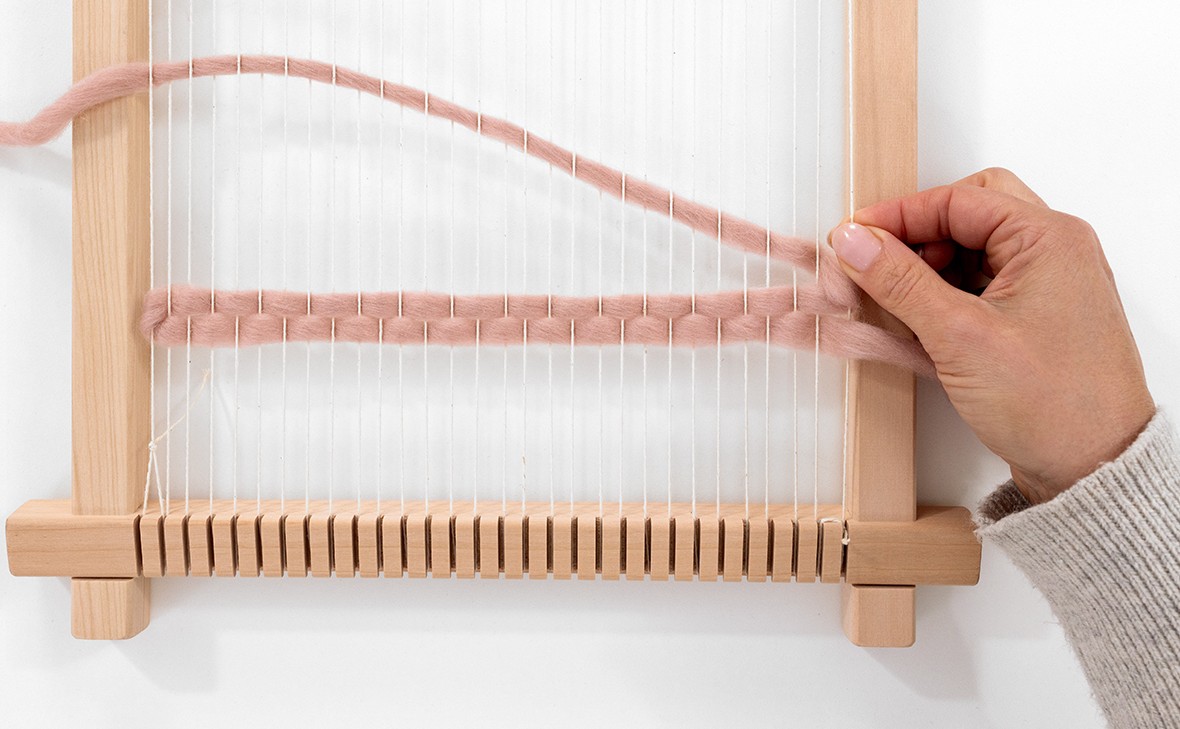
And don’t worry if you do end up pulling in the sides of your pieces as you learn, that’s totally normal and expected. As you get more experienced you’ll get a feeling for the right amount of tension, especially at the sides of your pieces. But for now, just keep it in mind.
Troubleshooting tip - if you get out of synch
If you realise all of a sudden that your stitches are not alternating over and under the way they should, then track your way back... I bet you’ve by mistake gone over or under two warp threads at once. This happens to the best of us!
Don’t worry, you can either unpick your stitches and do that section again, or just ignore it and keep going.
This does mean you will end up with a section where the weave is a bit out of whack, but within two rows you will be back to normal again. Don’t forget that we’re beginners, not perfectionists!
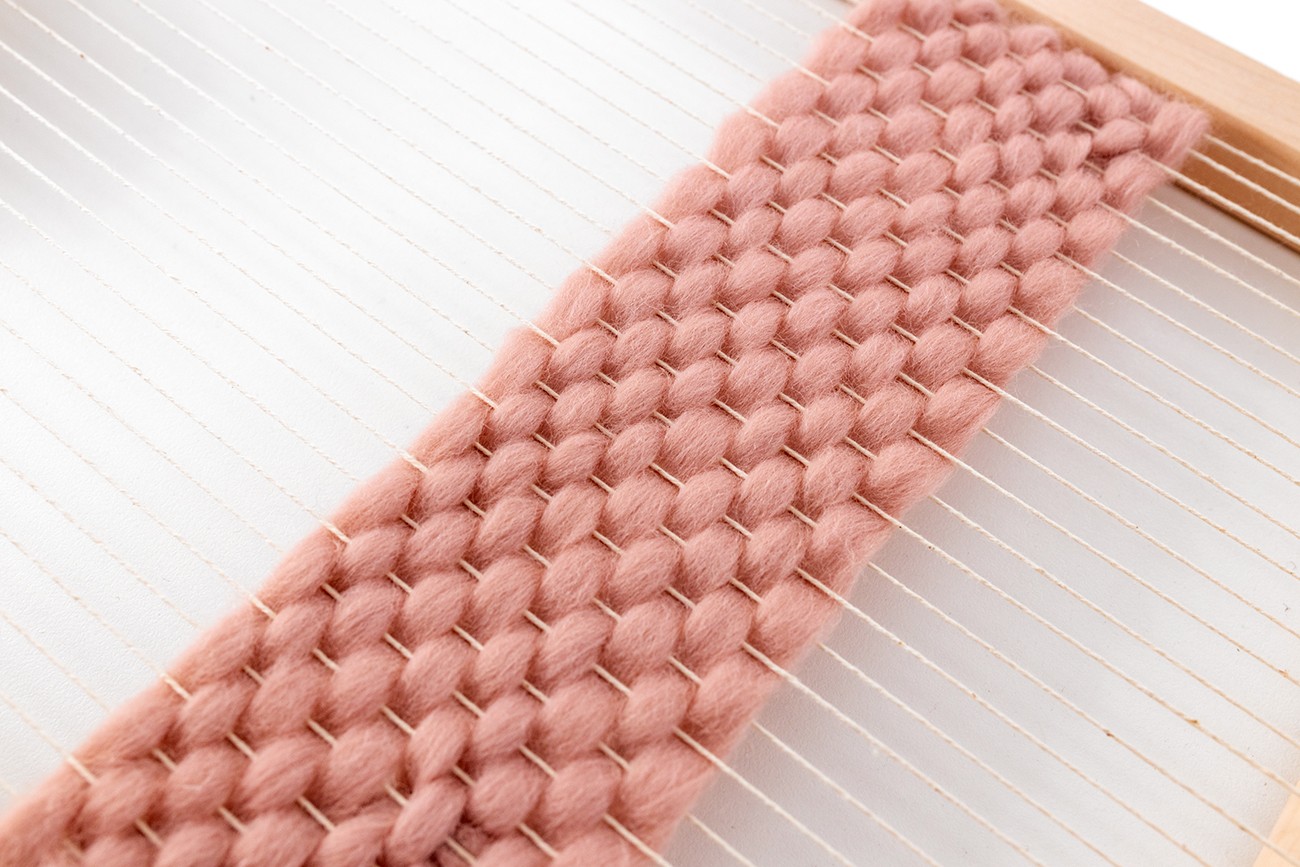
Examples of Tabby Weave in my patterns
Let's look at some examples of this beginner weaving technique in my patterns!
First of all, Tabby Weave is one of the key stitches used in my Marshmallow Dream pattern, which is absolutely perfect for beginners.
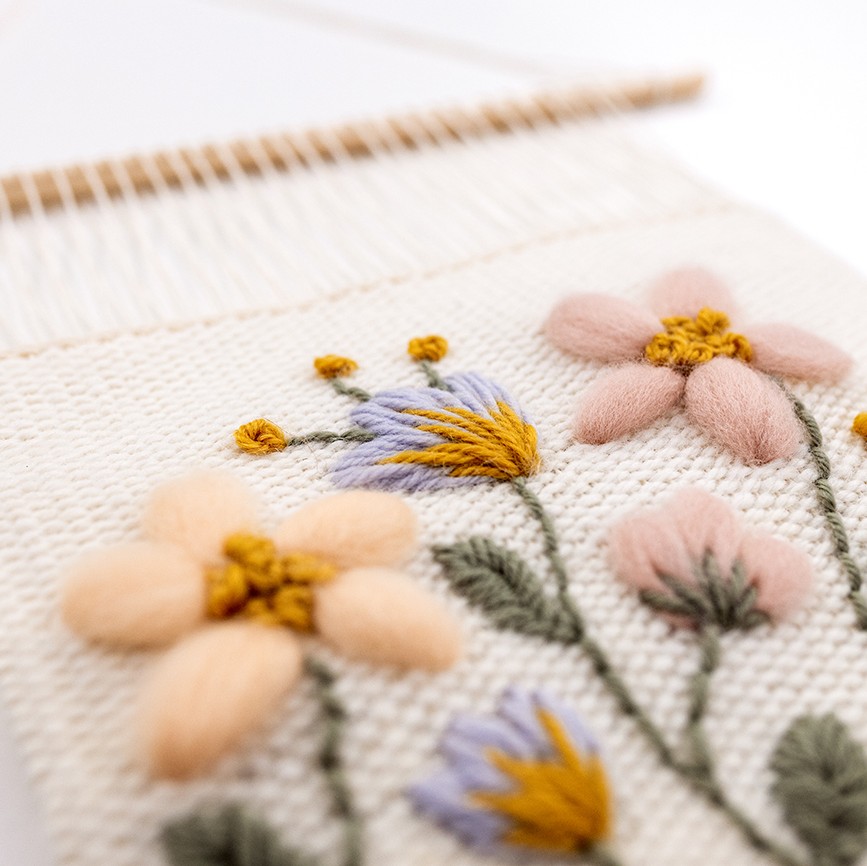
Then you'll also see an example one of my more advanced patterns Woven Meadow. I have built up rows of high density Tabby Weave and then added woven details on top. This a great example of how you can use Tabby Weave in your patterns, later on in your weaving journey.
Conclusion
Congrats on learning the most fundamental weaving techniques - Tabby Weave. This will keep you in good stead for all future weaving patterns you create. Plus, it’s super fun.
Well done on you for taking the first step of learning how to weave!
What's next?
If you enjoyed learning how to do Tabby Weave, you might love exploring even more weaving techniques!
I would totally recommend this course, as it covers more stitch techniques than just Tabby Weave and you can also do it at your own pace. Plus, this is a great way to hold yourself accountable for your me-time and continue on your path to becoming a woven weaving superstar.
P.S. Have you checked out this blog yet, 'What Beginner Weaving Supplies do you Need to Create Woven Wall Hangings?'
So, are you excited to make your first weave with your tabby weave knowledge?


