Thread Bundle Flowers - Learn How to do This Modern Embroidery Technique
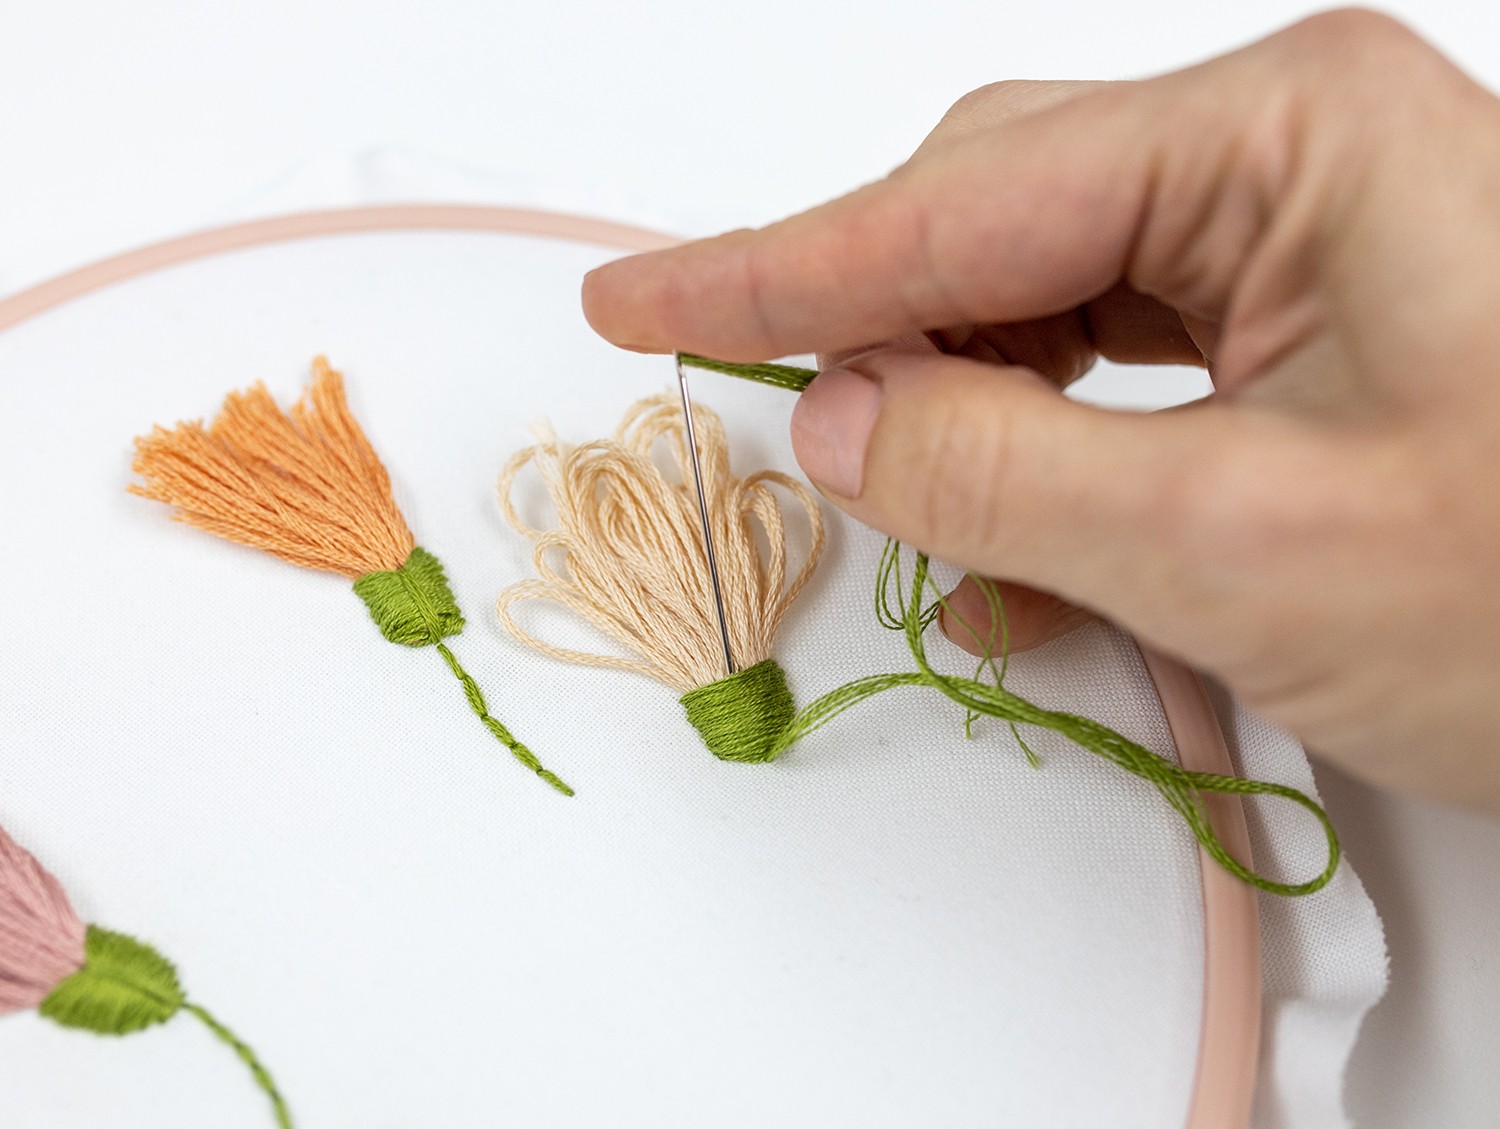
Introduction
Hello embroidery friends, I’m so excited to share this tutorial with you!
This is a wonderful way to create a flower with a whole lot of texture and life, that doesn’t take hours to stitch. Which makes it the perfect flower for modern embroidery right?
You can make the flowers in any colour scheme your heart desires. I love them with natural colour stalks, as well as green.
Let’s look at how to make one:
Step 1
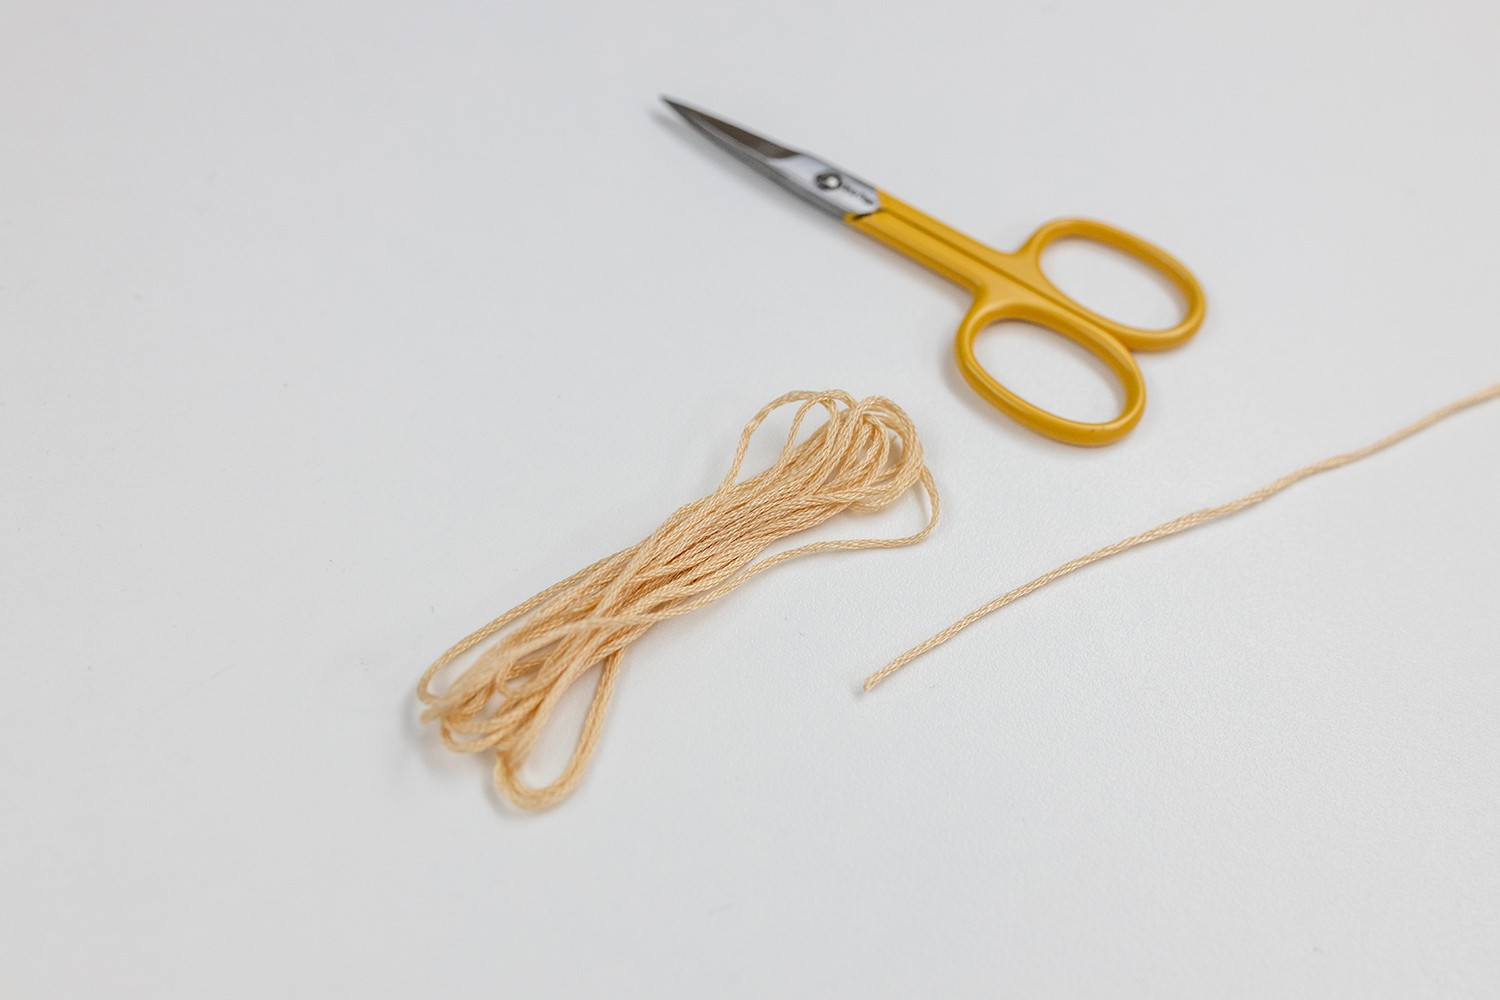
Choose the thread that will form the petals of the flower. Draw off a whole bunch of slack (about 2m) and then wrap the thread over and over itself, to create a little bundle.
I started with a piece about 8cm long, then folded it back on itself, and kept doing this about 20 times.
Step 2
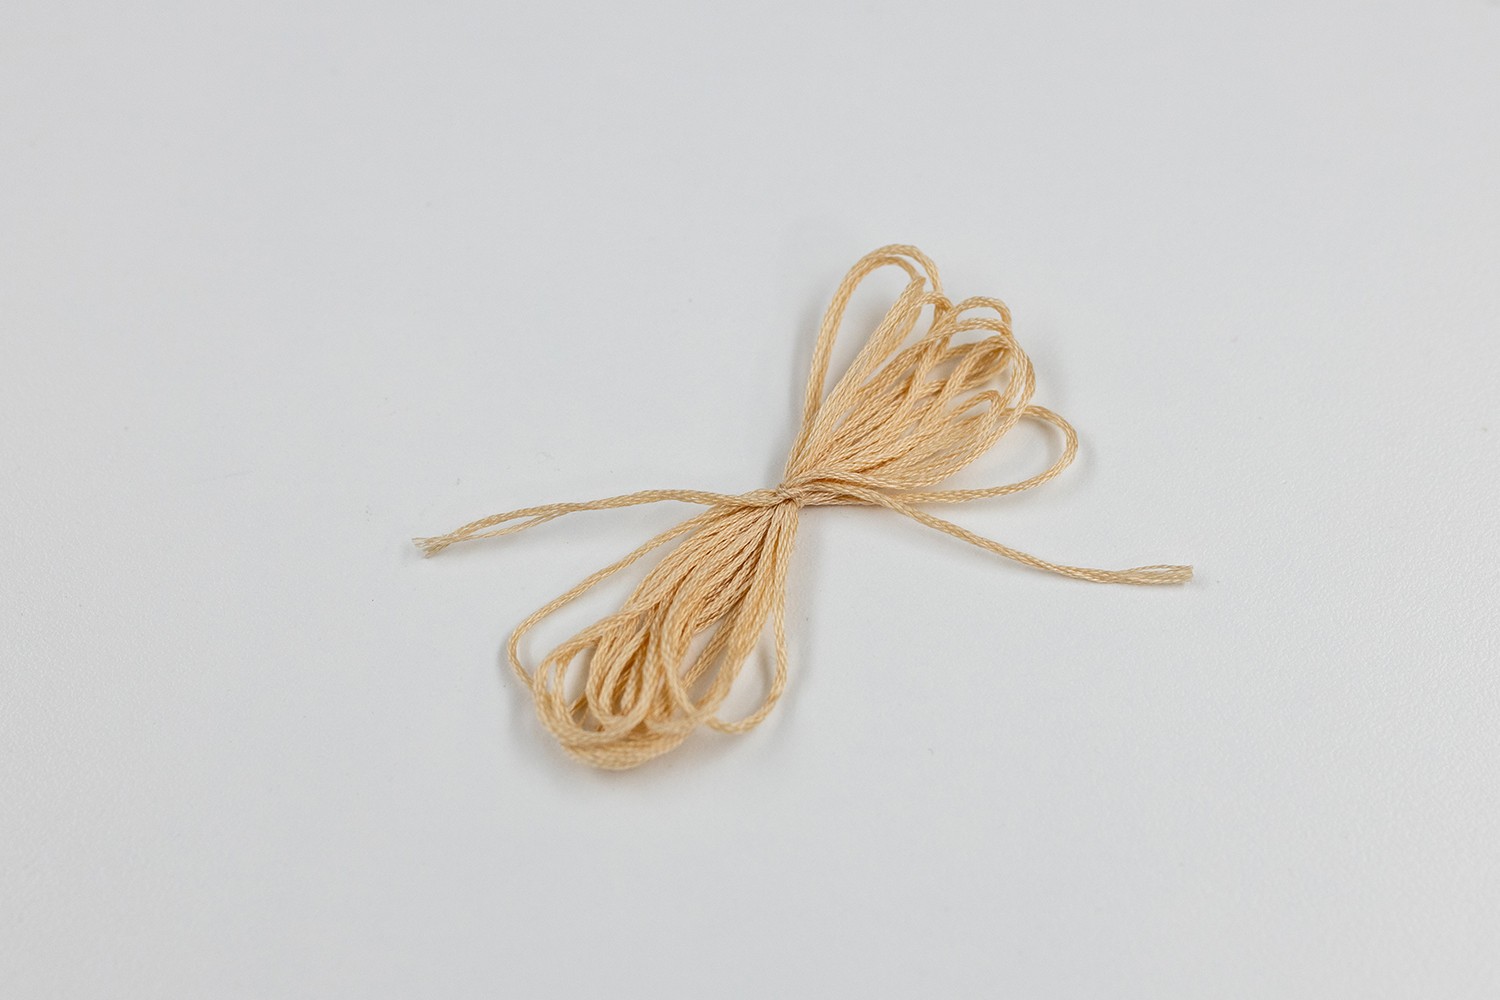
Tie the bundle in the middle to hold it all together, with a short piece of thread in the same colour.
Step 3
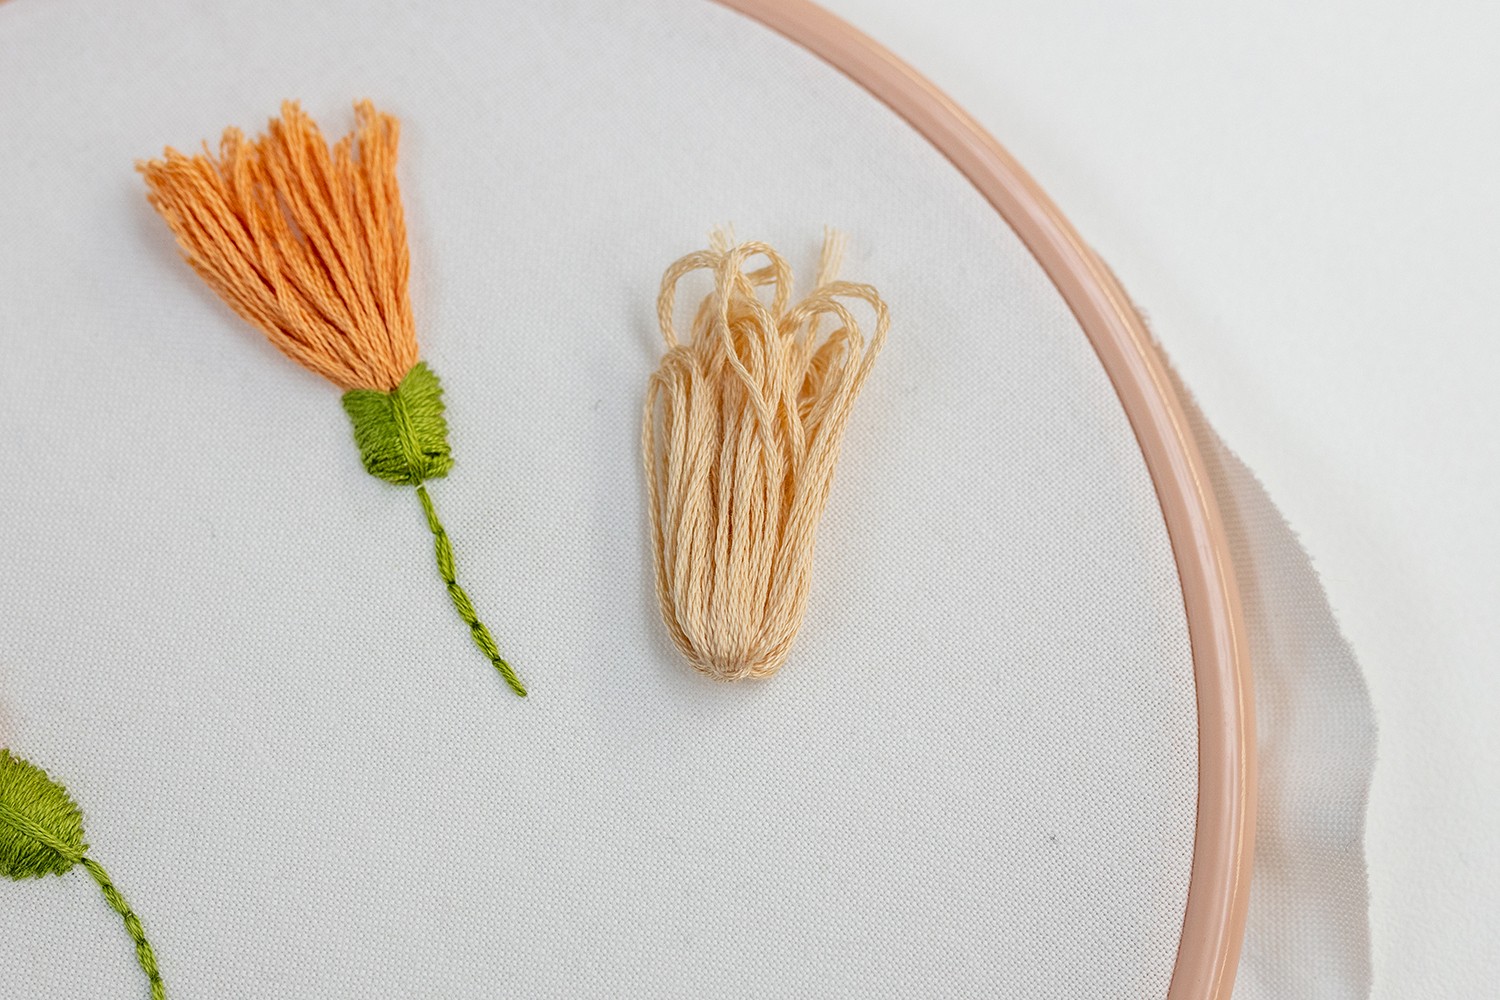
Fold the 2 sides of the bundle up and arrange it into the flower petals. I try to push it into shape a bit so that the join isn’t on the front, but don’t be too picky.
Then place the flower on your fabric, in the chosen position, so that the join is at the bottom and all the loops are at the top.
Step 4
Now prepare your thread for the stalk and base of the flower. Bring your needle up at the base of the bundle, and do a single straight stitch about 1cm long. This stitch will go down into the middle of the bundle, to secure it to the fabric.
Step 5
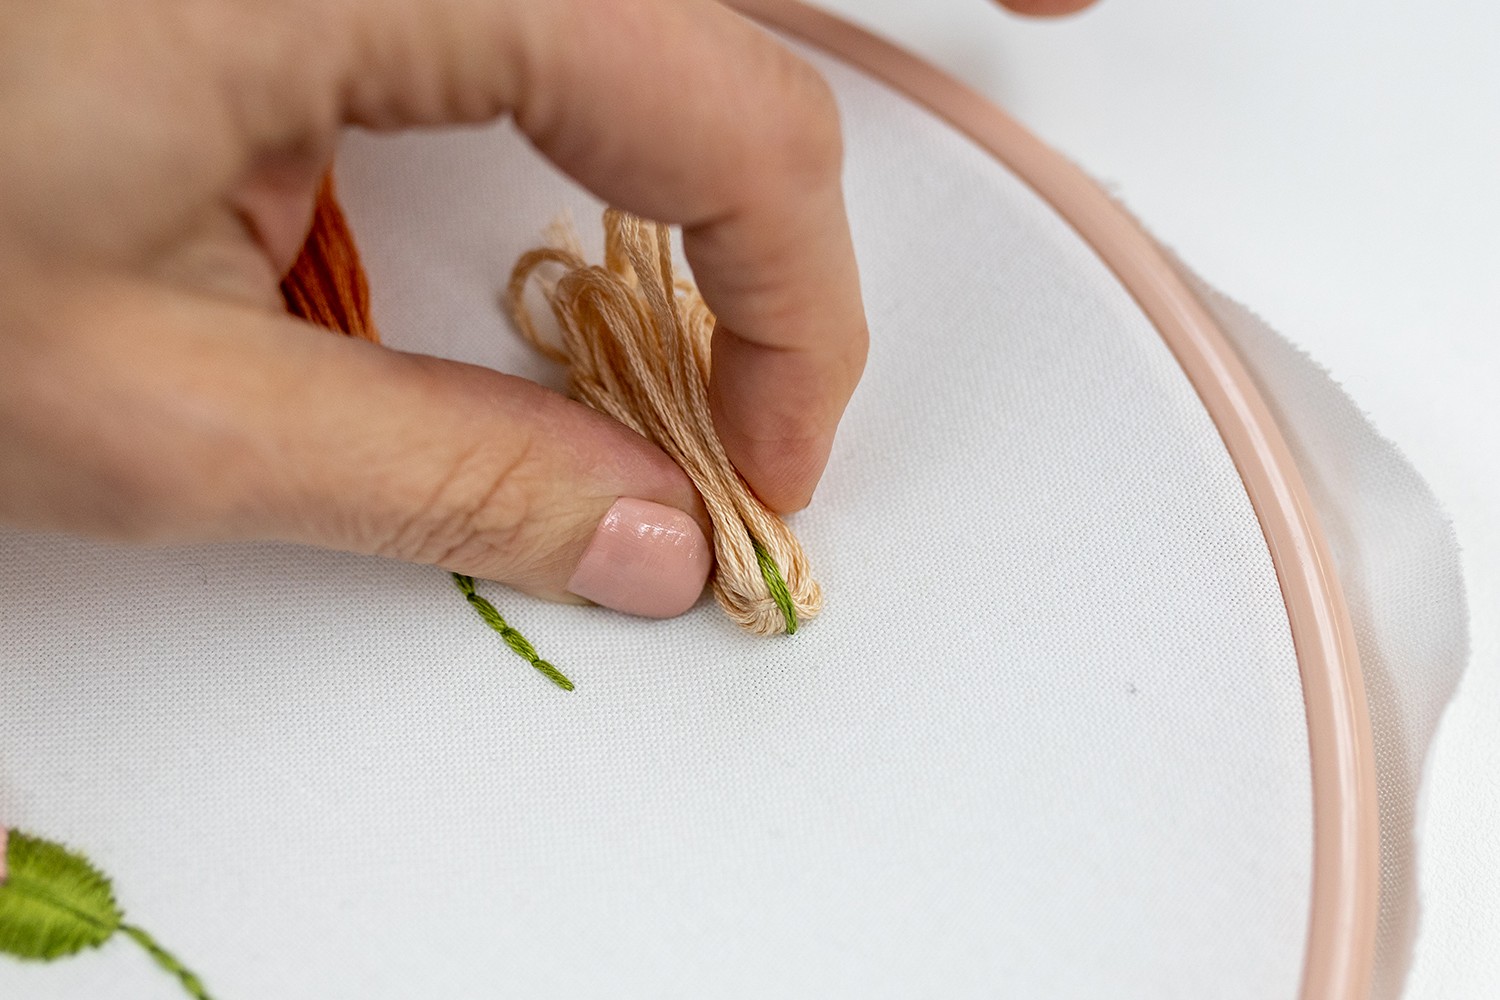
Gently arrange the threads of the flower bundle back into shape and pinch them together at the lower section. This is the part you will be covering with satin stitch, to create the base of the flower.
Step 6
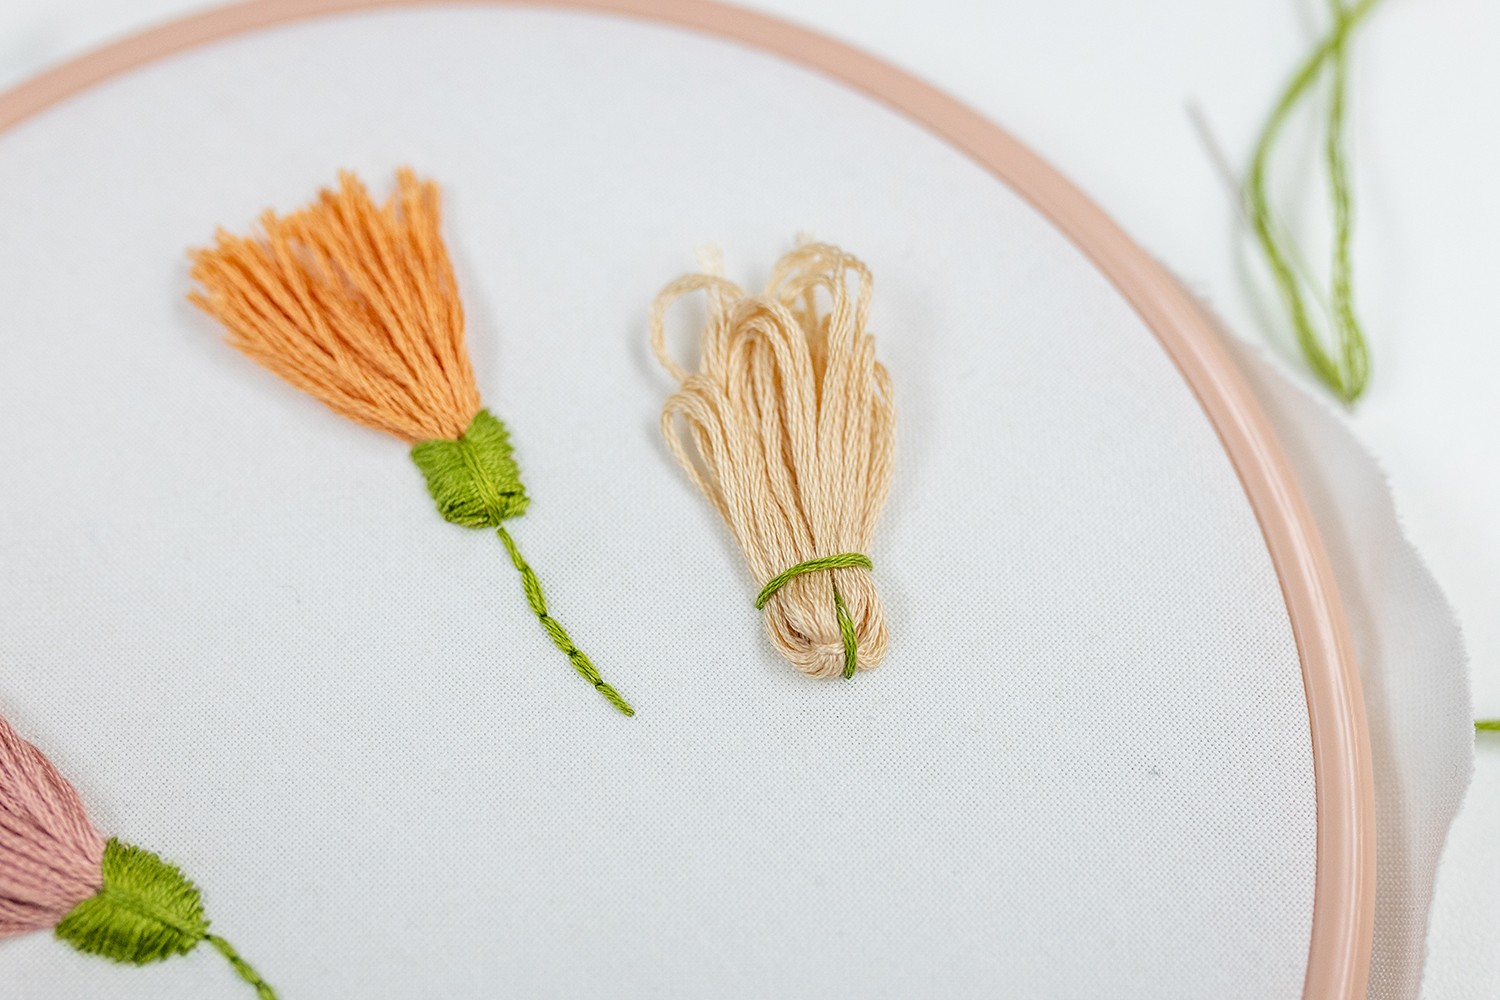
Bring your needle up on the right-hand side of the flower, about 1cm from the base, and do a straight stitch horizontally across all the threads. This is the top of the flower base.
Step 7
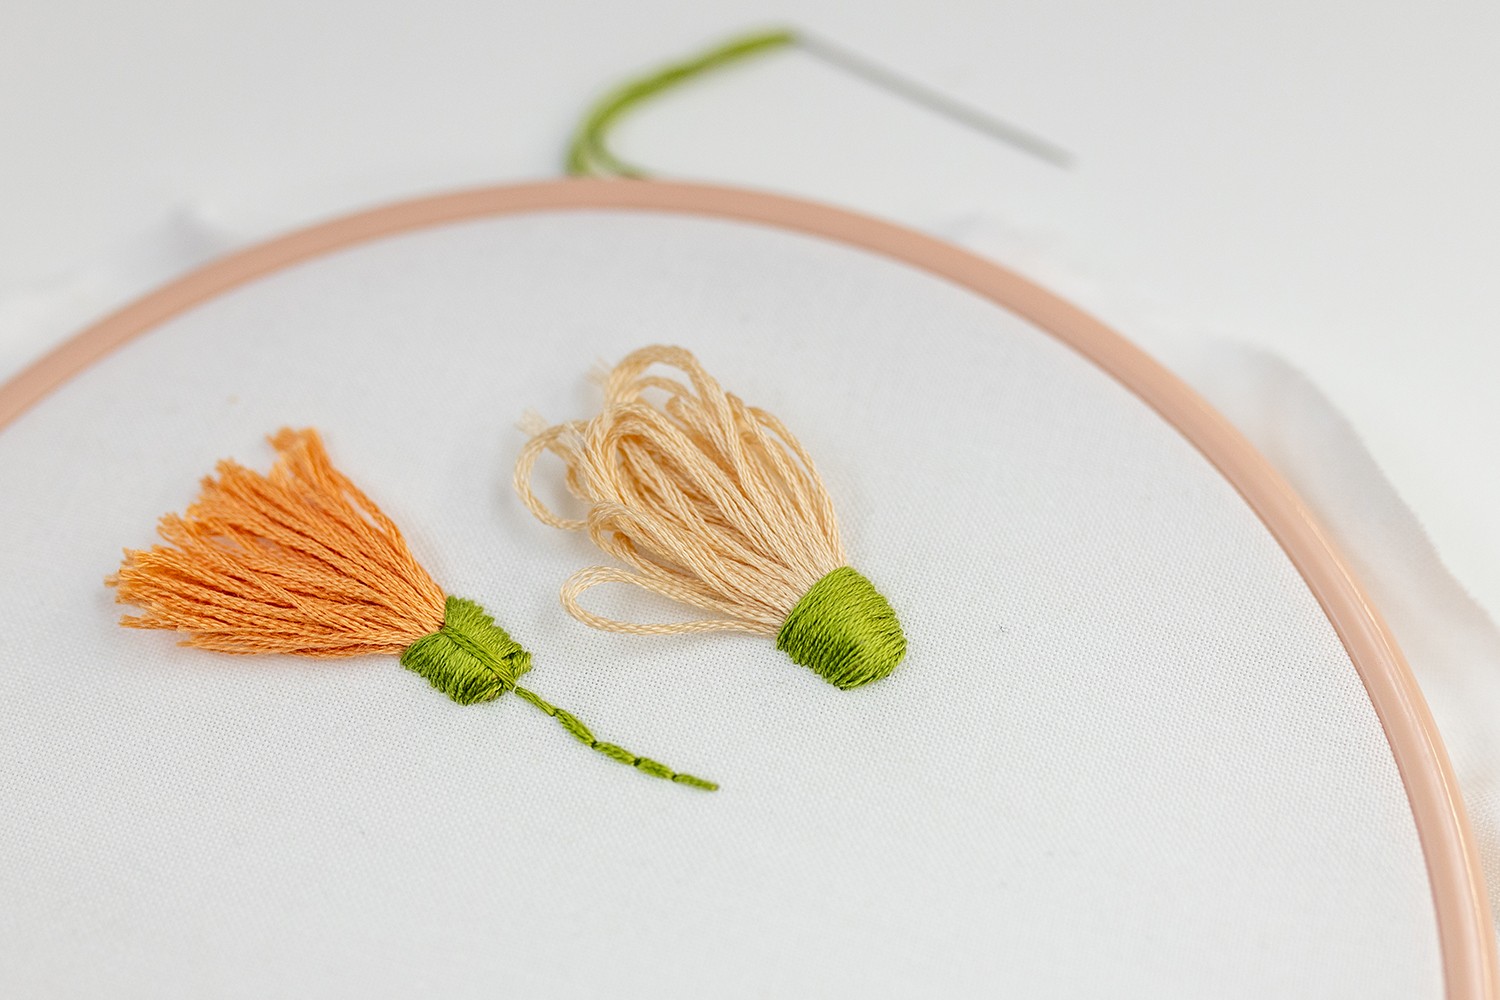
Now do a series of satin stitches, working your way down, to create the base of the flower. As you get near to the bottom, you’ll need to gently hold onto or work the stitches into place, if they slip down over the curved bundle.
Step 8
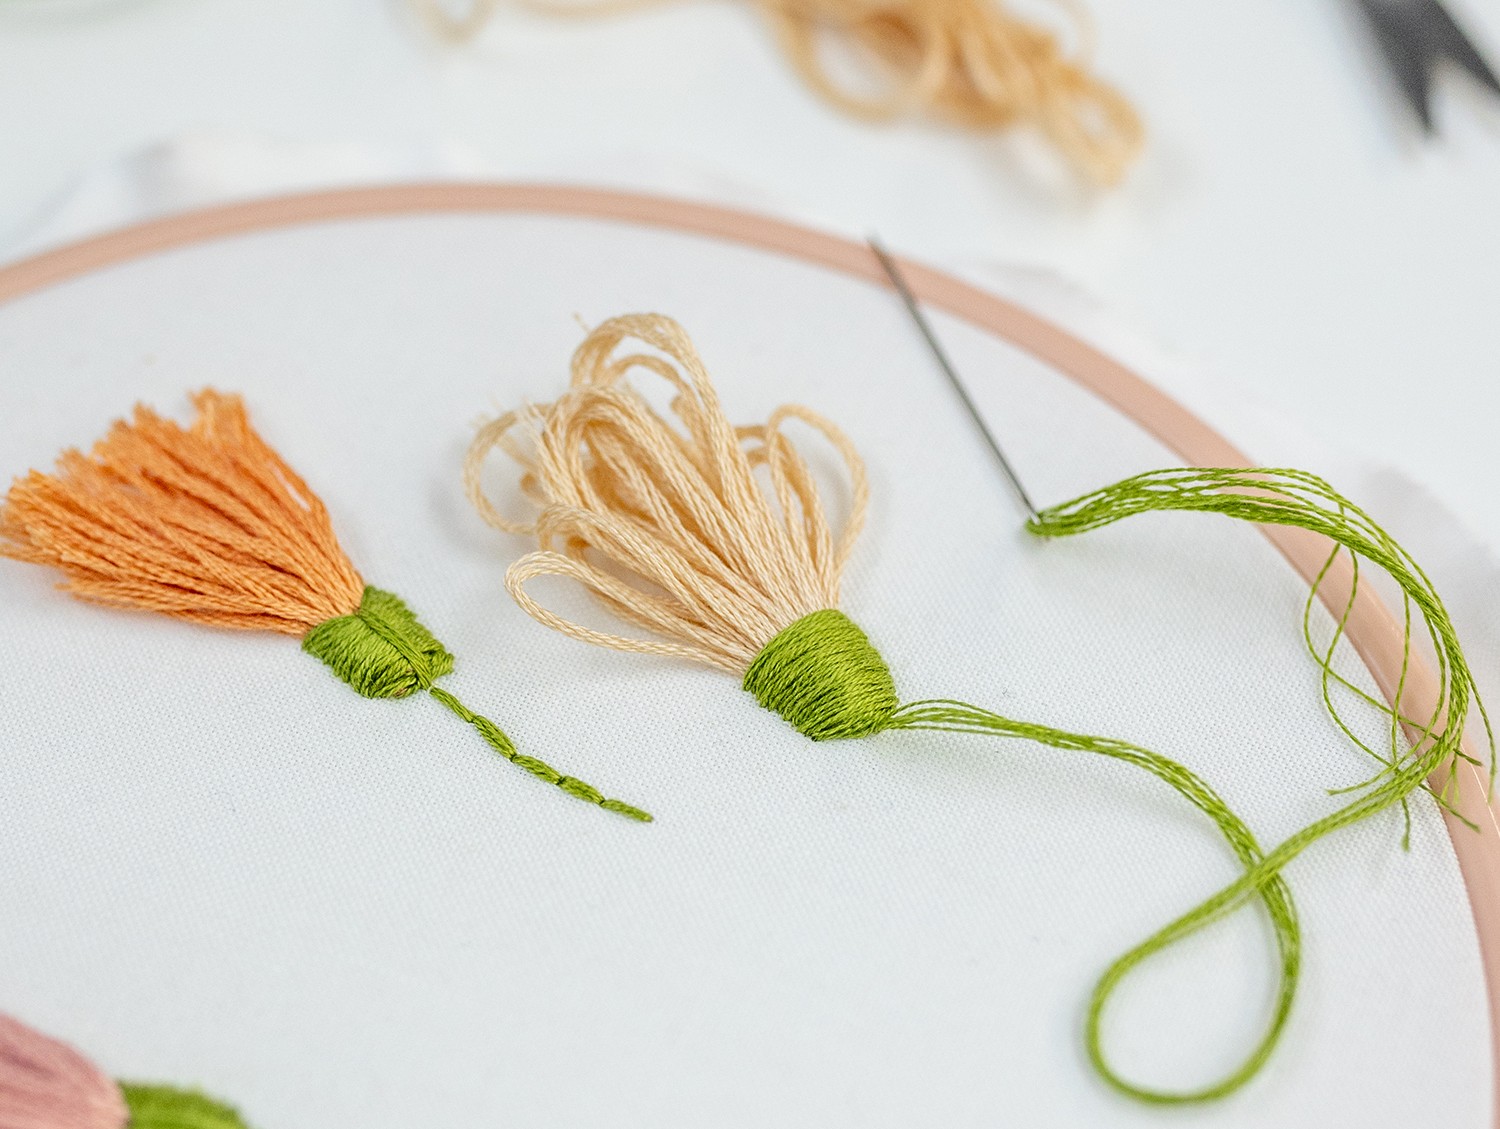
Once that’s all stitched, bring your thread up at the middle bottom point of the flower.
Step 9
This step is optional, but it does create a lovely shape to the base of your flower. So do a single straight stitch up to the middle-top of the satin stitch. But as you poke your needle down, draw it back down towards the bottom a little bit, so it pulls the top of the satin stitch into more of a curved shape.

Step 10
Then bring the thread up again at the base of the flower.
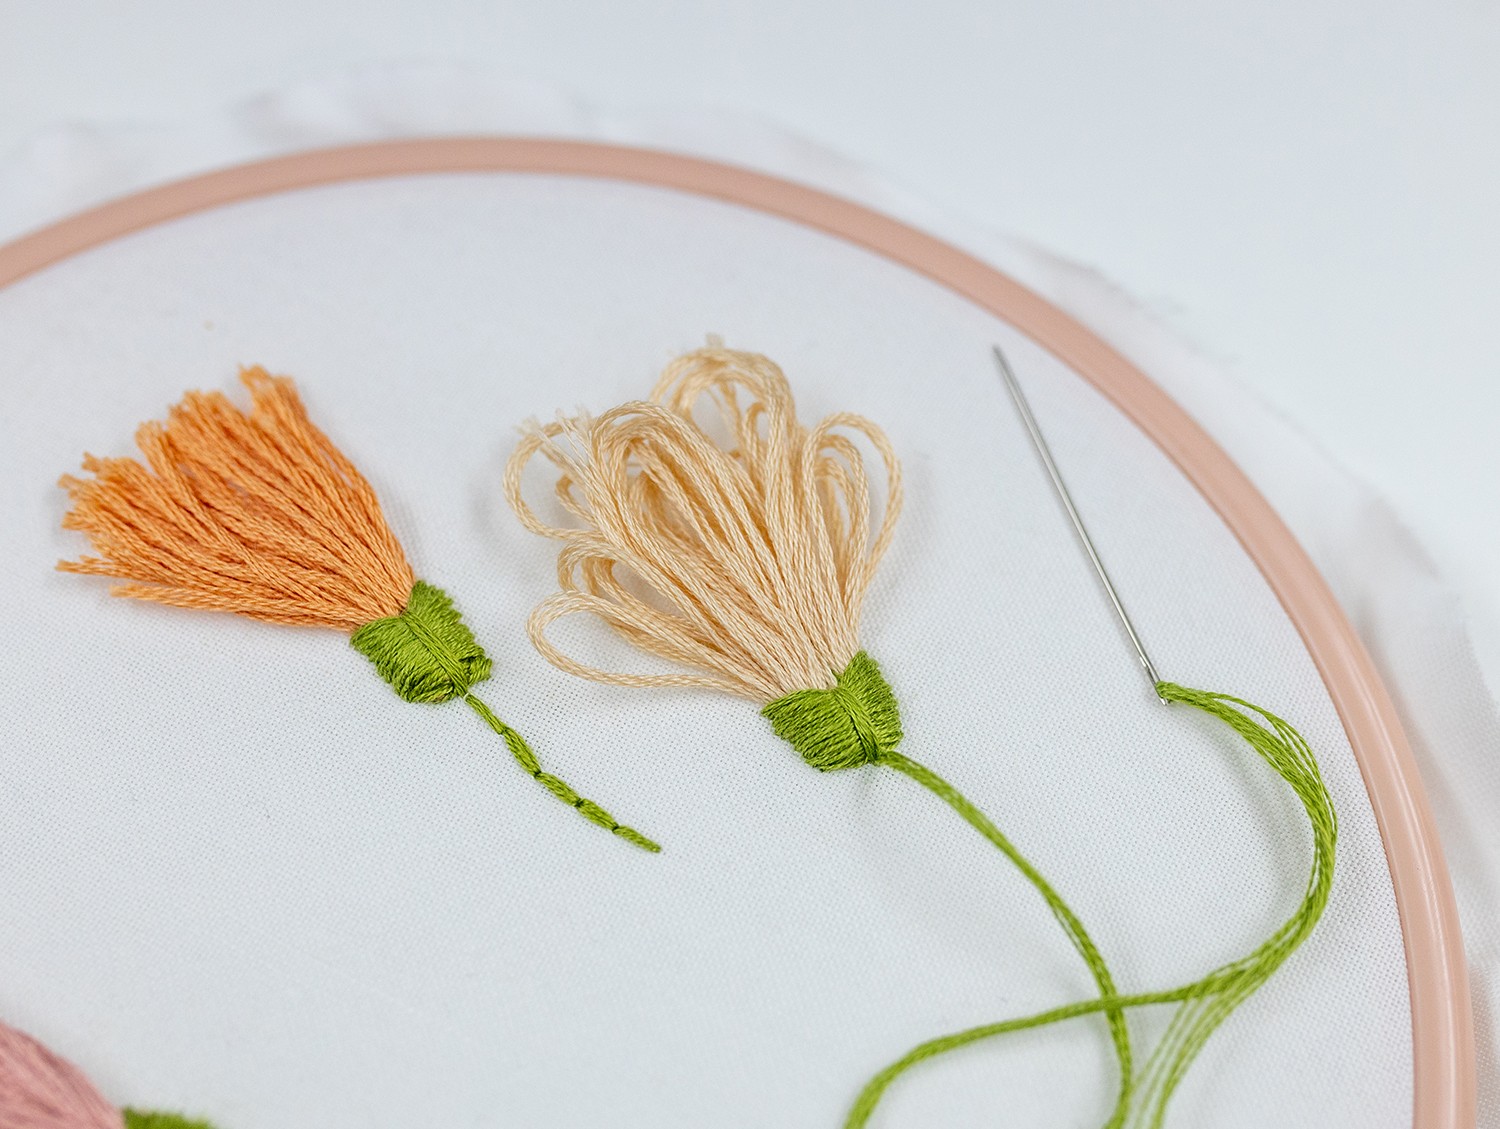
Step 11
You can stitch the stem now, if you have spare thread. Or knot it off and stitch the stem with a fresh piece of thread.
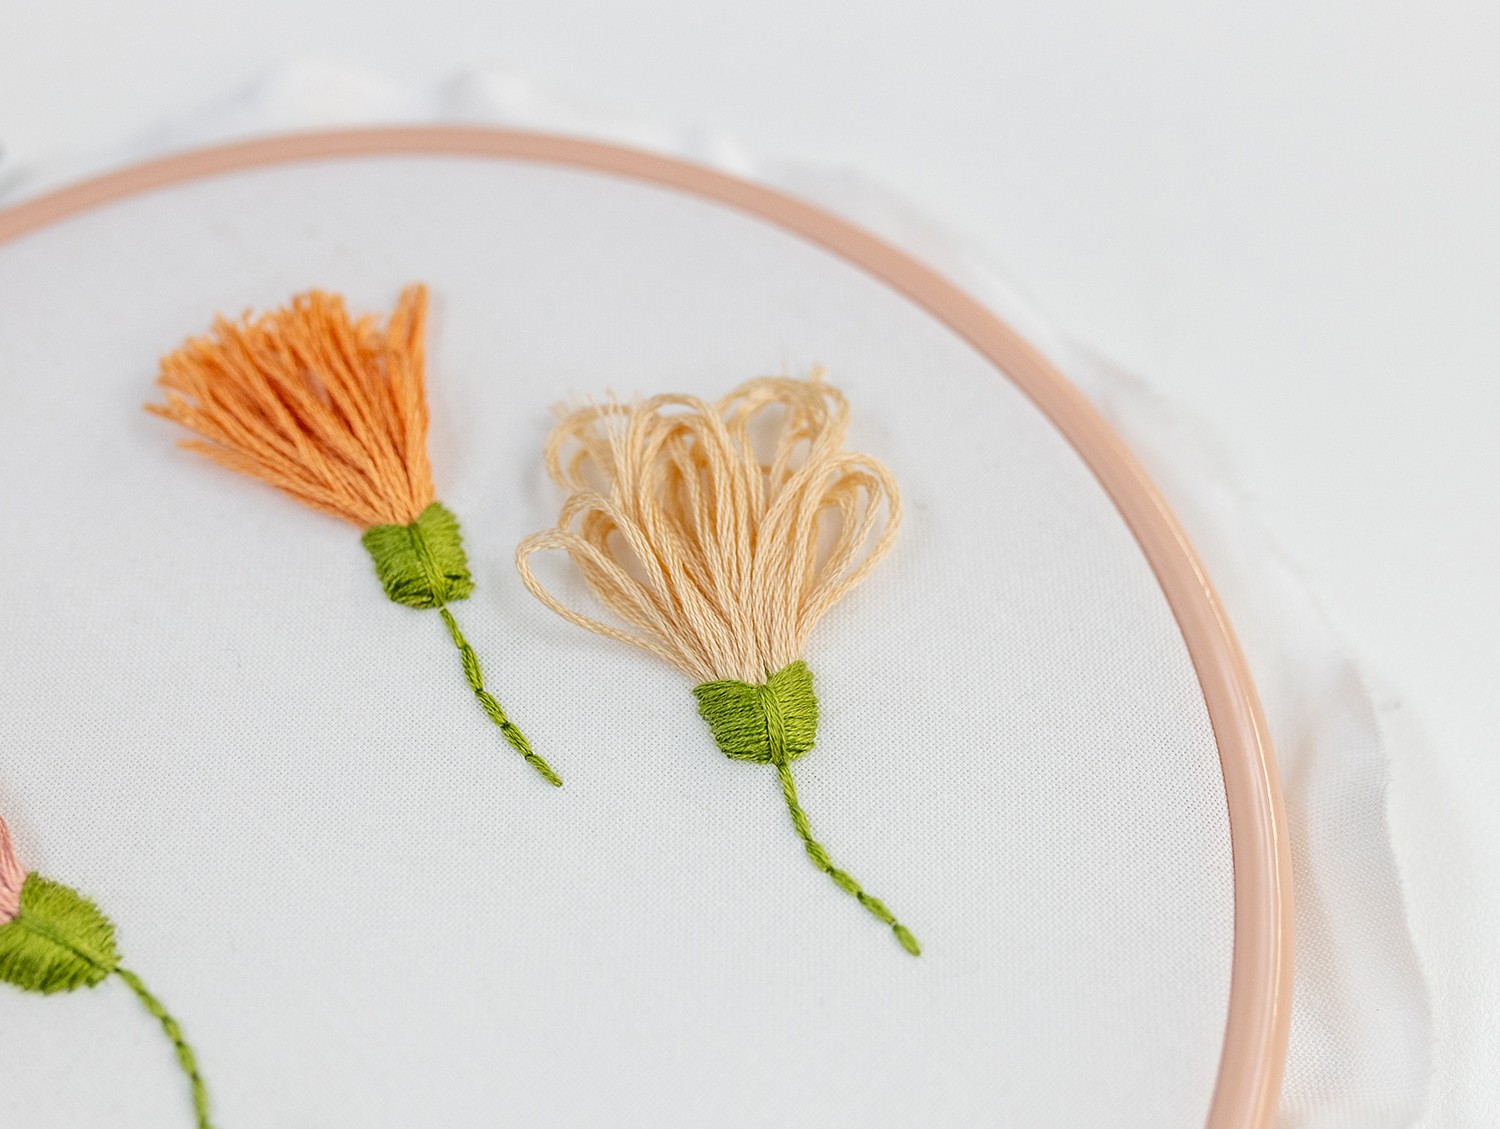
Step 12
Lastly, trim your flower to shape. You can get creative here, cutting it to whatever length you like, and trimming little layers into the petals. Or you can keep the loops for a different look.
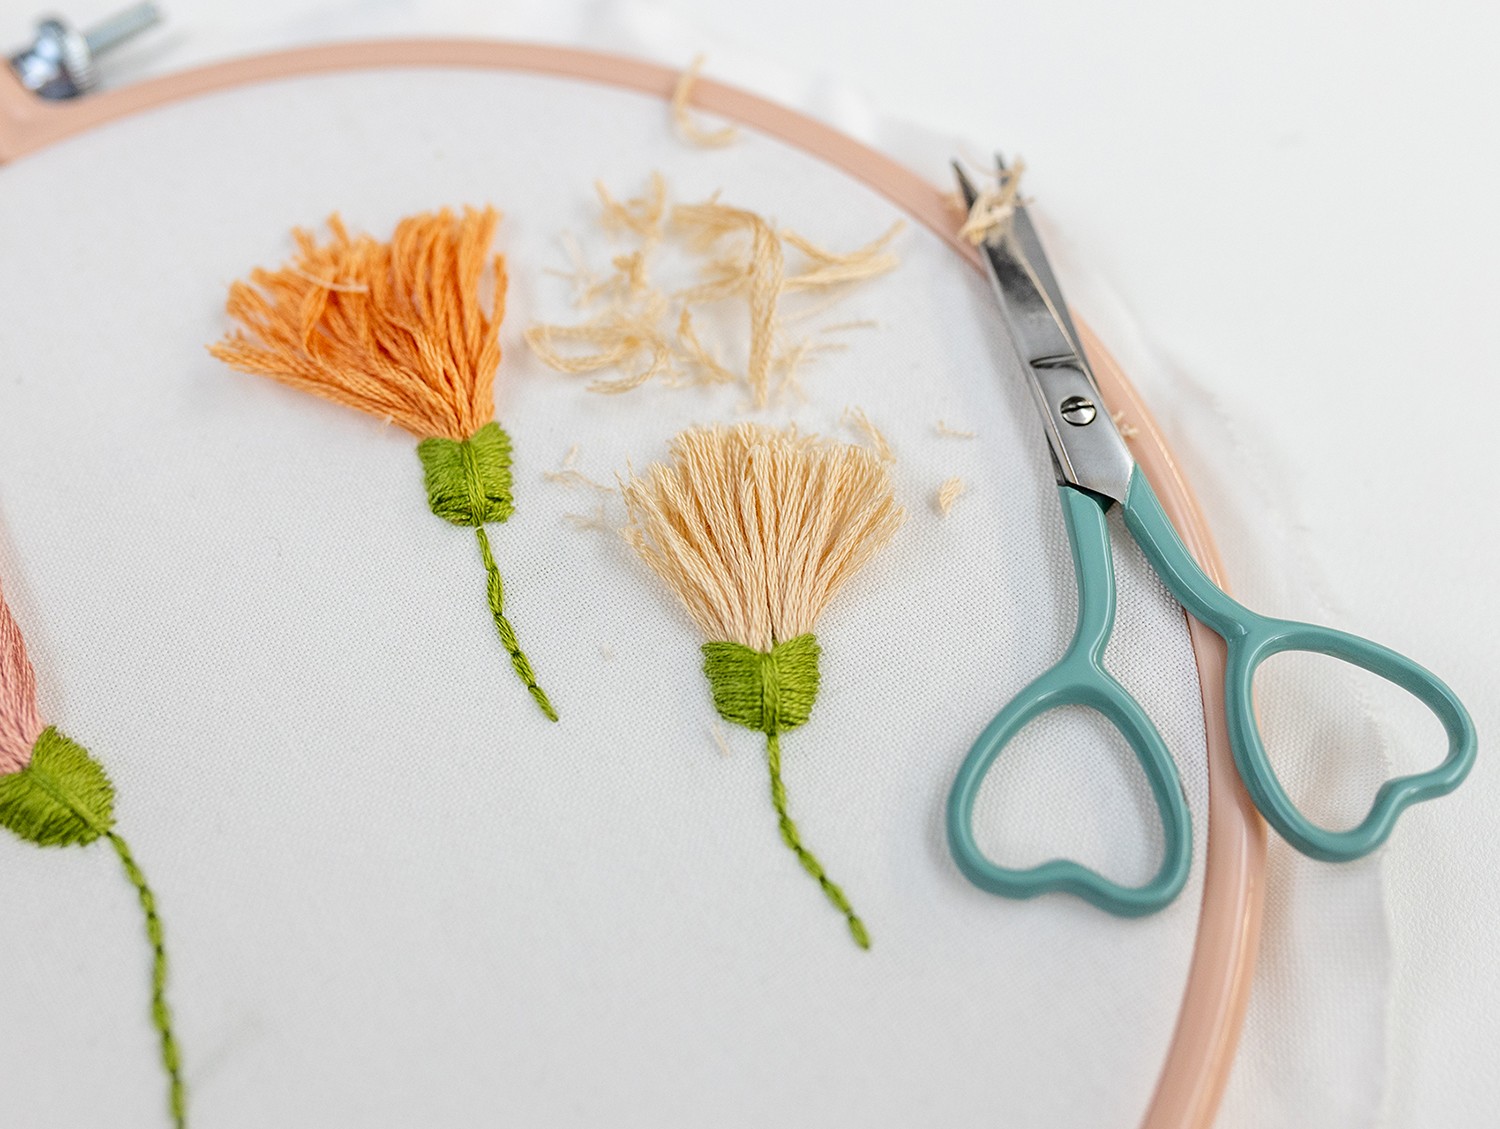
Isn’t that such a fun way to create a beautiful flower? Have fun experimenting with this technique, and creating your own unique blooms.
In this video, I’ve shared the whole process of making a Thread Bundle Flower, which you will hopefully find really helpful.
Examples of Thread Bundle Flowers in my patterns
Let's look at some examples of how you can use this beautiful modern technique stitch in your work!
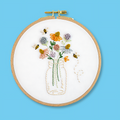
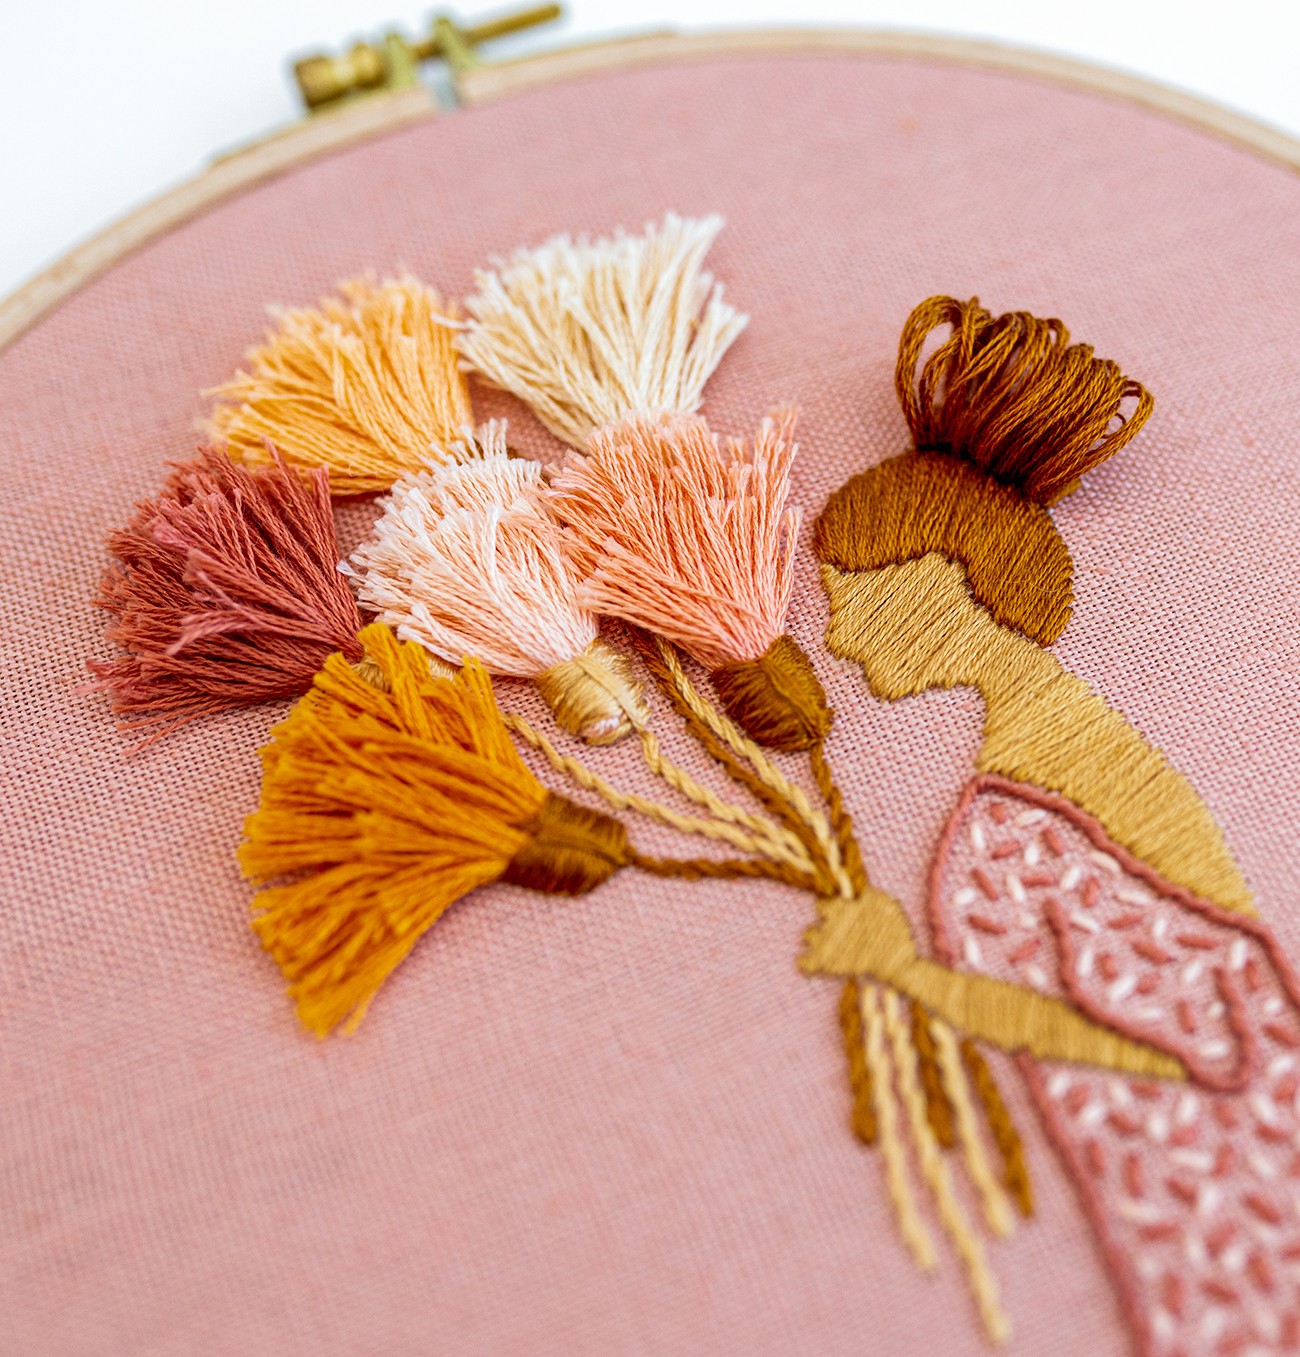
Here's my pattern The Florist. Her entire bouquet is made with this Thread Bundle Technique. Doesn't it look sooooo amazing?!
Conclusion
I hope you enjoy making these thread bundle flowers as much as I do. They are such a fun and gorgeous way to make flowers for your embroidery creations. Have fun!
What's next?
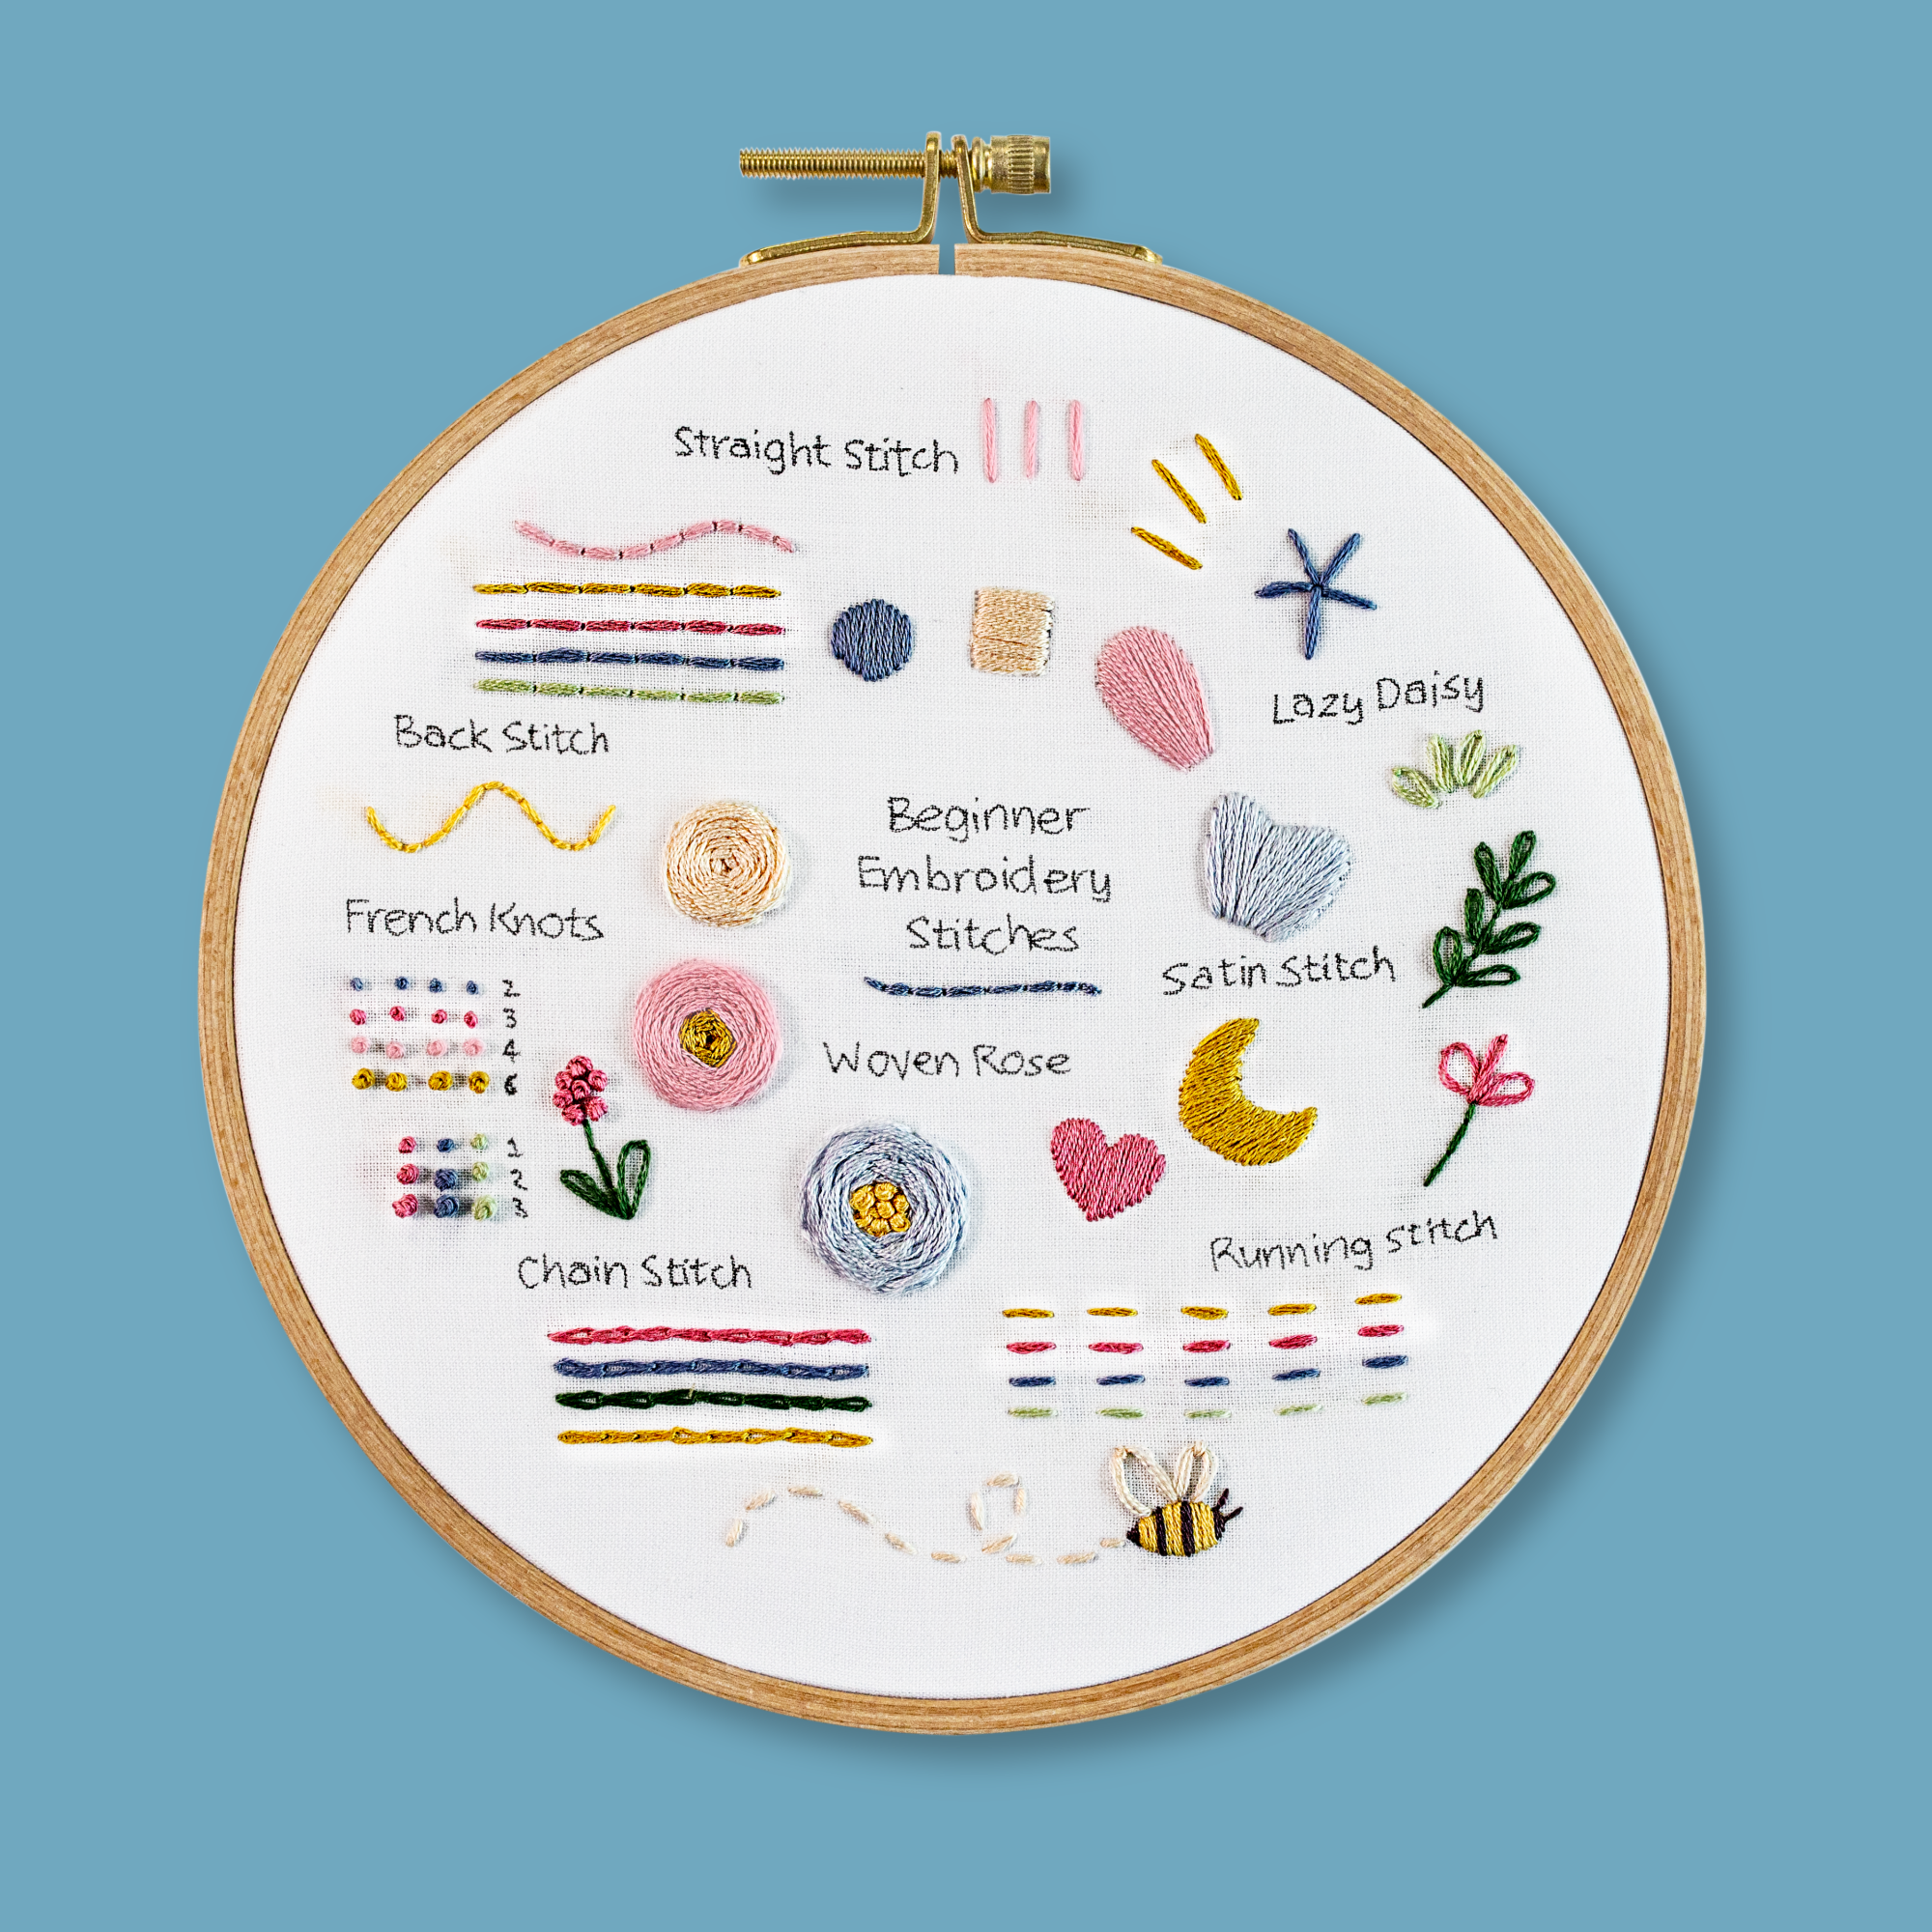
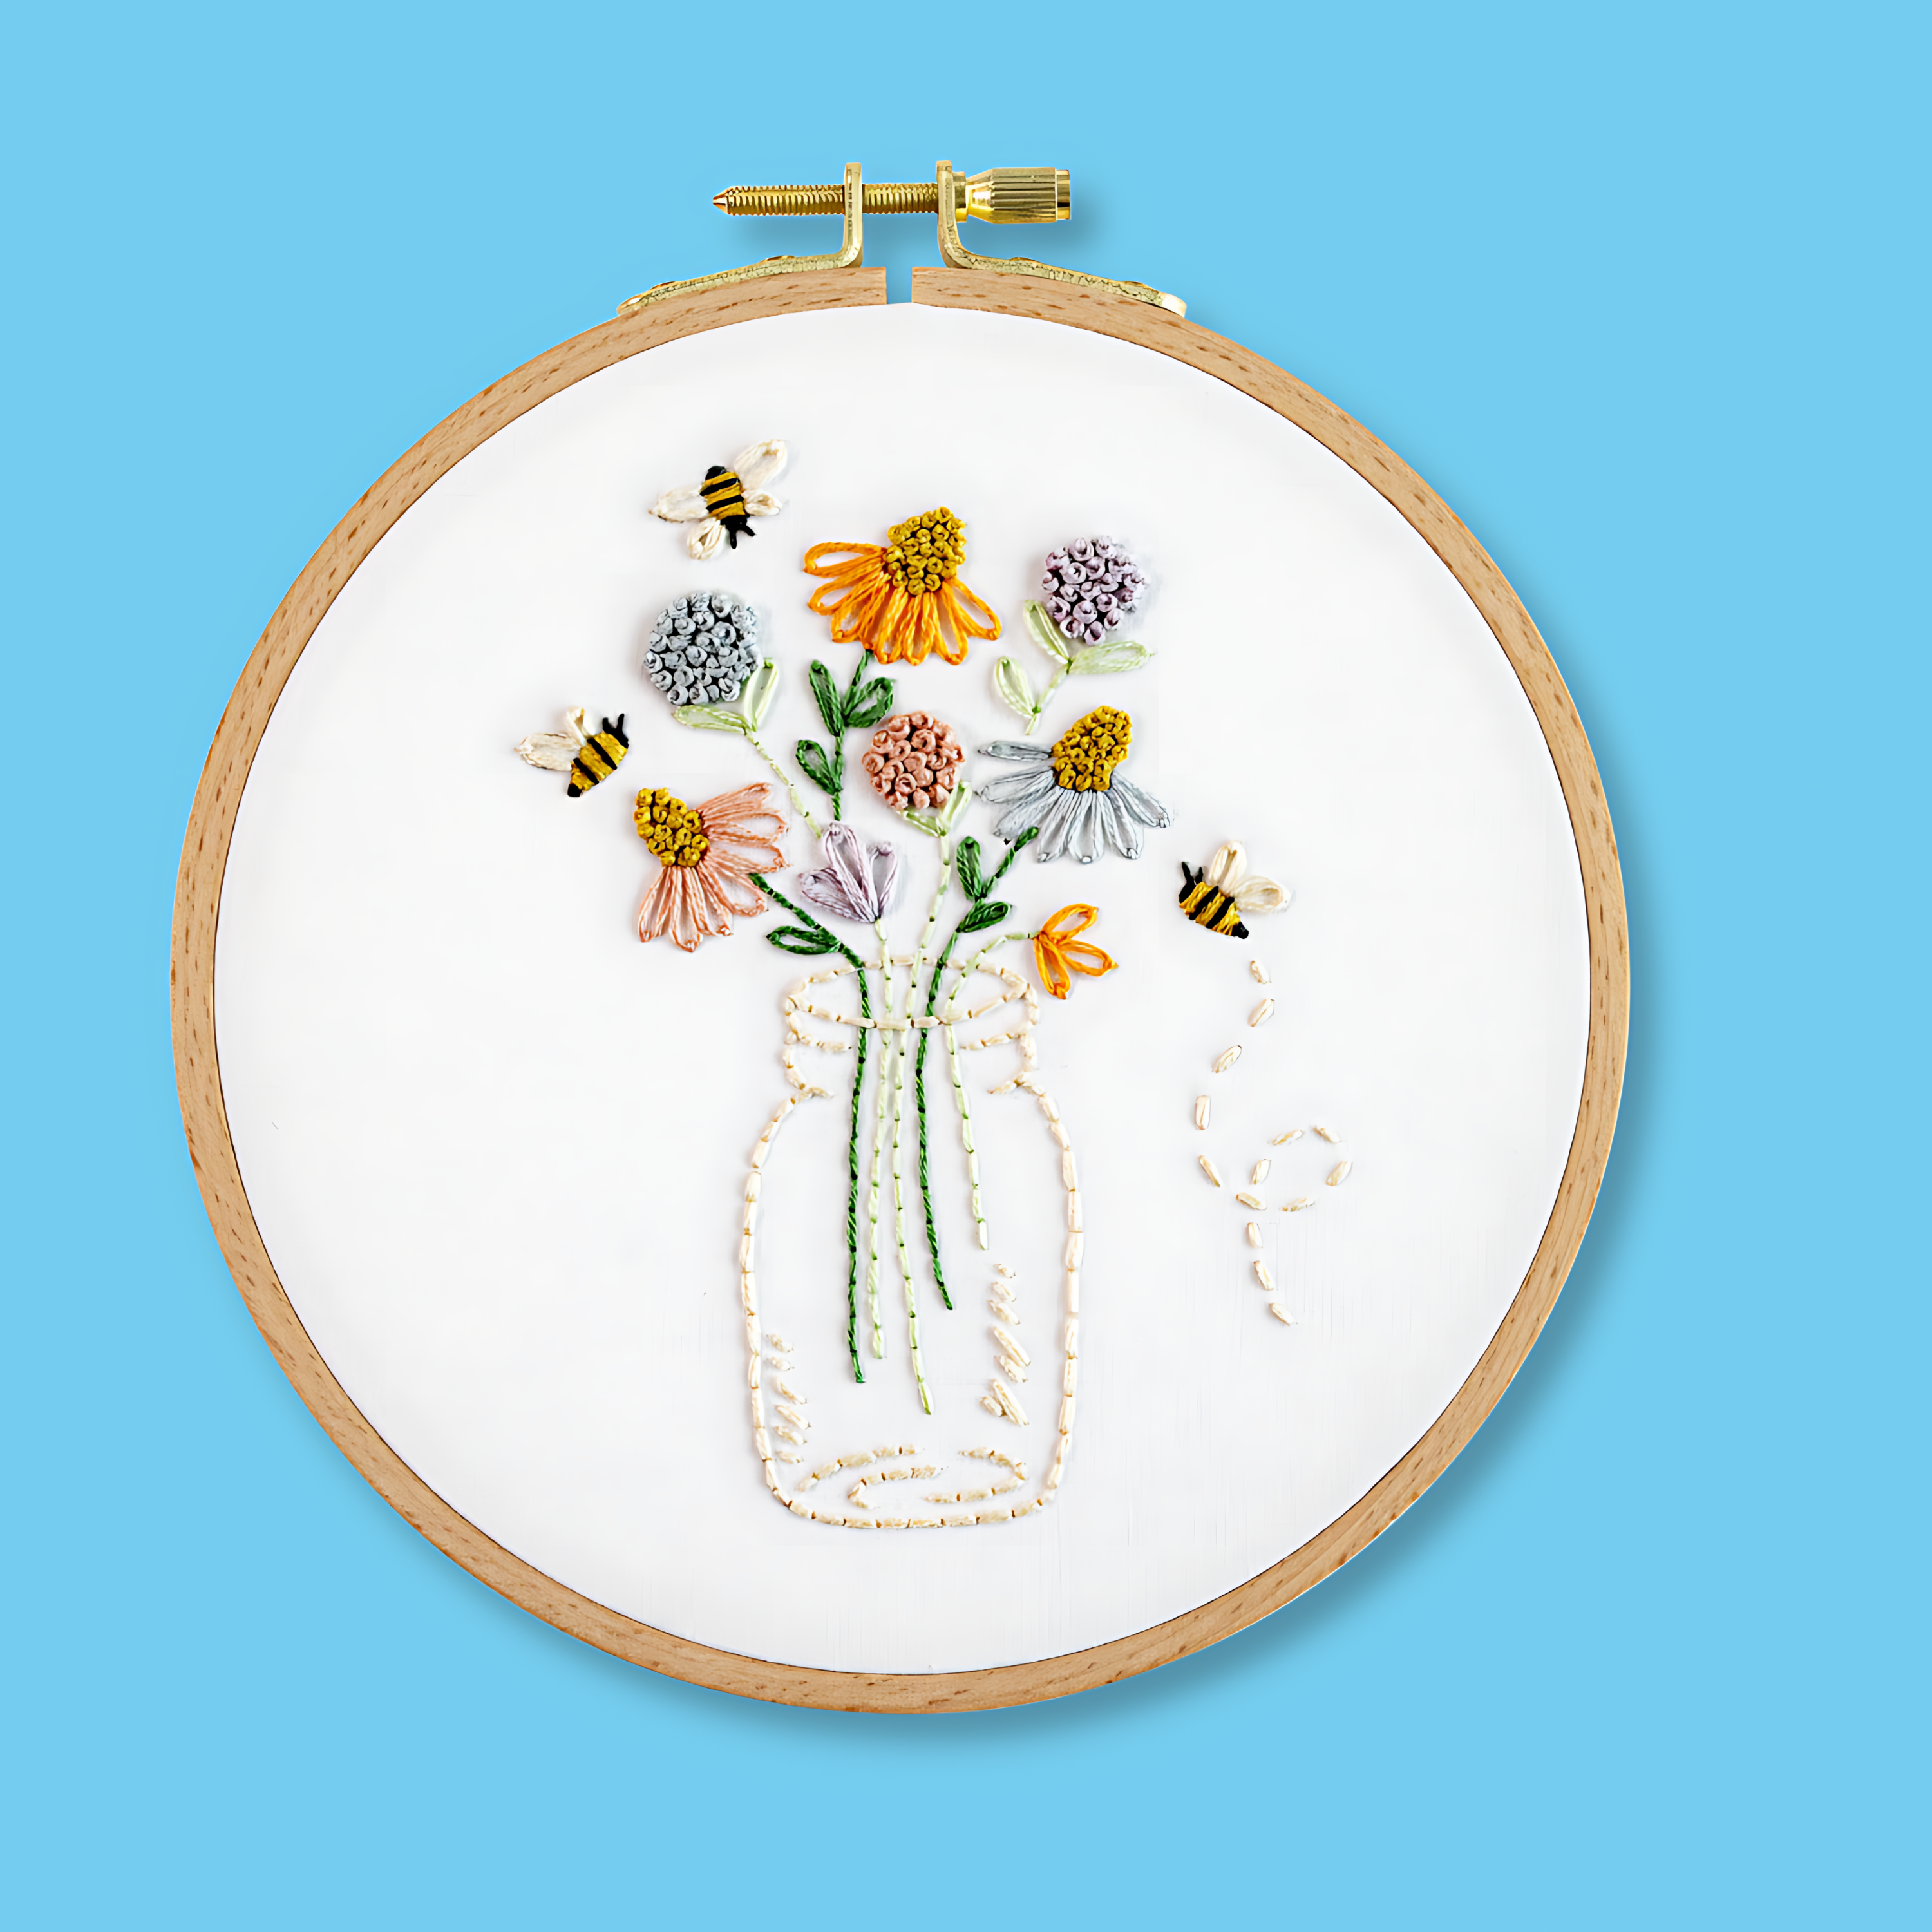
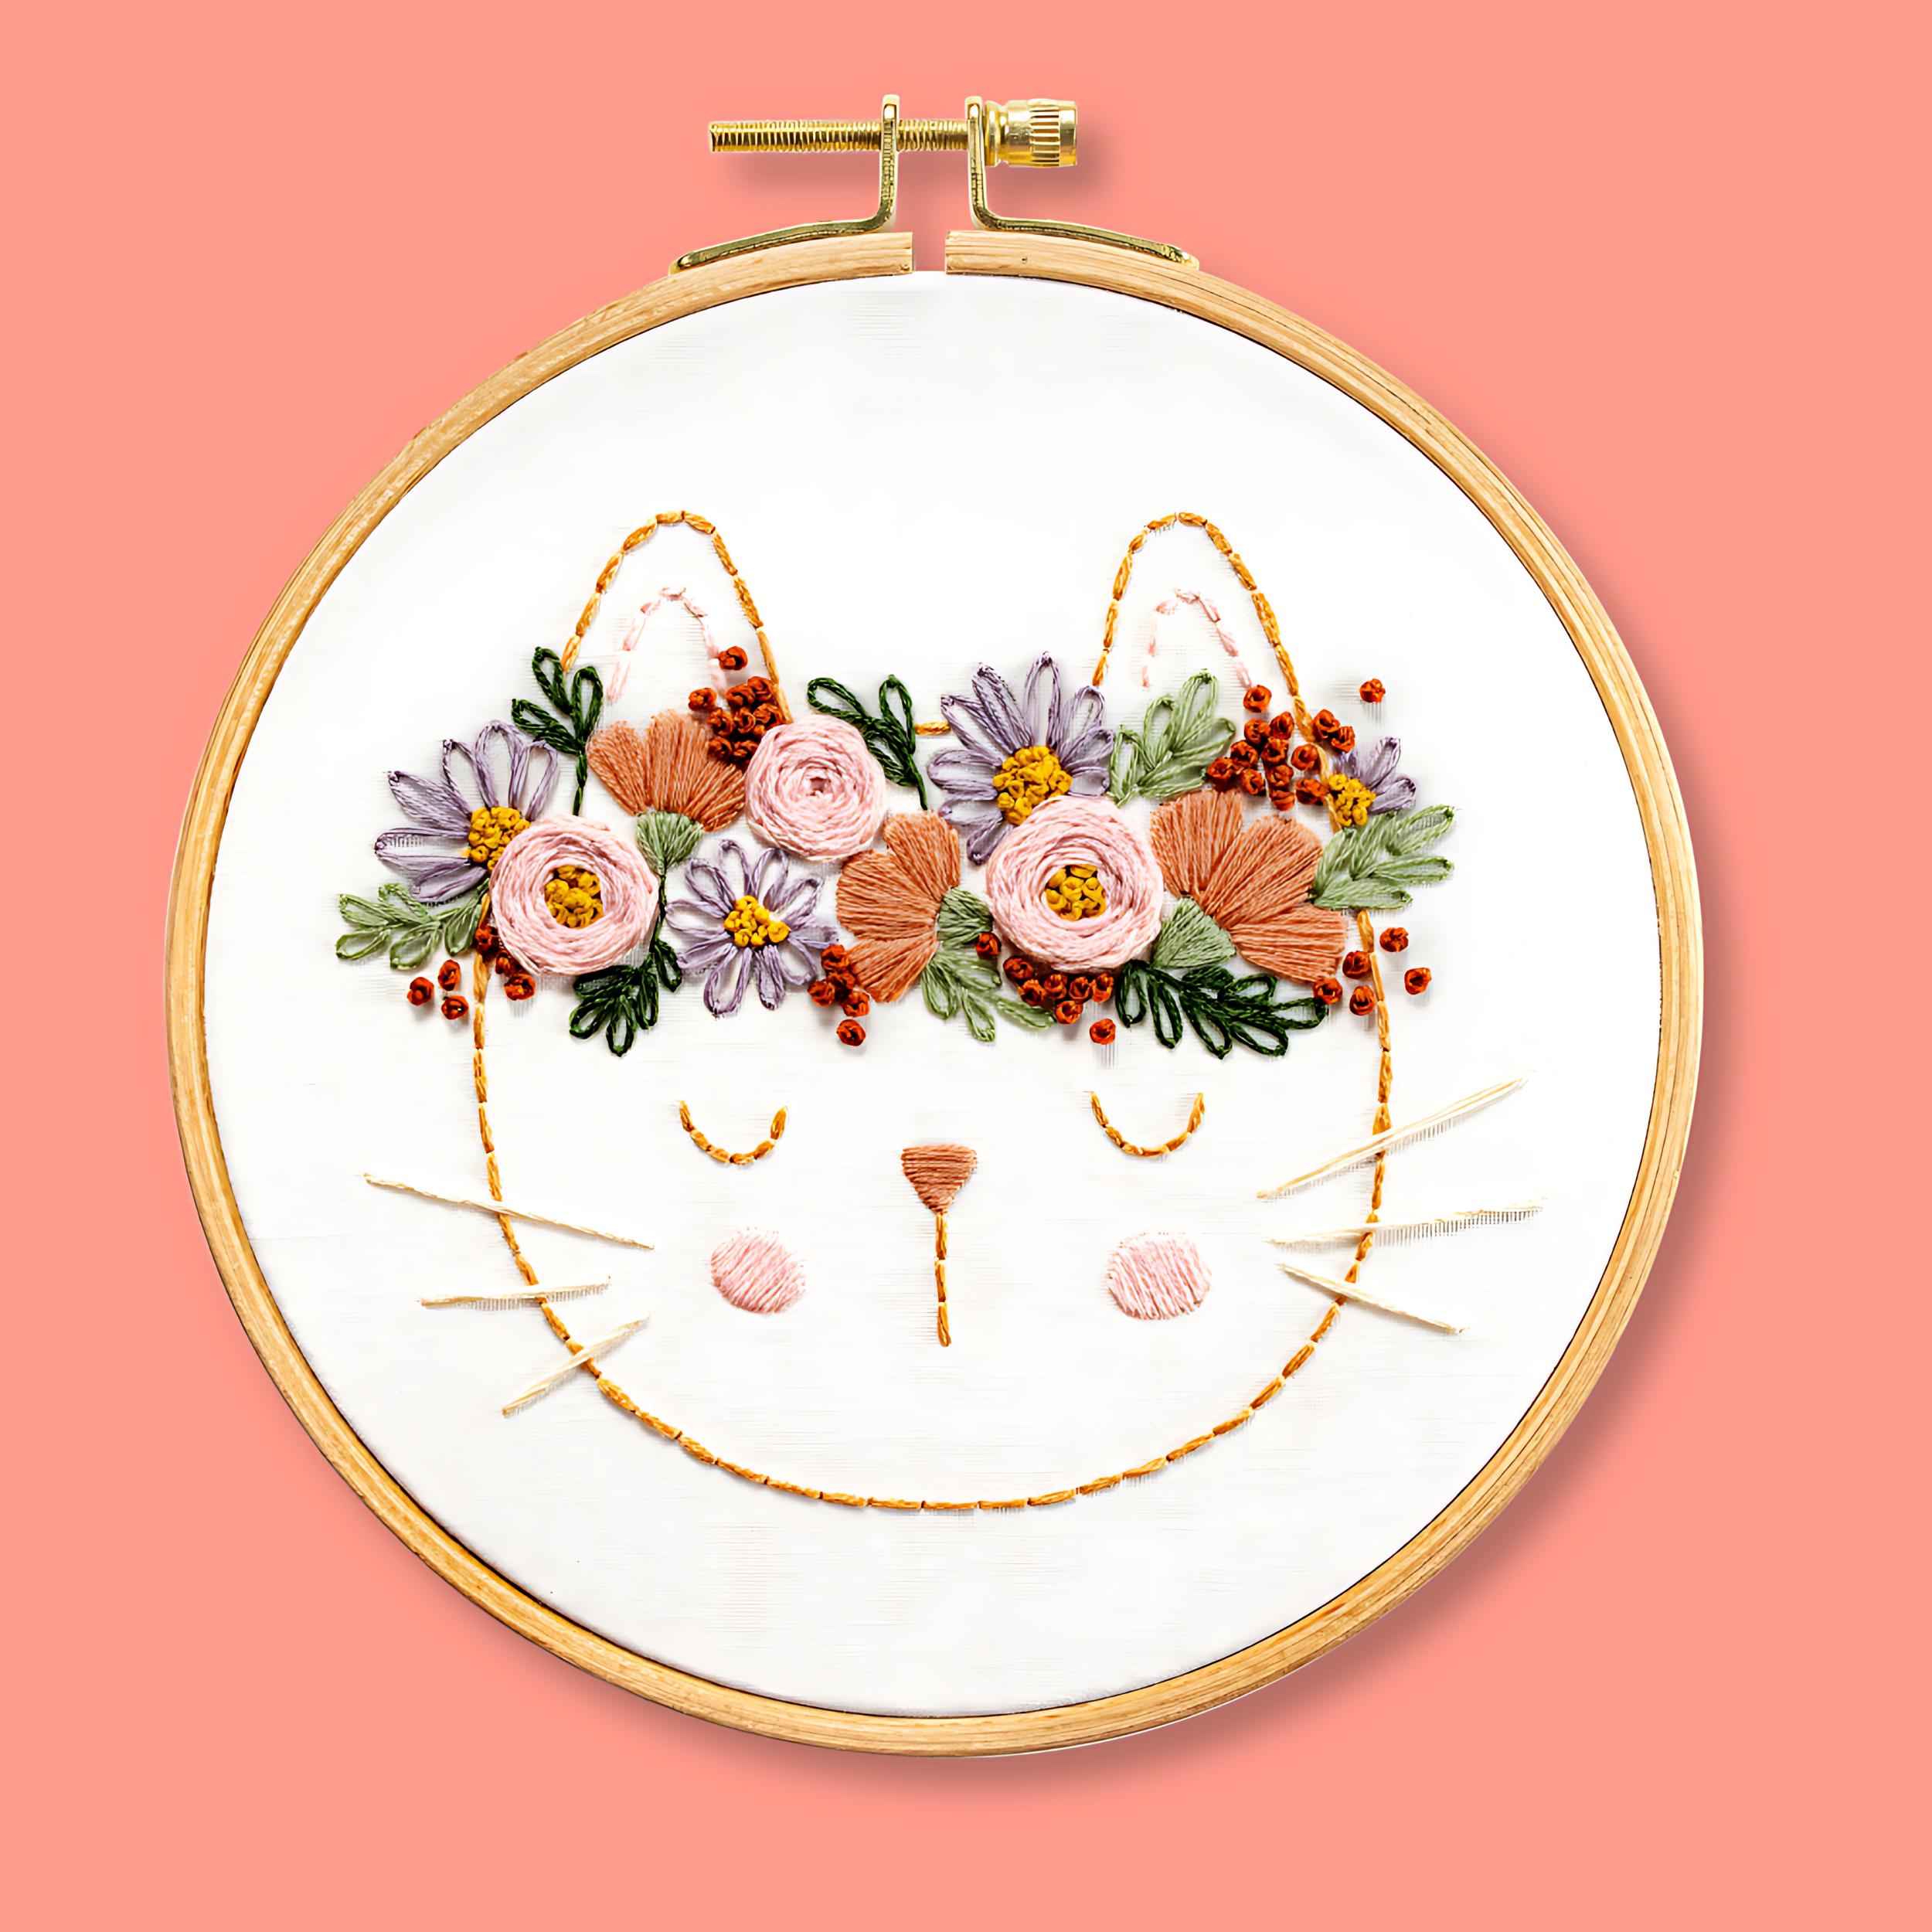
Our beginner embroidery kits are a favourite among new stitchers for their simple, step-by-step instructions and beautiful designs that make learning easy and fun. Whether you’ve been wanting to learn embroidery or are just searching for your next creative hobby. These kits are the perfect introduction to embroidery.
Why people love our beginner kits:
-
Everything you need is included: fabric, thread, hoop, and more!
-
Clear instructions to guide you every step of the way.
-
Gorgeous designs you’ll be proud to display.
Our most popular beginner kits


