
Straight Stitch - Learn This Modern Embroidery Technique
Introduction
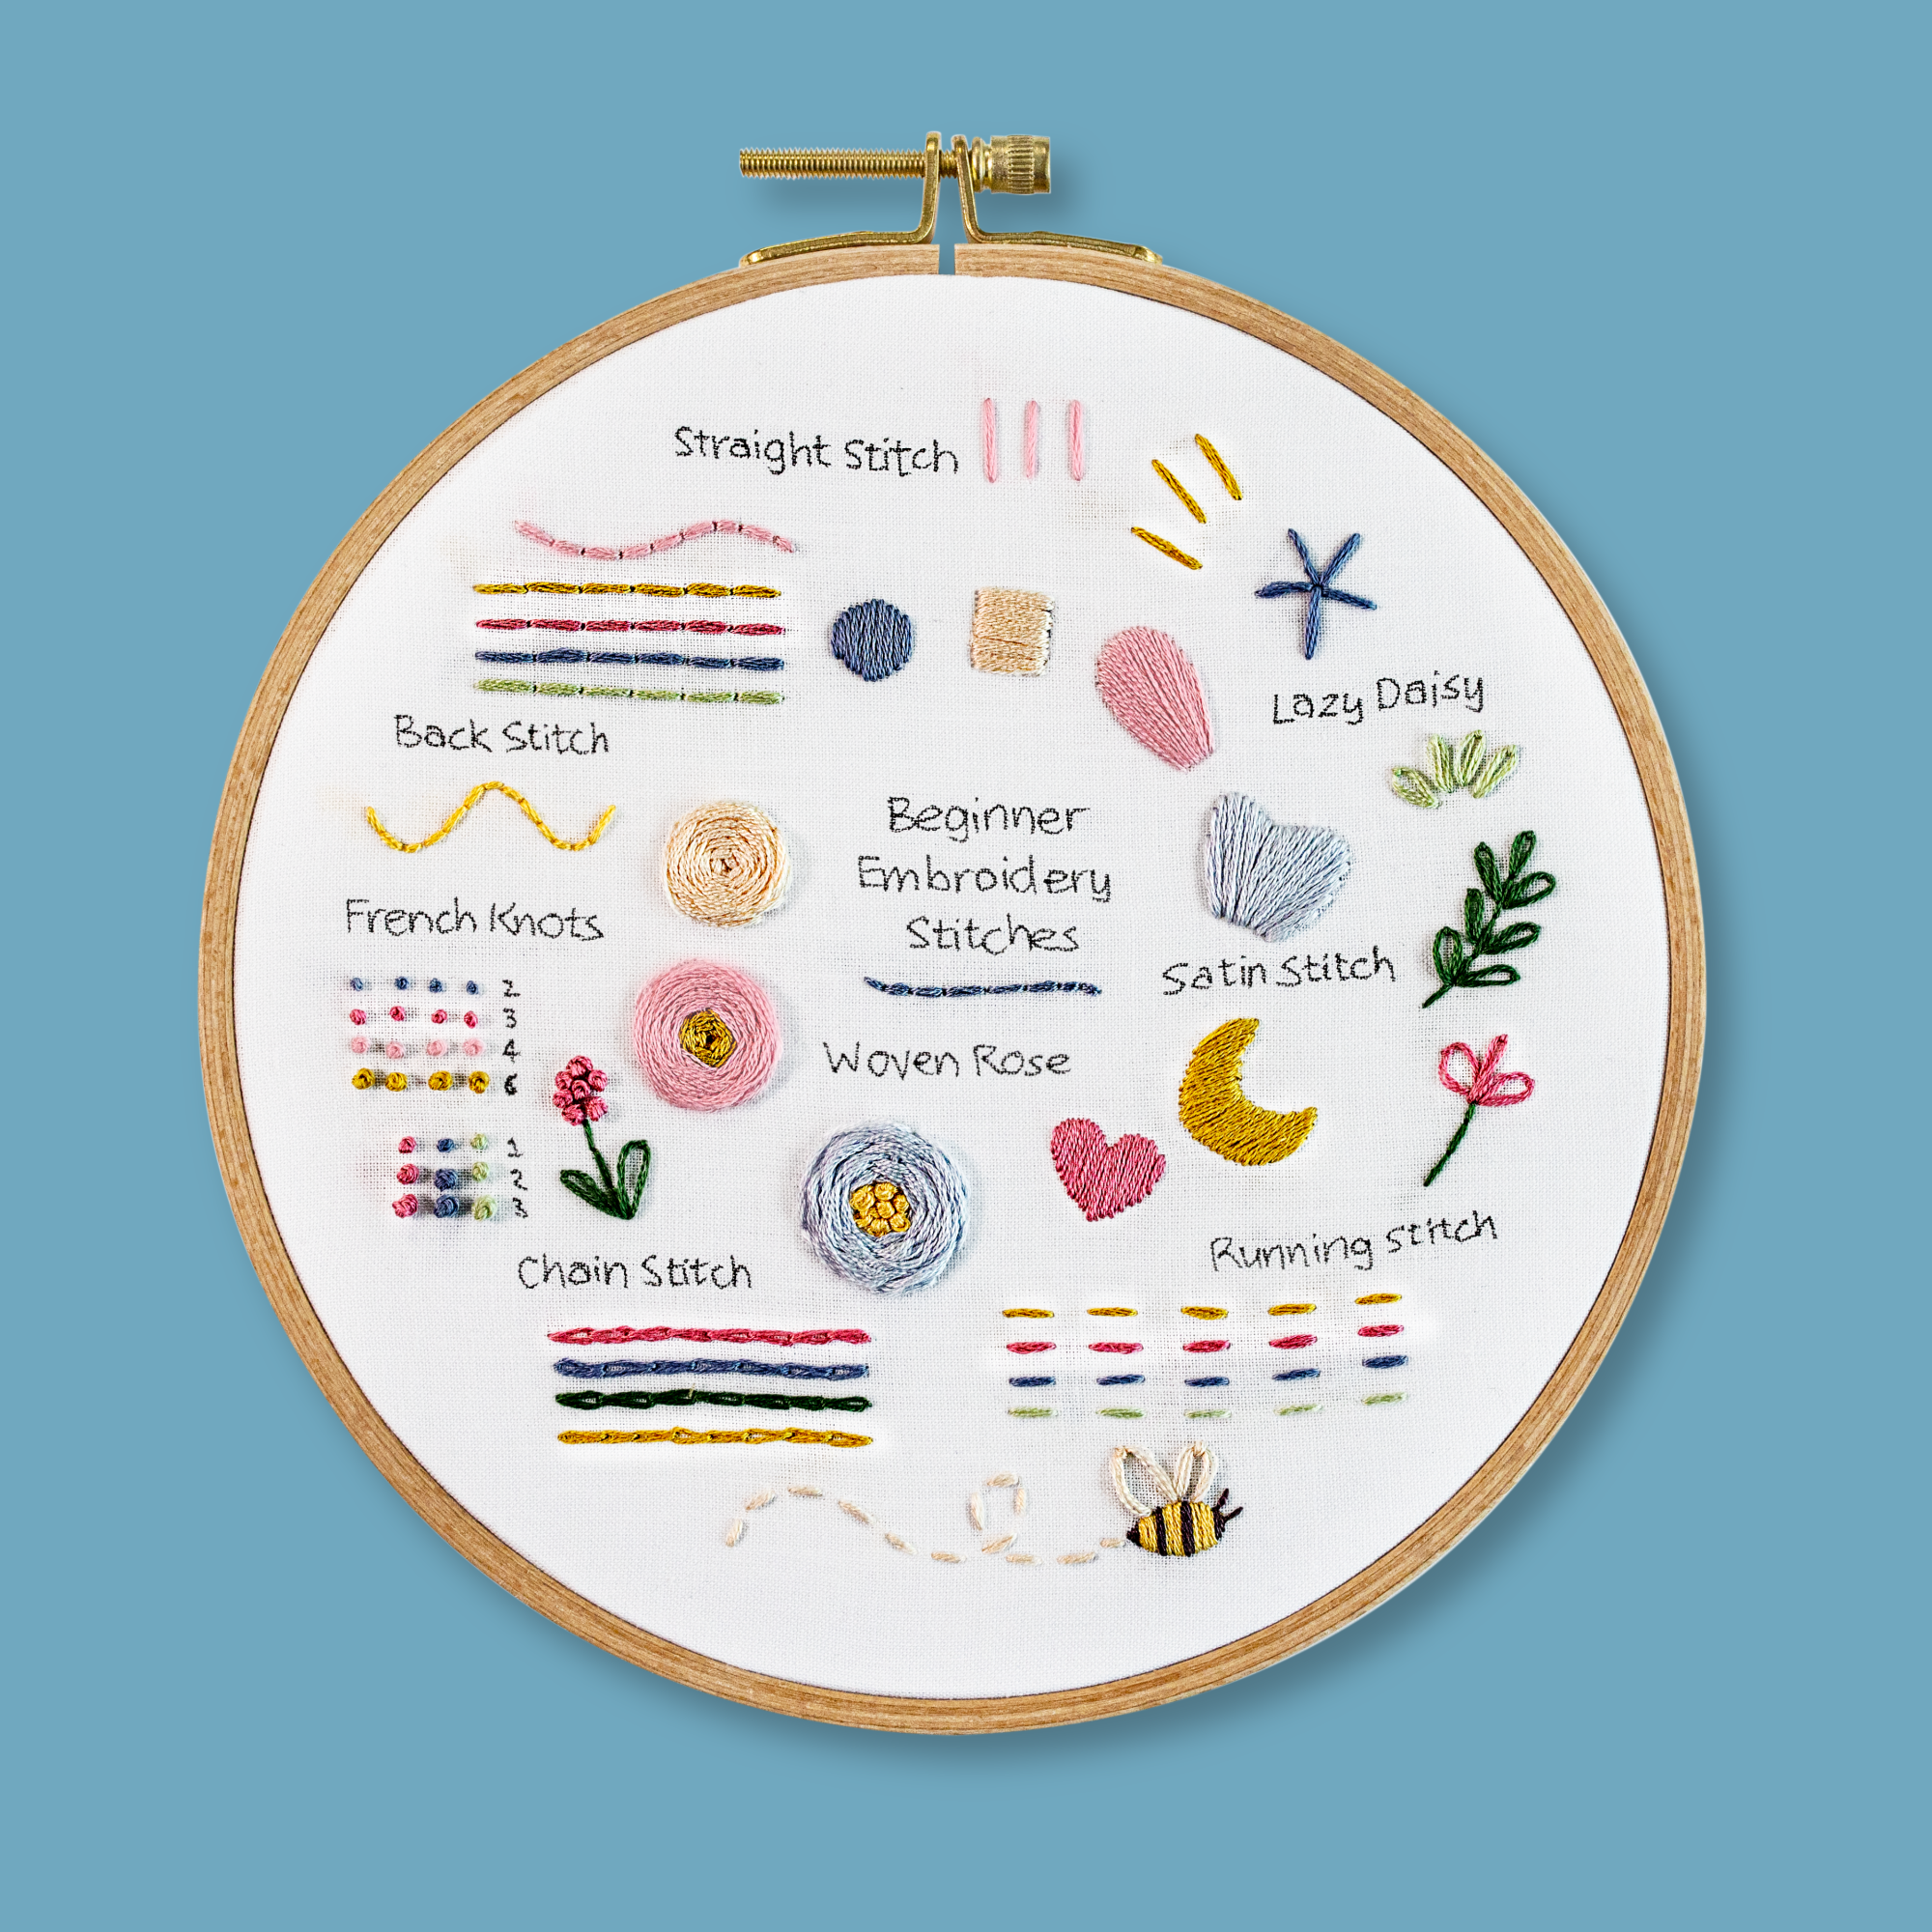
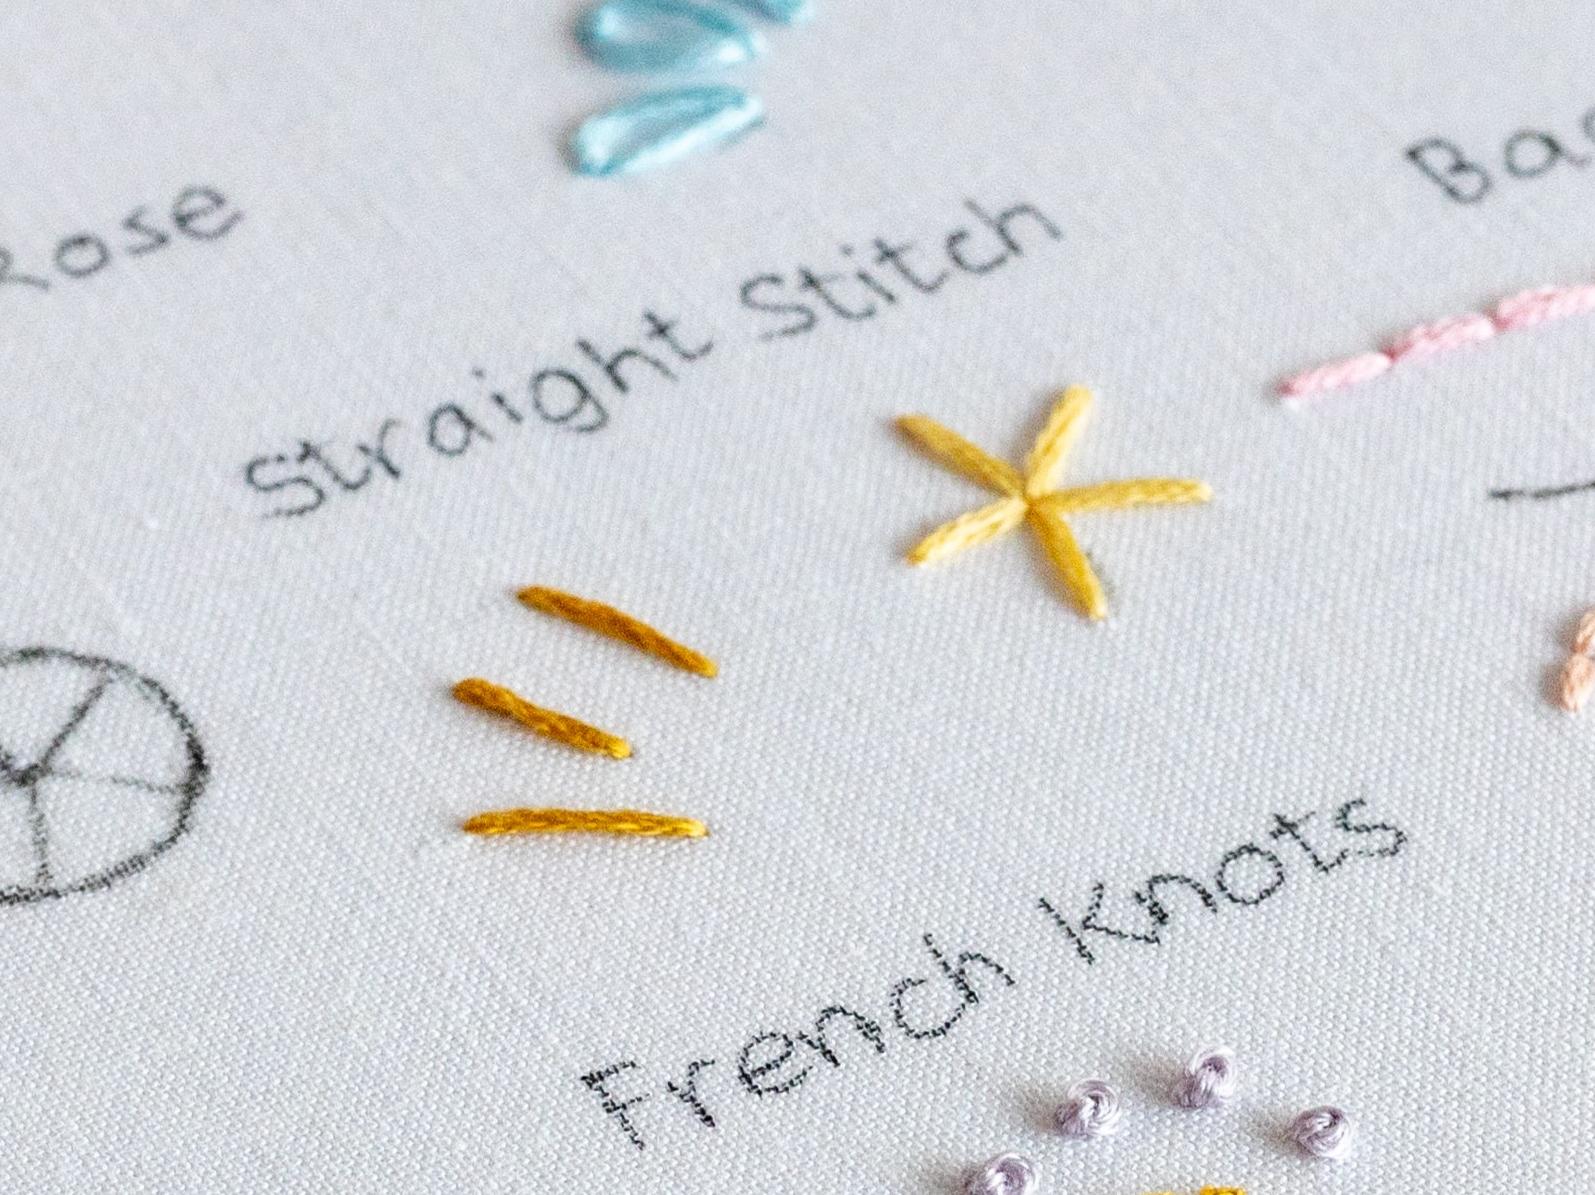
This technique is super simple – it's all about creating a single stitch, either on its own or grouped up to create a design. For example, you could make a simple leaf using just one Straight Stitch.
Or get creative and fan out a group of Straight Stitches from one point to shape a star. I think of it as the basic building block for lots of embroidery techniques– for instance, if you work a bunch of Straight Stitches along a line, you've created a Running Stitch. And if you line them up side by side, you're building up Satin Stitch.
The thing that sets the Straight Stitch apart from the rest, is that each stitch stands alone, not used for drawing lines or filling spaces.
There aren’t any hard and fast rules around this technique, it’s really flexible.
You can adjust the length of your Straight Stitches however you like. Just a heads up: if you make them super long (like over an inch), they might get a bit wavy or snag on stuff.
Let’s try it out:
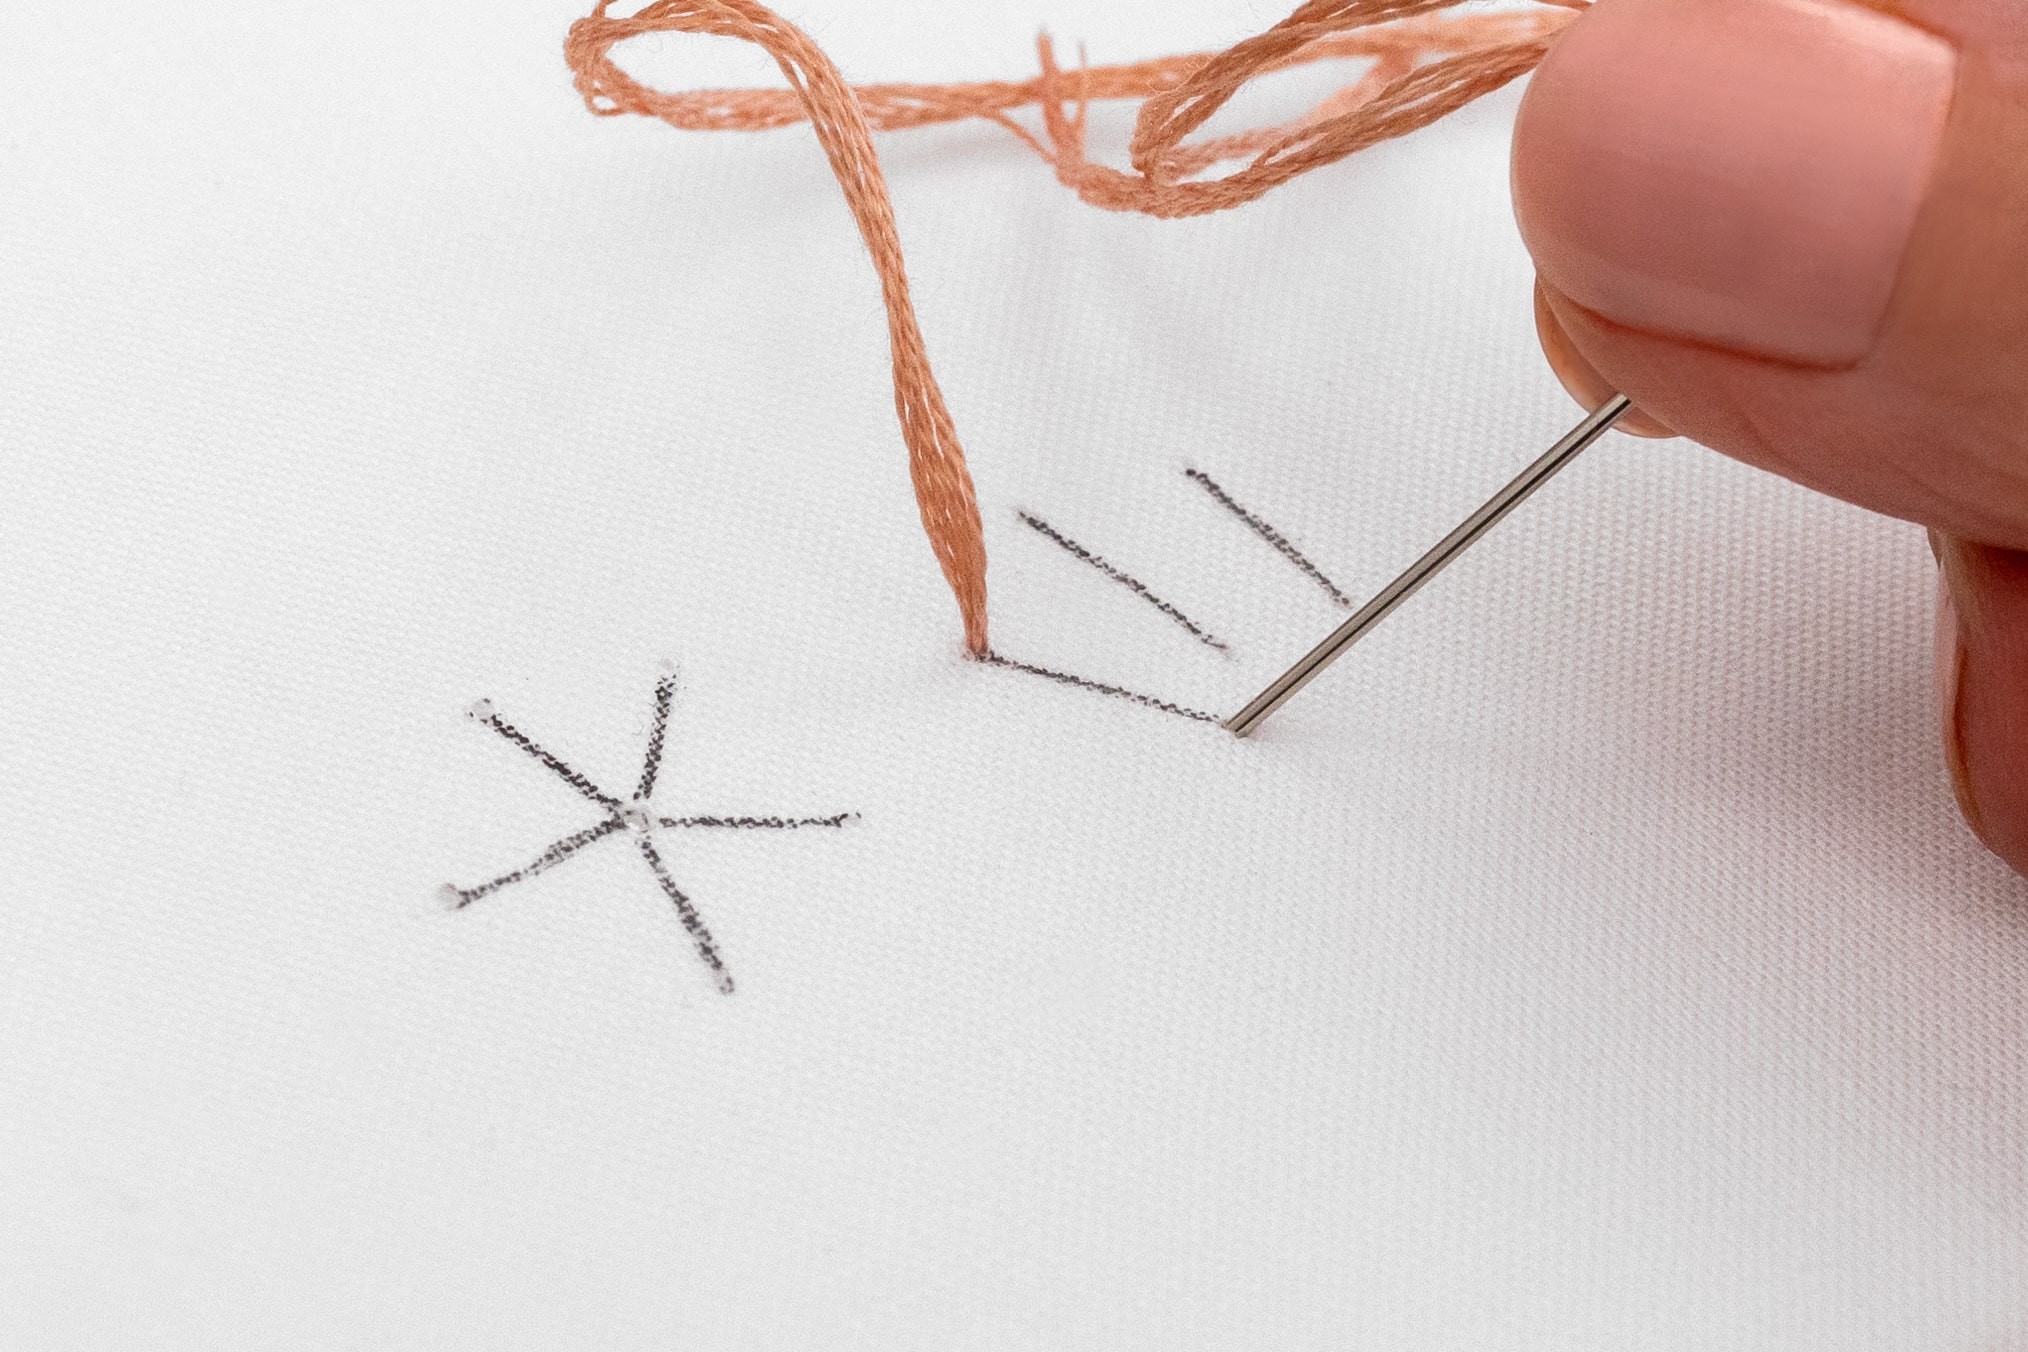
Step 1
Start by bringing your needle up from the back of the fabric to the front, right where you want your first stitch to begin. Gently pull the working thread through to the front, so that your knot secures the thread at the back.
Step 2
Next, poke your needle back down through the fabric at the end point of the first stitch.
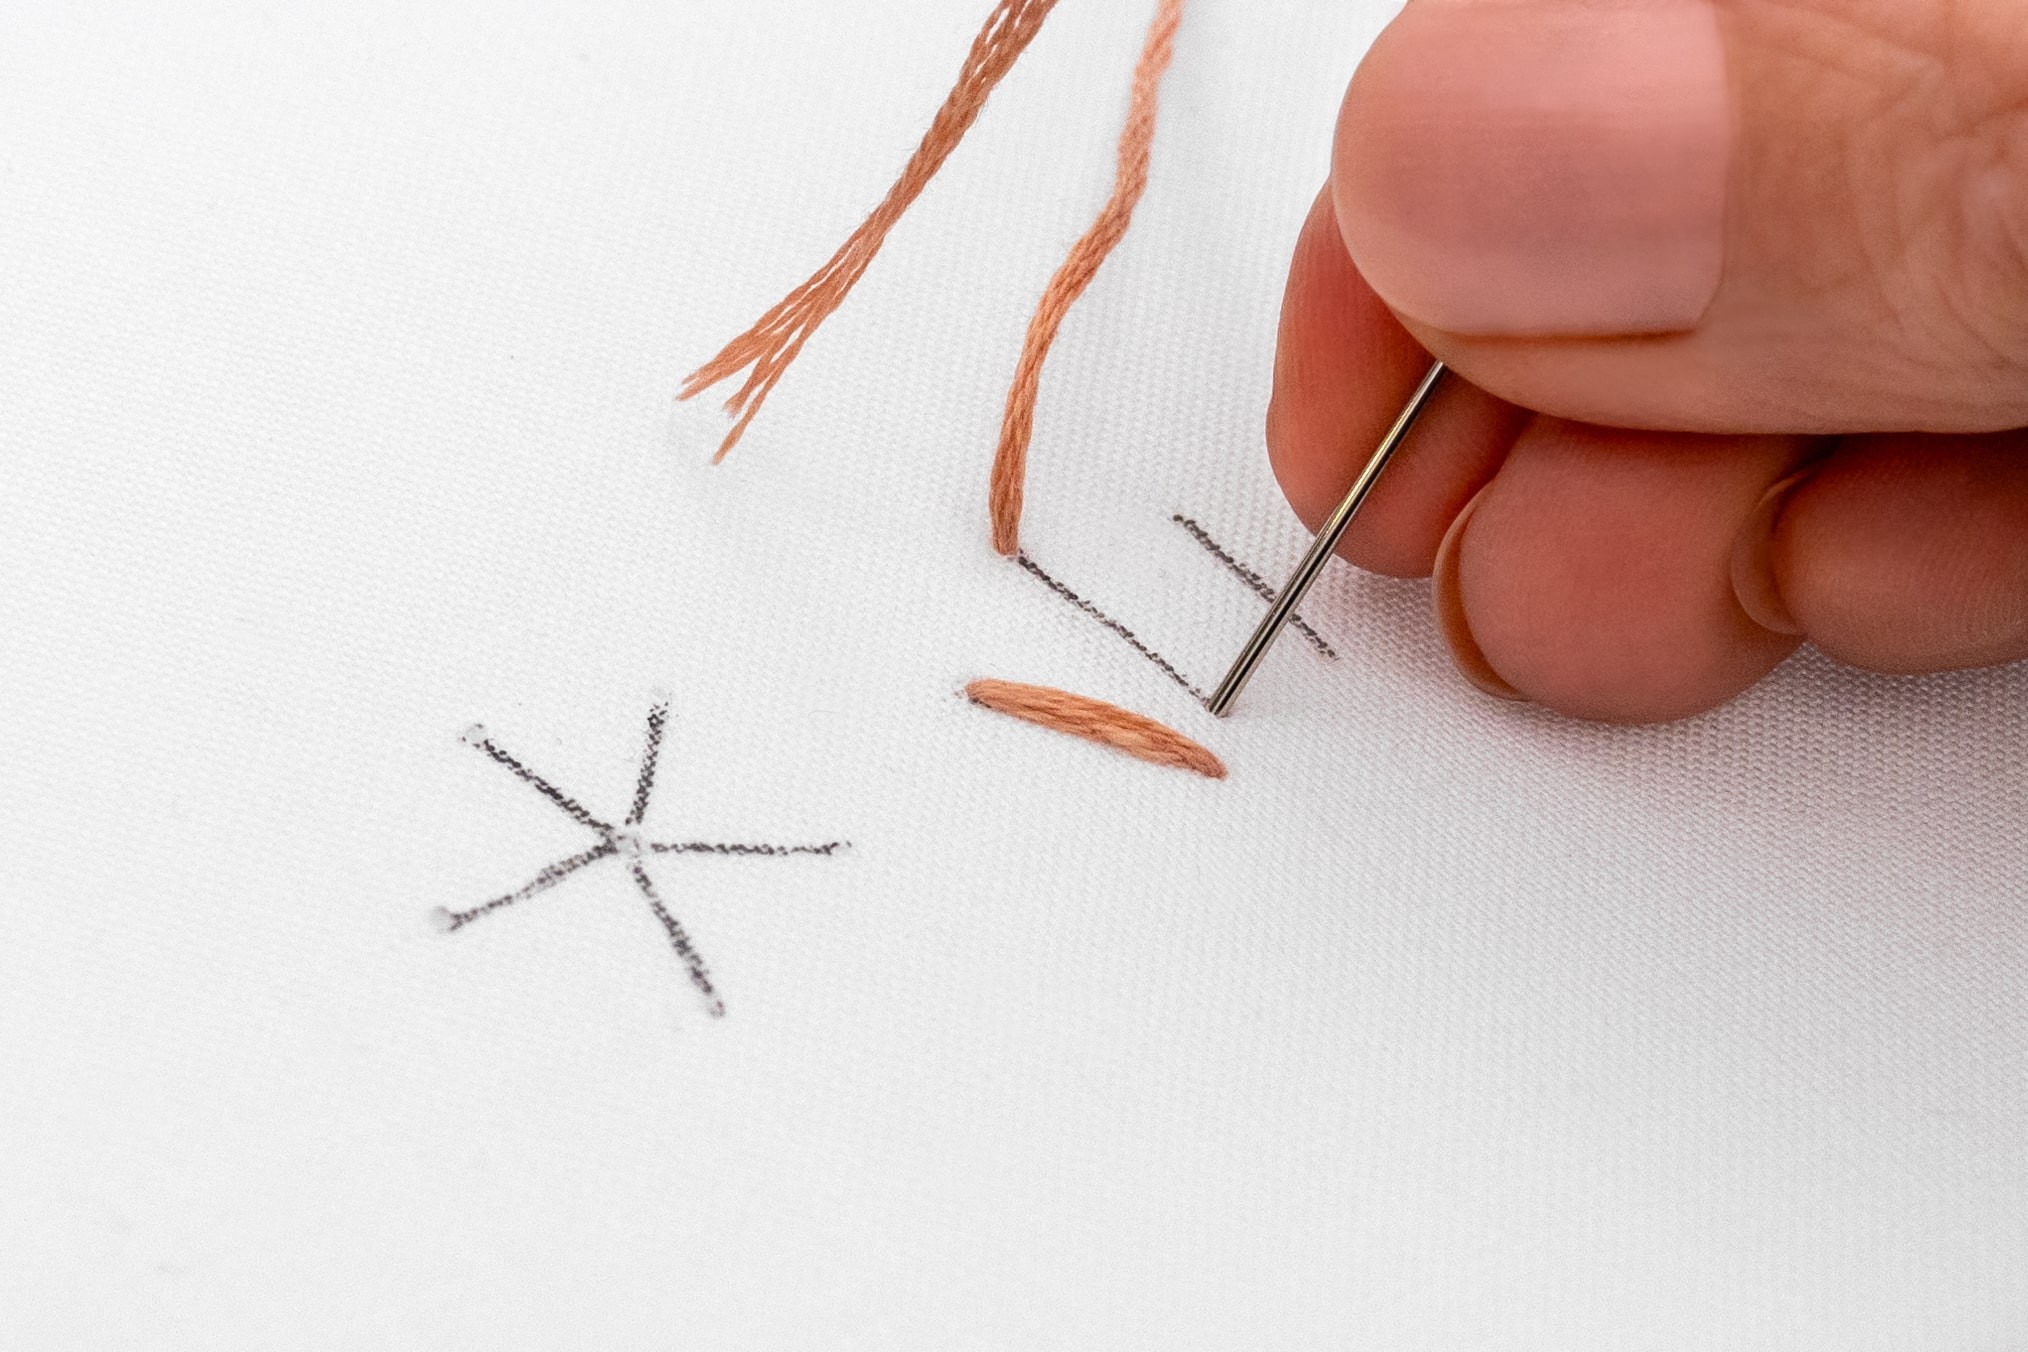
Step 3
Gently pull the working thread through to the back (no need to pull it super tight). See how you’ve made a single stitch that lays flat against the fabric? That’s your first Straight Stitch, easy peasy!

Step 4
Bring your needle up at the start of the nearest stitch, and back down again at the end of that stitch. Now you’ve created a second Straight Stitch, well done!
Step 5
Keep following this process to work all of your Straight Stitches.
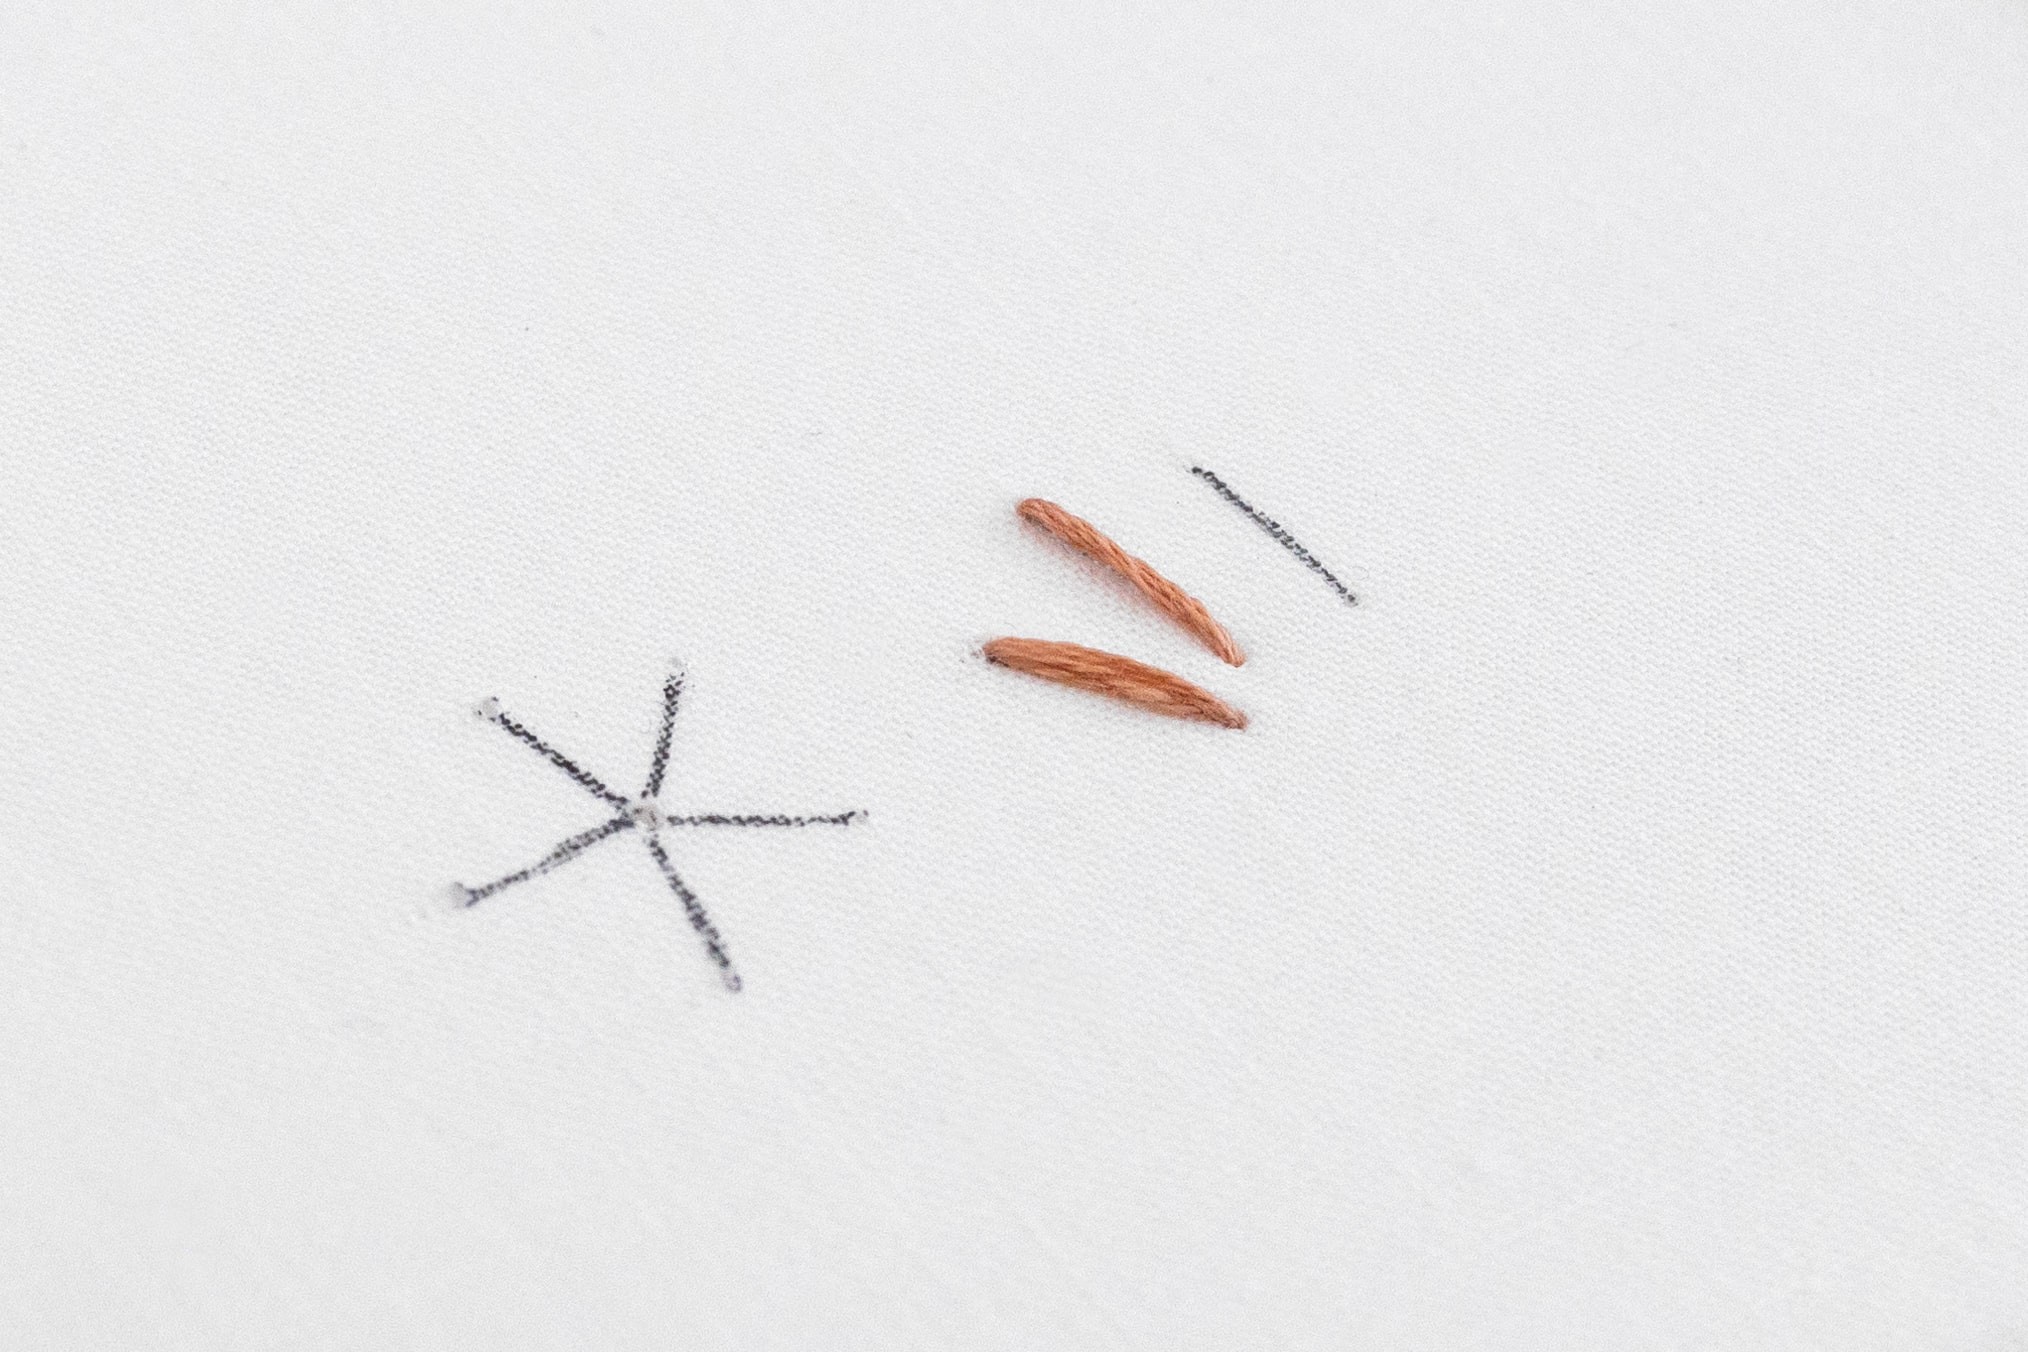
Step 6
When you've finished, secure and tidy away your thread.
Video examples:
In these videos, I’ve shared some cool ways to use Straight Stitch, which you will hopefully find really helpful.
Examples of Straight Stitch in my patterns
Let's look at some examples of how you can use this awesome foundation stitch in your work!
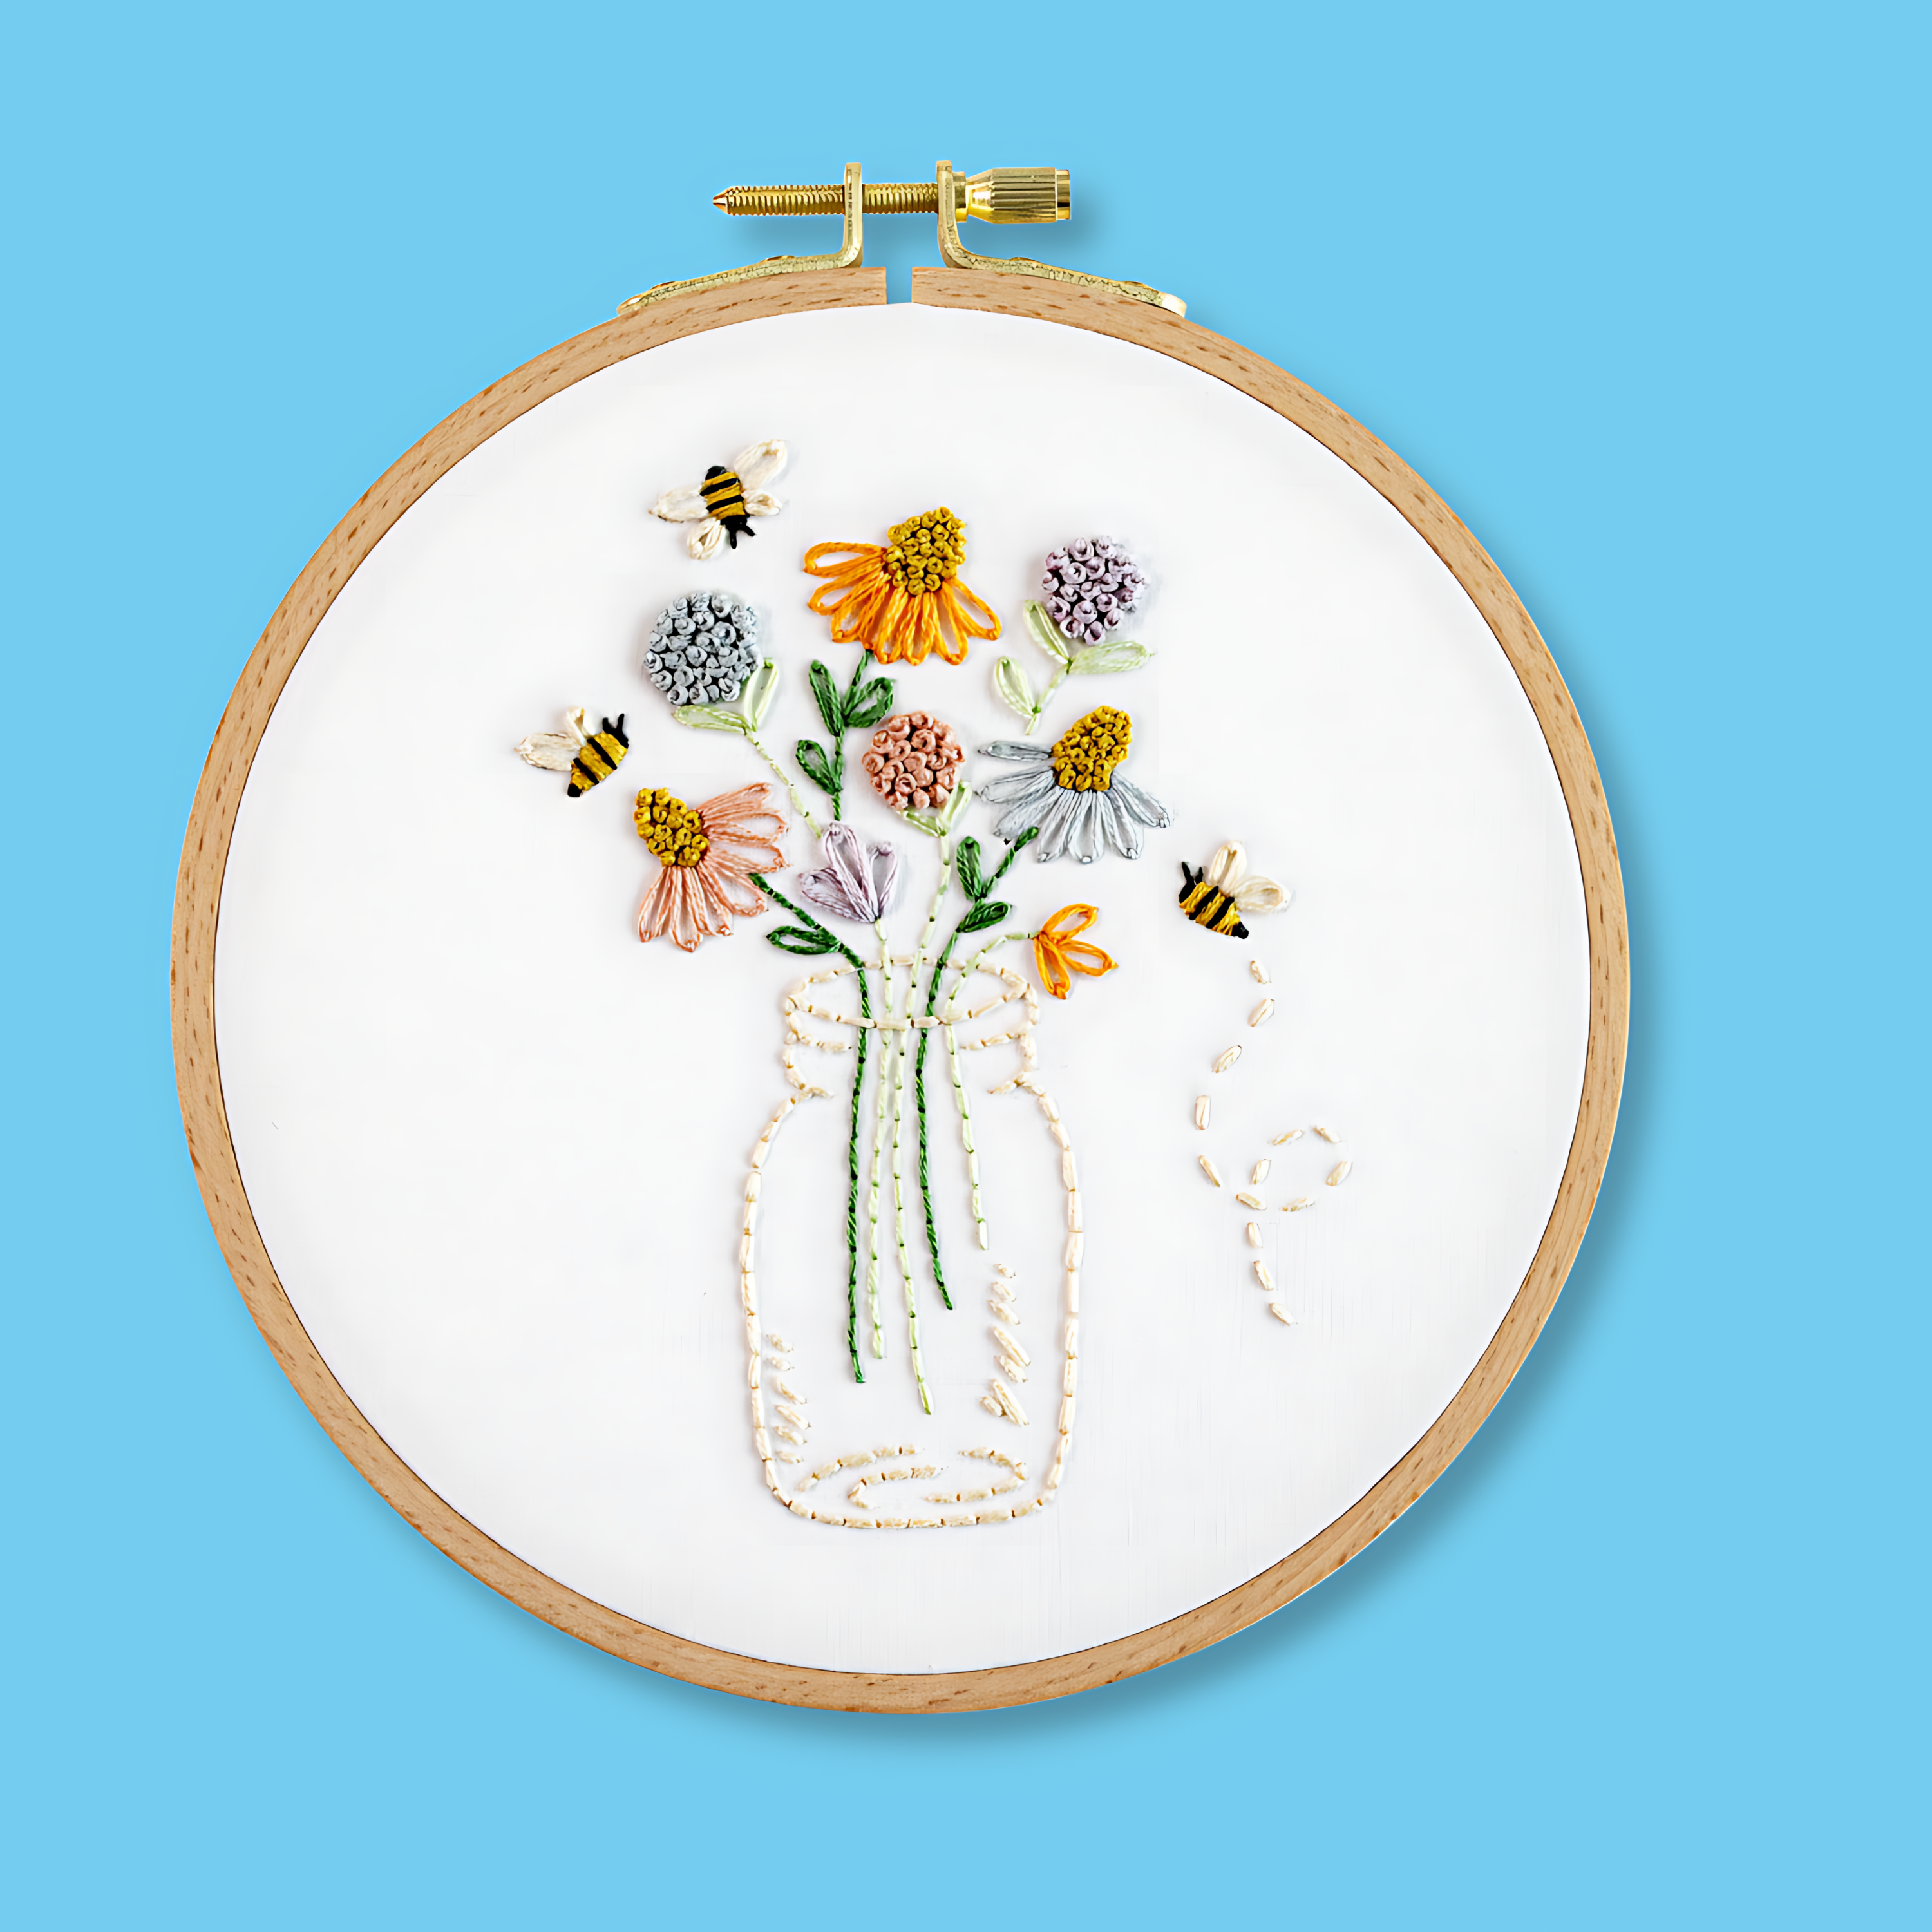
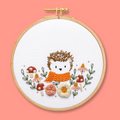
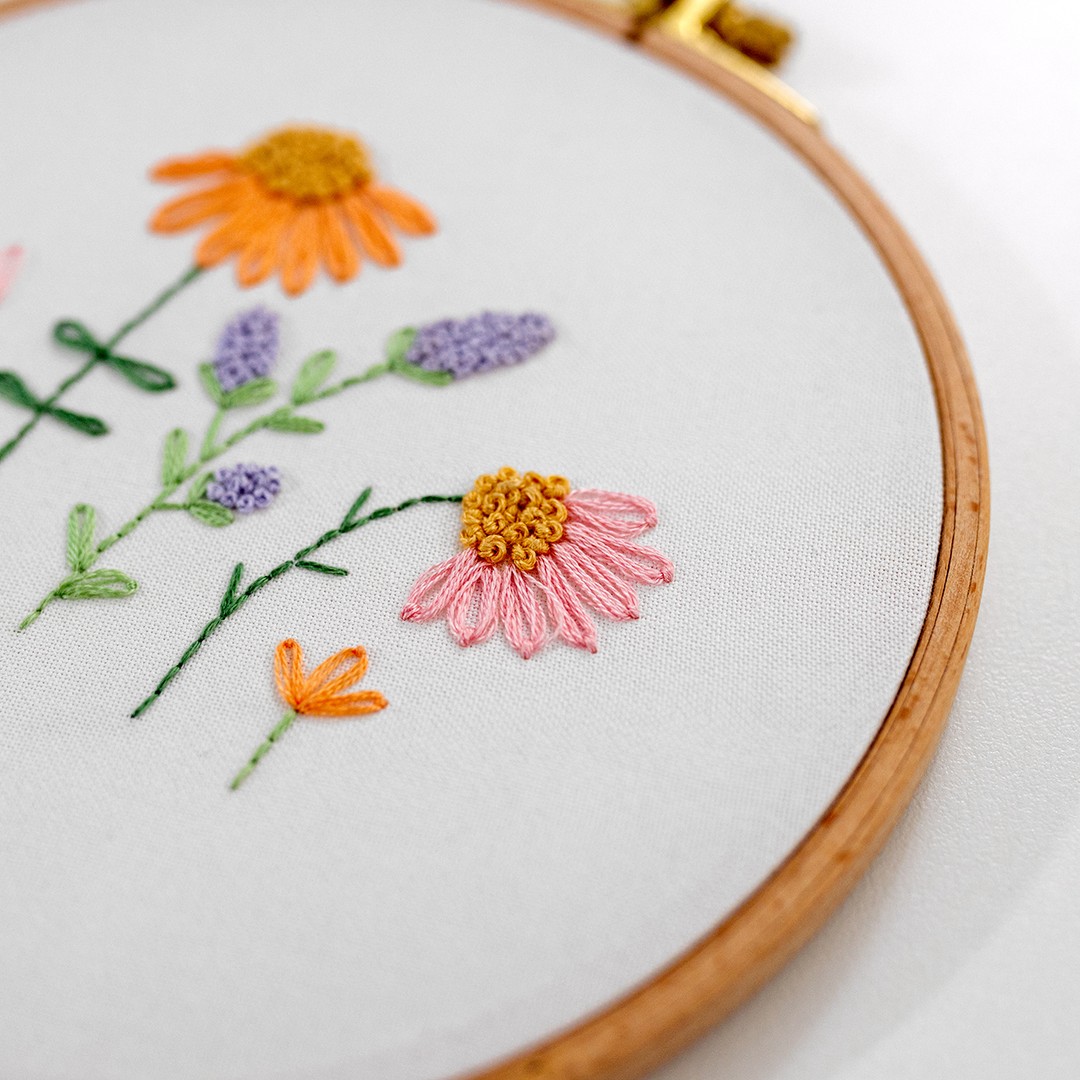
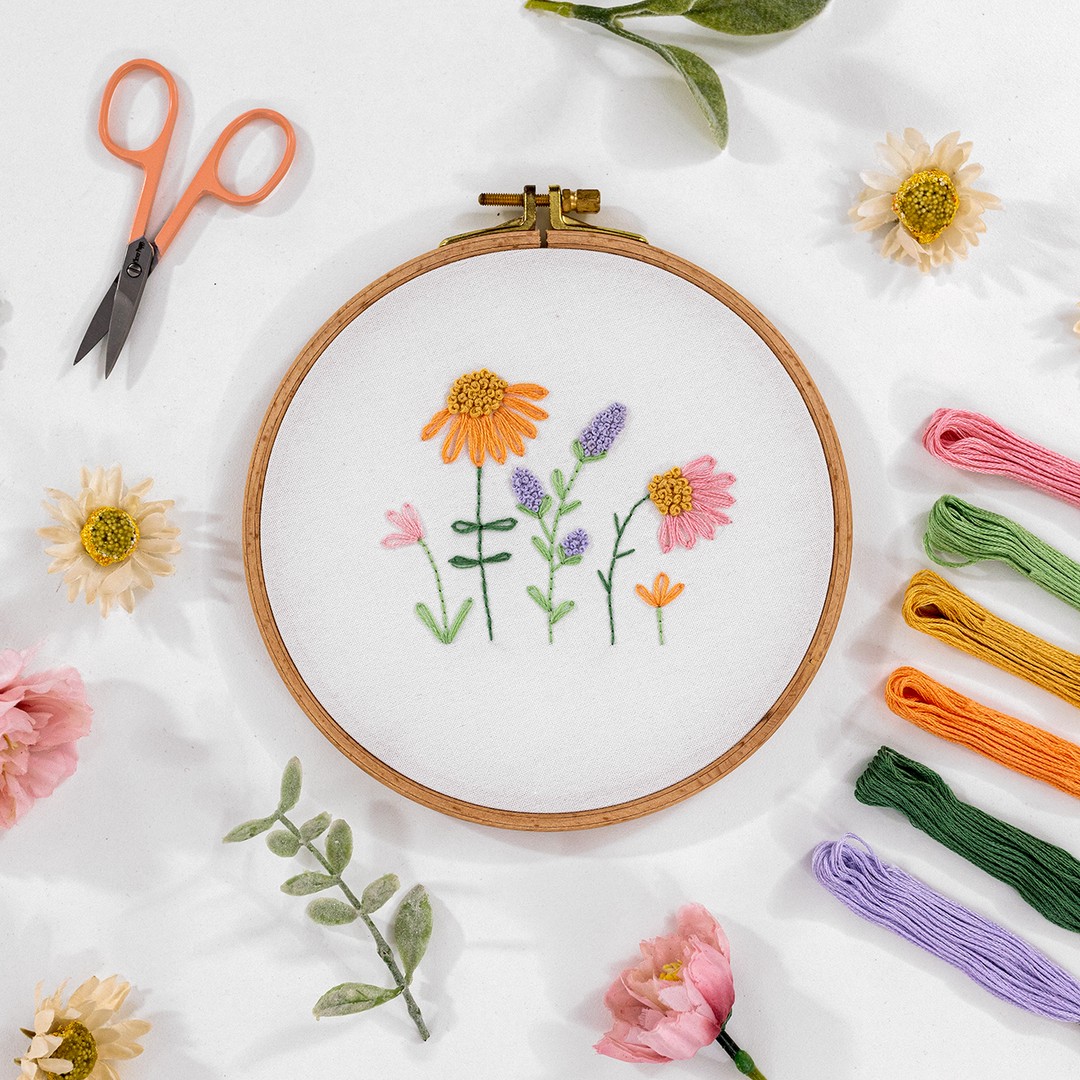
First up, here's my Five Flowers pattern. See the straight stitches that make some leaves?
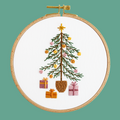
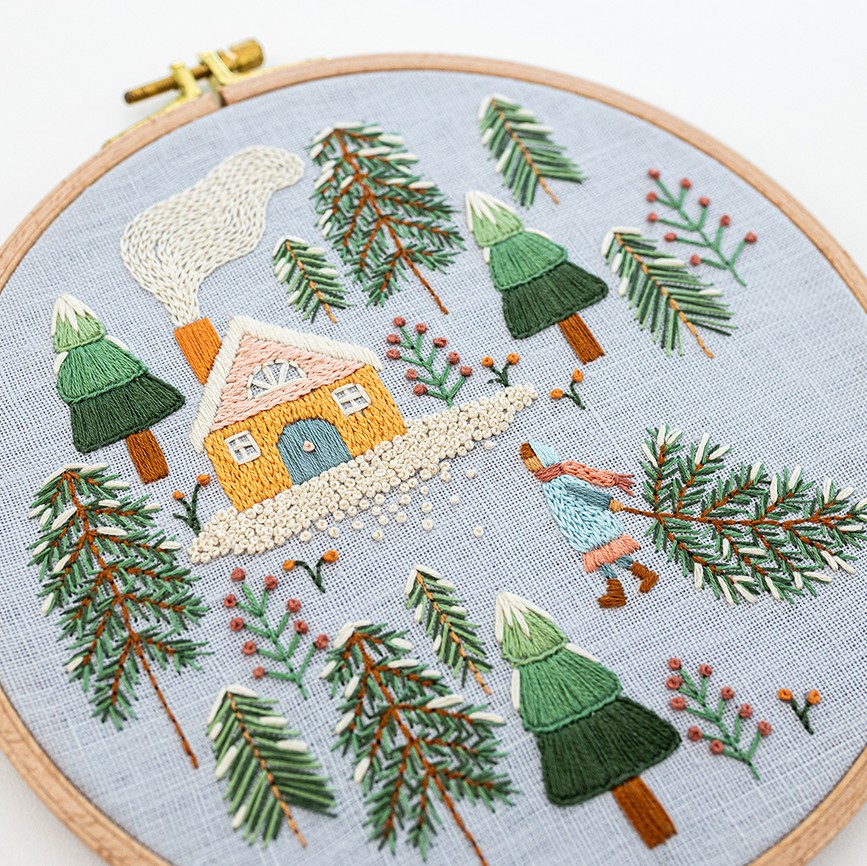
Next, here's my Winter Wonderland pattern. See the detailed conifer trees? Those are made up with a whole bunch of little Straight Stitches. Pretty cool huh?!

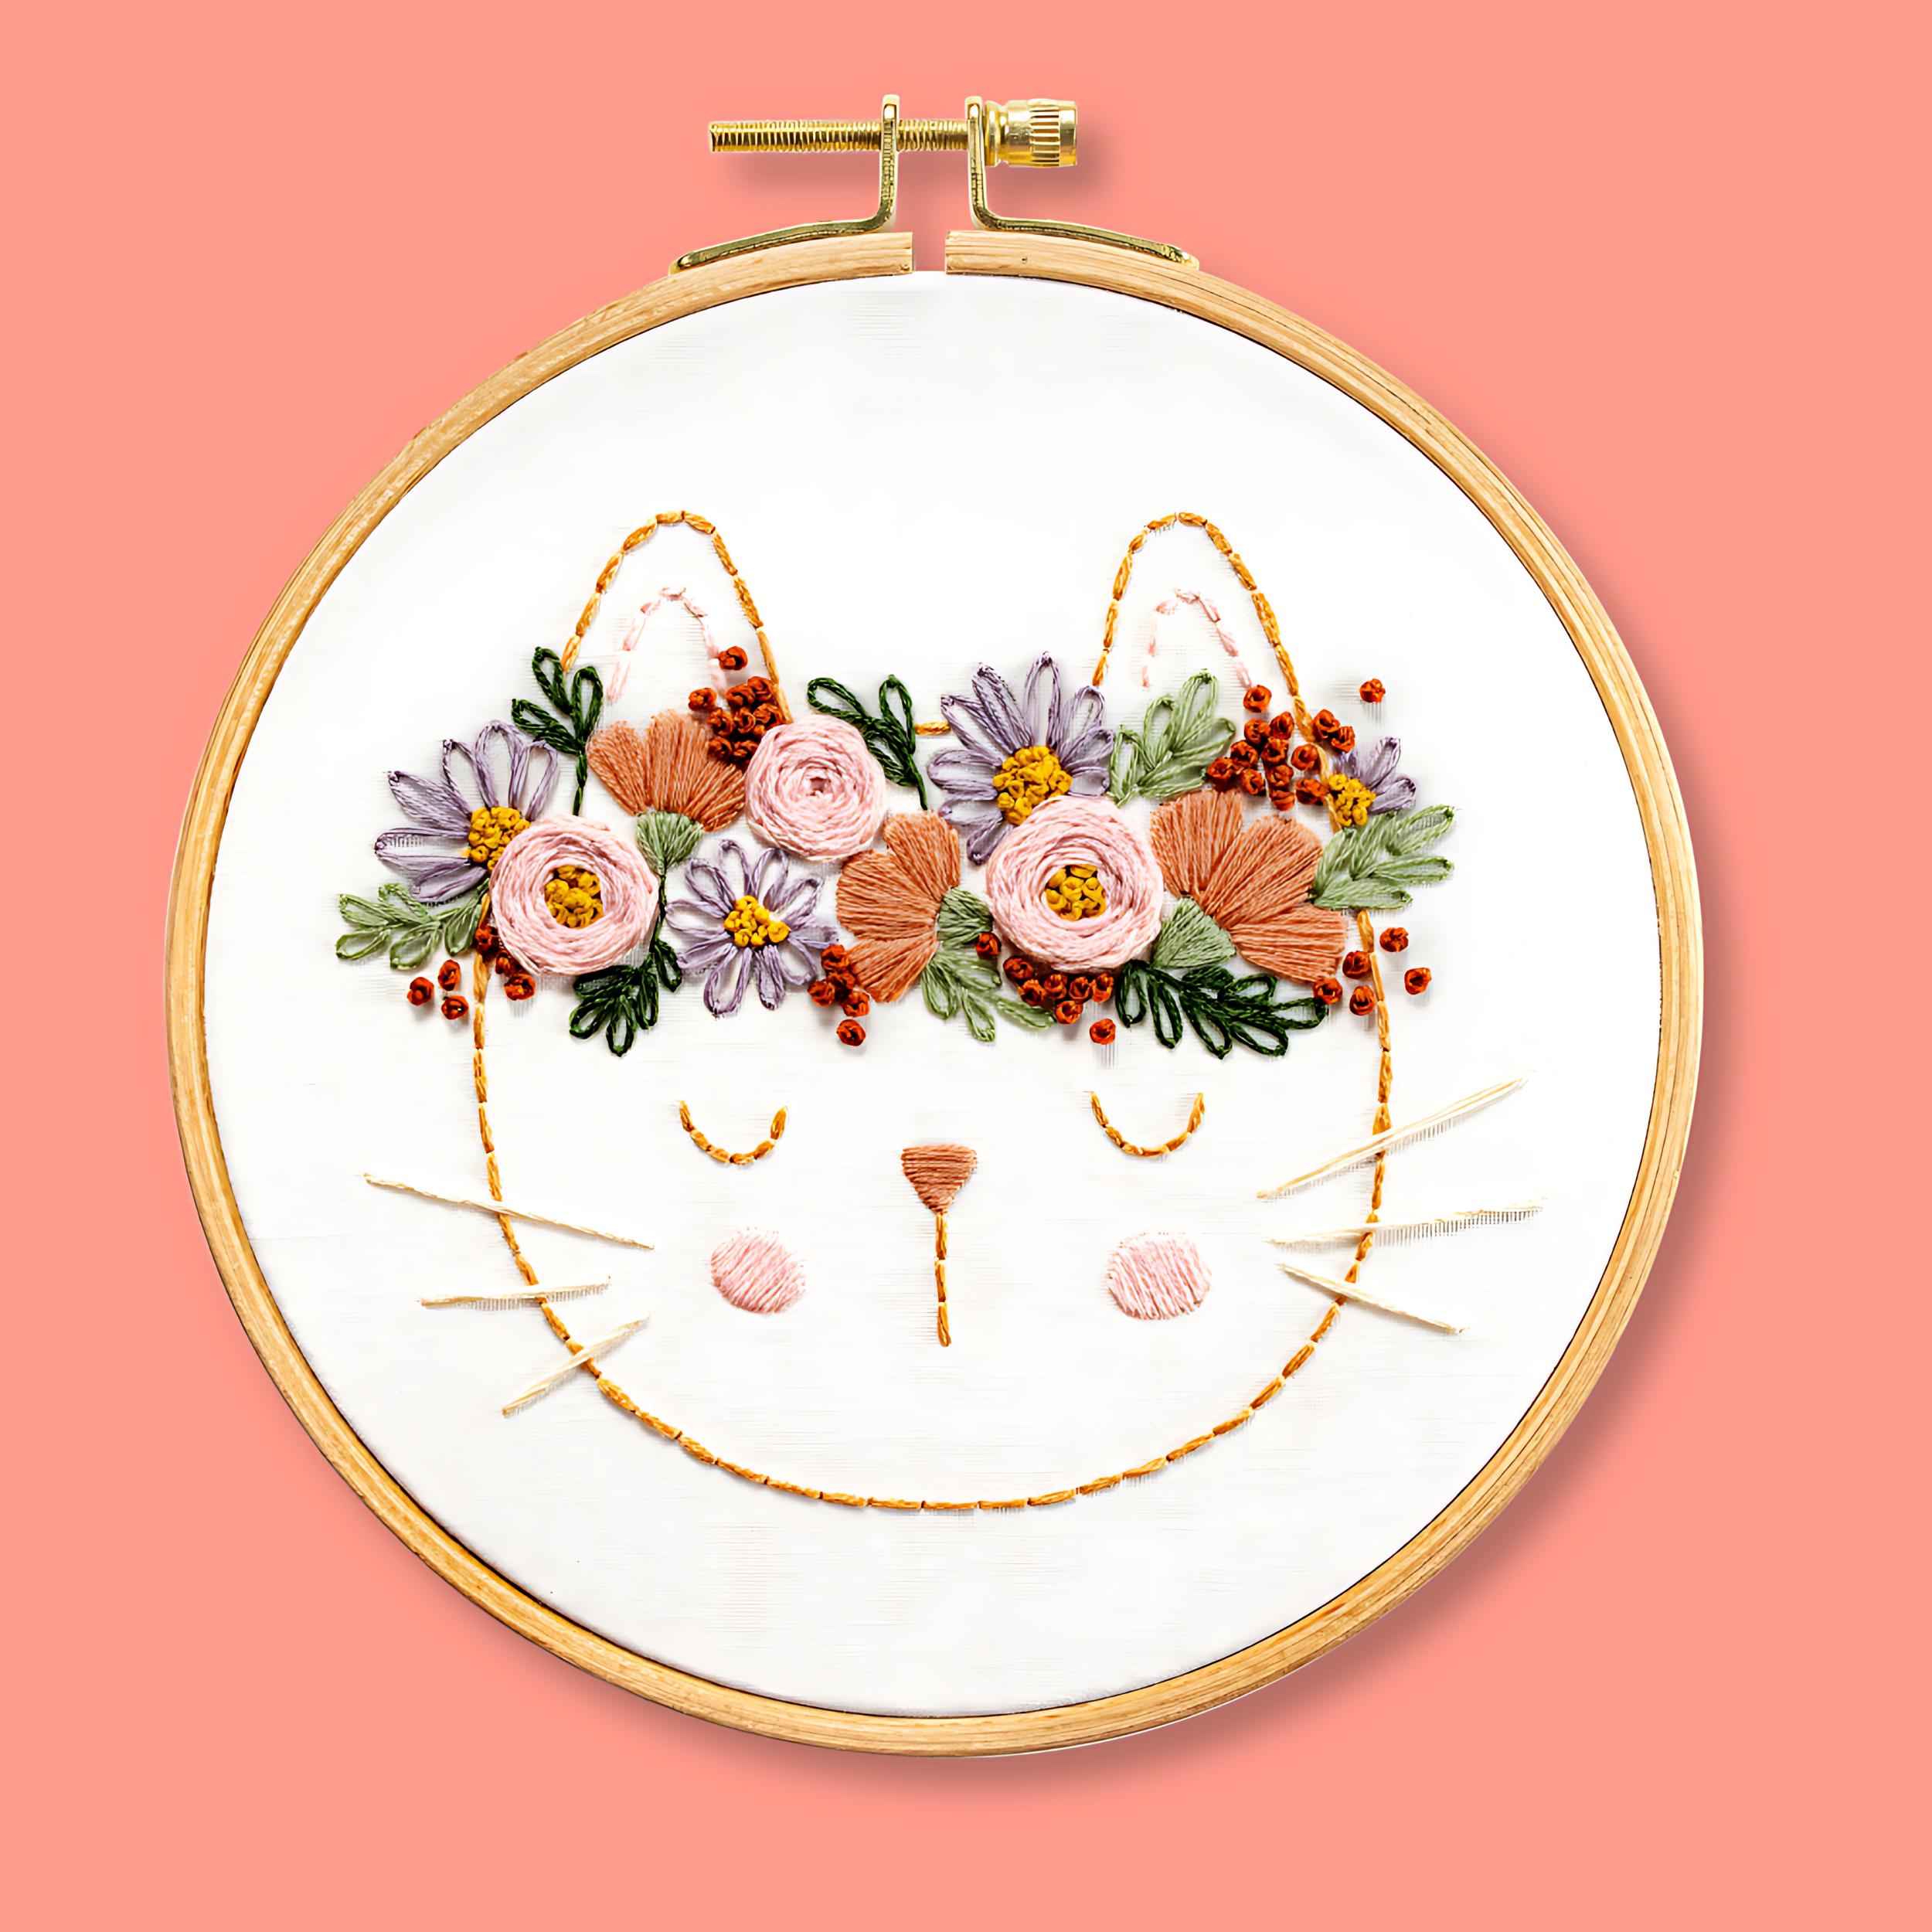
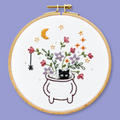
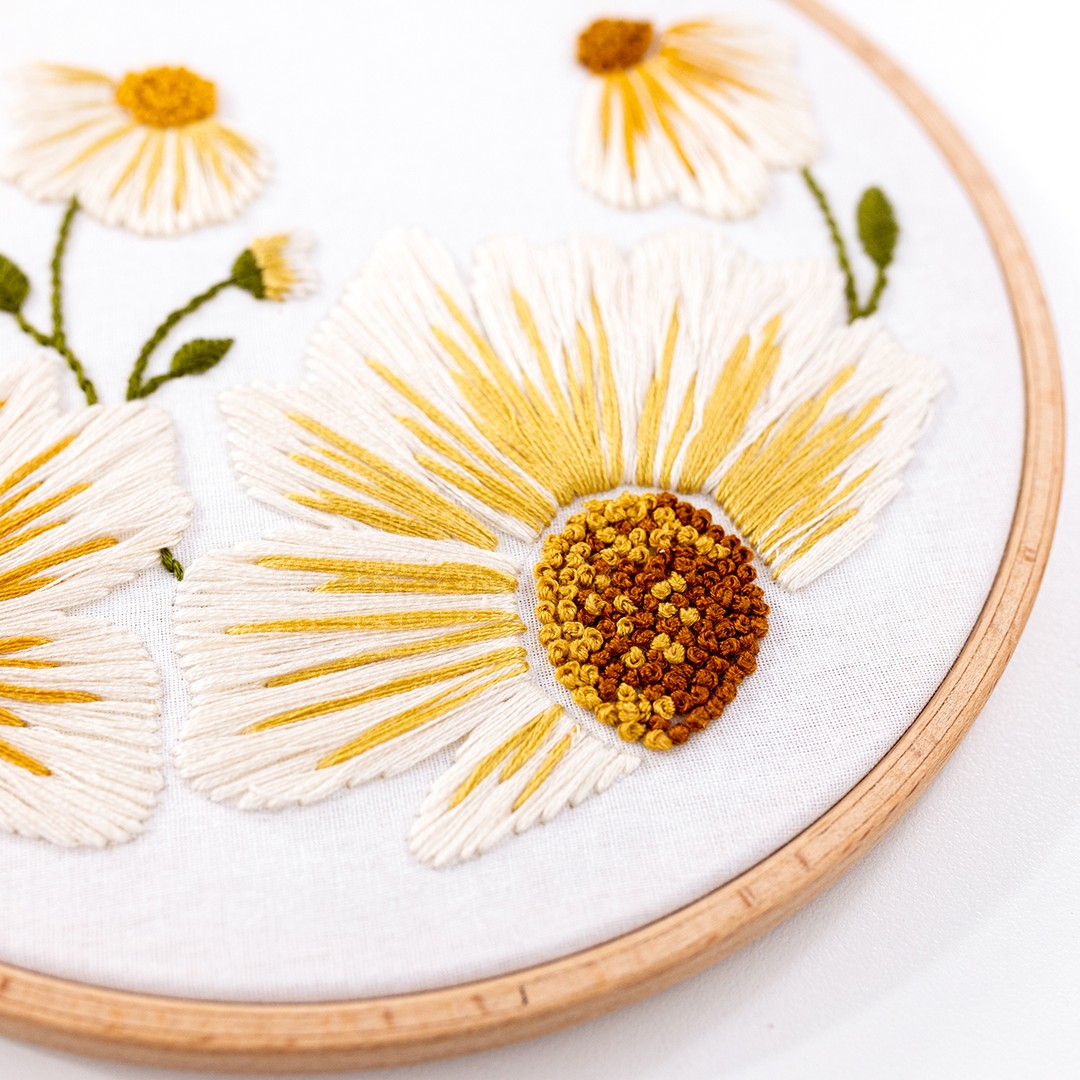
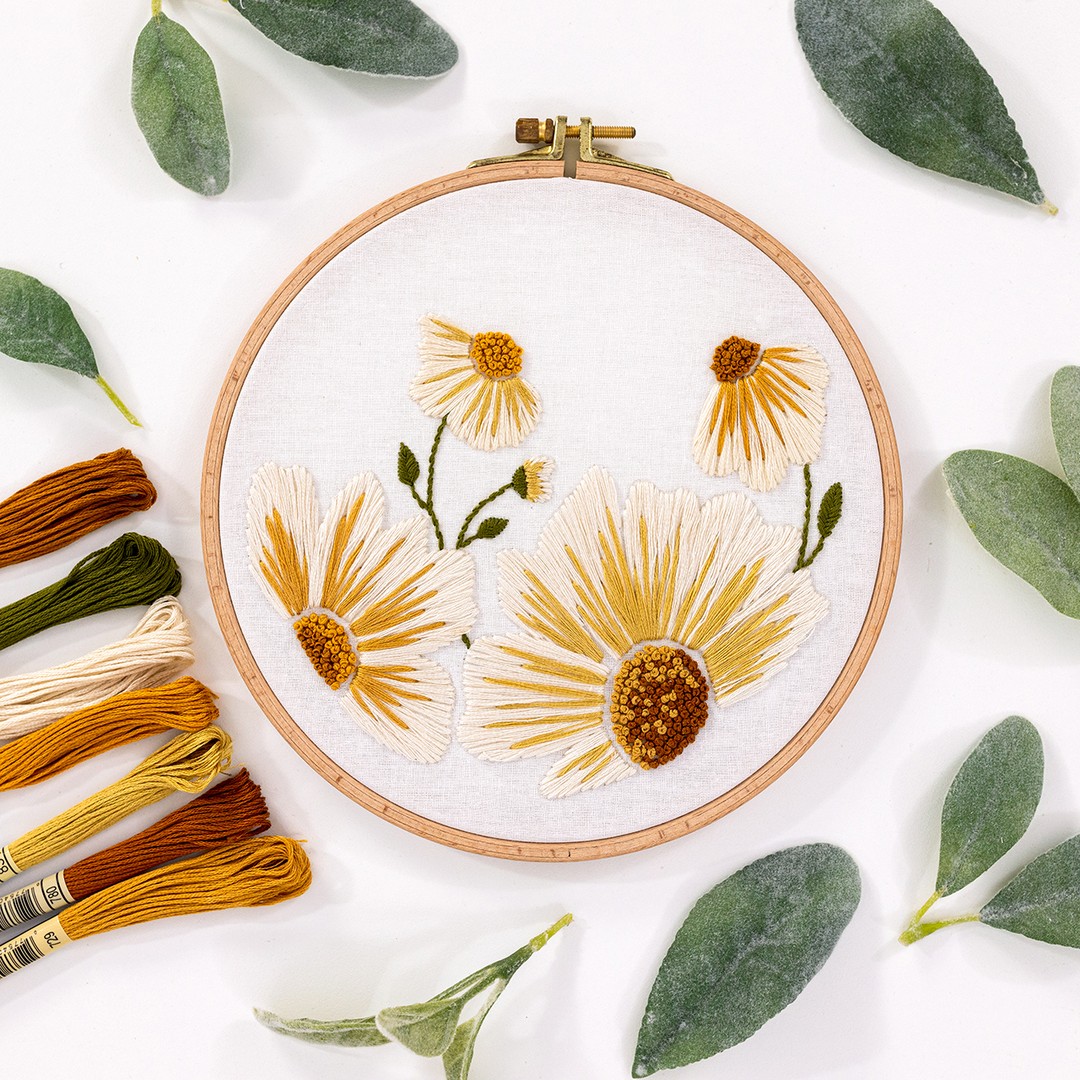
Finally, here's my Daisy Blooms pattern. Did you realise that the beautiful golden accents on each petal are Straight Stitches? In this case, the stitches are added right over the top of the cream Satin Stitch that fills the petals. It really makes these petals pop!
Conclusion
Congratulations, I am so happy that you have learnt how to do the simplest of all modern embroidery stitches, straight stitch! This is a great basis for all the other embroidery stitches you are going to learn on your modern embroidery journey. Plus, it will also hold you in good stead for many beginner modern embroidery patterns.
So there you have it, all the steps you will need to do a straight stitch!
What's next?
Our beginner embroidery kits are a favourite among new stitchers for their simple, step-by-step instructions and beautiful designs that make learning easy and fun. Whether you’ve been wanting to learn embroidery or are just searching for your next creative hobby. These kits are the perfect introduction to embroidery.
Why people love our beginner kits:
-
Everything you need is included: fabric, thread, hoop, and more!
-
Clear instructions to guide you every step of the way.
-
Gorgeous designs you’ll be proud to display.
Our most popular beginner kits