
Running Stitch - Learn This Modern Embroidery Technique
Introduction
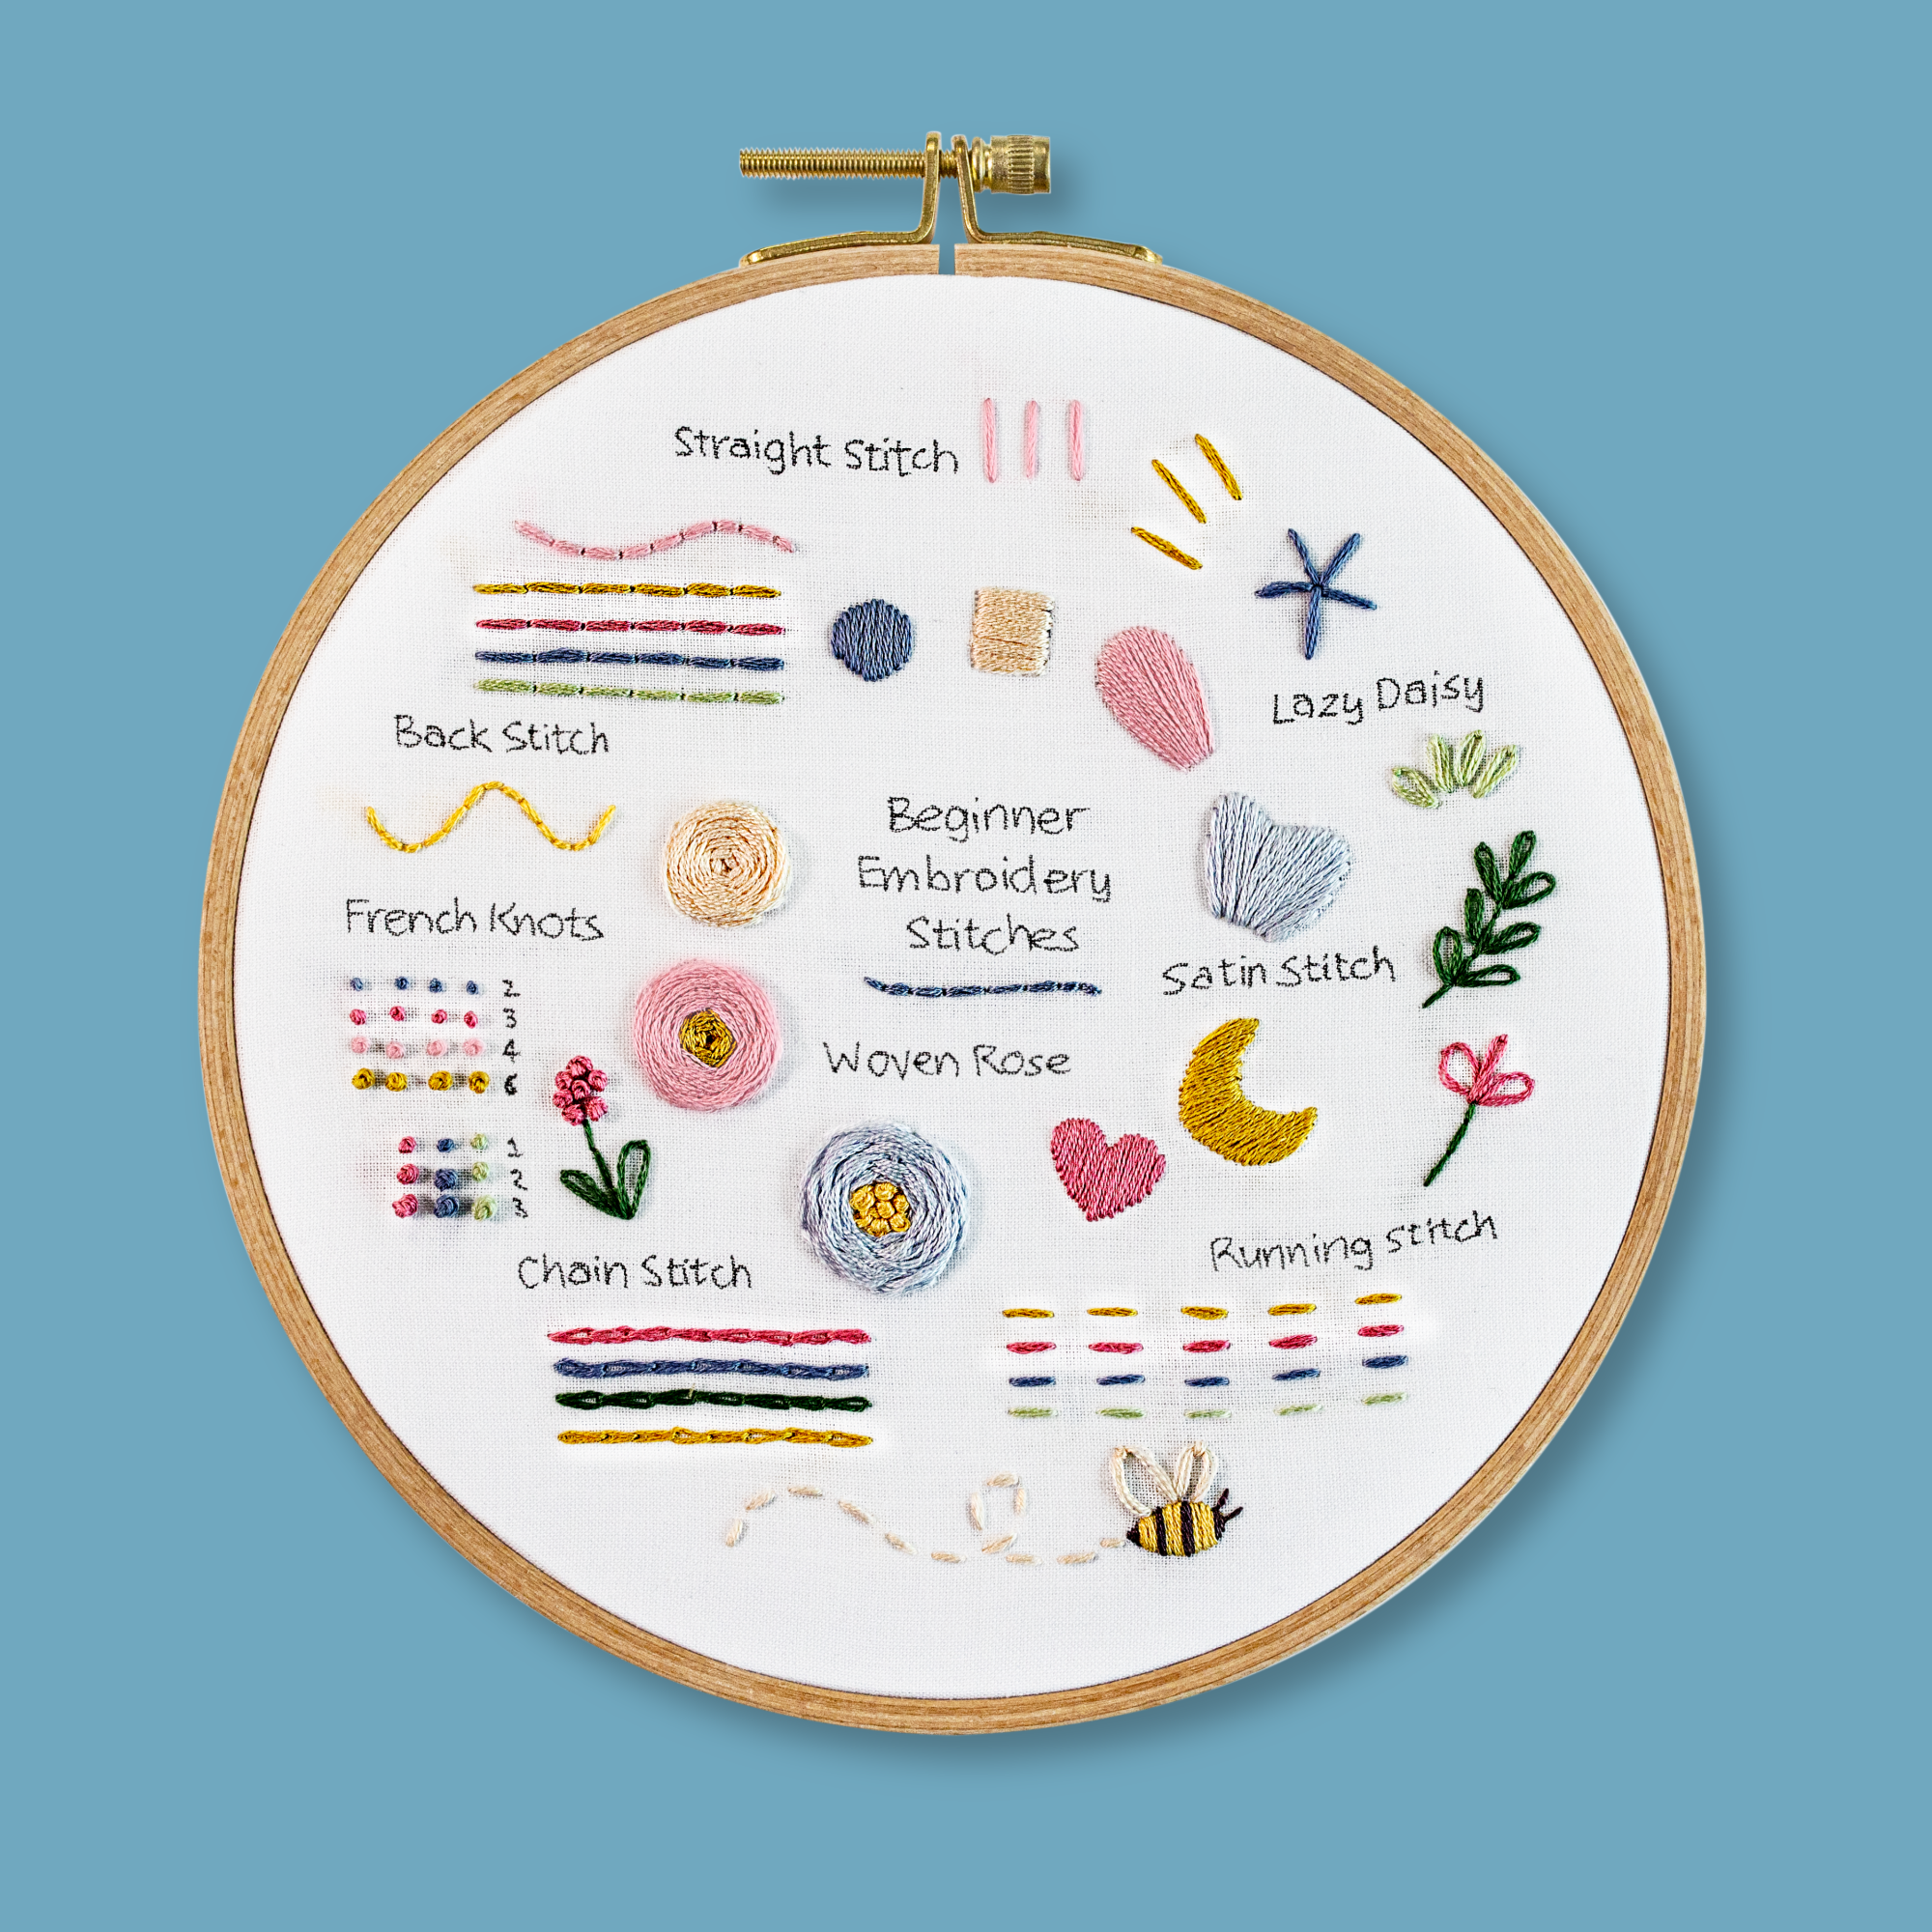
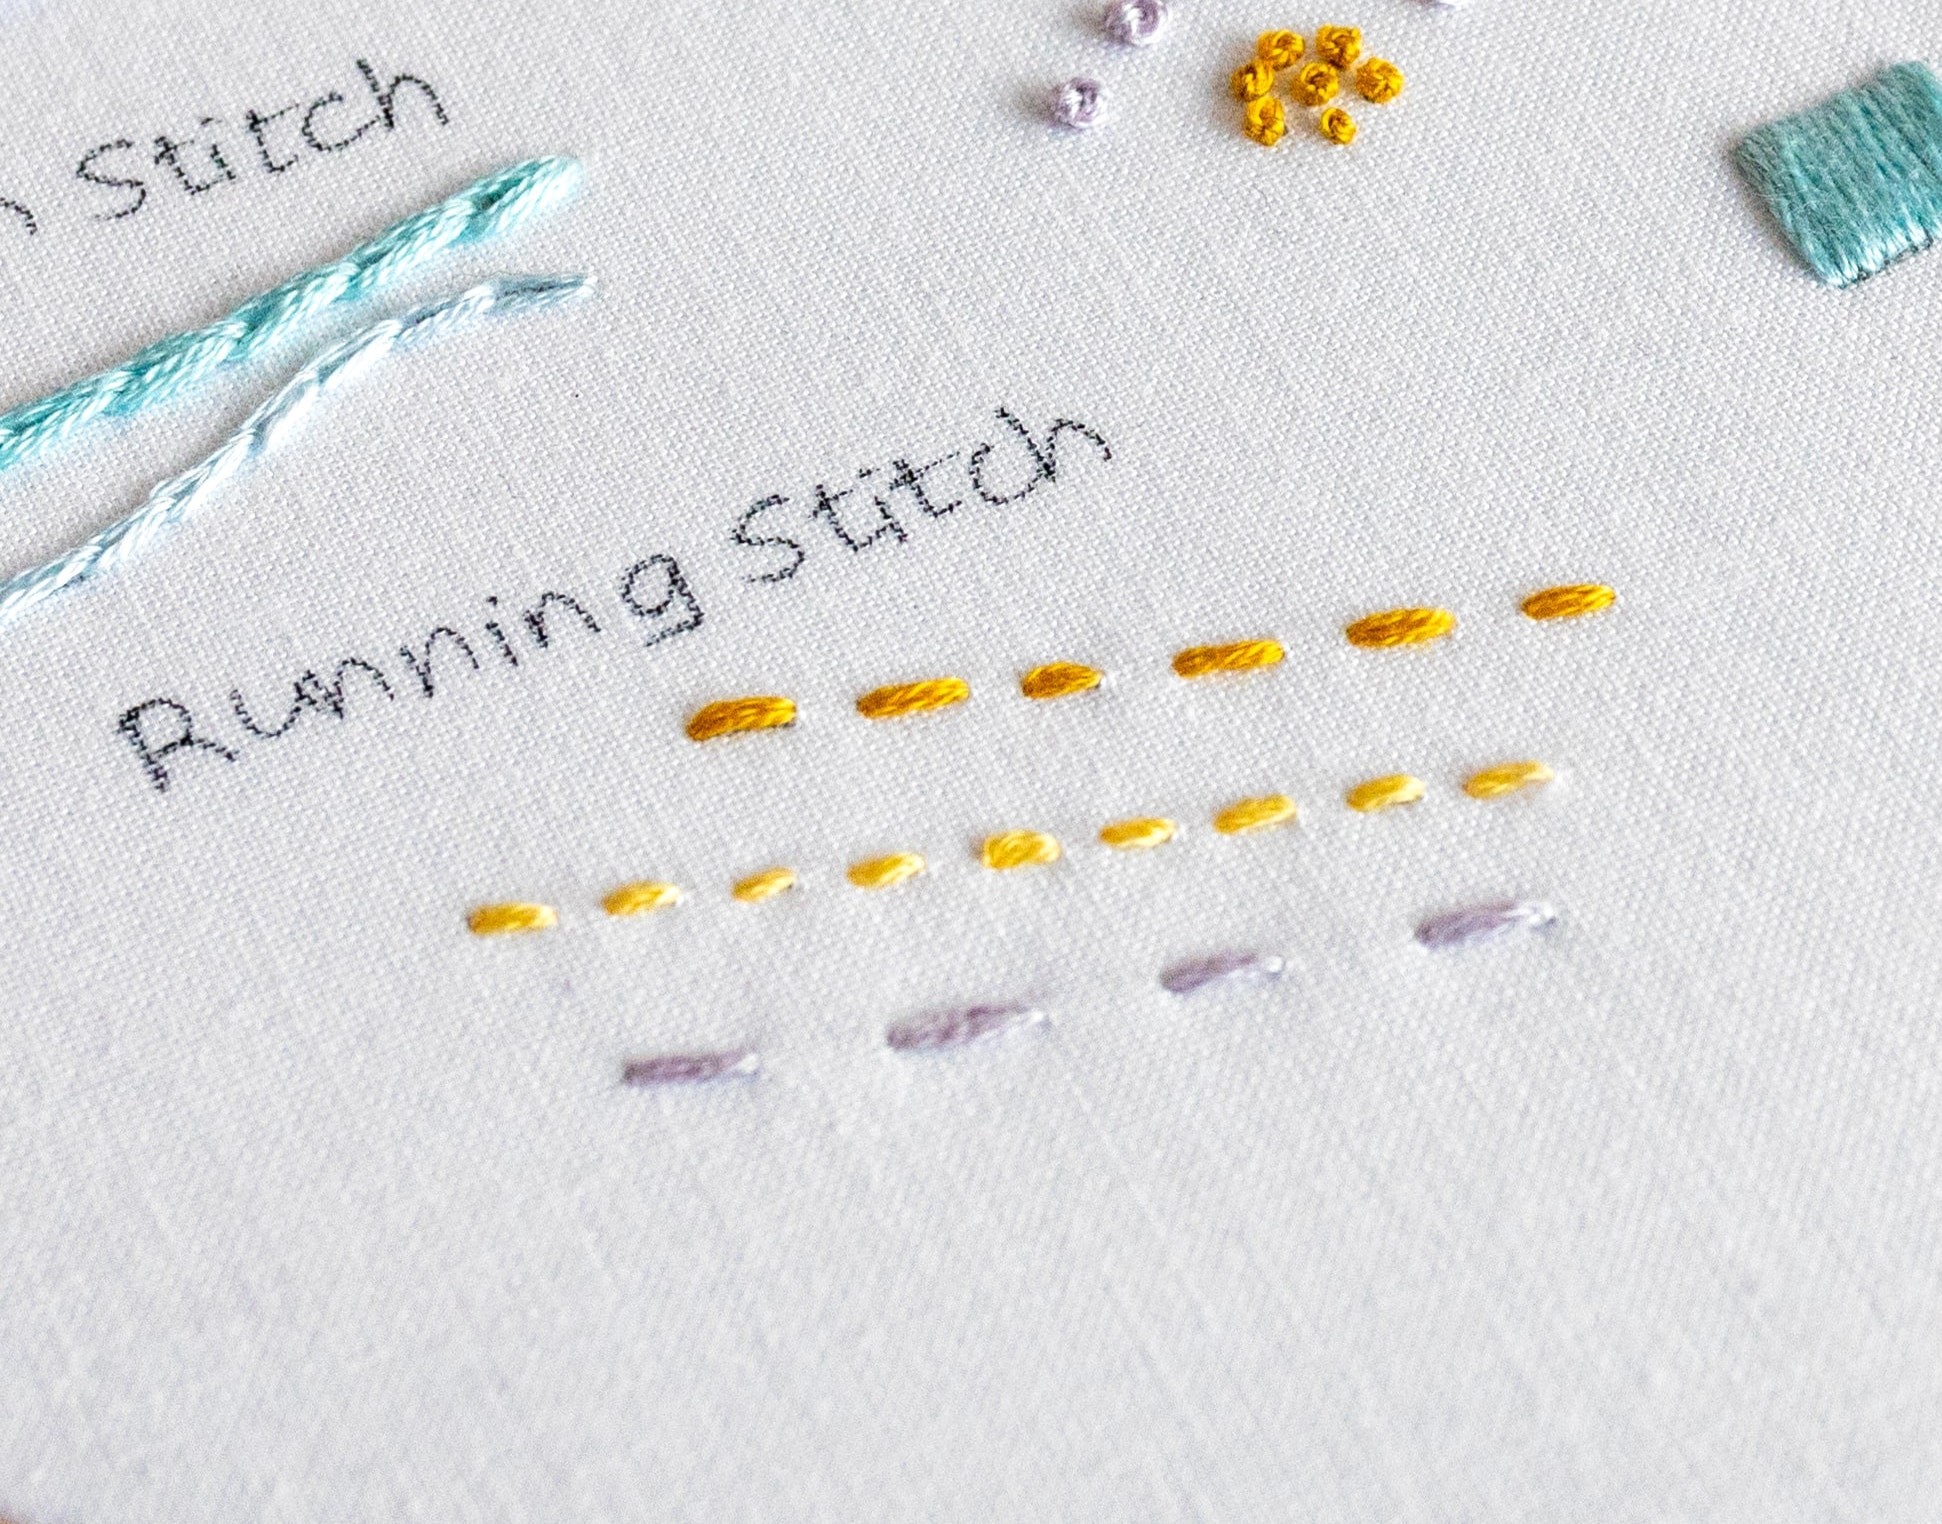
This simple technique involves creating a series of evenly spaced stitches that form a straight dashed line. While it might seem basic, its simplicity holds remarkable potential. The Running Stitch has lots of handy uses, such as outlining, backing your hoop, or even stitching fabric layers together.
Let’s try it out:
Step 1
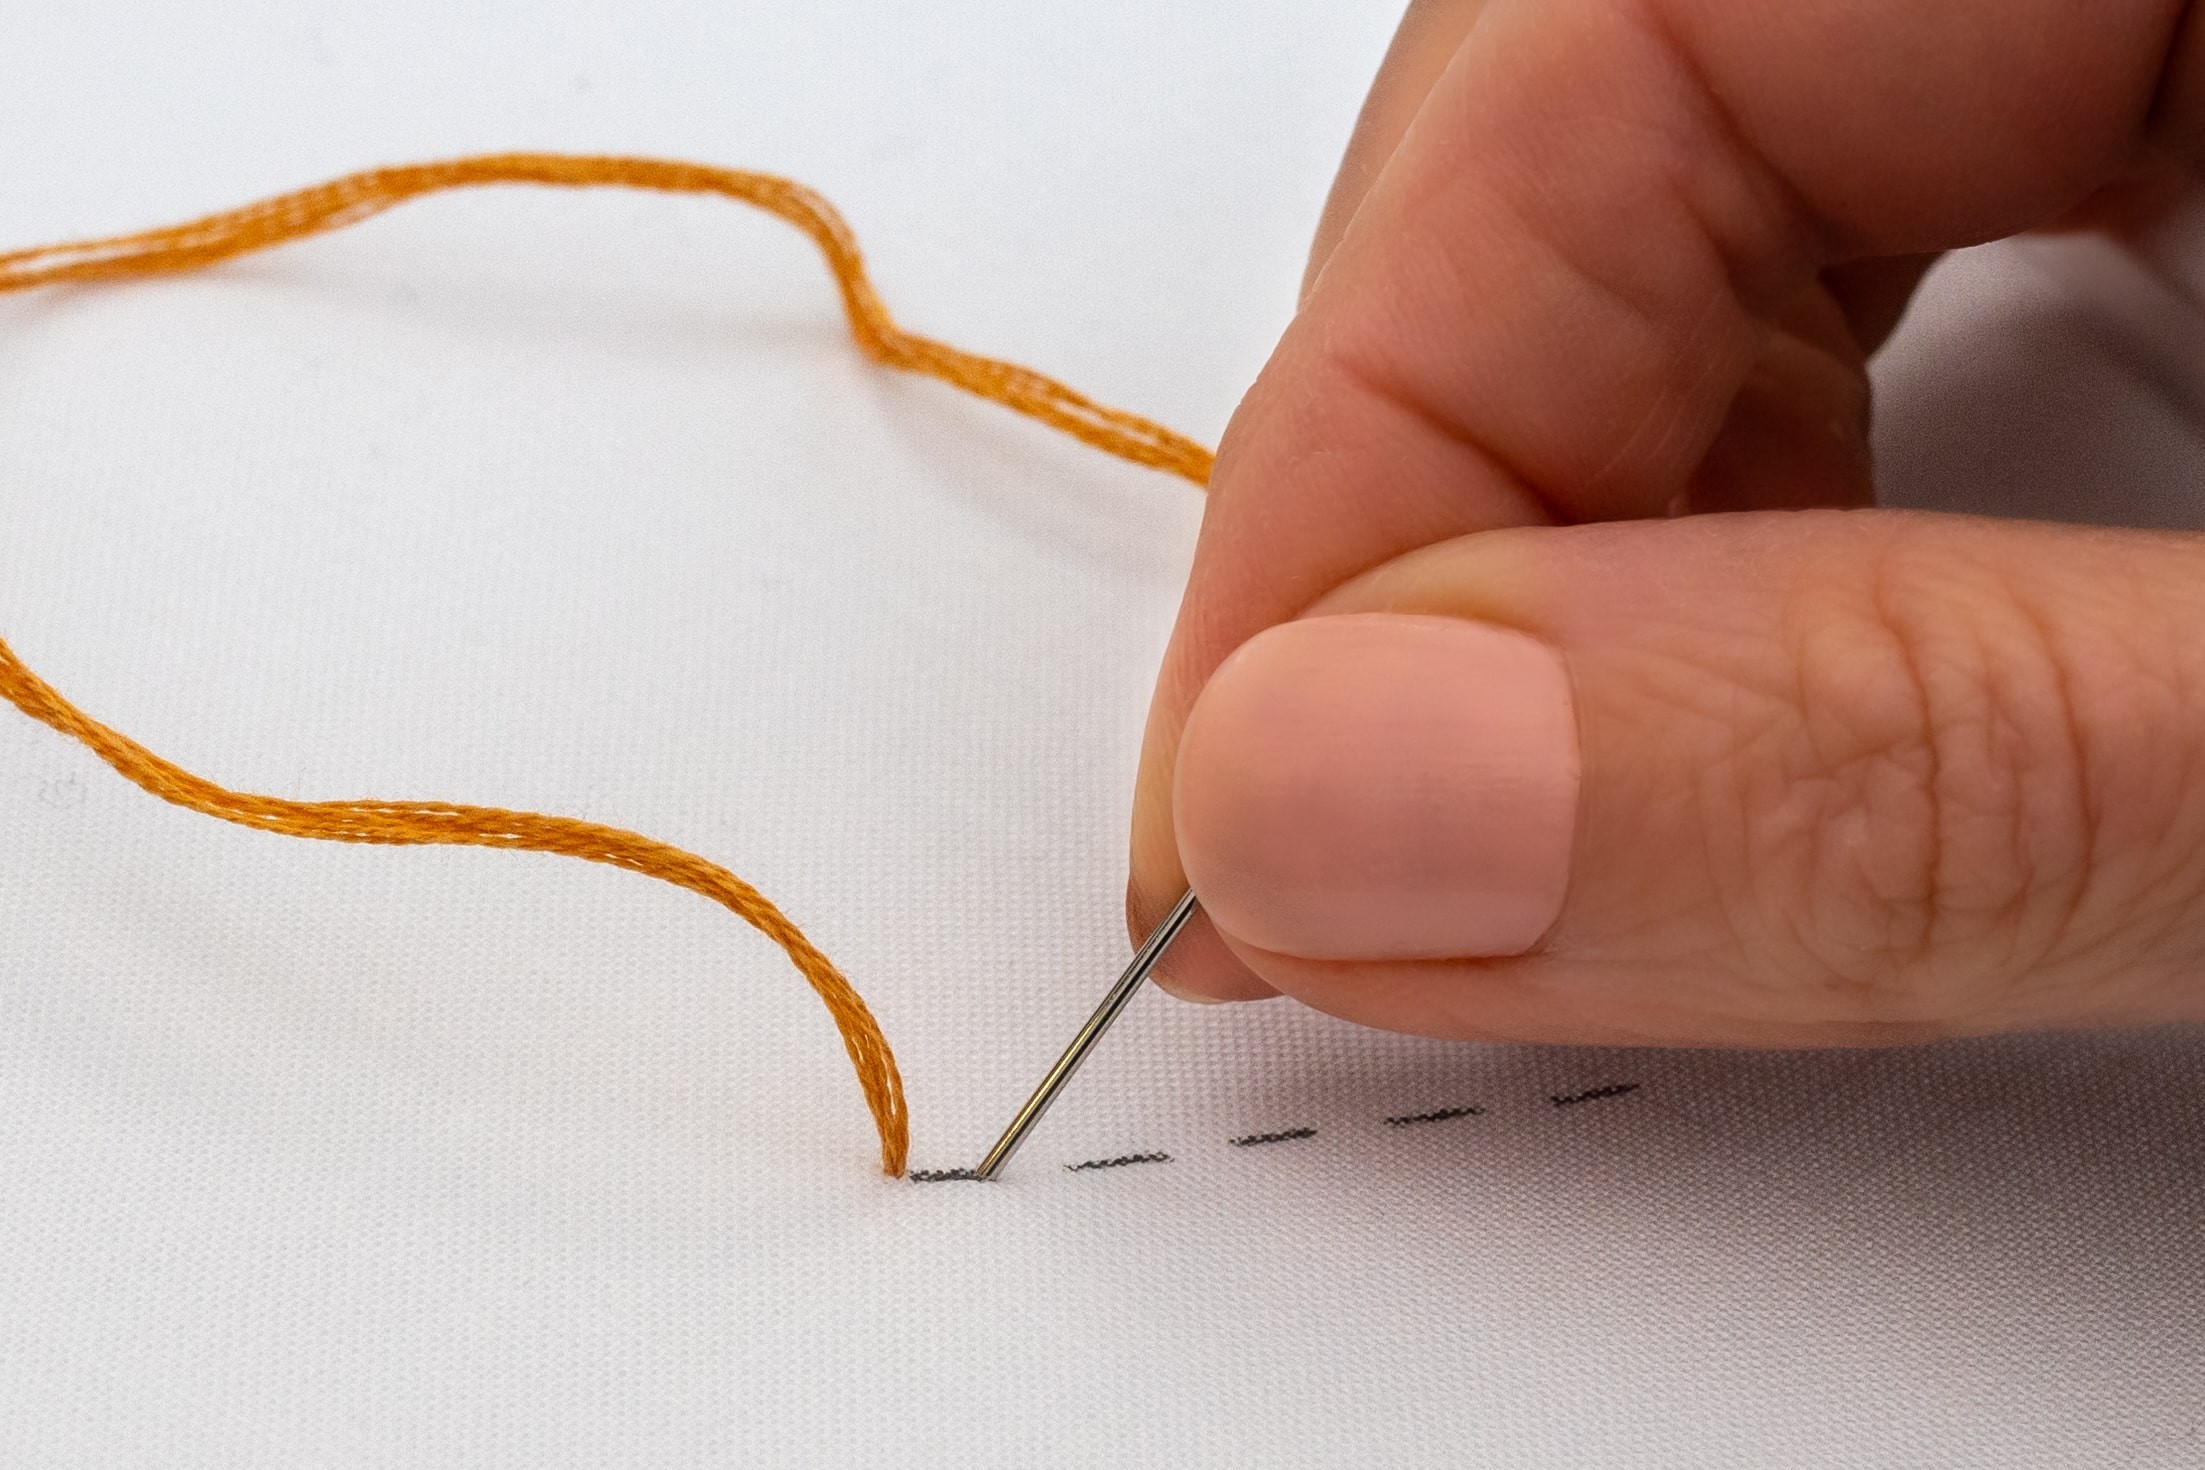
Start by bringing your needle up from the back of the fabric to the front, at the start of the line.Gently pull the working thread through to the front, so that your knot secures the thread at the back.
Step 2
Poke your needle down about a stitch length along the line.
Step 3
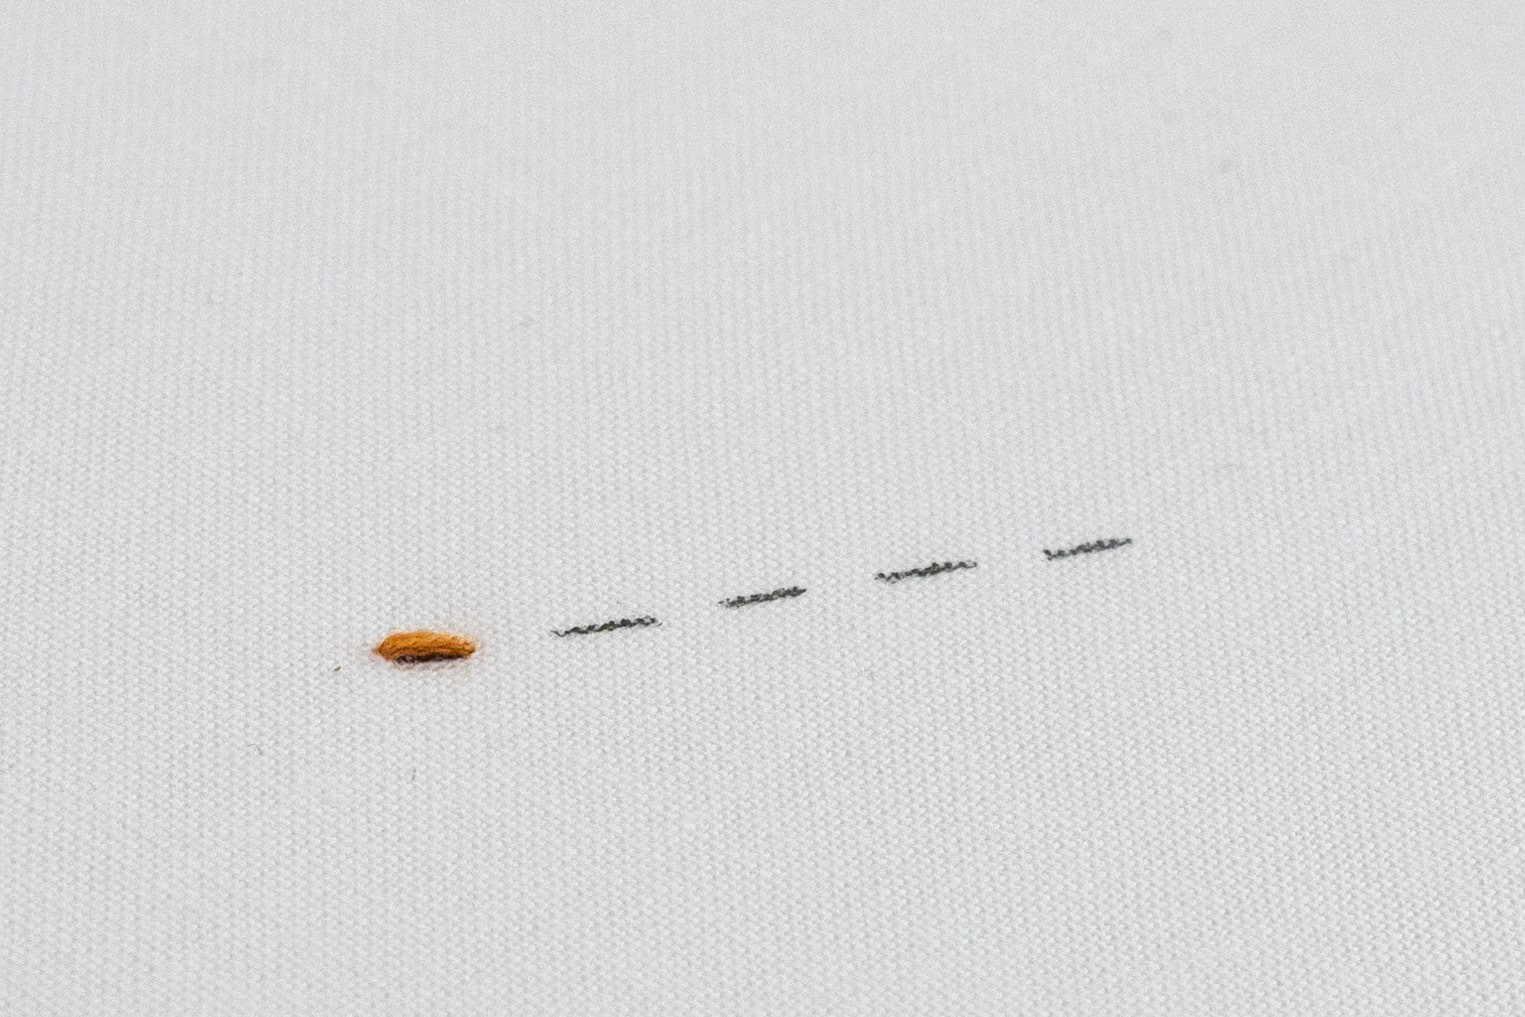
Gently pull the working thread through to the back (no need to pull it super tight), to create a single stitch that lays flat against the top-side of the fabric.
Step 4
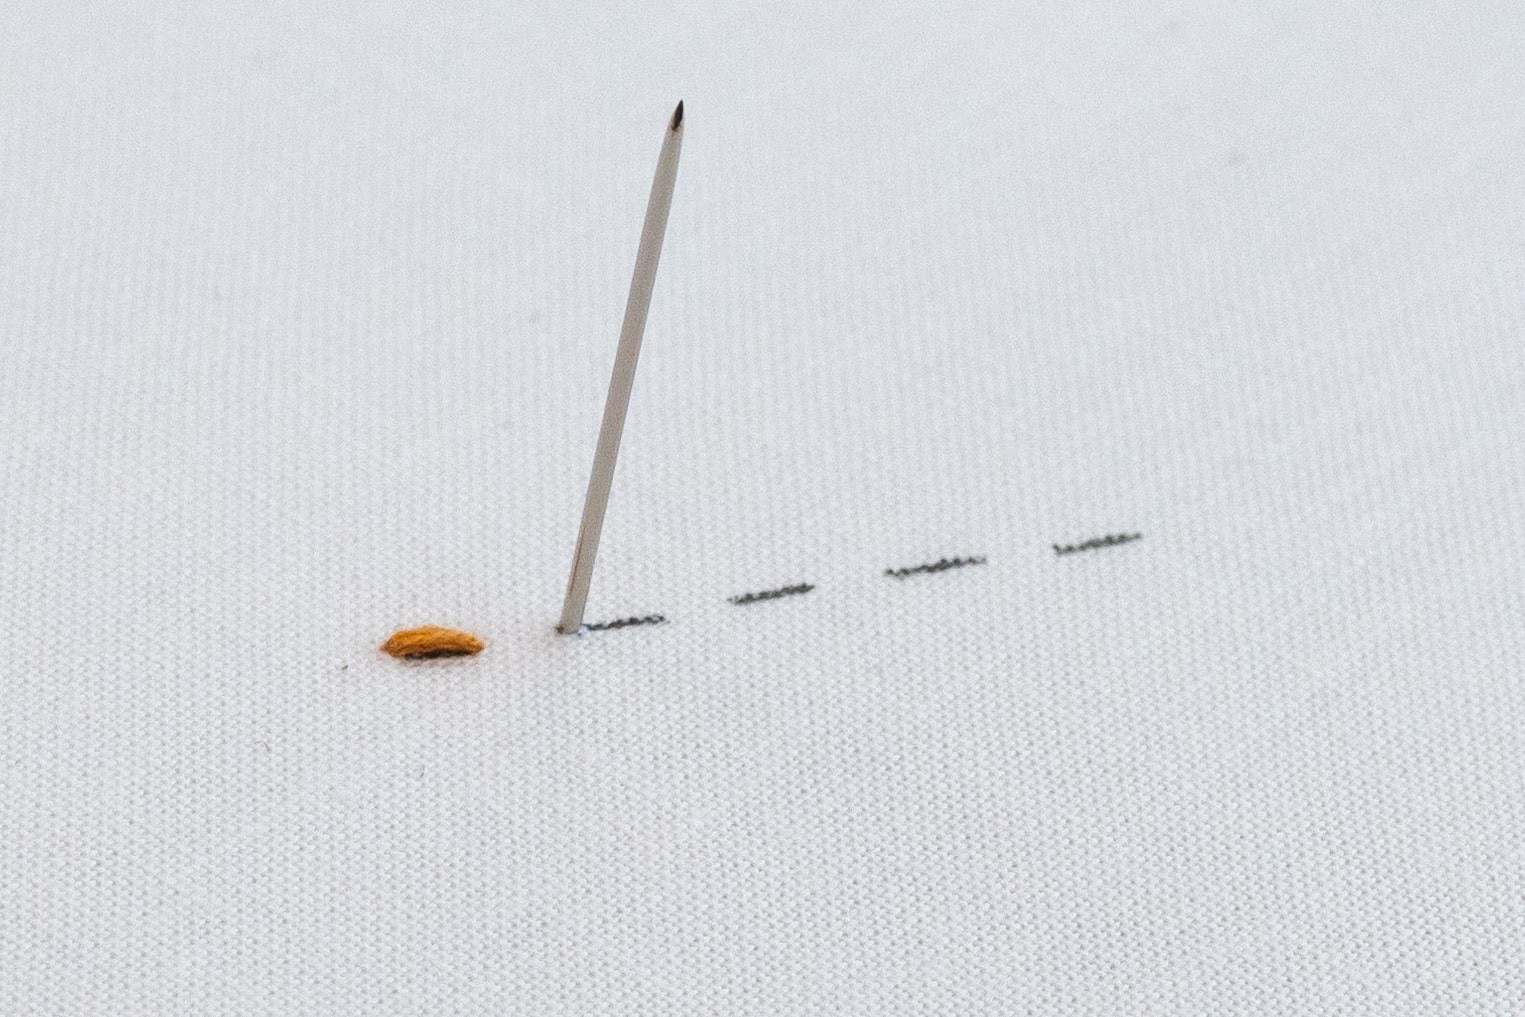
Bring your needle up again, a stitch length along the line.
Step 5
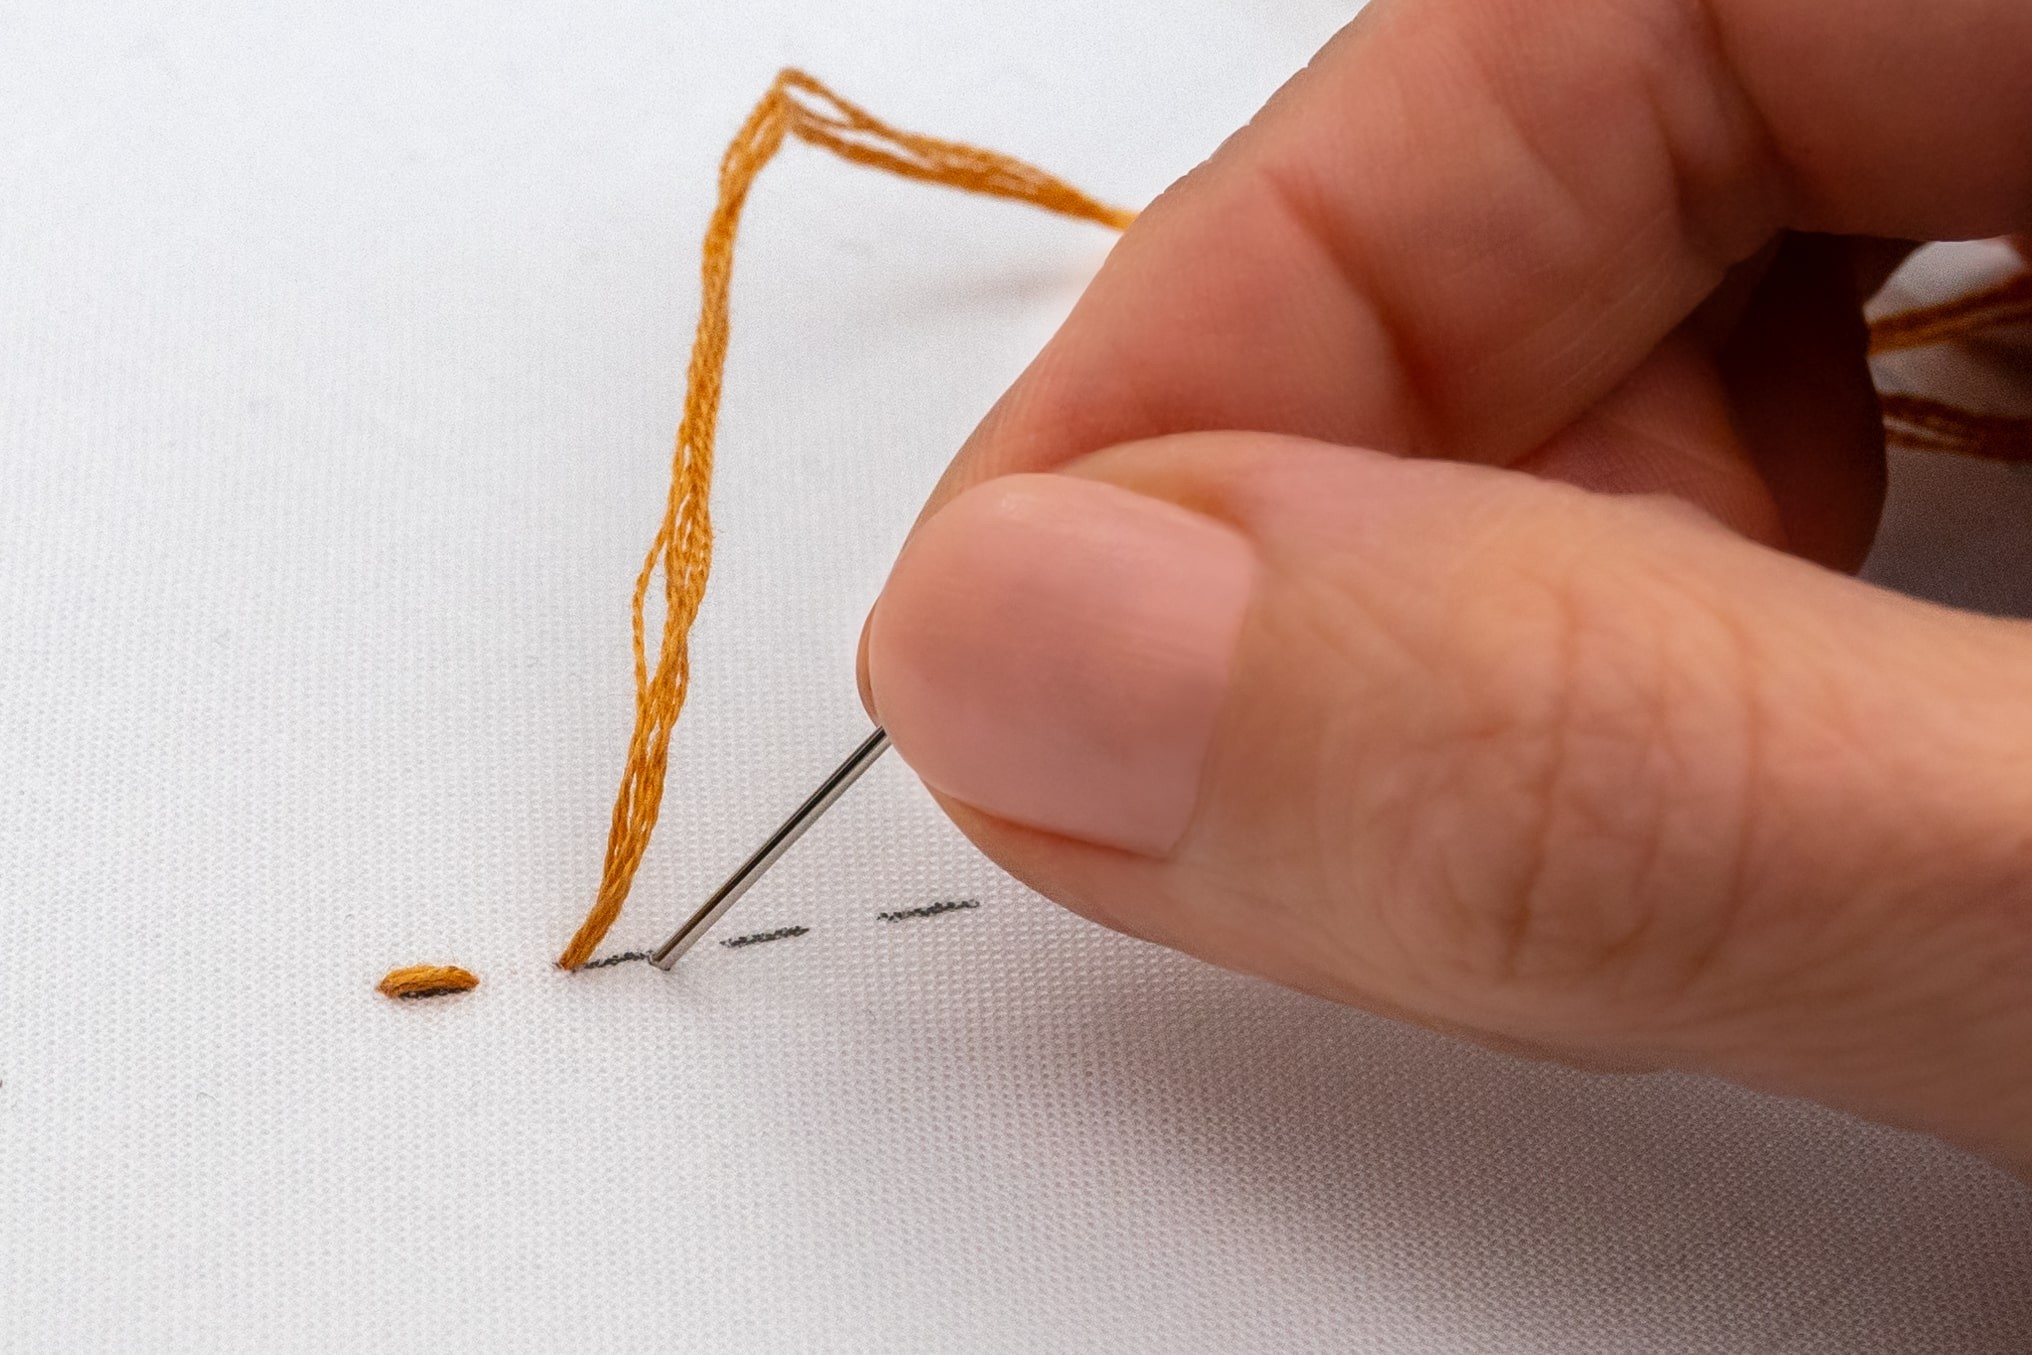
Then poke your needle backdown, about a stitch length along the line.
Step 6
Draw through all of the working thread. Now you’ve created two Running Stitches with a neat space between them – nice work!
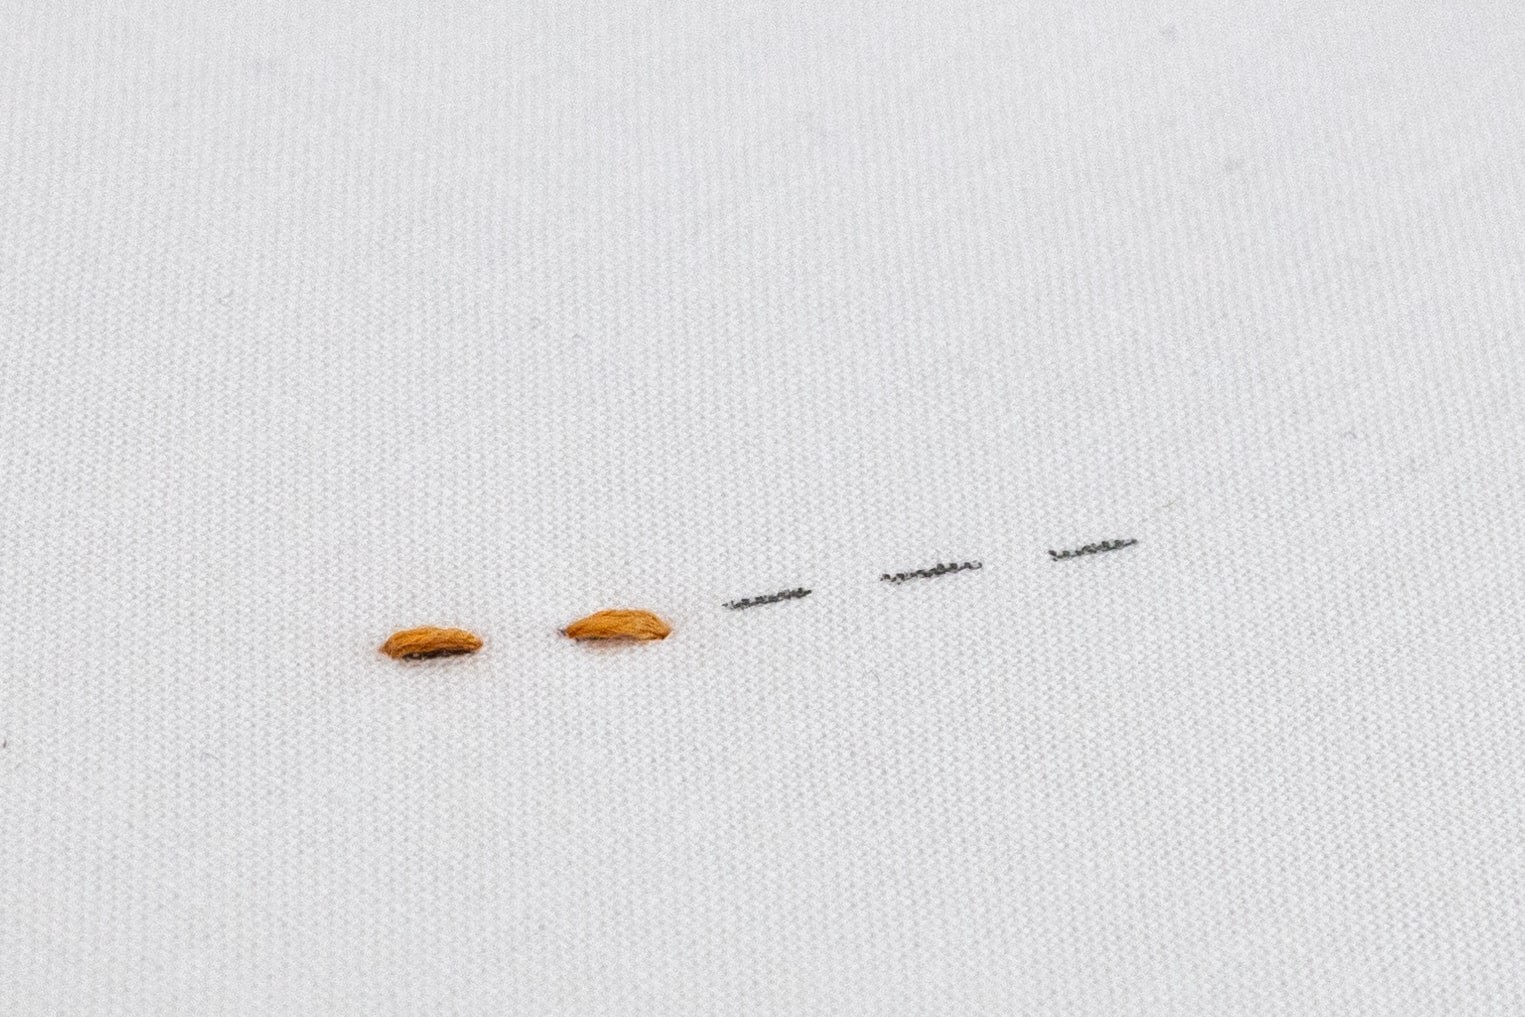
Step 7
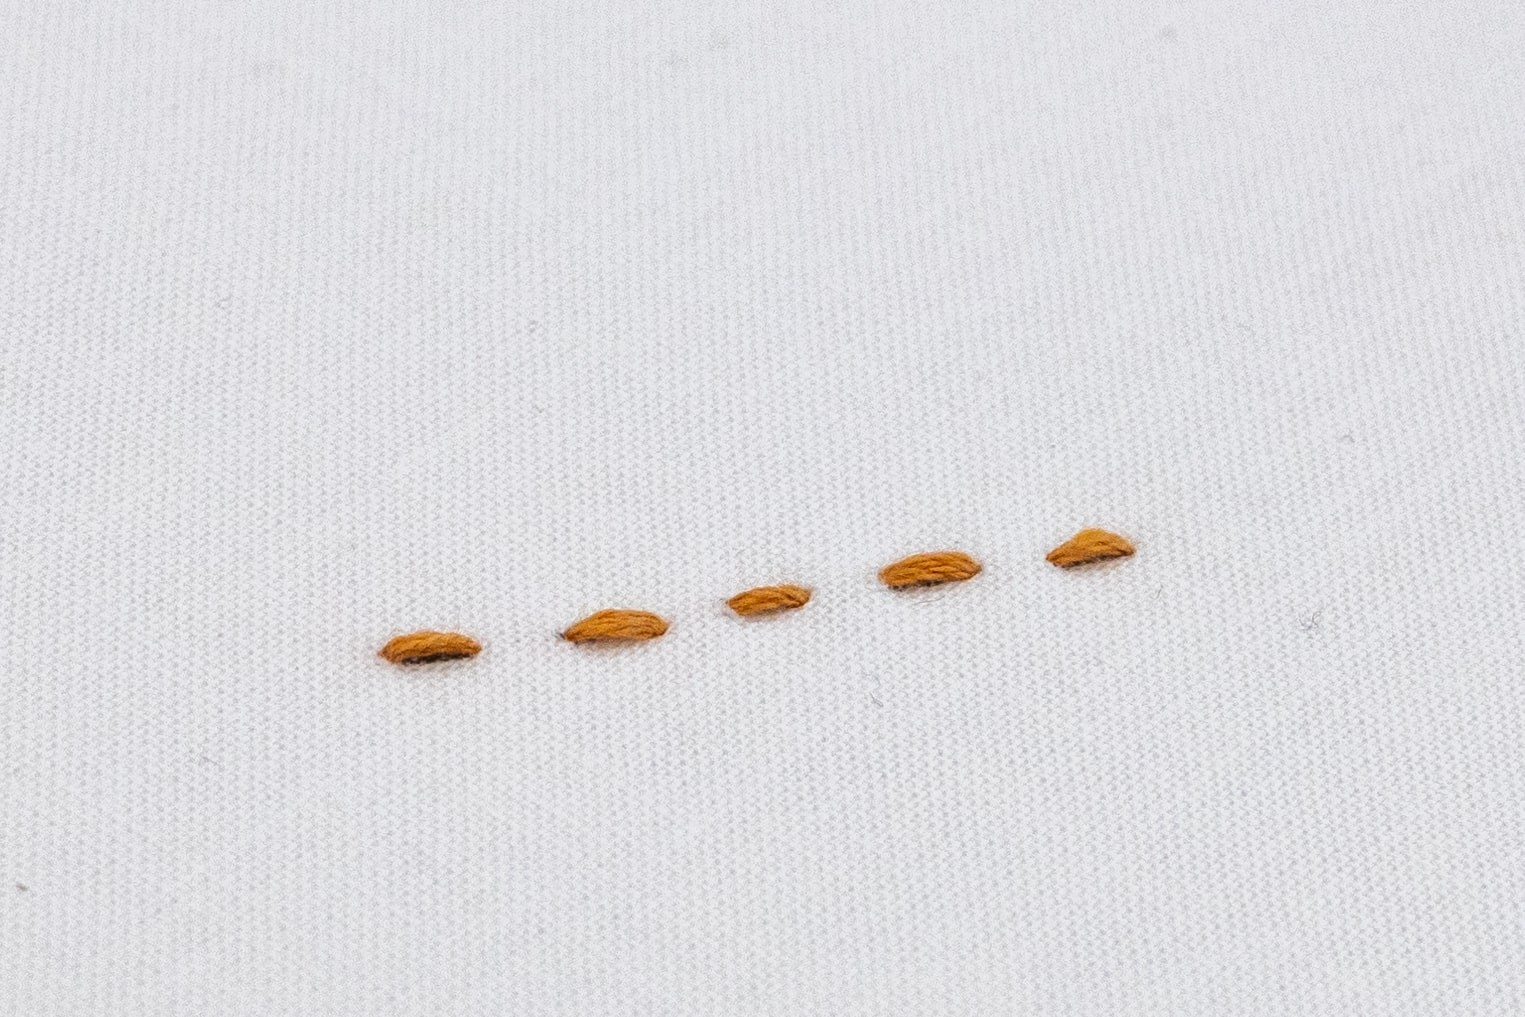
Repeat this technique, and you'll notice your dashes creating a line.
Step 8
When you've finished stitching, secure and tidy away your thread, using our usual method.
Running Stitch Tips:
Stitch and Space Lengths: Keeping these consistent gives things a lovely uniform look. But guess what?You're the boss – so feel free to mix things up. Play around with shorter or longer stitches, and spaces in between, for some cool variations.
Conclusion
Woo-hoo, I am so happy that you can now do a running stitch that you can use to create lines within your embroidery patterns. This stitch is one of the easiest modern embroidery stitches to learn, so it is the perfect place to start on your modern embroidery journey.
So there you have it, a rundown of my steps and top tips so that you can create your own wonderful running stitch. Congratulations!
What's next?
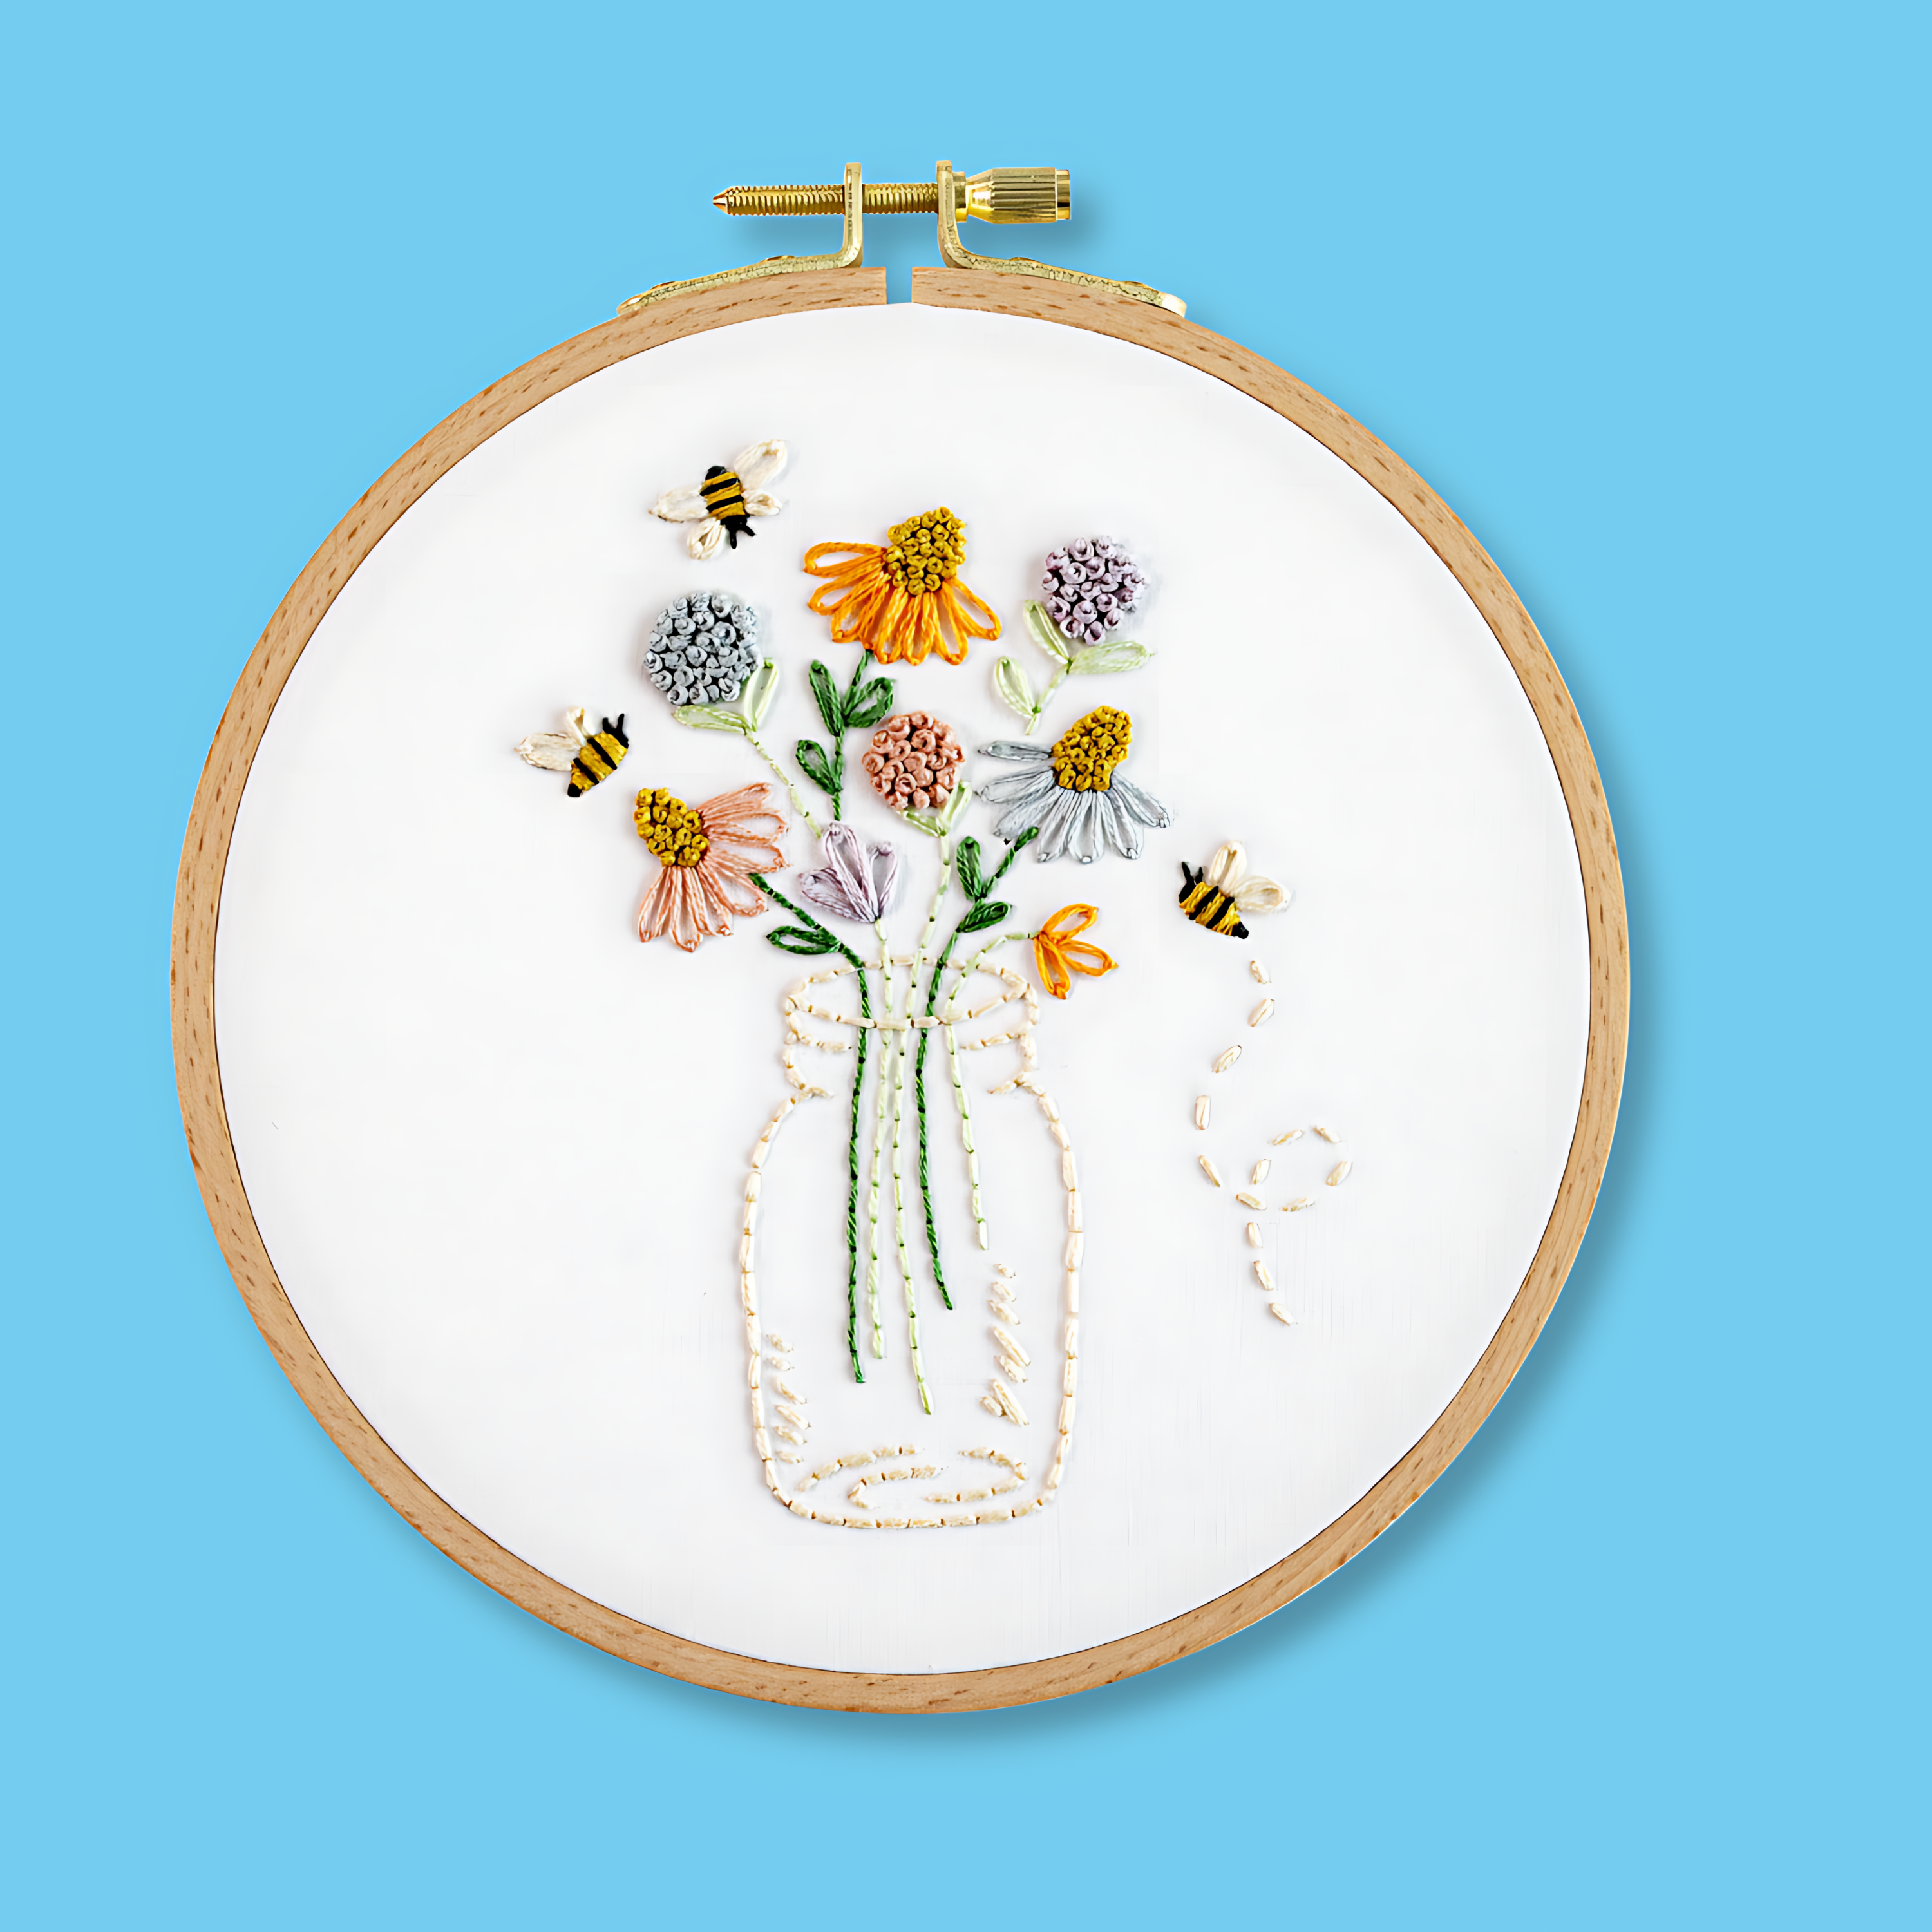
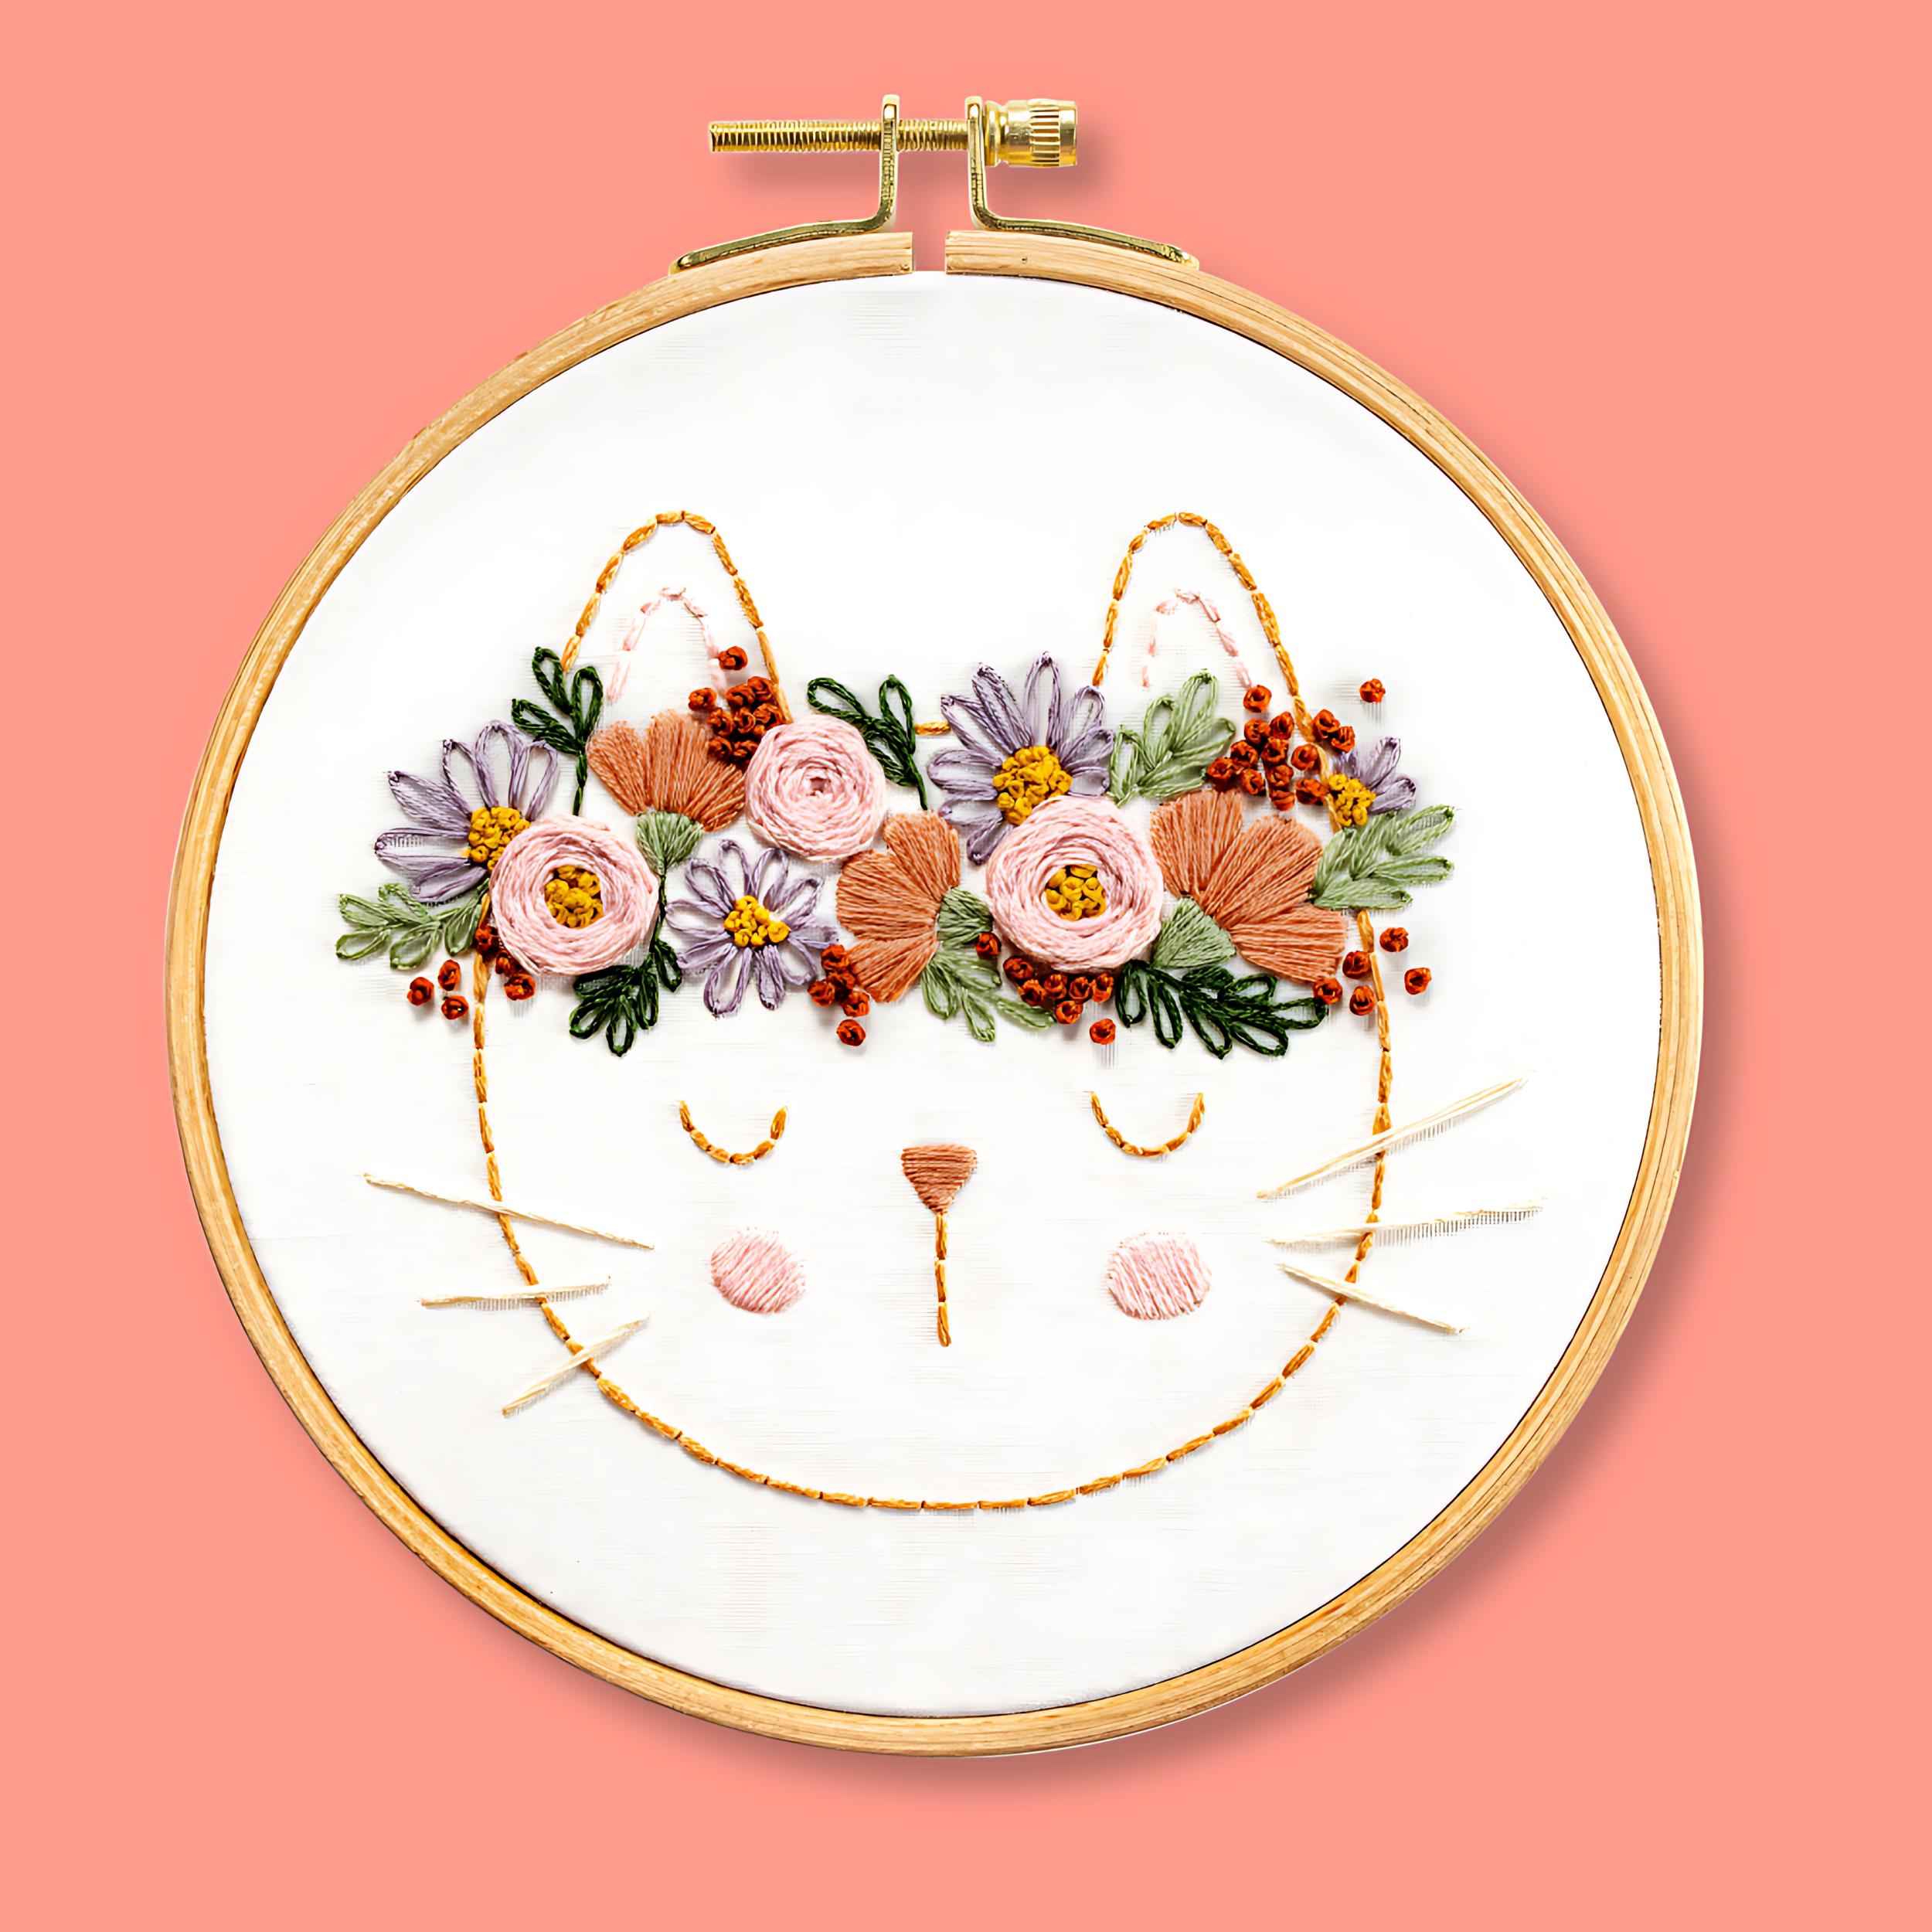
Our beginner embroidery kits are a favourite among new stitchers for their simple, step-by-step instructions and beautiful designs that make learning easy and fun. Whether you’ve been wanting to learn embroidery or are just searching for your next creative hobby. These kits are the perfect introduction to embroidery.
Why people love our beginner kits:
-
Everything you need is included: fabric, thread, hoop, and more!
-
Clear instructions to guide you every step of the way.
-
Gorgeous designs you’ll be proud to display.
Our most popular beginner kits