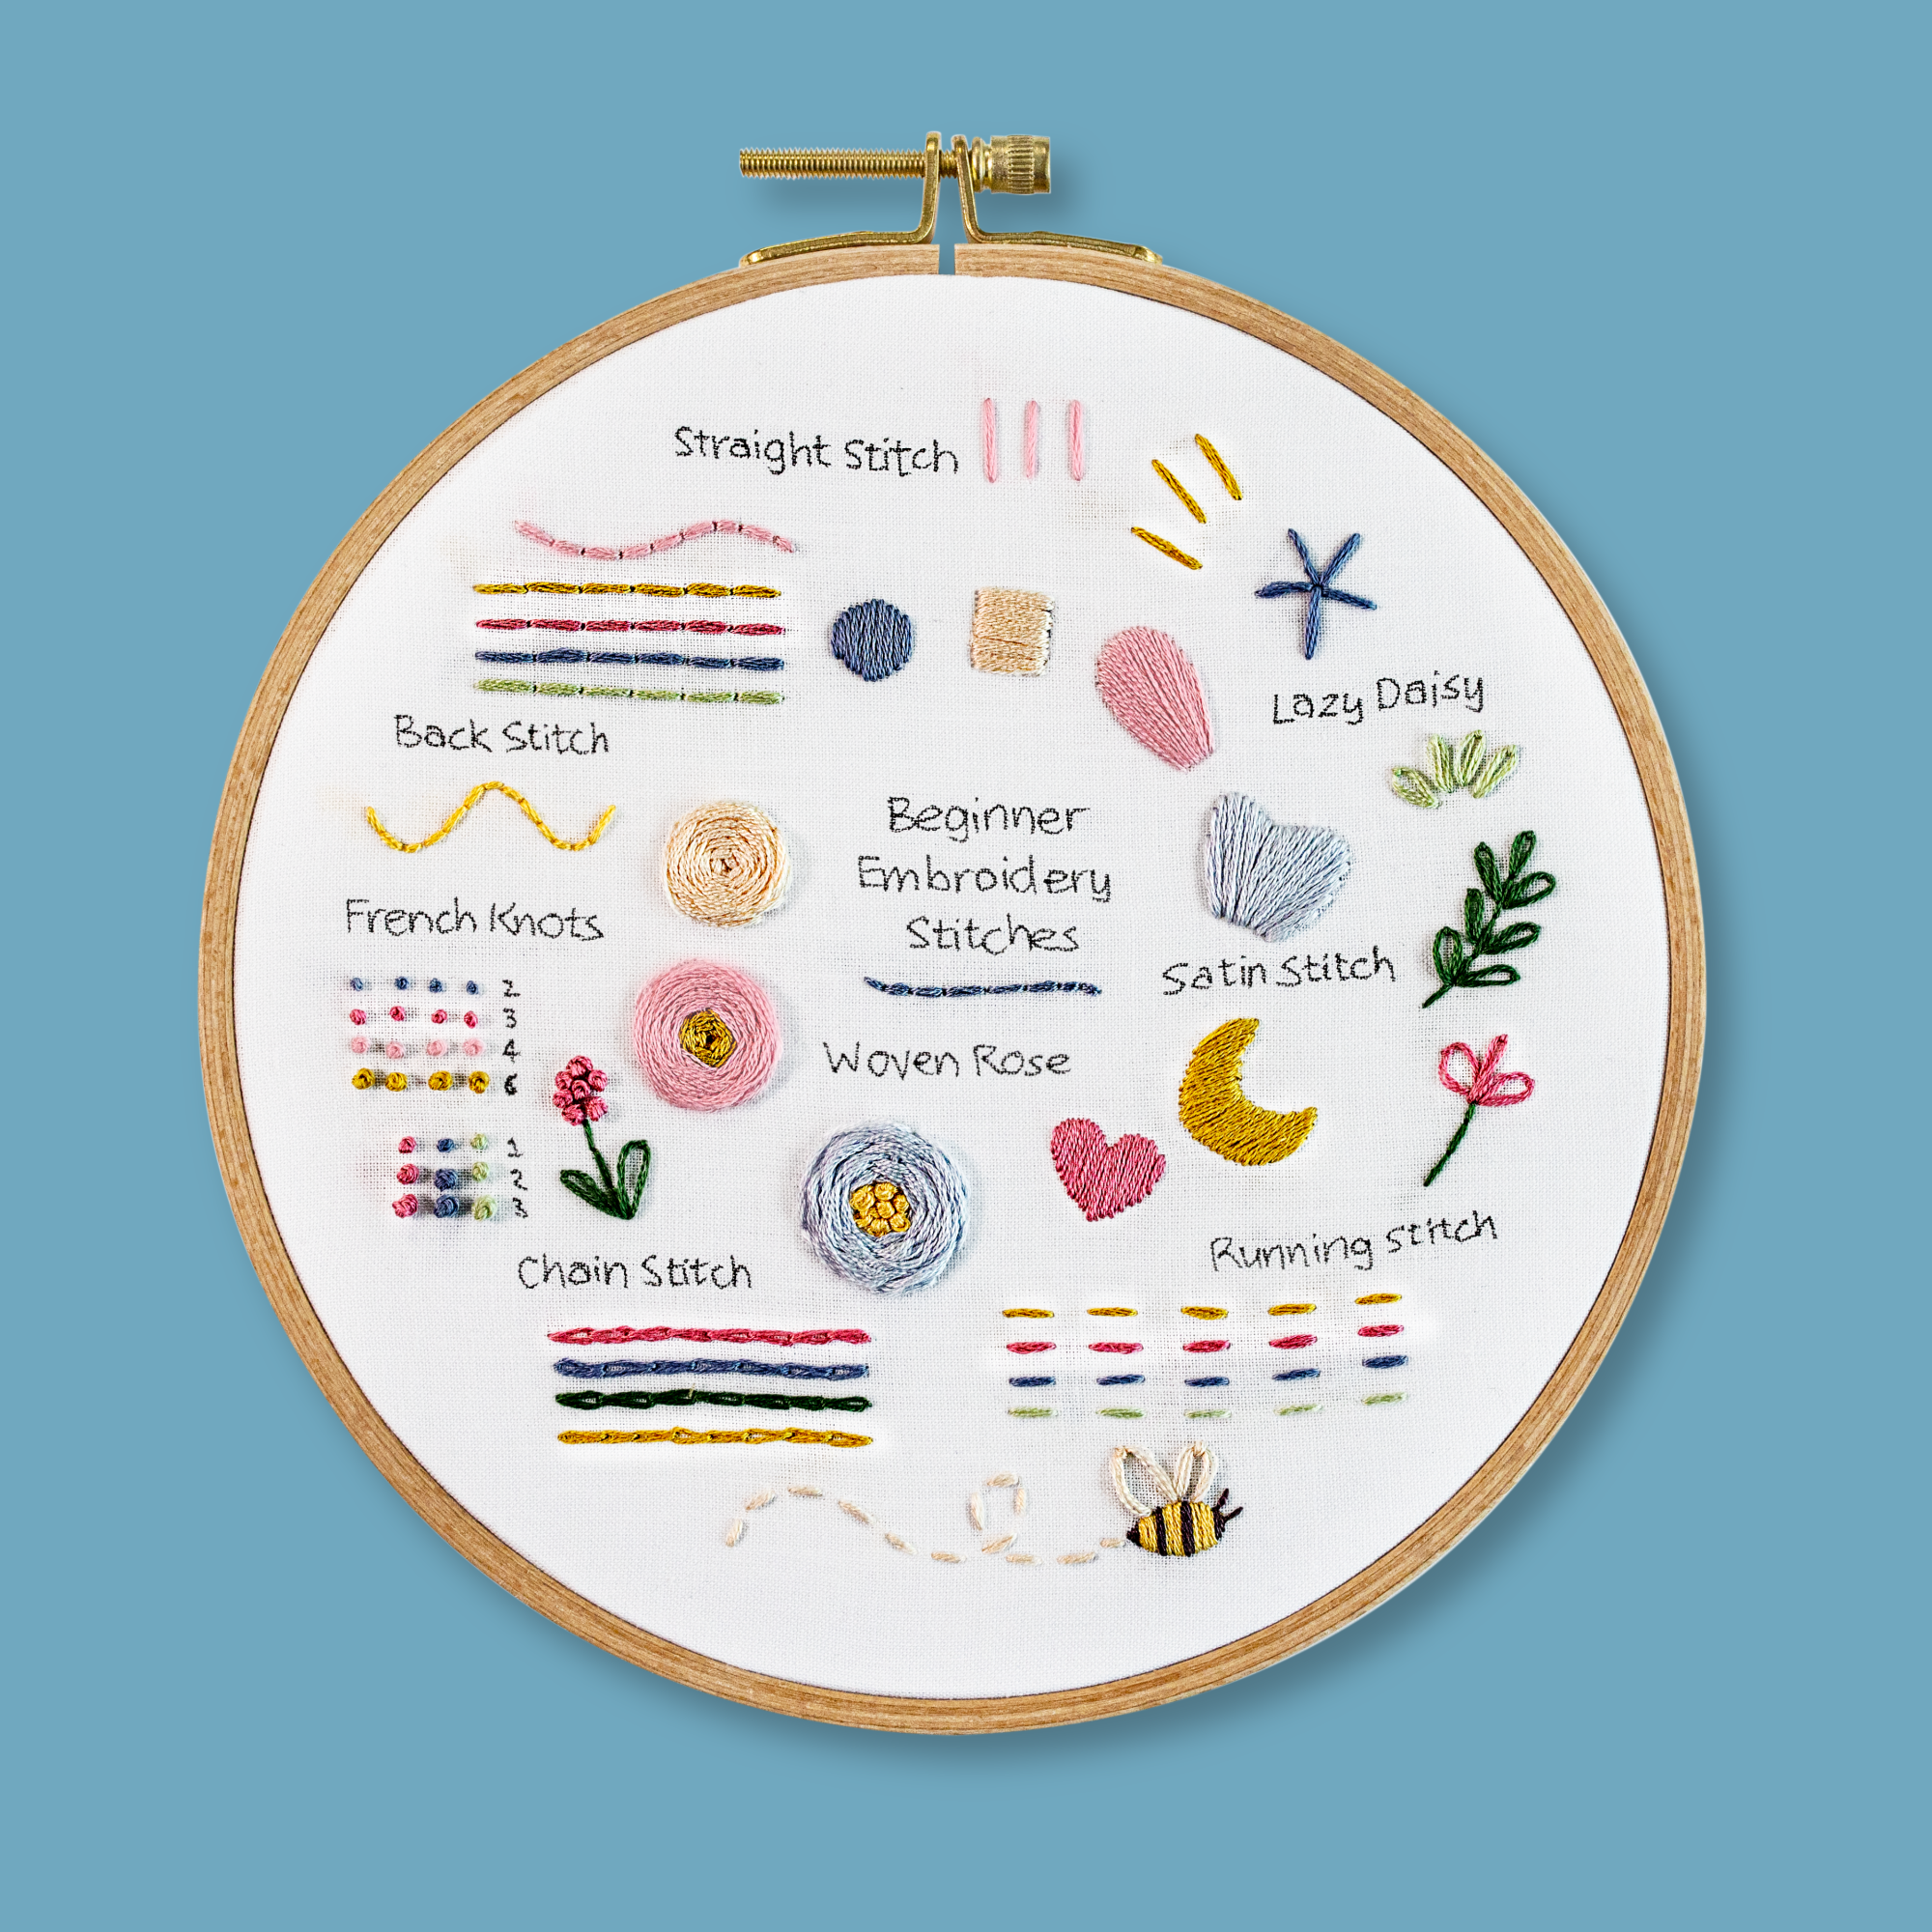

Dressing Your Hoop - Learn This Modern Embroidery Technique
Introduction
It’s helpful to secure your fabric nice and tight in the hoop, so that it’s enjoyable and easier to stitch on. This process is also known as preparing or loading your hoop. After practicing this a few times, it will become second nature.
So let's learn how to dress your hoop!
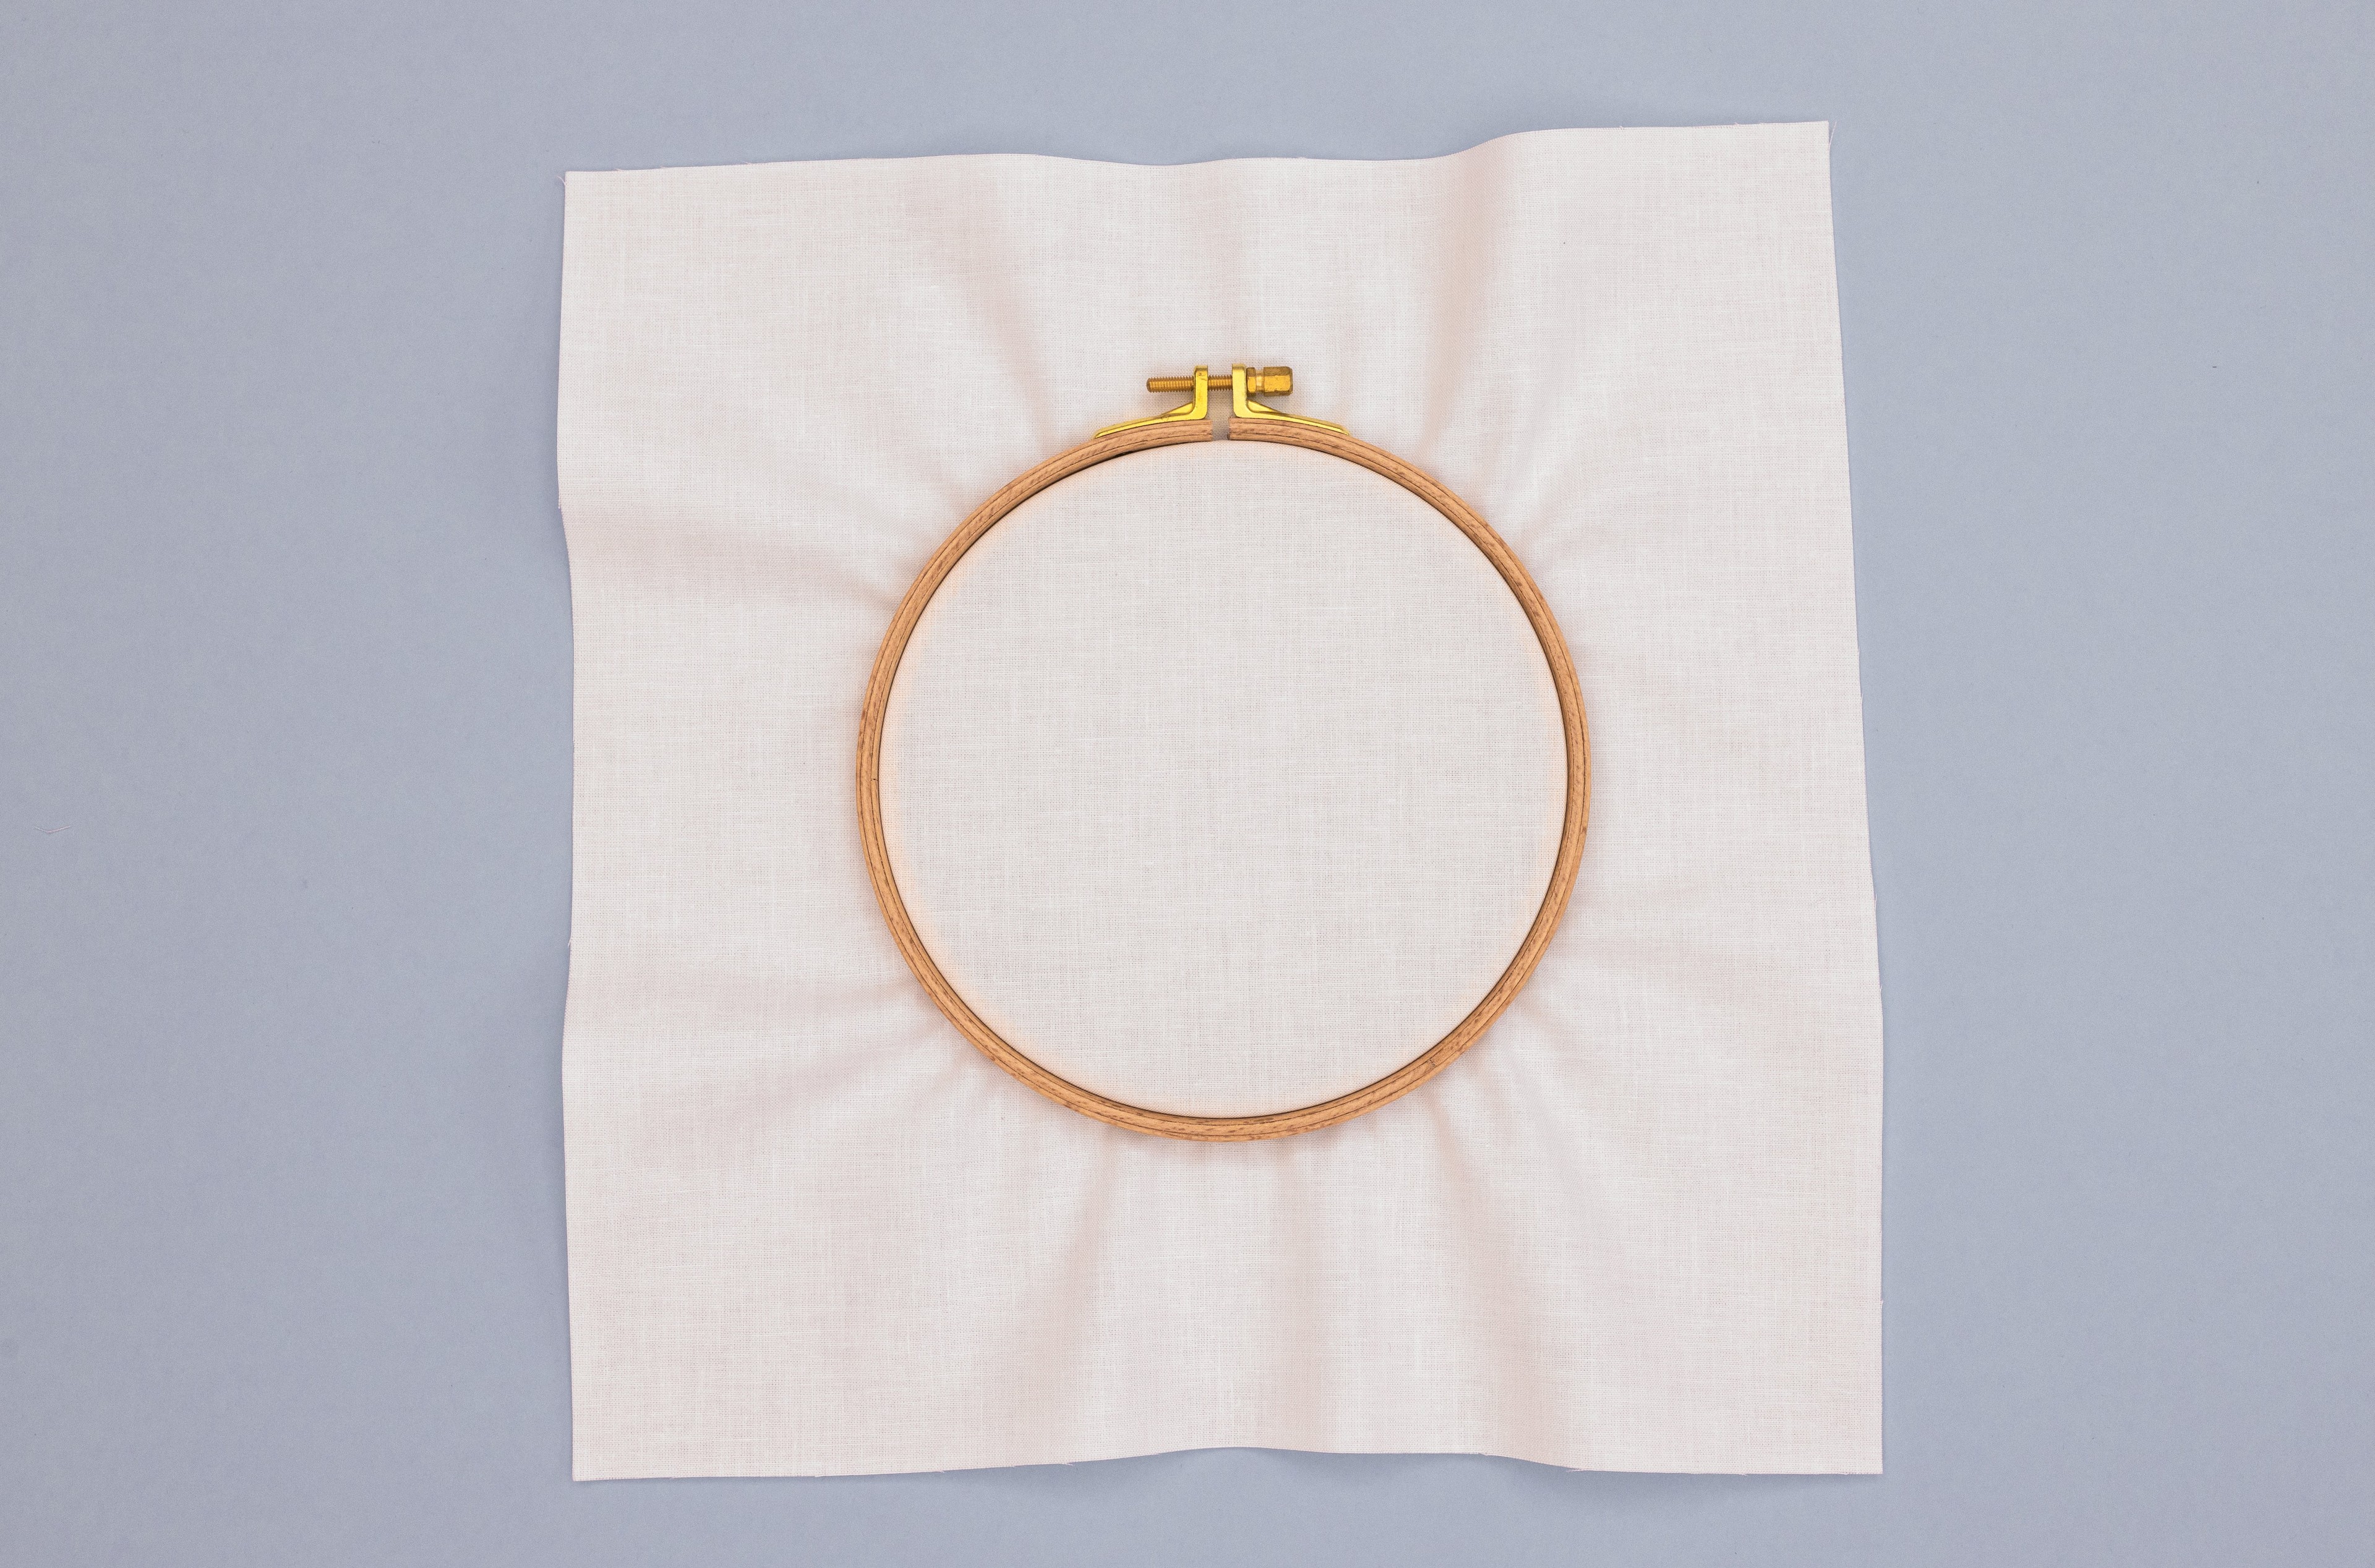
Step 1.
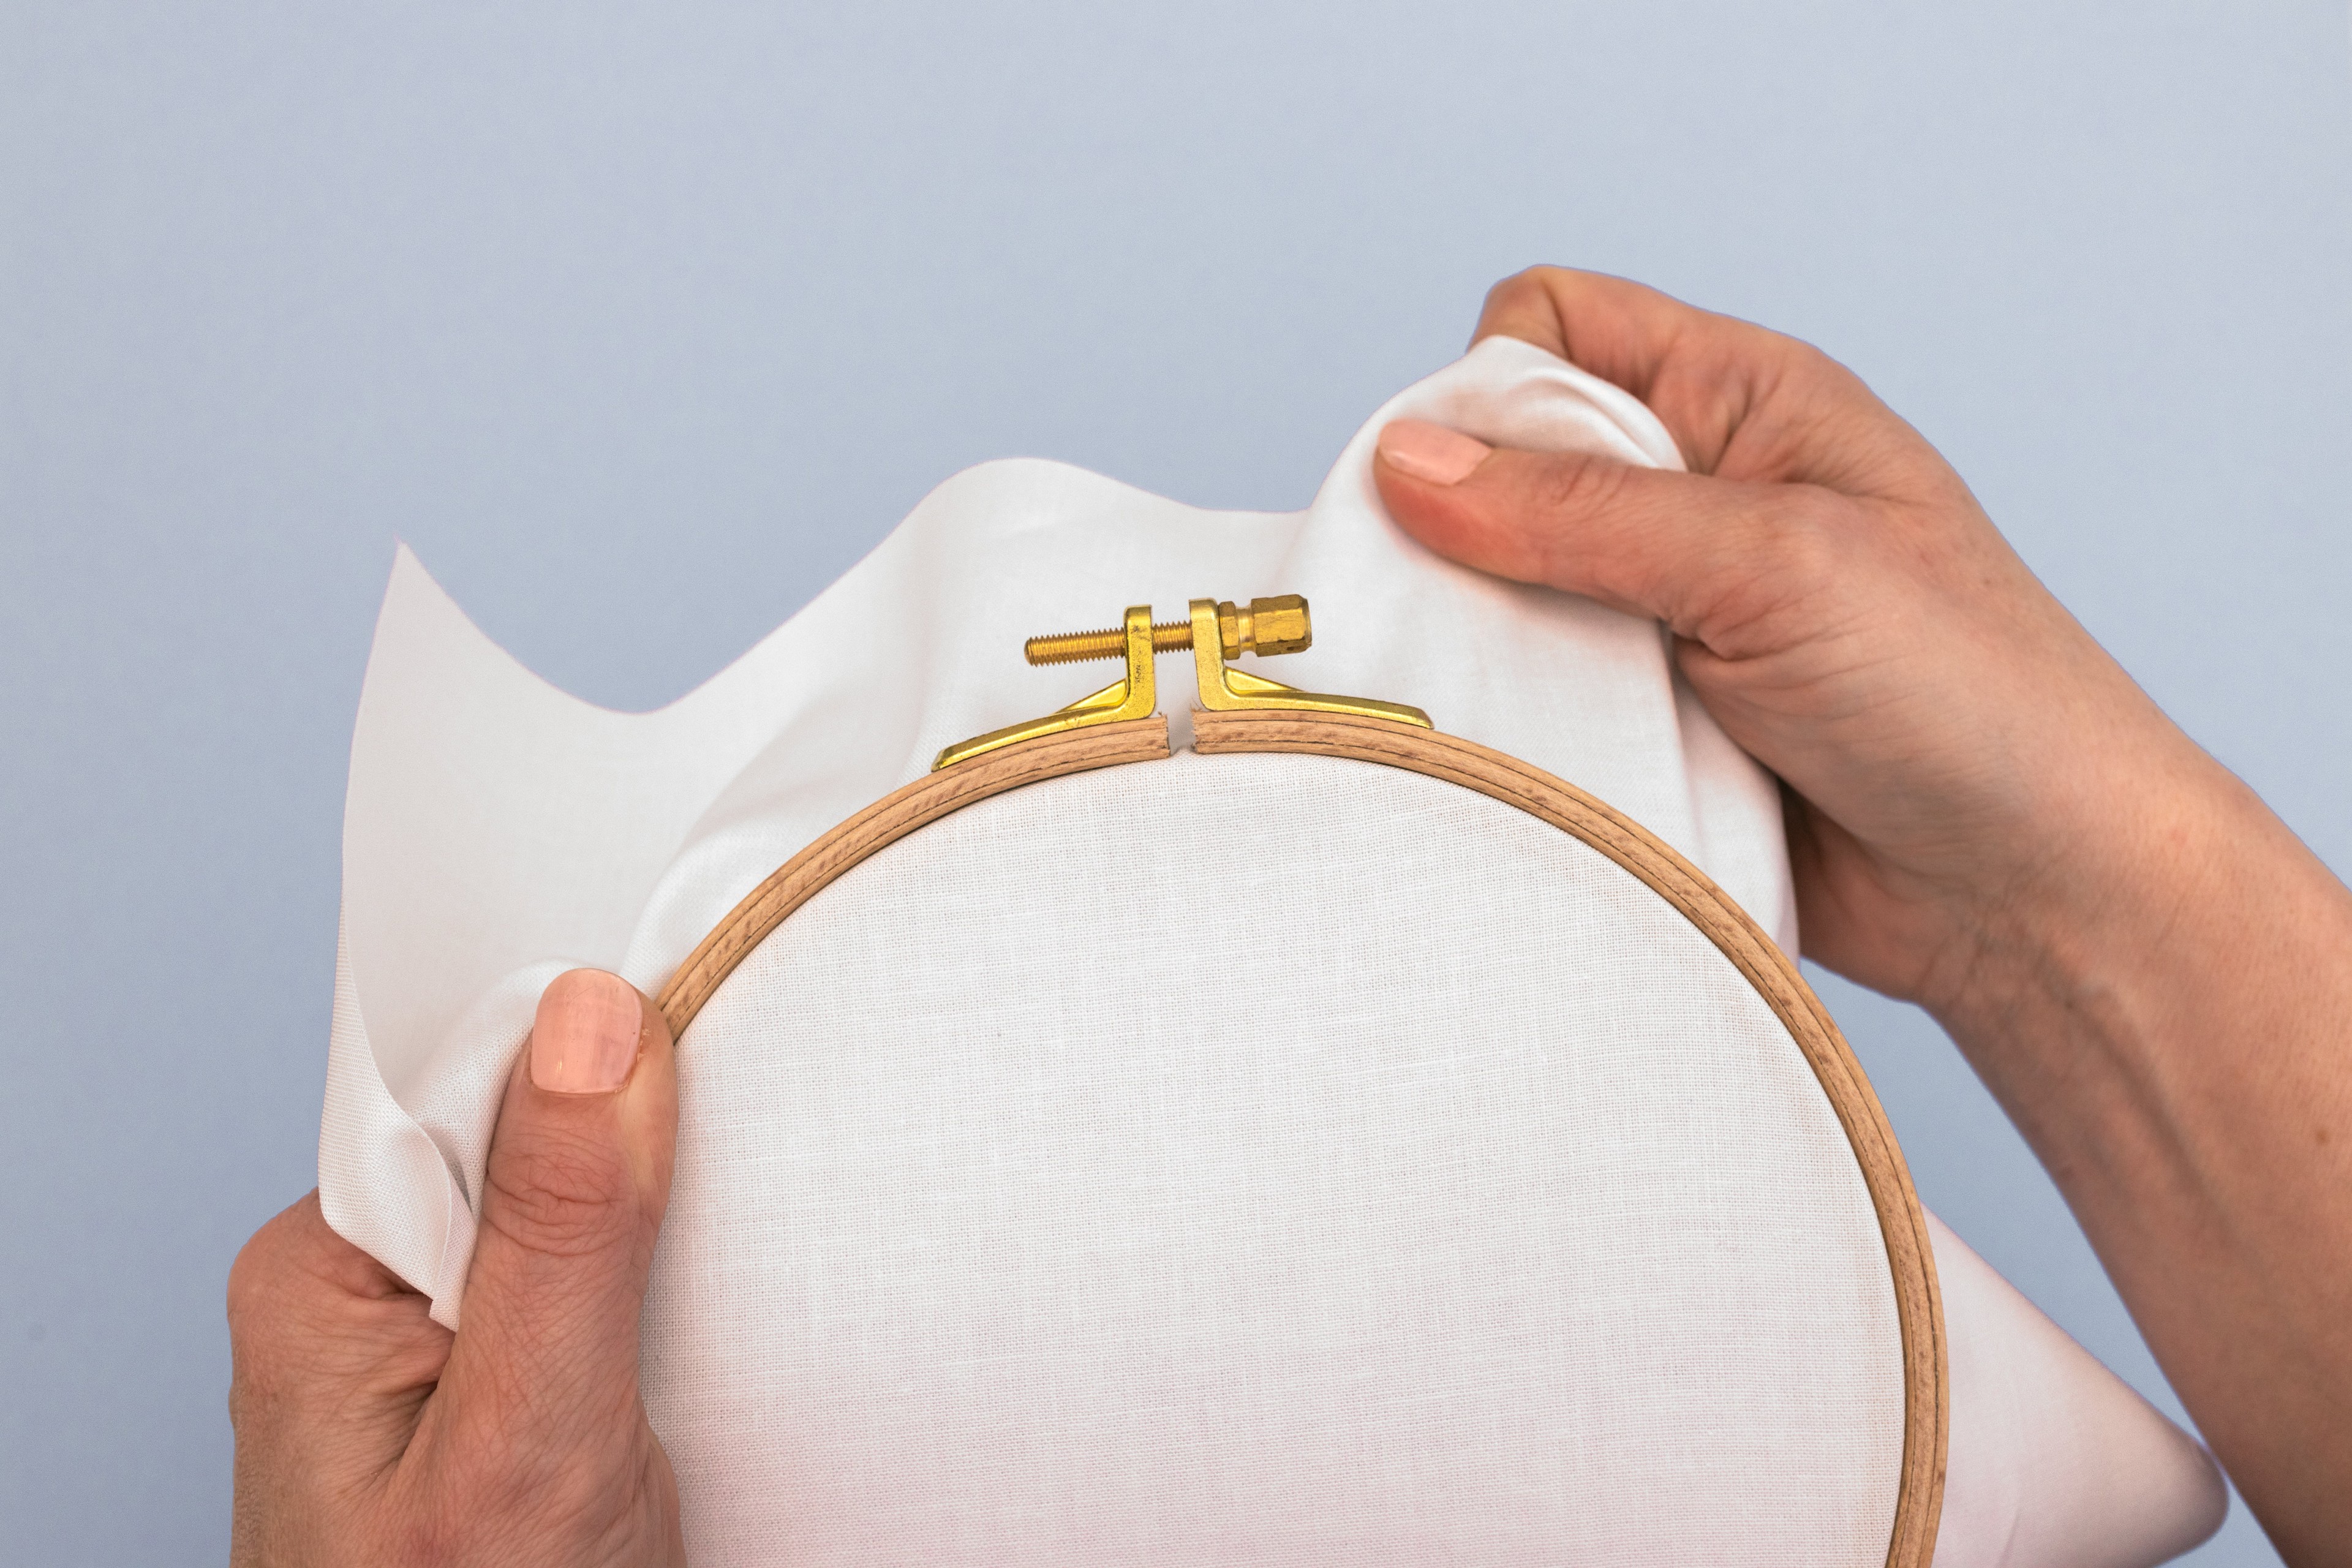
Loosen the screw of your embroidery hoop, separate the two sides, and place the inner hoop on your flat work surface.
Step 2.
Place your fabric (centred) on top.
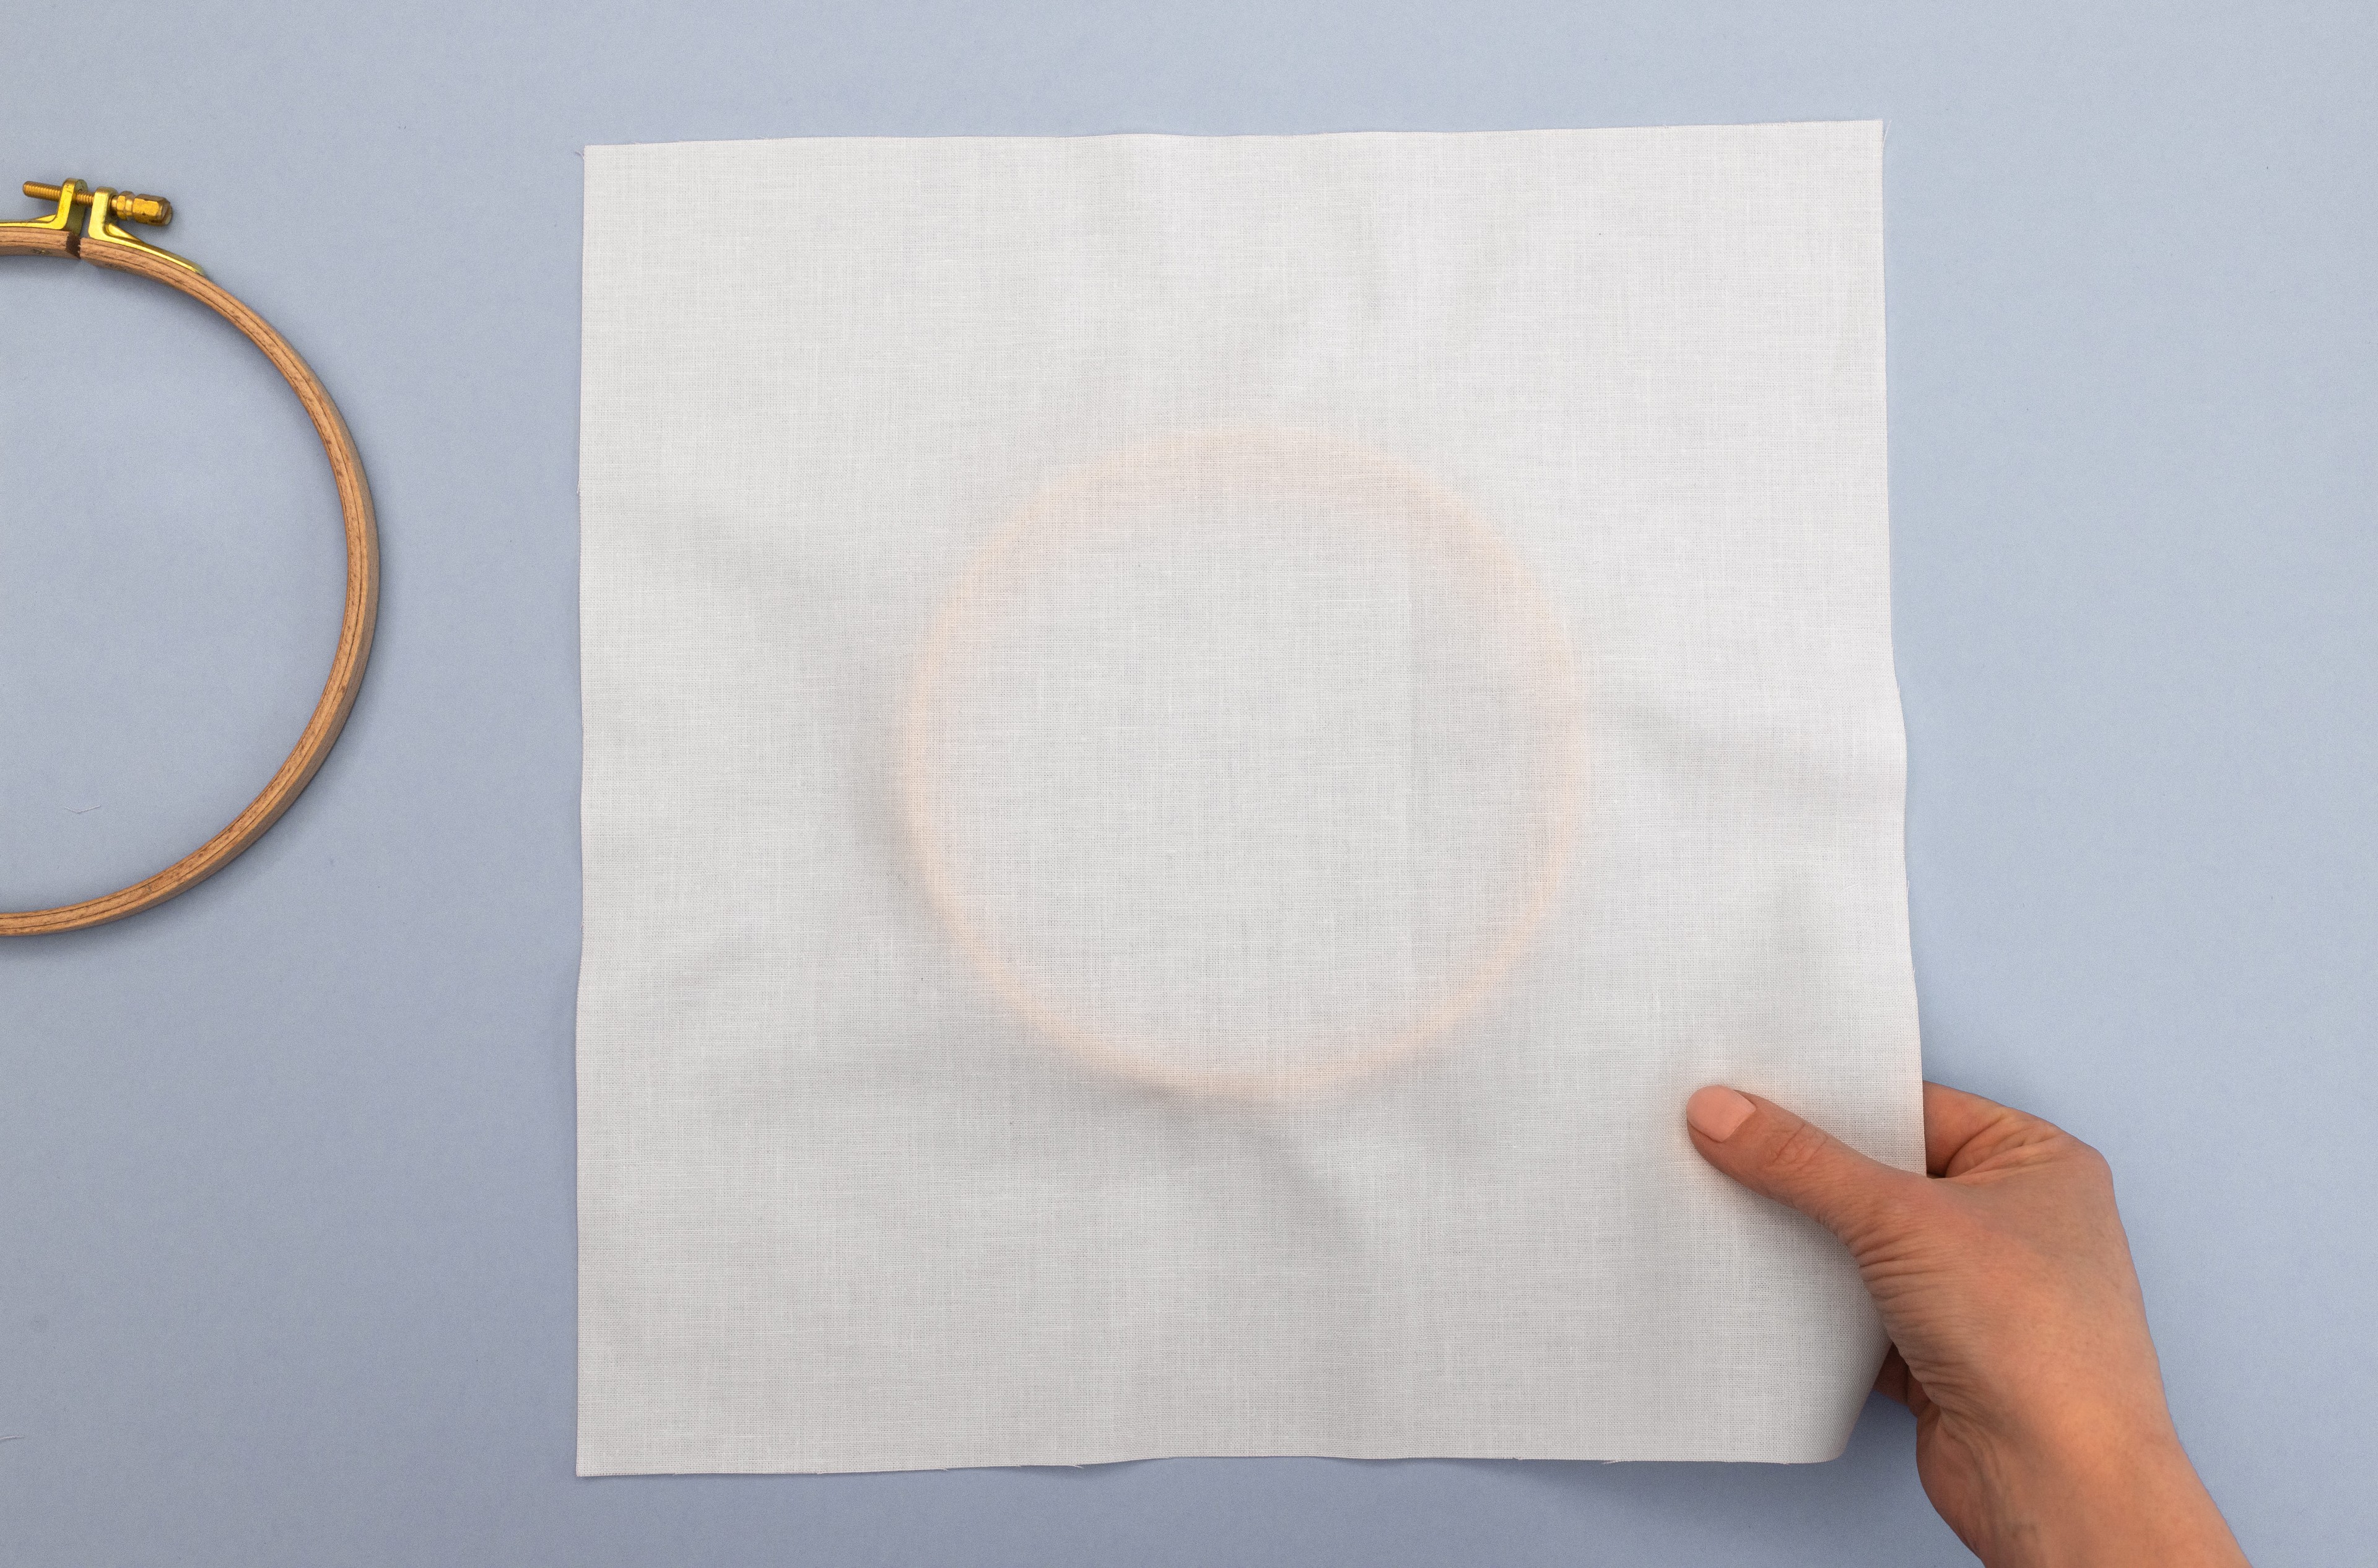
Step 3.
Unscrew the larger outer hoop quite a bit, then place it over the fabric so that it slots over the inner hoop, sandwiching the fabric in between.
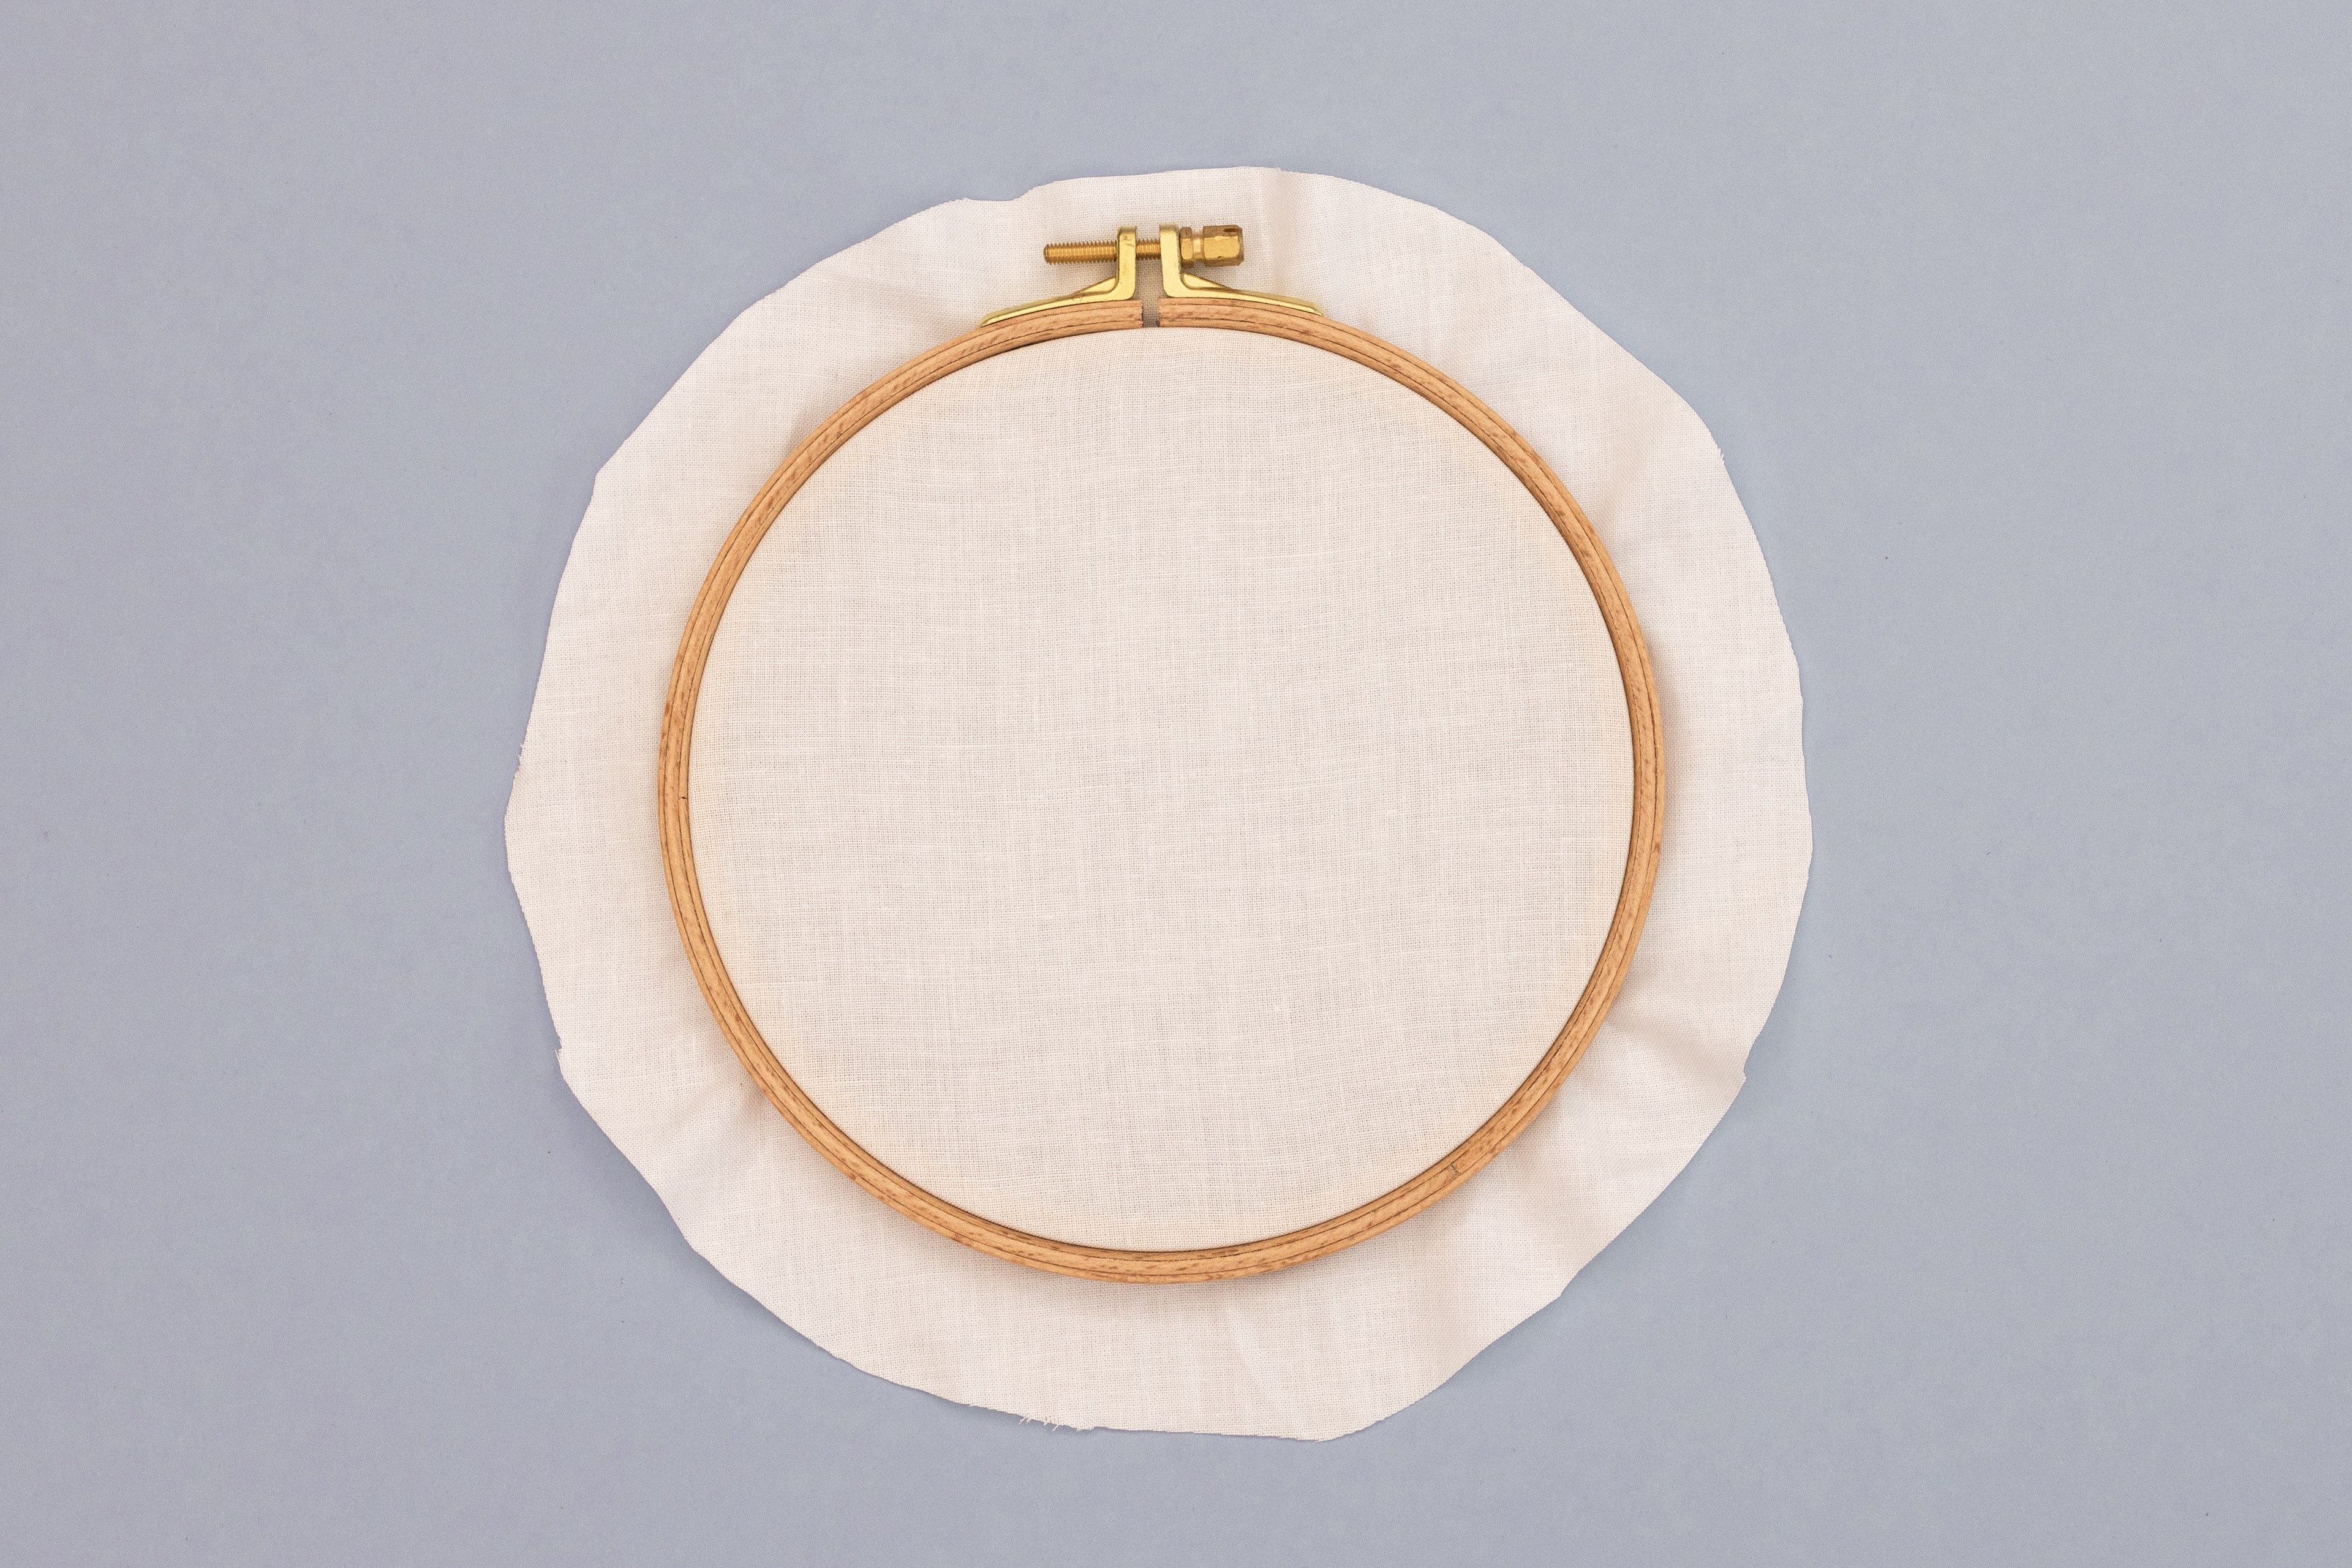
Step 4.
Now go around the hoop, pulling the excess fabric beyond the hoop, and slowly tightening the screw as you go. Keep doing this evenly around the hoop, until your fabric feels as tight as a drum.
TIP: To check if it’s tight enough, pop your hoop on your flat work surface, then gently press down in the centre with your flat palm. If you can easily touch the work surface underneath, then tighten things up some more. If there’s a decent amount of resistance, then it will be about right! Do a final twist of the hoop’s closure to secure everything in place – tighten with your screw-driver if possible.

Step 5.
Trim your fabric so that an excess of at least 1 inch (or 3 cm) extends beyond the hoop.
Note: For more advanced projects (like stitching on clothing, accessories, stretch fabrics, or large-scale pieces), you’ll need to tweak this process to avoid issues like hoop burn. But as a beginner, don’t worry about that for now!
Video examples
In this video, I’ve shared my tip about tightening the fabric in the hoop, which I think you'll find really helpful.
Conclusion
So there you have it, all the beginner knowledge you need to dress your hoop. This is something you'll do again and again as you keep making embroidery patterns.
I’m so excited for you!
What's next?
Our beginner embroidery kits are a favourite among new stitchers for their simple, step-by-step instructions and beautiful designs that make learning easy and fun. Whether you’ve been wanting to learn embroidery or are just searching for your next creative hobby. These kits are the perfect introduction to embroidery.
Why people love our beginner kits:
-
Everything you need is included: fabric, thread, hoop, and more!
-
Clear instructions to guide you every step of the way.
-
Gorgeous designs you’ll be proud to display.
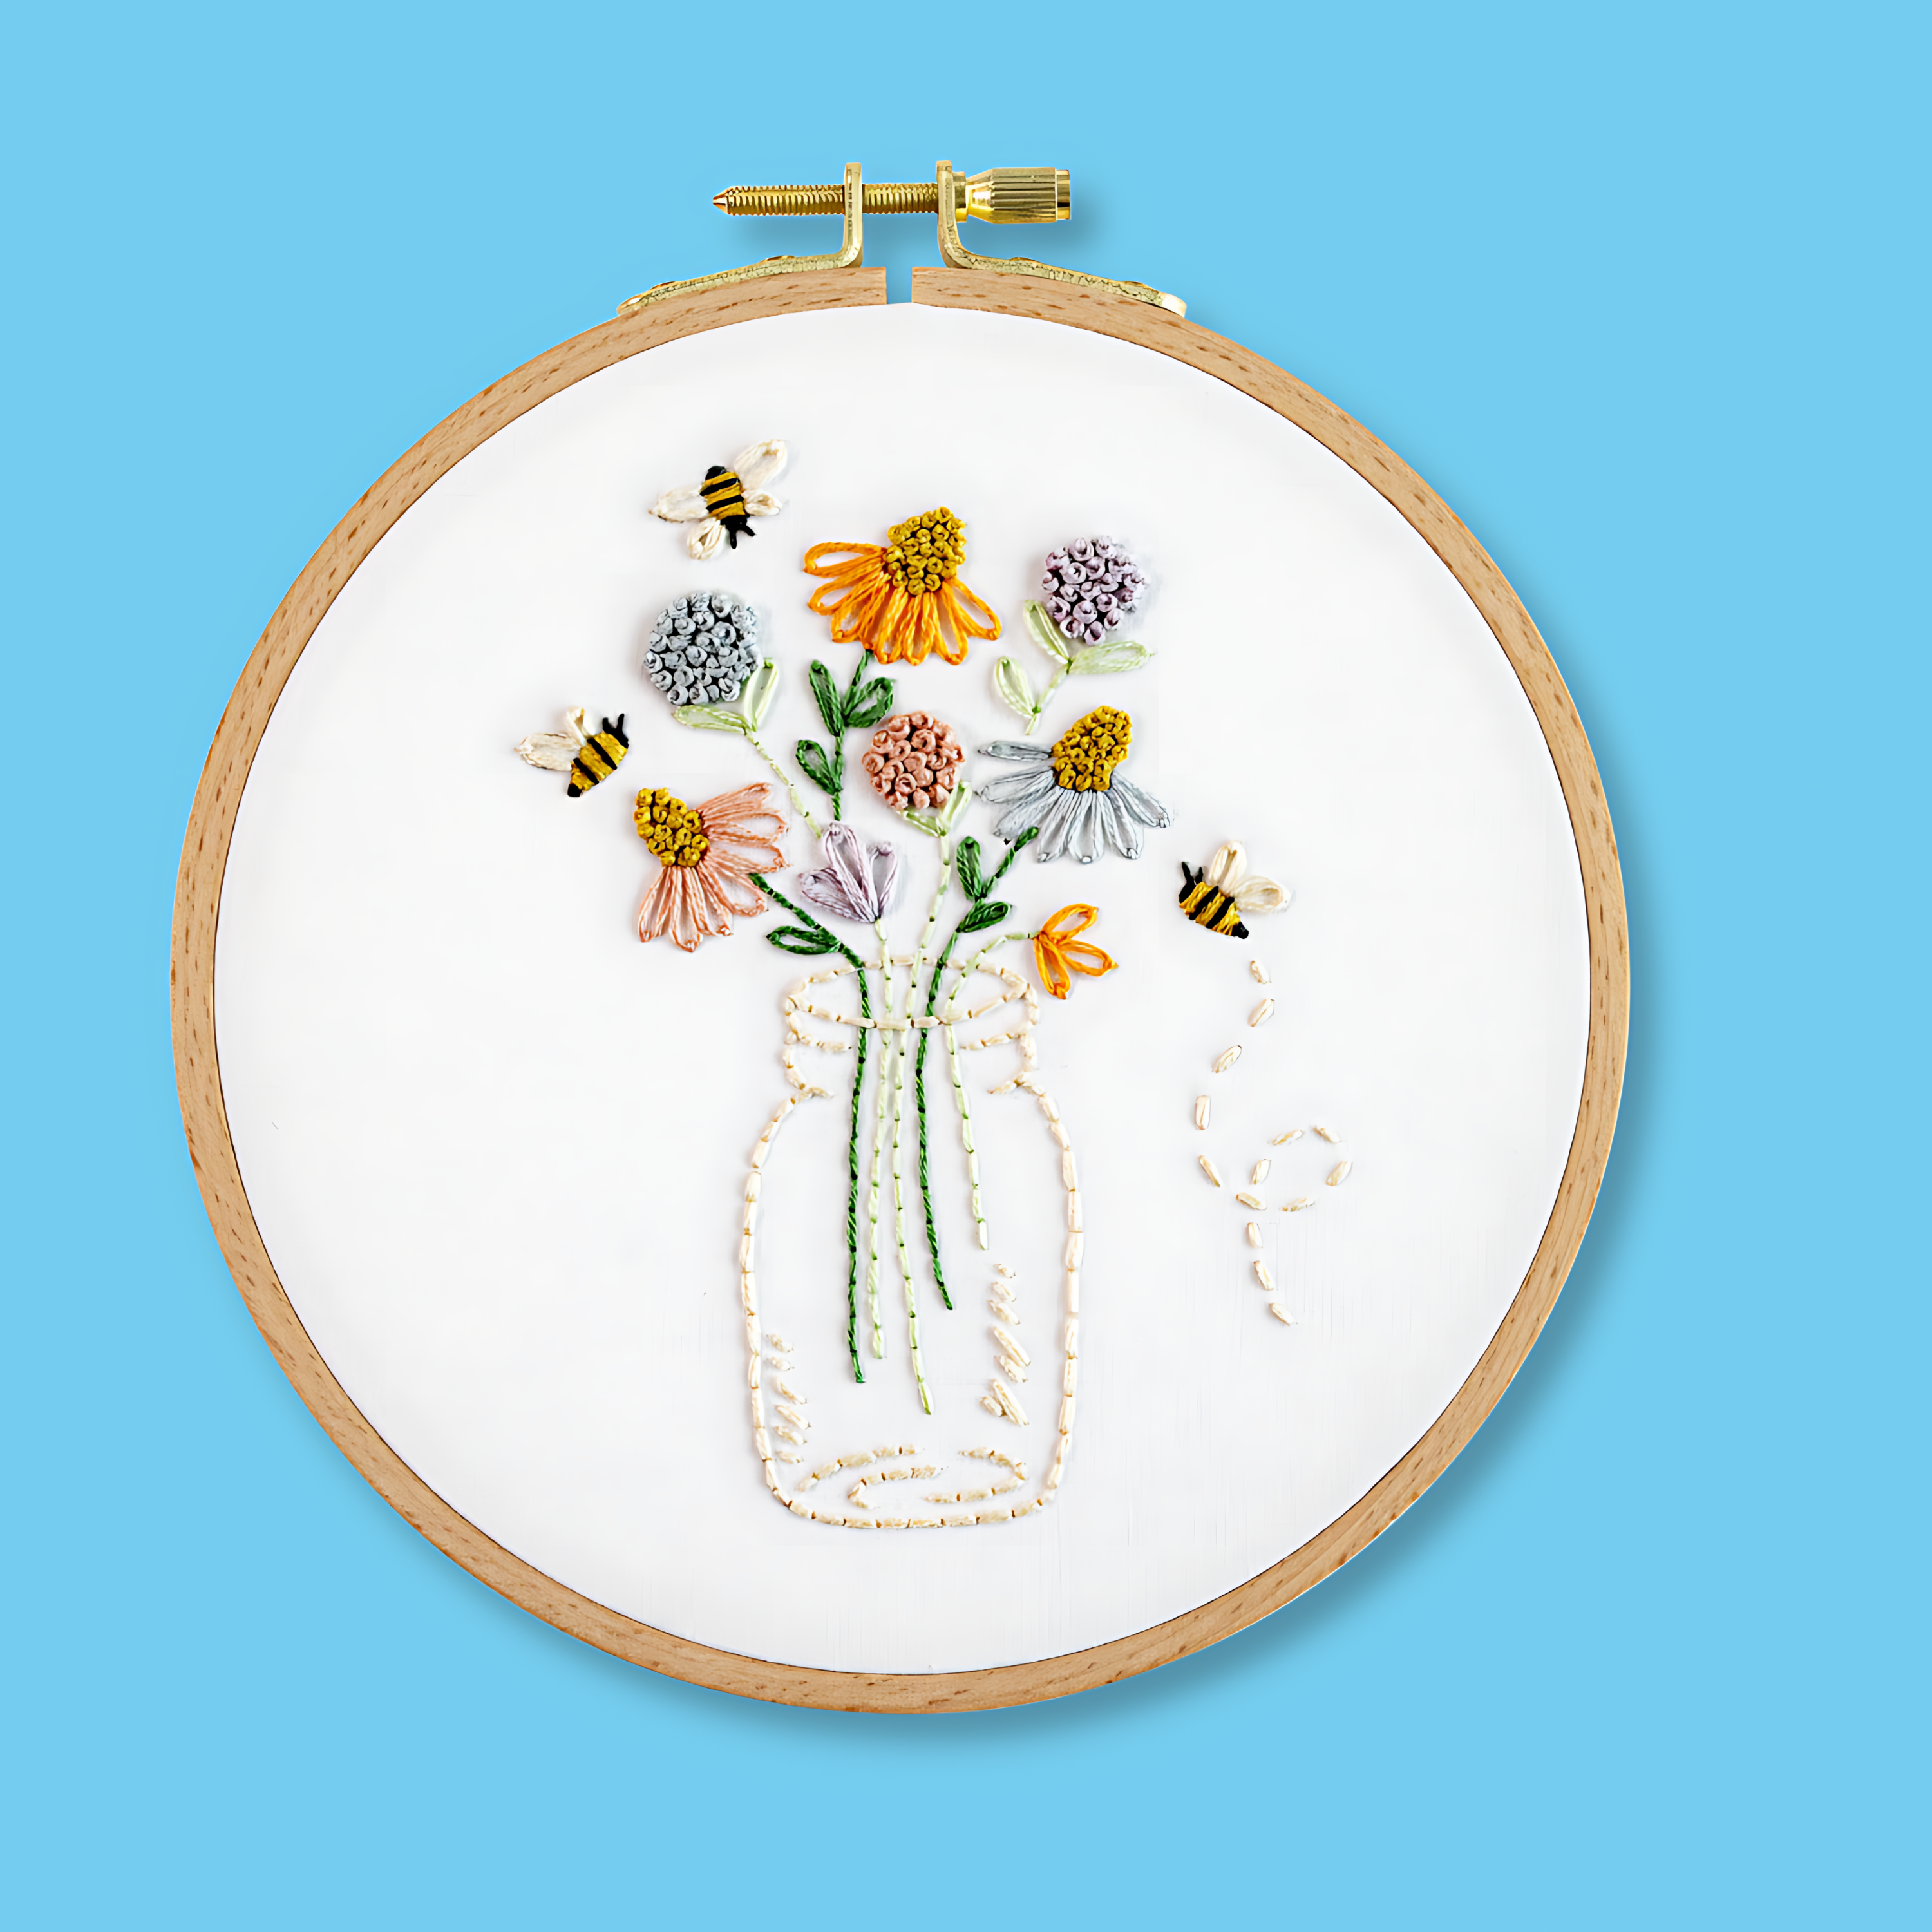
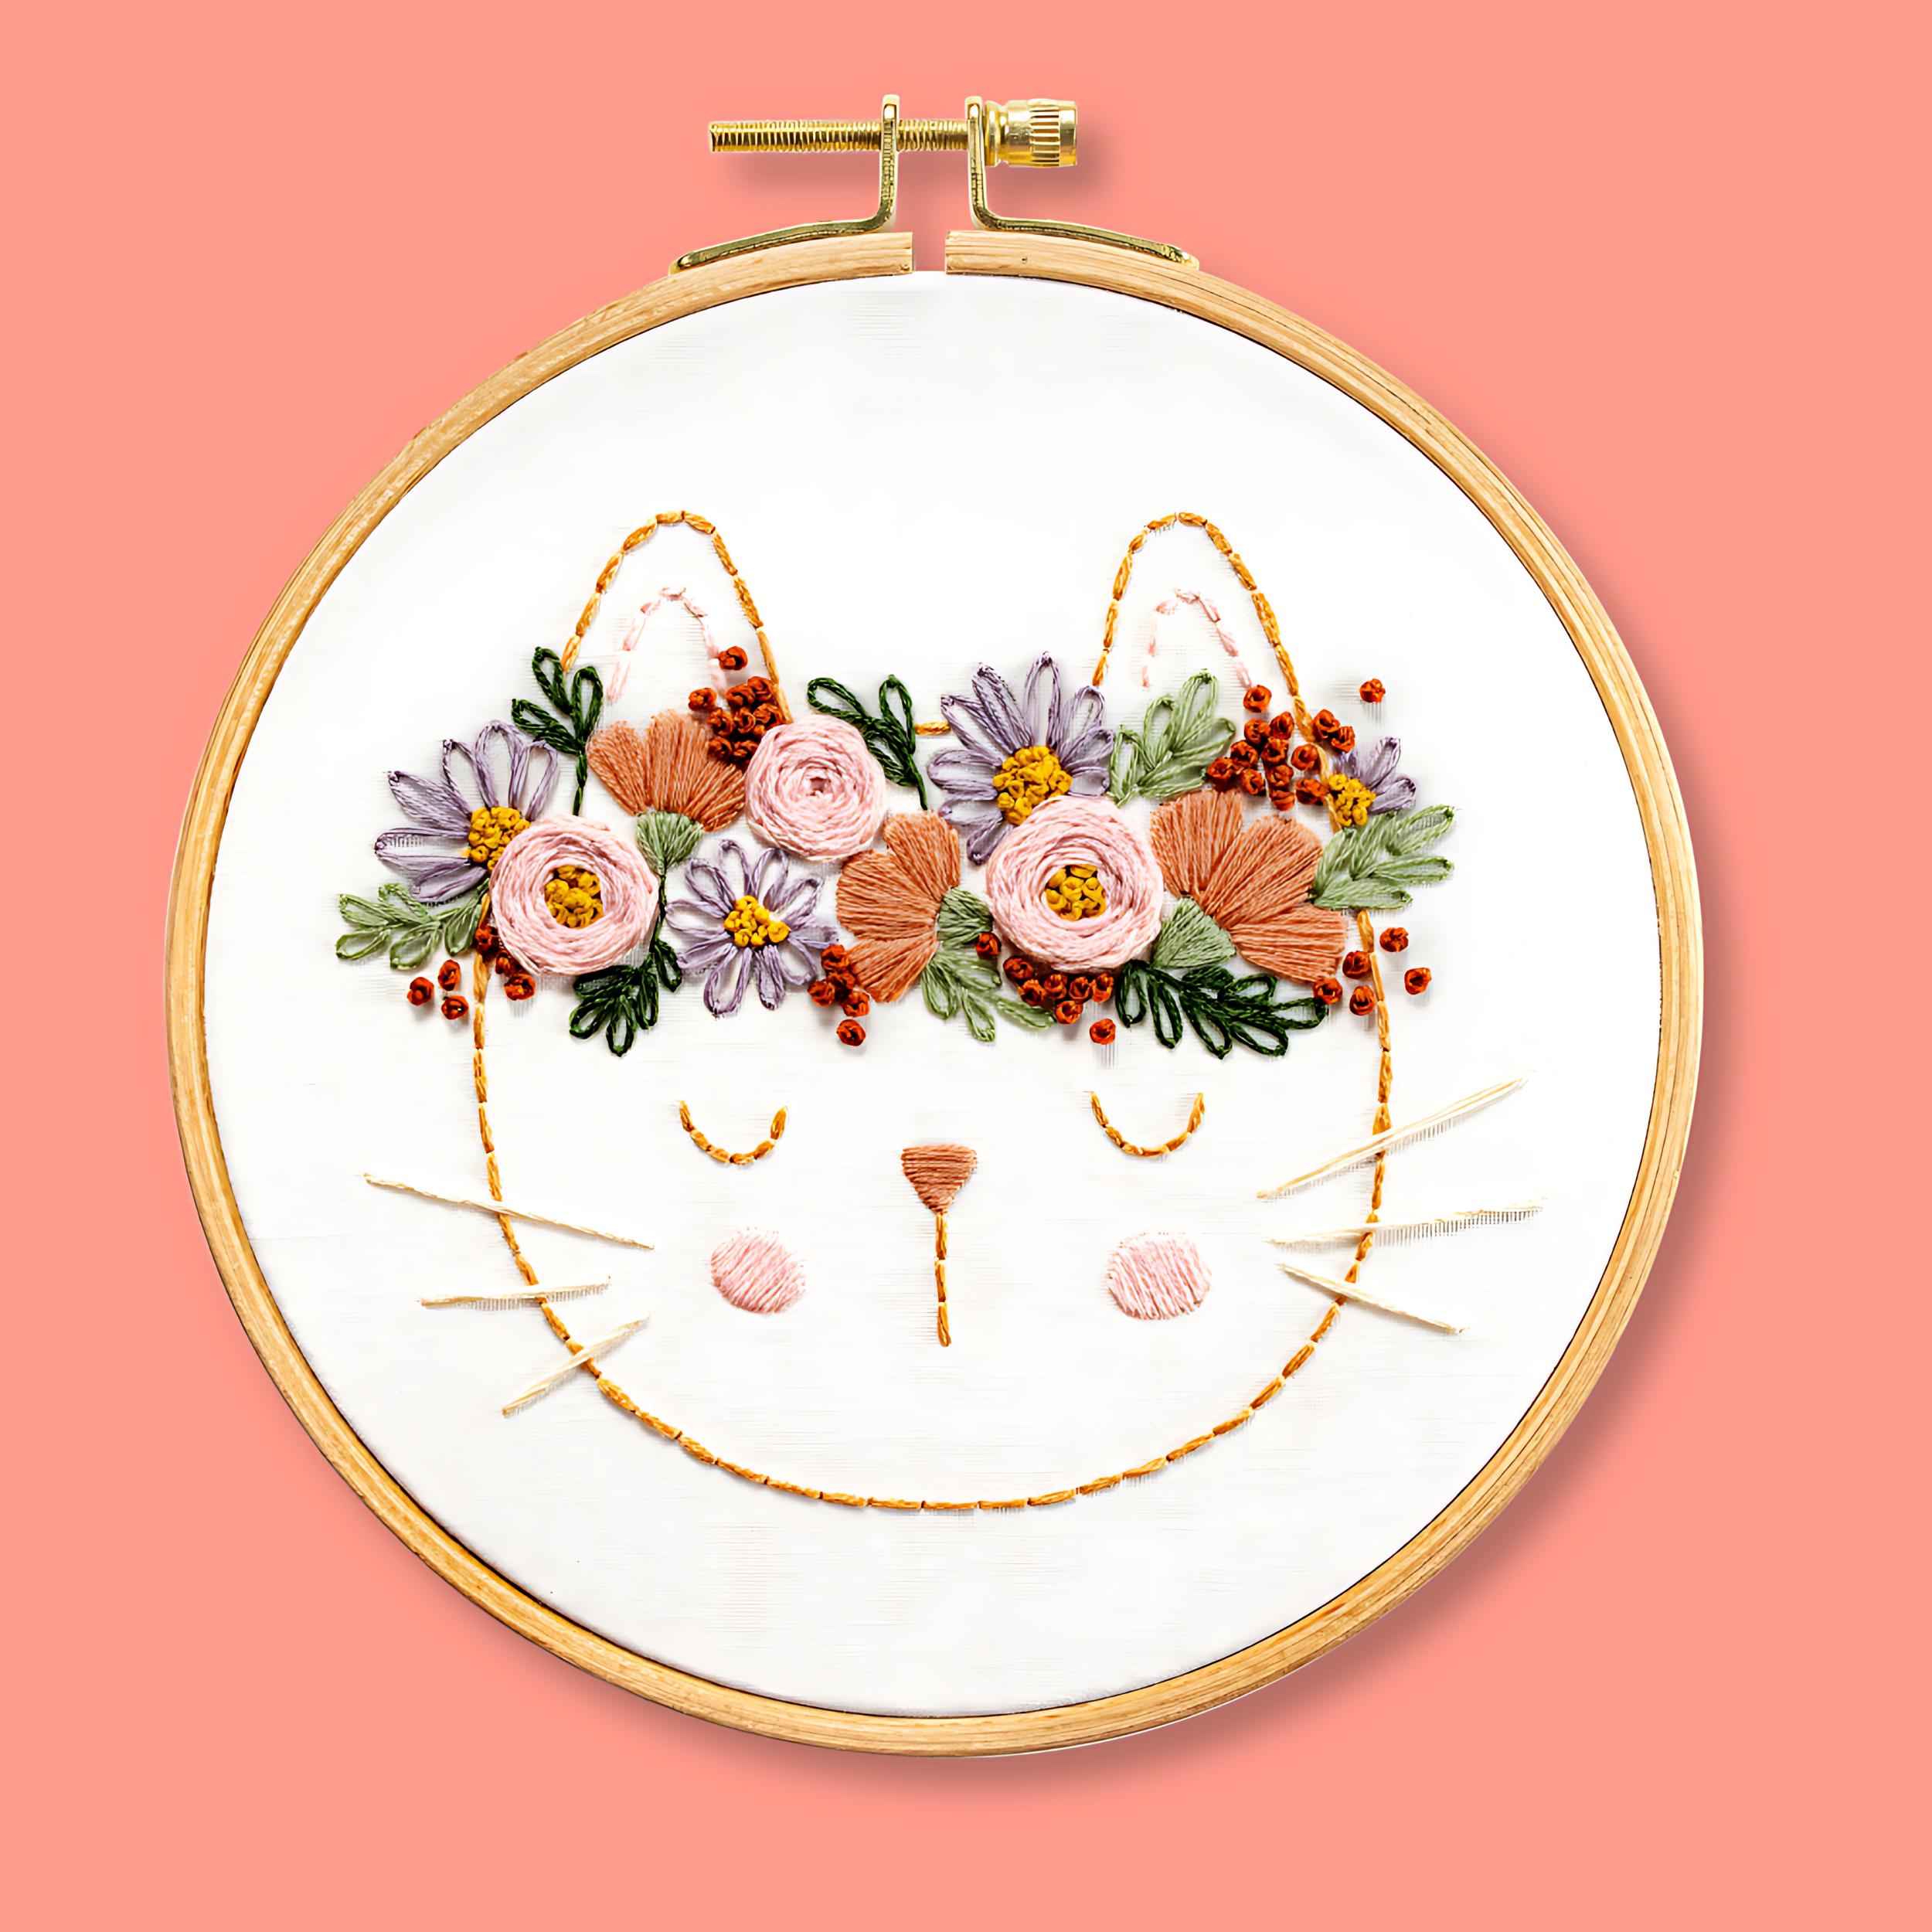
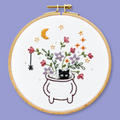
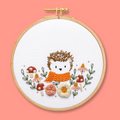
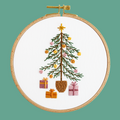
Our most popular beginner kits