

8 General Modern Embroidery Tips
Introduction
Let’s cover some general stitching tips, before you dive into the actual techniques. Then these can sit in the back of your mind as you learn how to embroider.
So, take a deep breath, put your phone to the side, and let's dive into this fantastic world of embroidery together!
This blog will cover:
-
Fabric tension
-
Holding the tail
-
Stitch tension
-
Stitch length
-
Checking knots
-
How many strands of floss
-
Stabbing v sewing
-
Weaving to prevent thread shadows
-
Troubleshooting
Fabric Tension
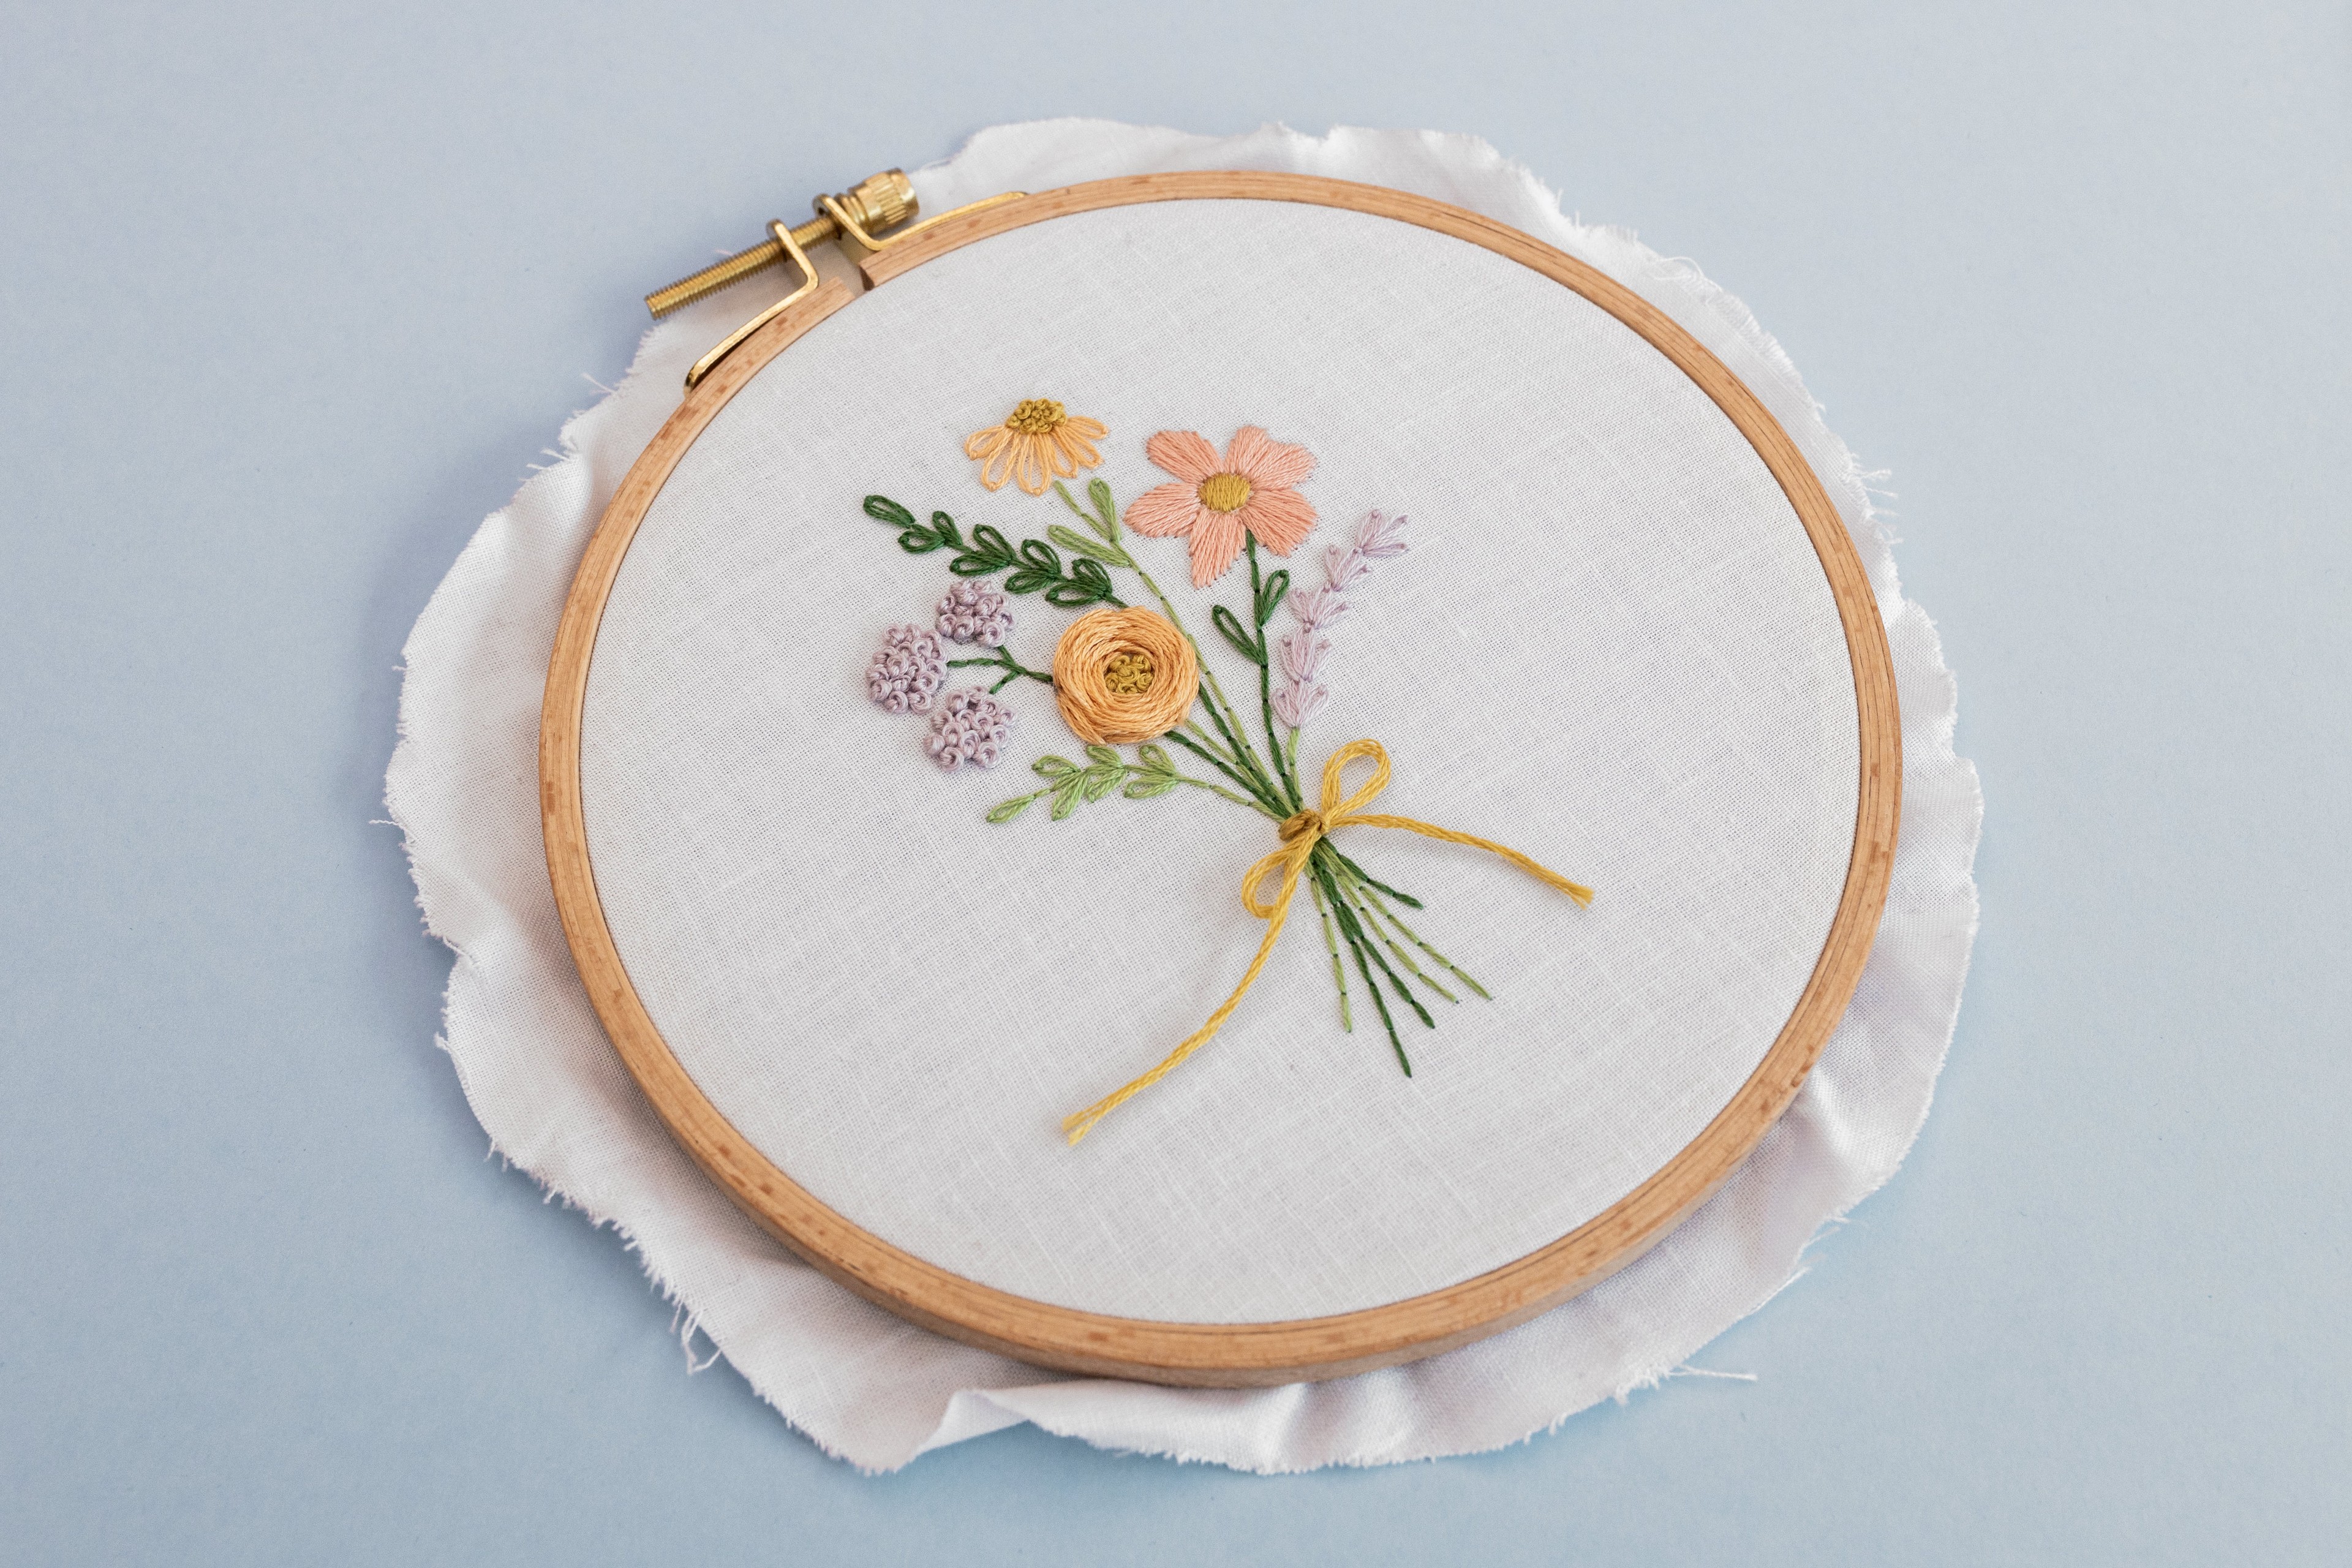
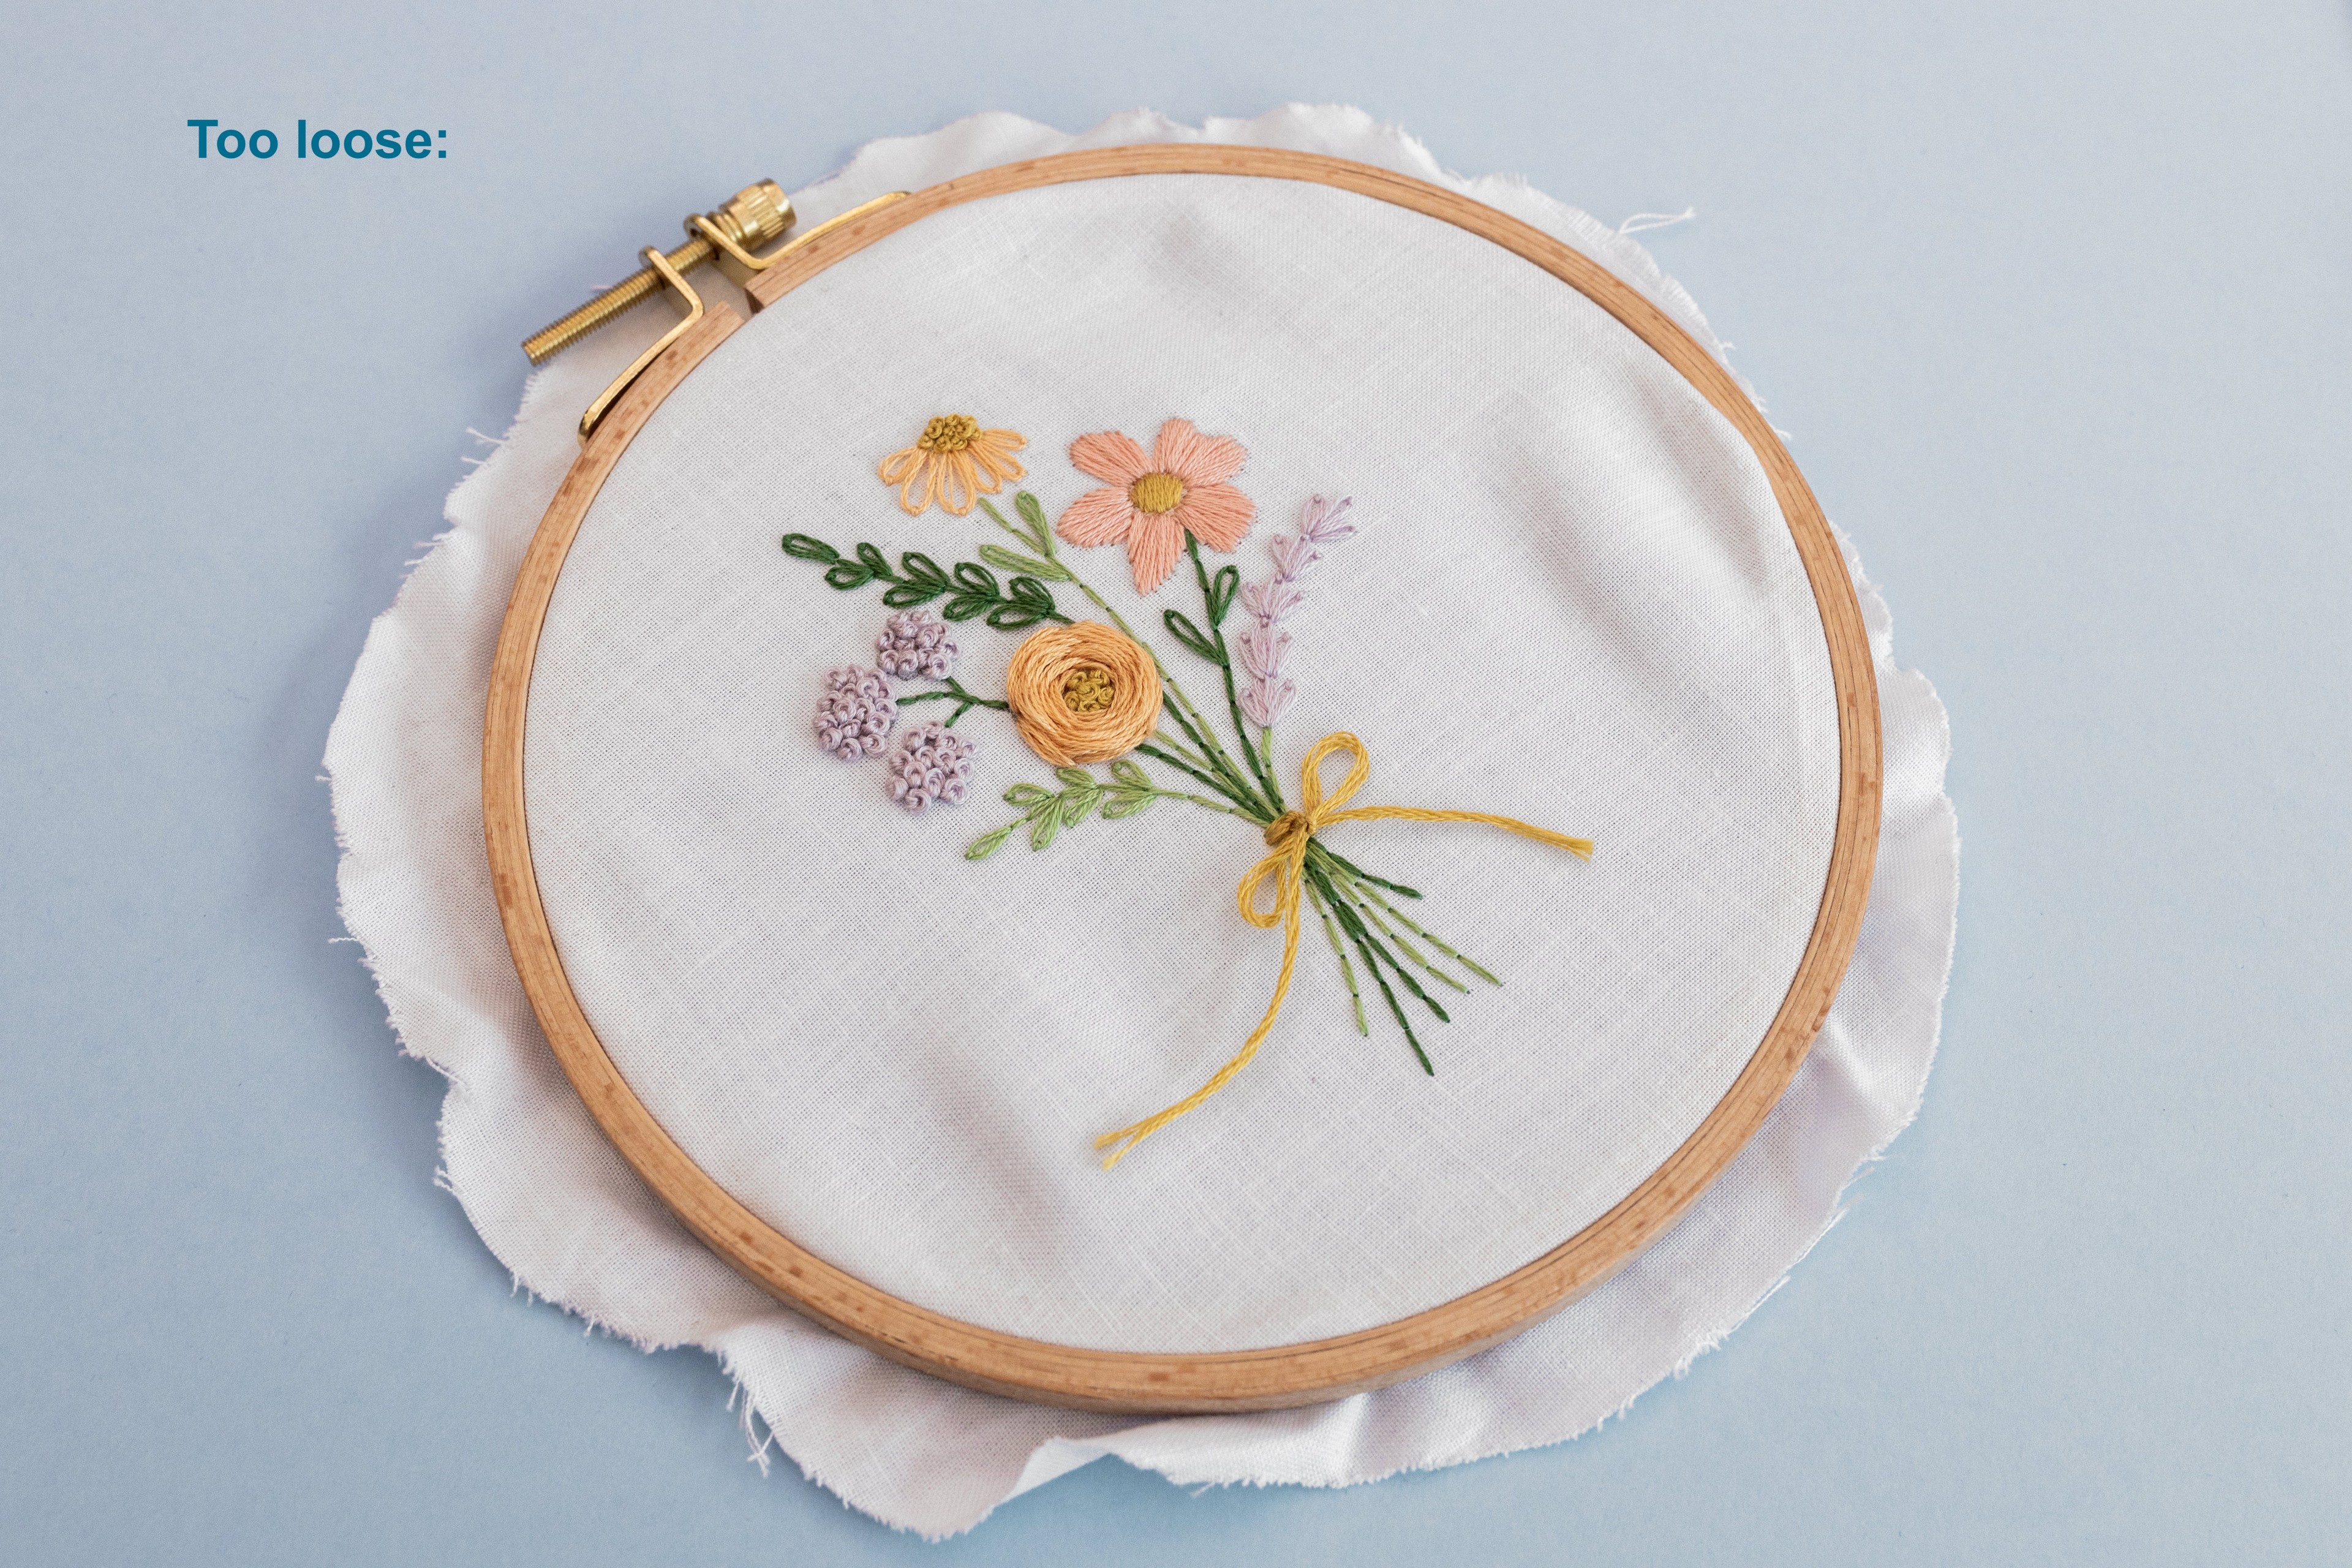
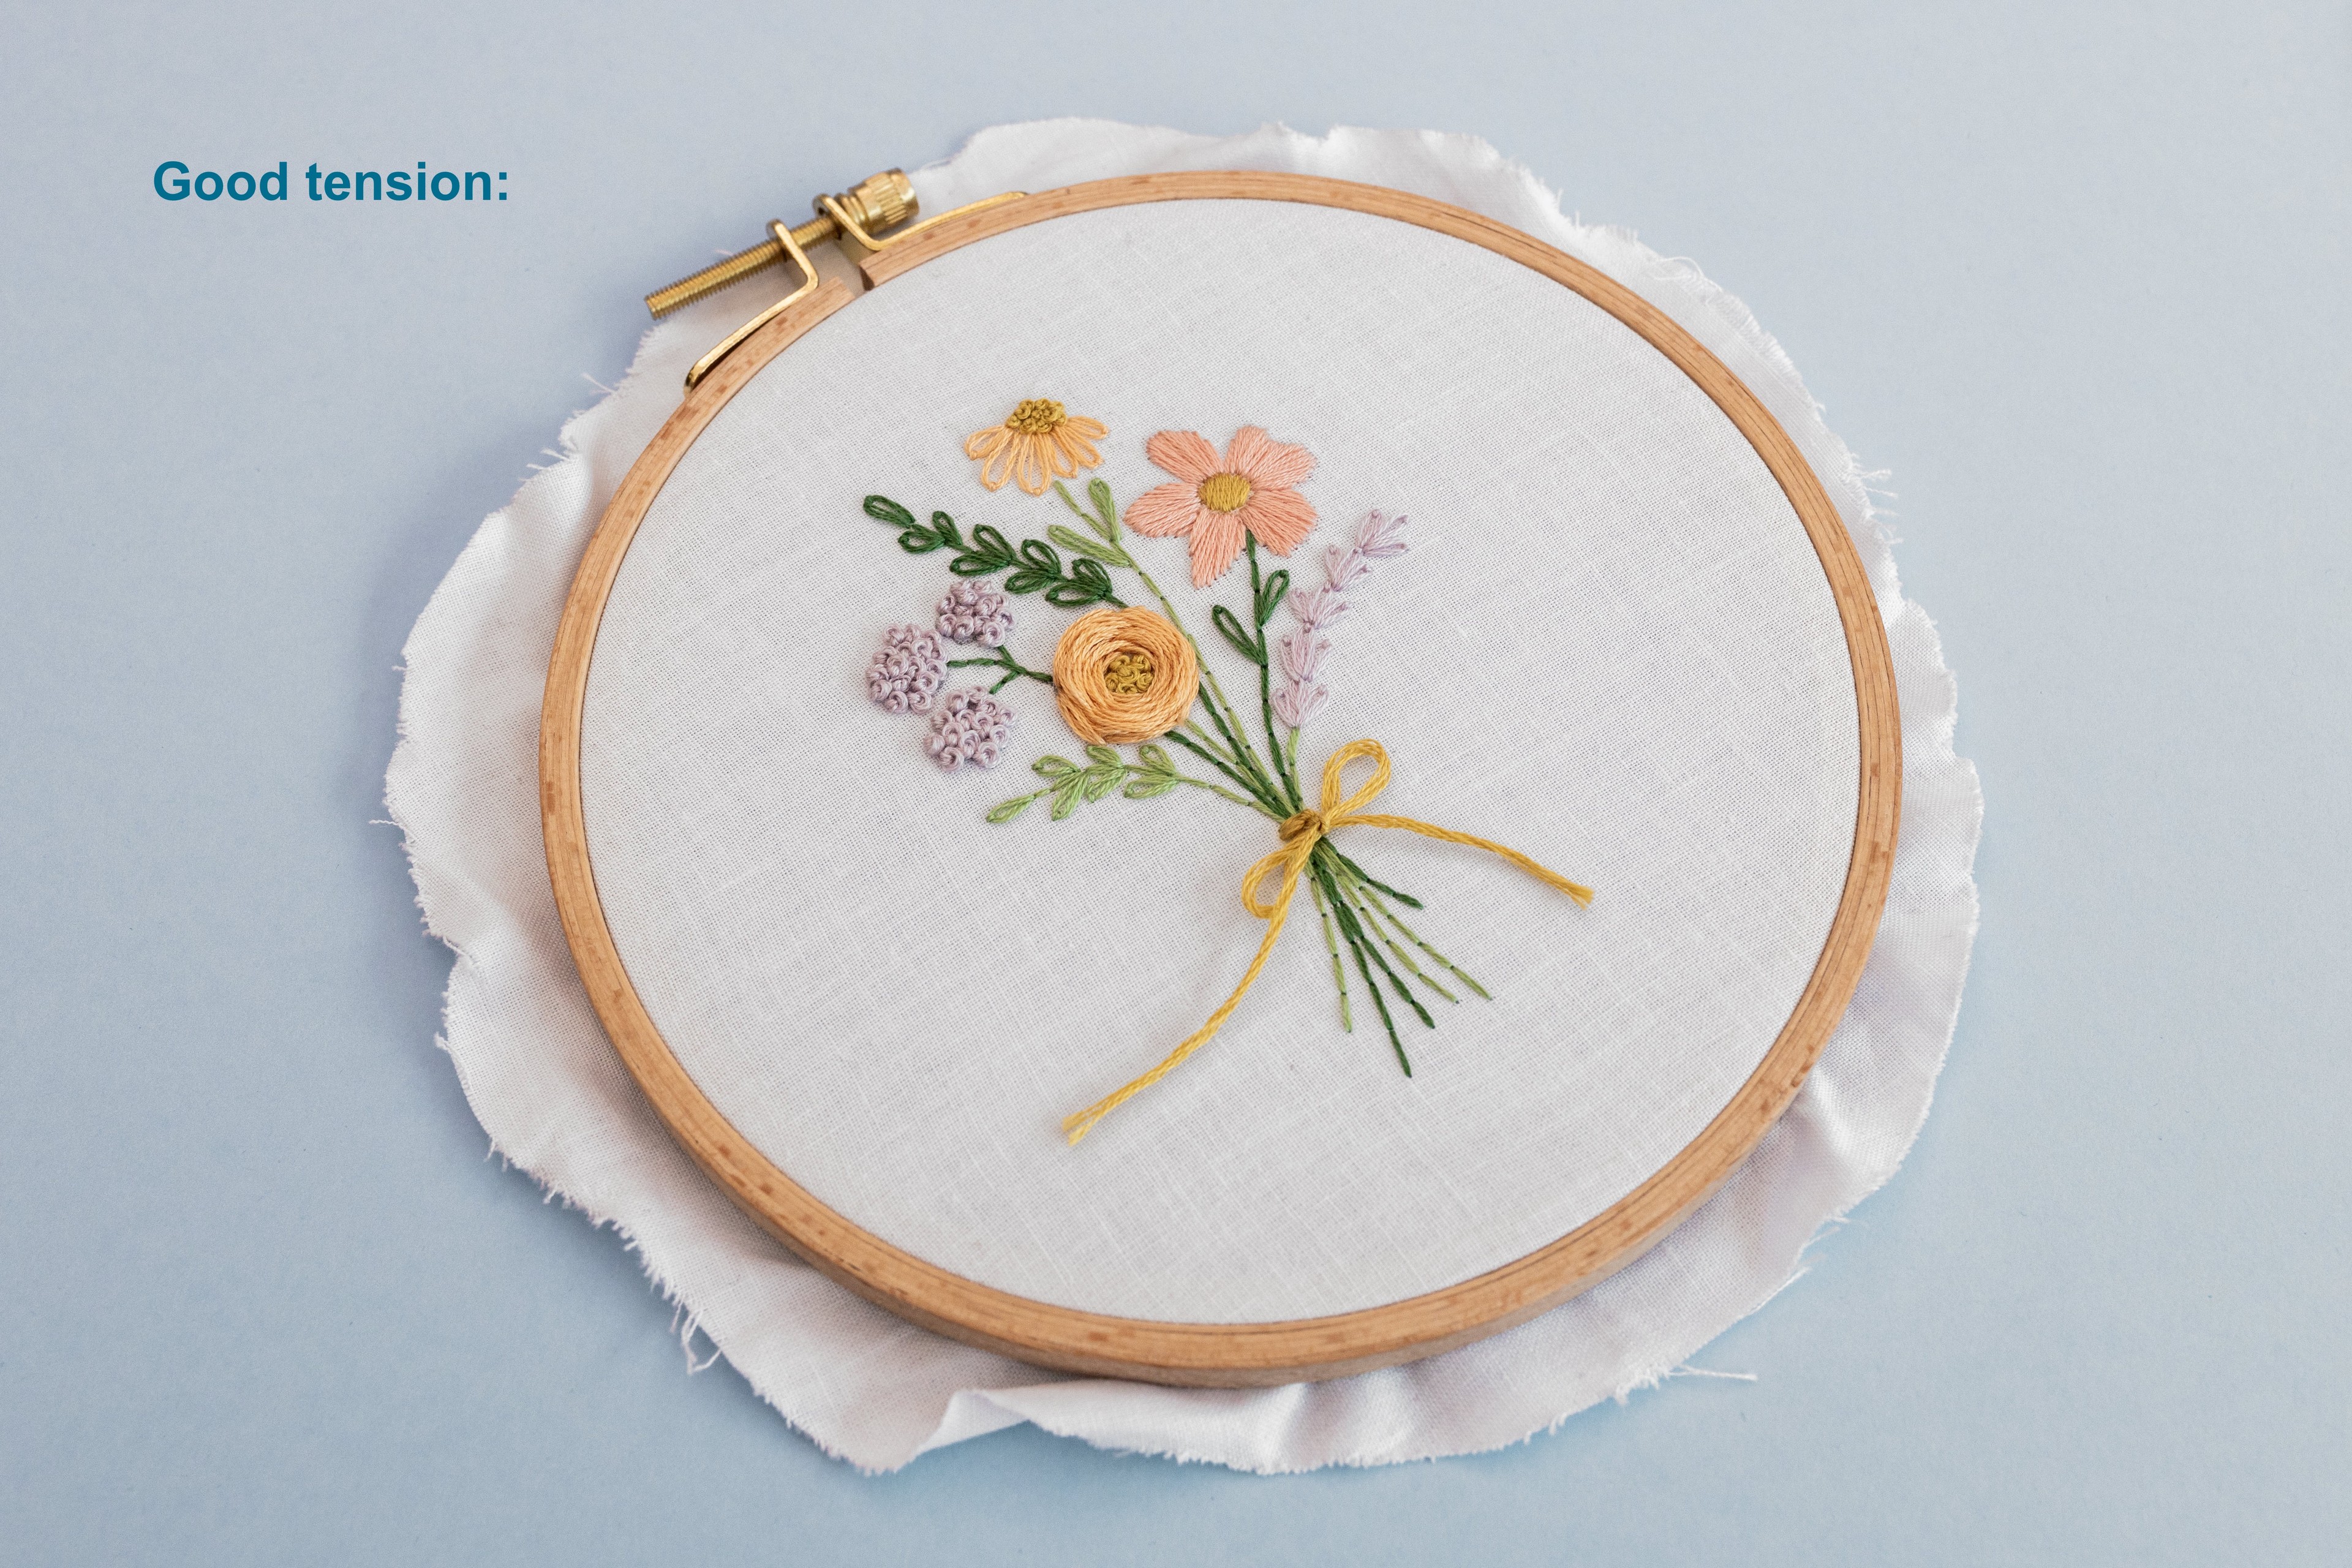
As you stitch along, your fabric can get a bit loose in the hoop. So check this regularly, and pause to retighten it as you go. It’s so much easier and more enjoyable to stitch on taut fabric, so this will make a big difference to your journey!
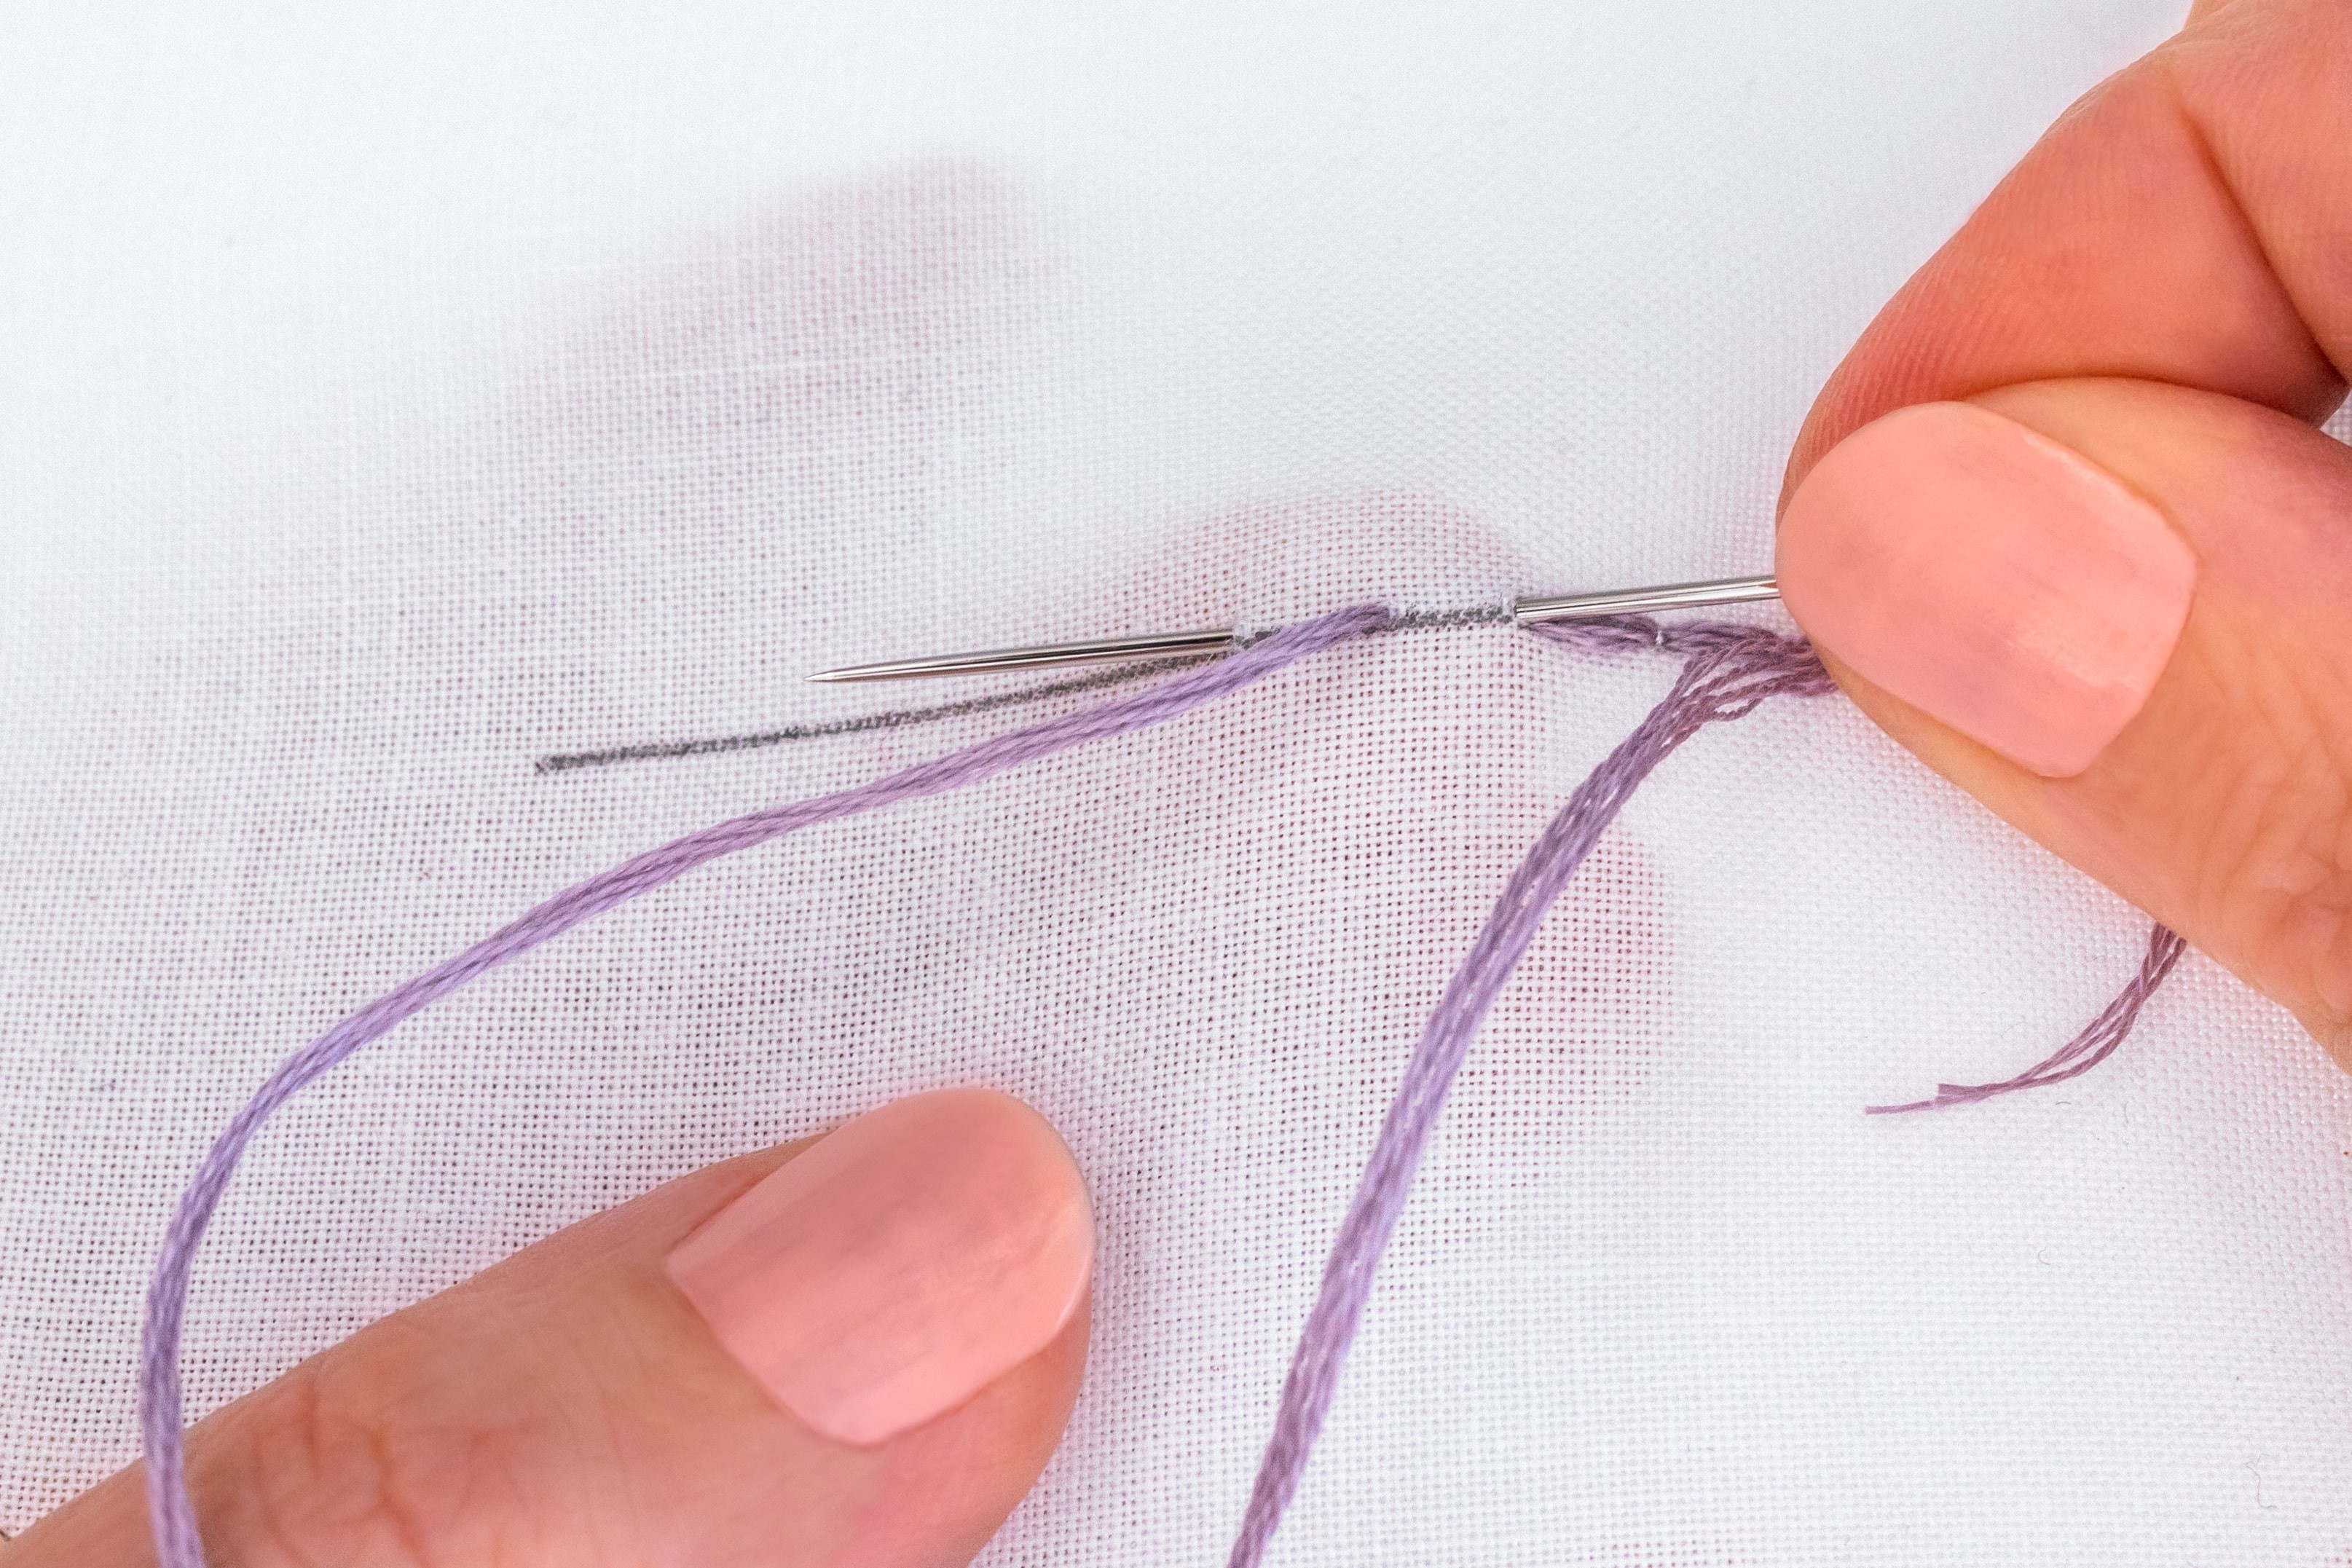
Hold the Tail
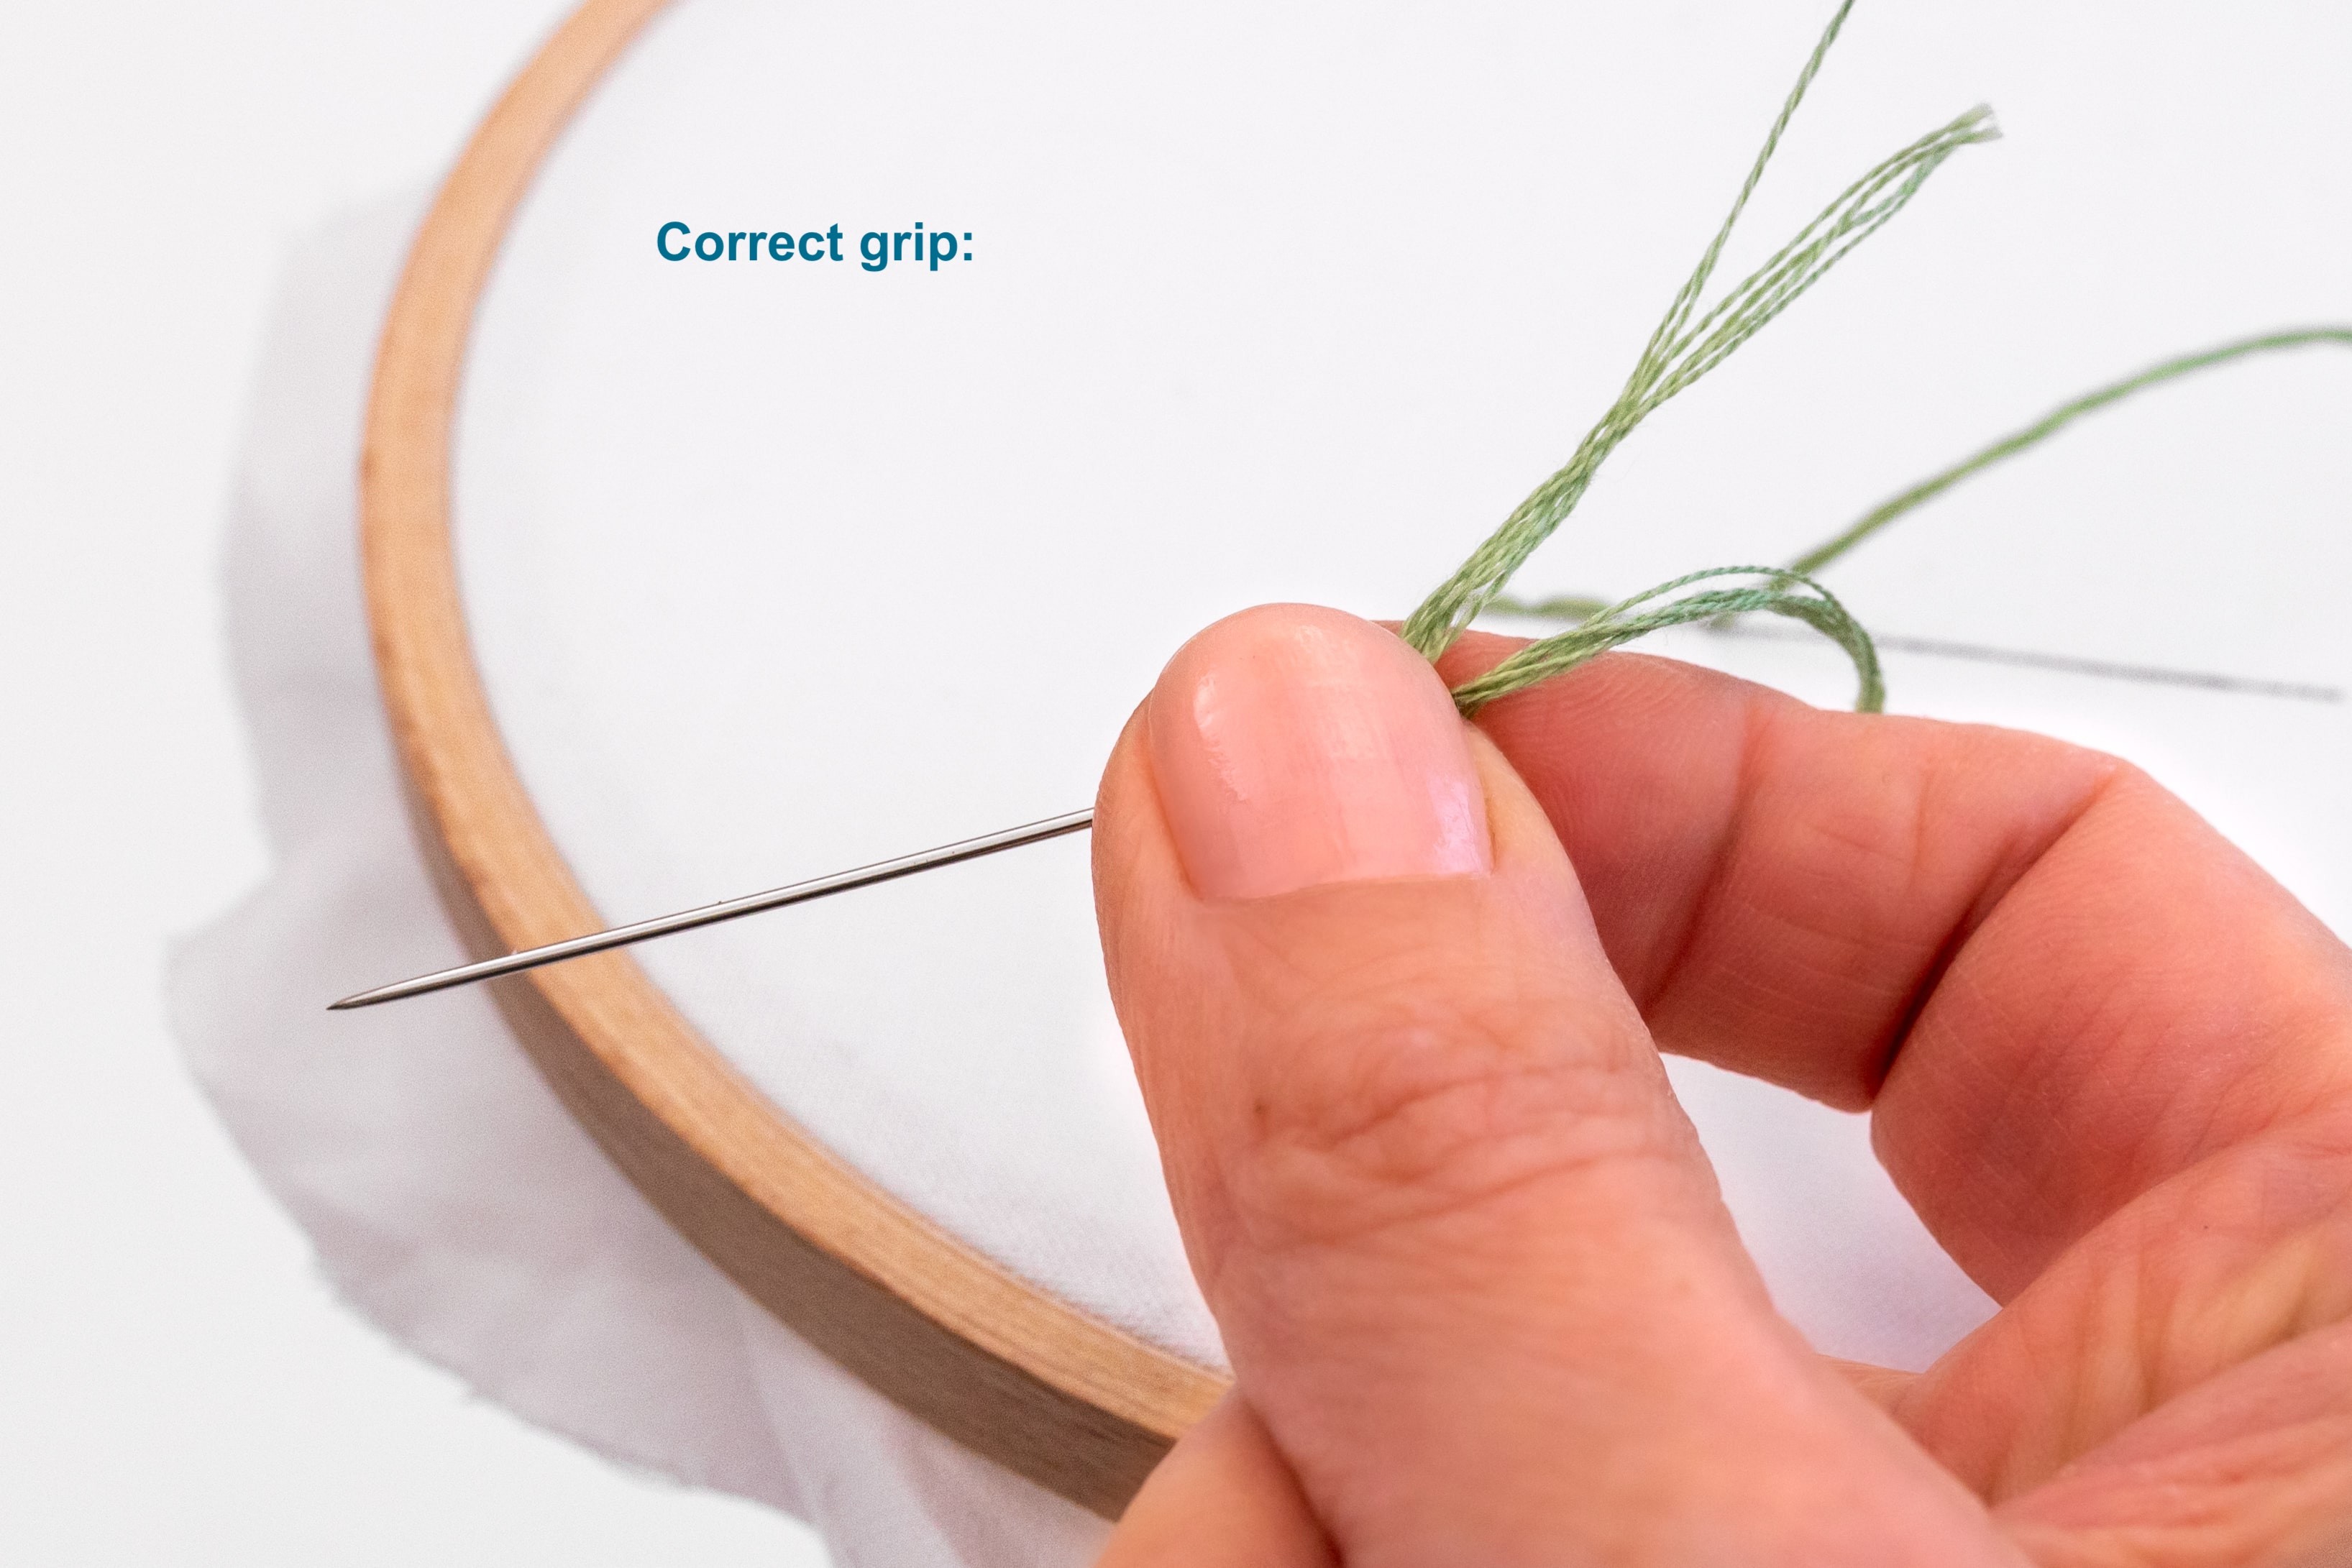
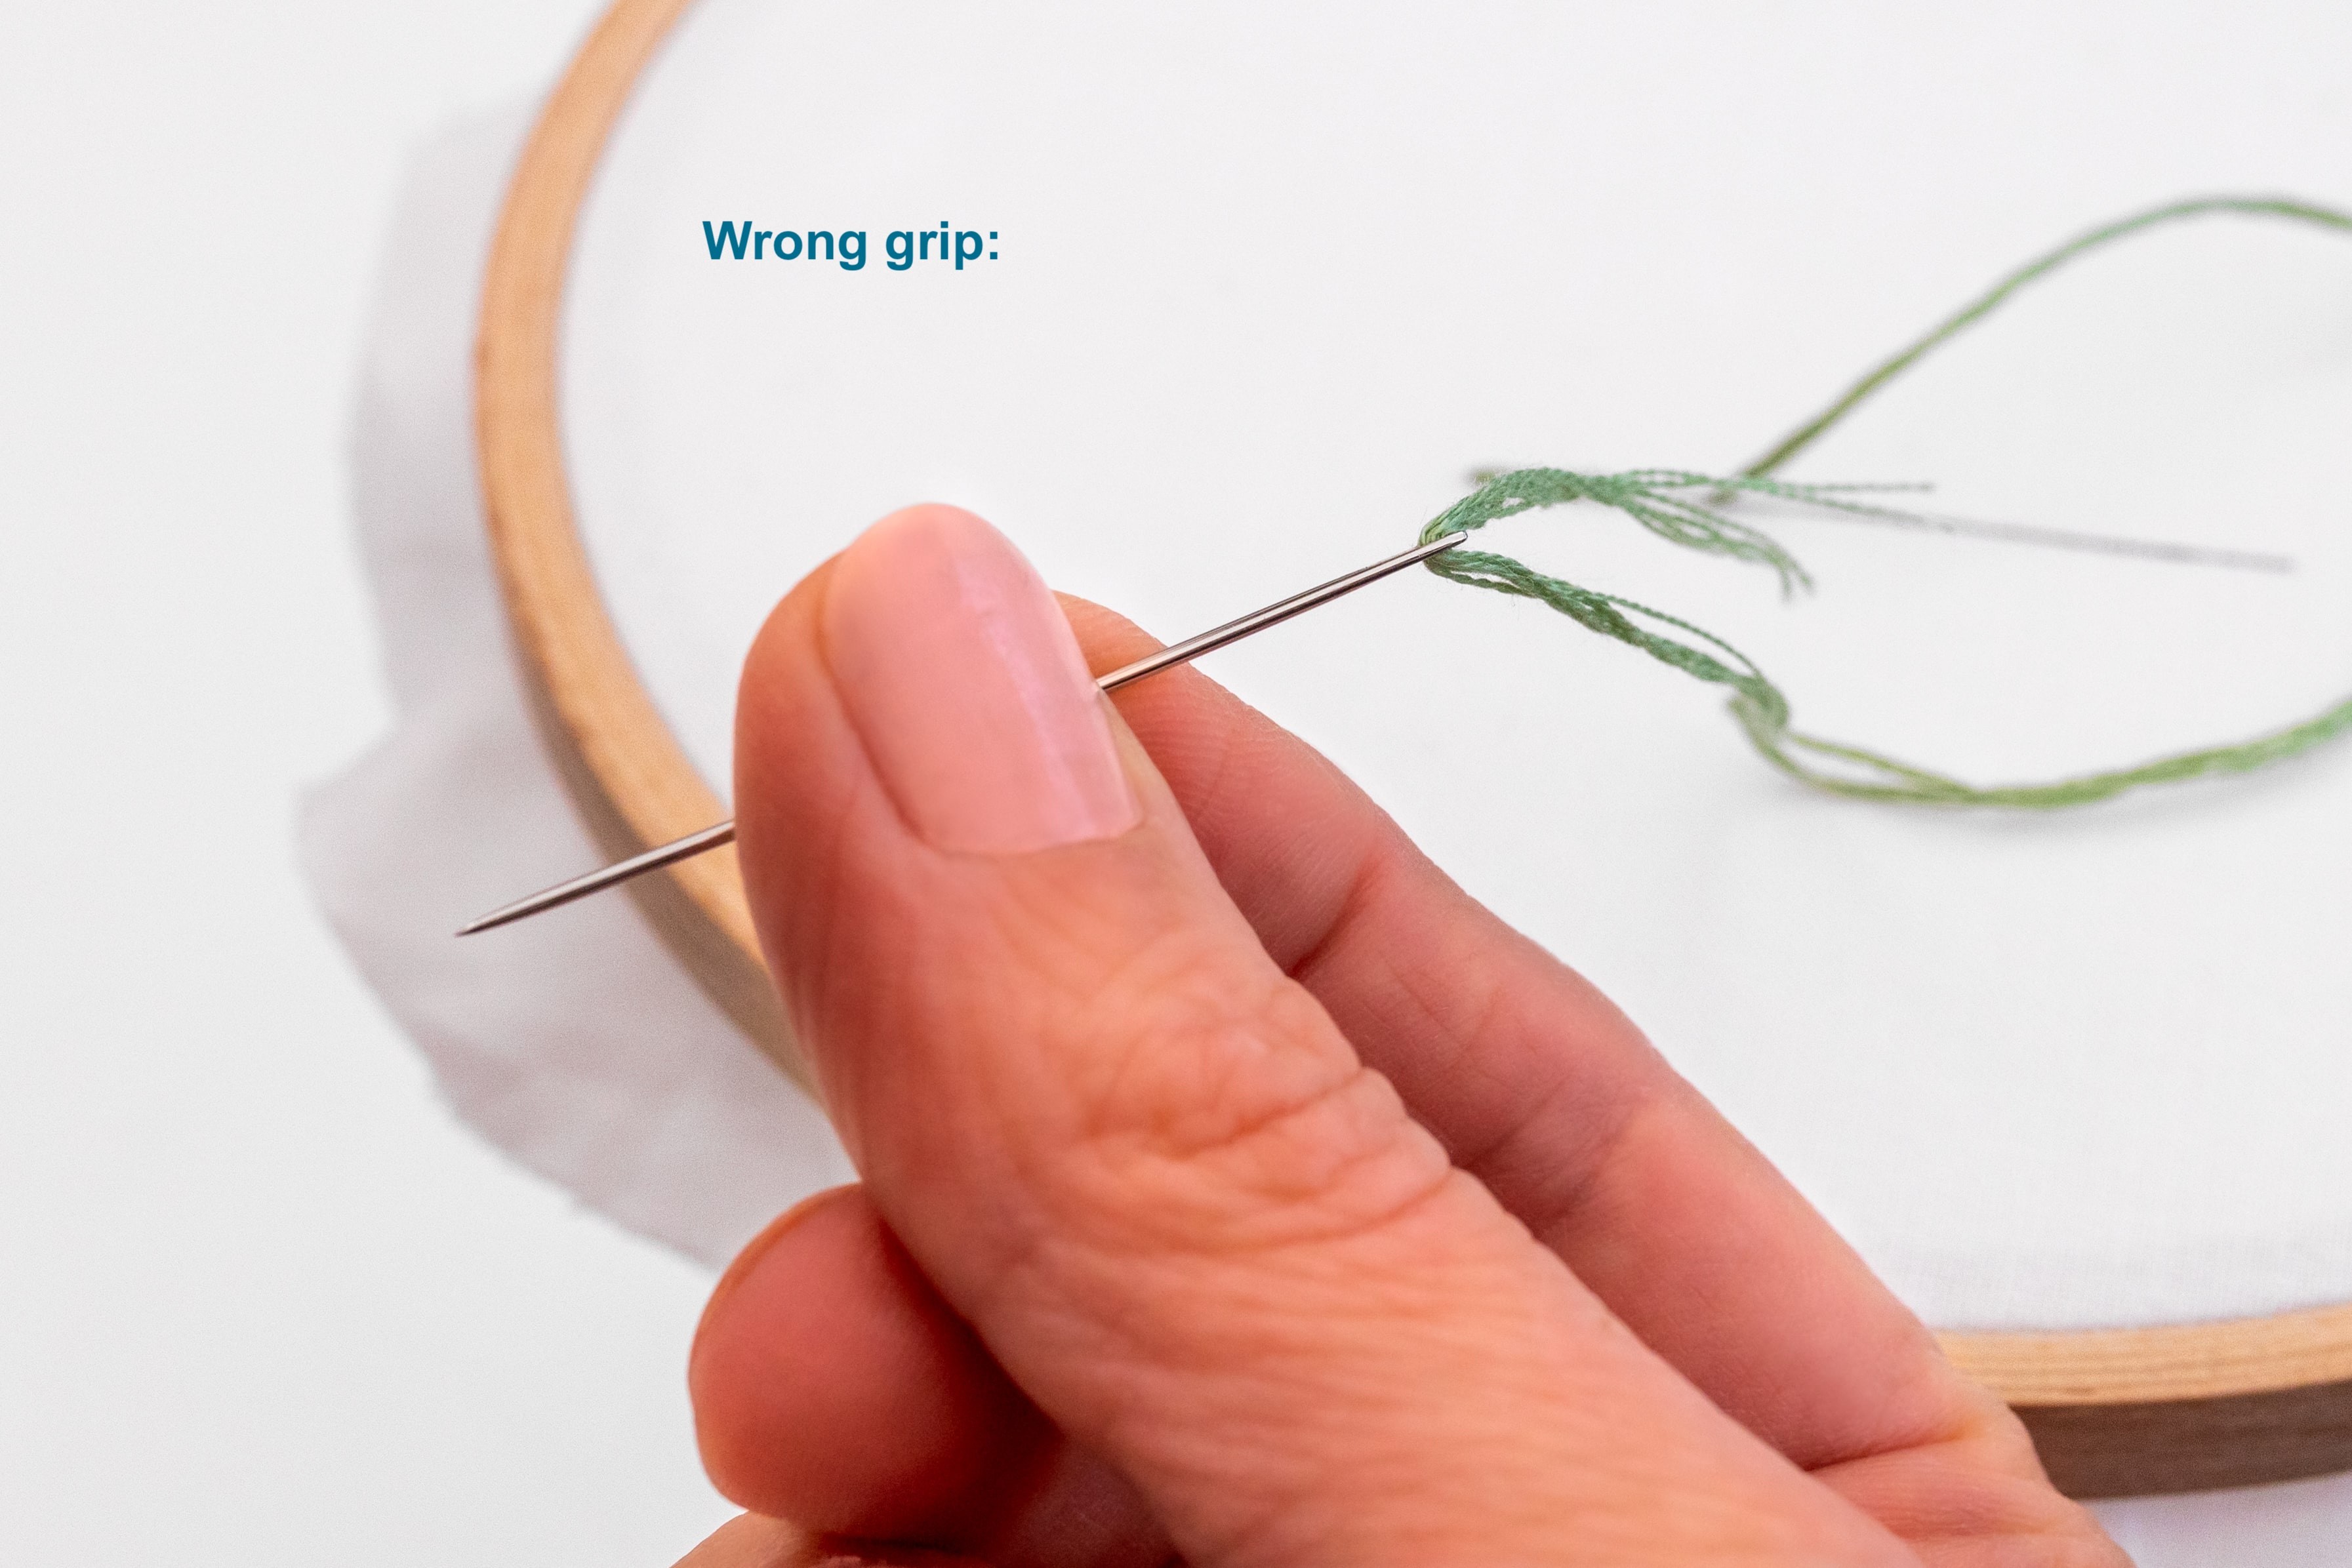
As you stitch along, make sure that you are holding the tail against the needle in your grip – this will soon become second nature. If you hold the needle and forget about the tail, you'll quickly notice the mistake when the needle accidentally slips off the thread!!
Stitch Tension
I've noticed that beginners tend to tug their stitches overly tight. While not a major issue, this can result in a slight puckering of the fabric. So, there's no need to go overboard and pull each stitch extremely tight. Simply give it a gentle tug so that it lies smoothly against the fabric, without any strain.
What’s a stitch length?
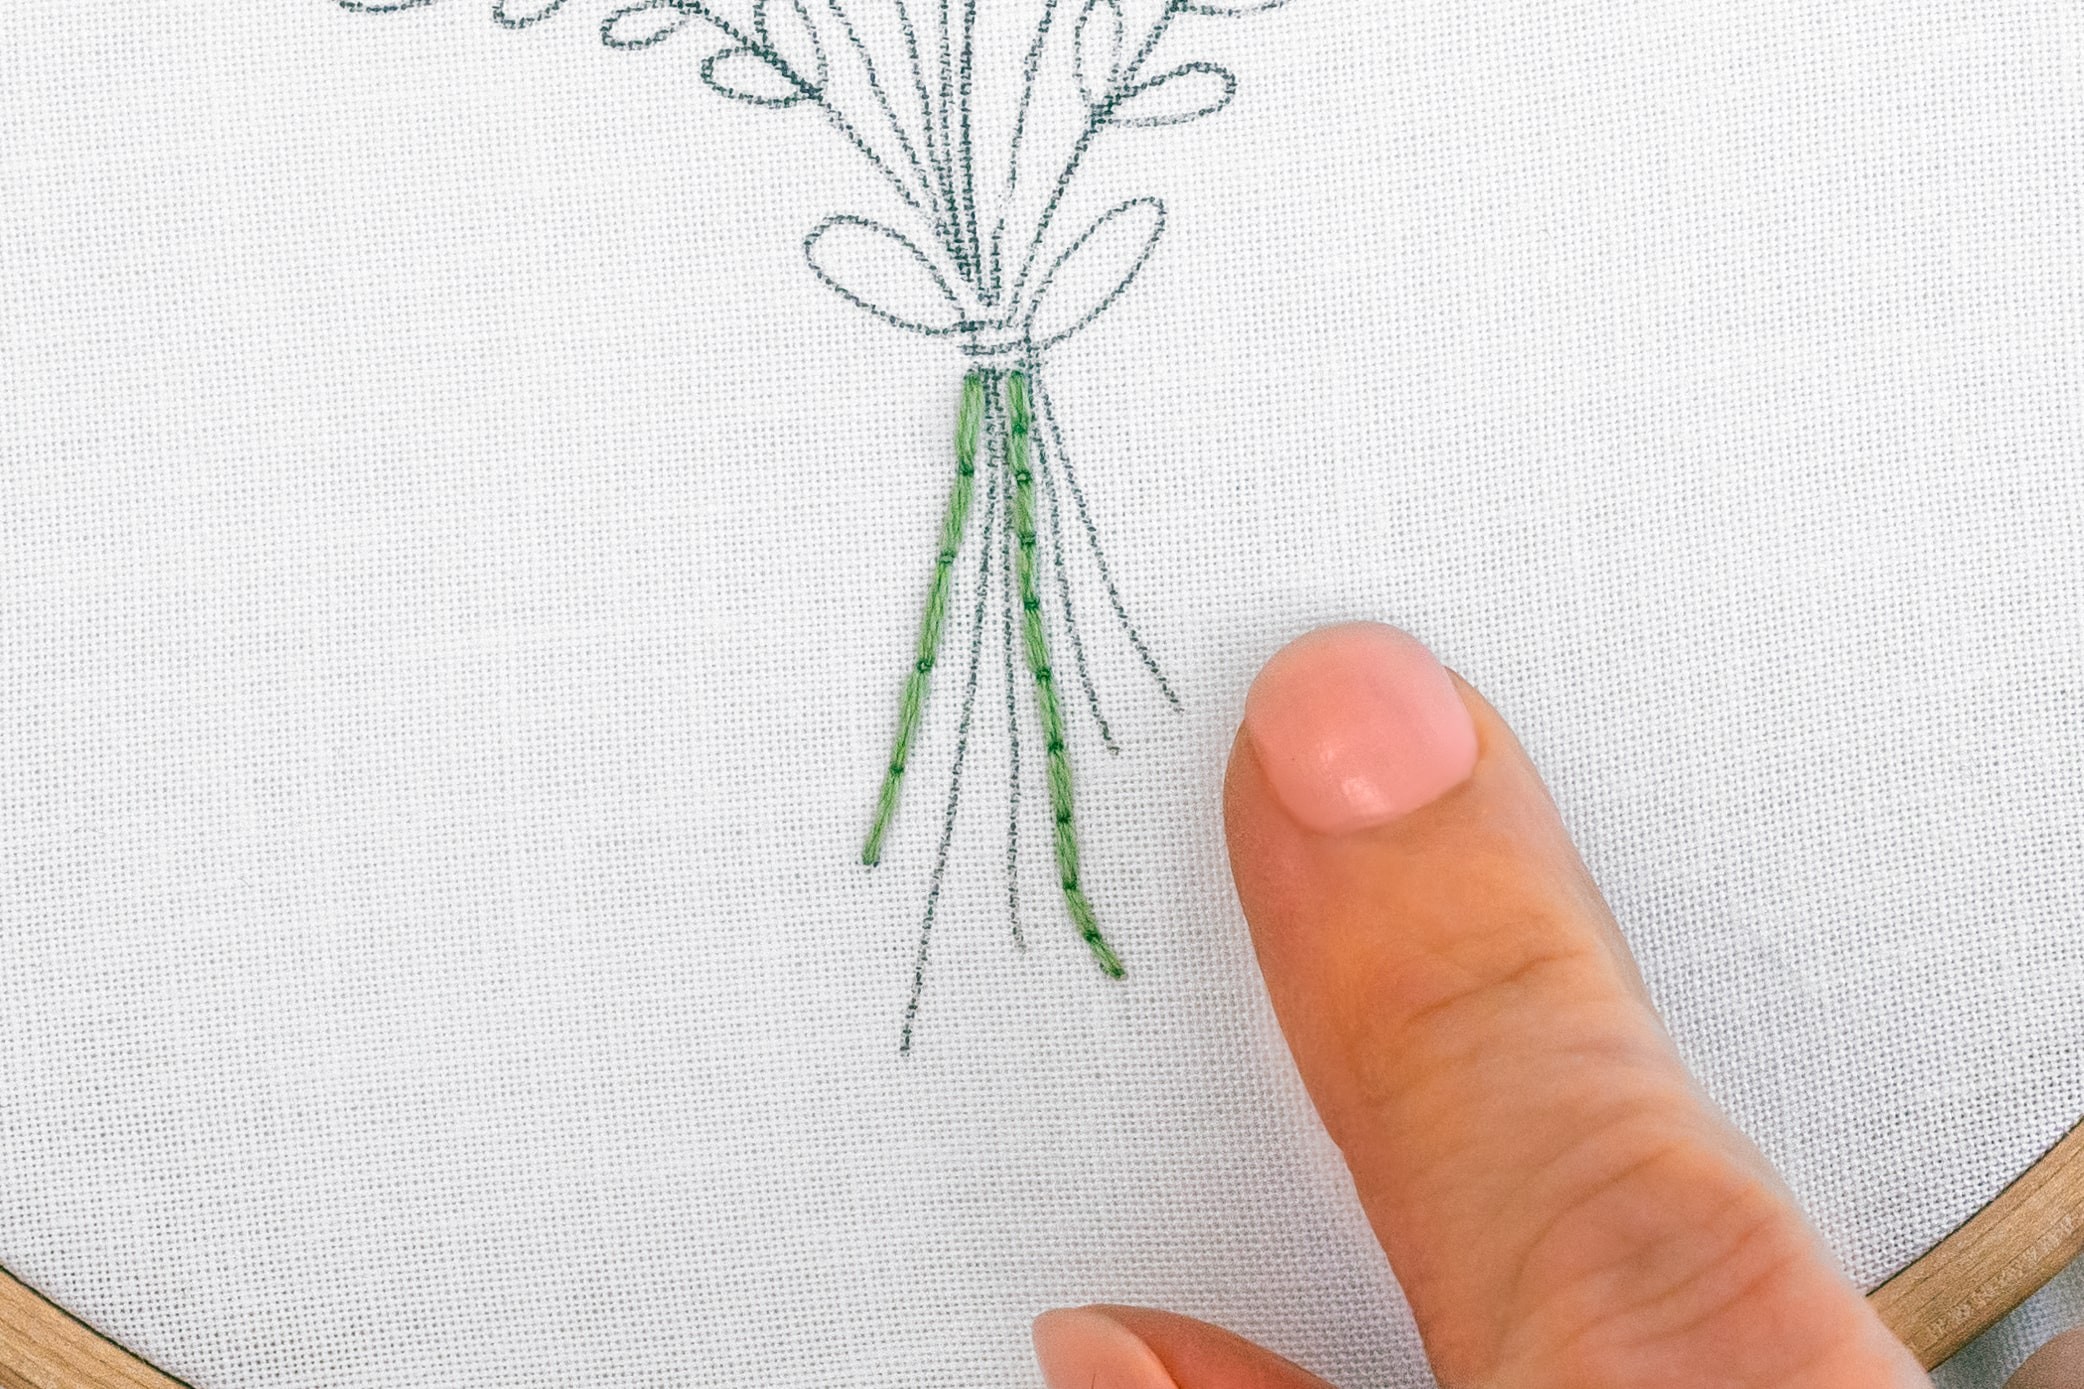
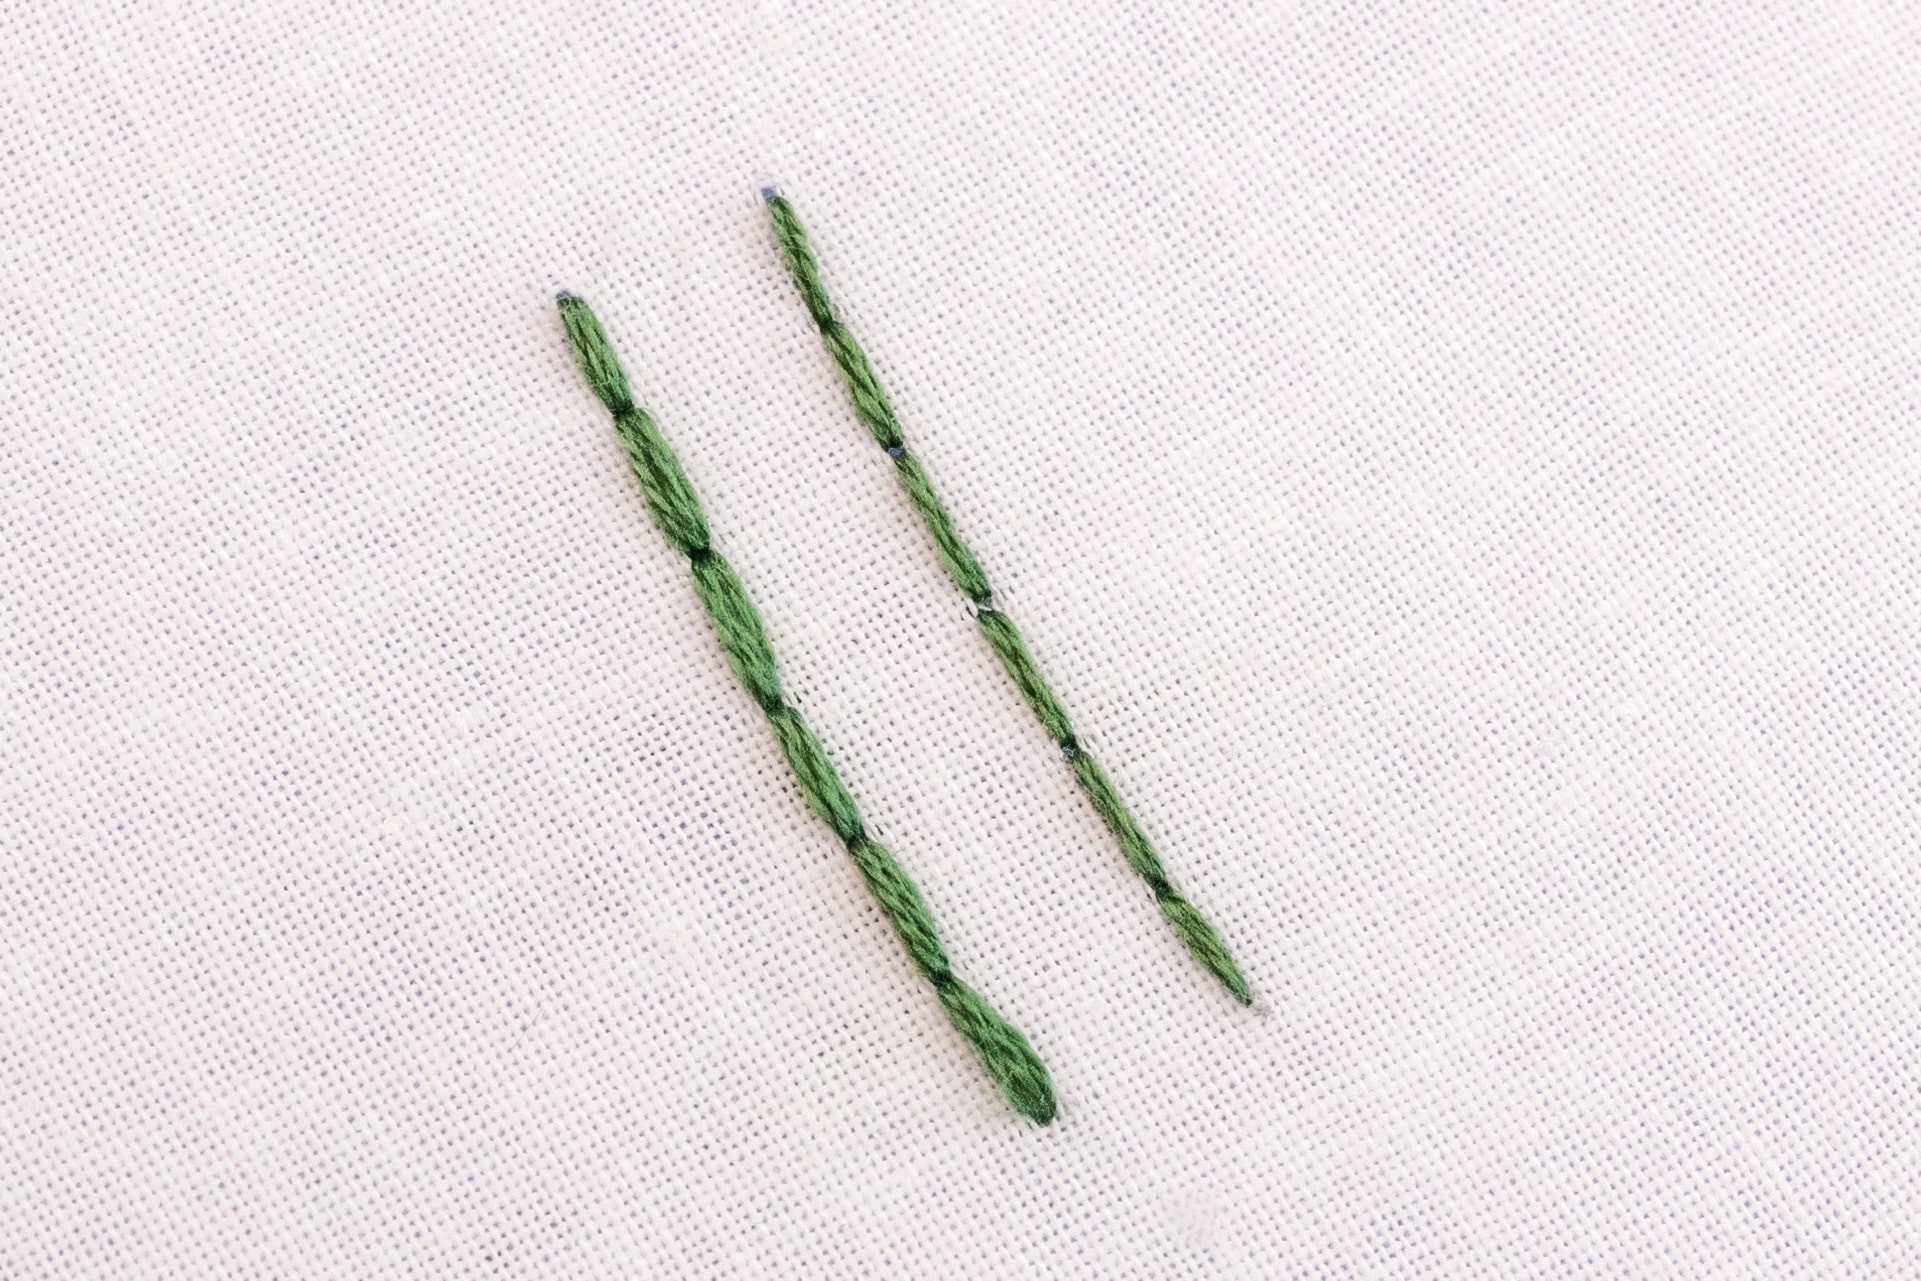
As a general guideline, when I'm stitching along a straight line, I usually aim for stitches that are about 1/5 of an inch long(around 4-5mm). While there's no precise measurement, I've noticed that many beginners tend to make their stitches quite short, which can lead to extra effort and frustration. So, I suggest making your stitches slightly longer stitches than your initial instincts suggest. See for example here, the stem on the left is what I’d call a usual stitch length, whereas the stem on the right has stitches which are unnecessarily short.
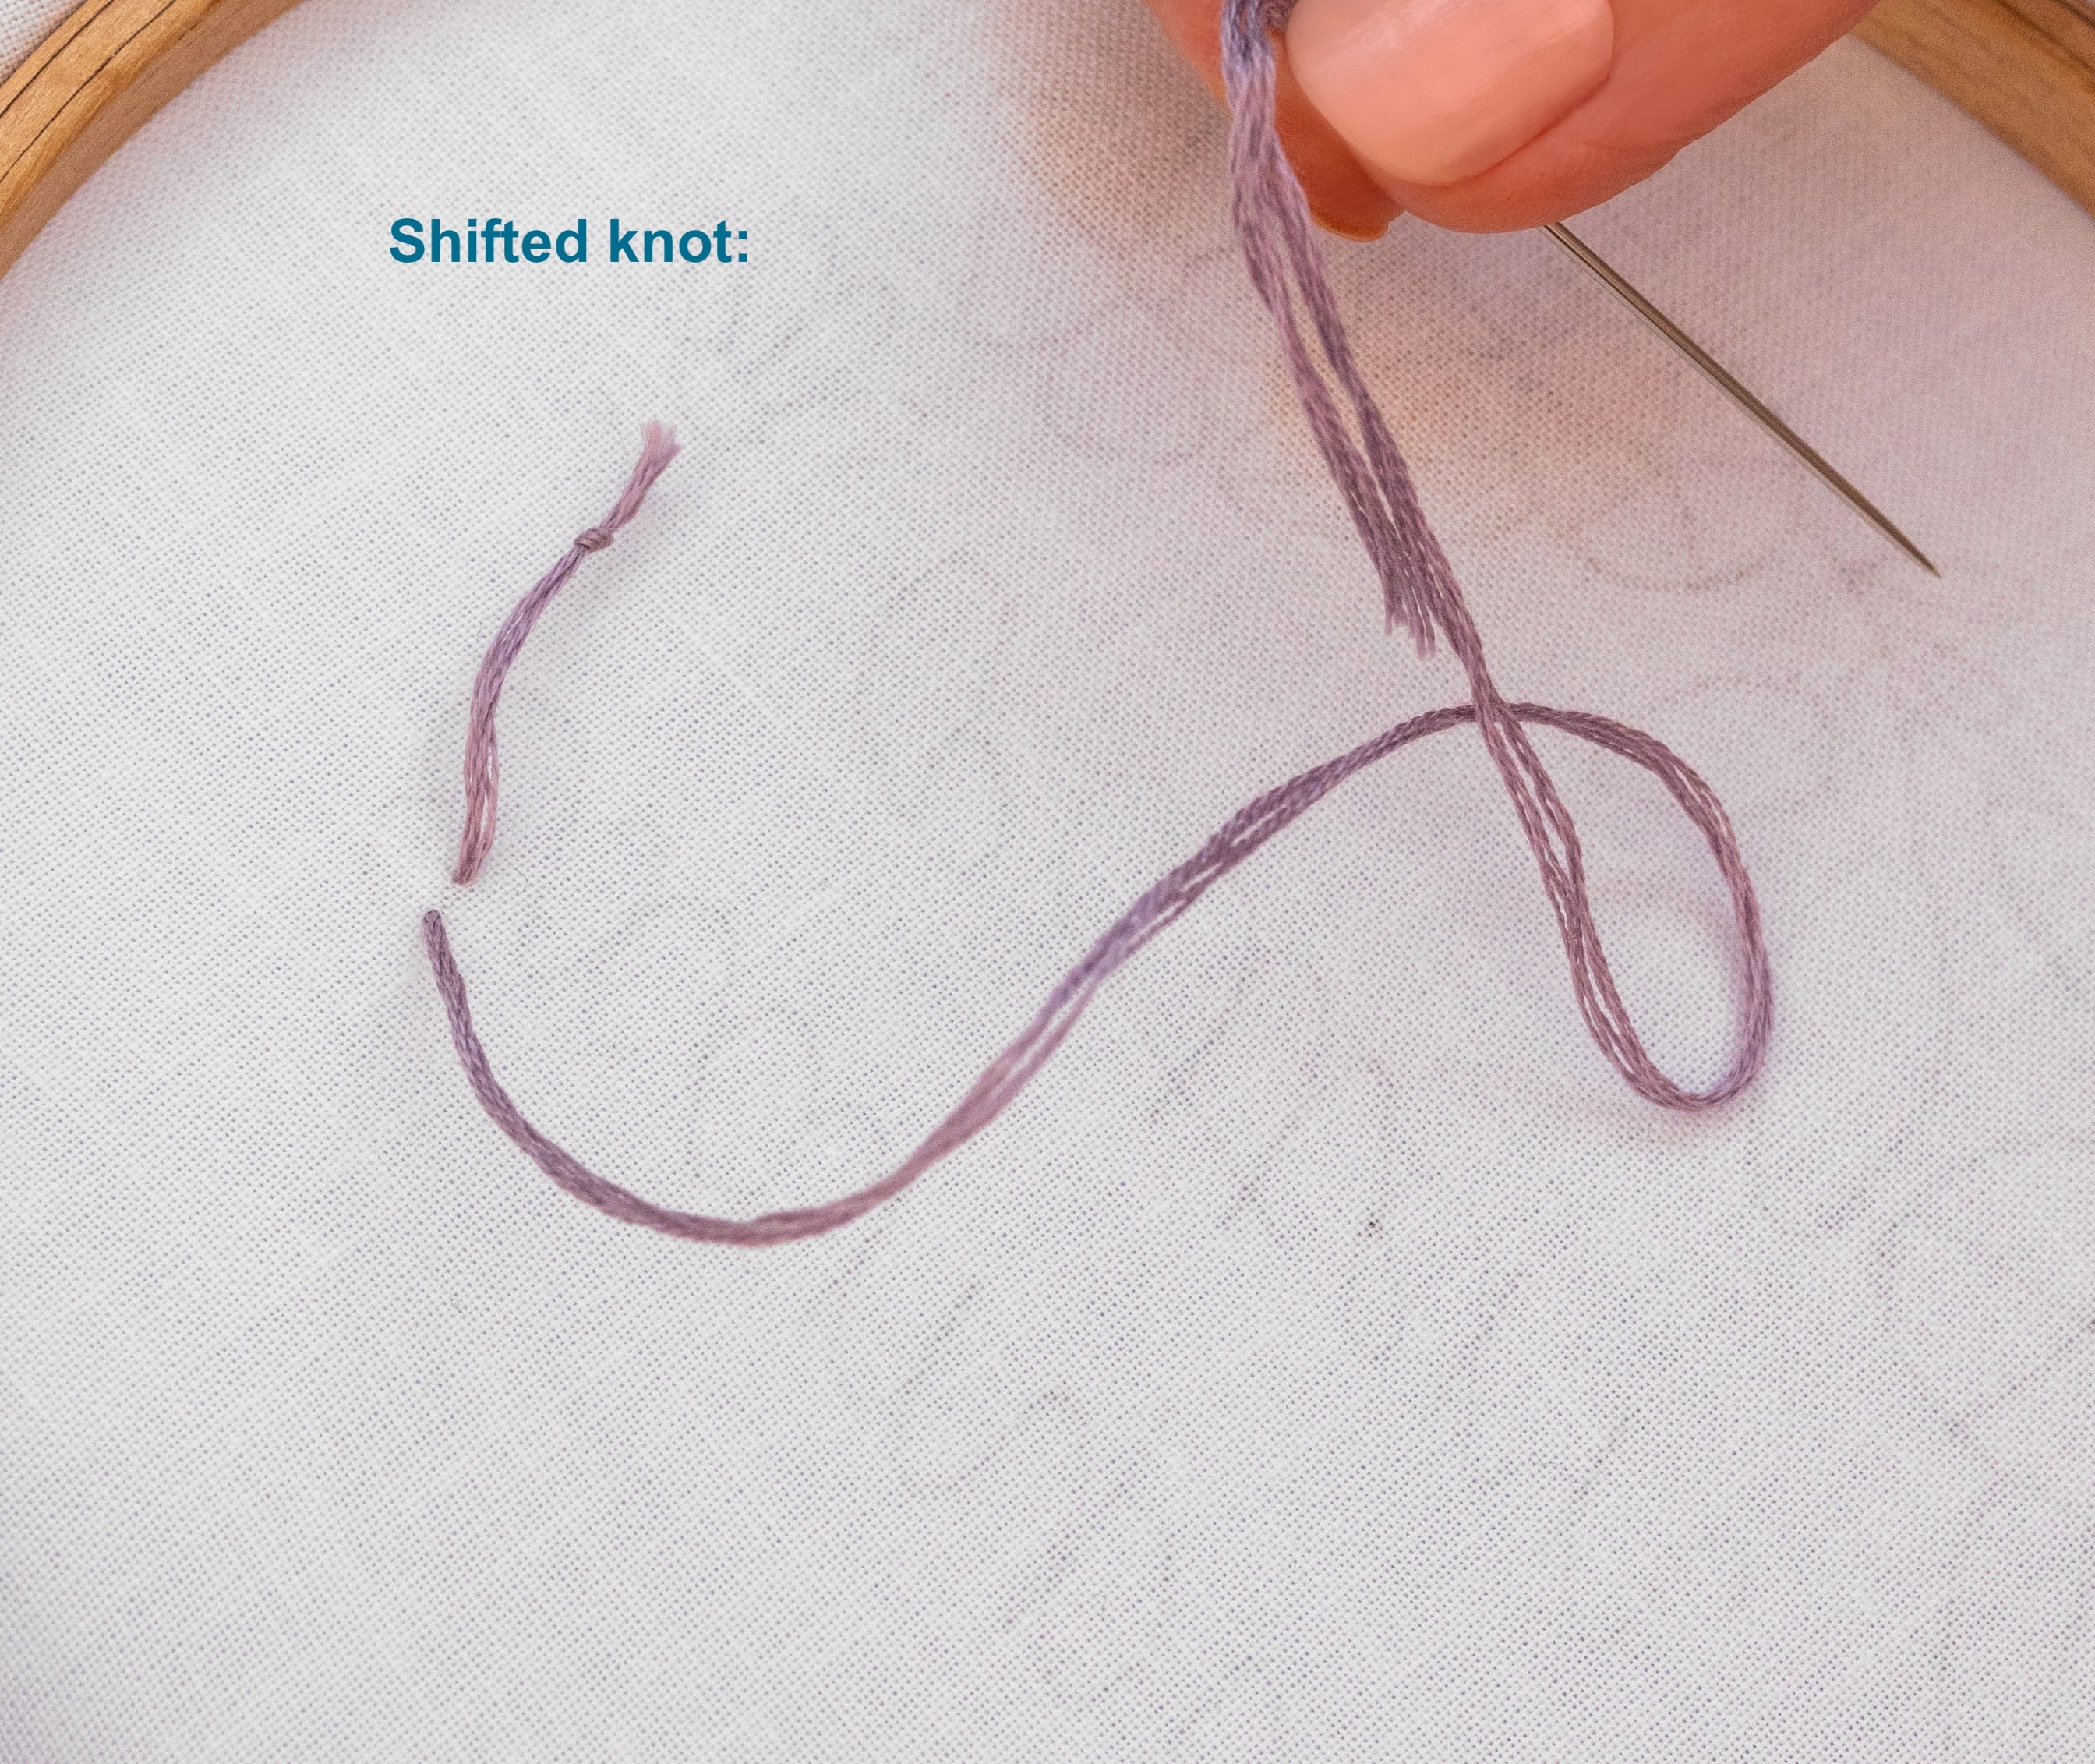
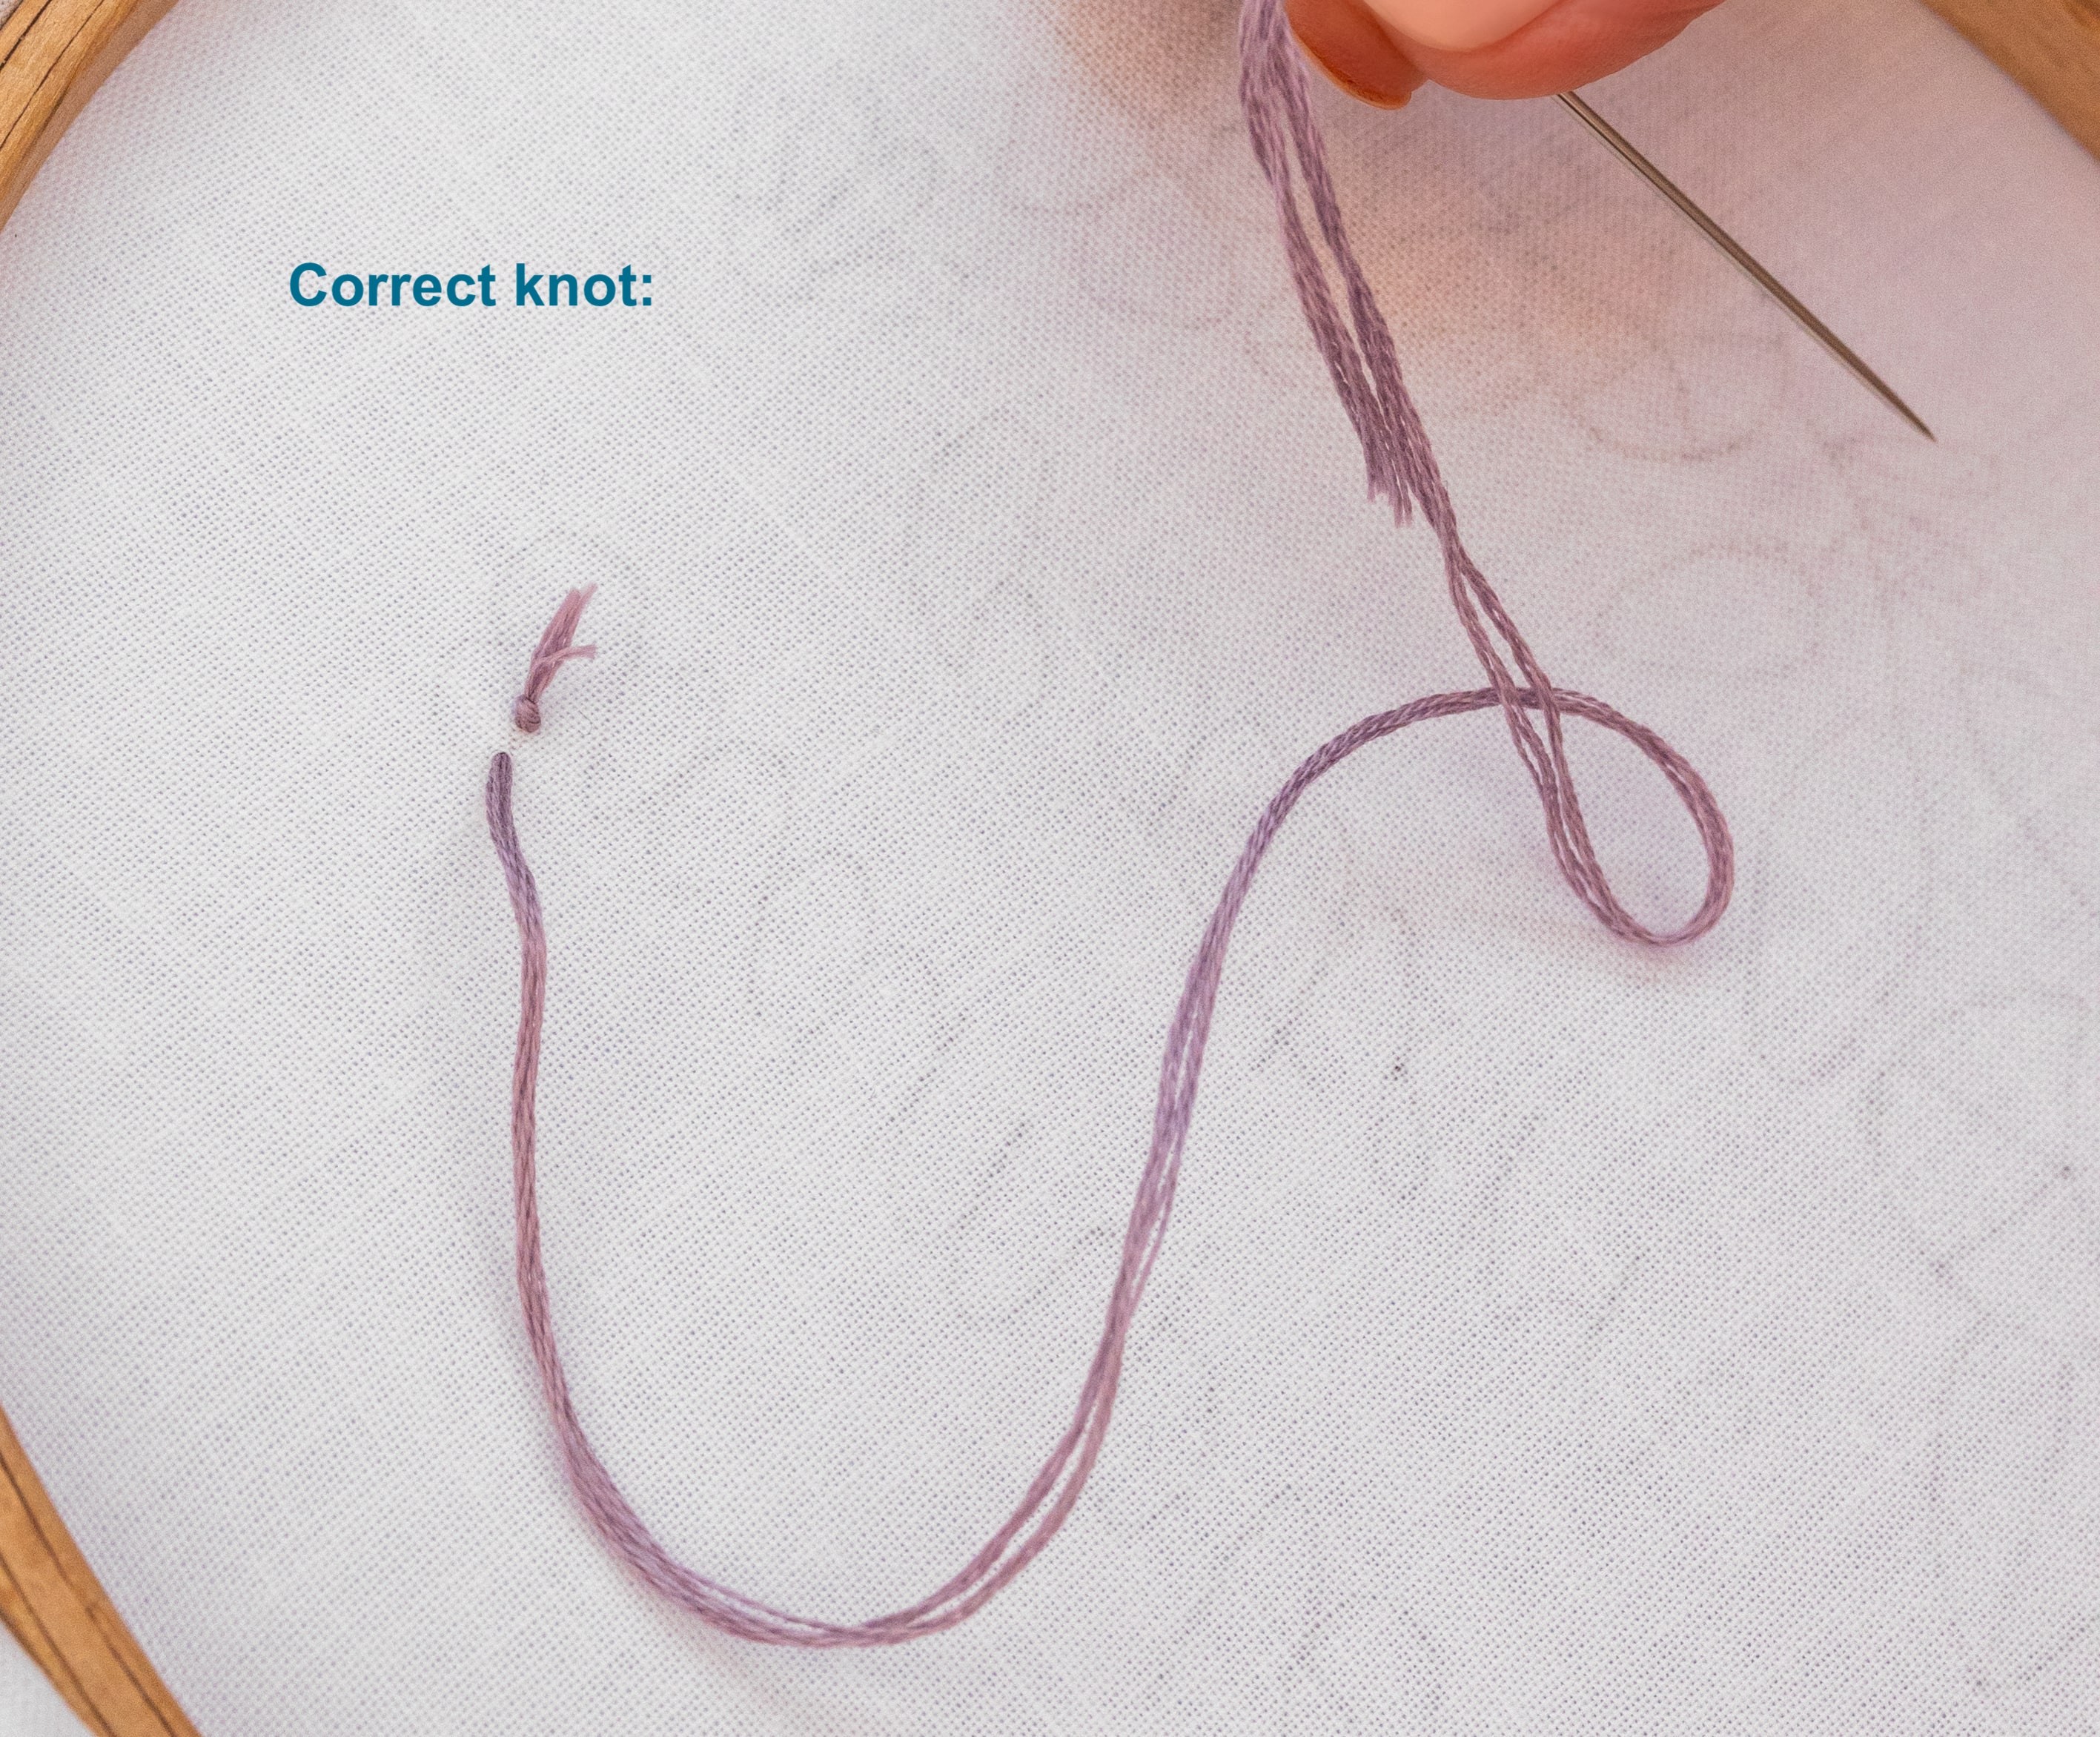
Tip to check knots
Occasionally, while working on the initial stitch or two, the knot might shift away from the fabric. So turn over your hoop, and double check that the knot is still snugly in place against the backside of the fabric, before you go any further.
How many strands of floss?
-
Left: More strands of floss (e.g. 4 or 6 strands) creates a chunkier effect, which is quicker to build up and cover space on your fabric.
-
Right: Less strands of floss (e.g. 2 or 3) creates a finer effect, which takes longer to build up.
Stabbing v Sewing
First let me explain the difference:
-
Stabbing is where you draw your fabric and thread right through the fabric, at each point of the stitch.
2. Sewing is where you keep the needle and working thread on the top side of the fabric, and sew two parts of a stitch in one smooth motion. Think of it as scooping the fabric with each motion of your needle.
Both are great and you’re welcome to use either (or both). I teach the ‘stabbing’ technique in my tutorials, because I find it’s more accurate and achievable for beginners. But sewing can be a quicker method (once you have the hang of it) which many stitchers prefer.
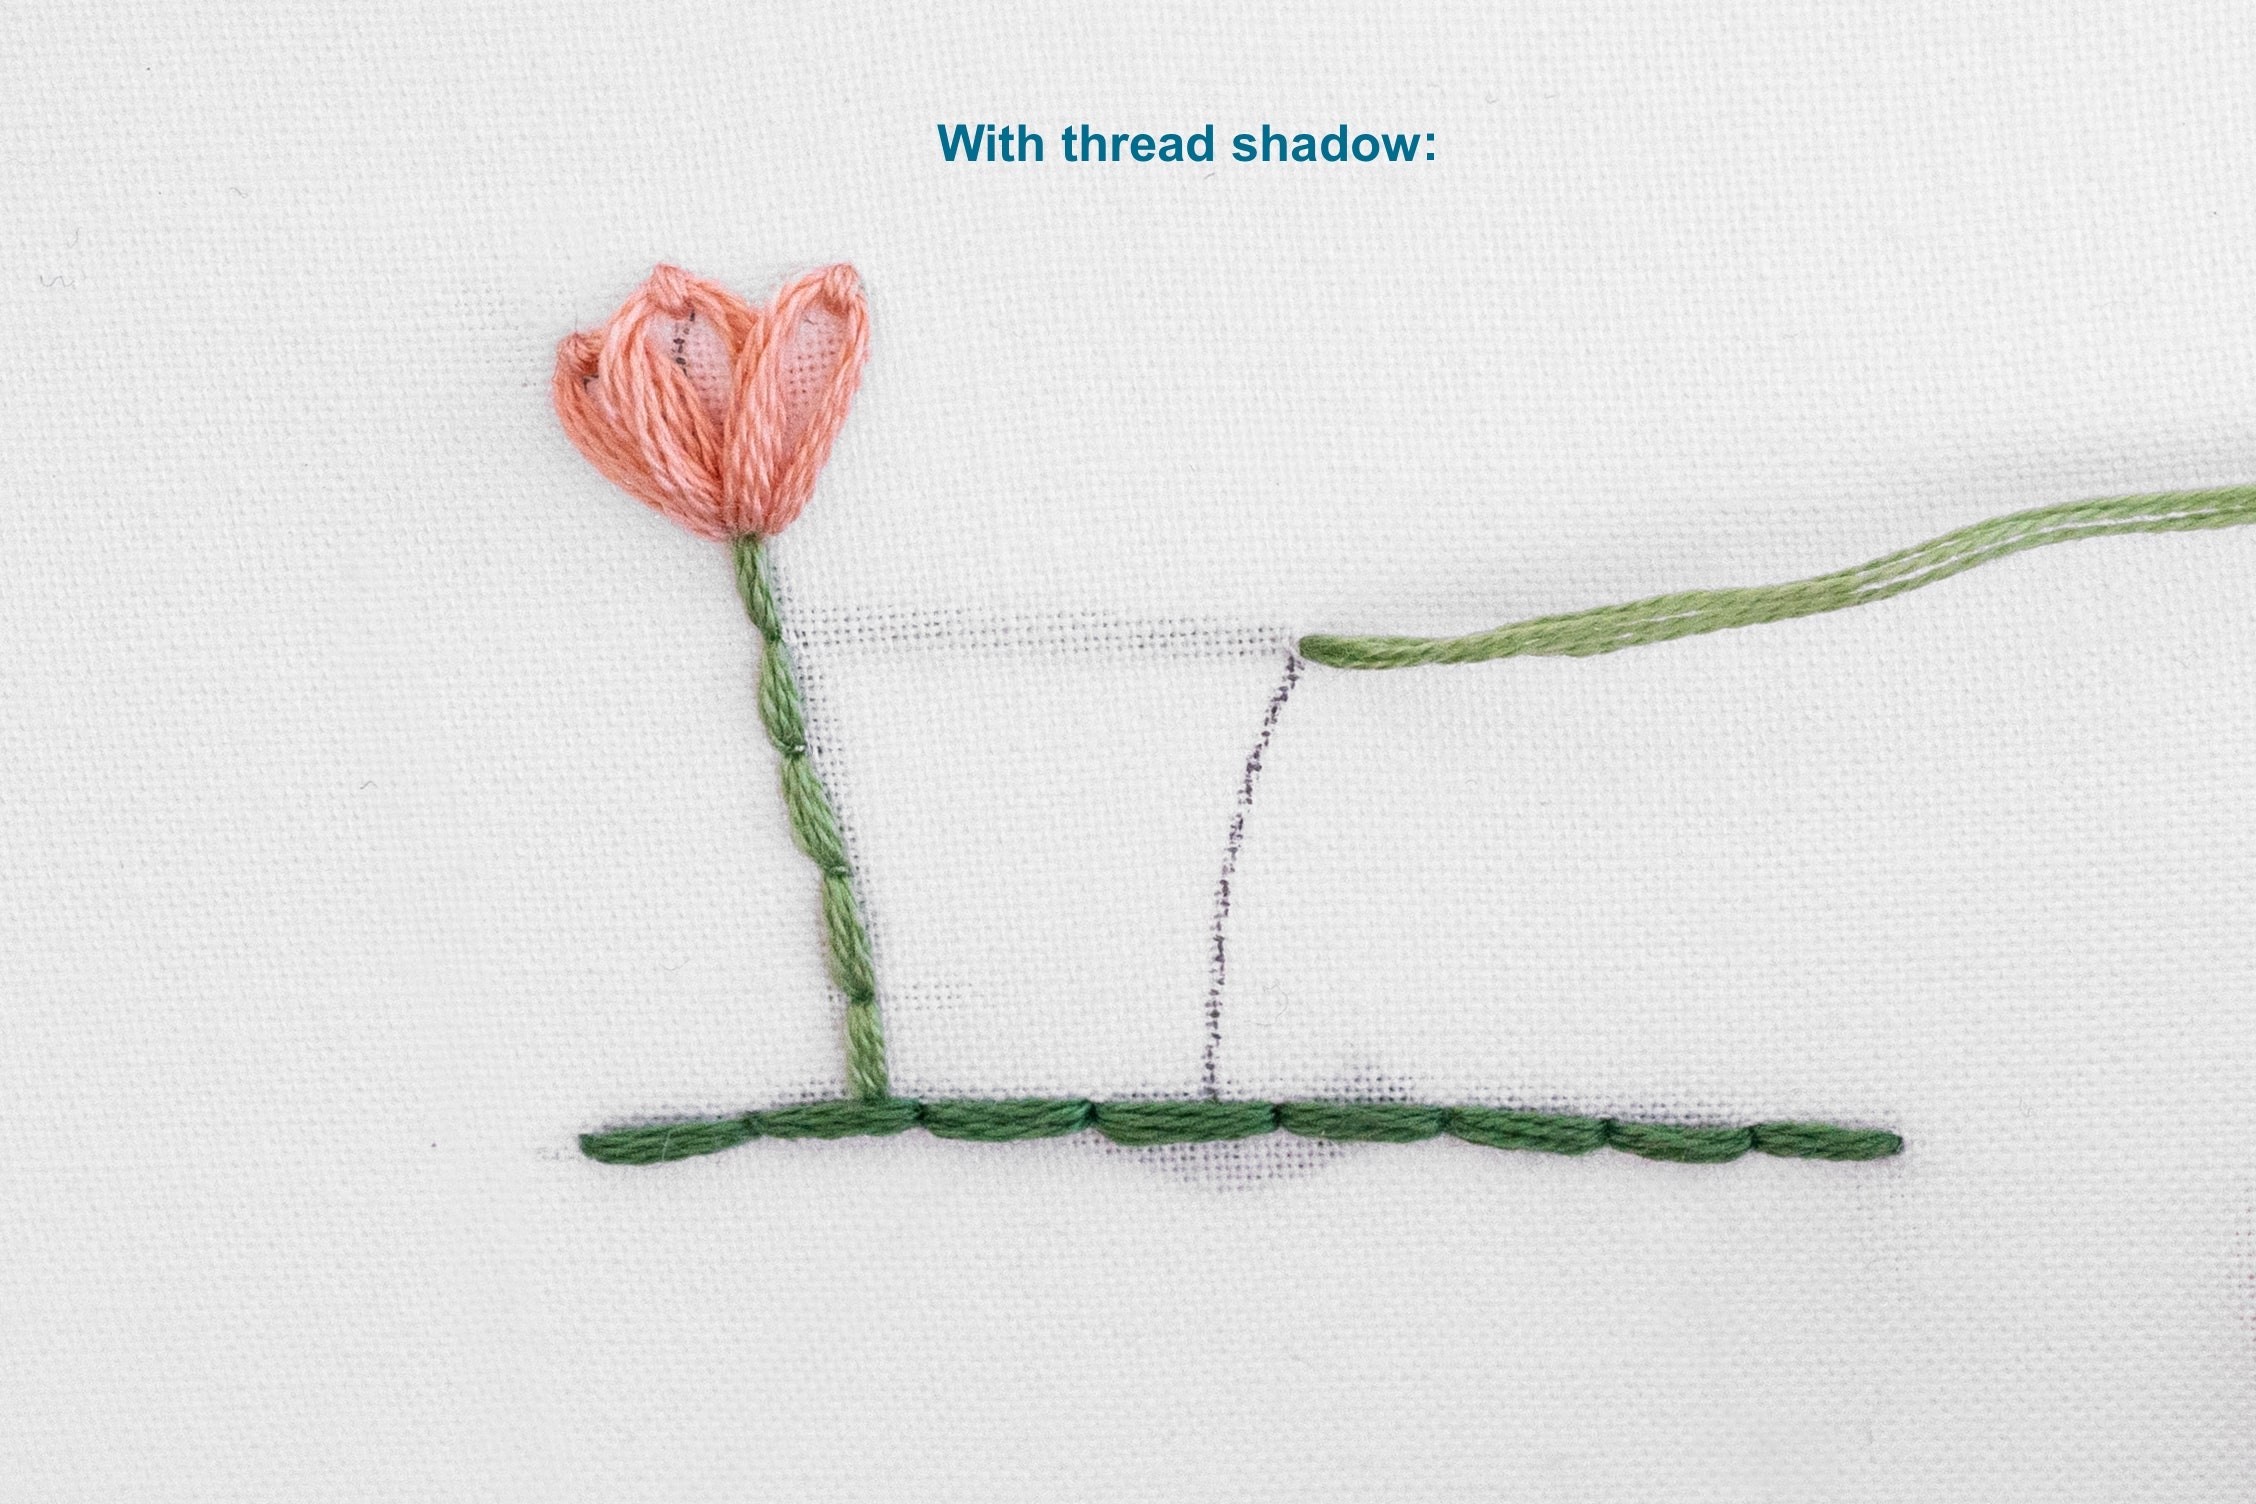
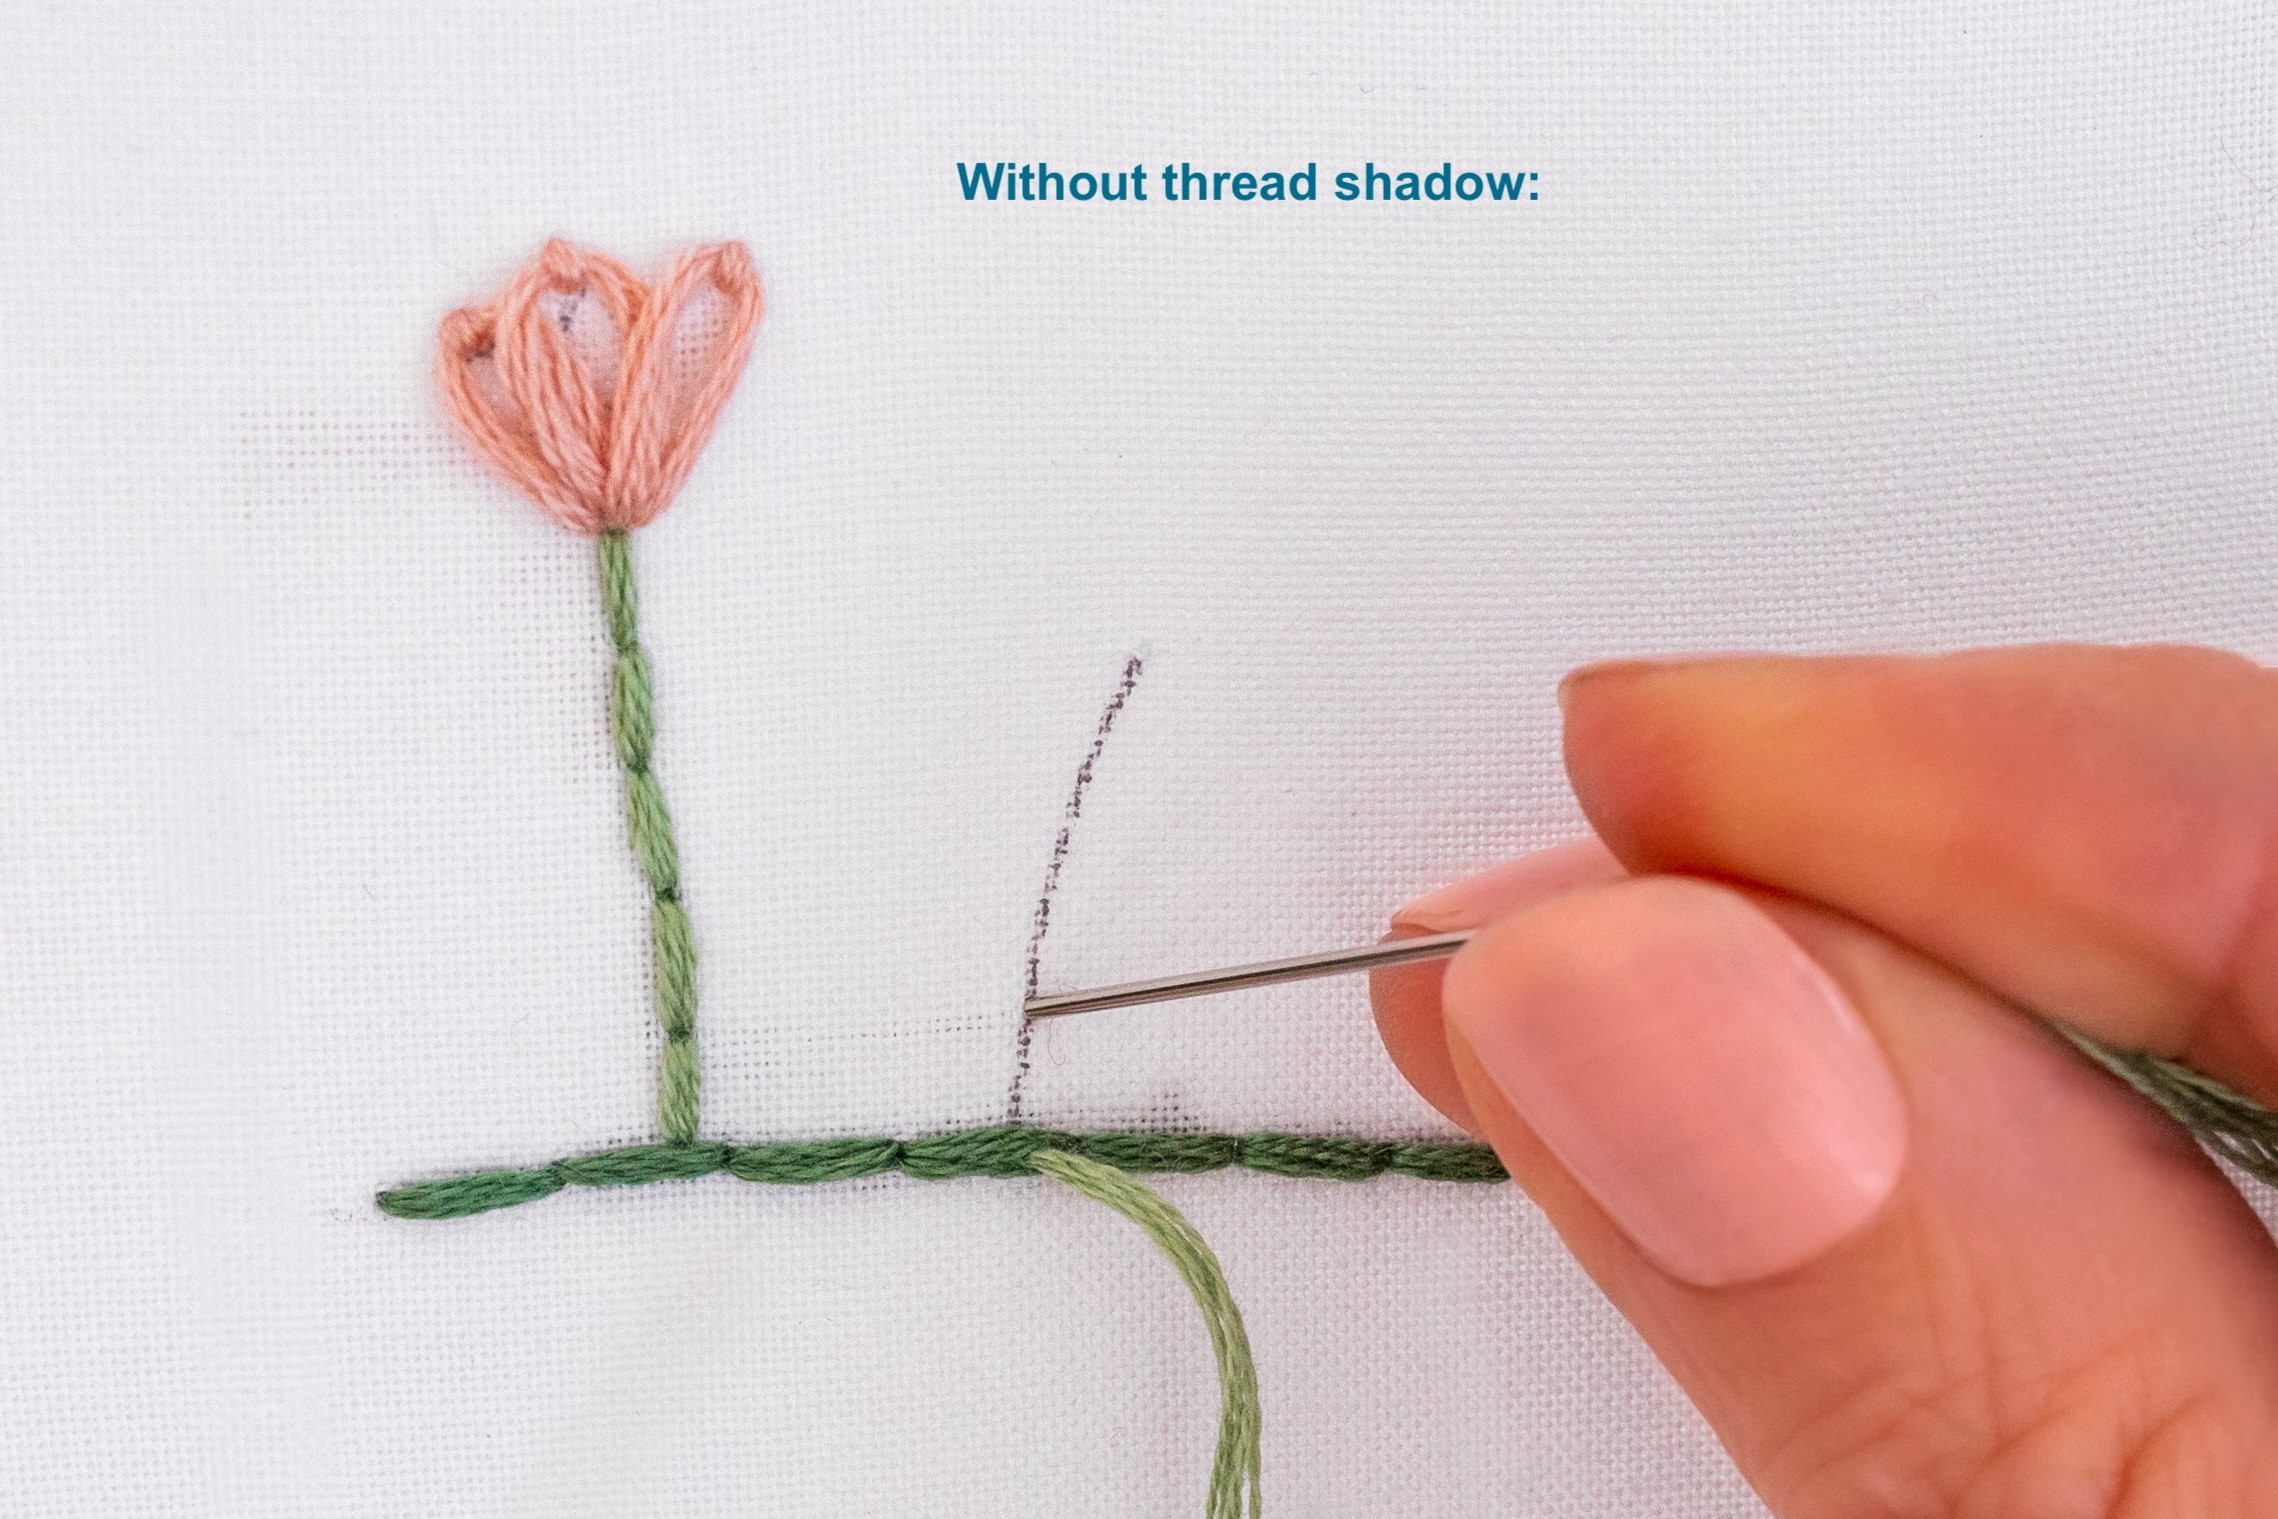
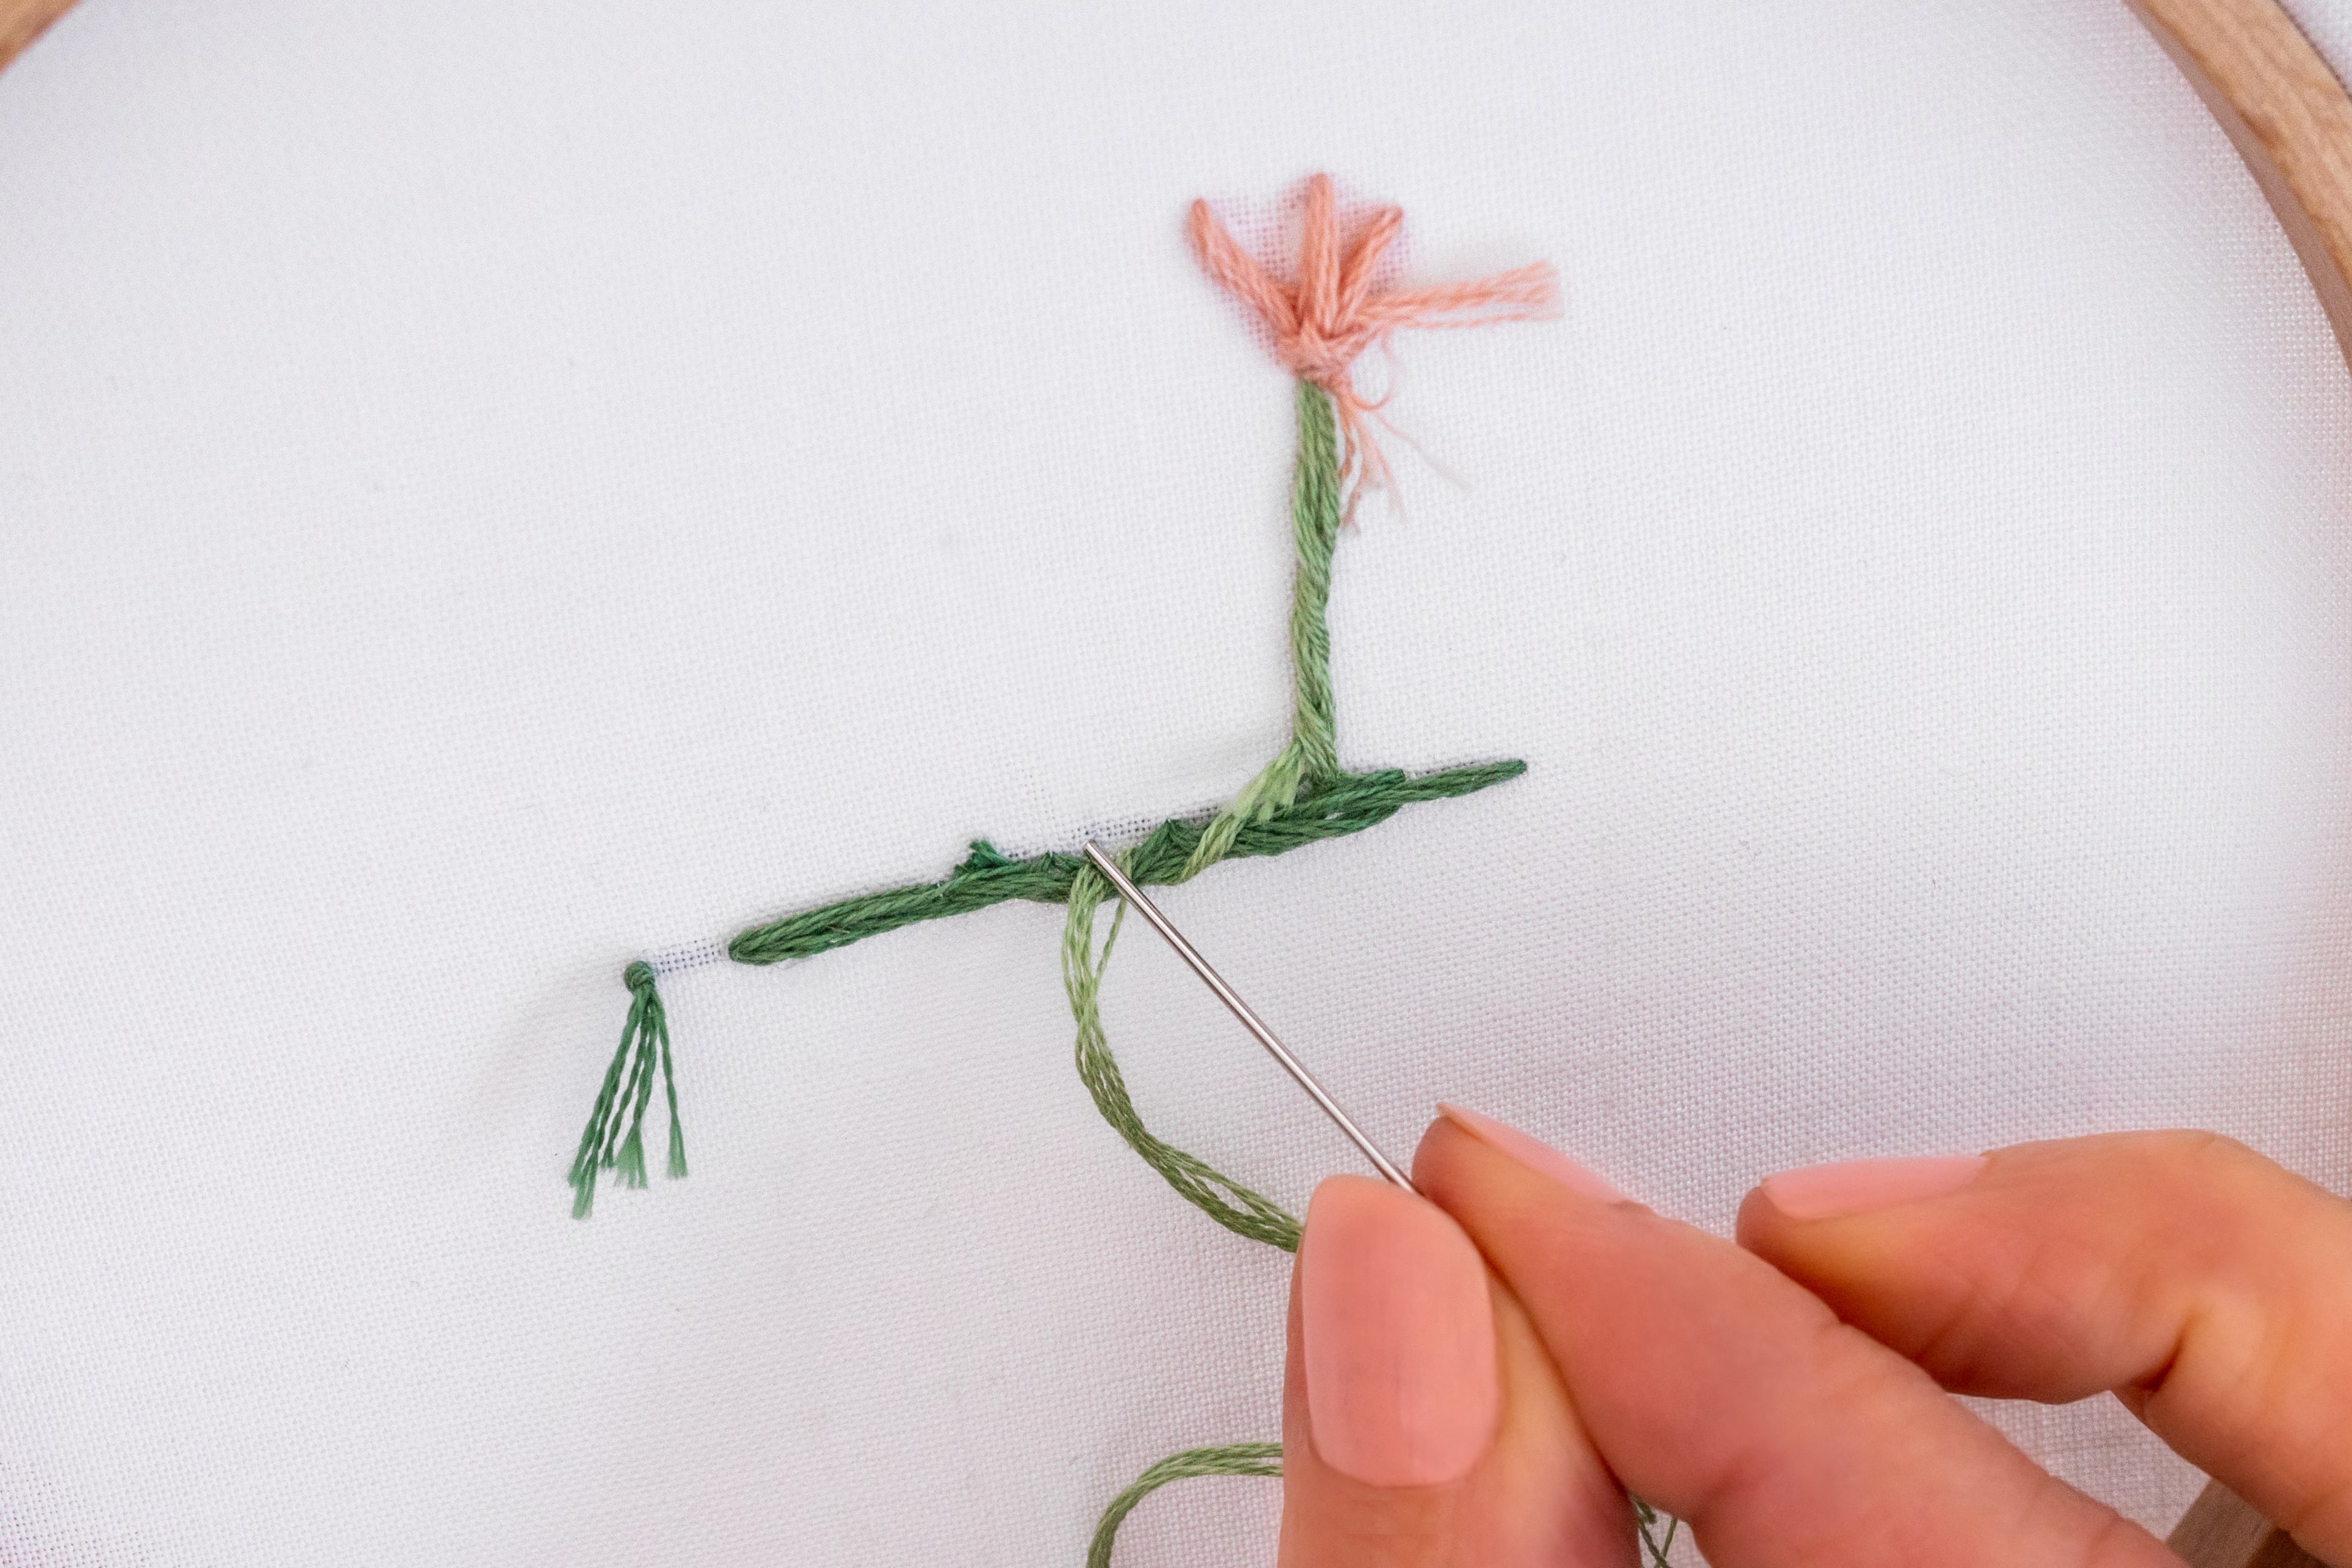
Weaving to Prevent Thread Shadows
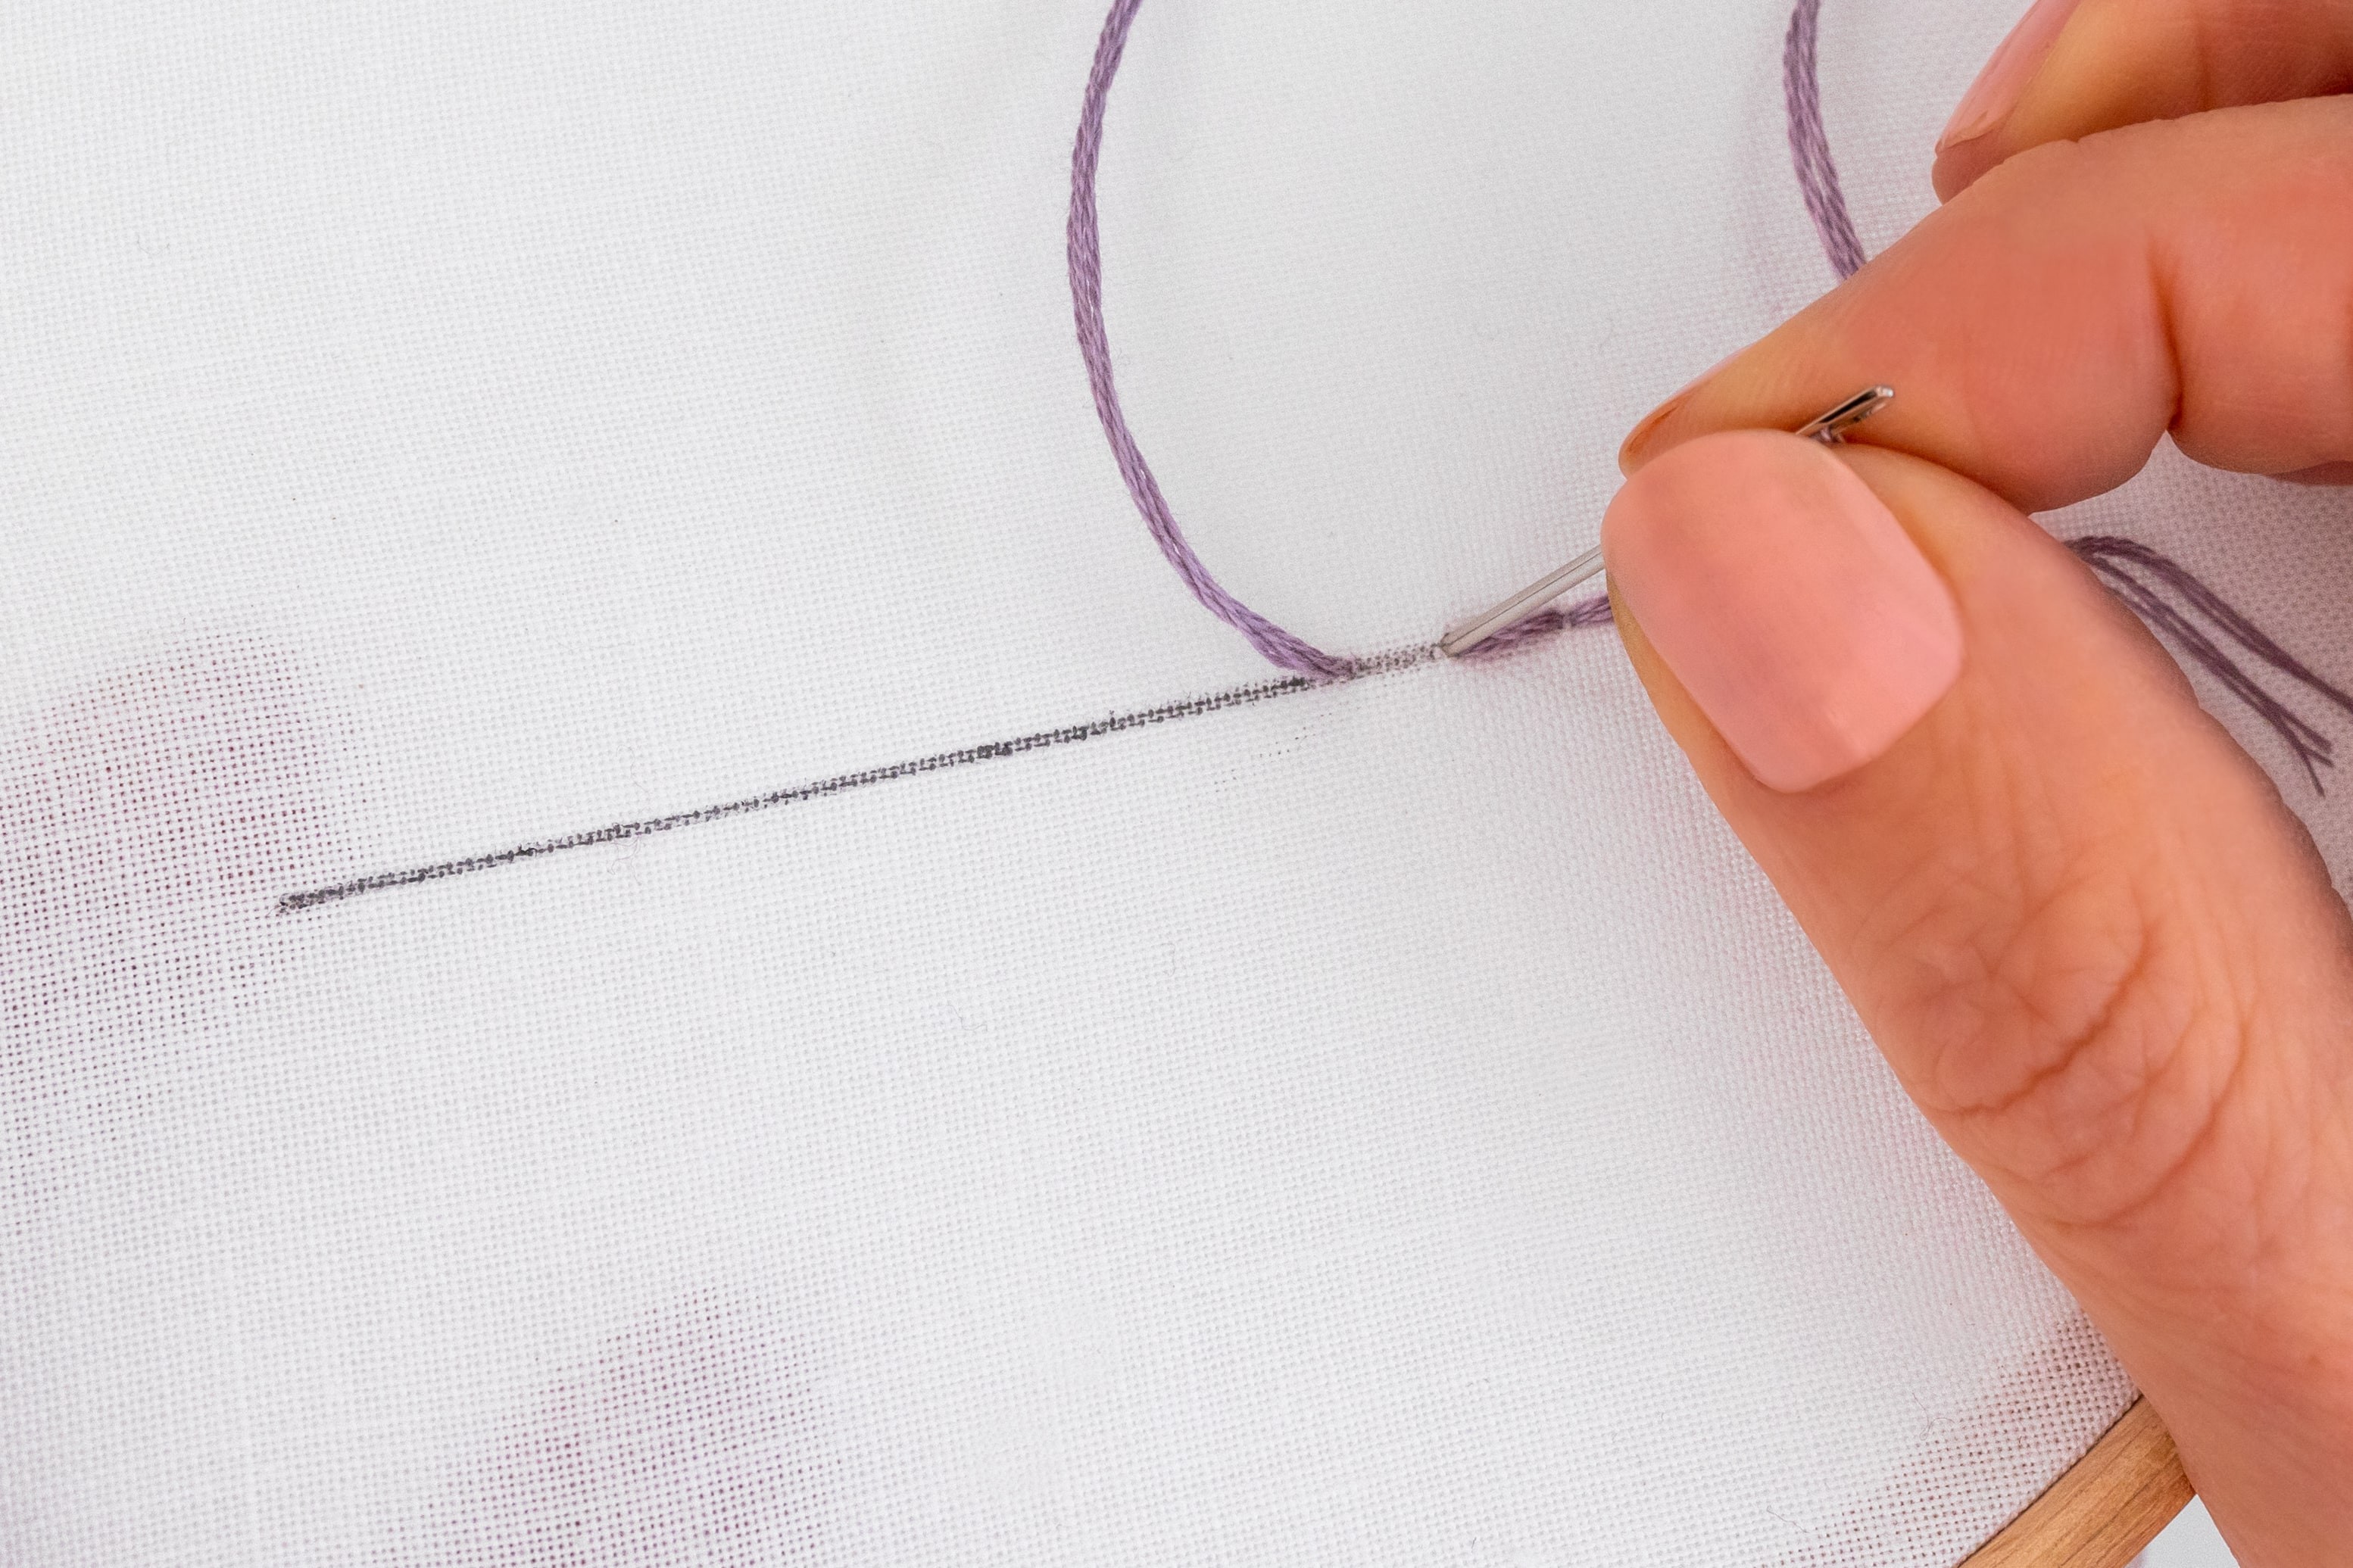
If you carry your thread at the back over open areas of fabric, it might show through as a shadow on the front. If that happens, it’s not a major and totally fine while you’re learning! But to prevent this (and to keep your work tidy), you can do a little weaving technique on the underside of your fabric, to move from spot to spot. See these two images here for the difference.
Here’s how:
-
Finish stitching an area, so that your needle and working thread are hanging out on the back side of your fabric.
-
Weave your needle along some stitches at the back (don’t bring your needle through to the front), until you get to the spot for the next area of stitching.
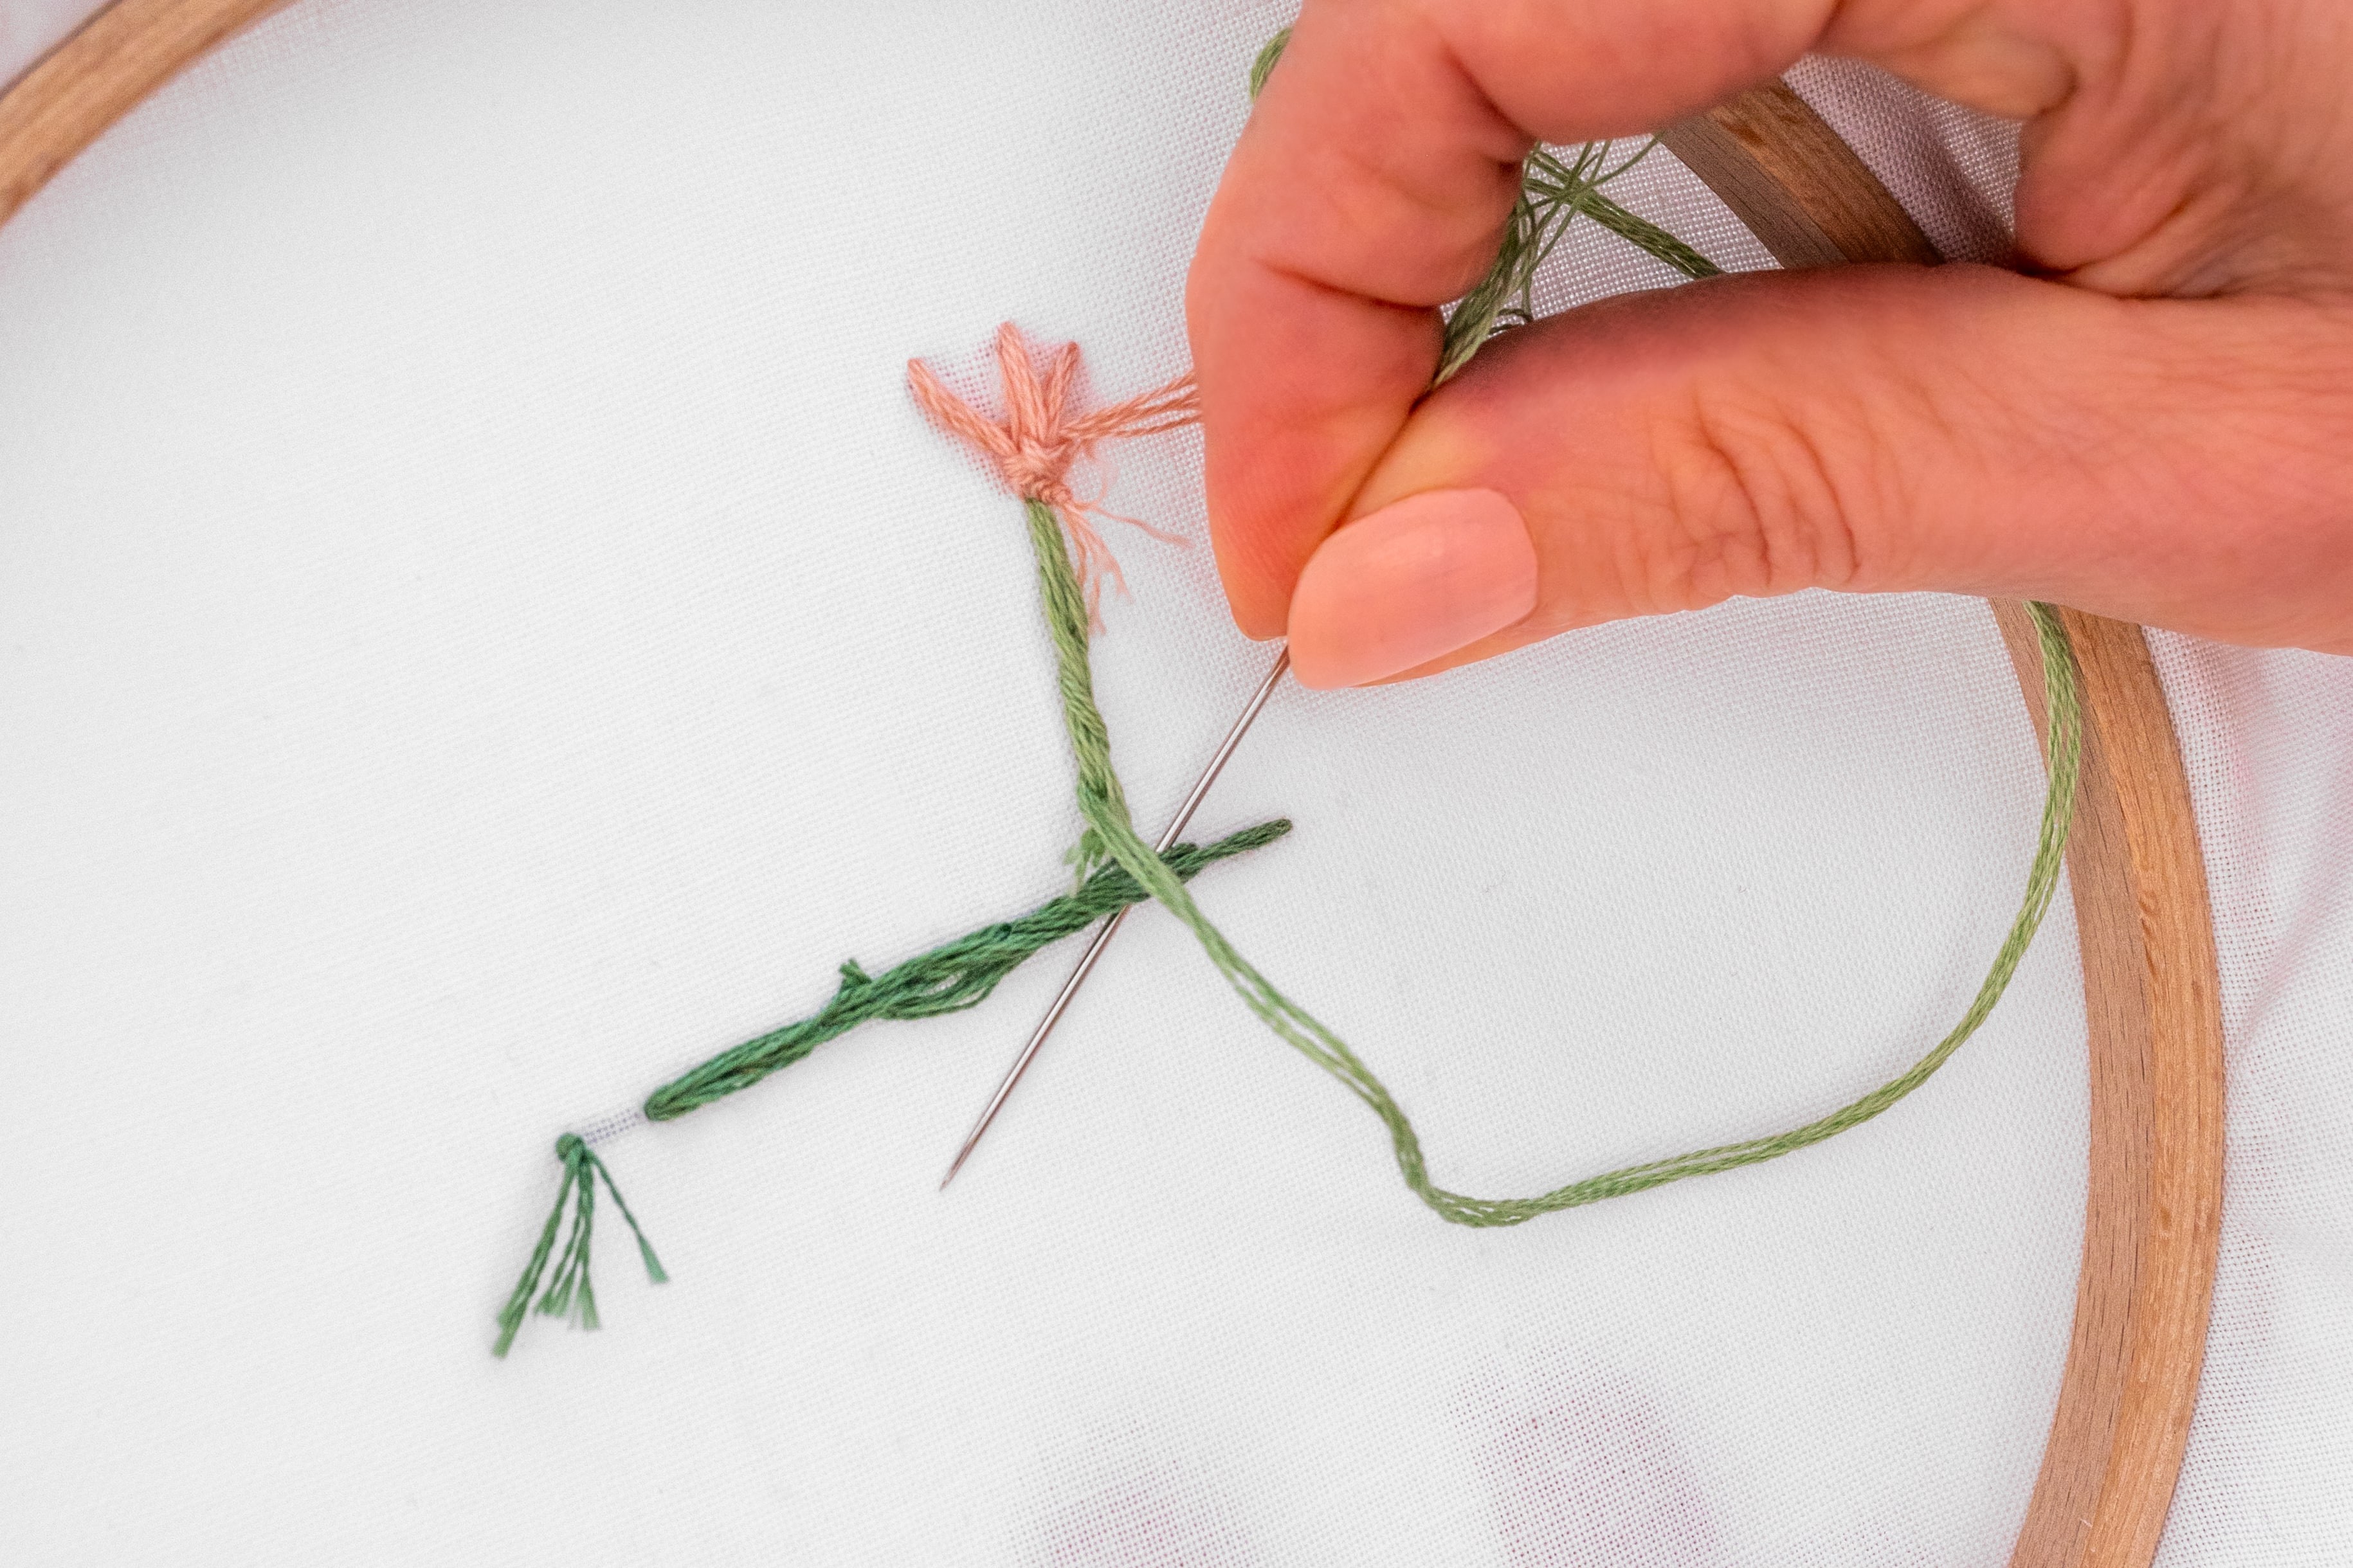
3. Then you can bring your needle up right where the next area starts, and stitch that area. Notice how your thread at the back is all nicely tucked under the stitches, rather than creating a trail across the fabric.
Conclusion
So there you have it, 8 general modern embroidery tips that I think you will find super useful when starting your modern embroidery journey, and throughout.
I’m so excited for you to discover the exciting world of embroidery!
What's next?
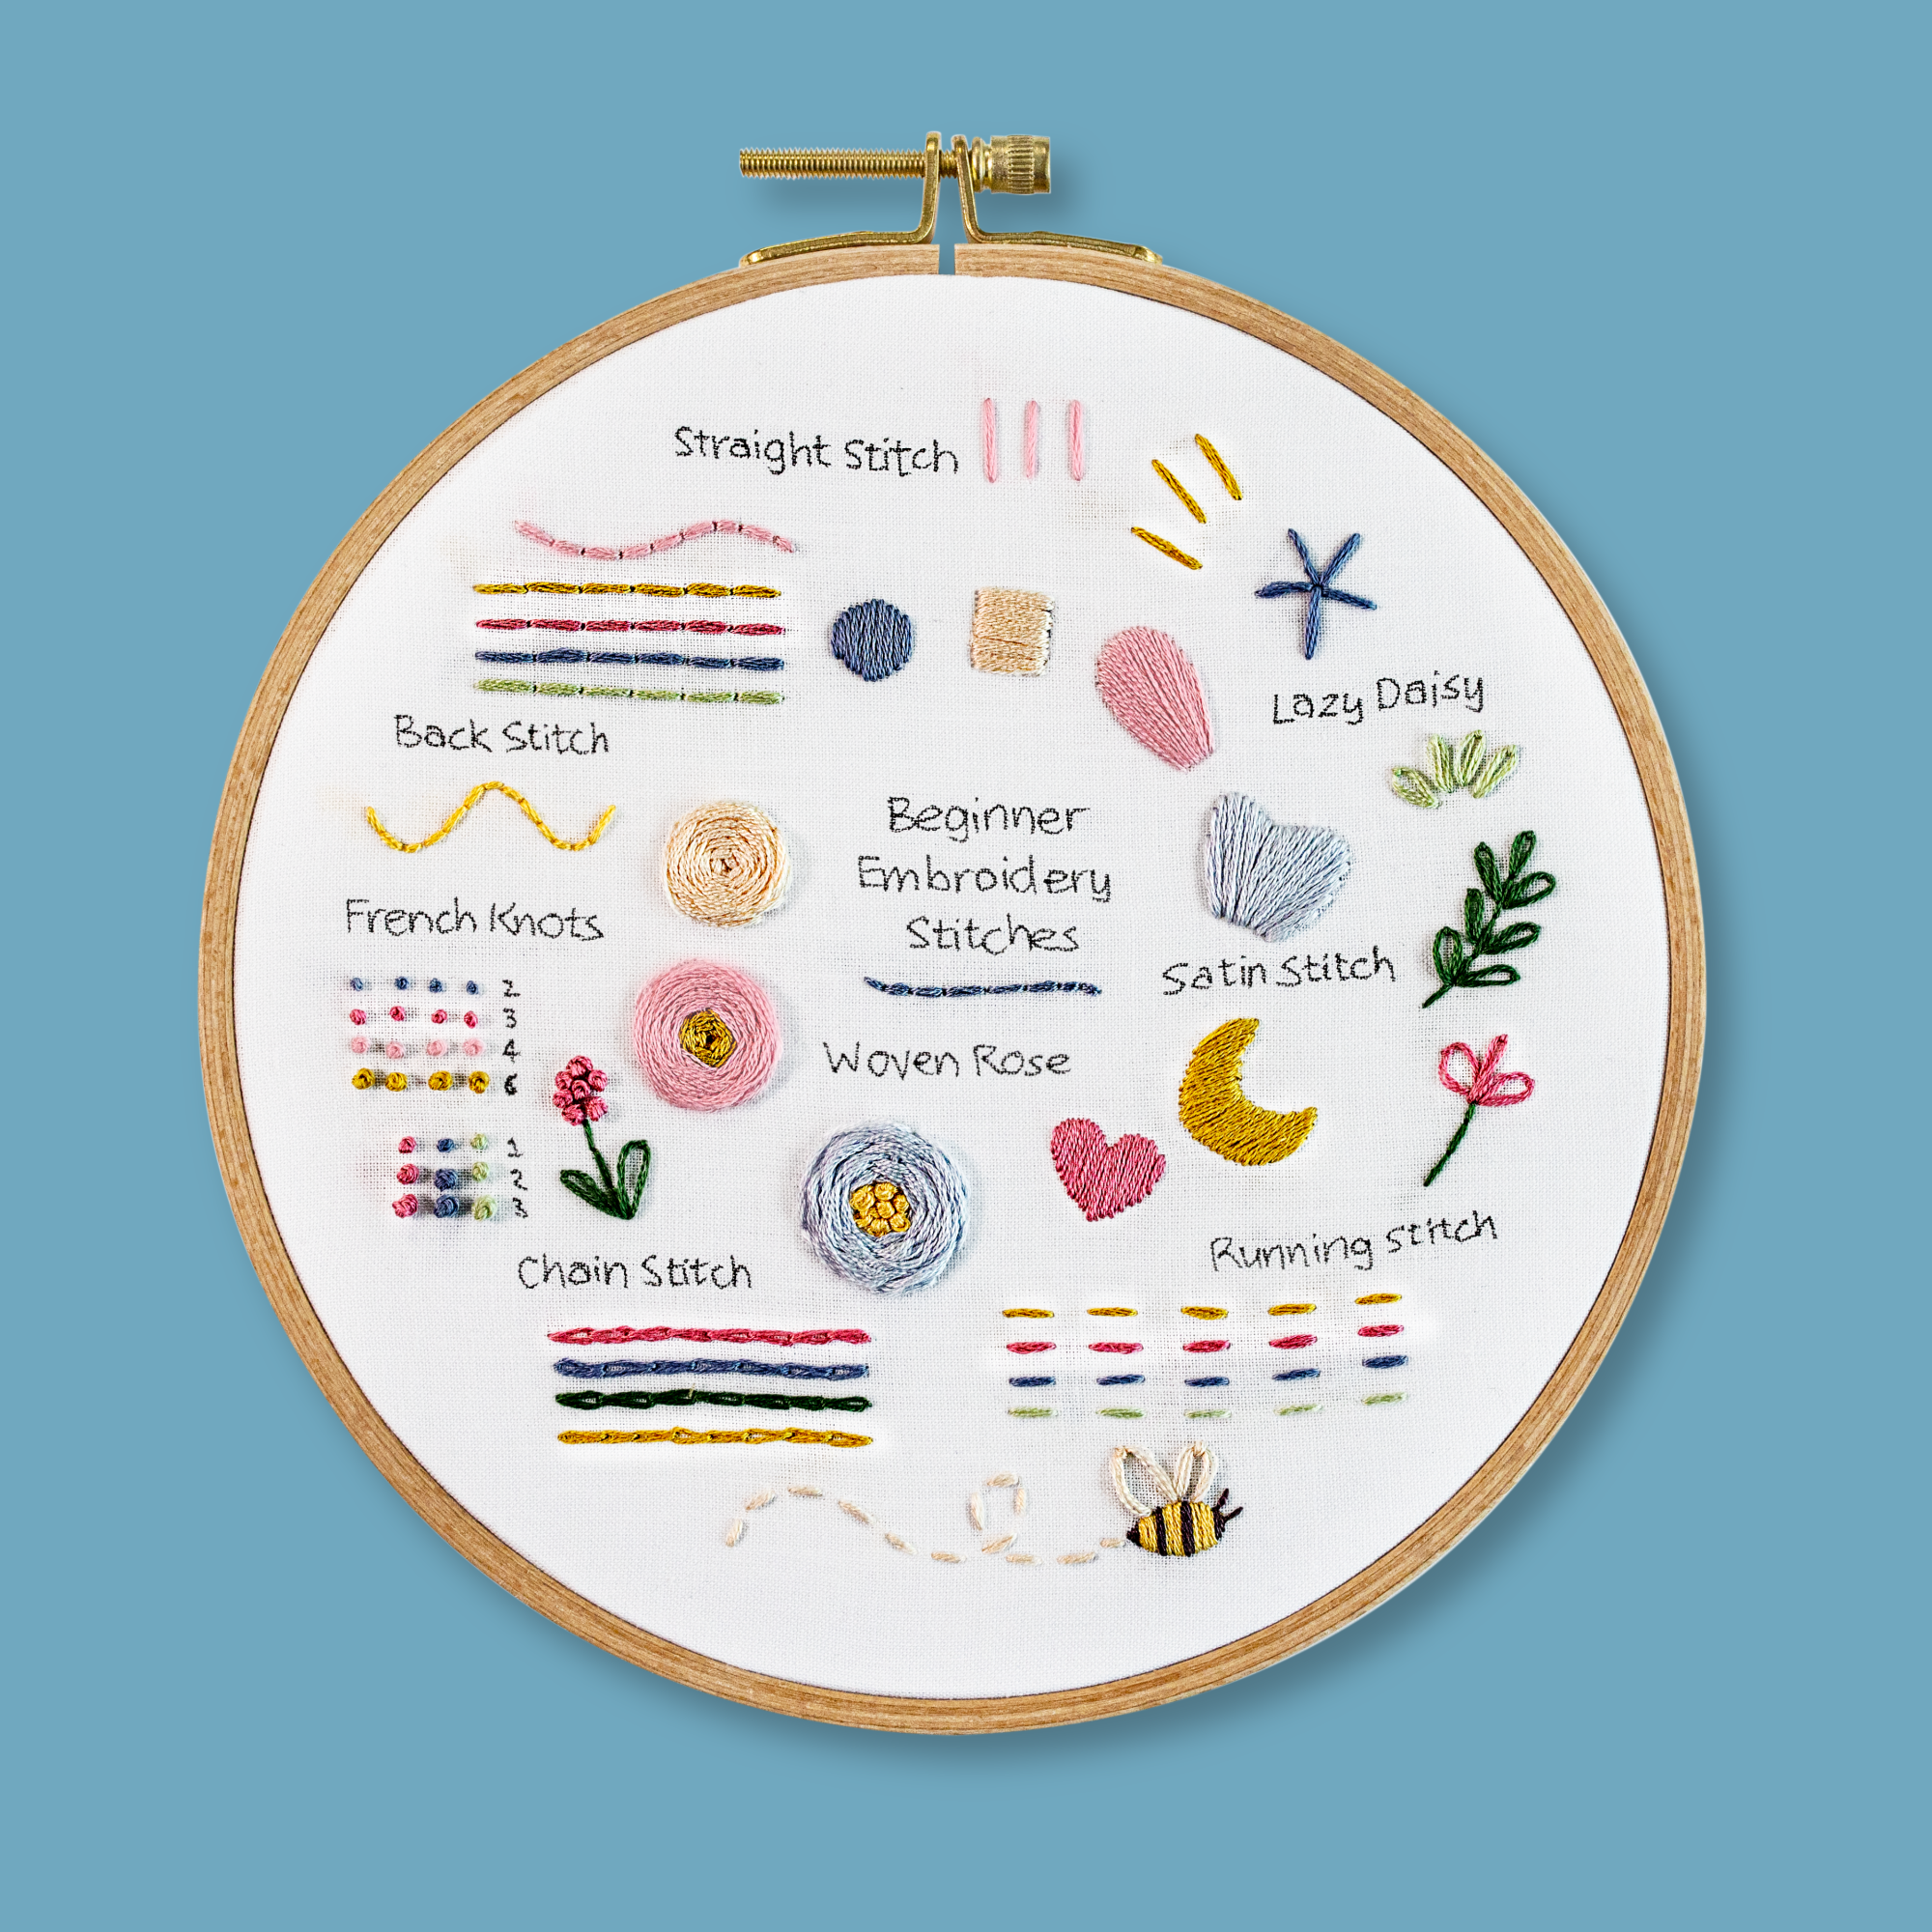
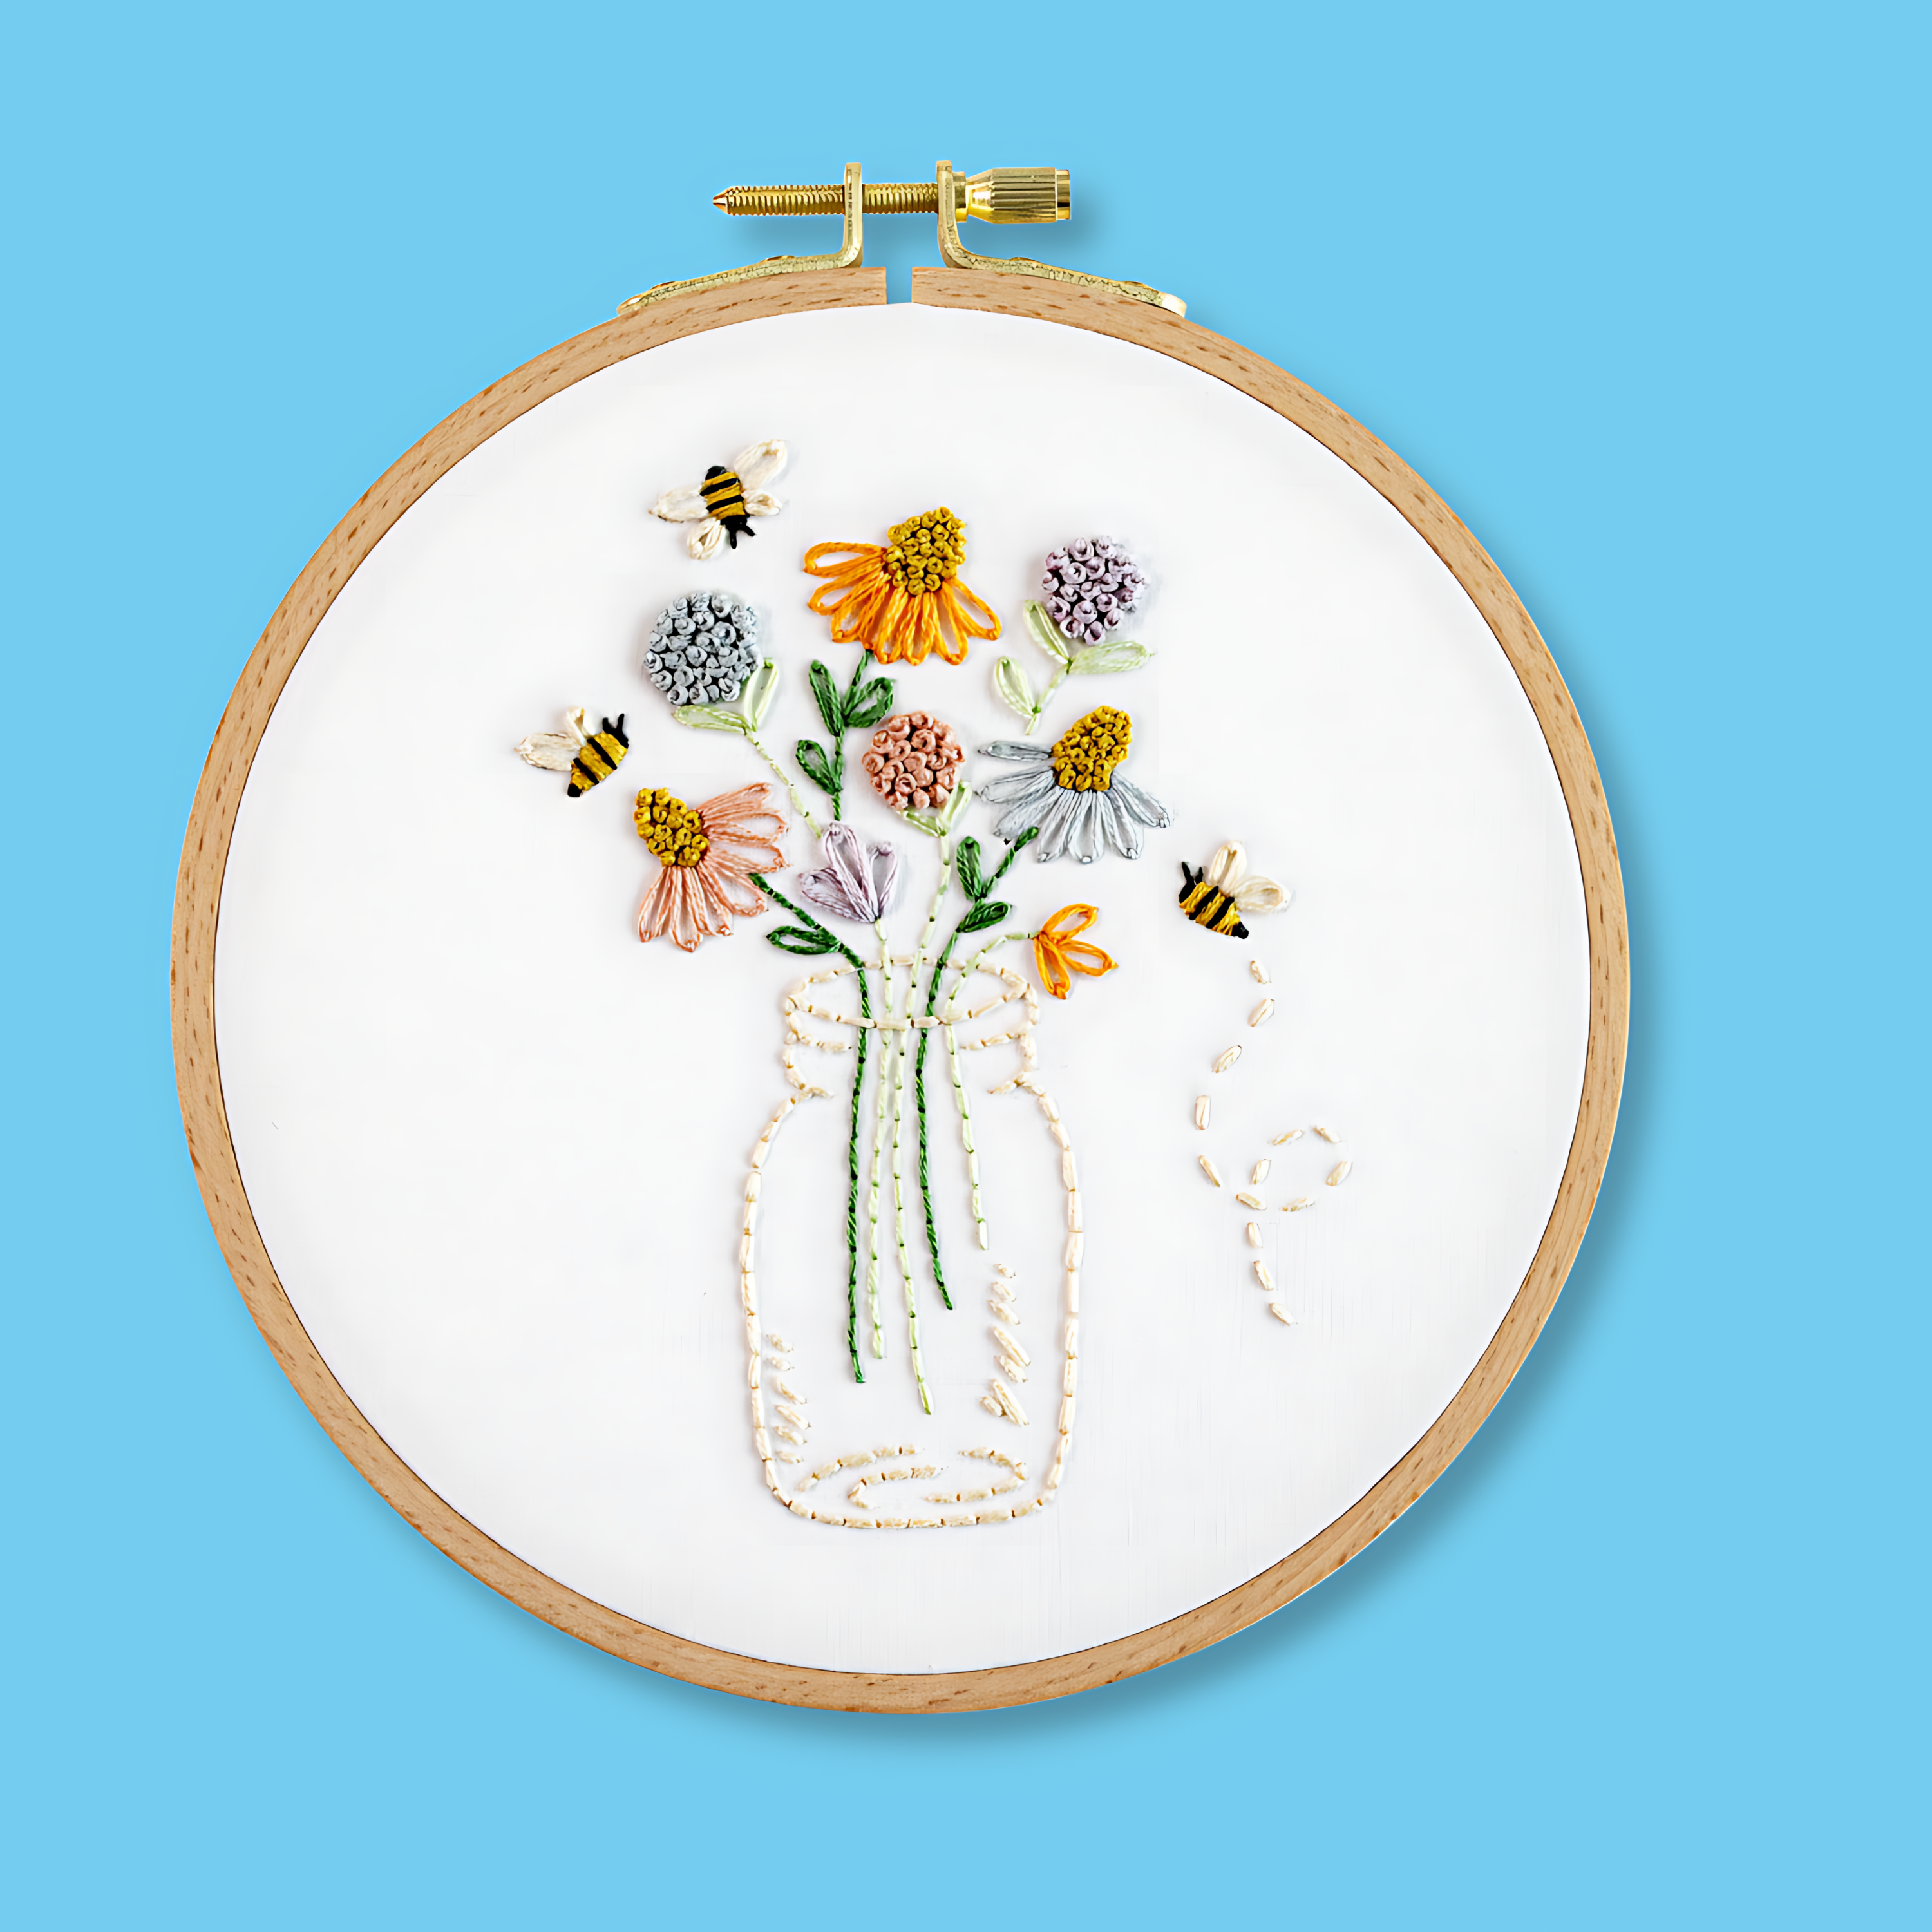
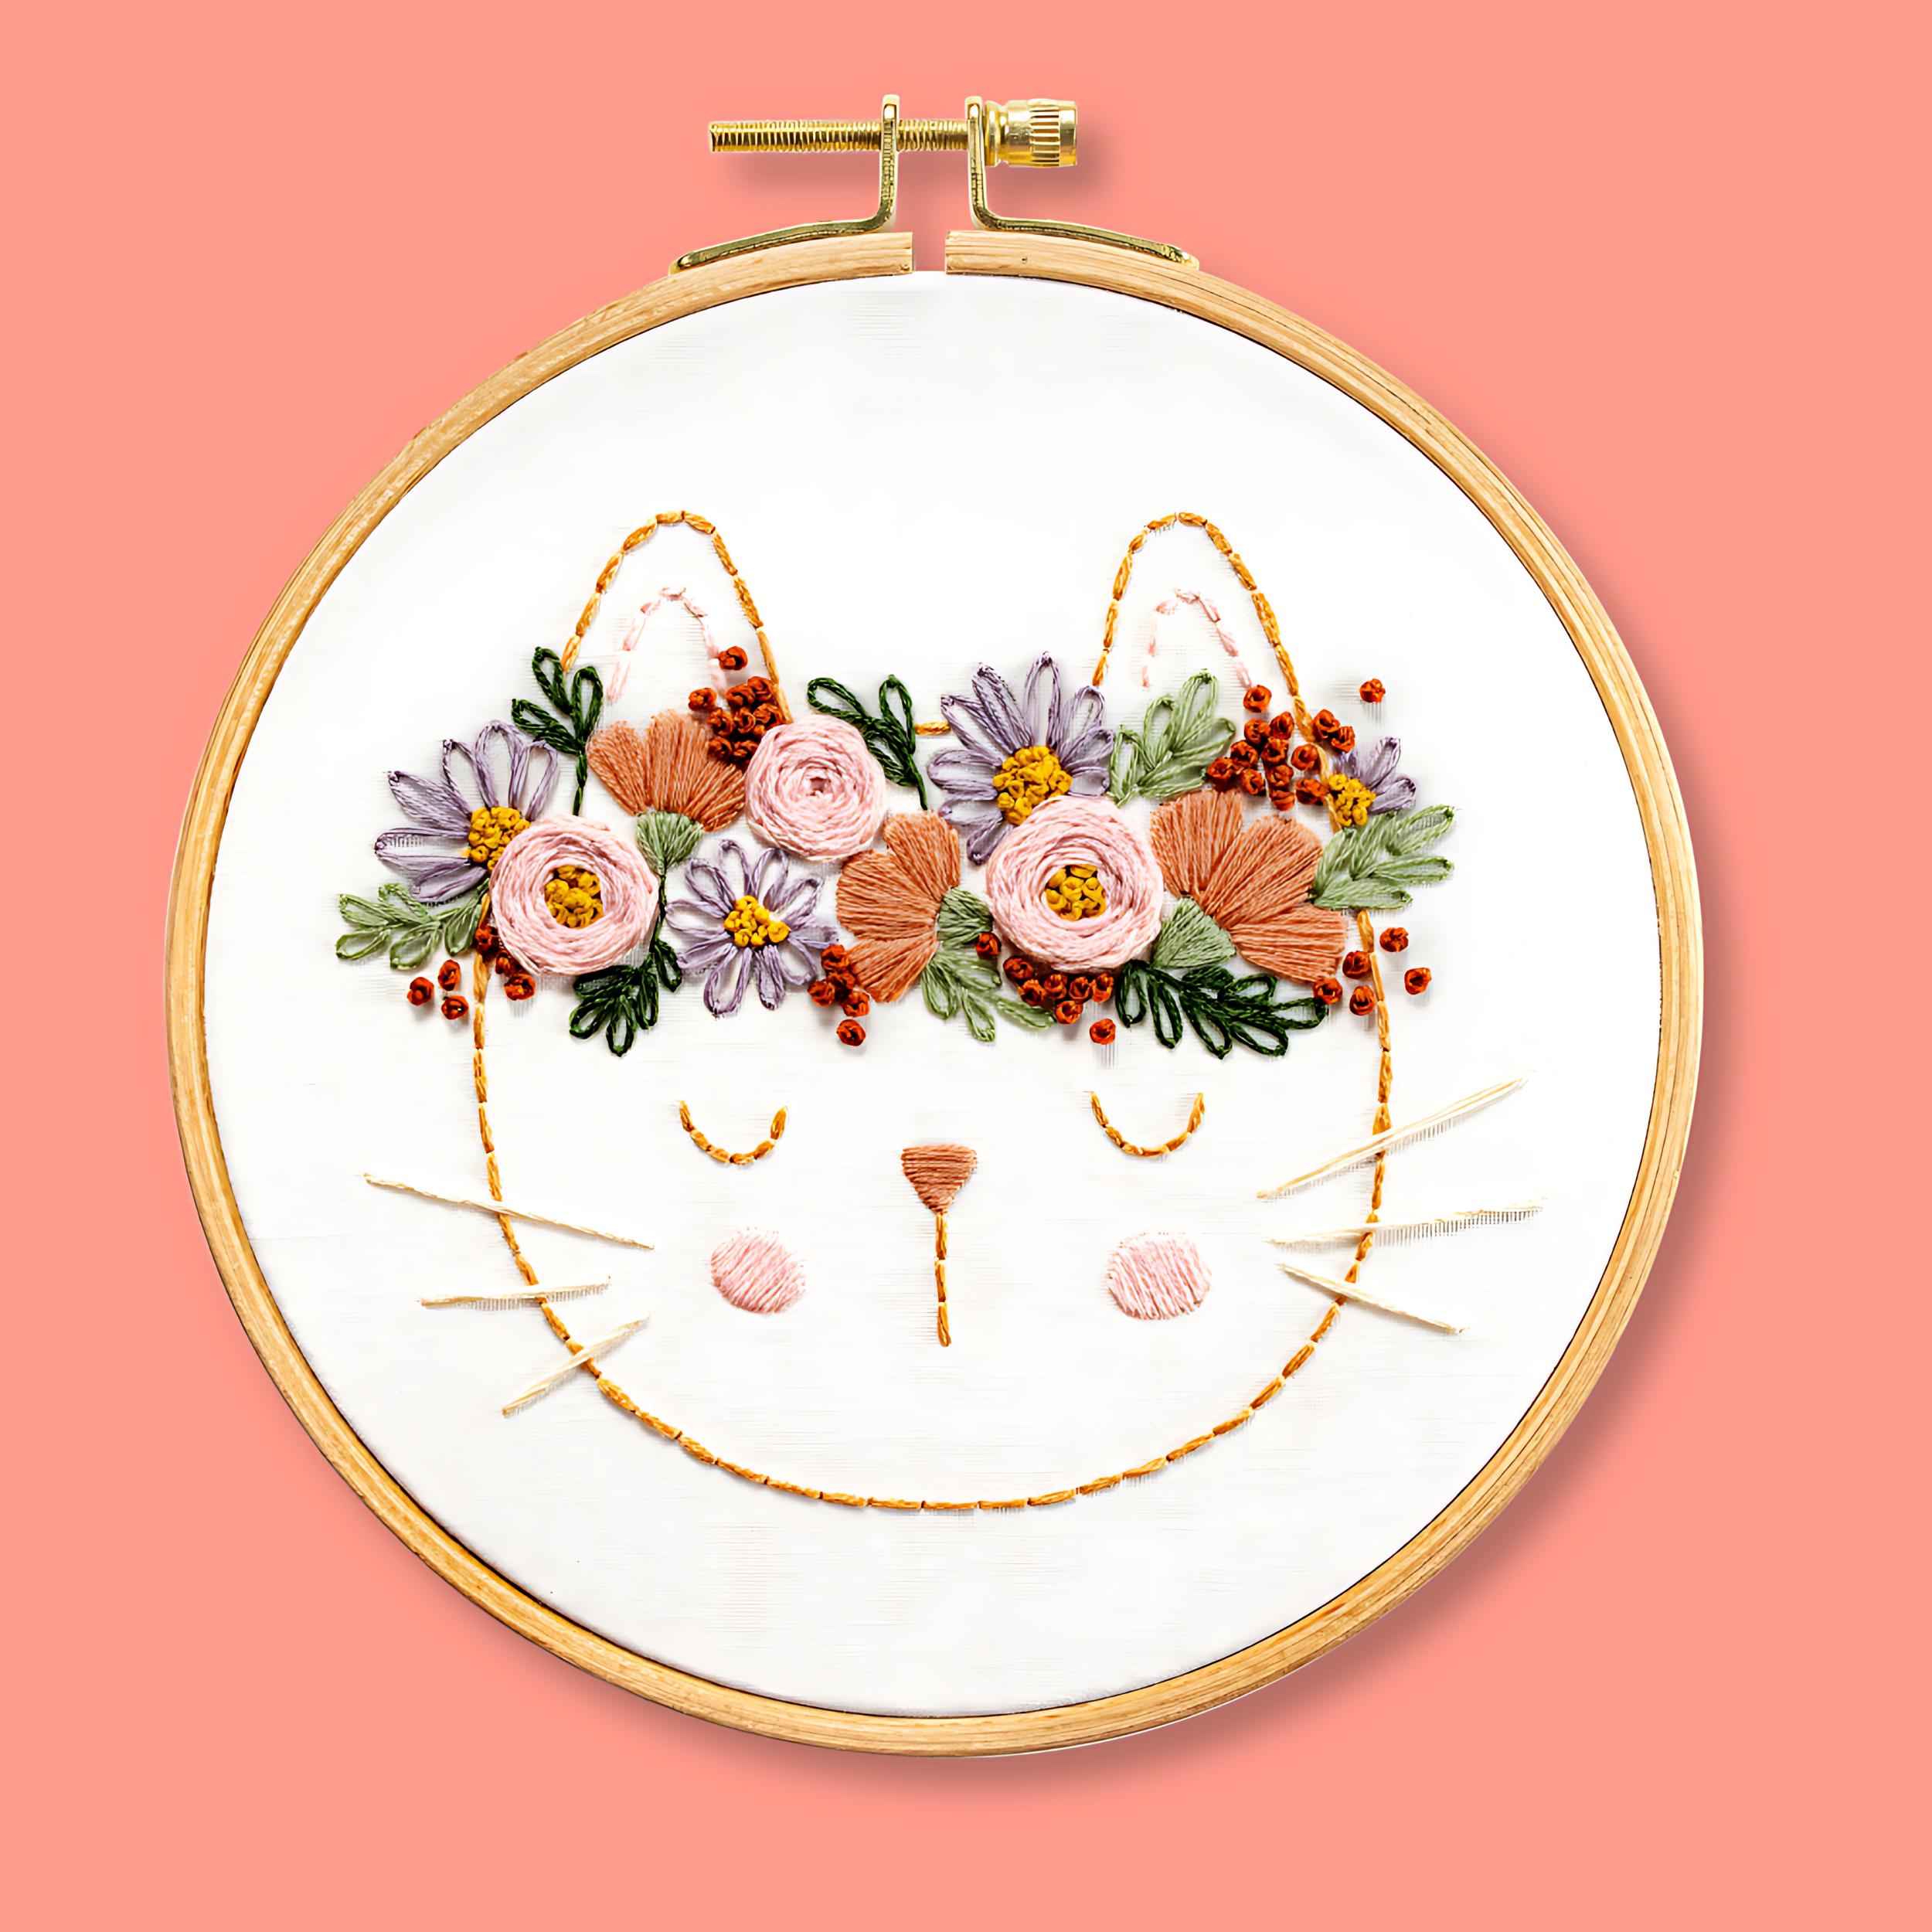
Our beginner embroidery kits are a favourite among new stitchers for their simple, step-by-step instructions and beautiful designs that make learning easy and fun. Whether you’ve been wanting to learn embroidery or are just searching for your next creative hobby. These kits are the perfect introduction to embroidery.
Why people love our beginner kits:
-
Everything you need is included: fabric, thread, hoop, and more!
-
Clear instructions to guide you every step of the way.
-
Gorgeous designs you’ll be proud to display.
Our most popular beginner kits