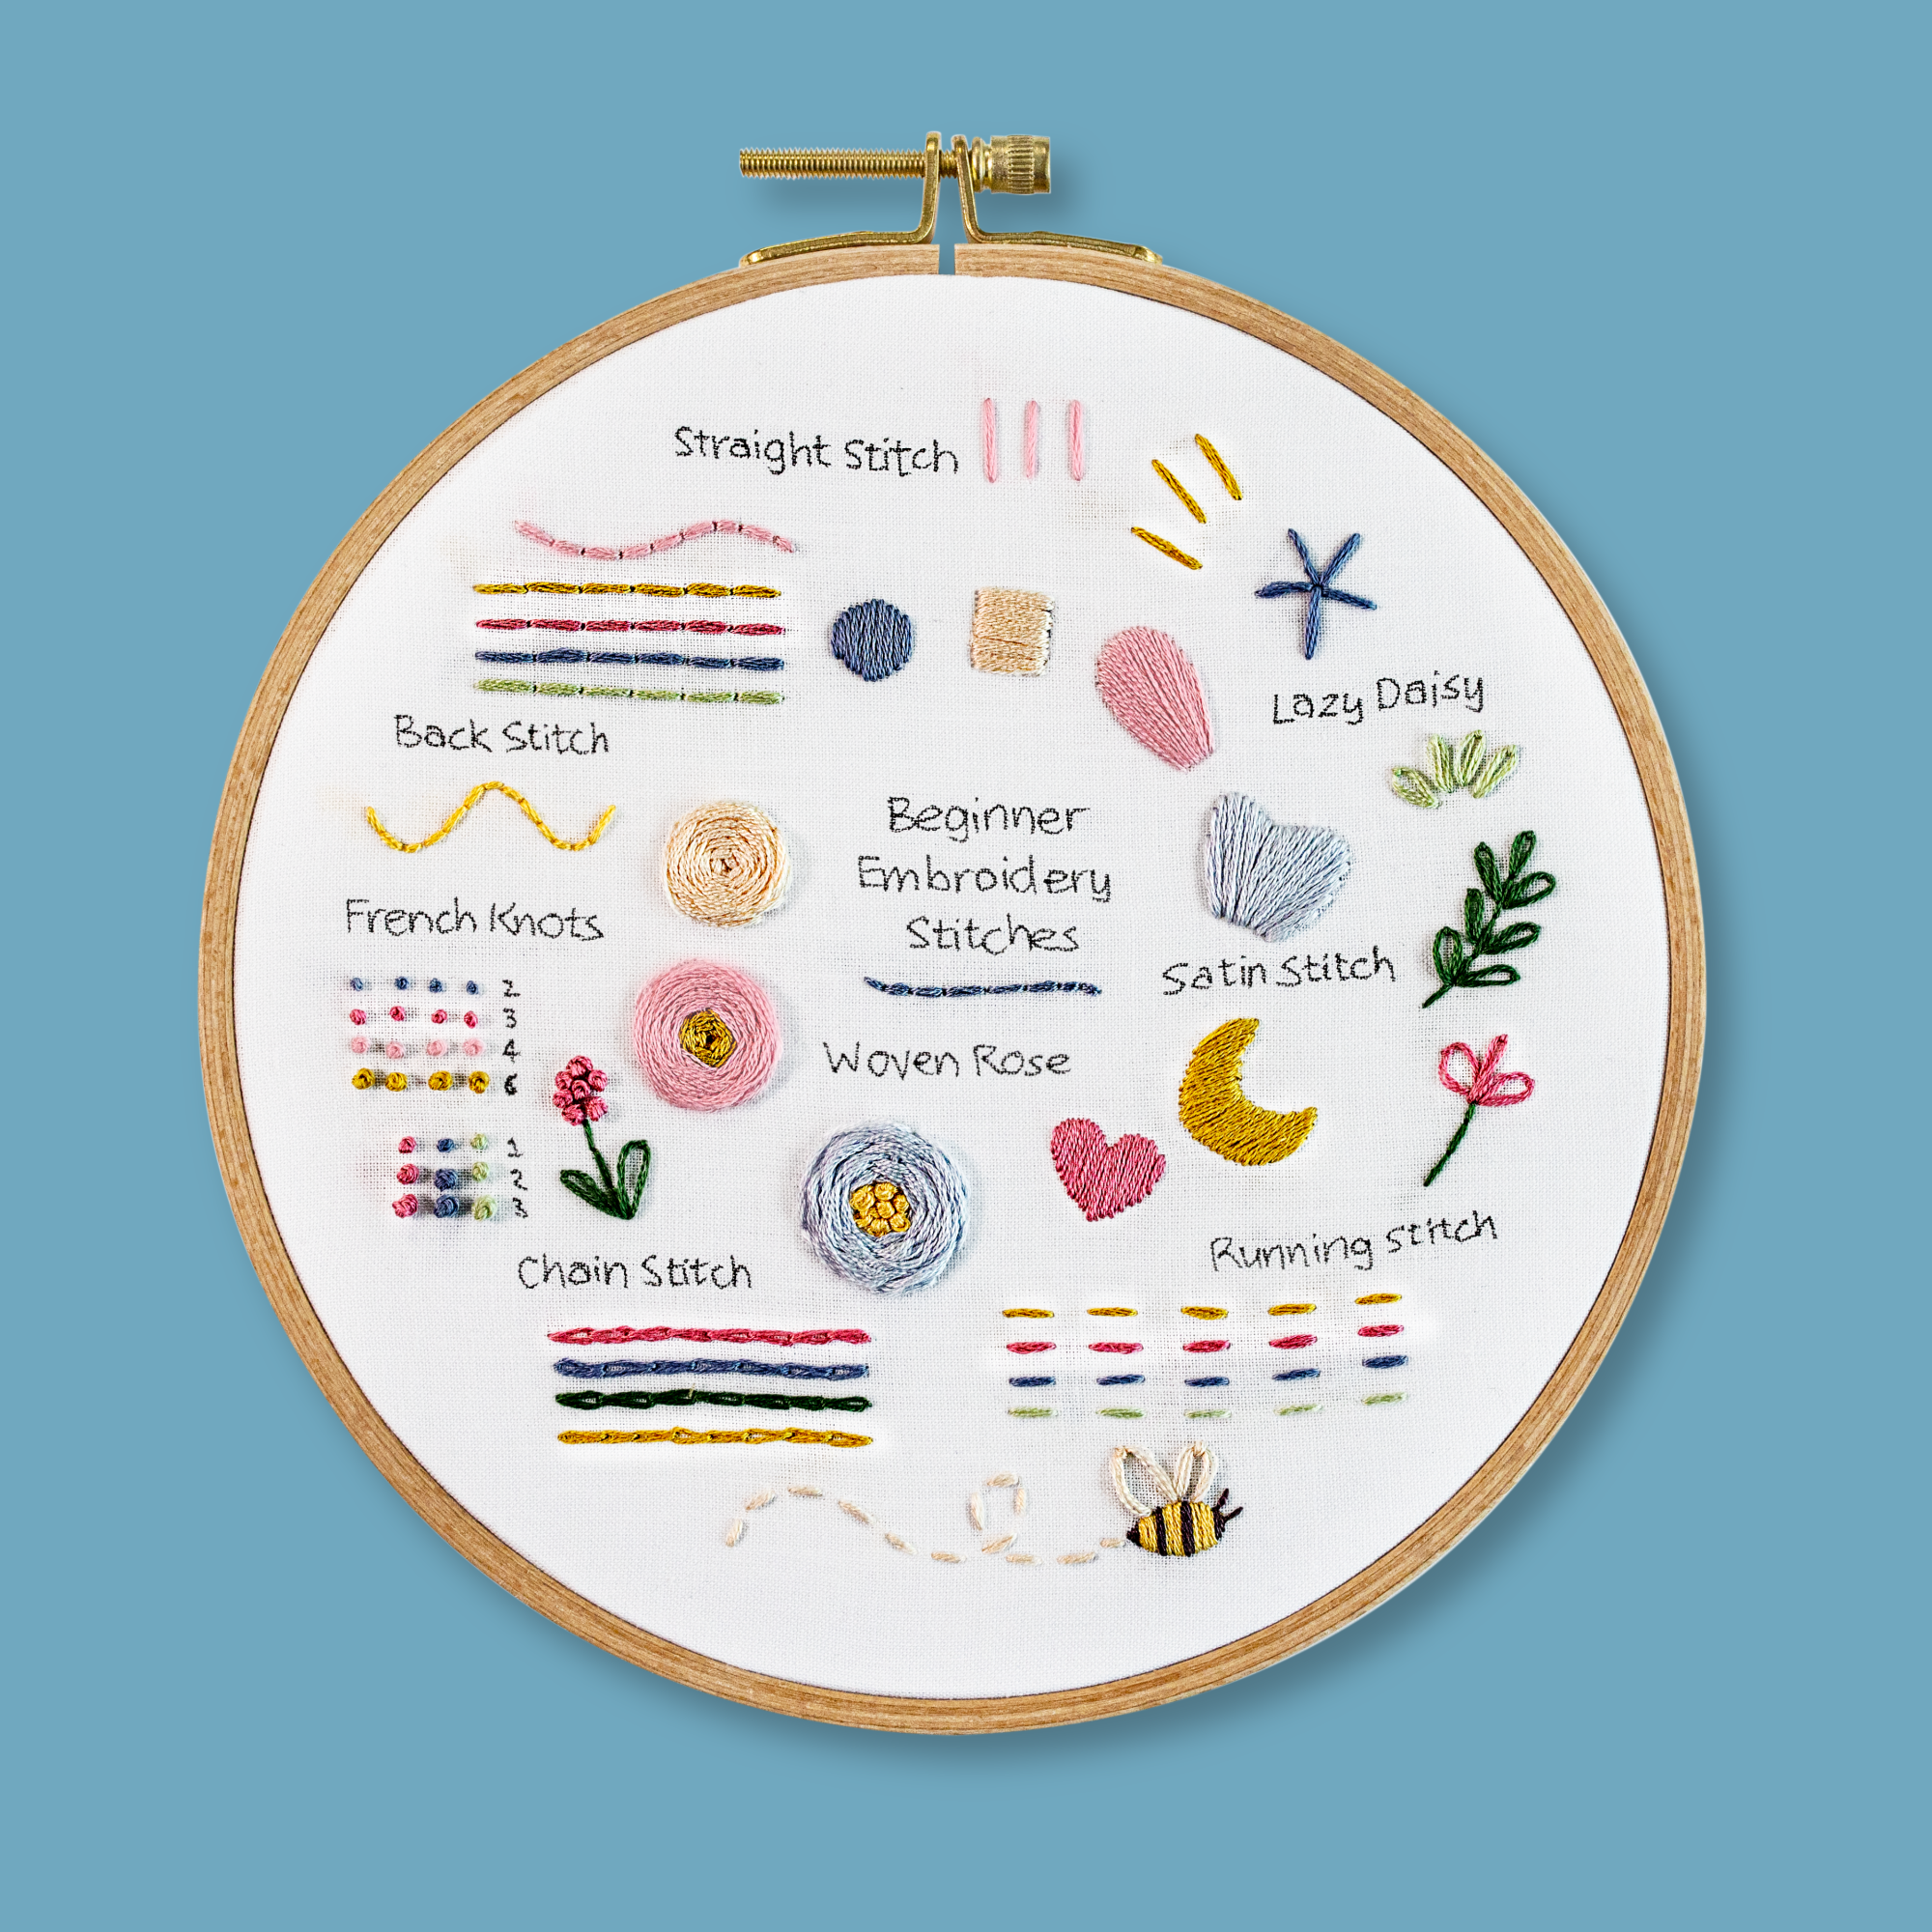


4 steps for preparing your thread - Learn This Modern Embroidery Technique
Introduction
Let’s look at some tips for preparing your thread, so your stitching goes as smoothly as possible:
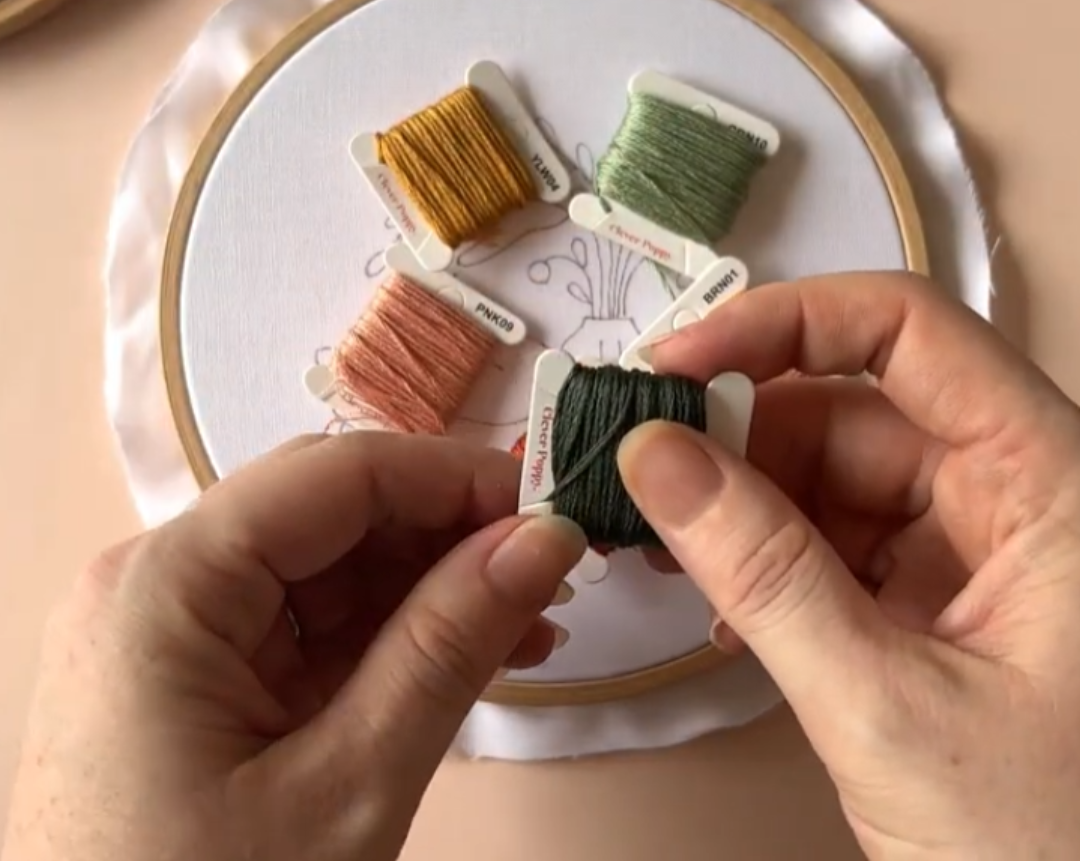
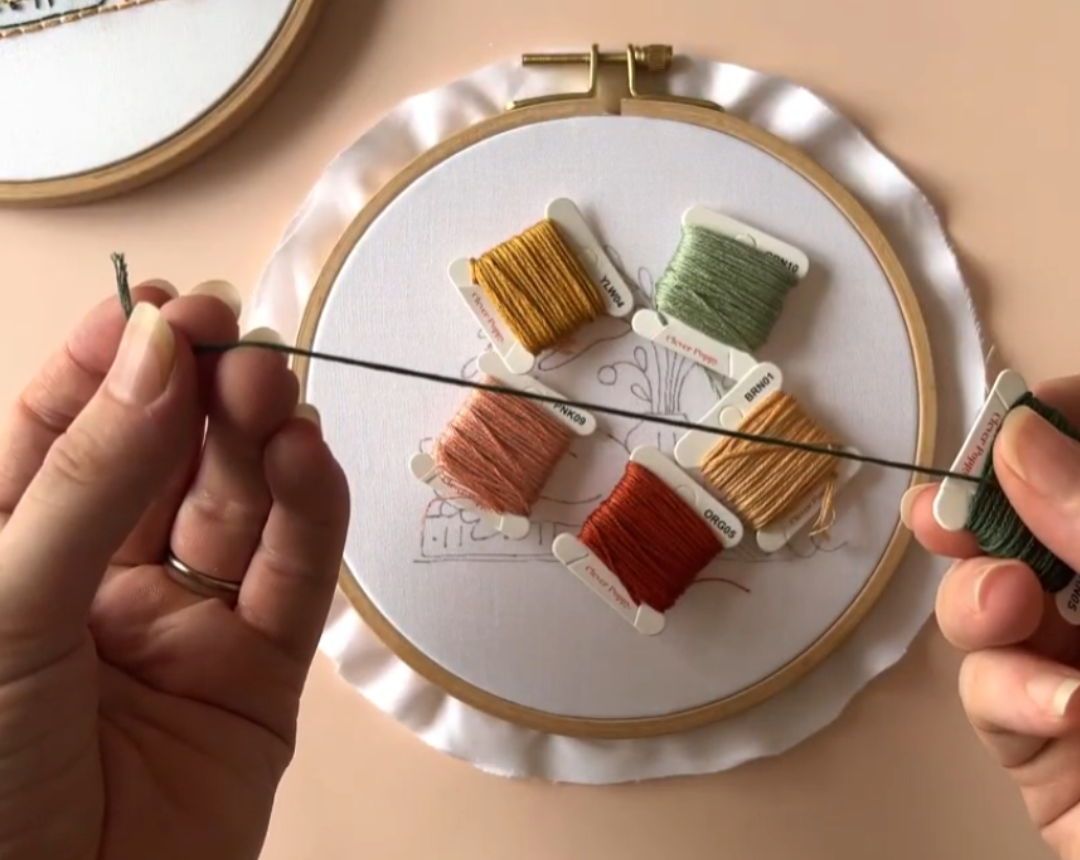
1. Winding thread off the bobbins
Pull your thread off the end of your bobbin where it is secured. Your floss will unwind freely.
Thread length
Cut your pieces of thread about 12 inches (30cm) long. This length works well as a beginner (you can use longer pieces once you’ve got the hang of it).
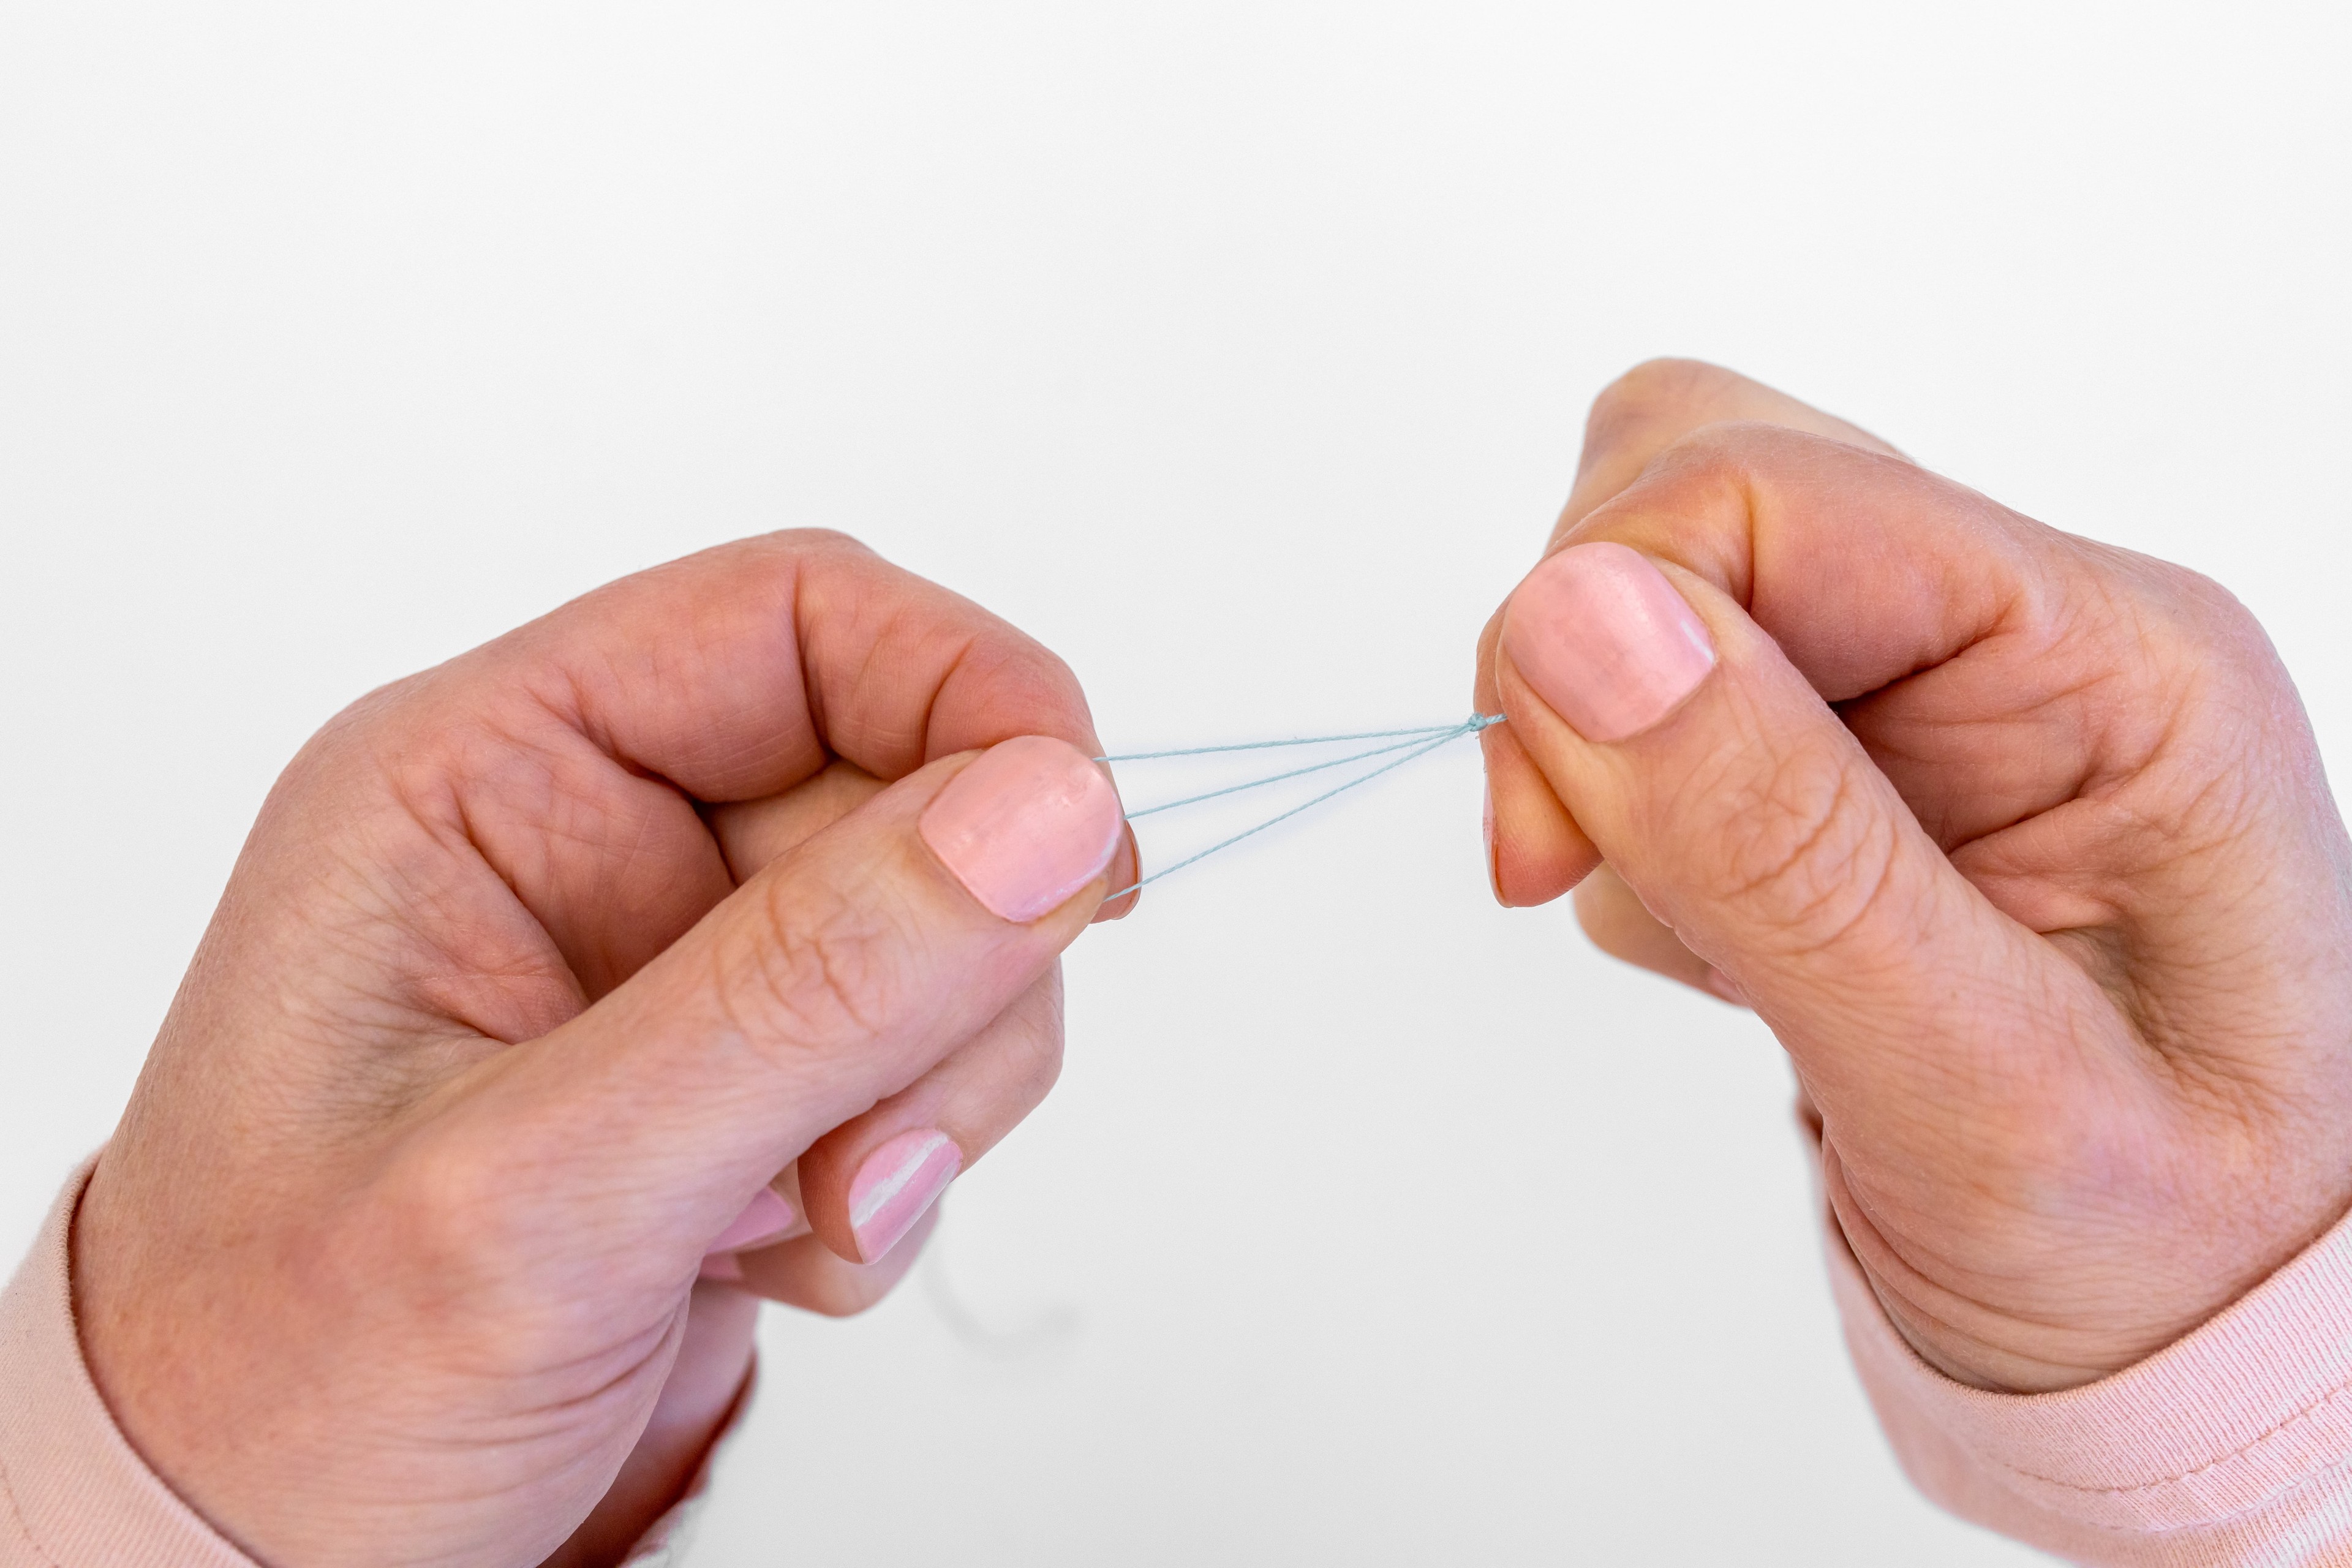
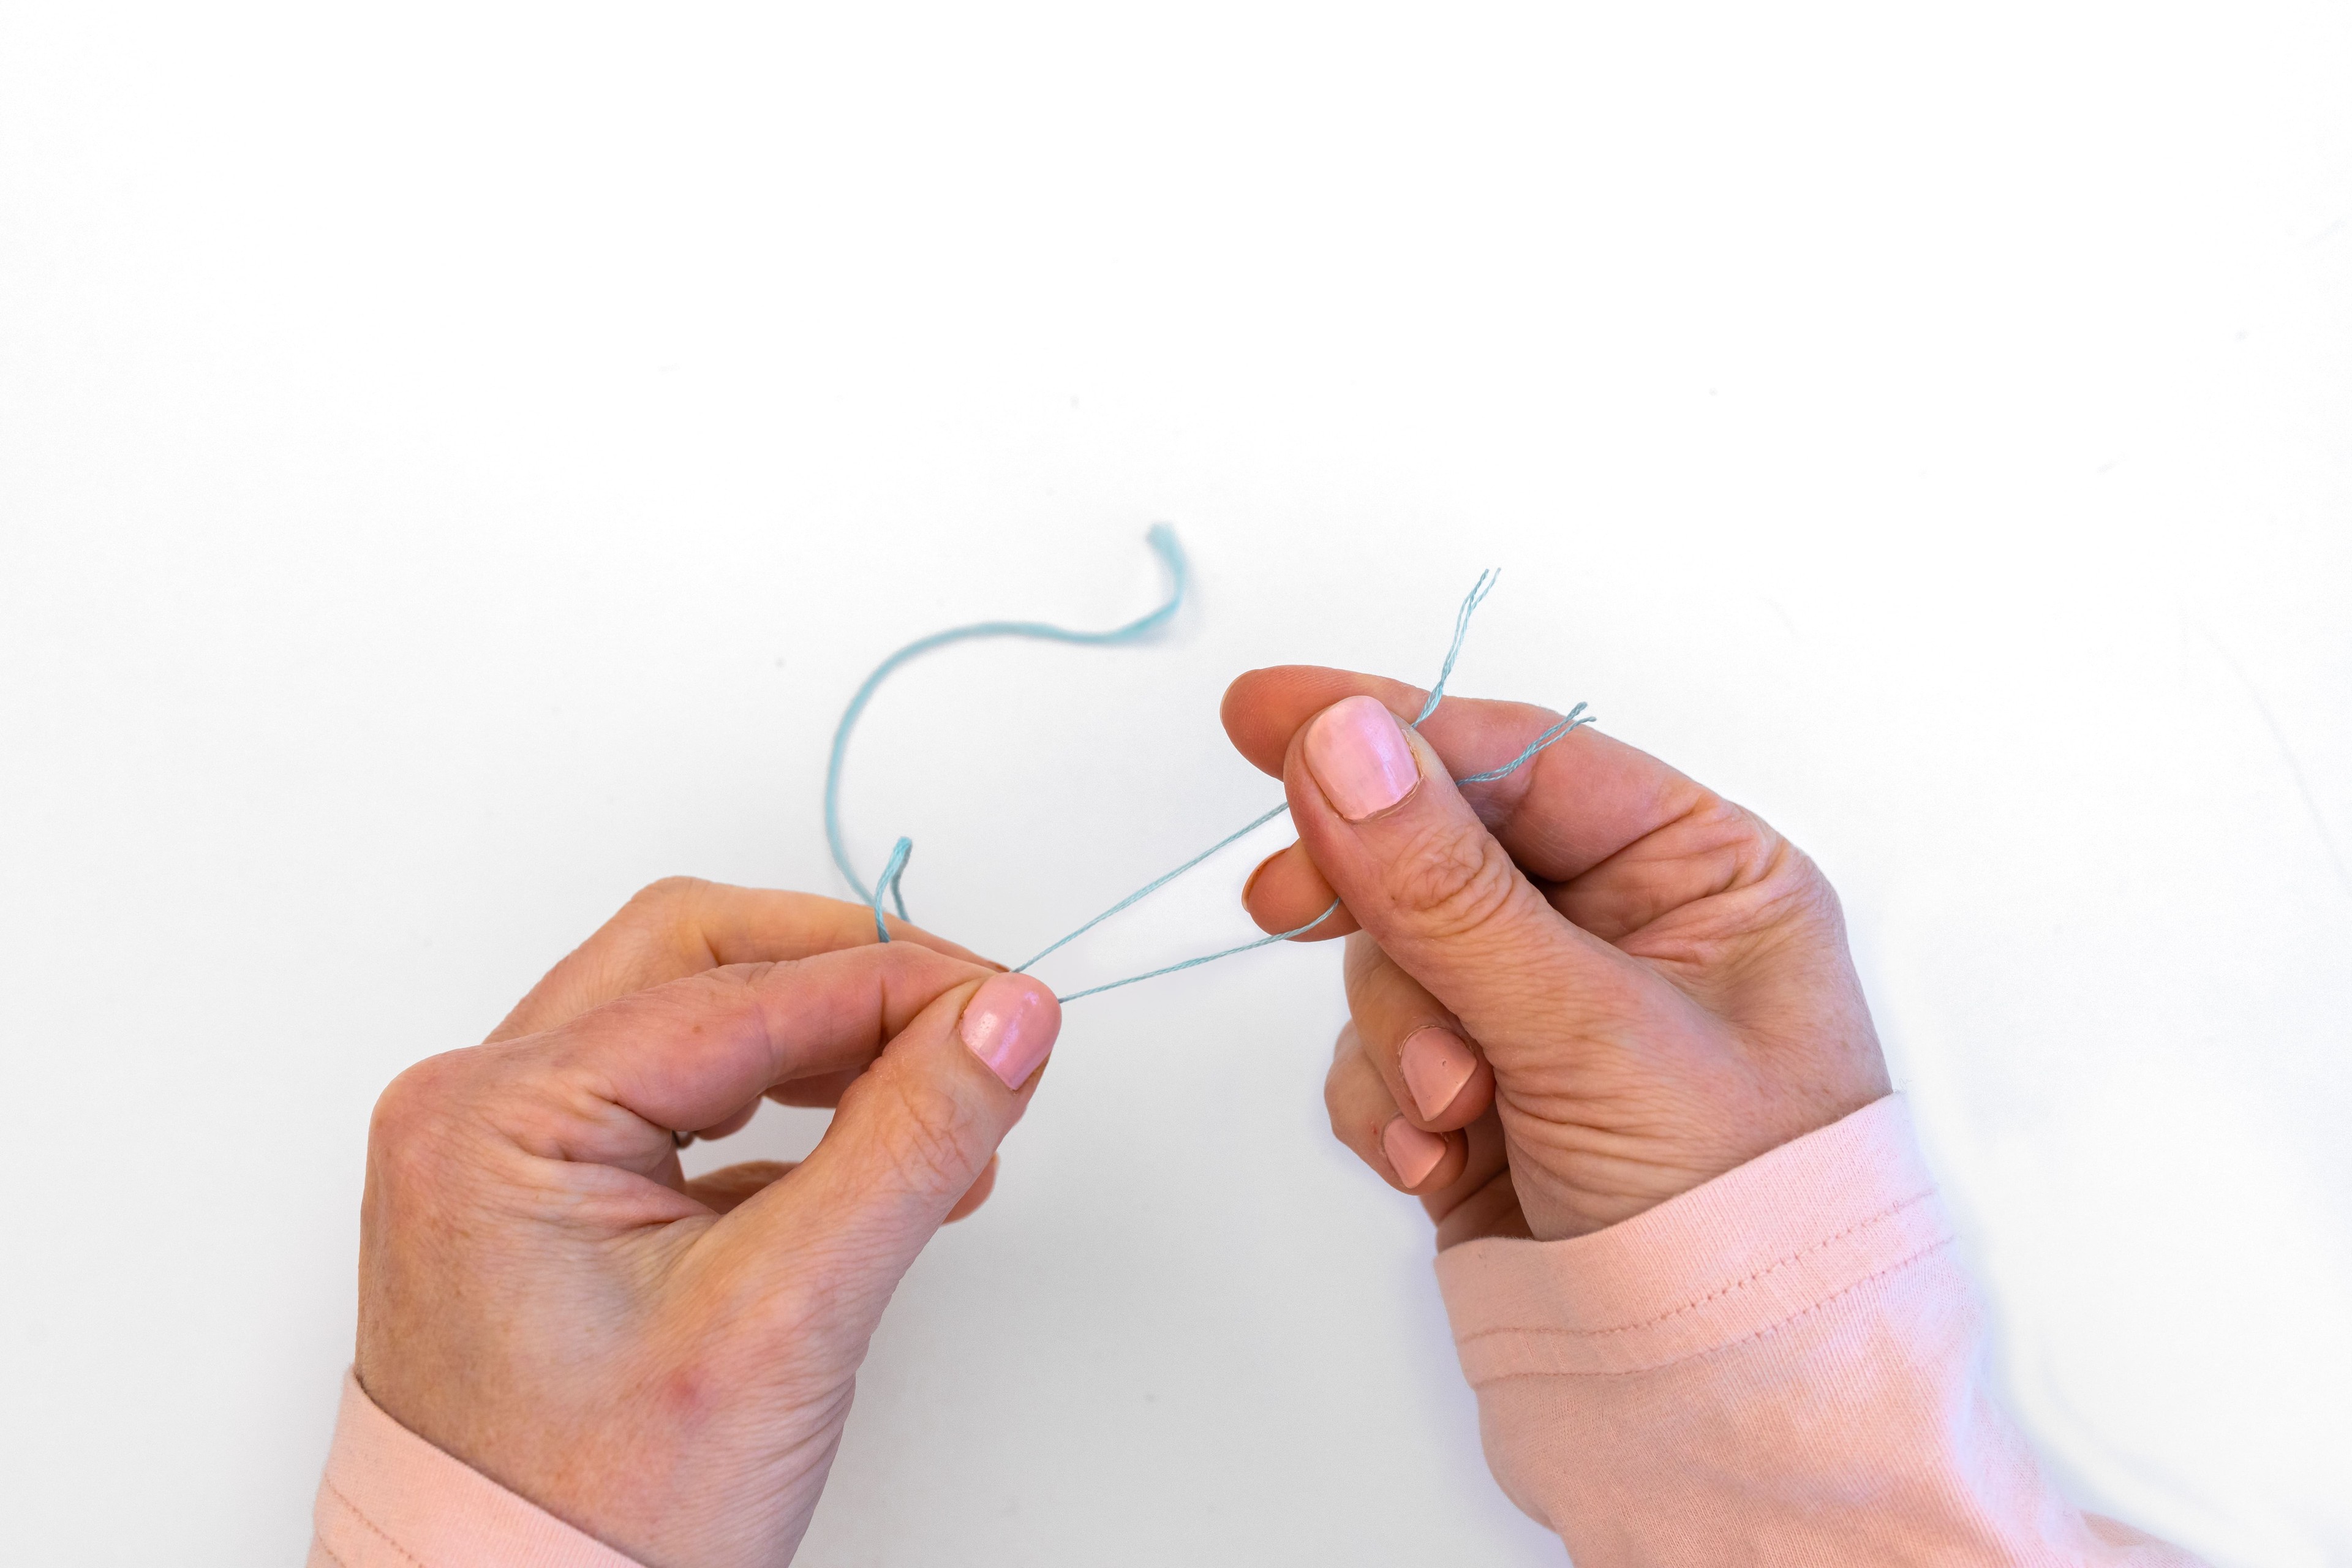
2. Separating Floss
Stranded embroidery threads are made up of 6 twisted strands of floss. You can stitch with all 6 strands for quite a bold effect. Or you can separate them and use less strands of floss for a finer effect.
Here’s how:
Step 1.
Cut the thread to your preferred length (about 12 inches).
Step 2.
Take one end of the thread, and use your fingernail to separate the desired number of strands (I’m showing 3 in the image below).
Step 3.
Carefully pull them away from the rest, moving slowly while running your finger along the entire strand length. They will want to tangle, so taking your time lets them unwind without forming knots. After you’ve separated the amount you want from the main group, use your fingers to smooth them together.
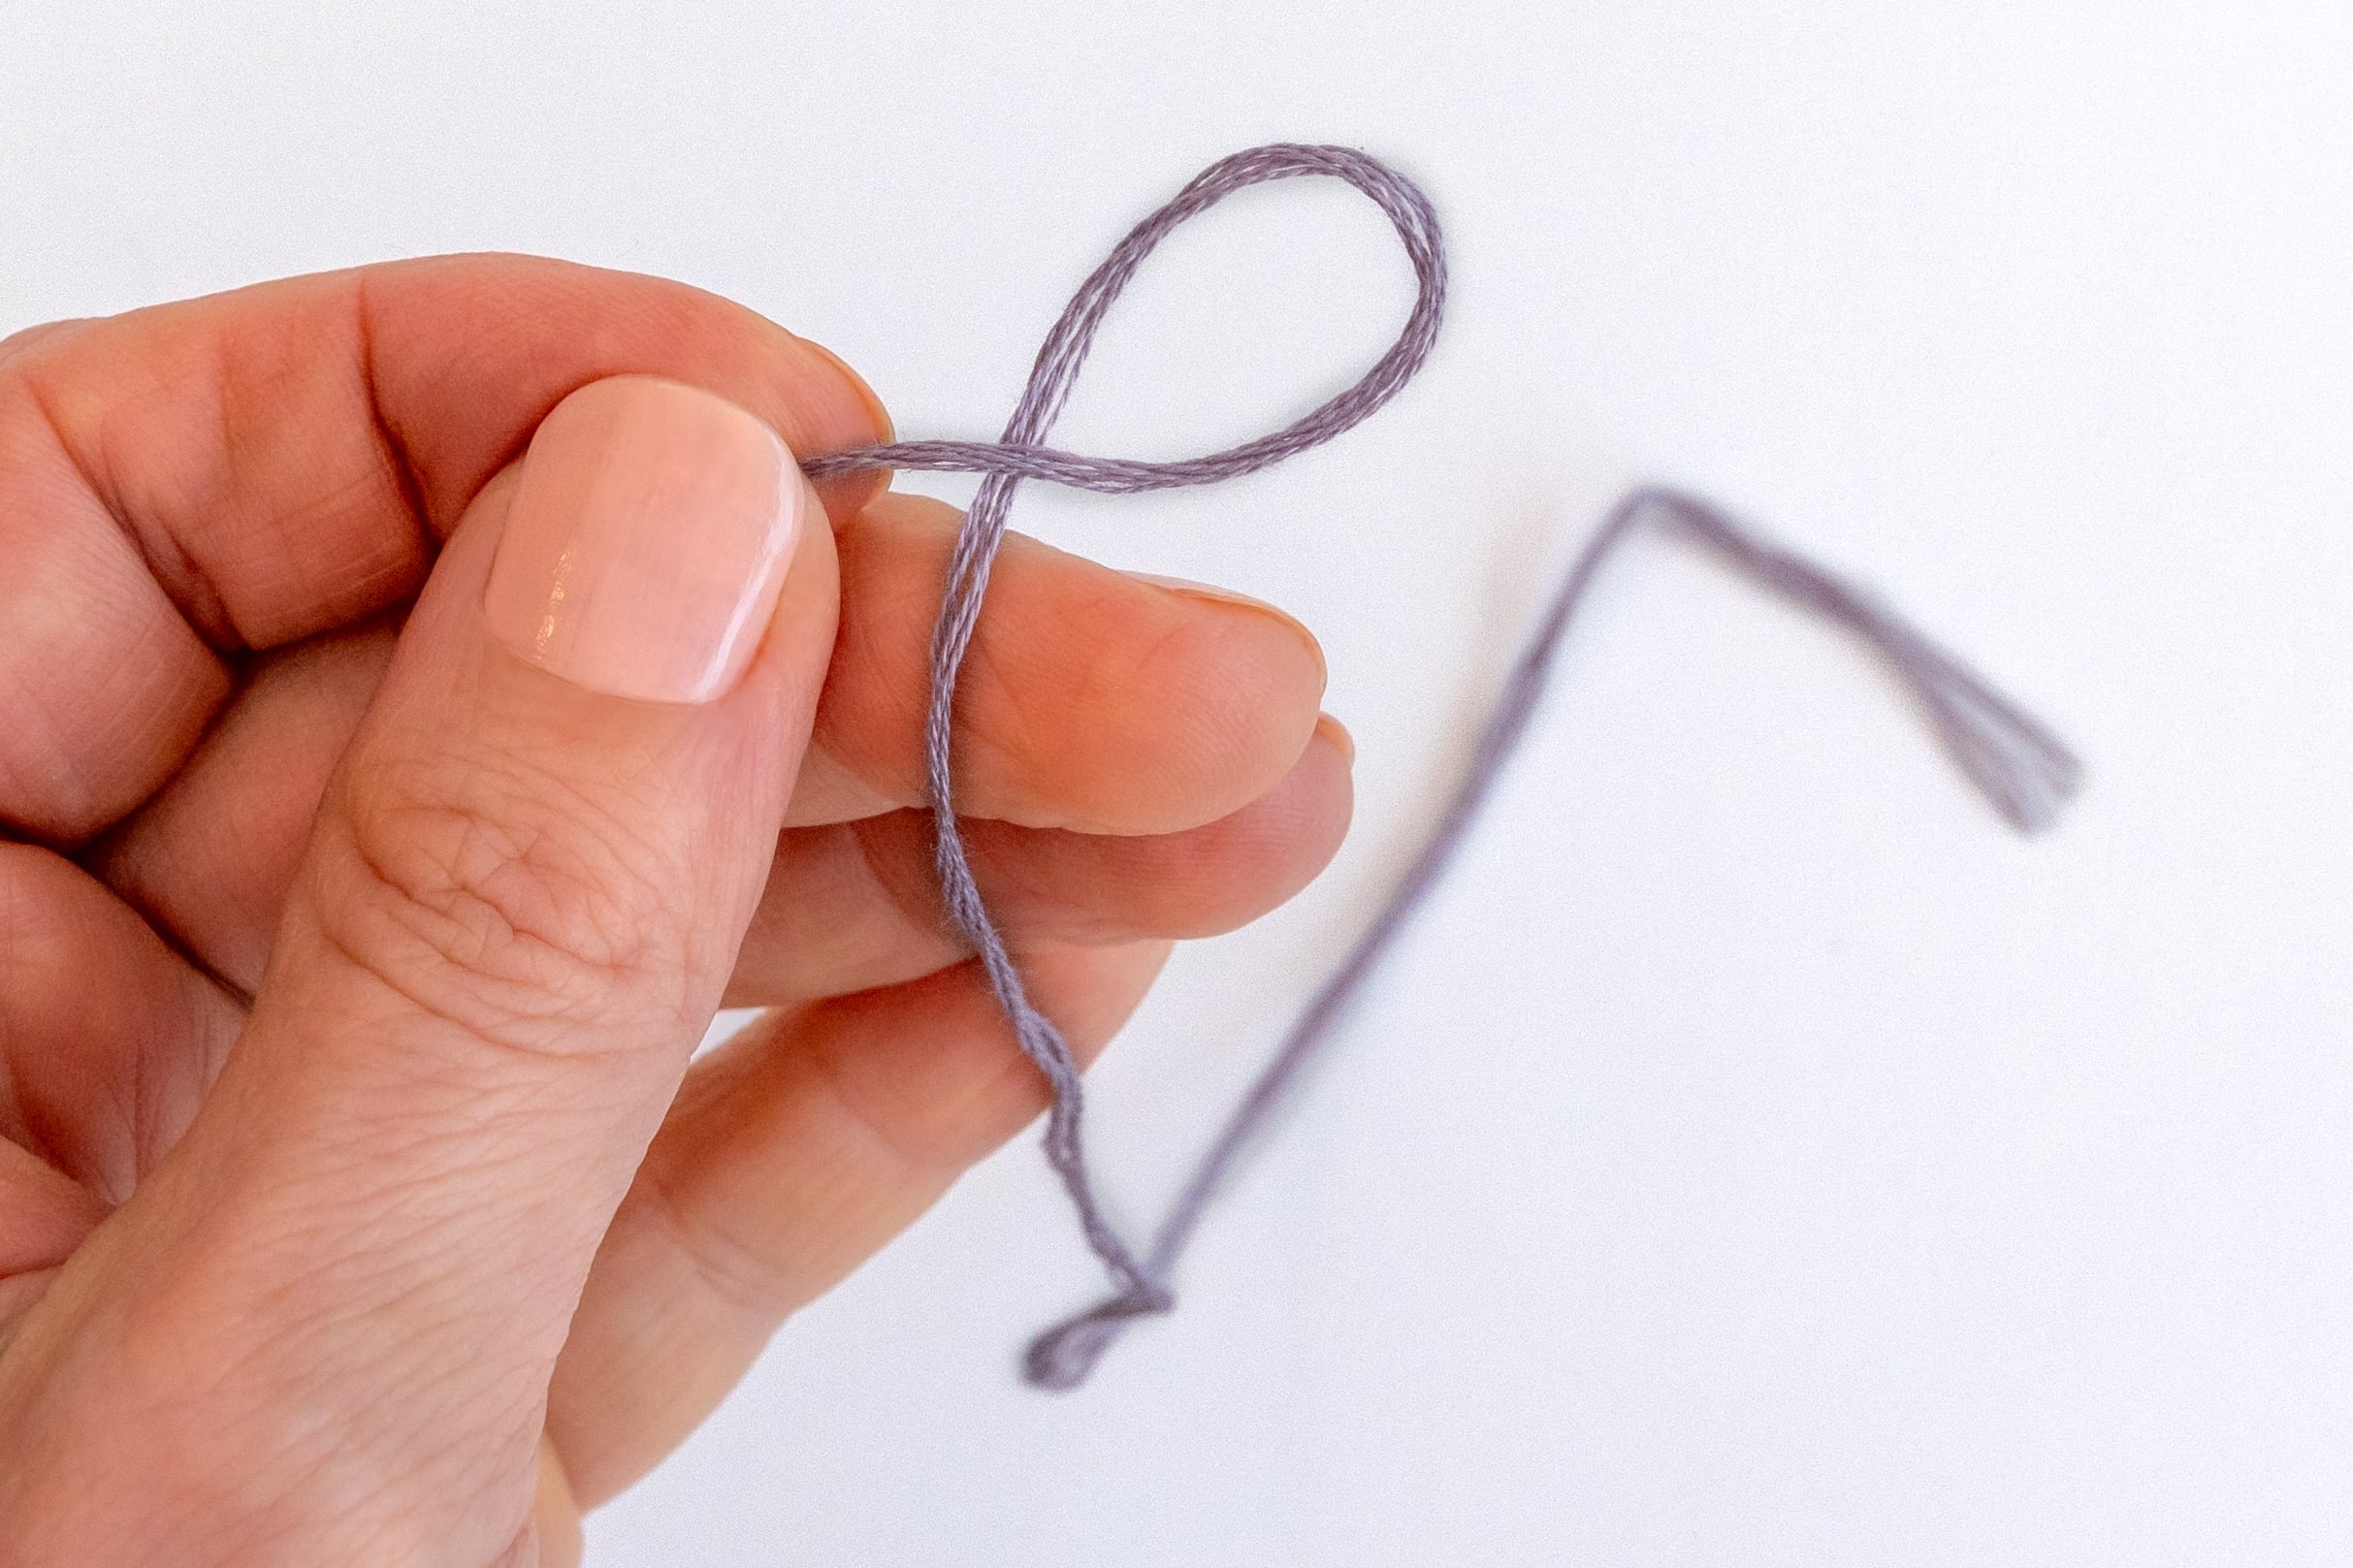
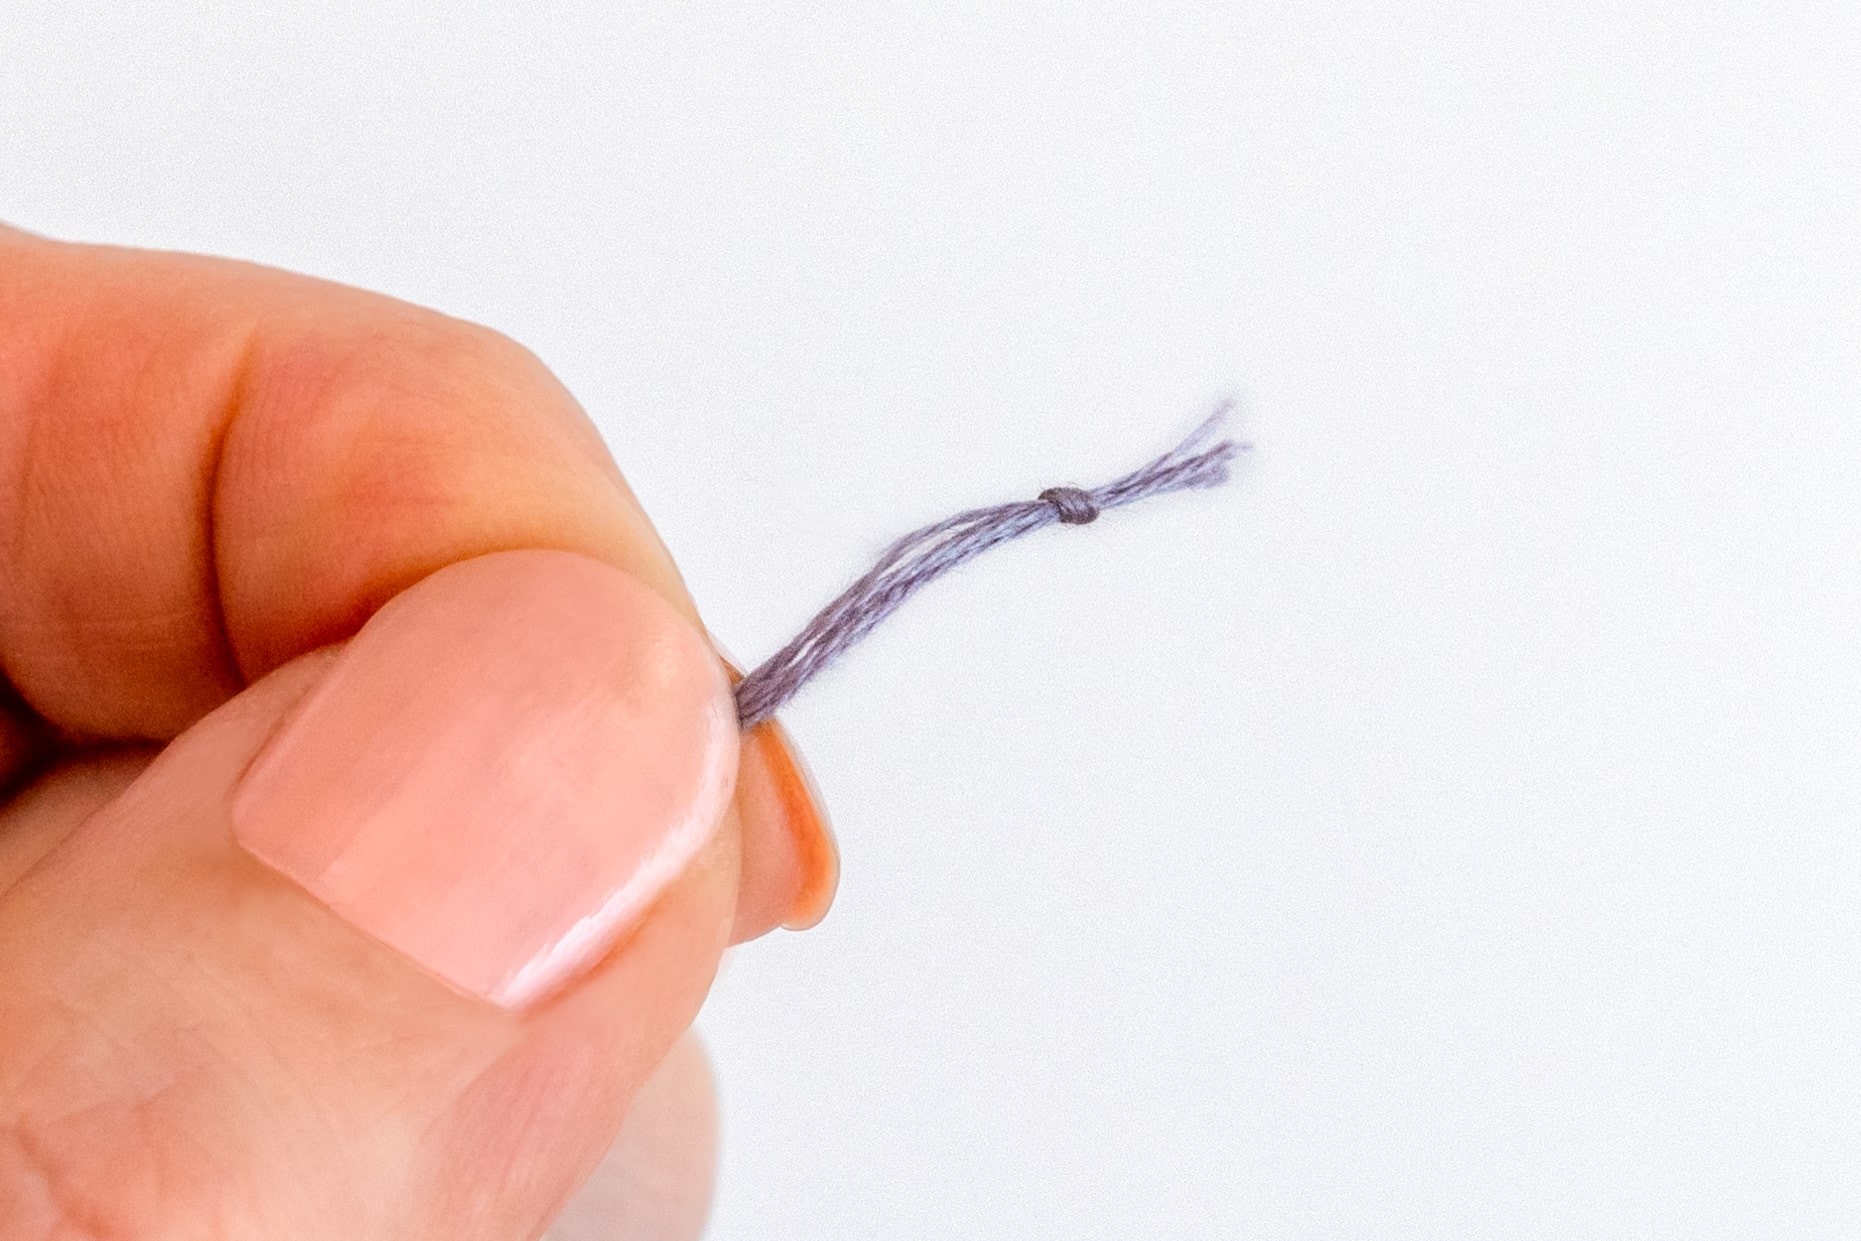
3. Adding a Starter Knot
Tie a simple overhand knot at the tail end of your thread, placing the knot as close to the end as possible. You may need to tie a couple of knots on top of each other, if you’re using less than 6 strands of floss.
How to tie an overhand knot:
Step 1.
Hold the thread close to one end, and cross the tail over the main section (to make a small loop).
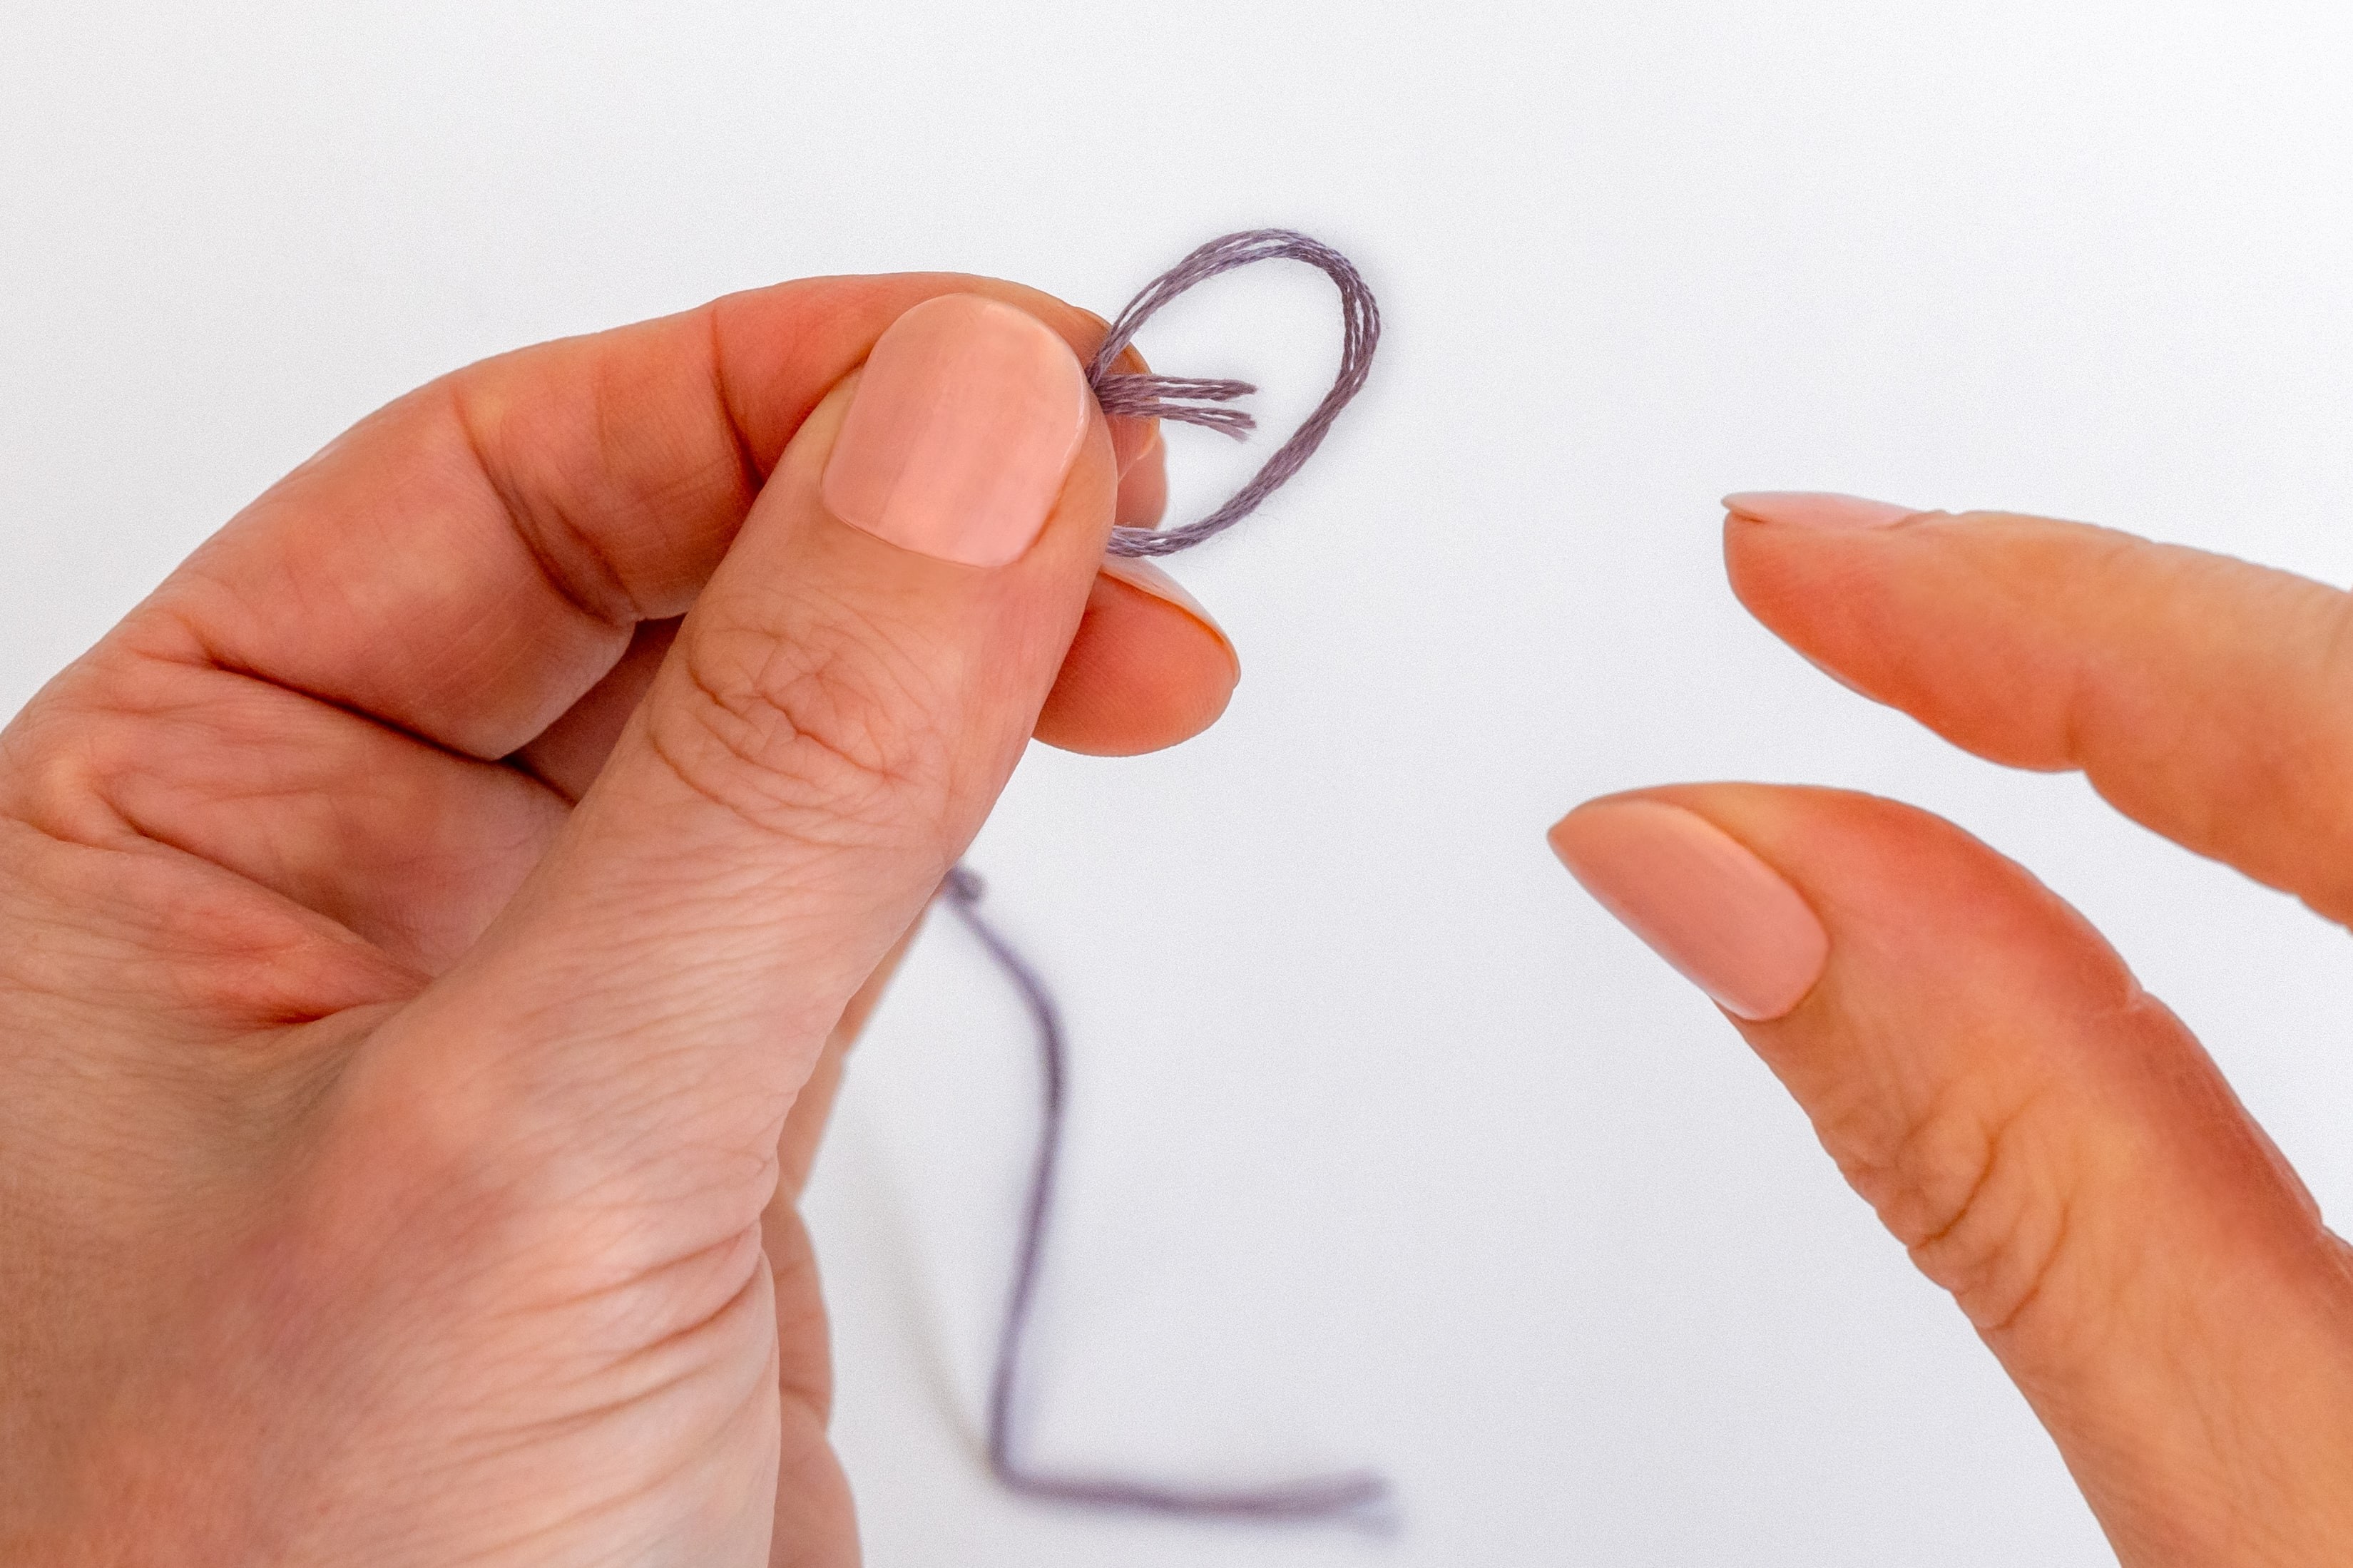
Step 2.
Tuck the tail around the back of the loop, and pull it through the loop to the front.
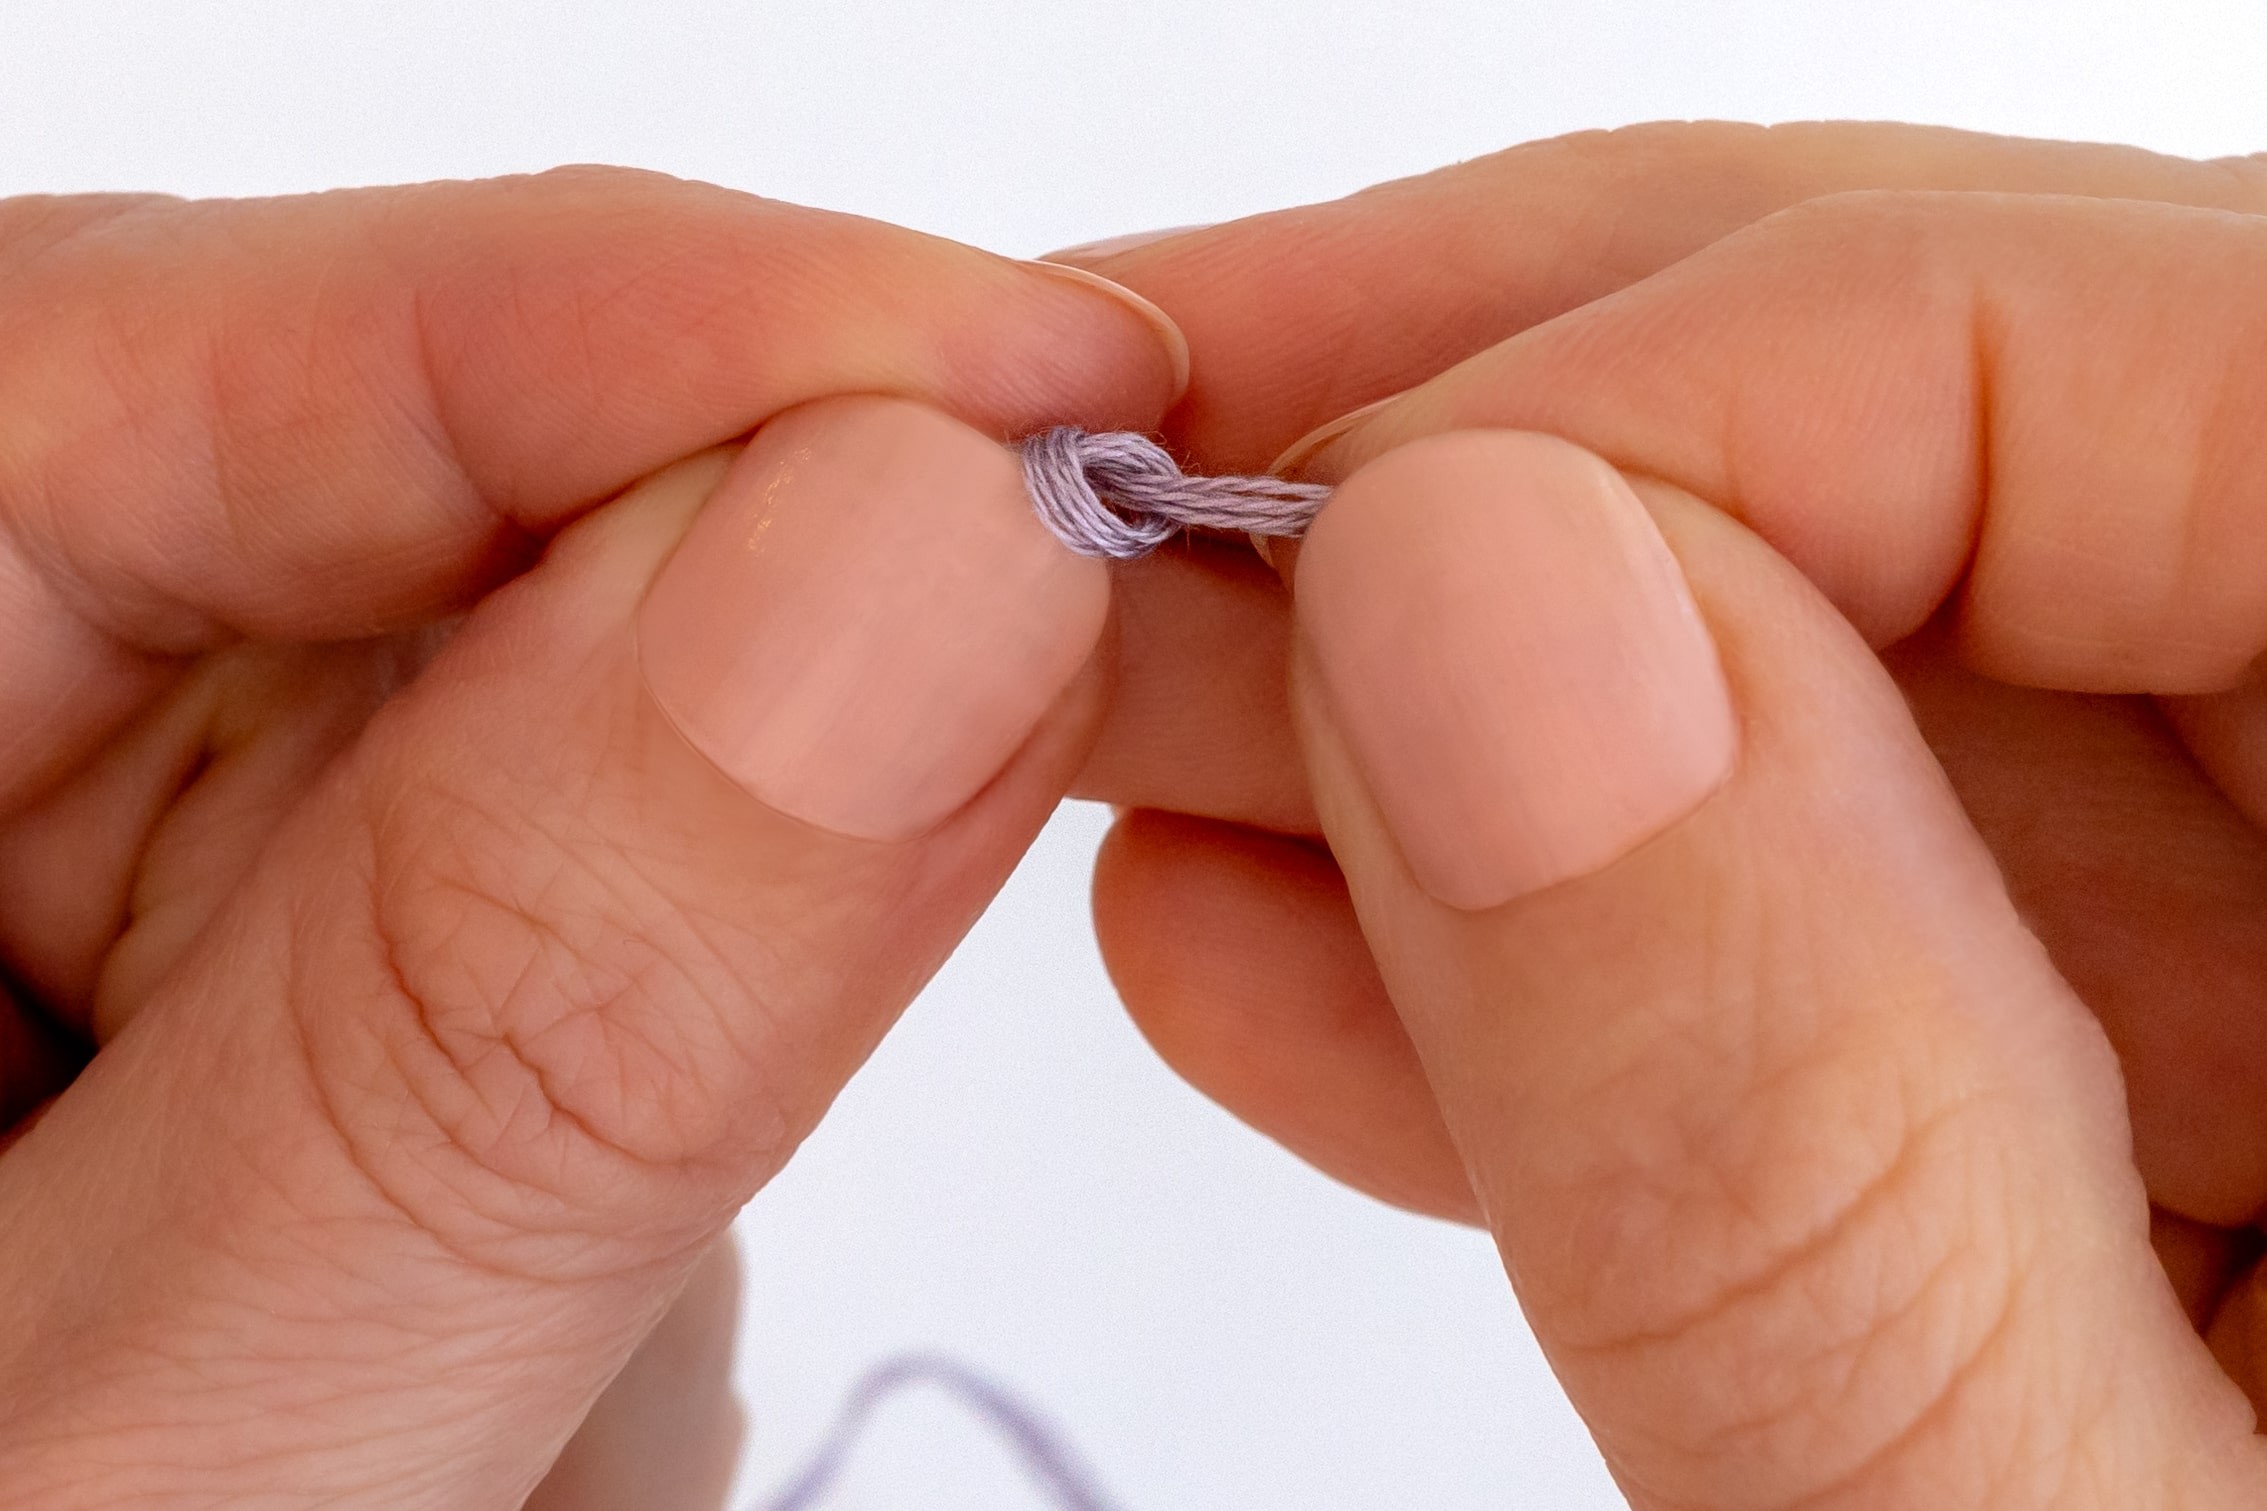
Step 3.
Pull both ends gently to tighten the knot – but as you do, use your fingers to push the knot towards the end of the thread.
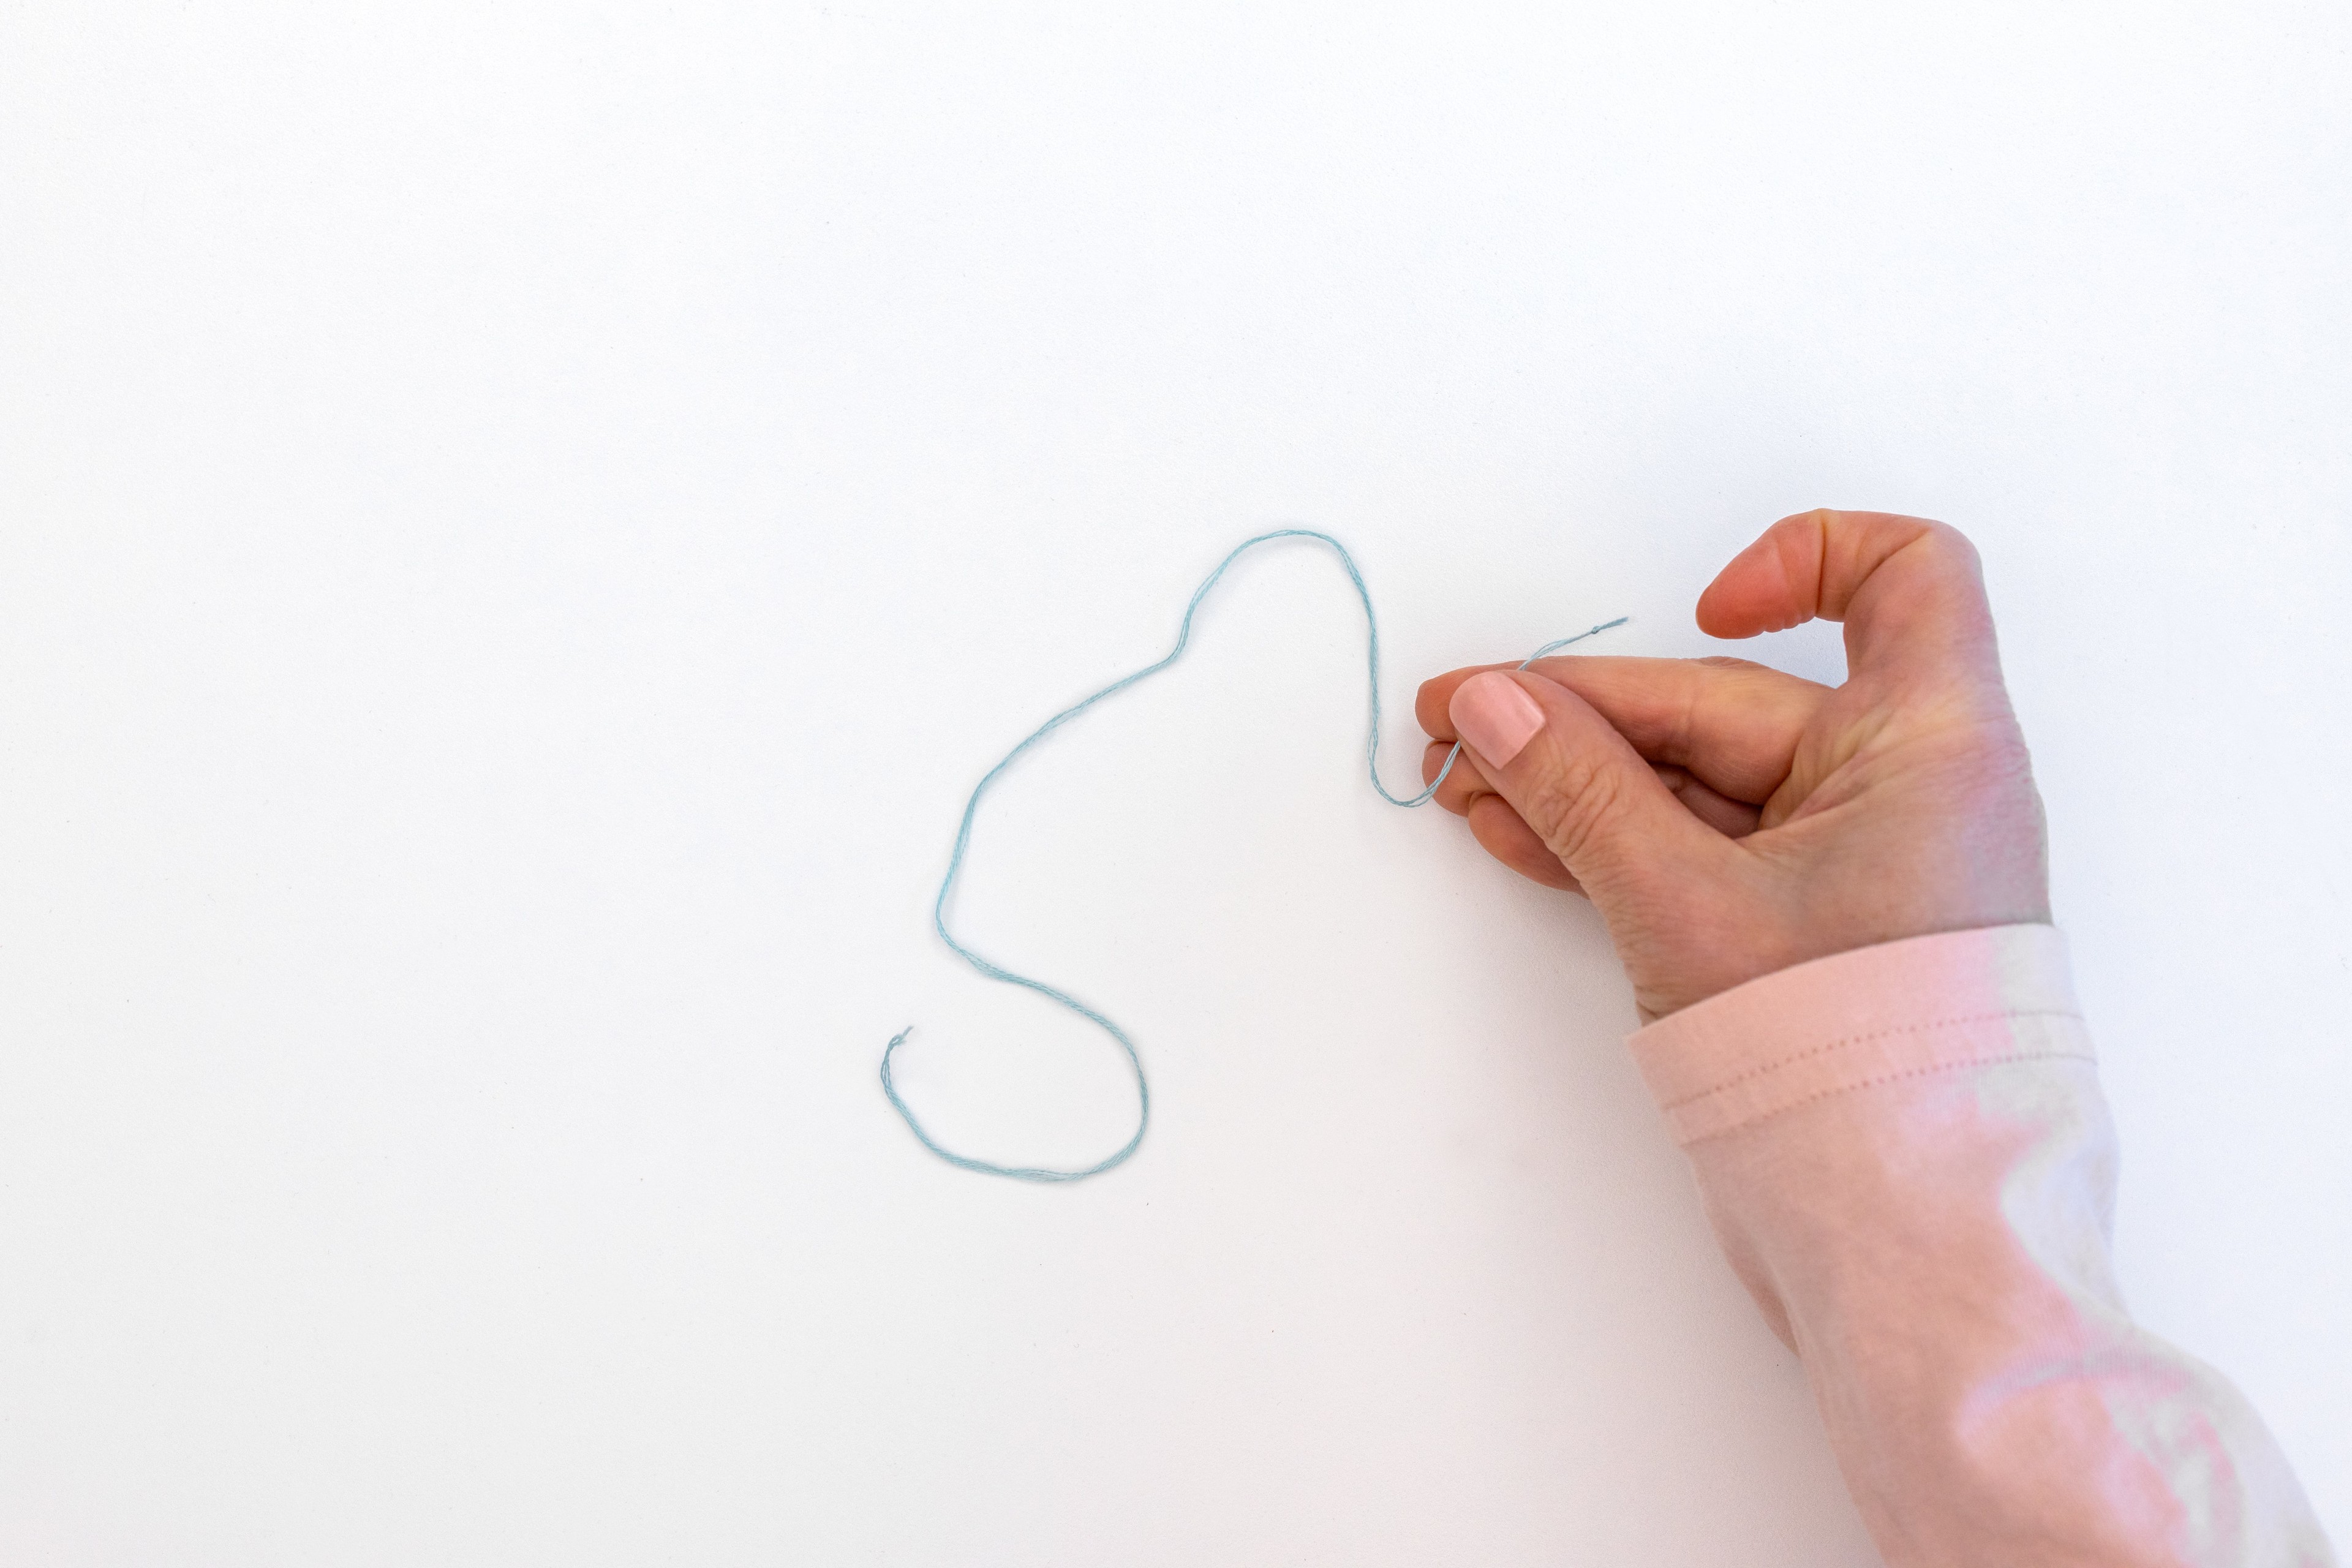
4. Unwinding Floss
It’s also super helpful if you take a moment to separate and smooth out the strands of floss in your thread, before you start stitching. You see, stranded floss is made up of 6 twisted strands of floss. If you stitch with them all twisted up, they tend to knot and tangle pretty easily. But if you unwind and regroup them, they will be a lot smoother and easier to work with. It might seem a bit annoying to add this step, especially when you’re all set to stitch. But trust me, this pays o big time in terms of saving you time (and frustration) down the line – you can thank me later!
Here’s how:
Step 1
Use your fingernails to gently separate the strands, right next to the starter knot you already made. Then slide them down the length, unravelling each strand from the group as you go. The threads will want to windup and tangle, so take it nice and slow. I often split the strands like this into groups of 2 or 3, then into singles.

Step 2
Now you can smooth the strands back together. As they’re already knotted at one end, they will easily fall into place.
Conclusion
So there you have it, all the beginner knowledge you need to prepare your embroidery threads. This is something you'll do again and again as you keep making embroidery patterns.
I’m so excited for you!
What's next?
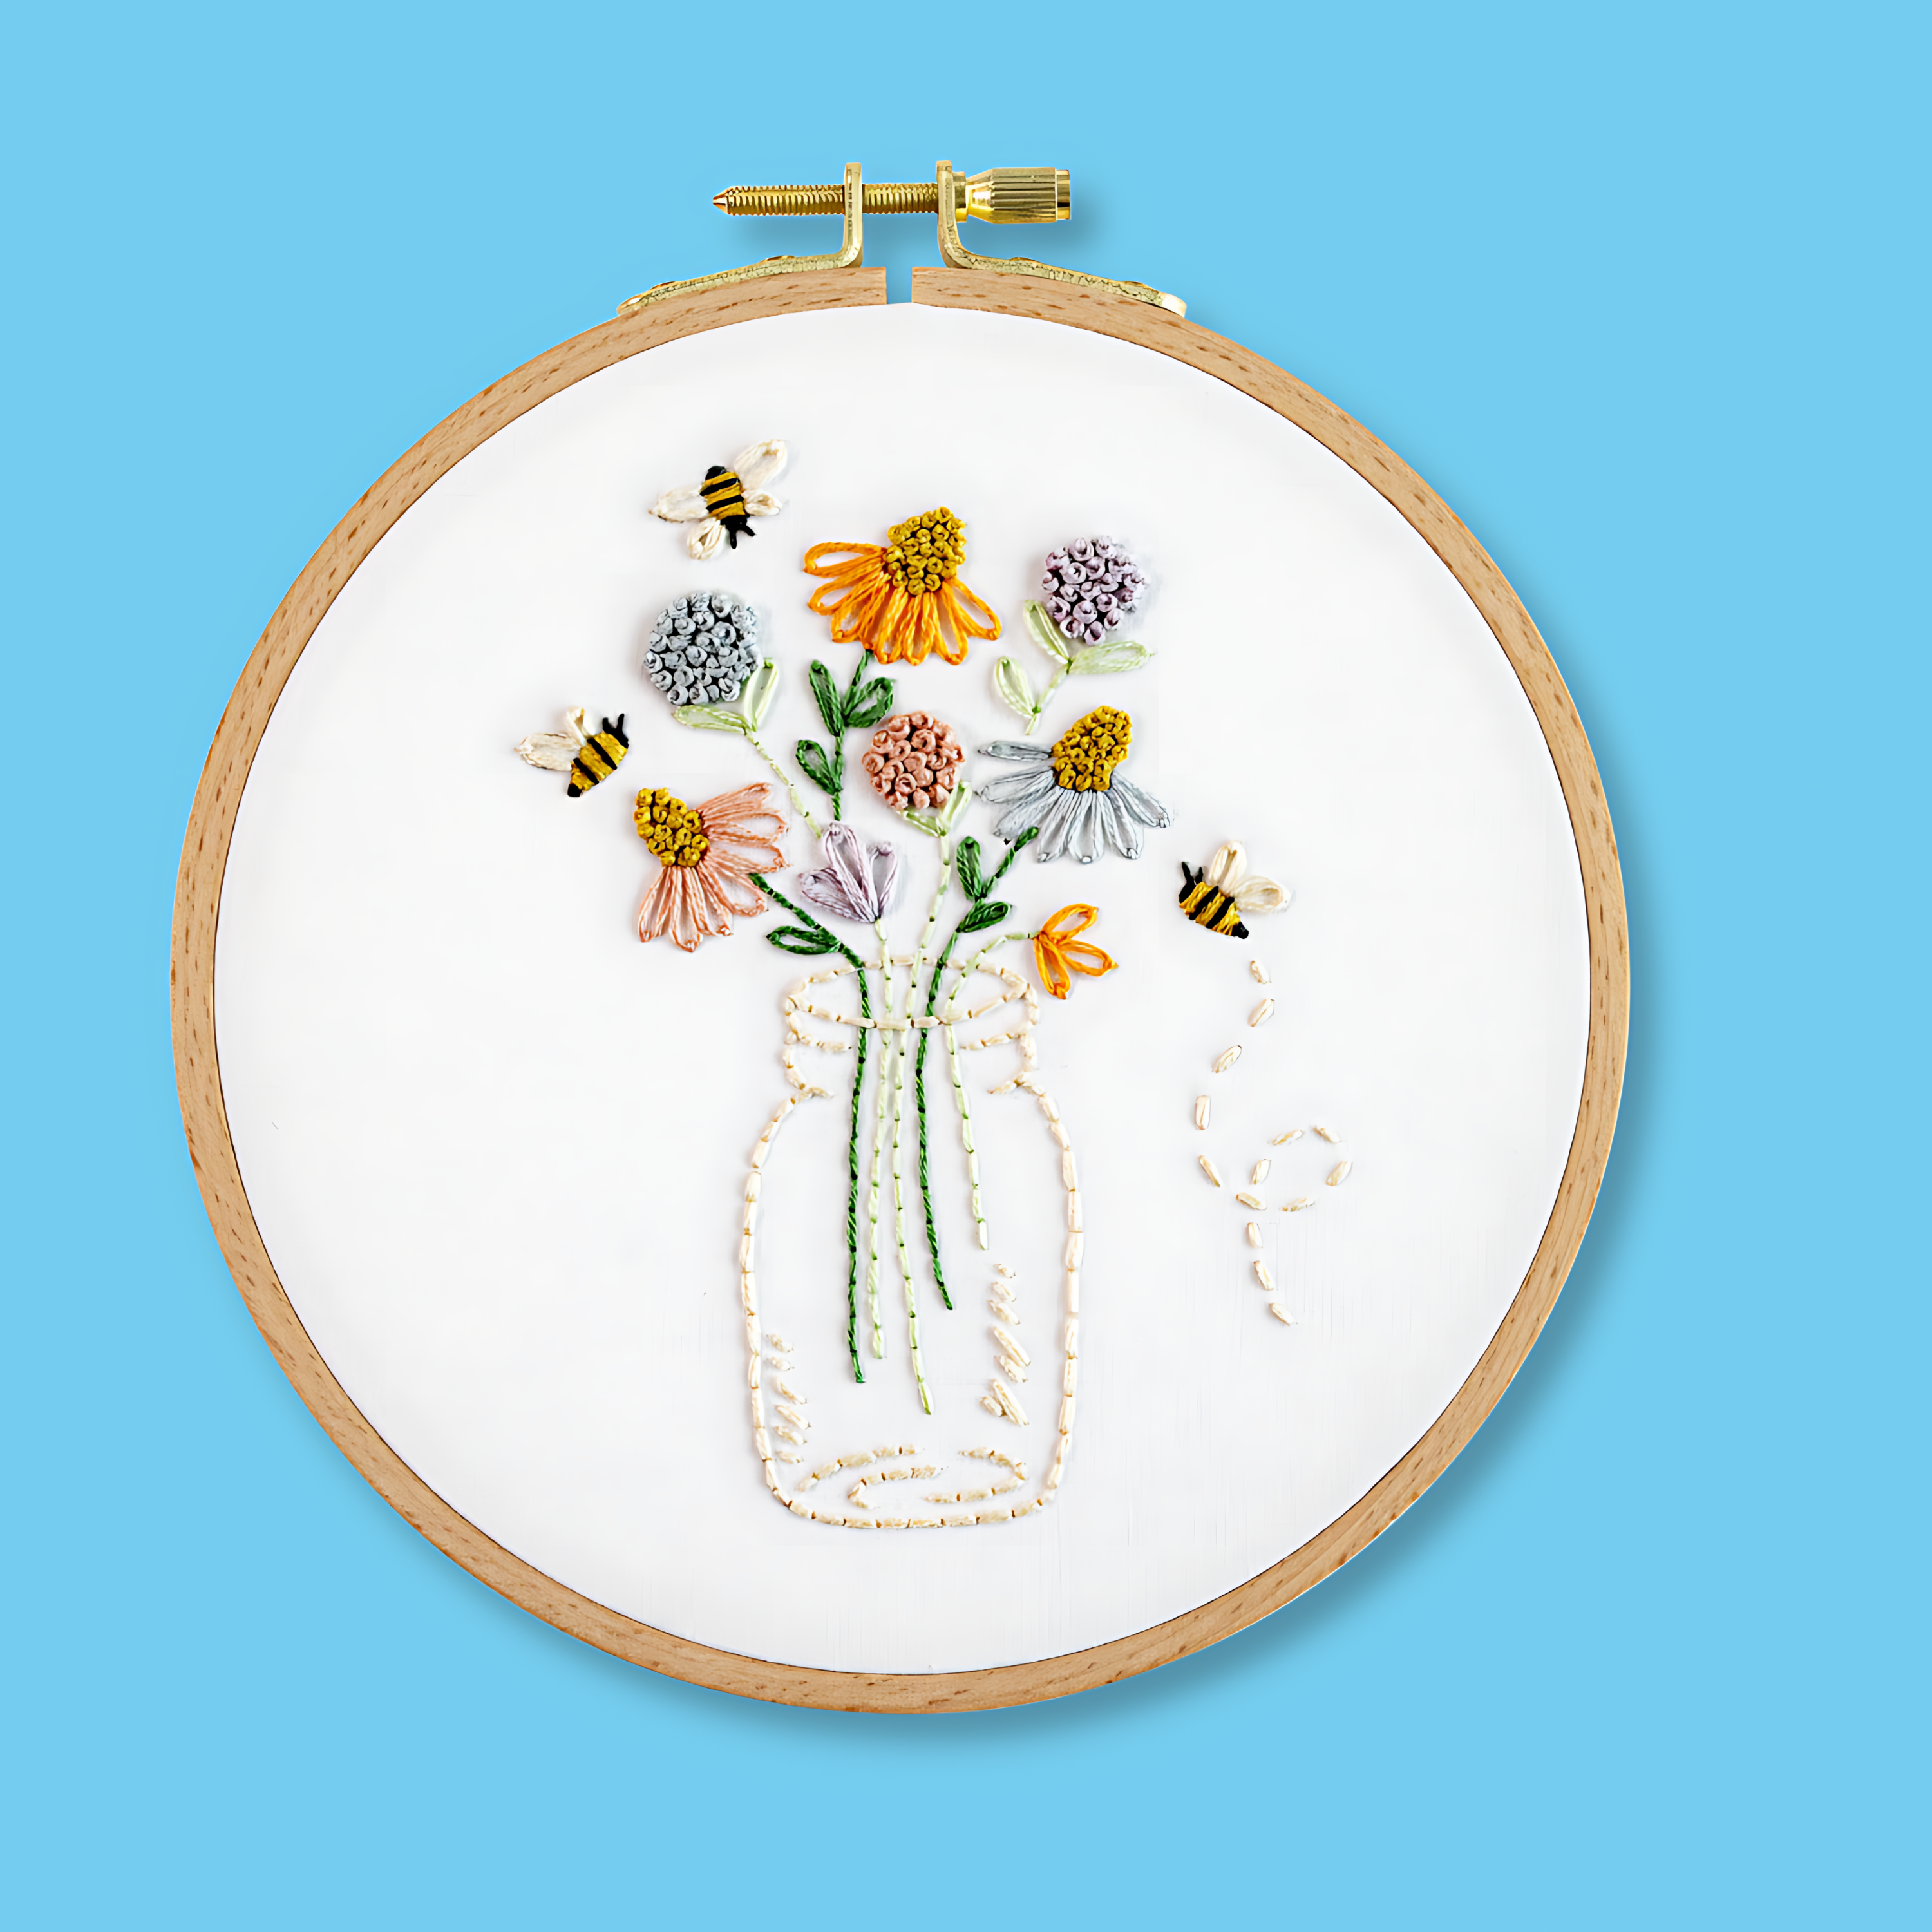
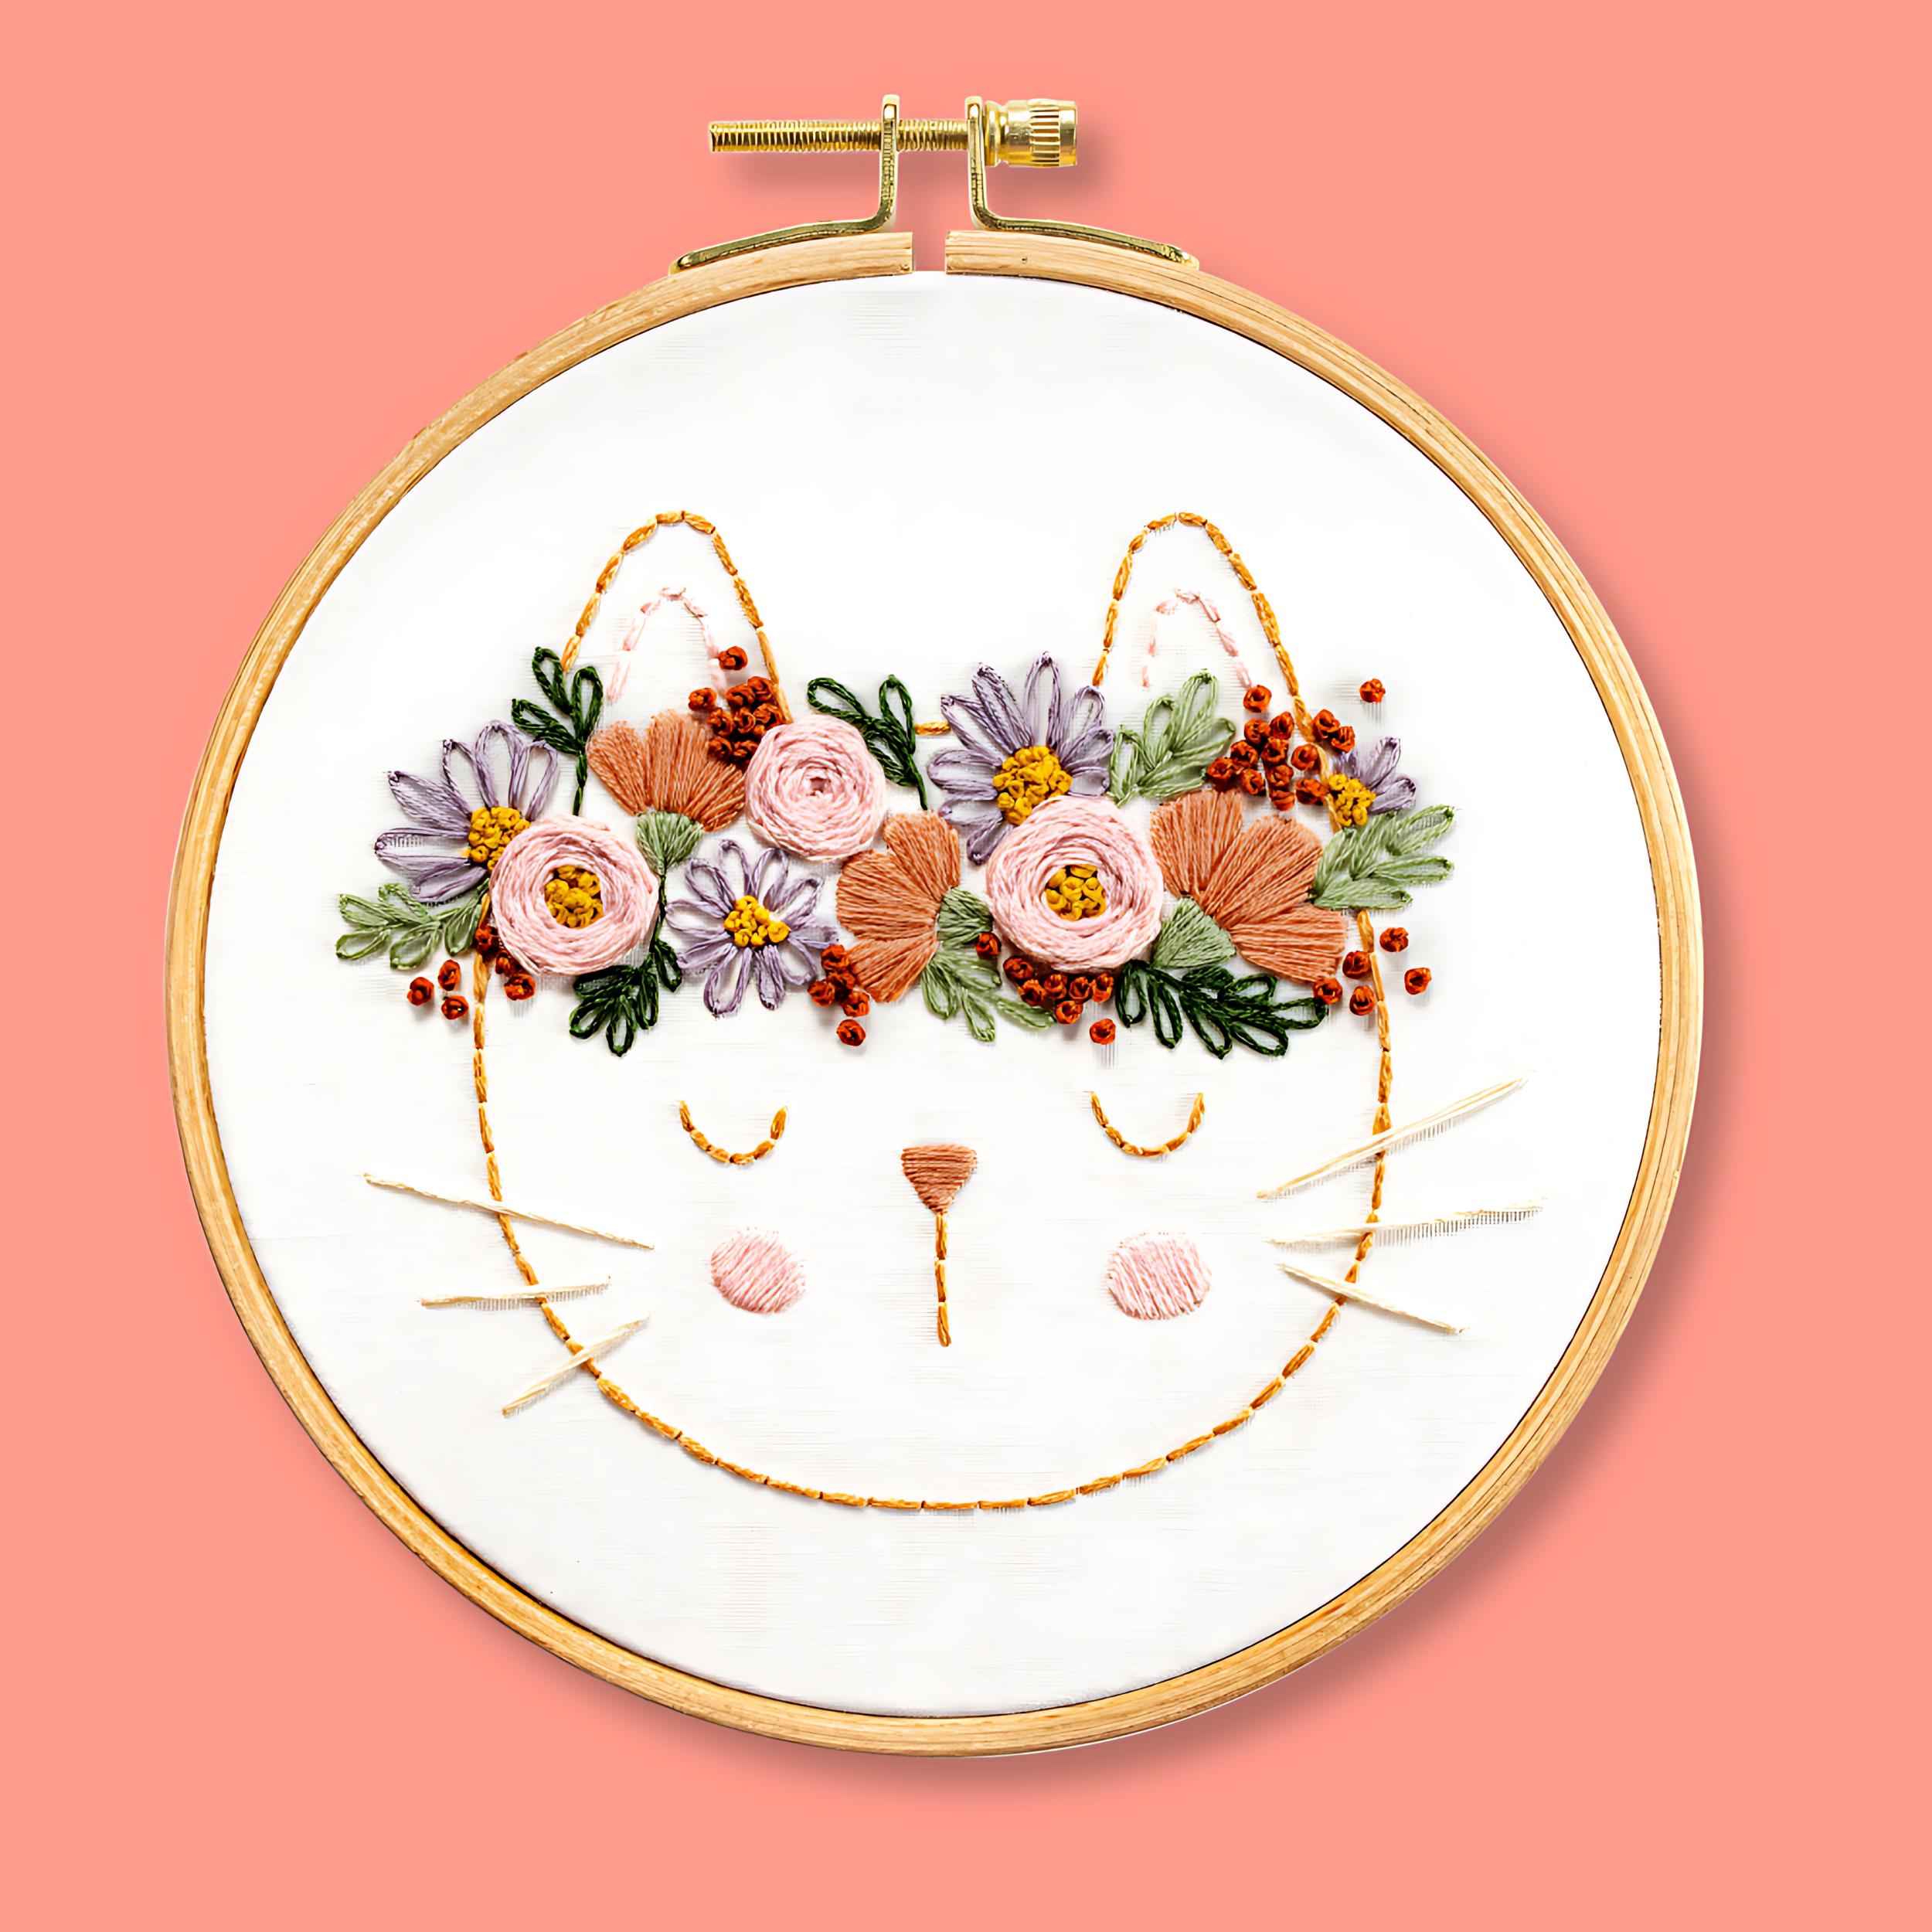
Our beginner embroidery kits are a favourite among new stitchers for their simple, step-by-step instructions and beautiful designs that make learning easy and fun. Whether you’ve been wanting to learn embroidery or are just searching for your next creative hobby. These kits are the perfect introduction to embroidery.
Why people love our beginner kits:
-
Everything you need is included: fabric, thread, hoop, and more!
-
Clear instructions to guide you every step of the way.
-
Gorgeous designs you’ll be proud to display.
Our most popular beginner kits