






Weave Stitch - Learn This Modern Embroidery Technique
Introduction
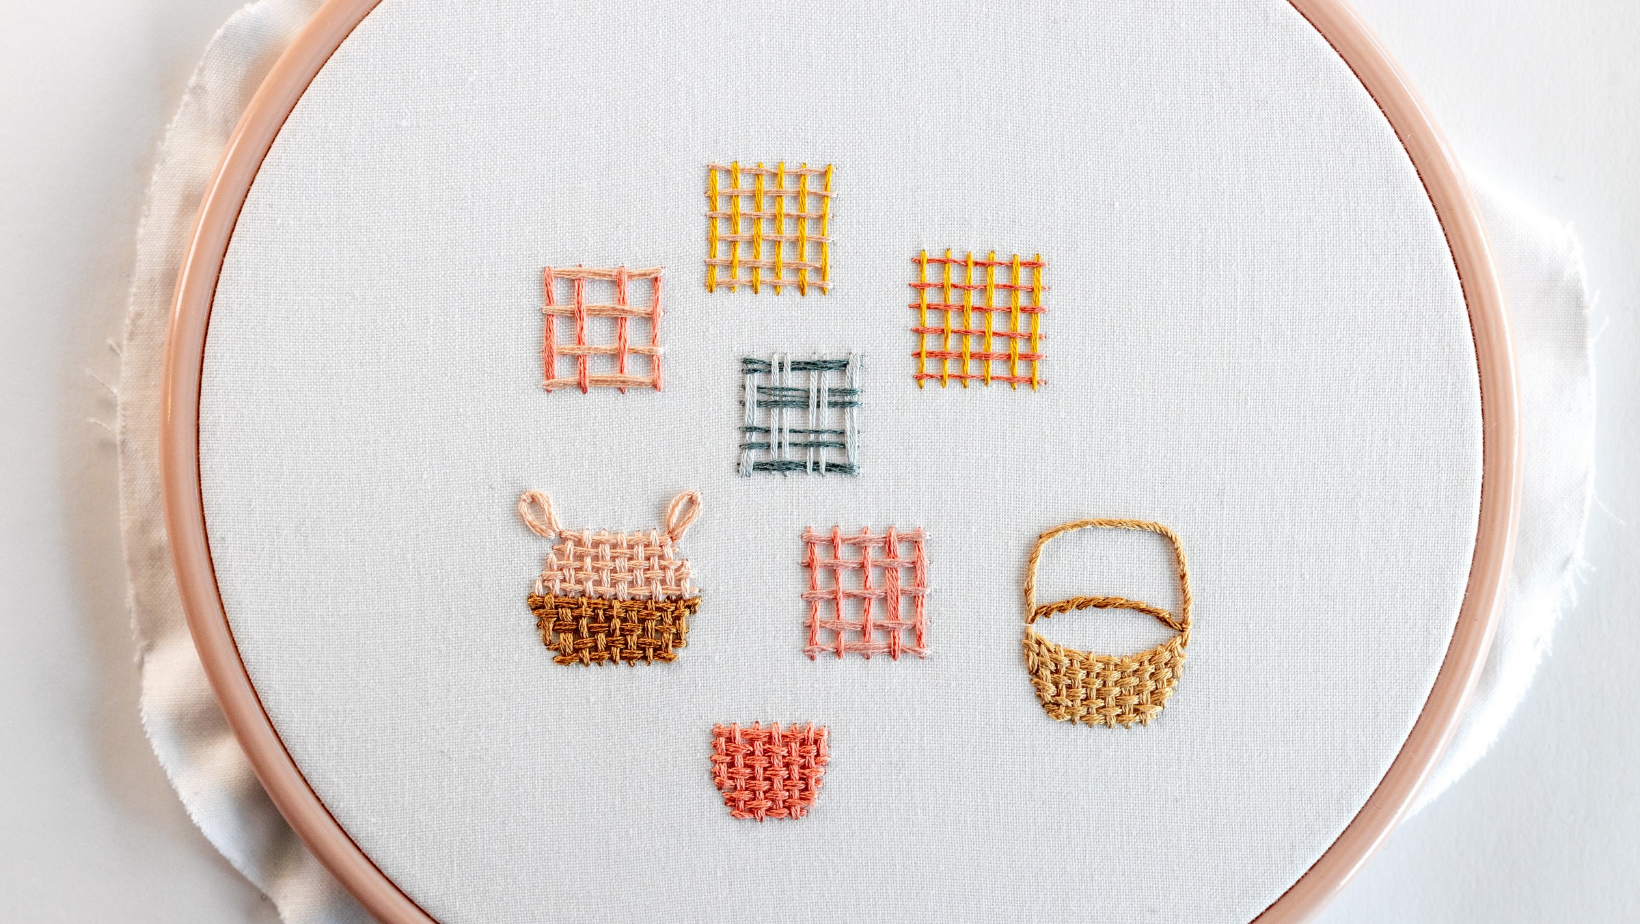
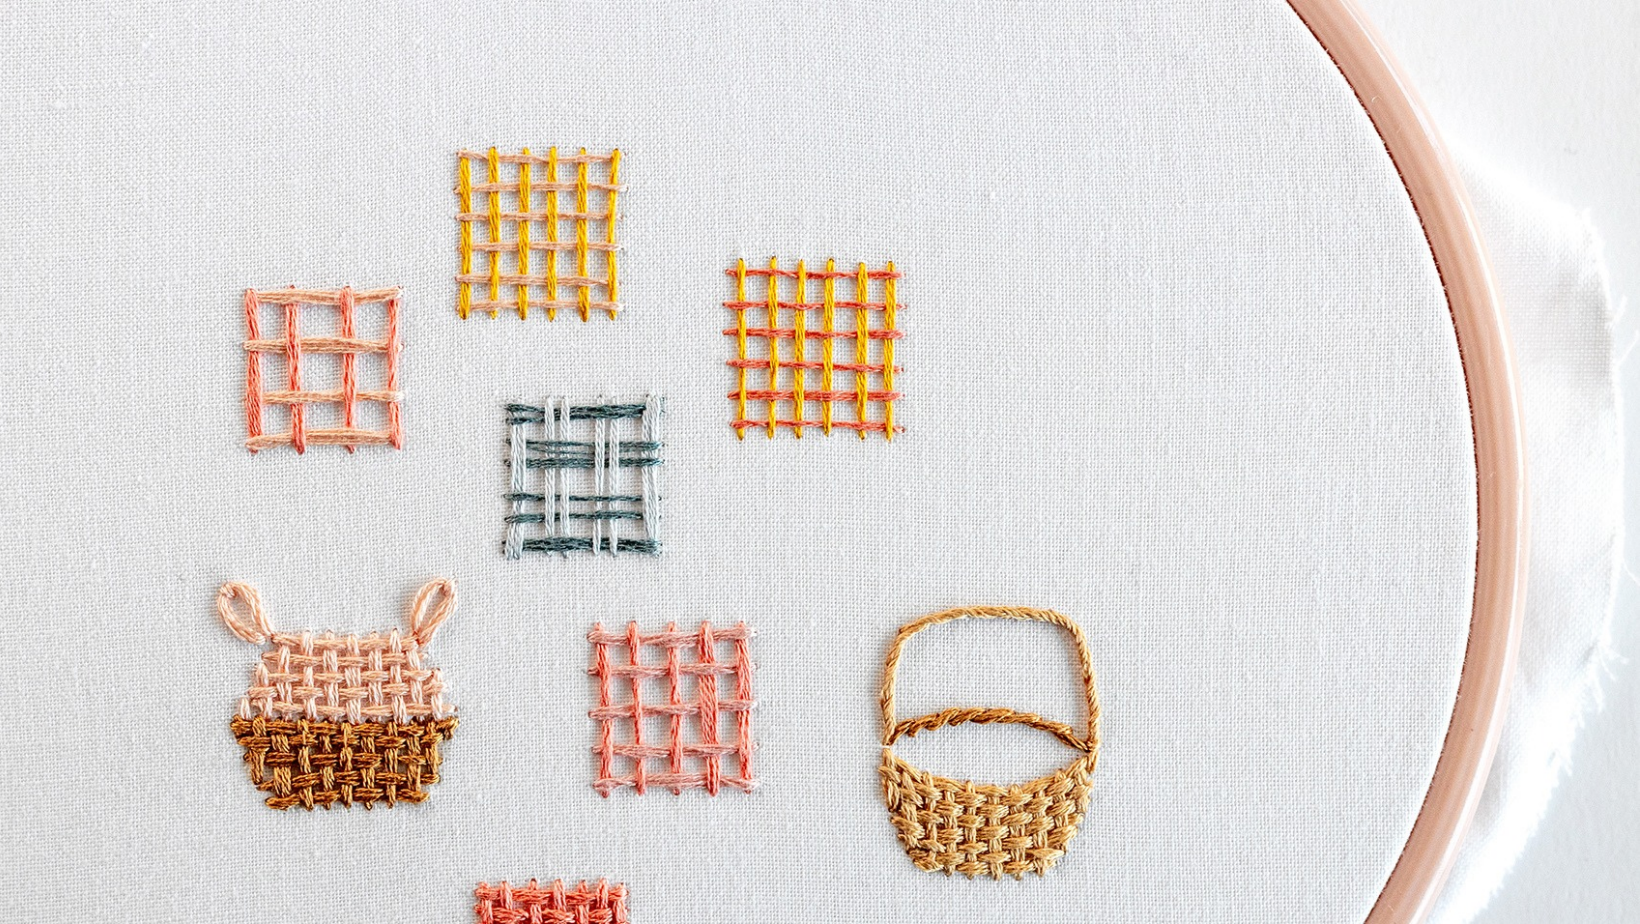
This technique is a versatile filler stitch that creates a beautiful woven effect. It's also known by other names like basket stitch, woven filling stitch, and weaving stitch, among others.
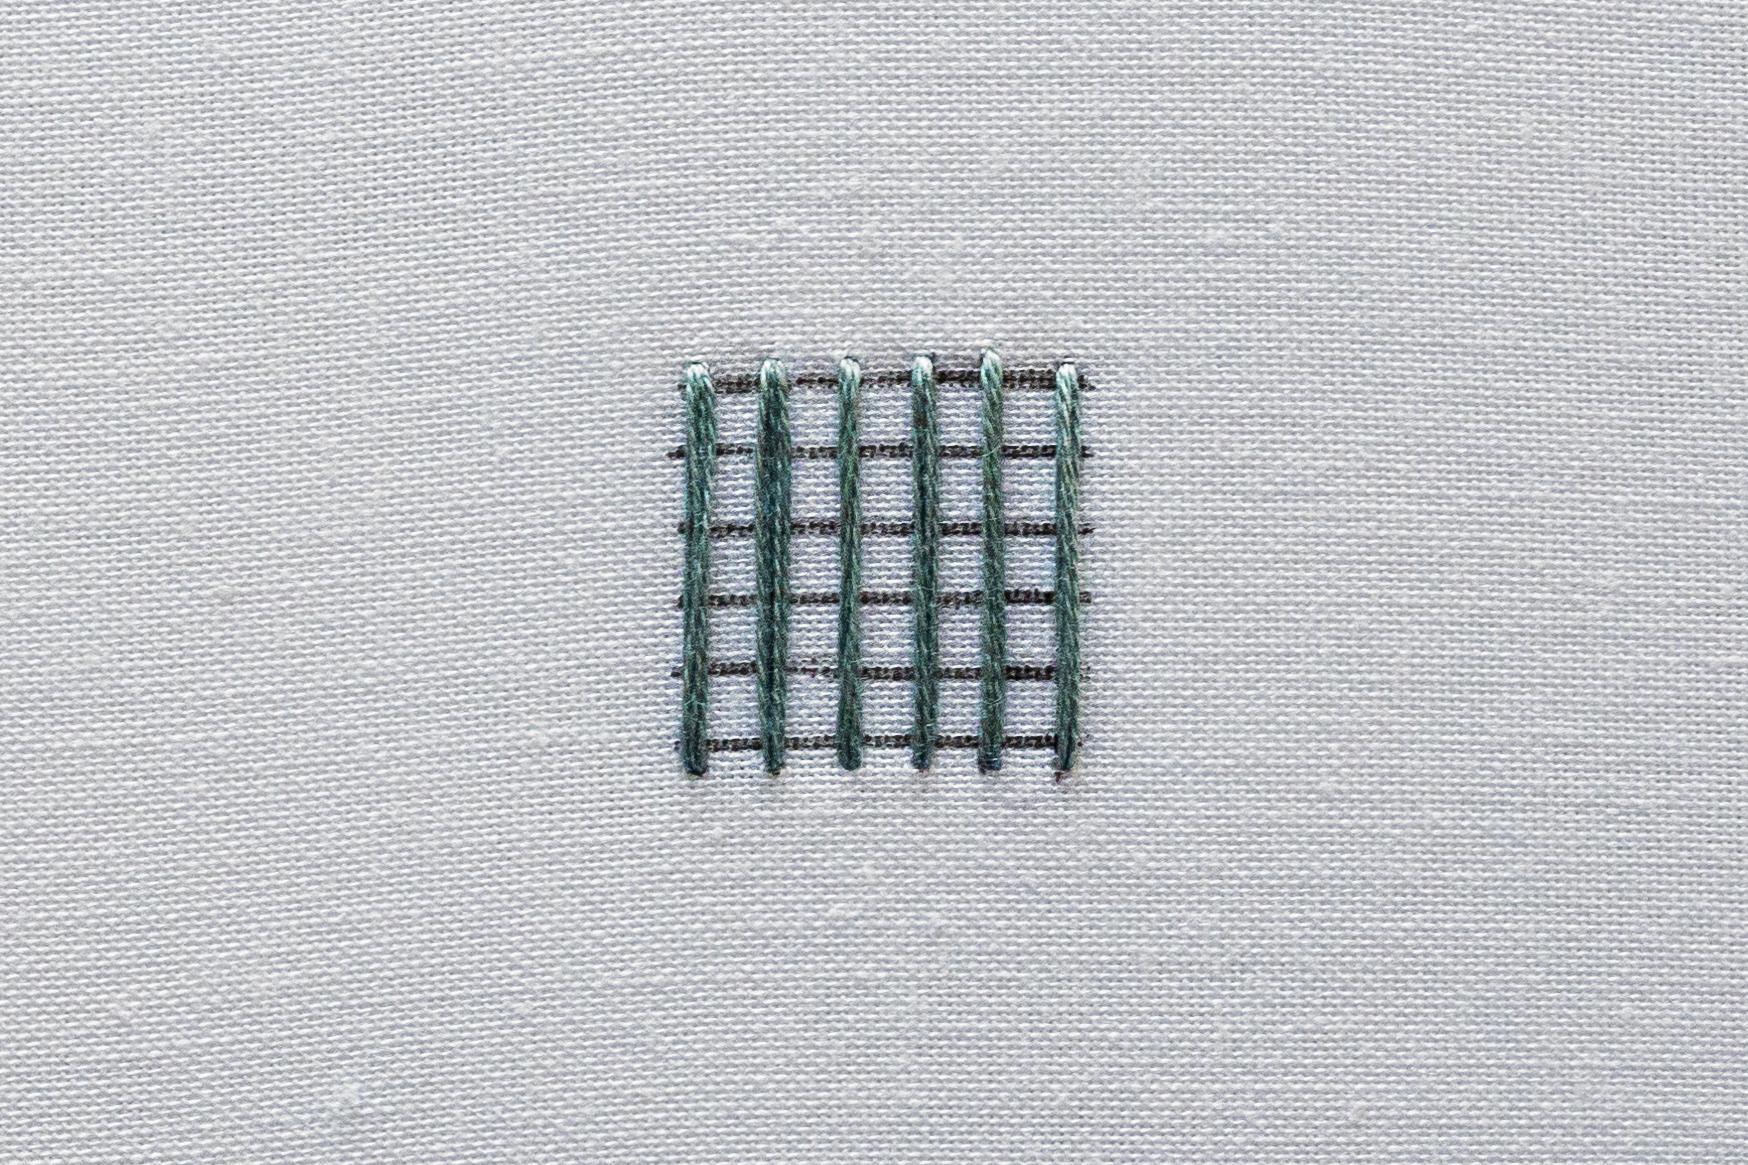
The process involves creating a 'warp' by laying vertical stitches across the area you wish to fill. Afterward, you 'weave' horizontal stitches over and under this warp.
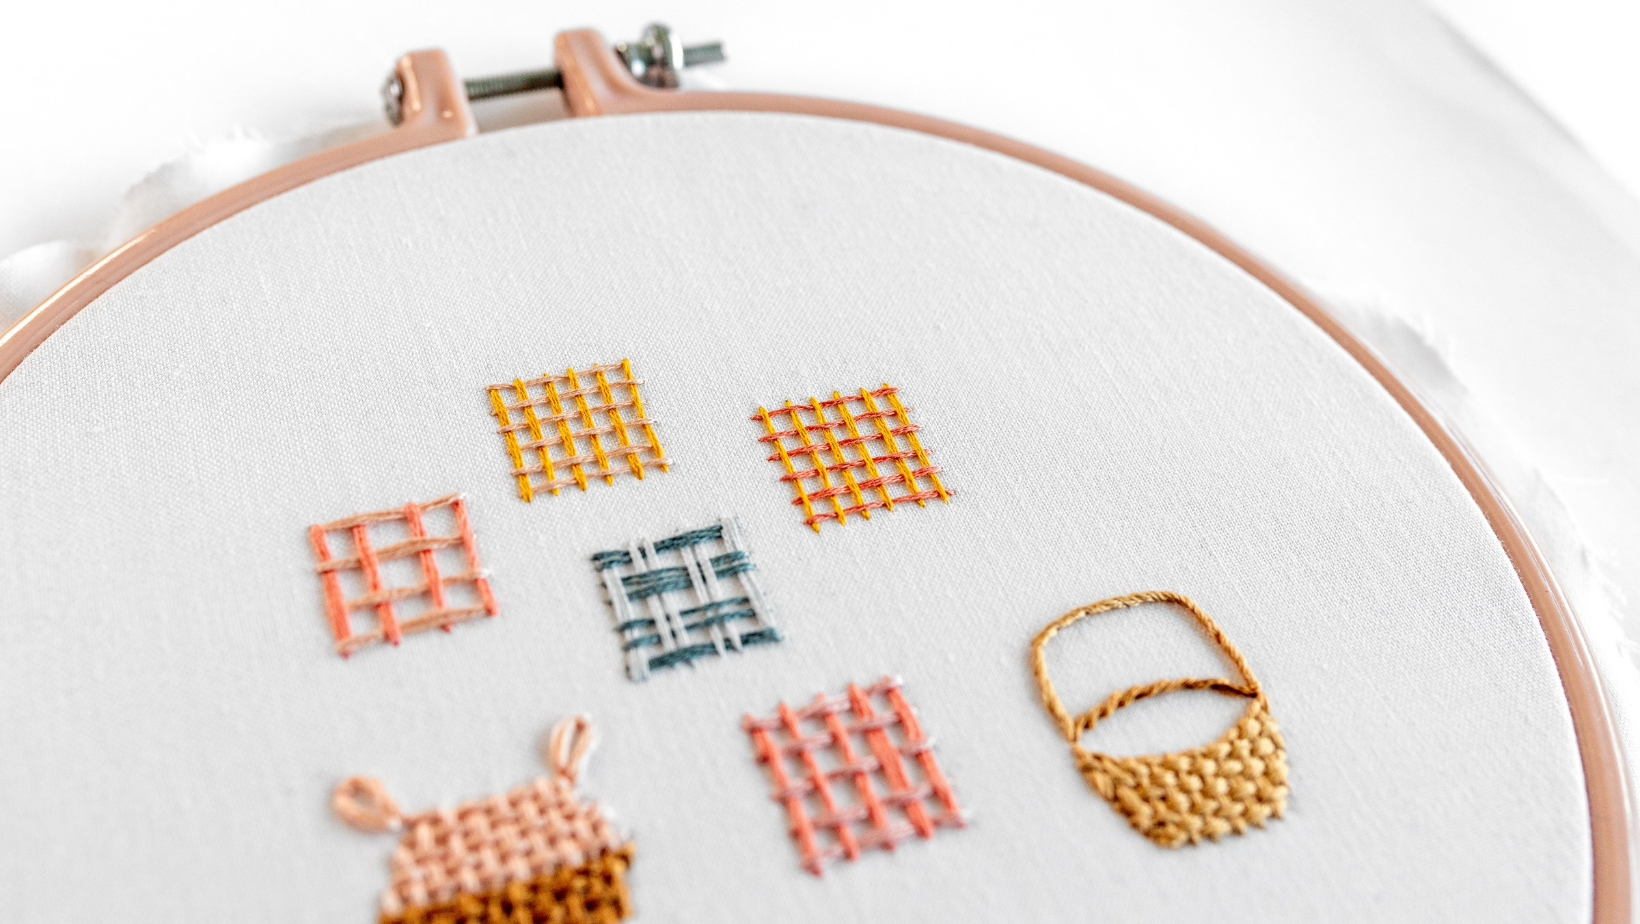
The final look of your weave stitch can vary significantly depending on the spacing of the stitches and the thickness of the floss.
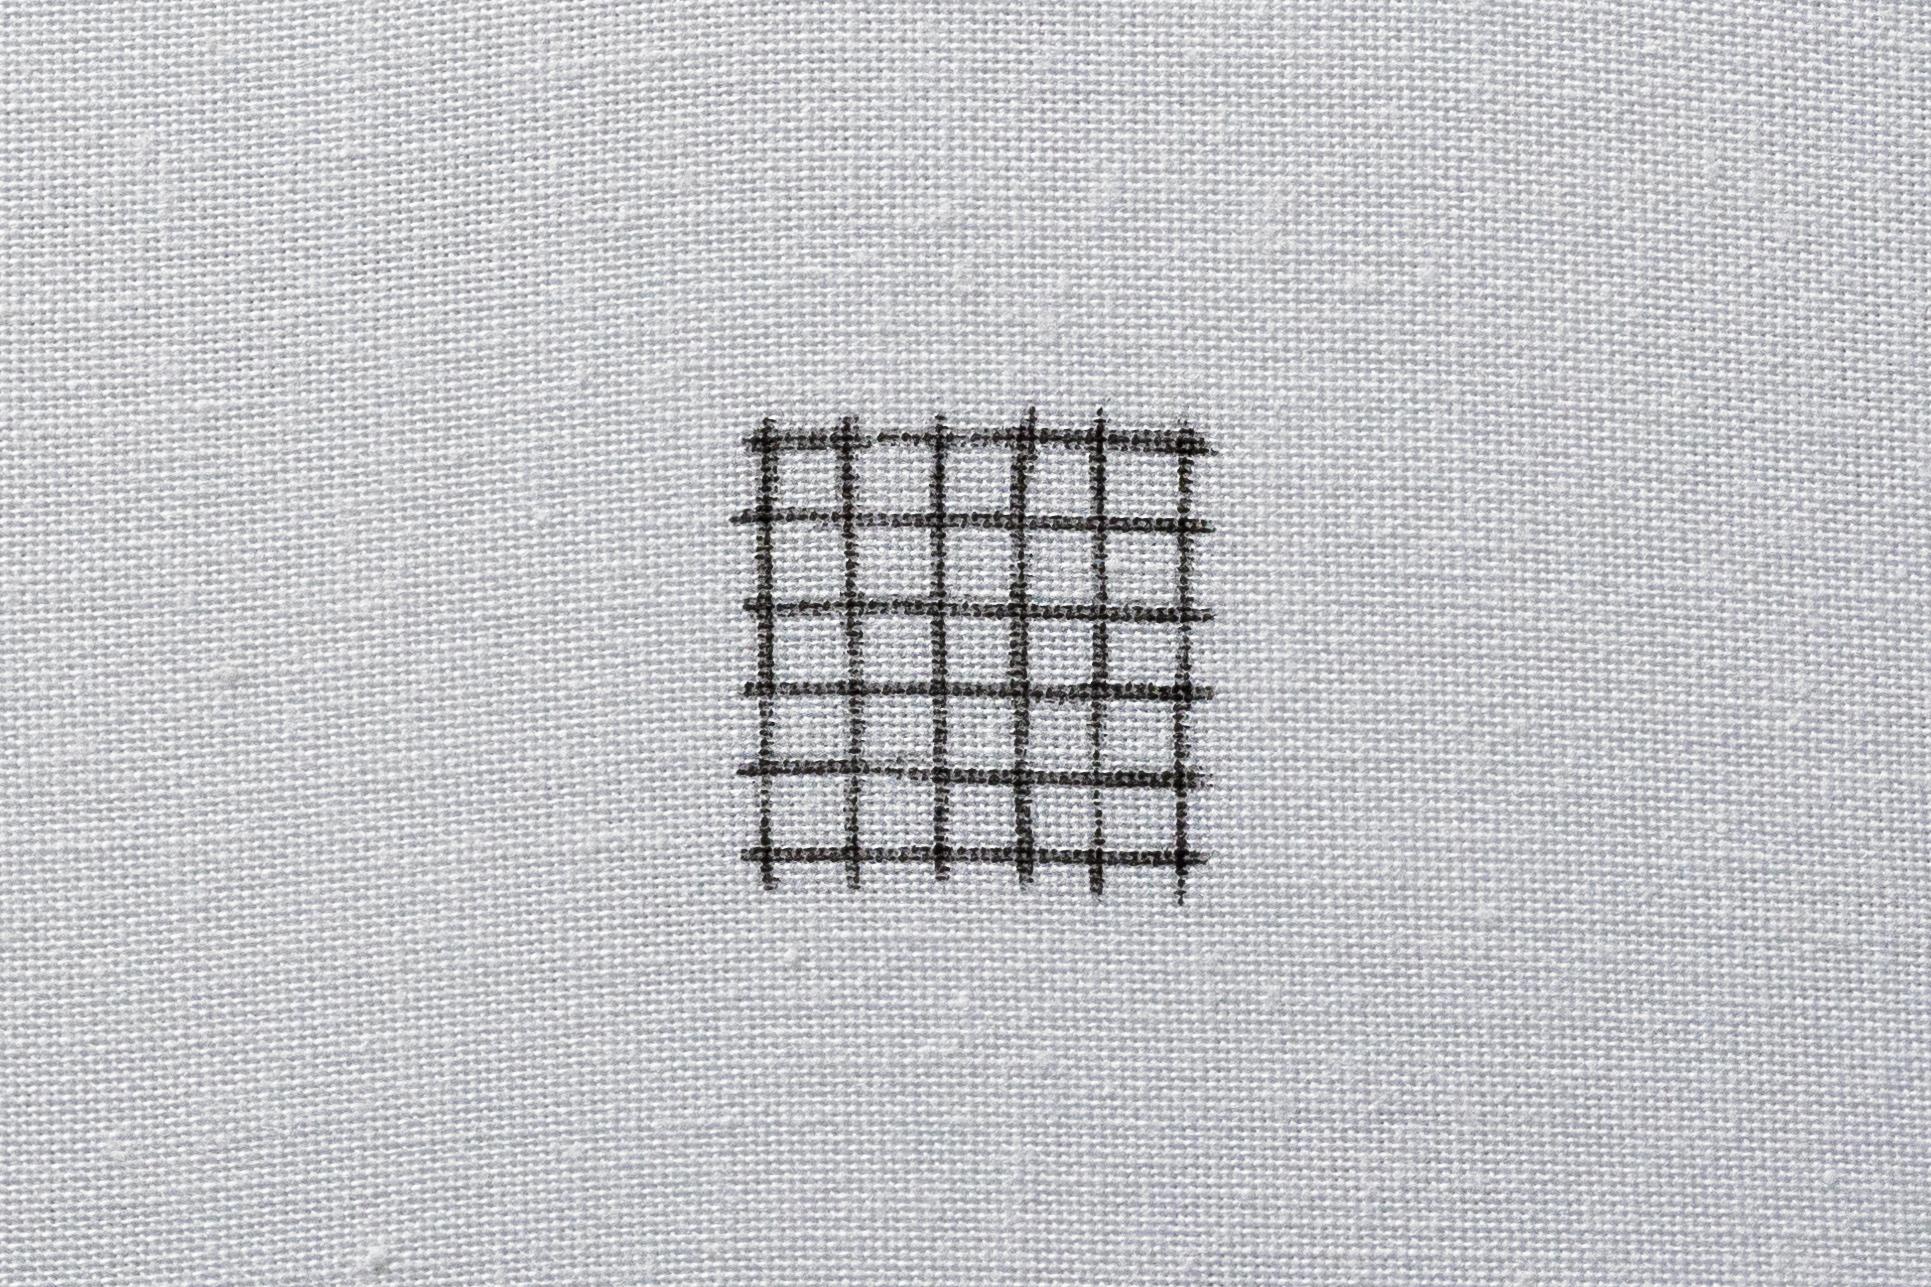
Before you begin, it's super helpful to decide how dense you want your woven stitching to be. And then to add directional lines, which will help you to keep on track. It looks great if the lines are spaced nice and evenly.
TOP TIP: Make sure to leave a clearly visible gap between each of the vertical stitches. If these stitches are too close together, the threads can merge into a satin stitch effect that makes the weaving step really difficult to distinguish.
Let's give it a try!
Step 1. Directional lines:
First, decide on the density of your weave stitch, and add directional lines.
Step 2. Create the warp (vertical stitches):
Start on one side, and work vertical stitches along the area you want to fill. Once these are in place, knot off and secure your thread to create a firm foundation for weaving.
Step 3. Weaving the first row:
Prepare a new piece of thread and bring your needle up on the top right side of the section, just below the top of the vertical stitch. Note that the needle won't pierce the fabric again until you reach the left side.
TIP: I'm demonstrating weaving from the top-right, but you can weave in any direction you like (e.g. starting bottom left).
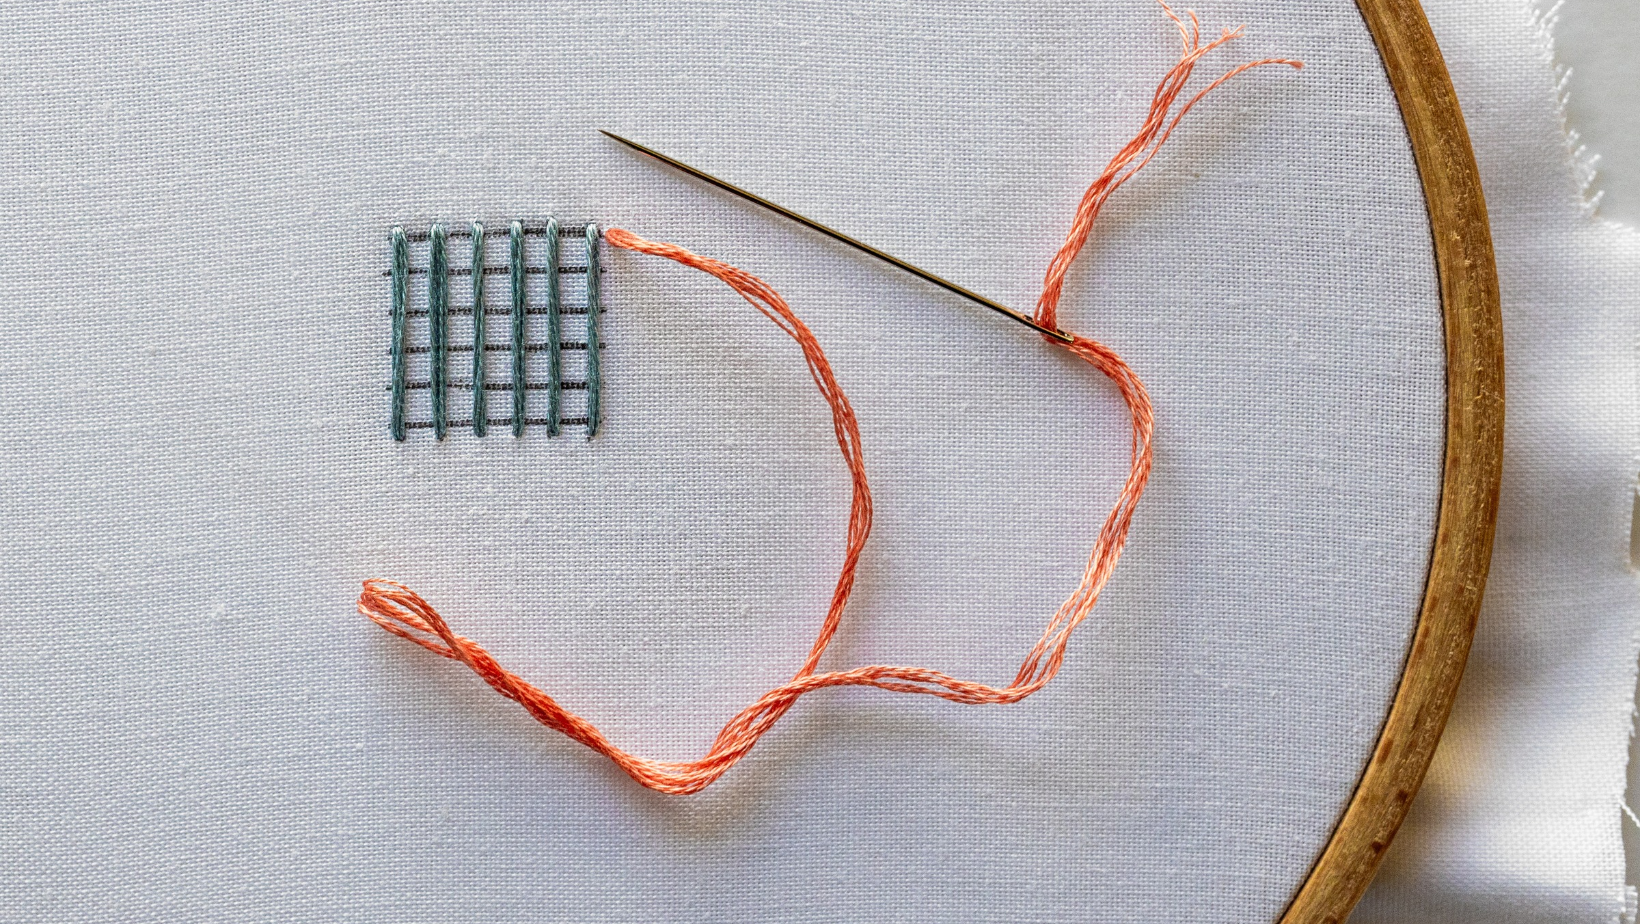
Take your needle and weave it under the first vertical thread, without piercing through the fabric (i.e. keep your needle on the fabric's surface, just duck it under the stitch). Then, weave over the second thread and under the third.
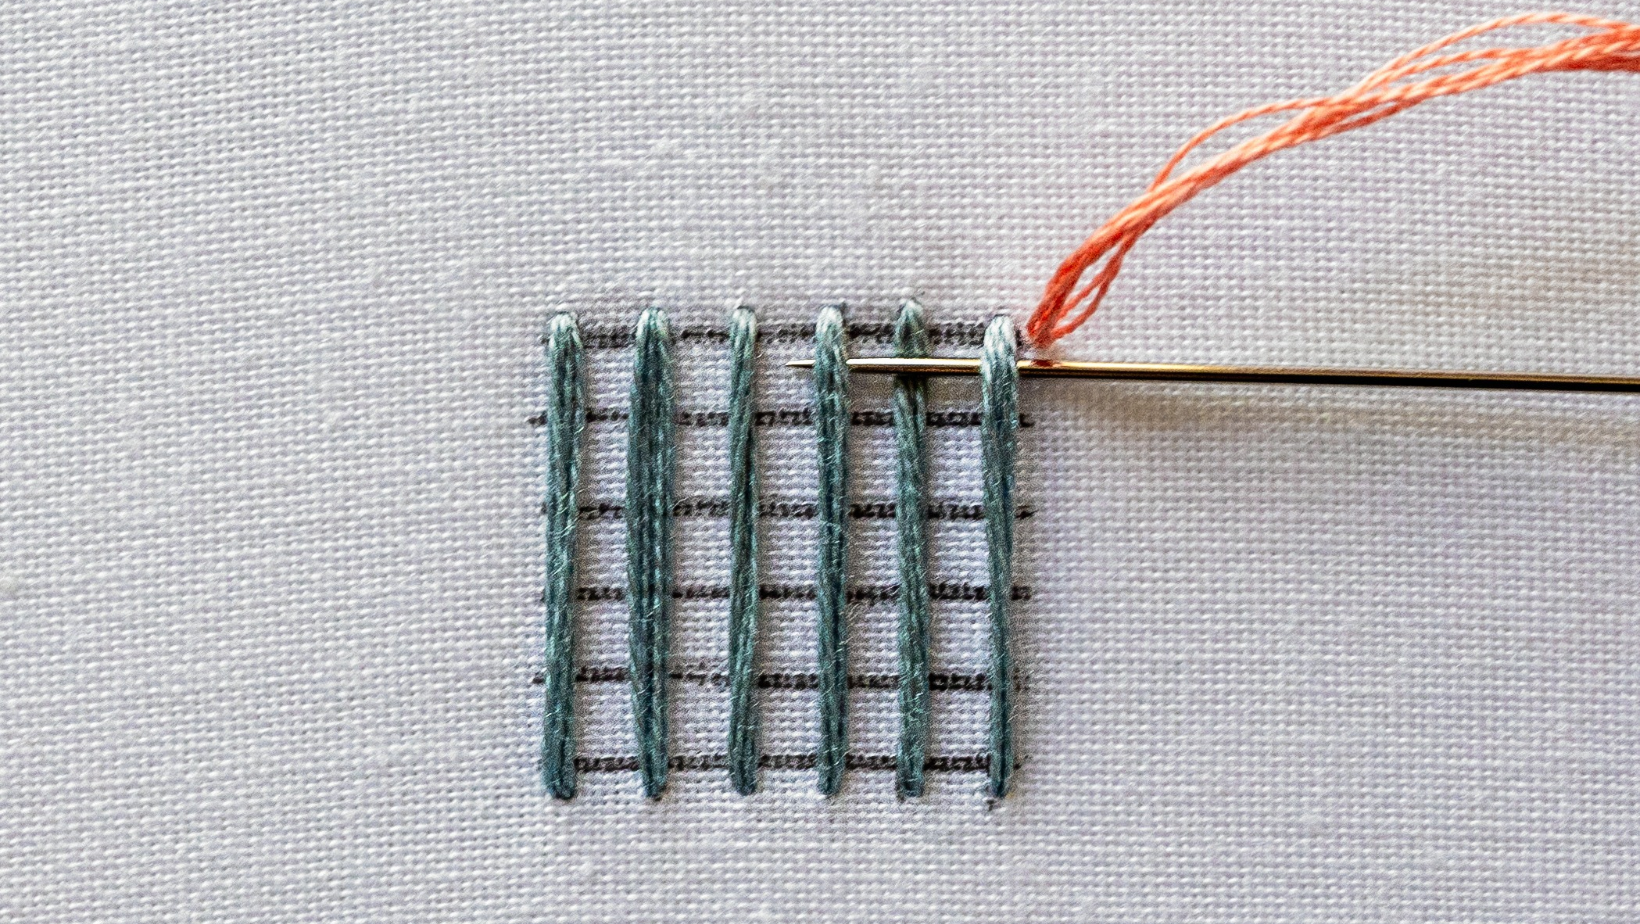
Continue weaving across to the left, alternating over and under each thread.
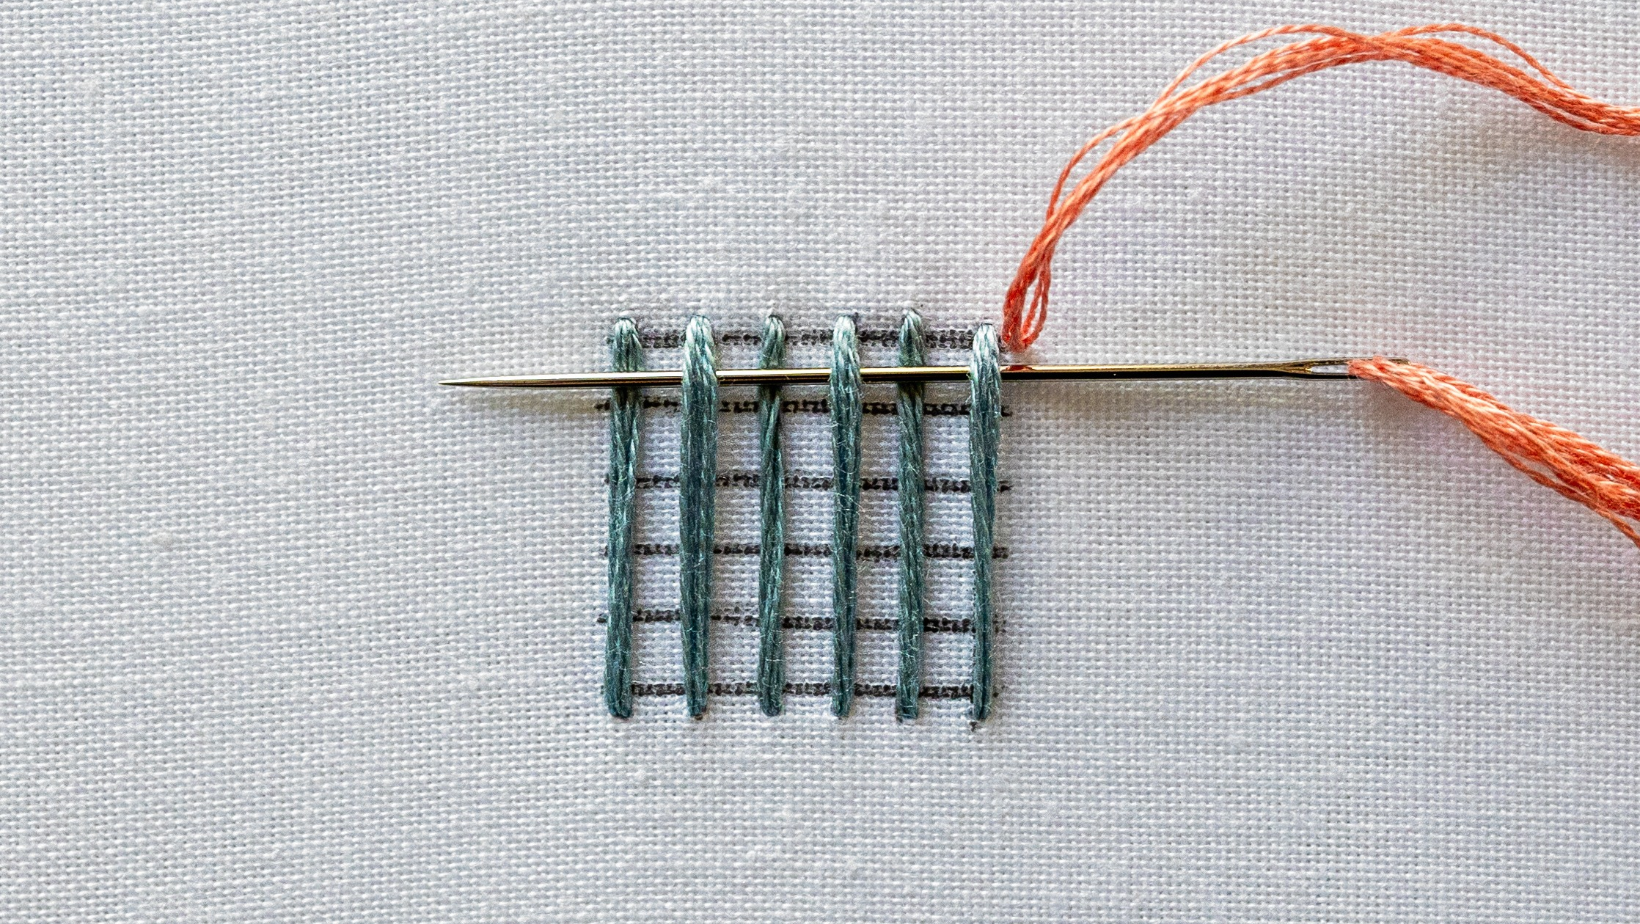
Once you reach the left side, pull all the working thread through the vertical warp threads.
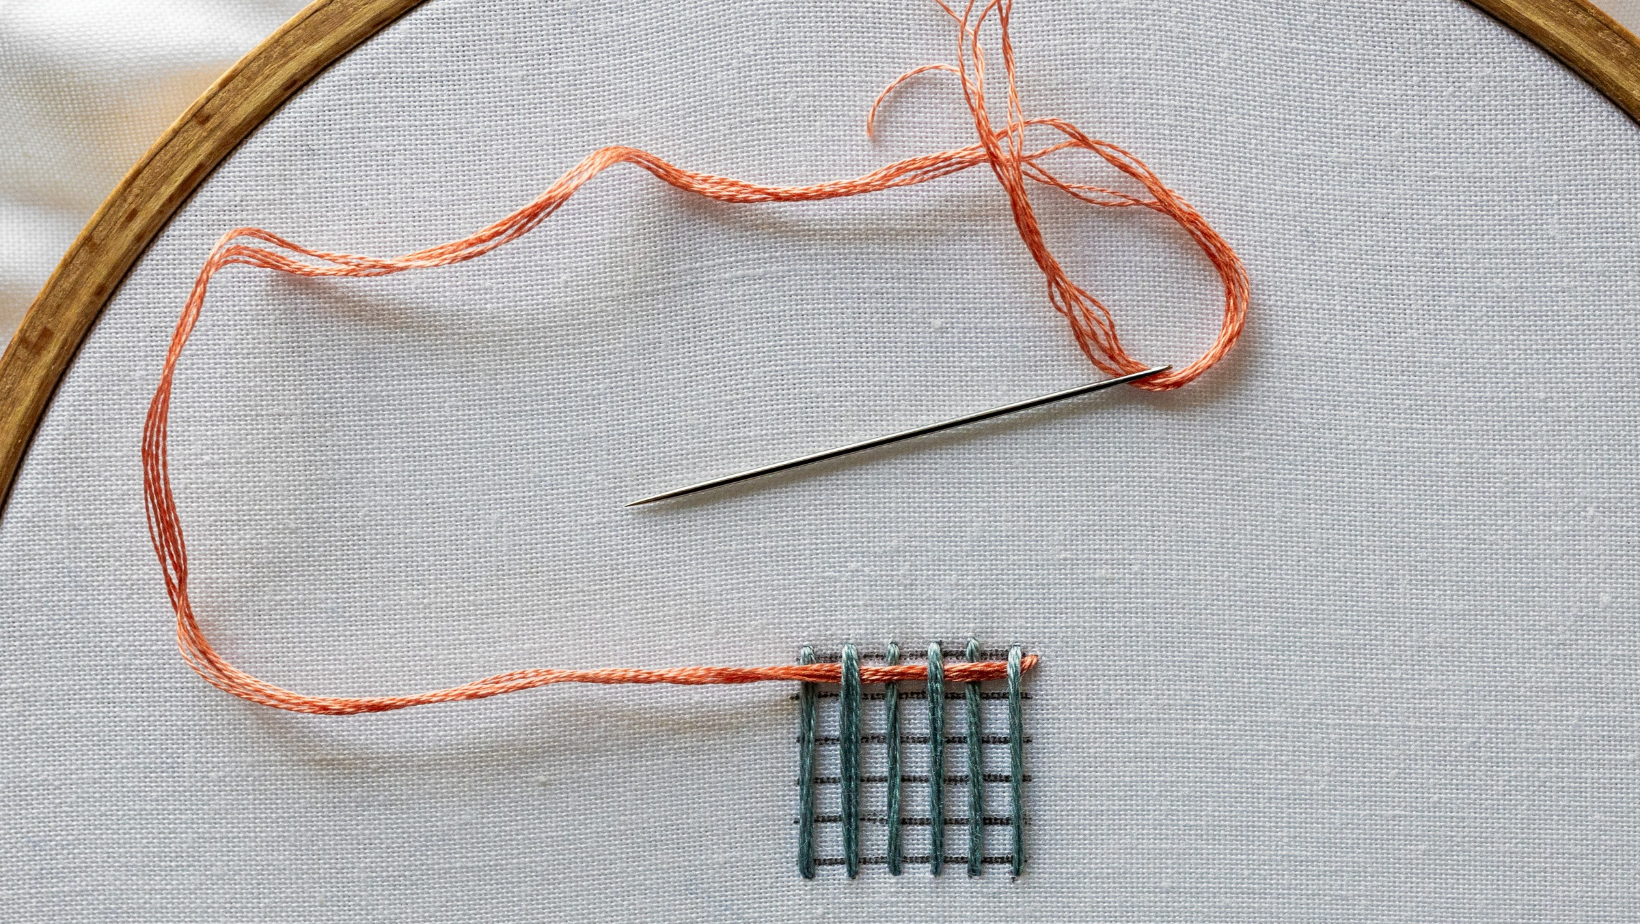
Now poke your needle down into the fabric, on the far left side. Pull the working thread through to the underside. At this point you can nudge the threads up into position. But don't worry if they don't sit perfectly, it's a very forgiving technique.
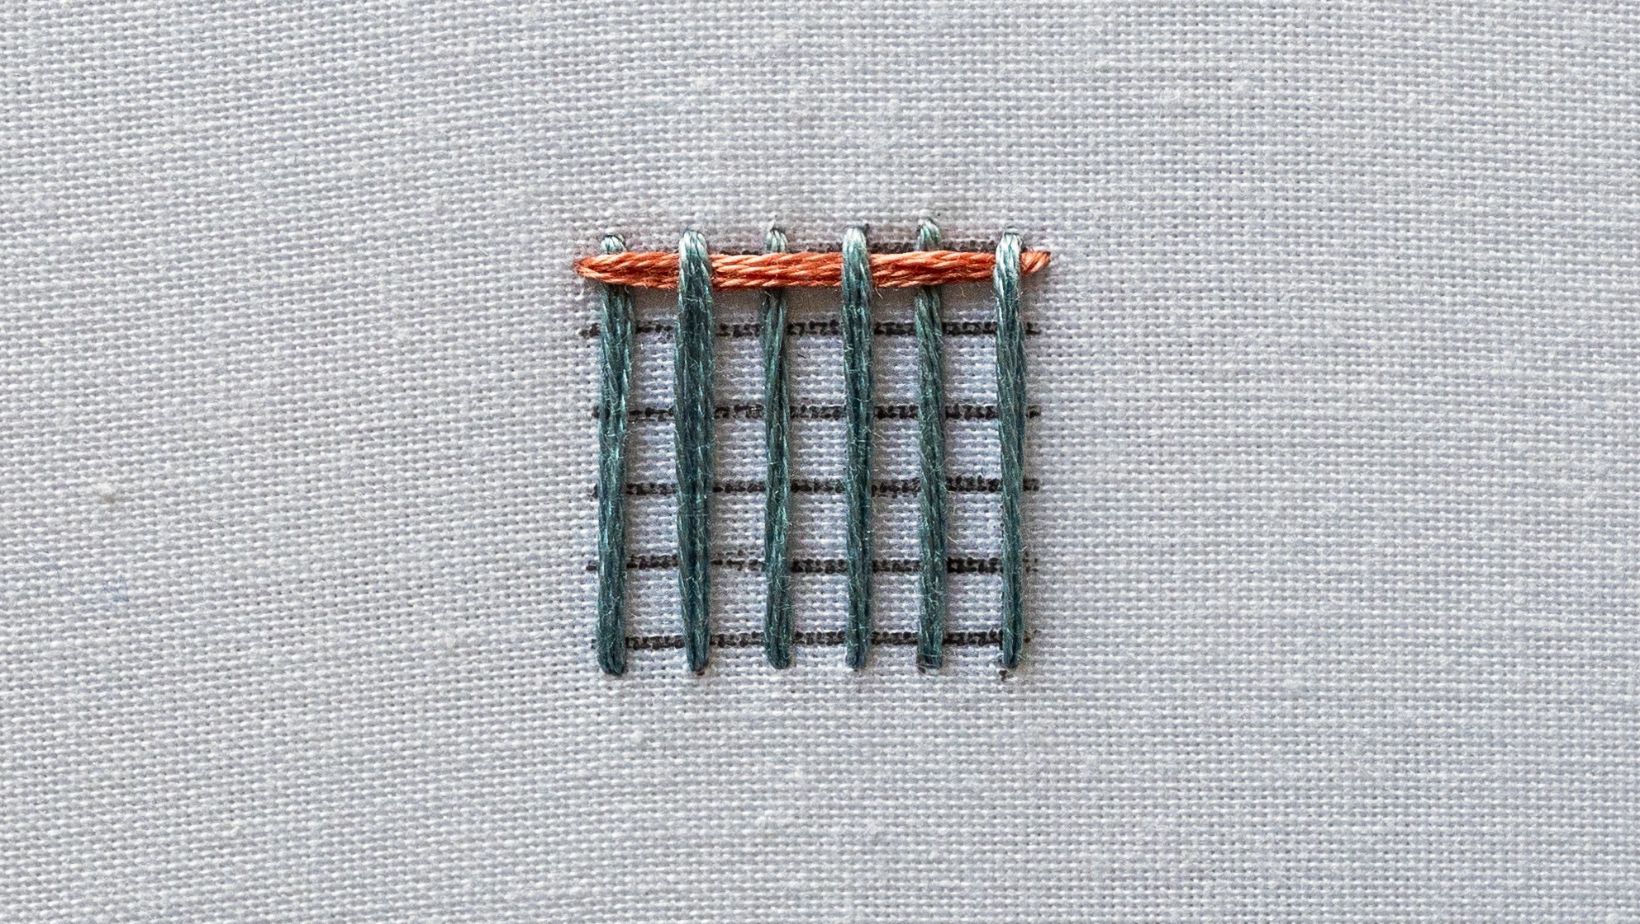
Step 4. Weave the second row:
Bring your needle up below the first row, on the far left.
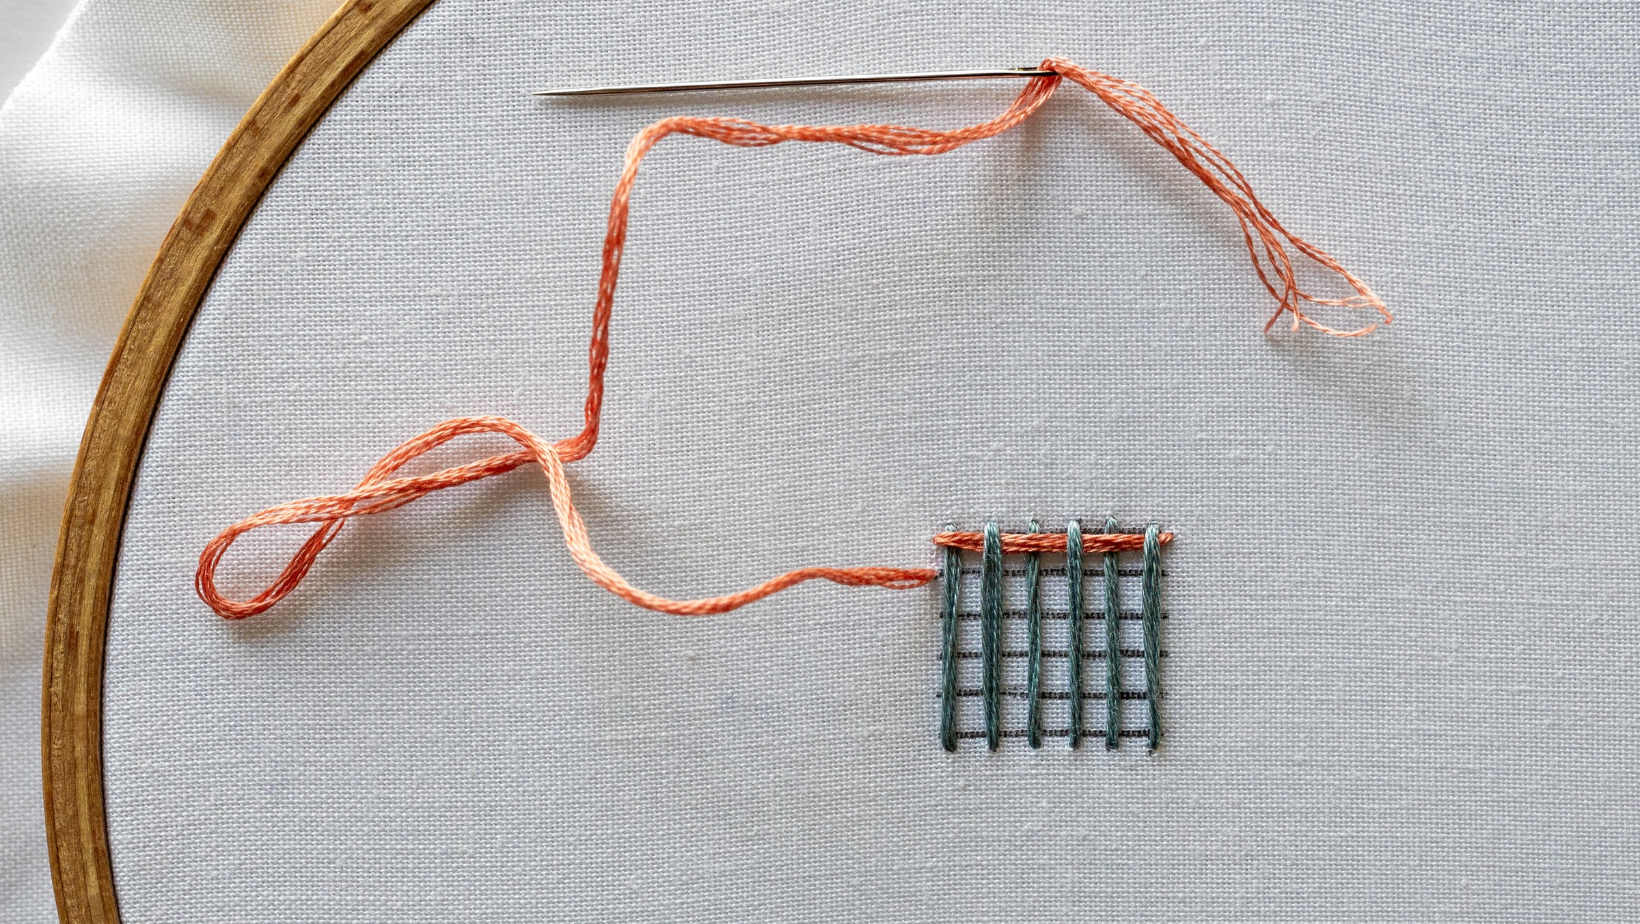
Weave back towards the right, using the same method as above. However, this time alternate the threads in the opposite order compared to the row above. This creates the lovely woven effect.
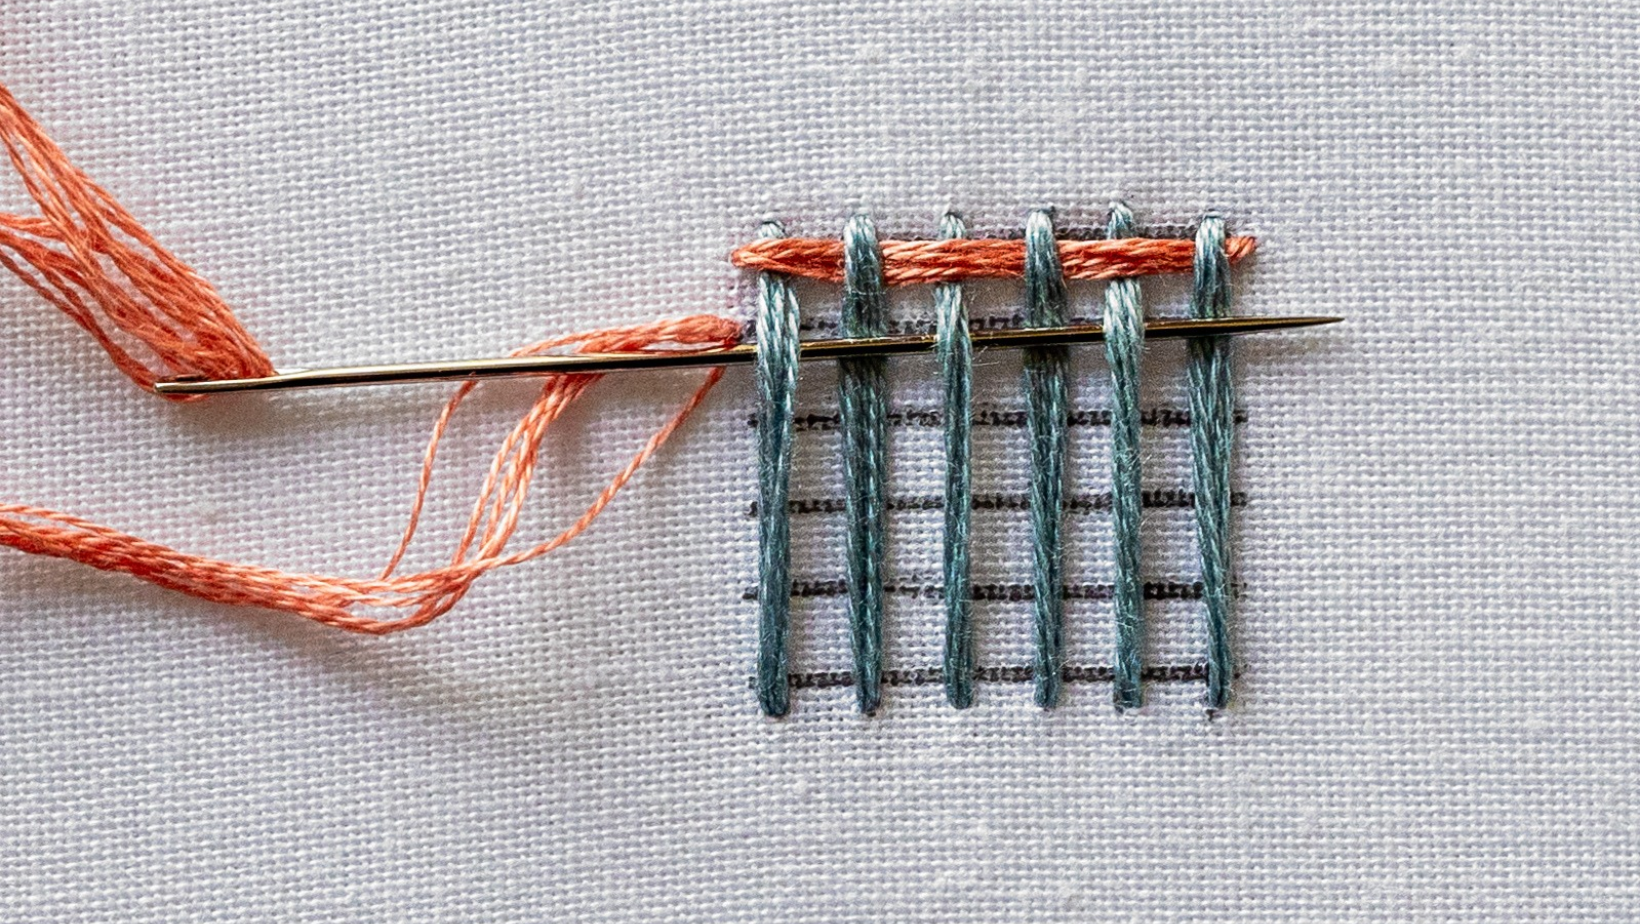
Just like the first row, when you get to the far side, pull through all the working thread. Then take your needle and thread down through the fabric.
TIP: If you find that your needle is catching on threads when you do the weaving method, you can turn your needle around and lead with the eye. Or you can use a blunt needle (e.g. a tapestry needle).
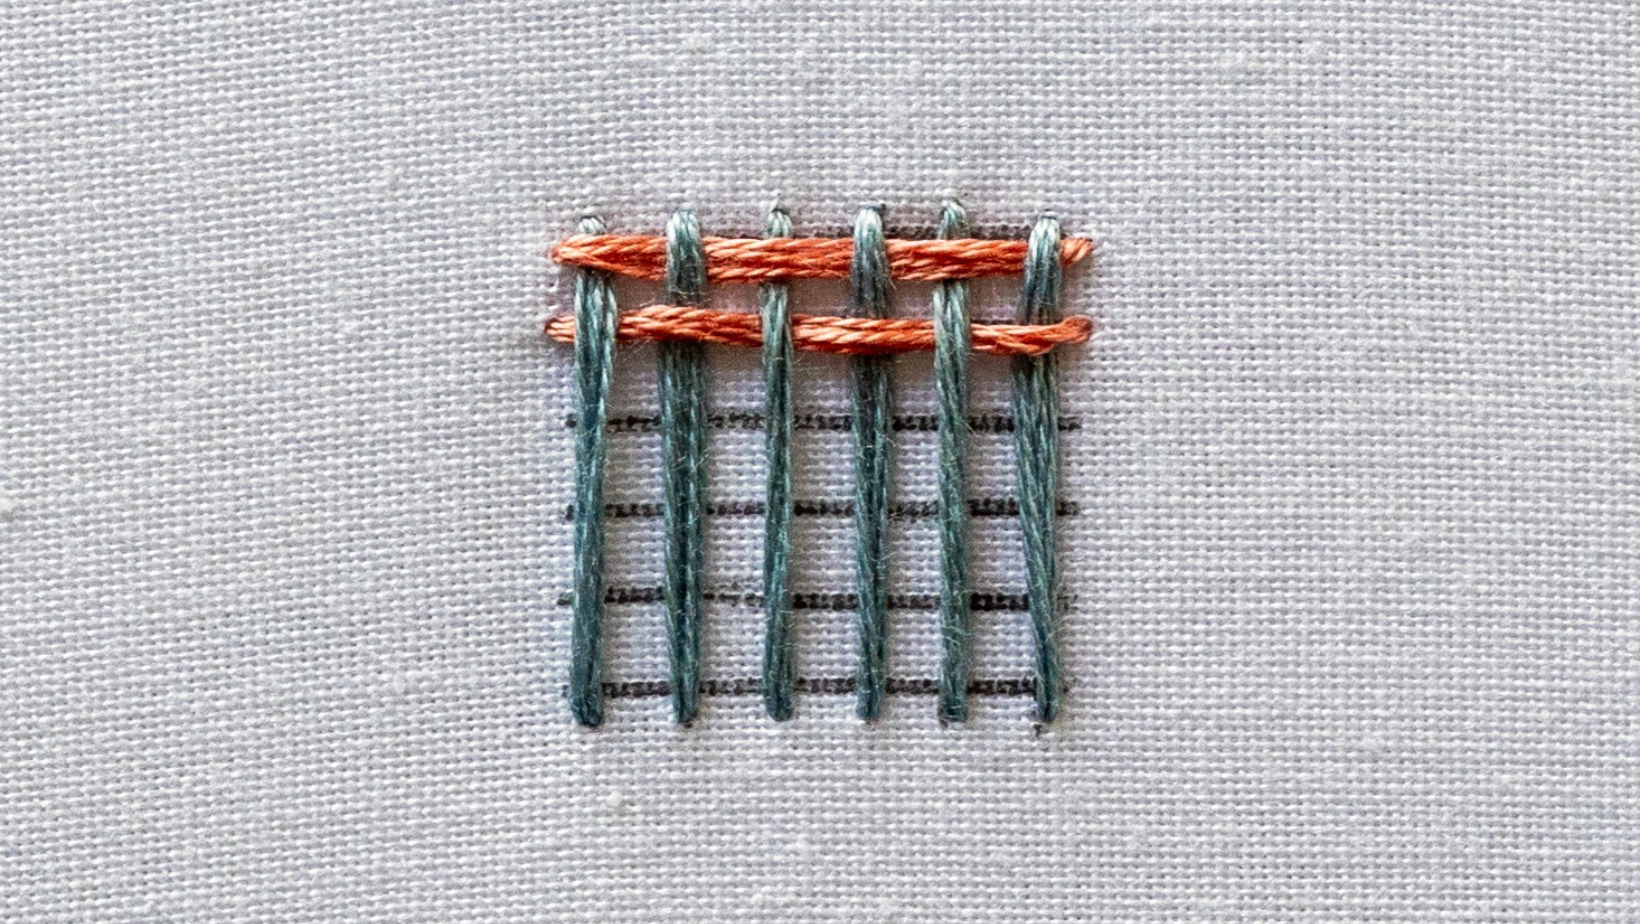
Step 5. Weave until filled:
Continue weaving back-and-forth until the section is filled. You don't need to pull each row super tight – just let the thread for each row sit comfortably on the fabric.
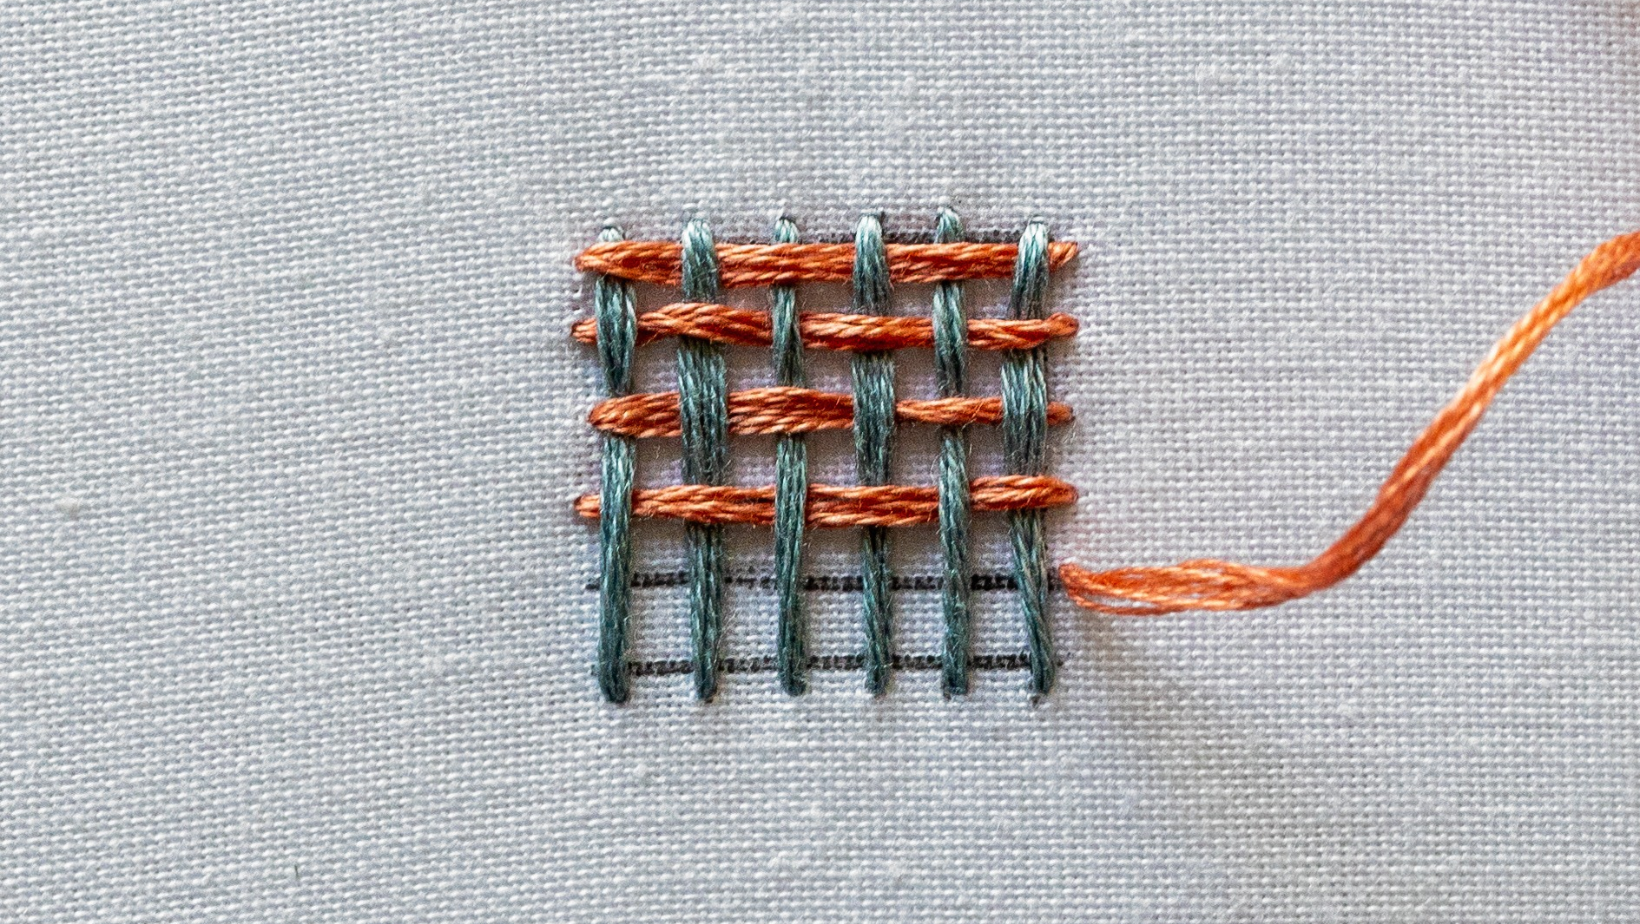
At the end of weaving your last row, take your needle and thread to the underside, then knot and secure it off.
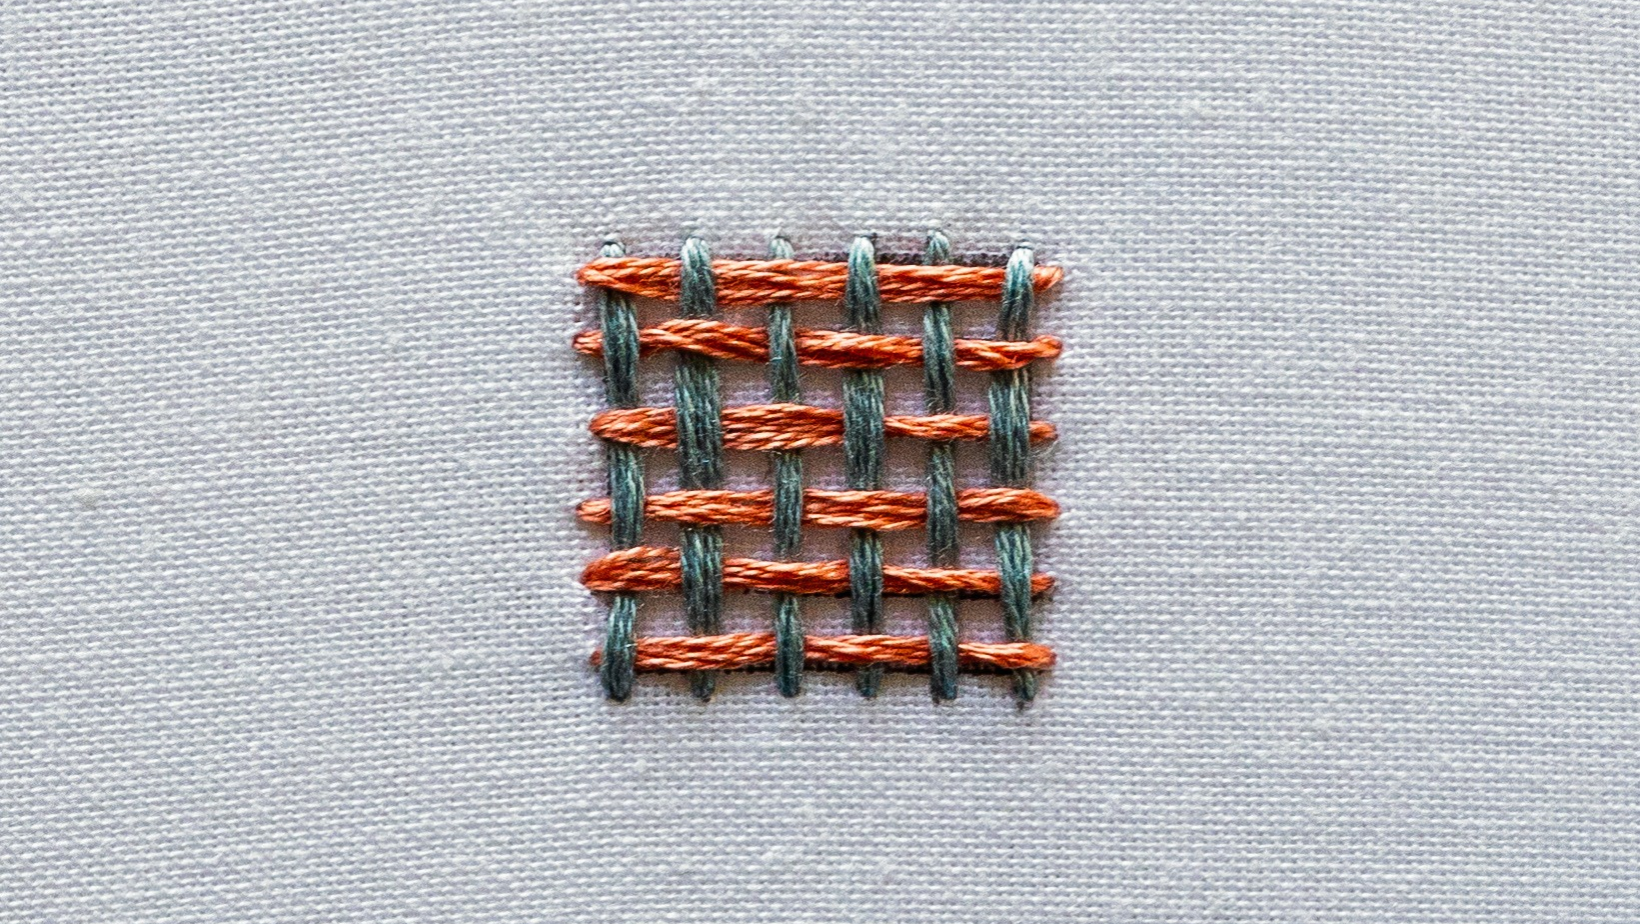
Practice makes progress
Now it’s time to practice! Draw a few simple shapes onto a test piece of fabric and use them as a guide to get confident with this new technique. Have fun experimenting with different amounts of floss, density of stitches and colors etc.
If you’d like a ready-made practice sheet, our Weave Stitch Sampler is included in the Maker’s Academy- along with samplers for every other technique, and the full video library.
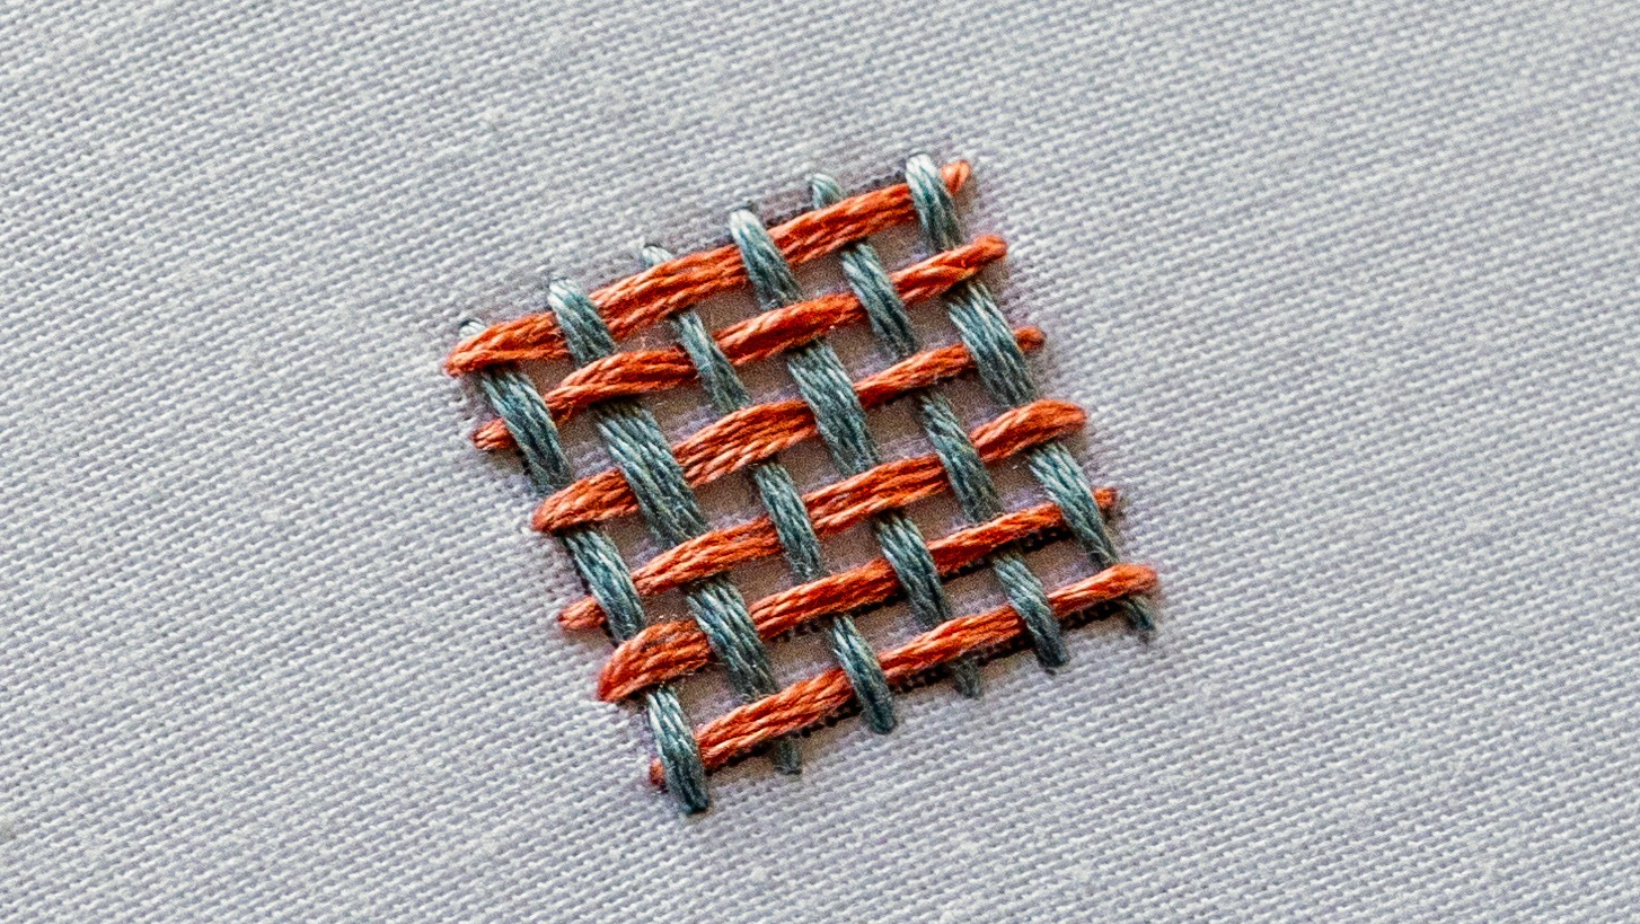
Examples of Weave Stitch in our patterns
Let's look at some examples of how you can use this gorgeous textured stitch in your work!
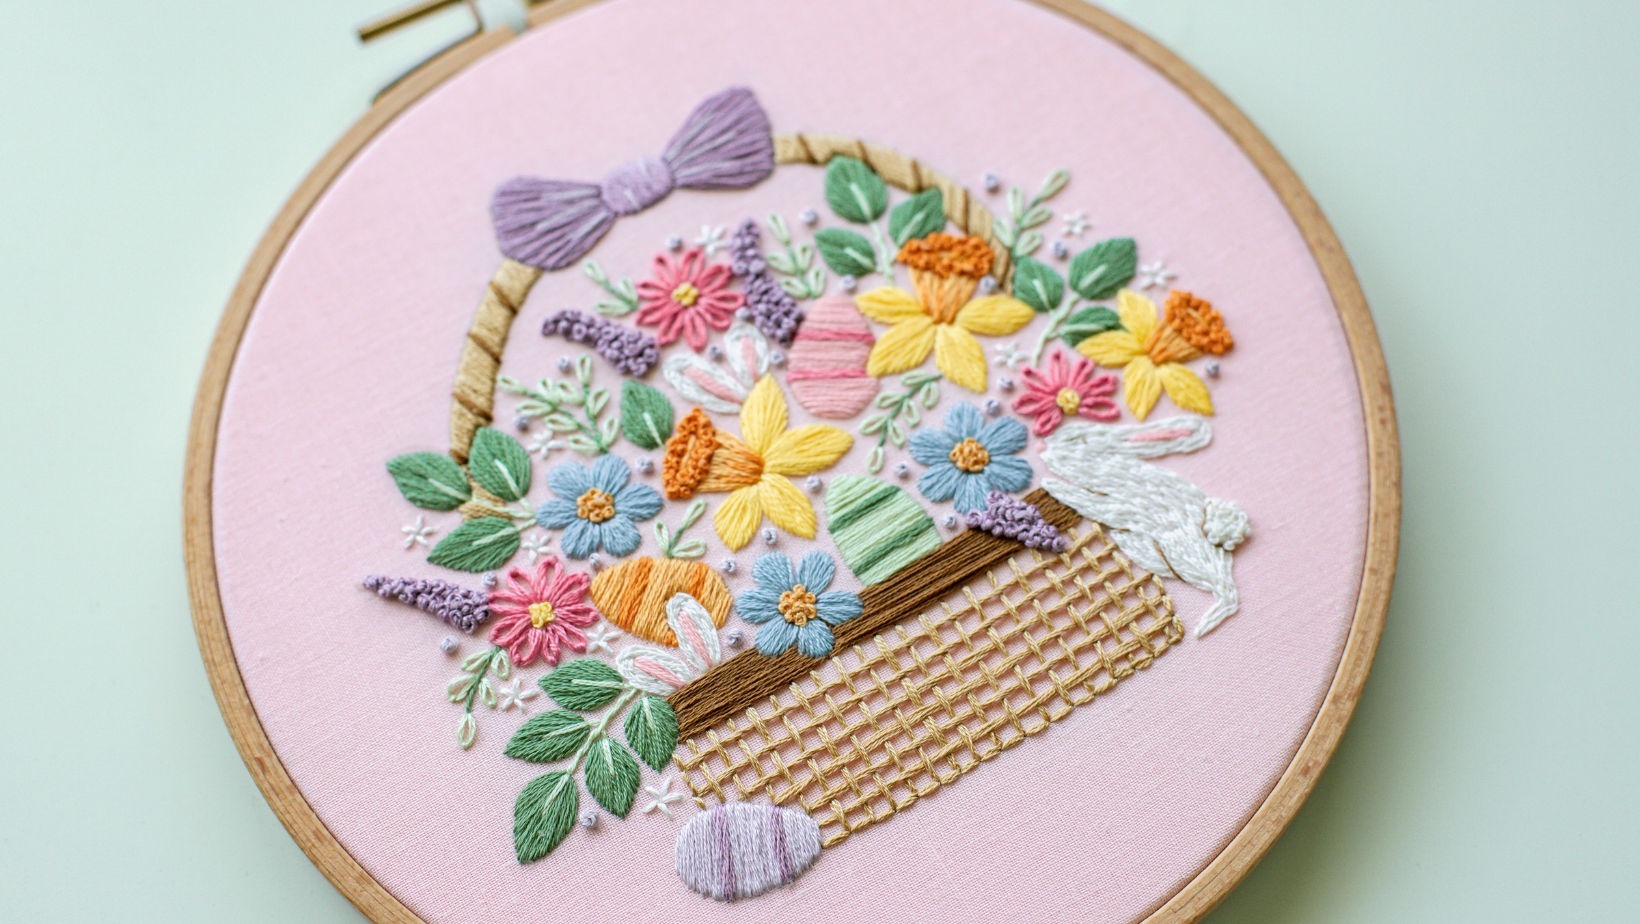
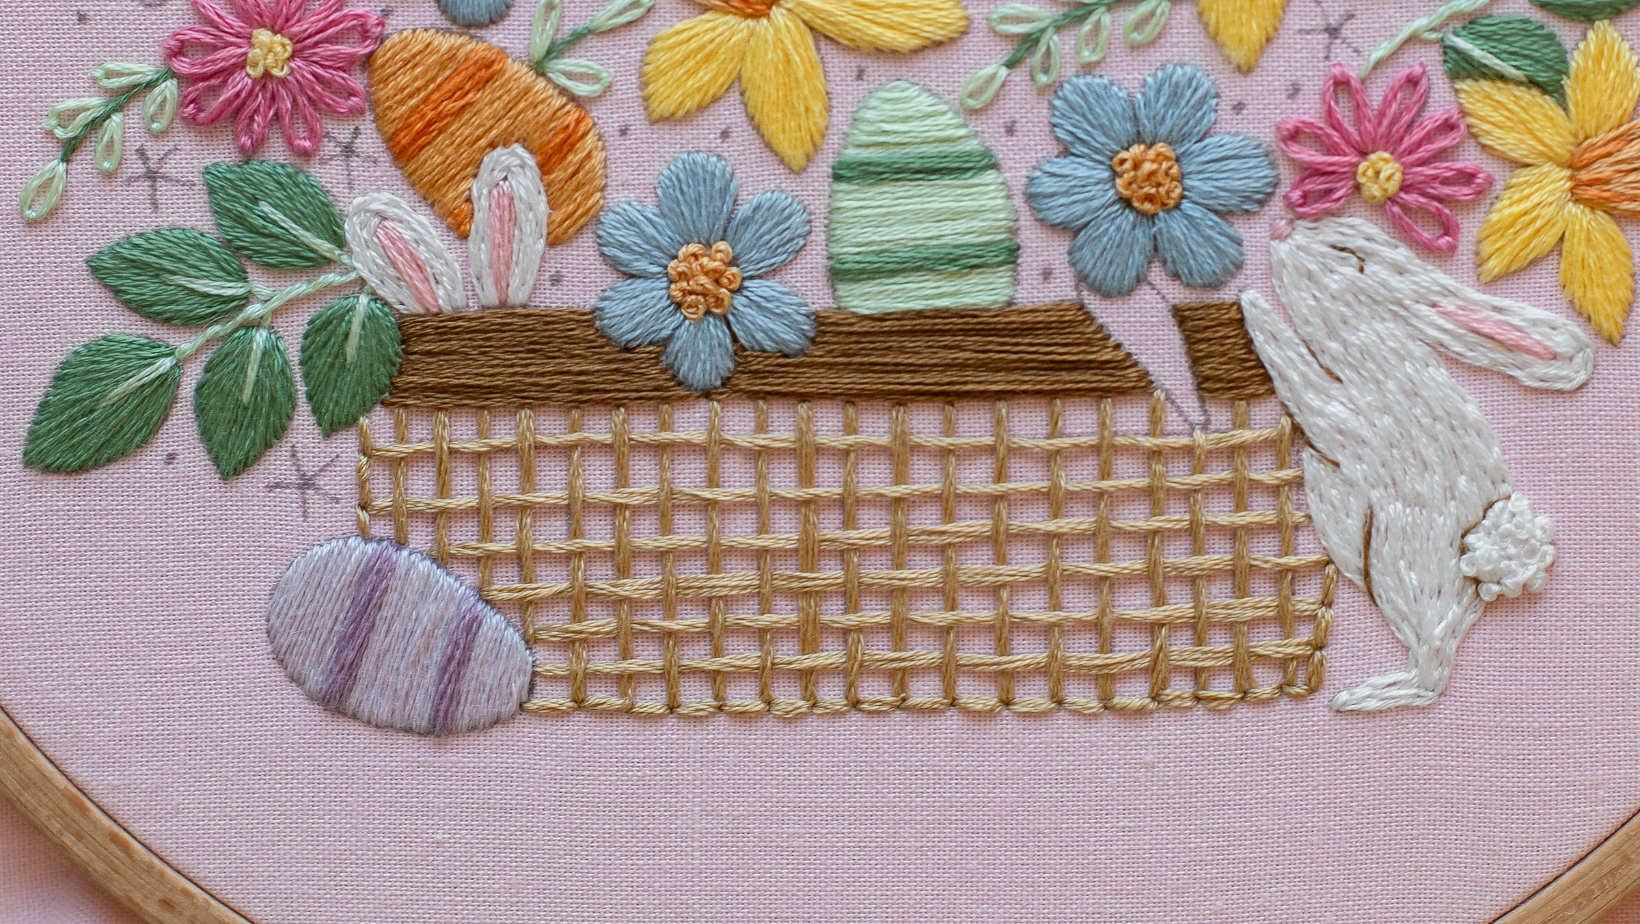
First up, here's our Easter Basket pattern.
This is the pattern where we teach the weave stitch technique, and you can see it beautifully in the basket itself – all that lovely woven texture is exactly what this stitch does best.
The rest of the design is bursting with spring florals and a hoppy little bunny friend!
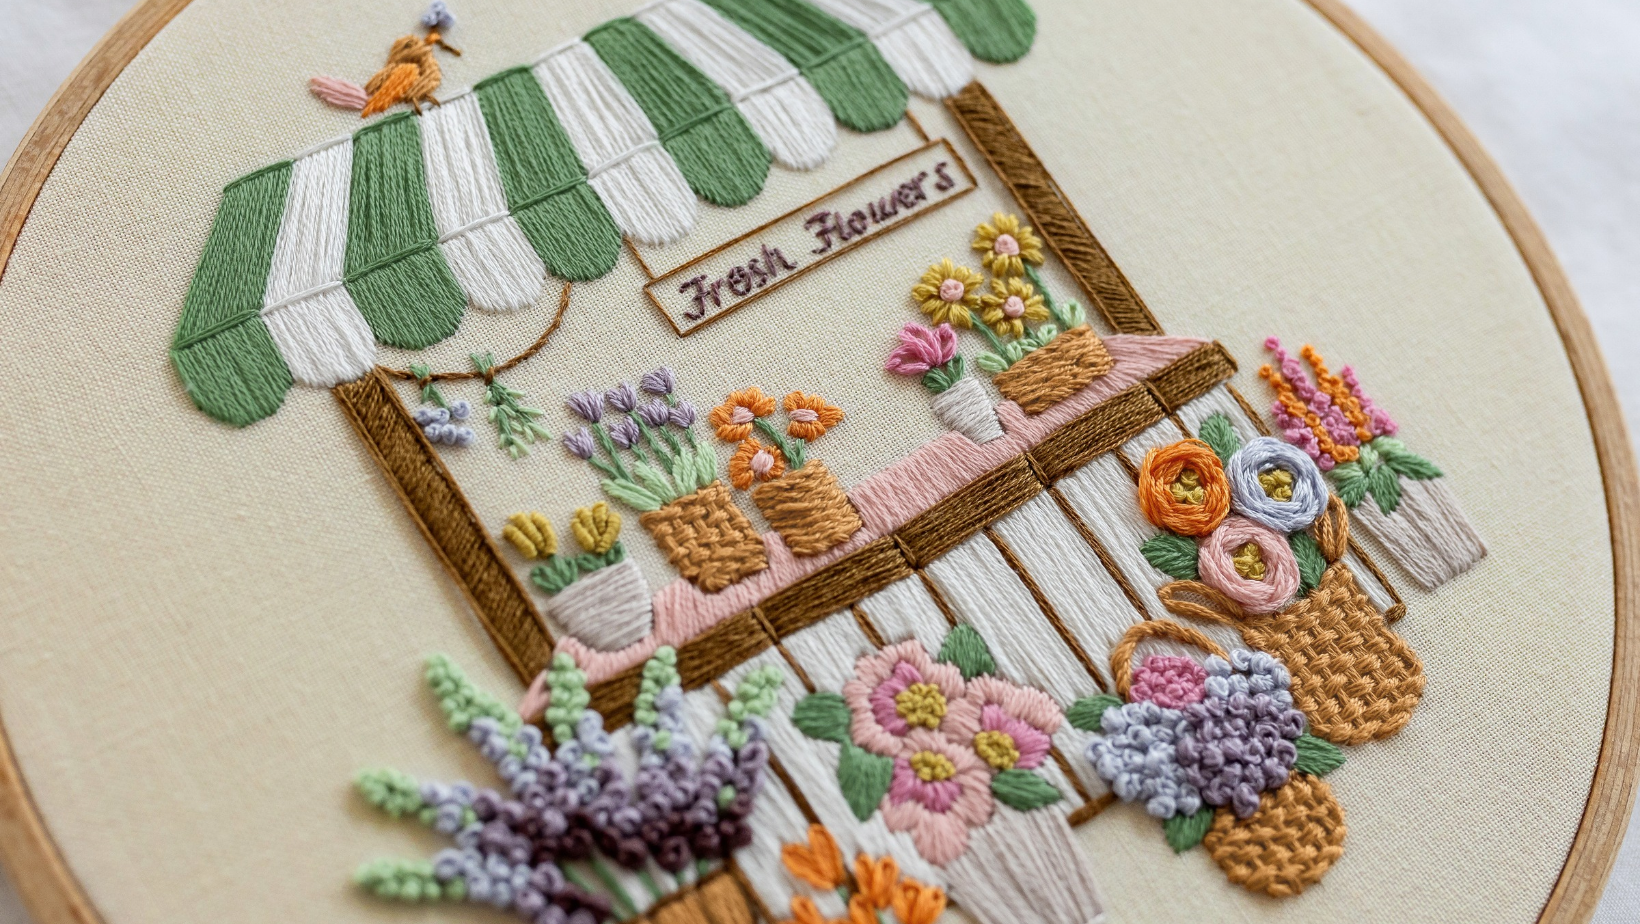
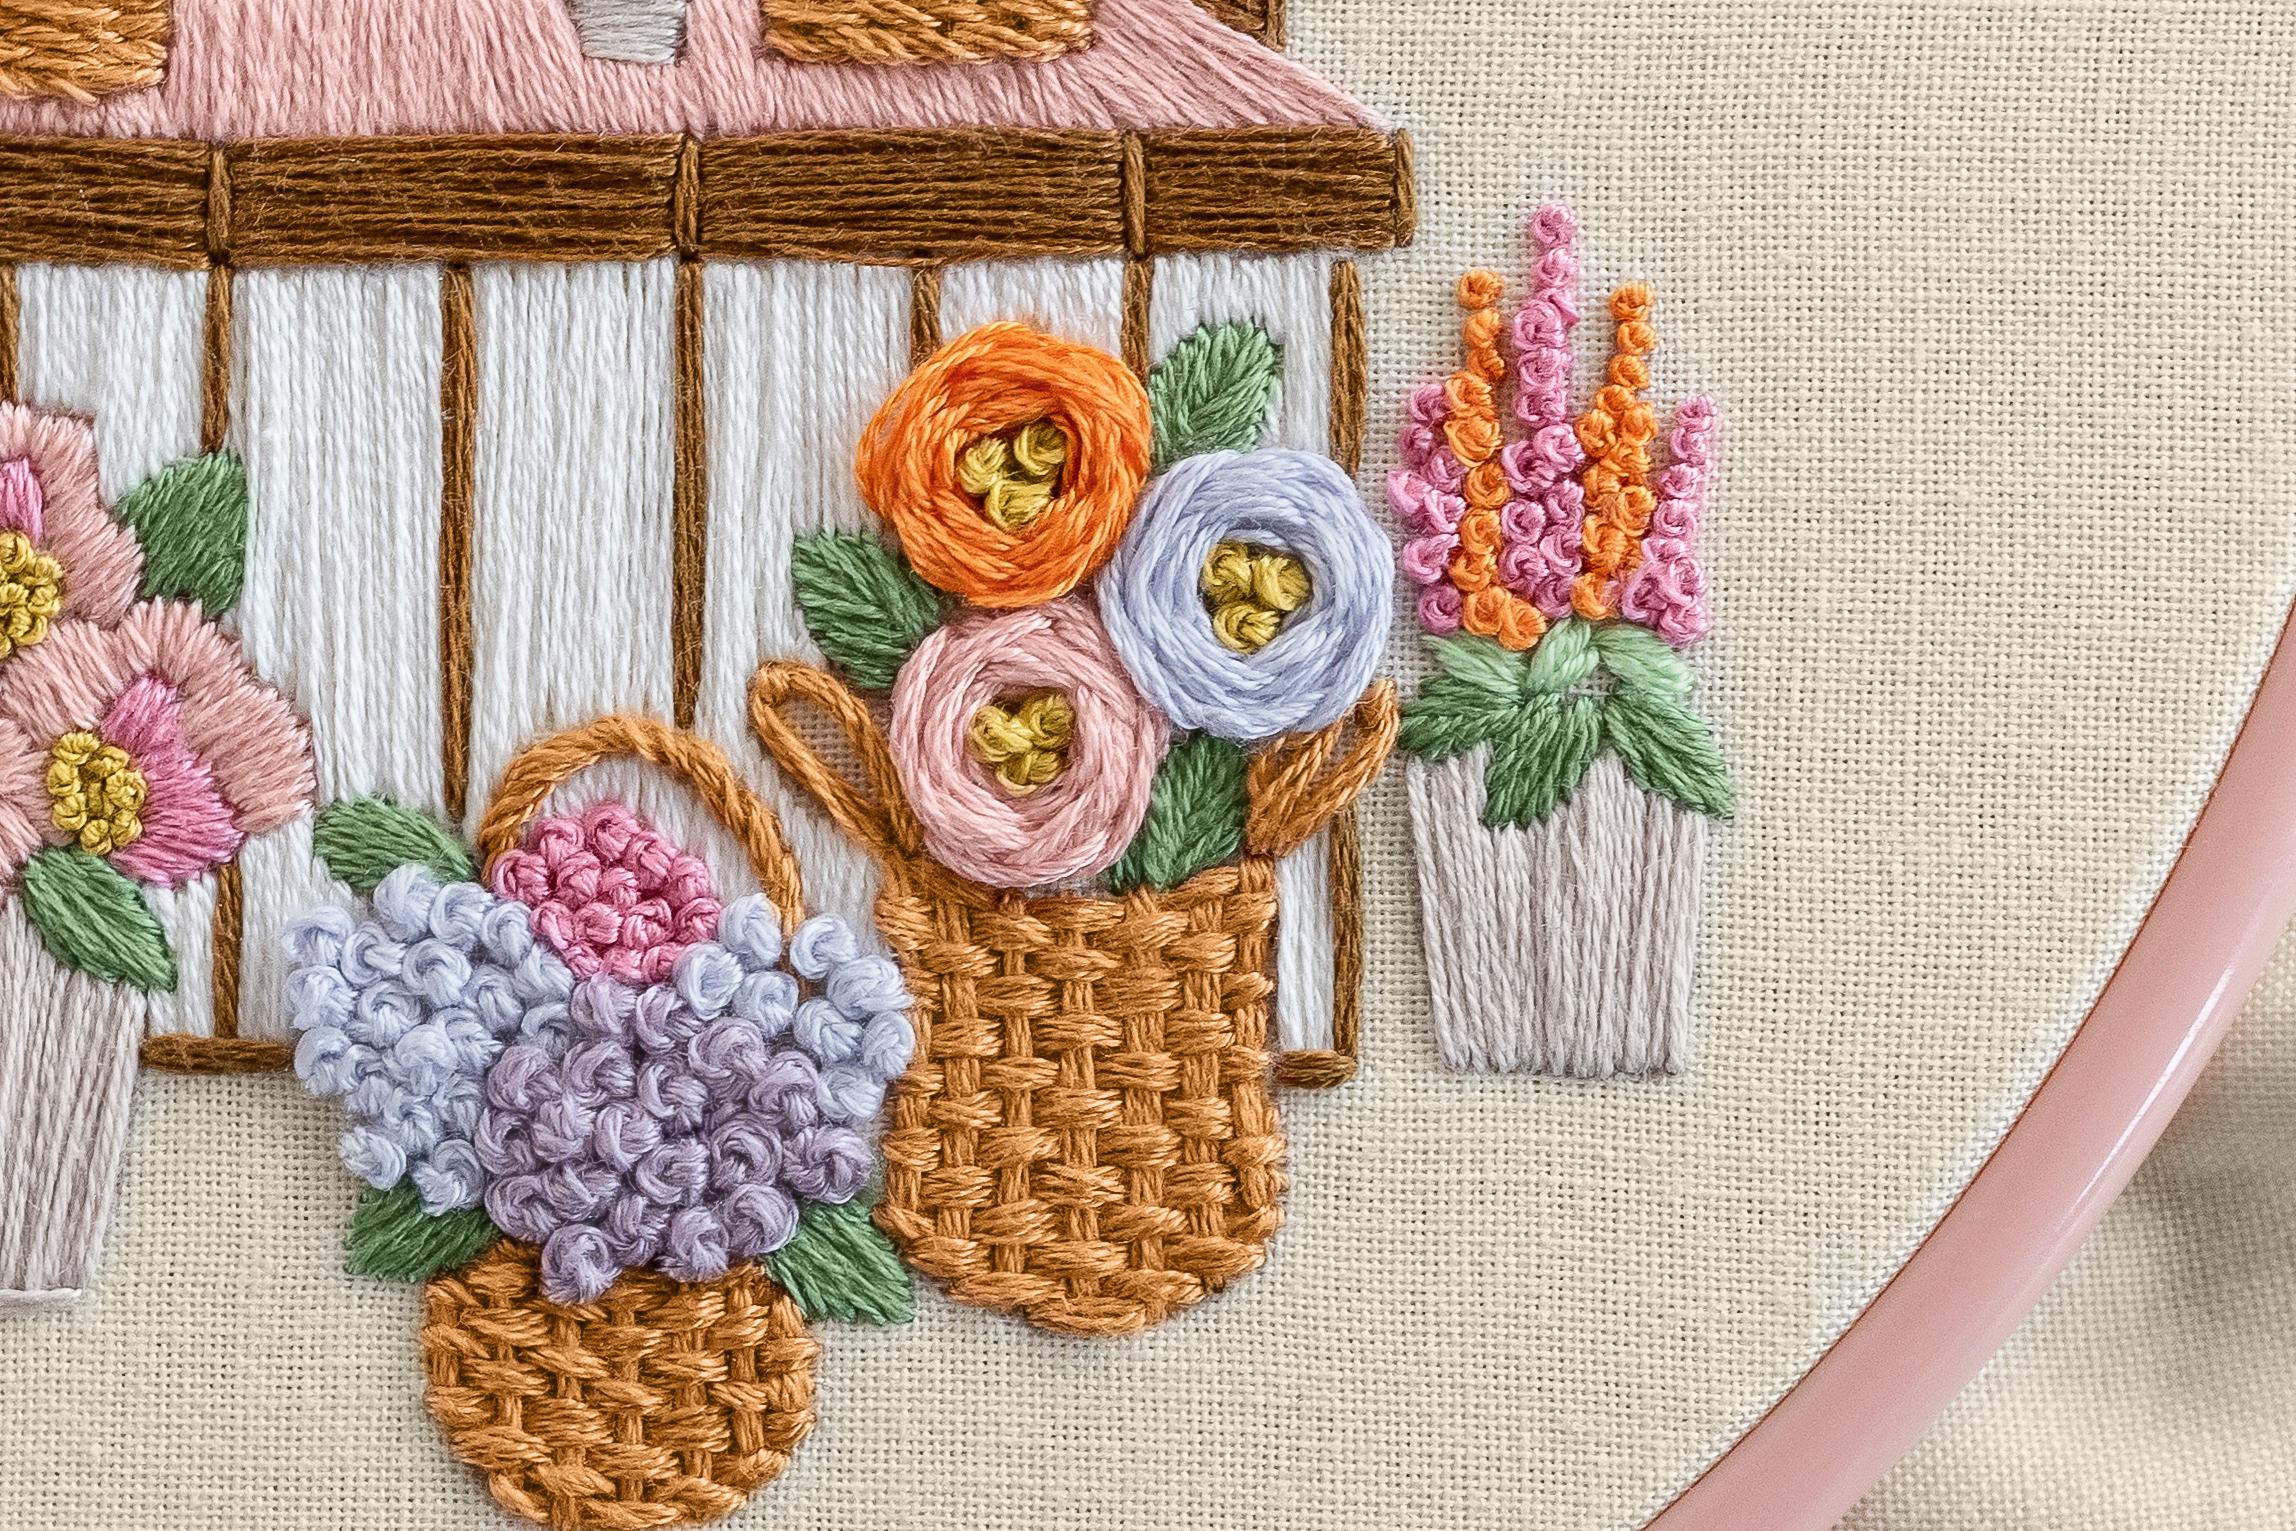
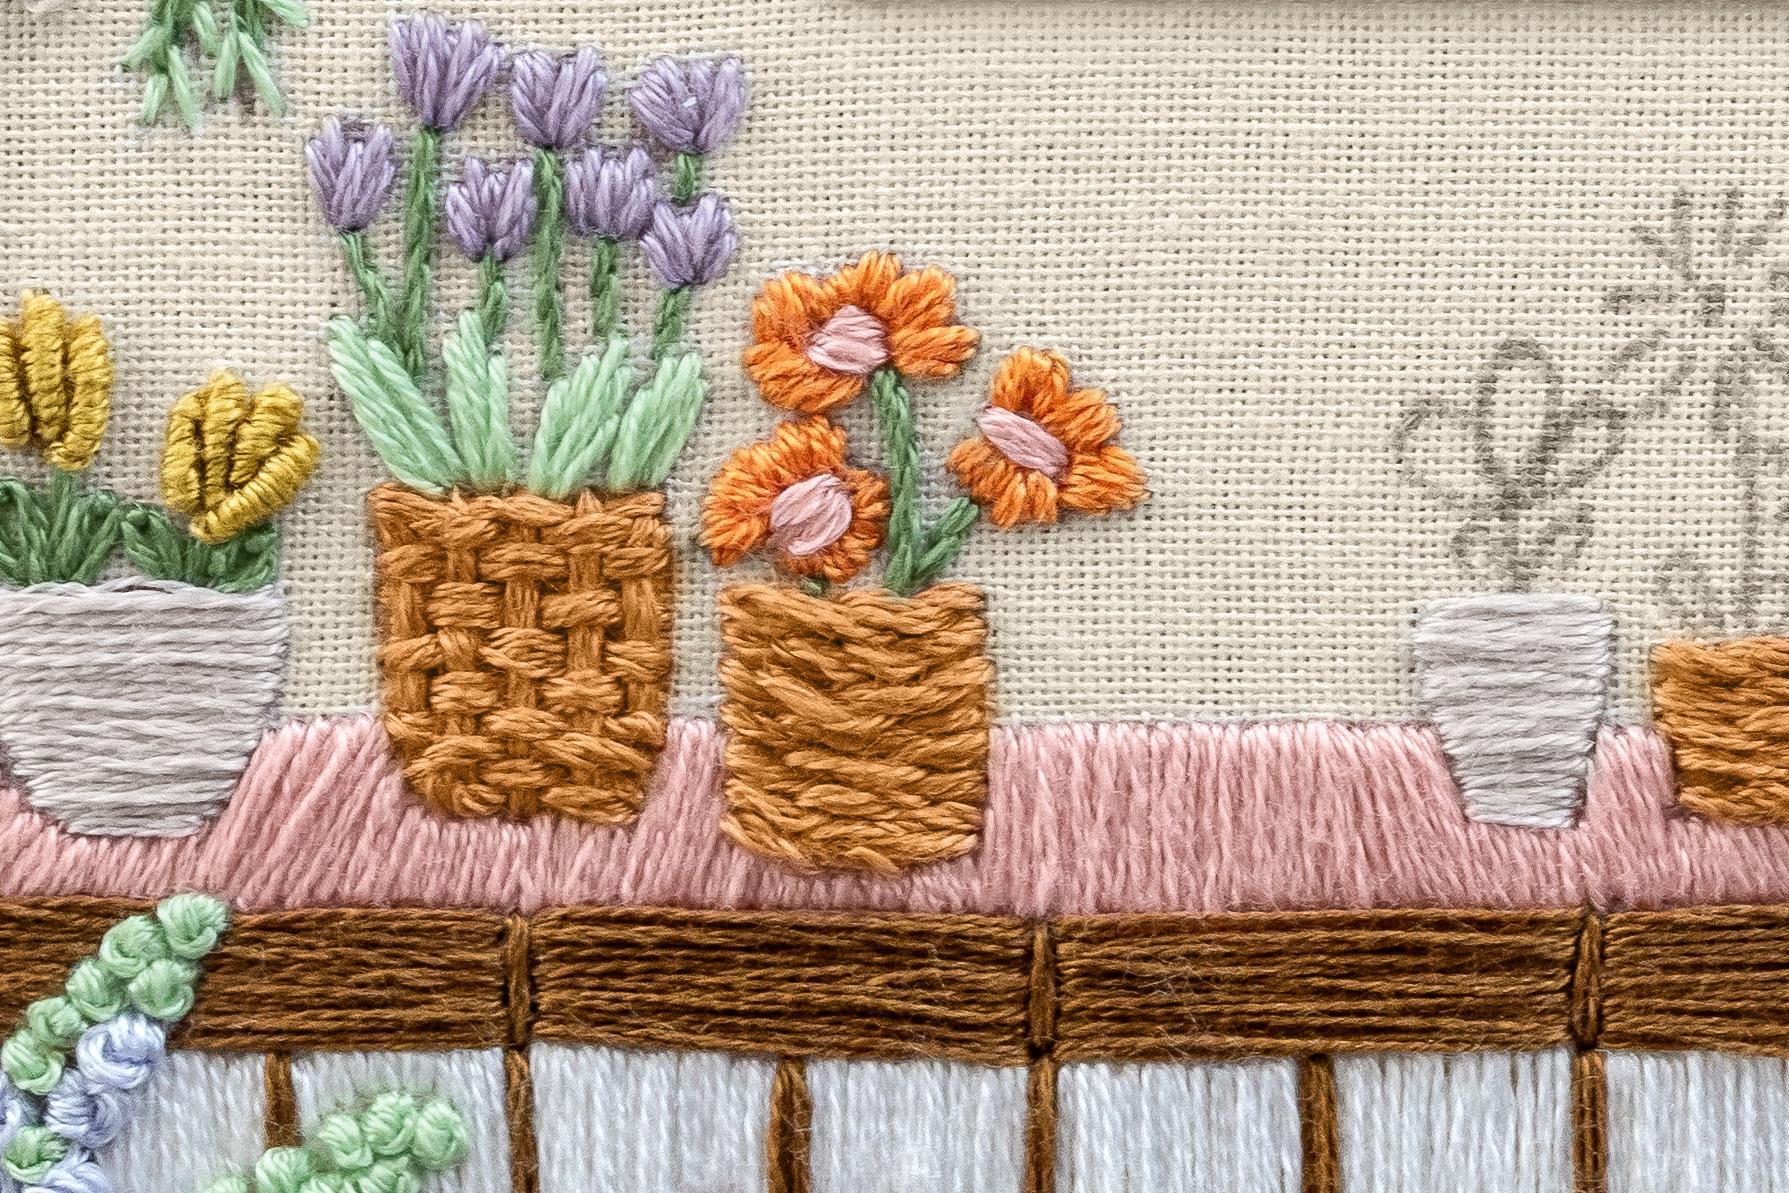
We've also used weave stitch in The Flower Stall, the very first design in our Market Stall Series.
See how it adds texture among all those gorgeous blooms? It's a lovely example of how a small area of woven stitching can lift a whole design.
Next Steps
We hope you feel really confident about weave stitch now! It looks impressive and quite technical, but as you've seen it's just two simple stages – lay your vertical threads, then weave over and under, alternating each row.
So there you have it, a gorgeous textured filler stitch to add to your collection! The final look can vary significantly depending on the spacing of your stitches and the thickness of your floss, so it's endlessly adaptable.
Have a play, experiment with it, and see what you come up with!
What's next?
Our beginner embroidery kits are a favourite among new stitchers for their simple, step-by-step instructions and beautiful designs that make learning easy and fun. Whether you’ve been wanting to learn embroidery or are just searching for your next creative hobby. These kits are the perfect introduction to embroidery.
Why people love our beginner kits:
-
Everything you need is included: fabric, thread, hoop, and more!
-
Clear instructions to guide you every step of the way.
-
Gorgeous designs you’ll be proud to display.
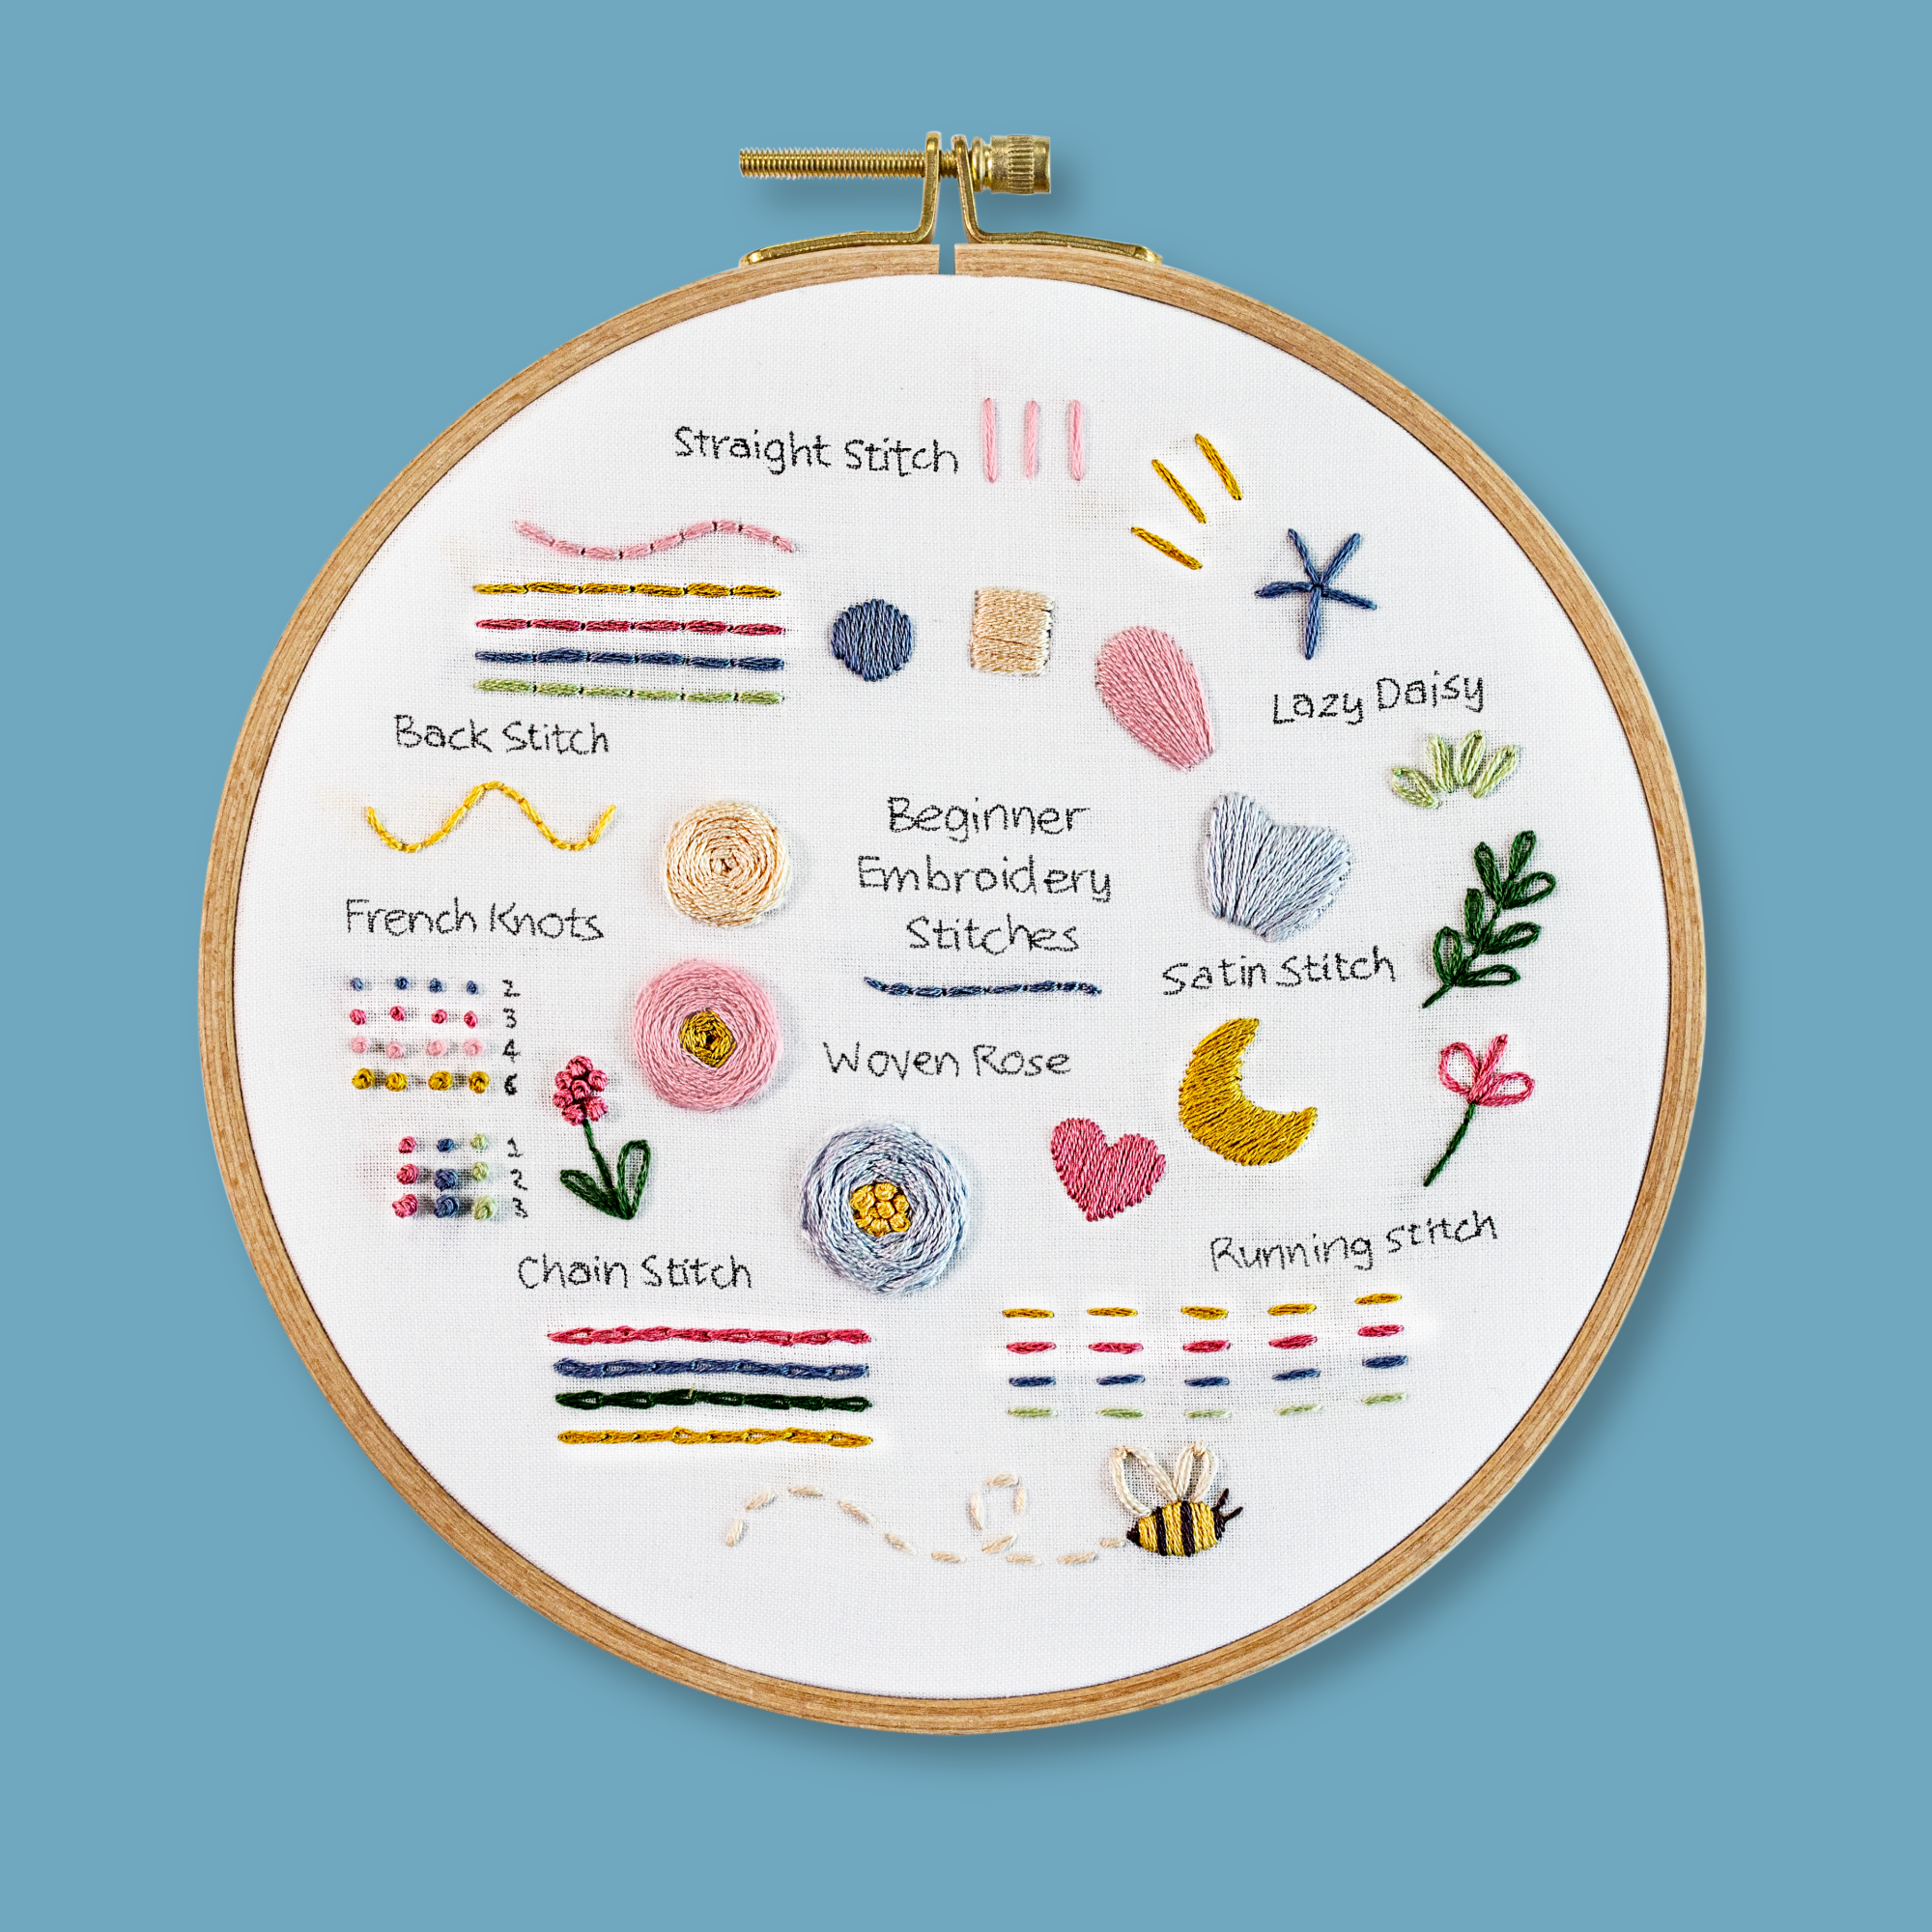
Our most popular beginner kits:
P.S. Have you checked out this blog yet, 'Learn Modern Embroidery for Beginners with this FREE Pattern?'
