

Finishing Your Hoop With a Fabric Back - Learn This Modern Embroidery Technique
Introduction
I thought it would be nice to teach you another option for finishing your hoop by adding a fabric back. This means your finished piece looks so lovely and tidy, and it’s perfect if you’re planning to gift or sell your hoops too. There are quite a few methods for doing this, and I’m sure you can experiment with beautiful fabrics. But I’ll keep it simple and teach you the method that I’ve done, with plain felt.
Before we start, you’ll need a hoop where the fabric is already pulled taut and secured at the back (just like we learnt in the ‘Finishing Your Hoop - Learn This Modern Embroidery Technique’ blog). Also, make sure your fabric is tight as a drum and that your hoop is screwed super tight when you do this. The hoop does come under a bit of pressure when you do this backing technique, so you don’t want to go to all this trouble and find out at the end that your fabric has come loose on the front (as I have learnt the hard way).
Ok, here we go!
Step 1.
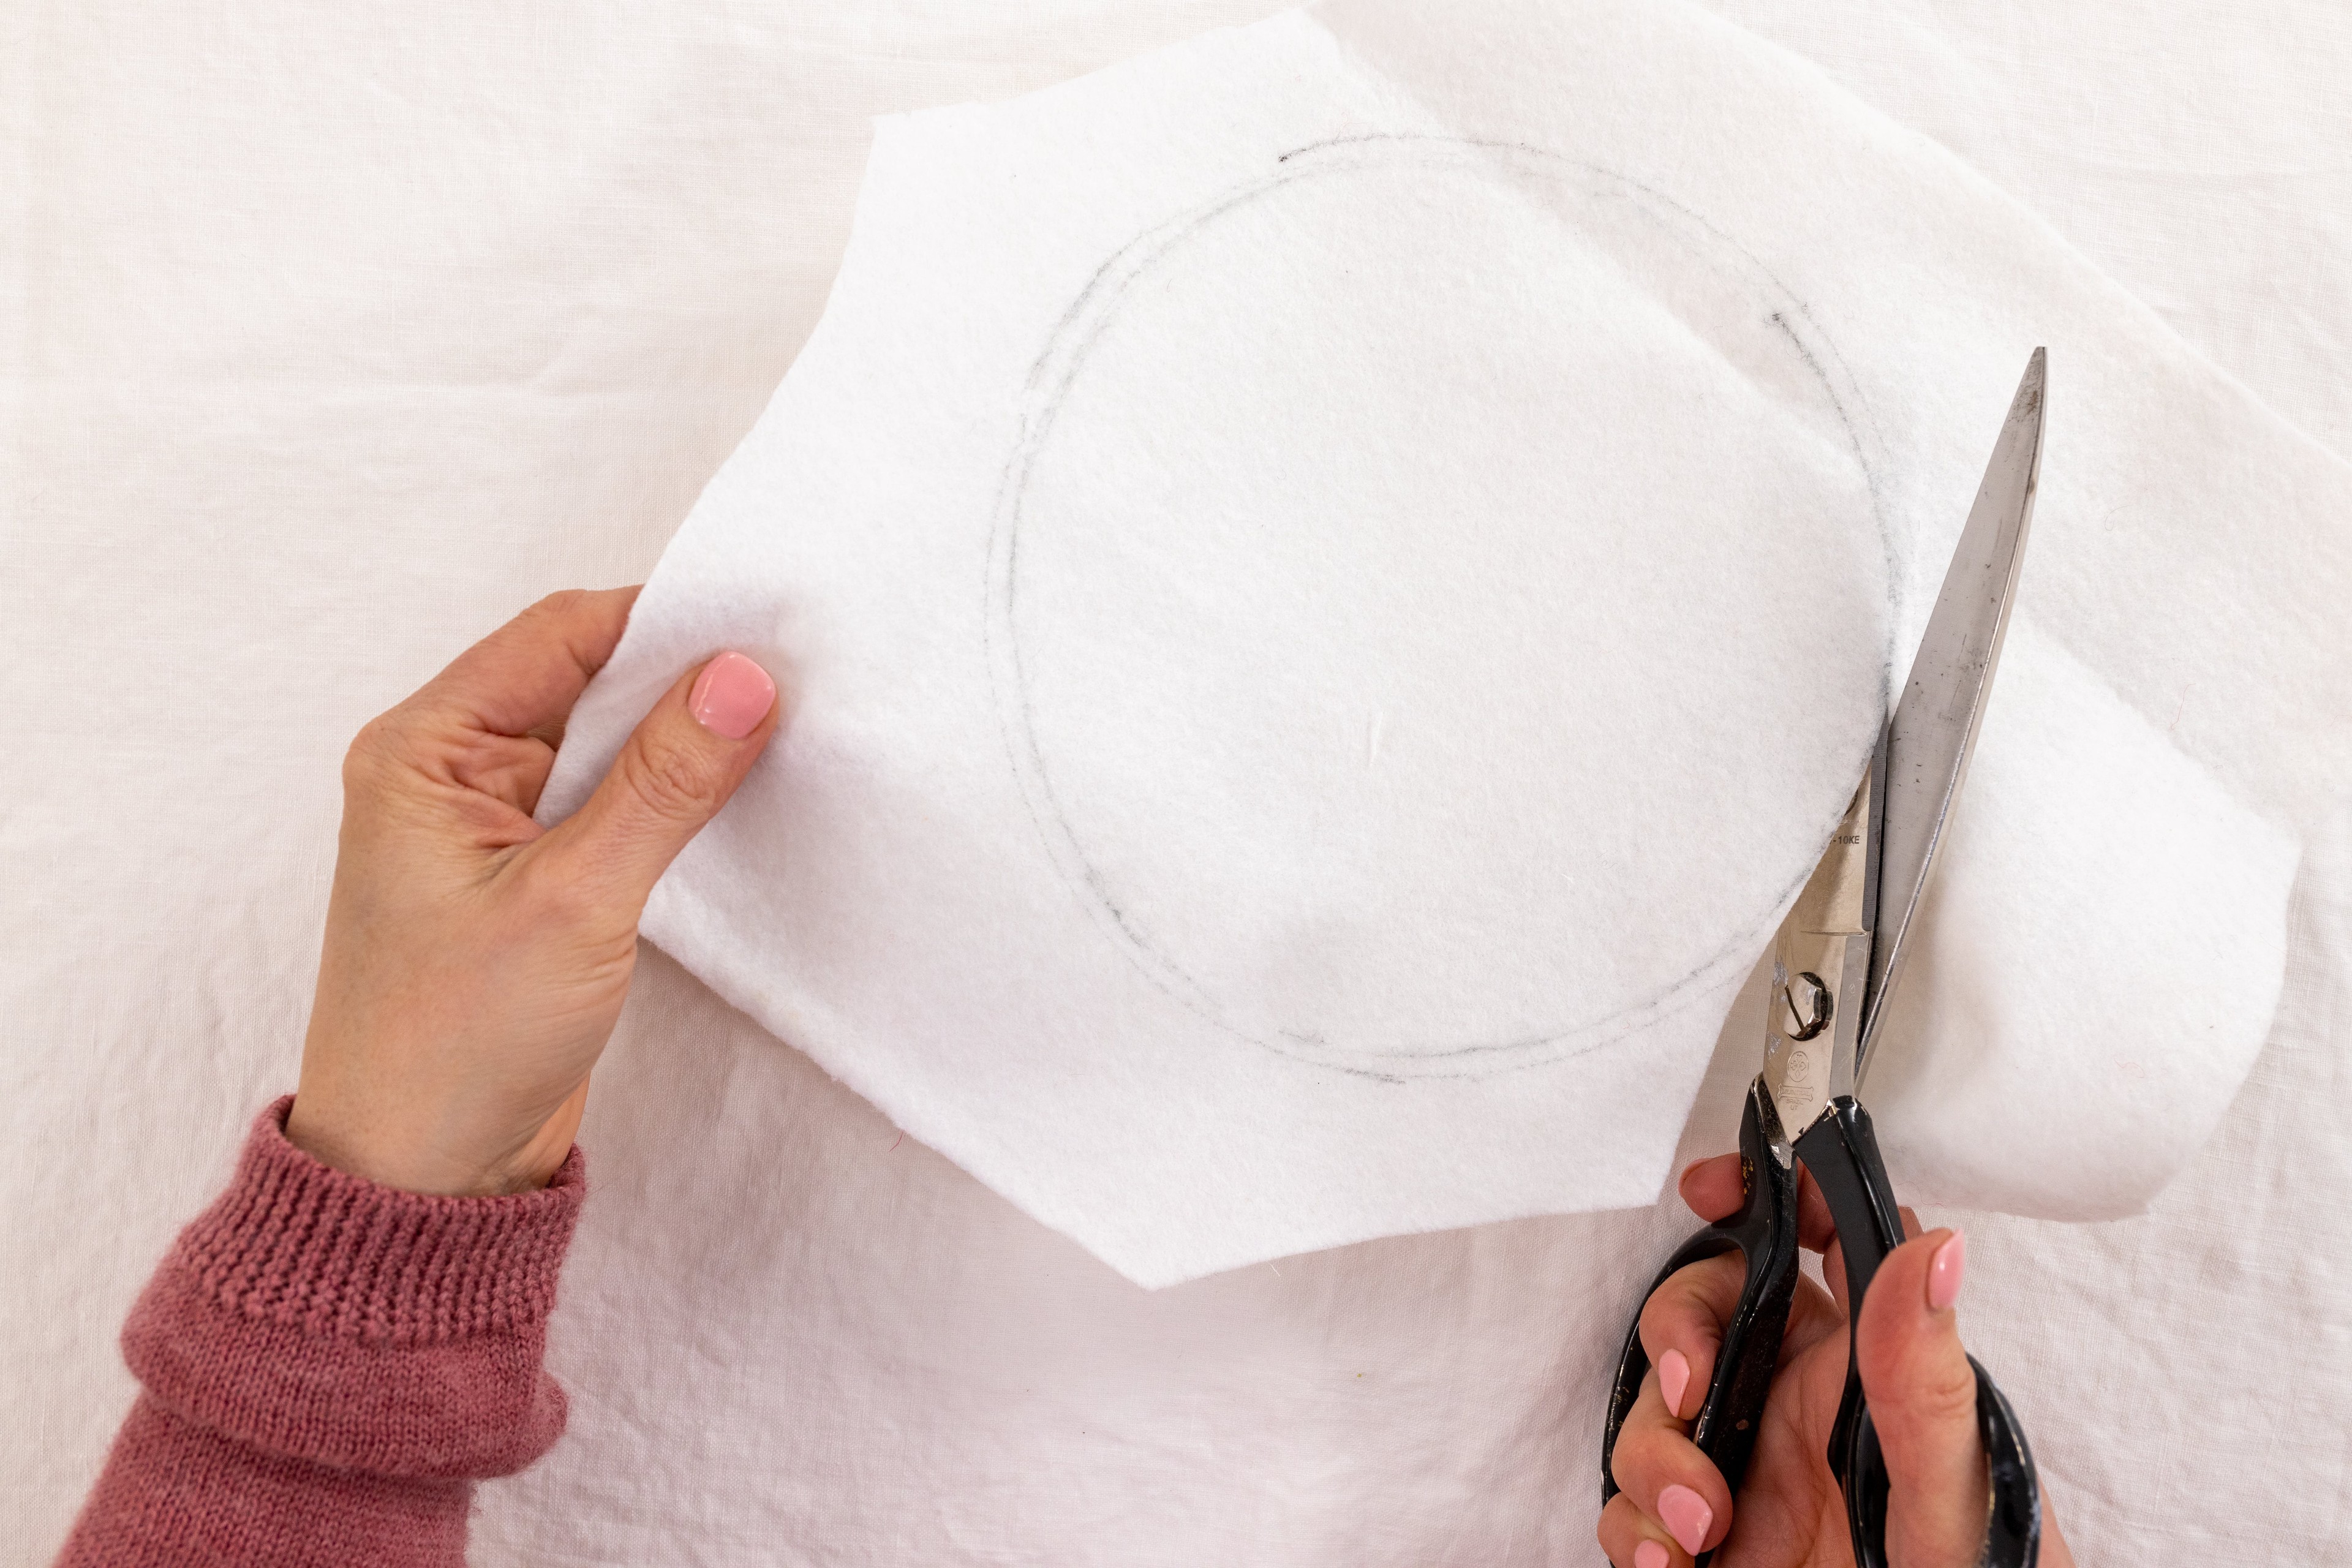
Cut out a round piece of felt, that will fit nicely in your hoop. You want the size to be just a little bit smaller than the inside of the outer hoop. If you remember, trace around the inside of the outer hoop and mark this on your felt, before you fit your fabric inside it.
If your fabric is already secured inside the hoop you want to finish, then you won’t be able to do that. Instead, you can lay your finished hoop on the felt and trace around it. Then visually draw a line inside that you think matches the inside edge. That’s the line you need to cut out.
Step 2.
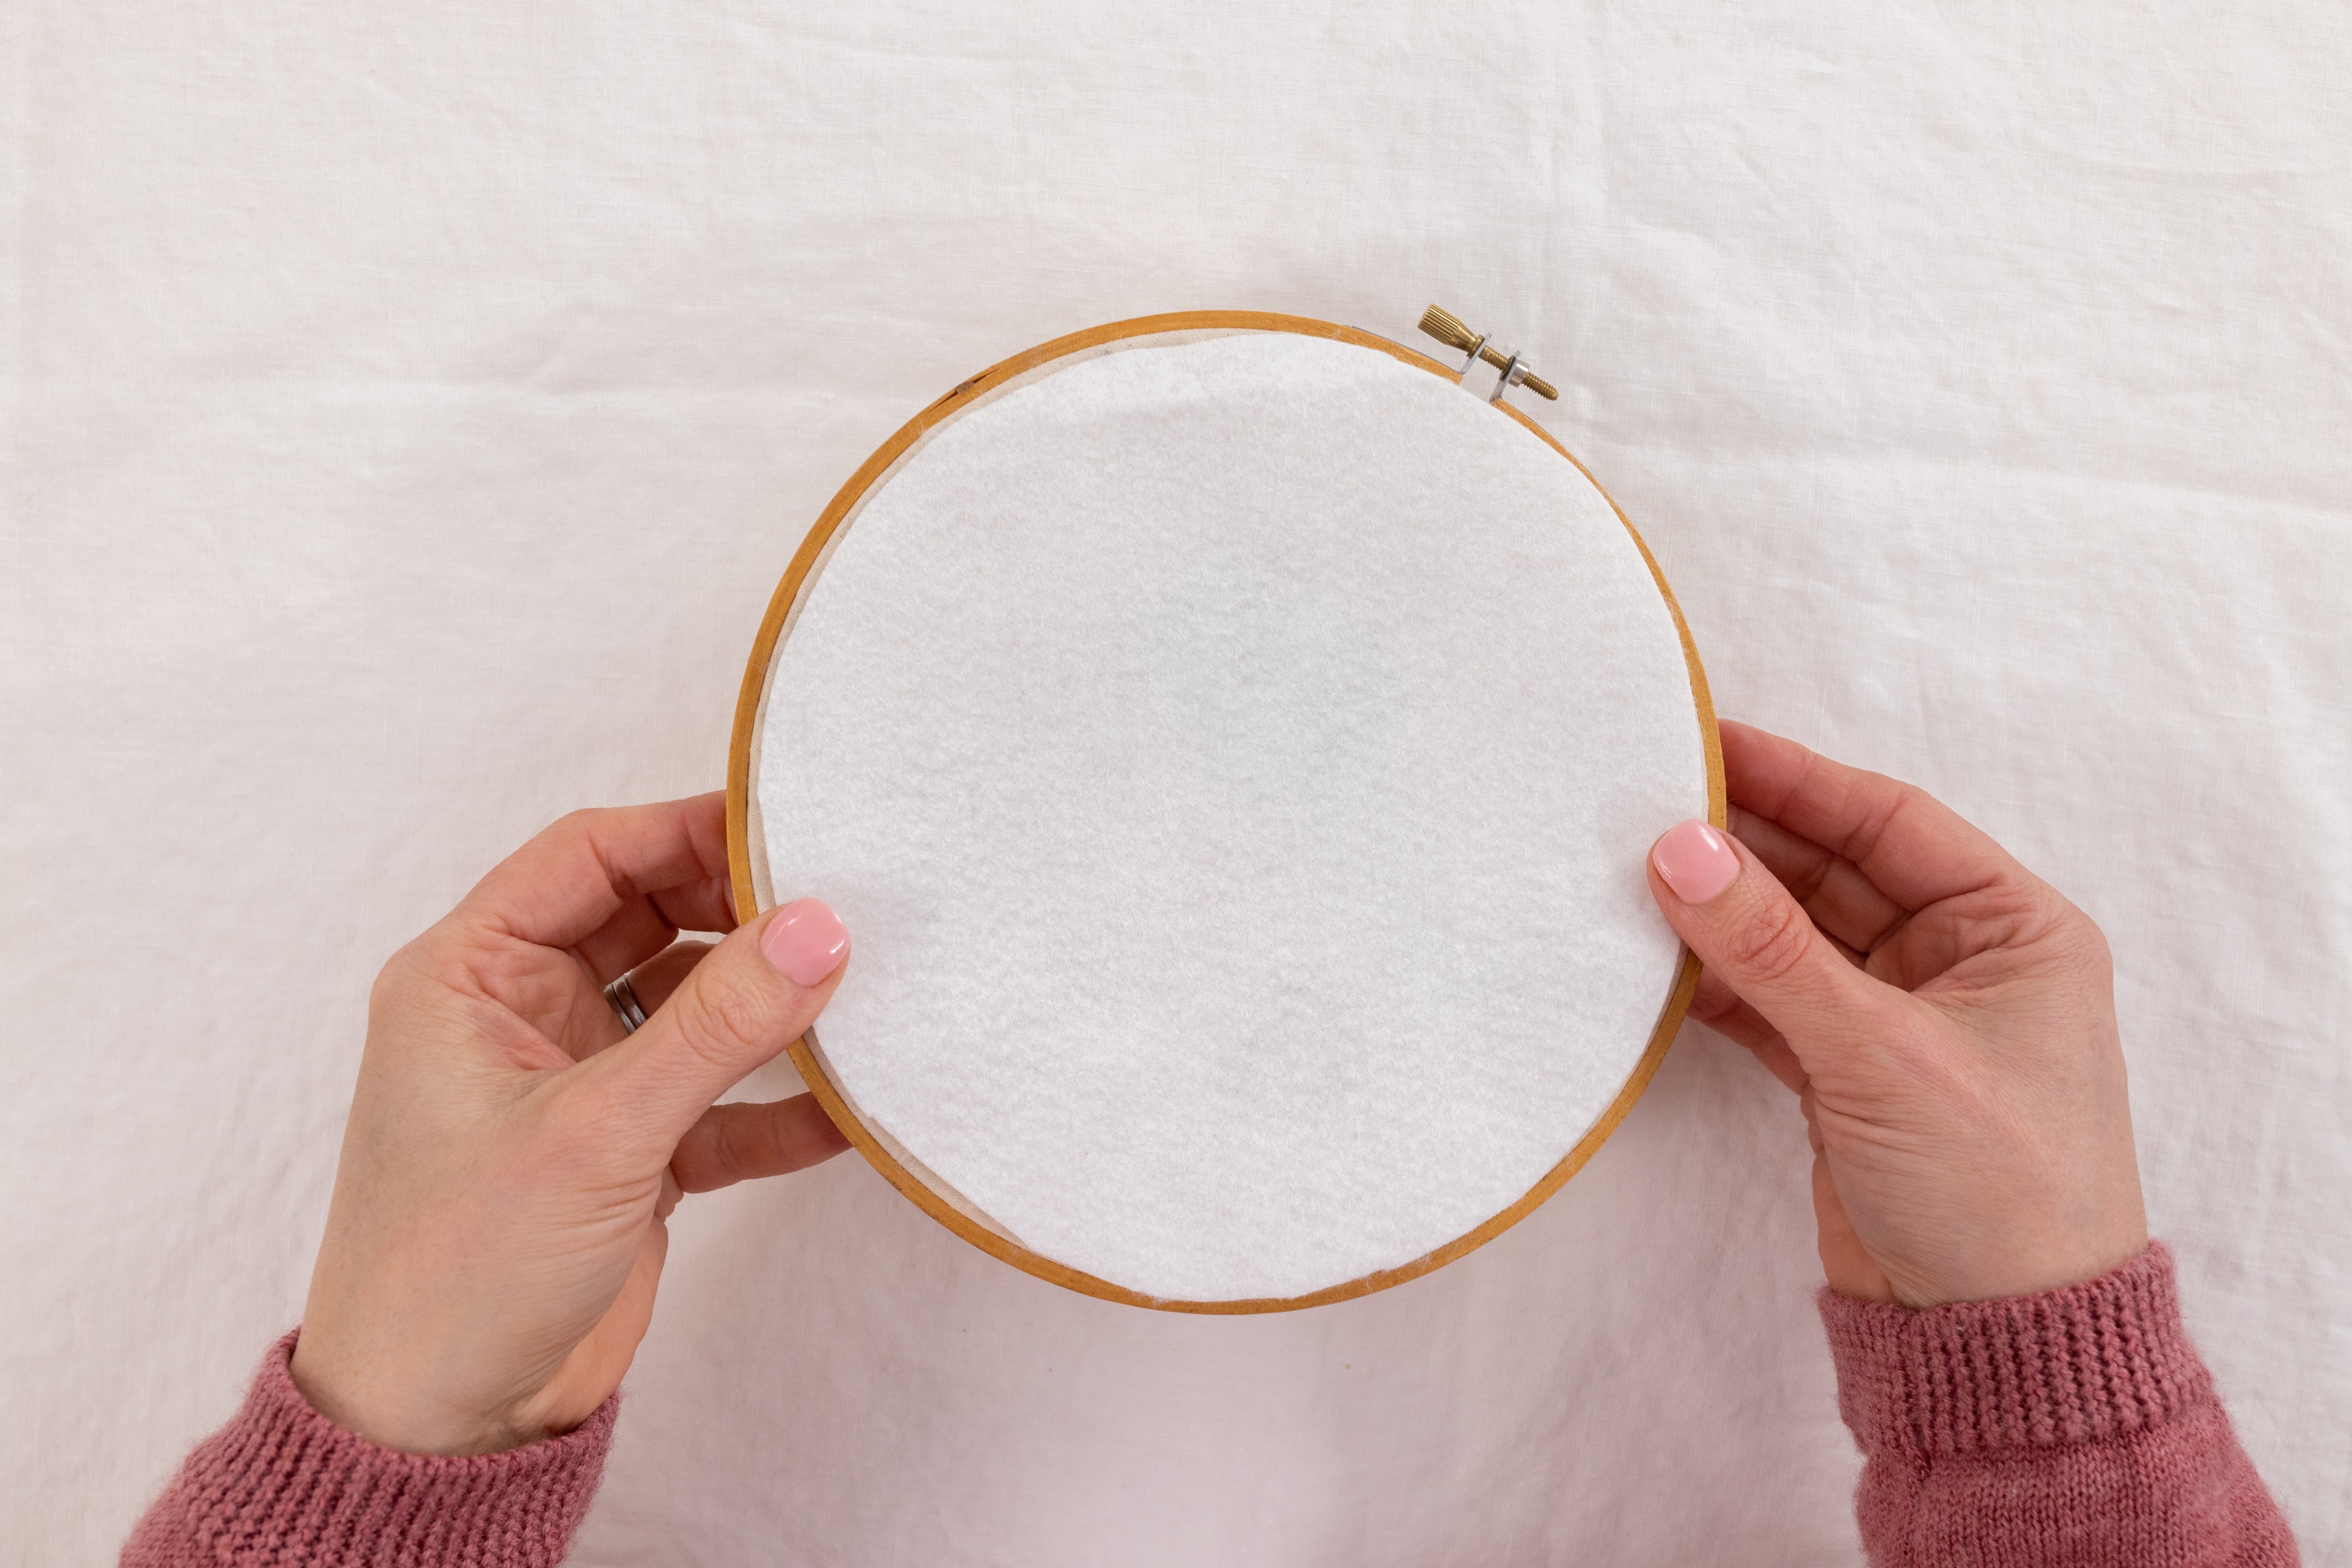
Now hold your piece of felt up against the back of the hoop, checking that it lines up just inside the outer hoop. If it’s too big, trim around it as necessary.
Step 3.
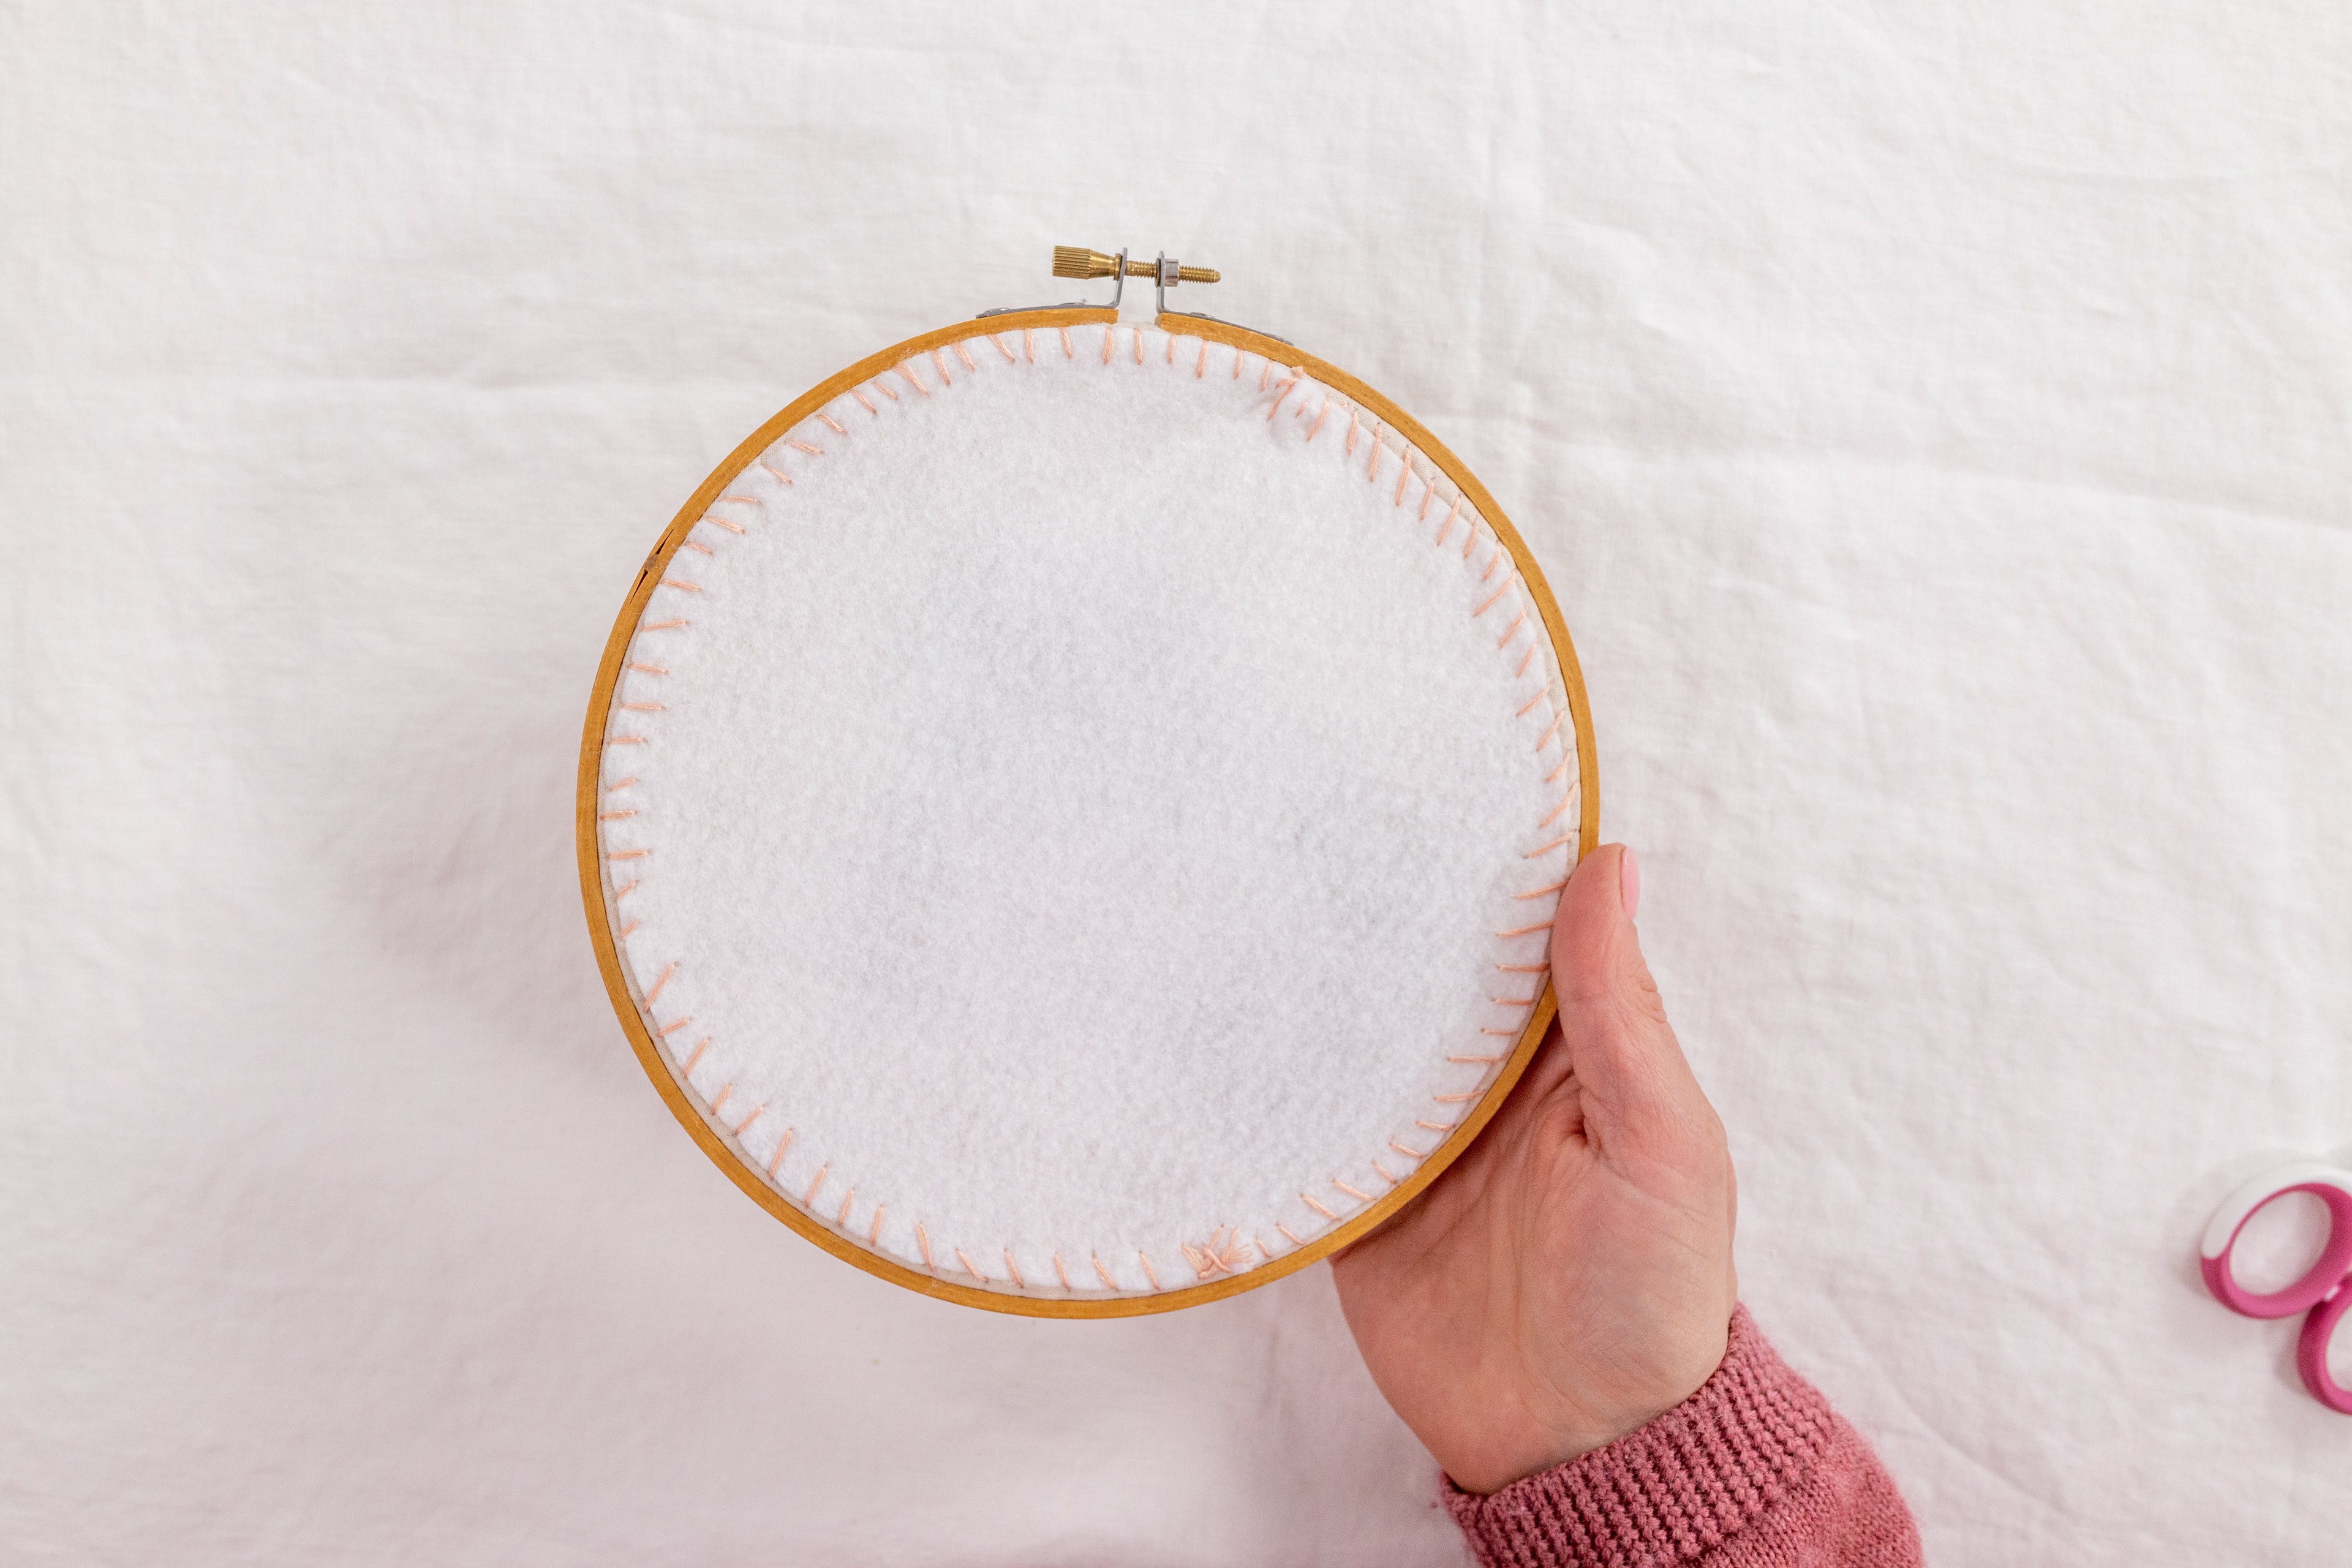
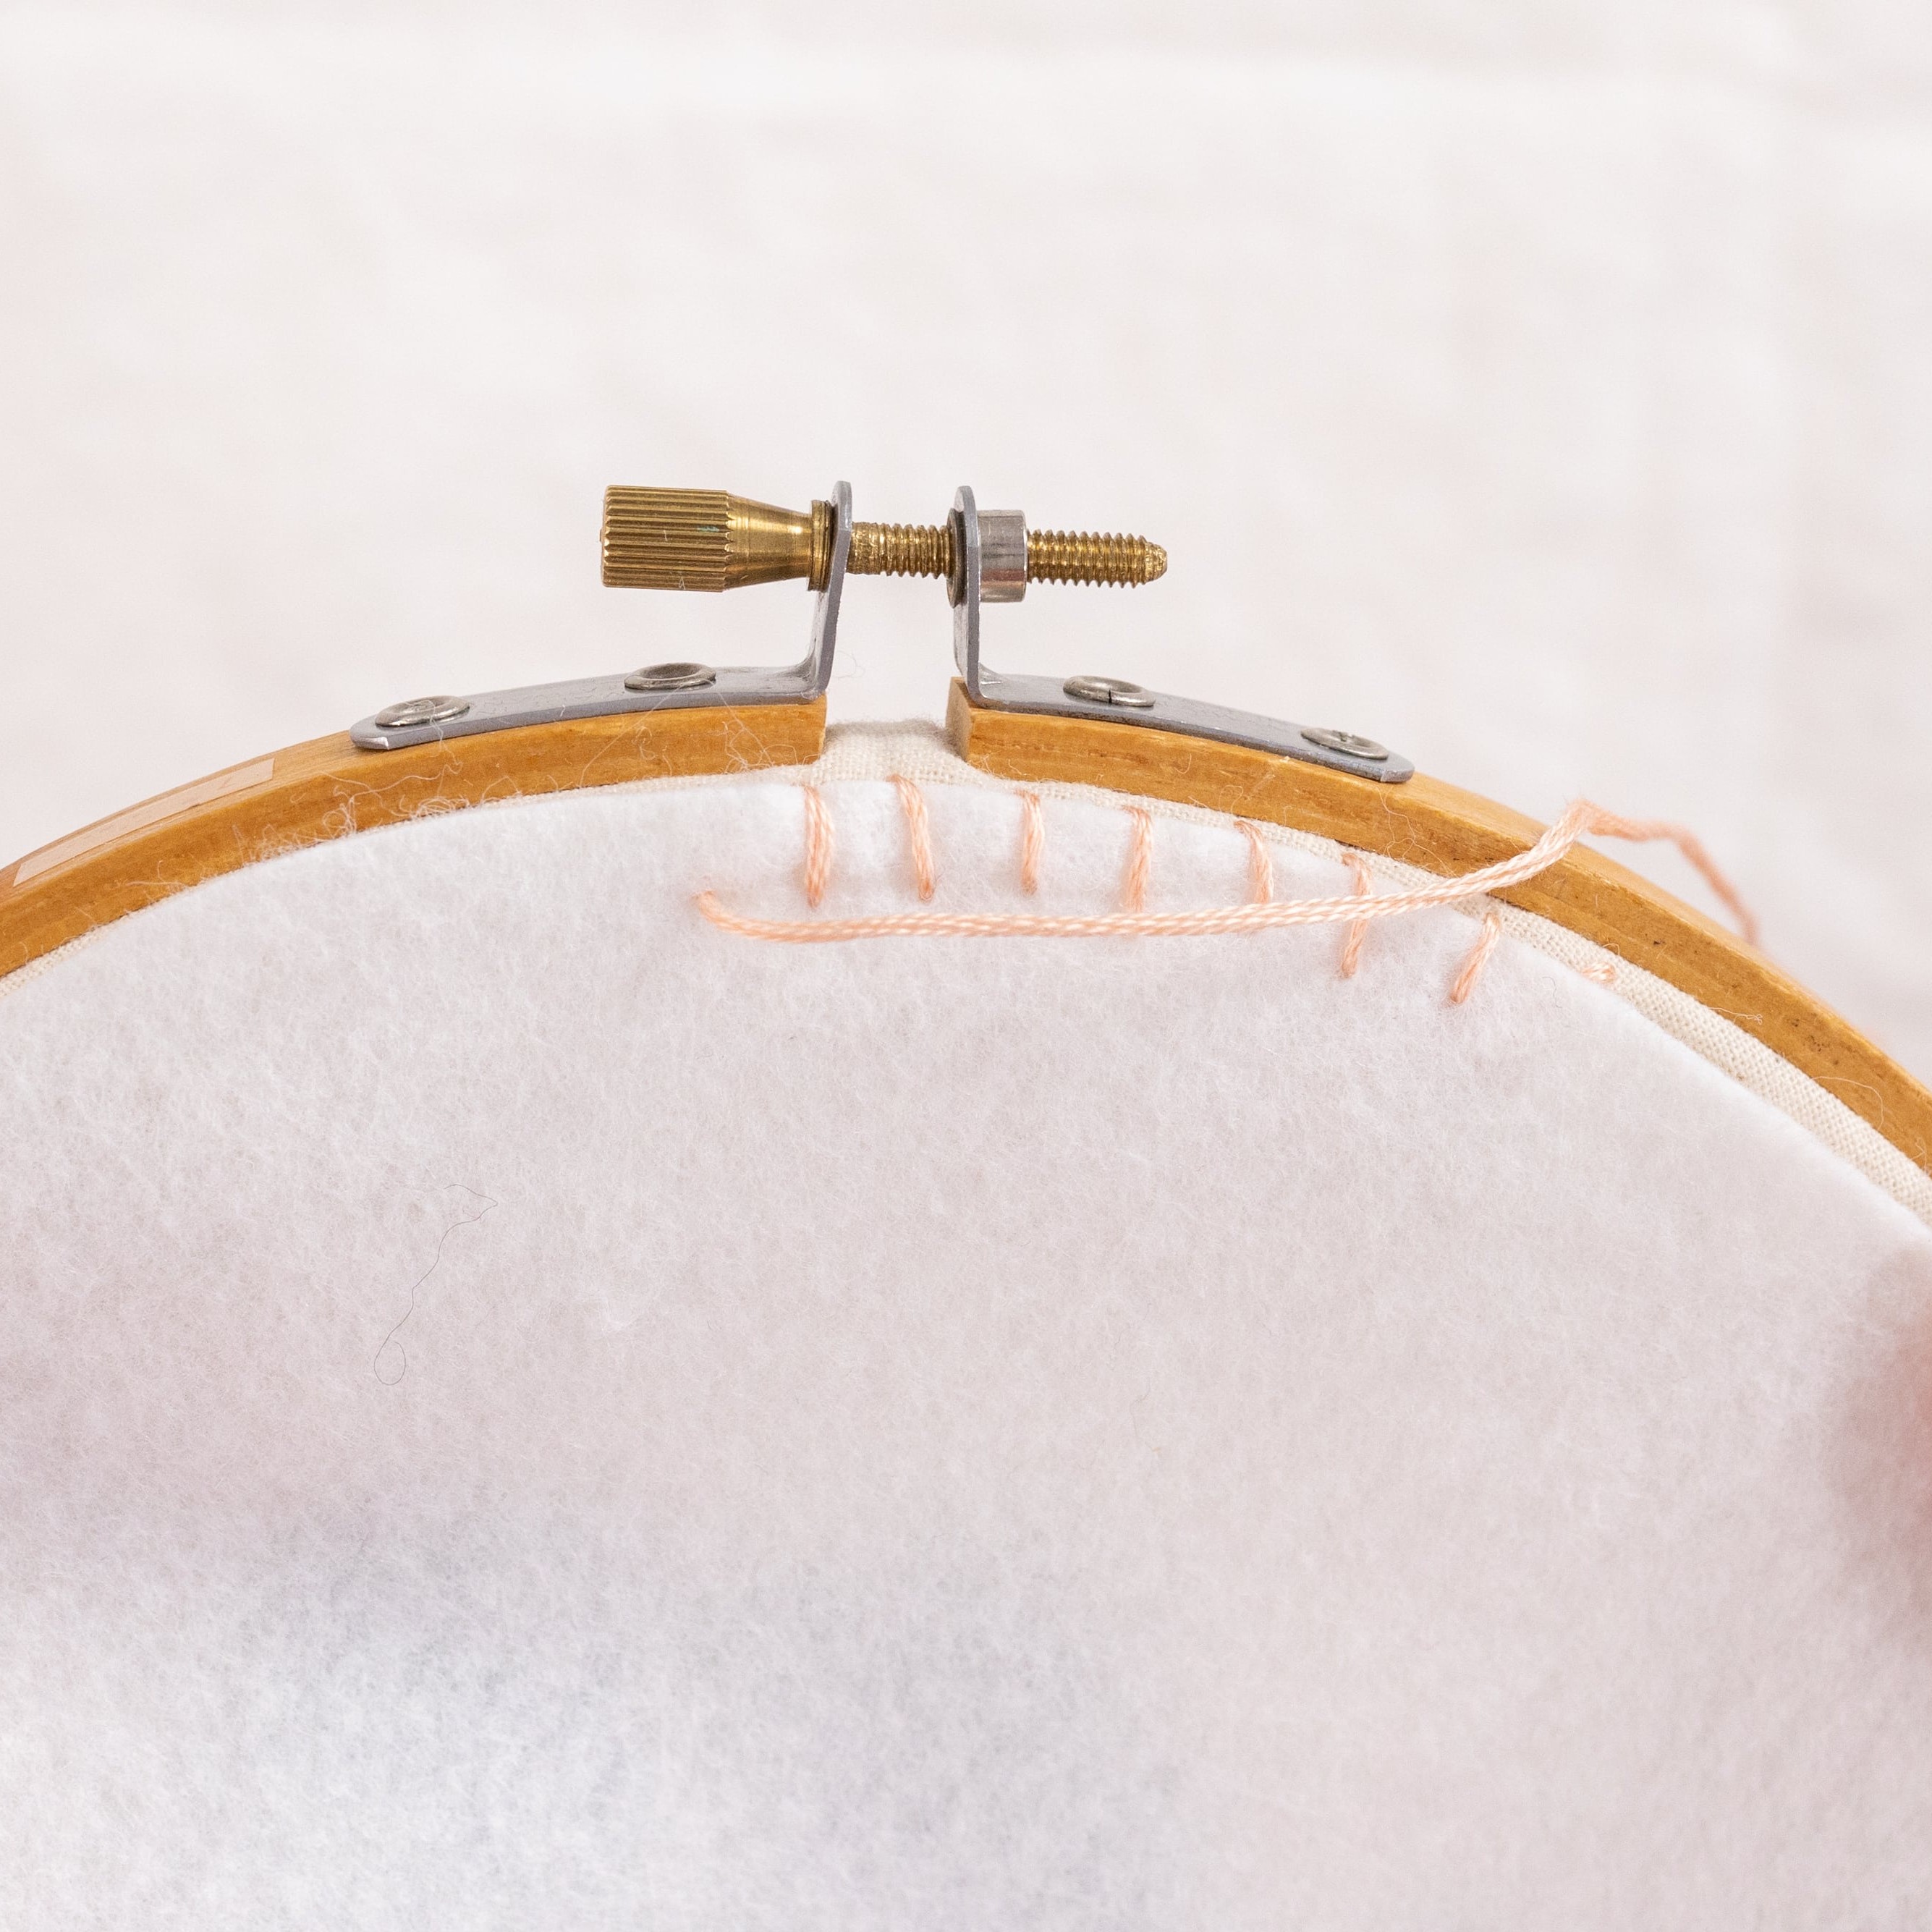
Once you’ve got about the right size piece of felt, it’s time to sew it onto the back of your hoop. We’ll do this by working a whip stitch around the entire hoop, to secure the felt to the fabric that’s already snugly fit into the hoop.
A. First, thread a needle and knot off the end.
B. Poke the needle up under the piece of felt, near an edge, but far enough in to hide the knot.
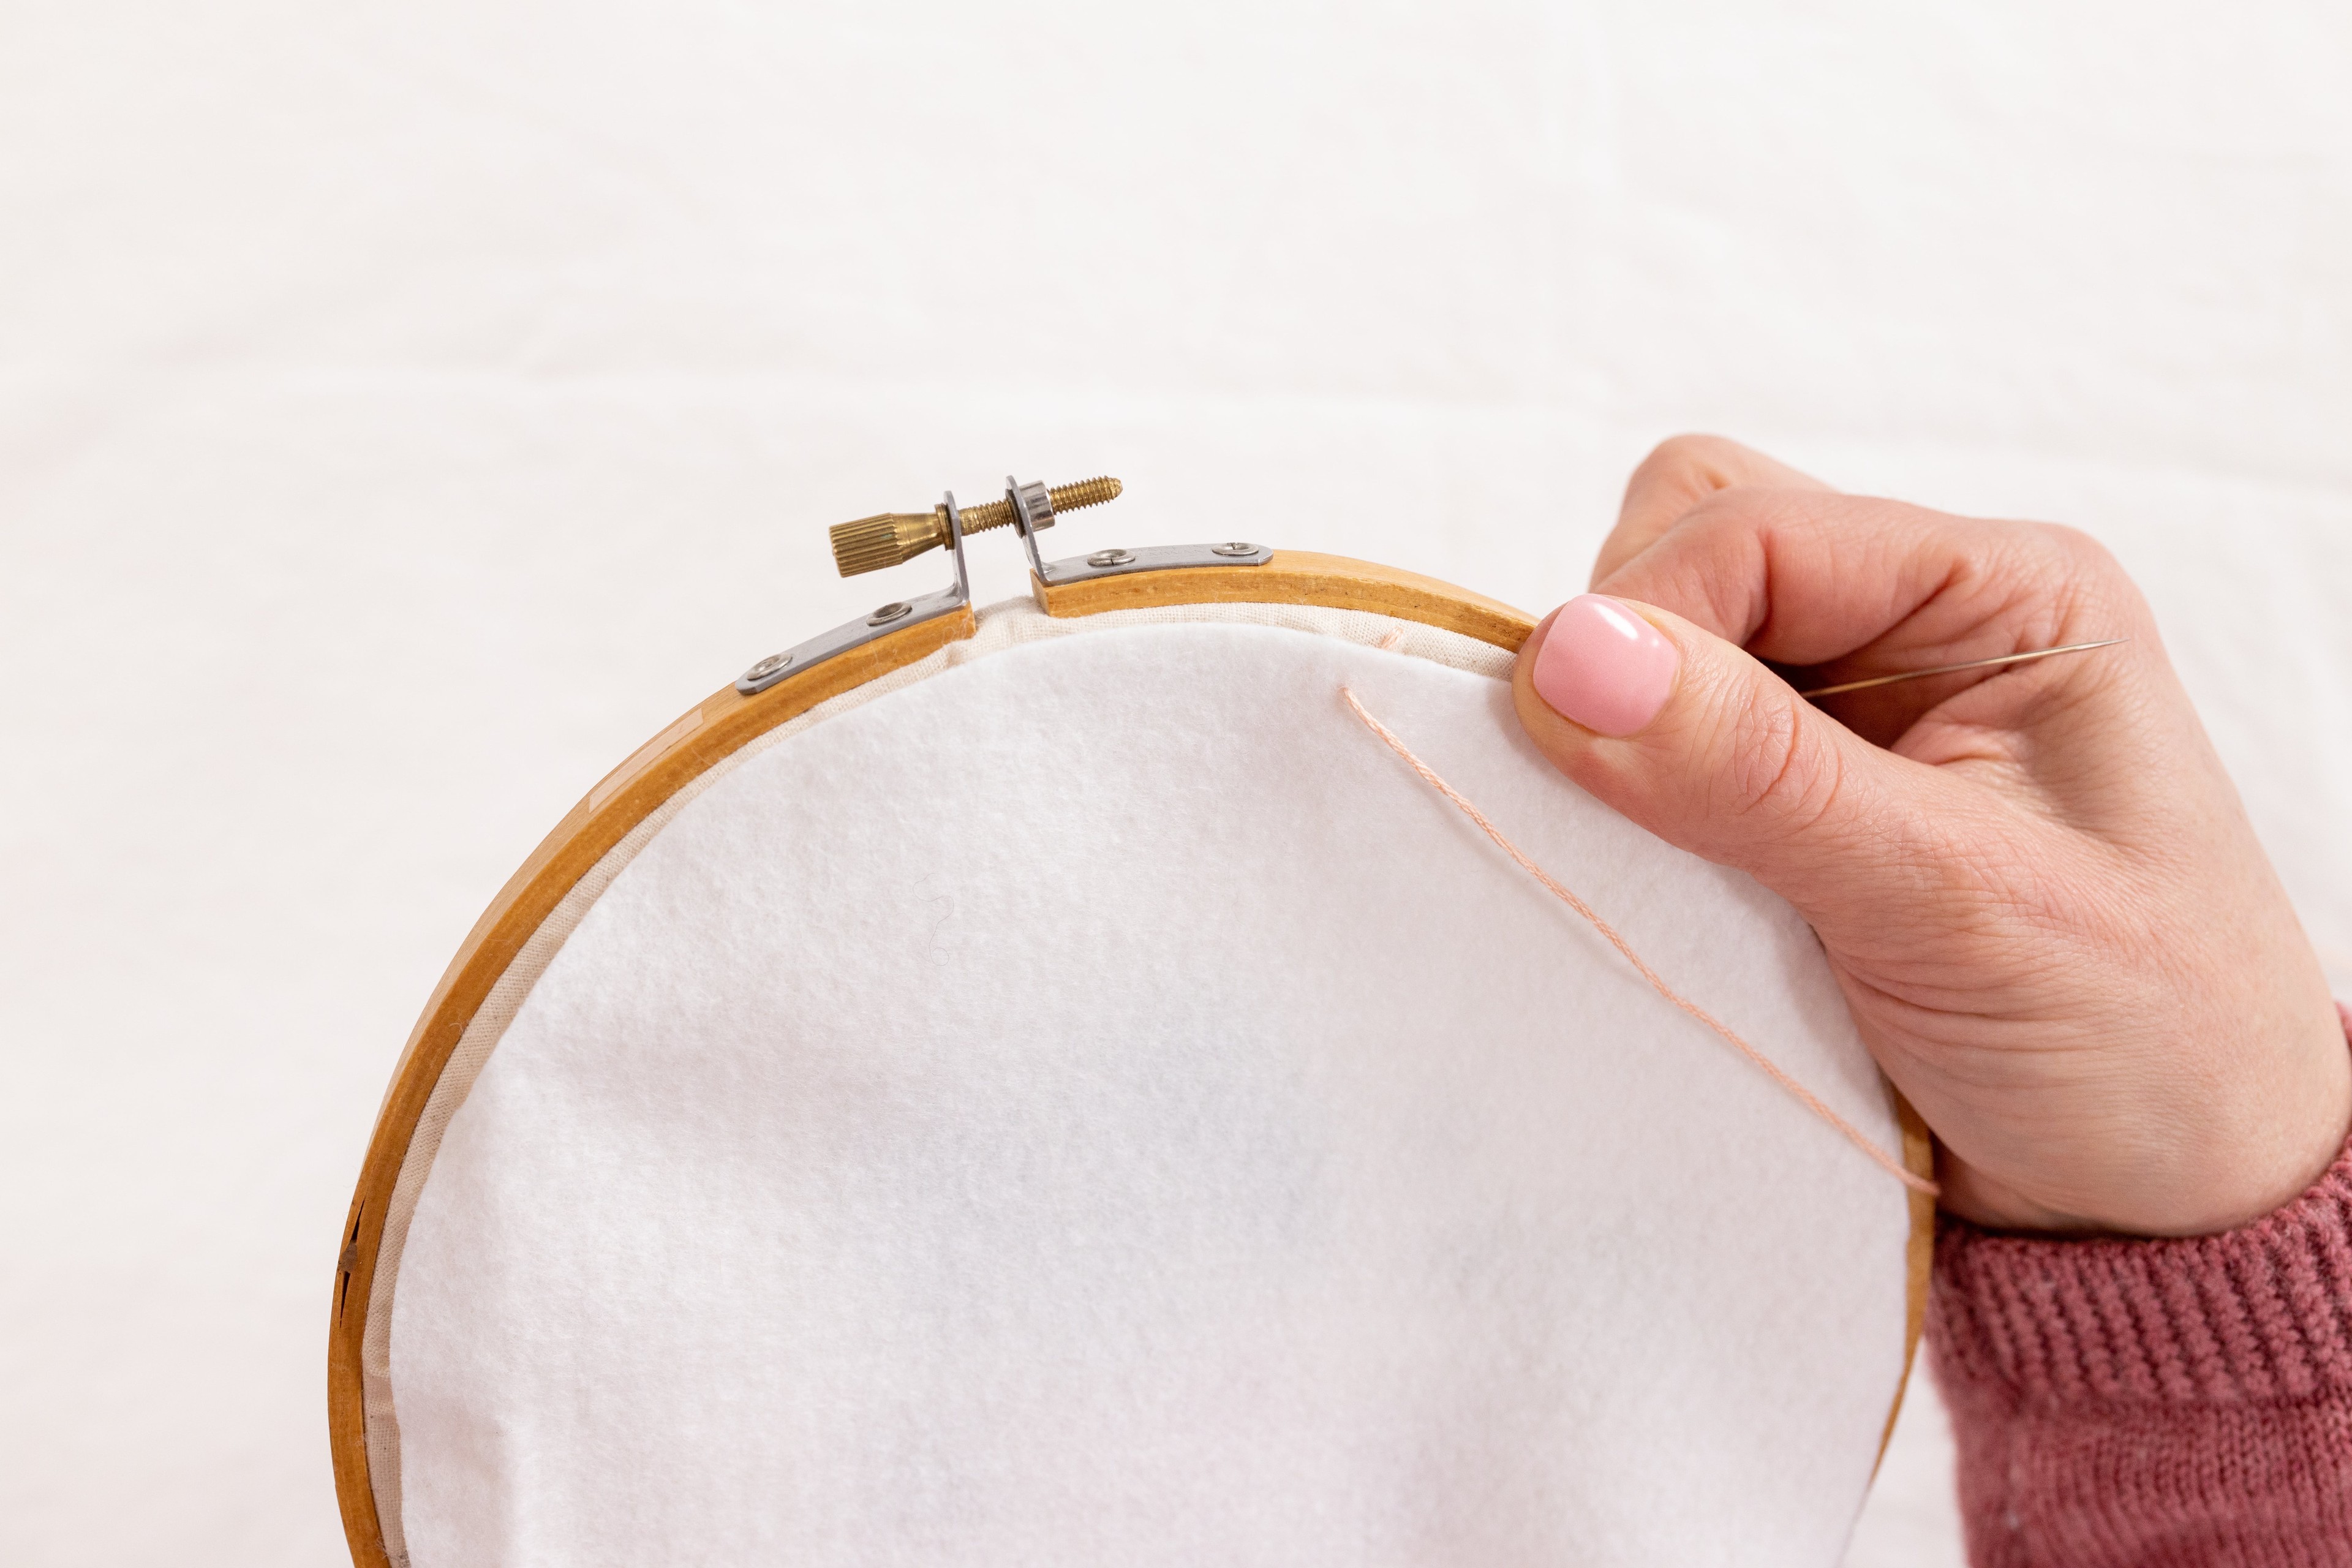
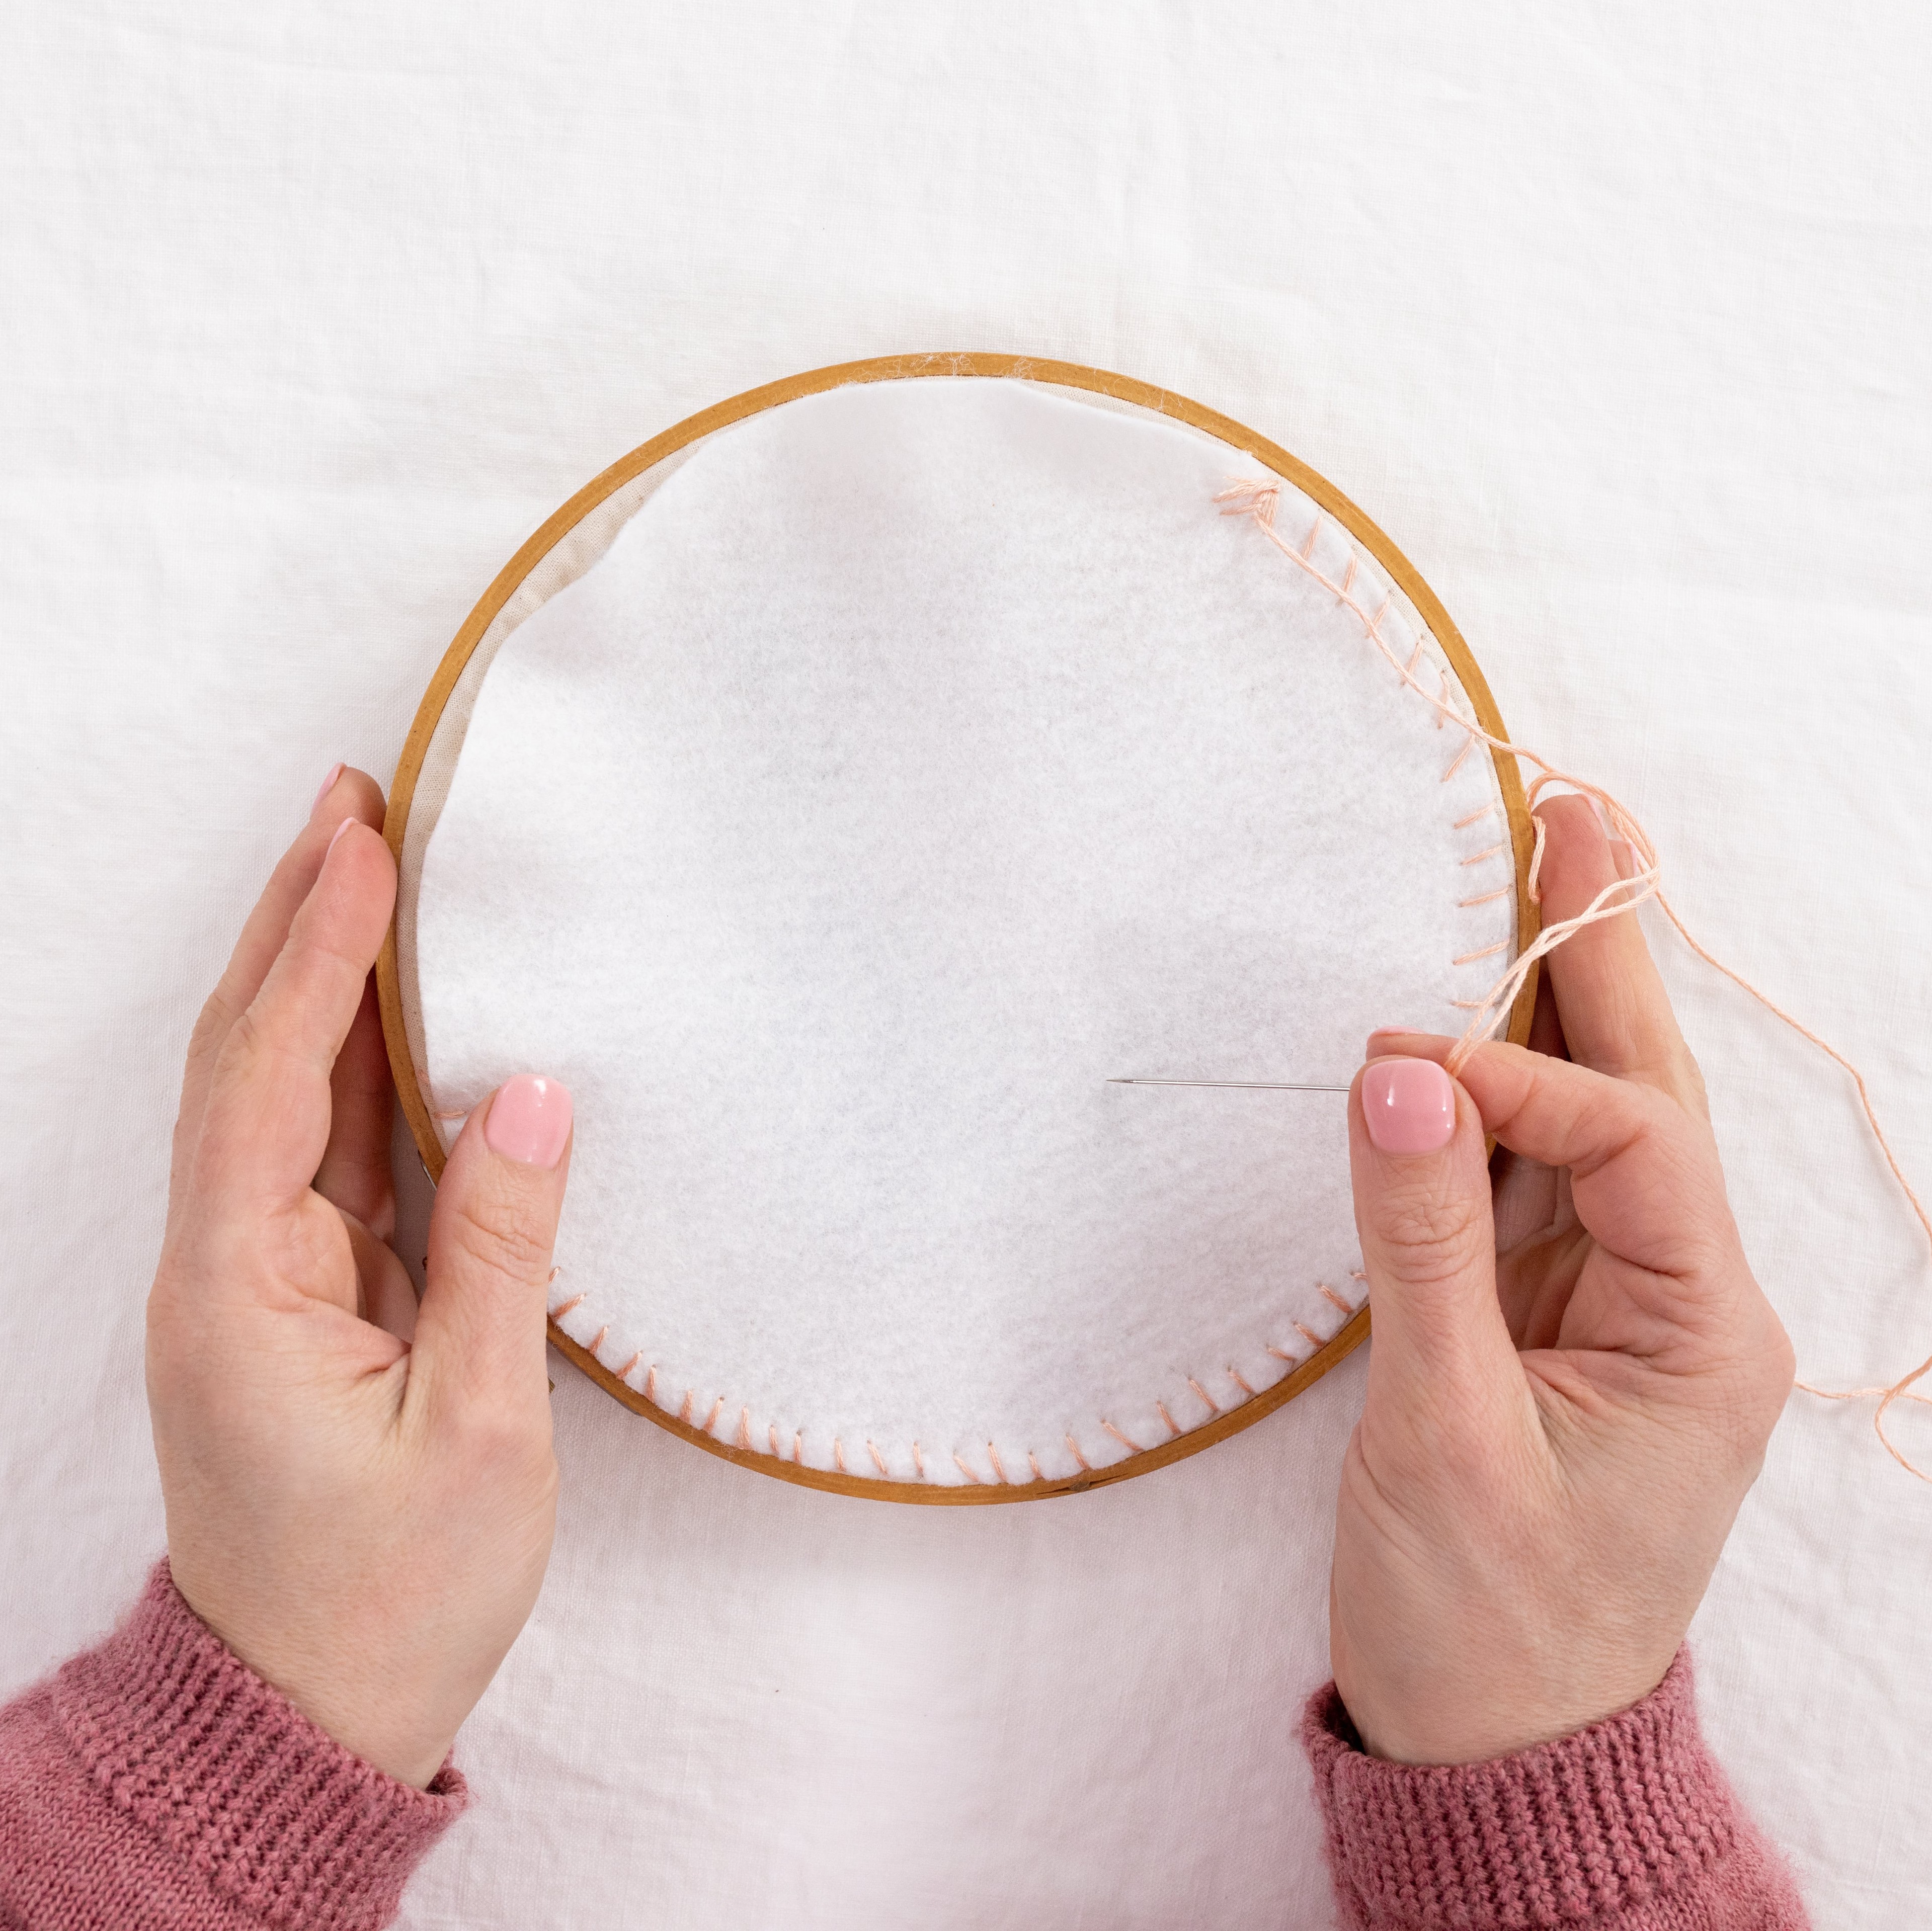
C. Now hold the felt securely against the hoop (see next image). Choose a spot to start, and poke your needle in from the side on an angle so that it scoops up the inside fabric near the edge, then comes up through the felt as well, finishing up on the top of the felt. Pull this tight.
D. Keep repeating this whip stitch and work your way all around your embroidery hoop. If you use the same angle and length stitches it will look even better. You will need to regularly check and position the felt so that it’s nice and centred and firm against the hoop. If your thread runs out, knot it off and start a new thread.
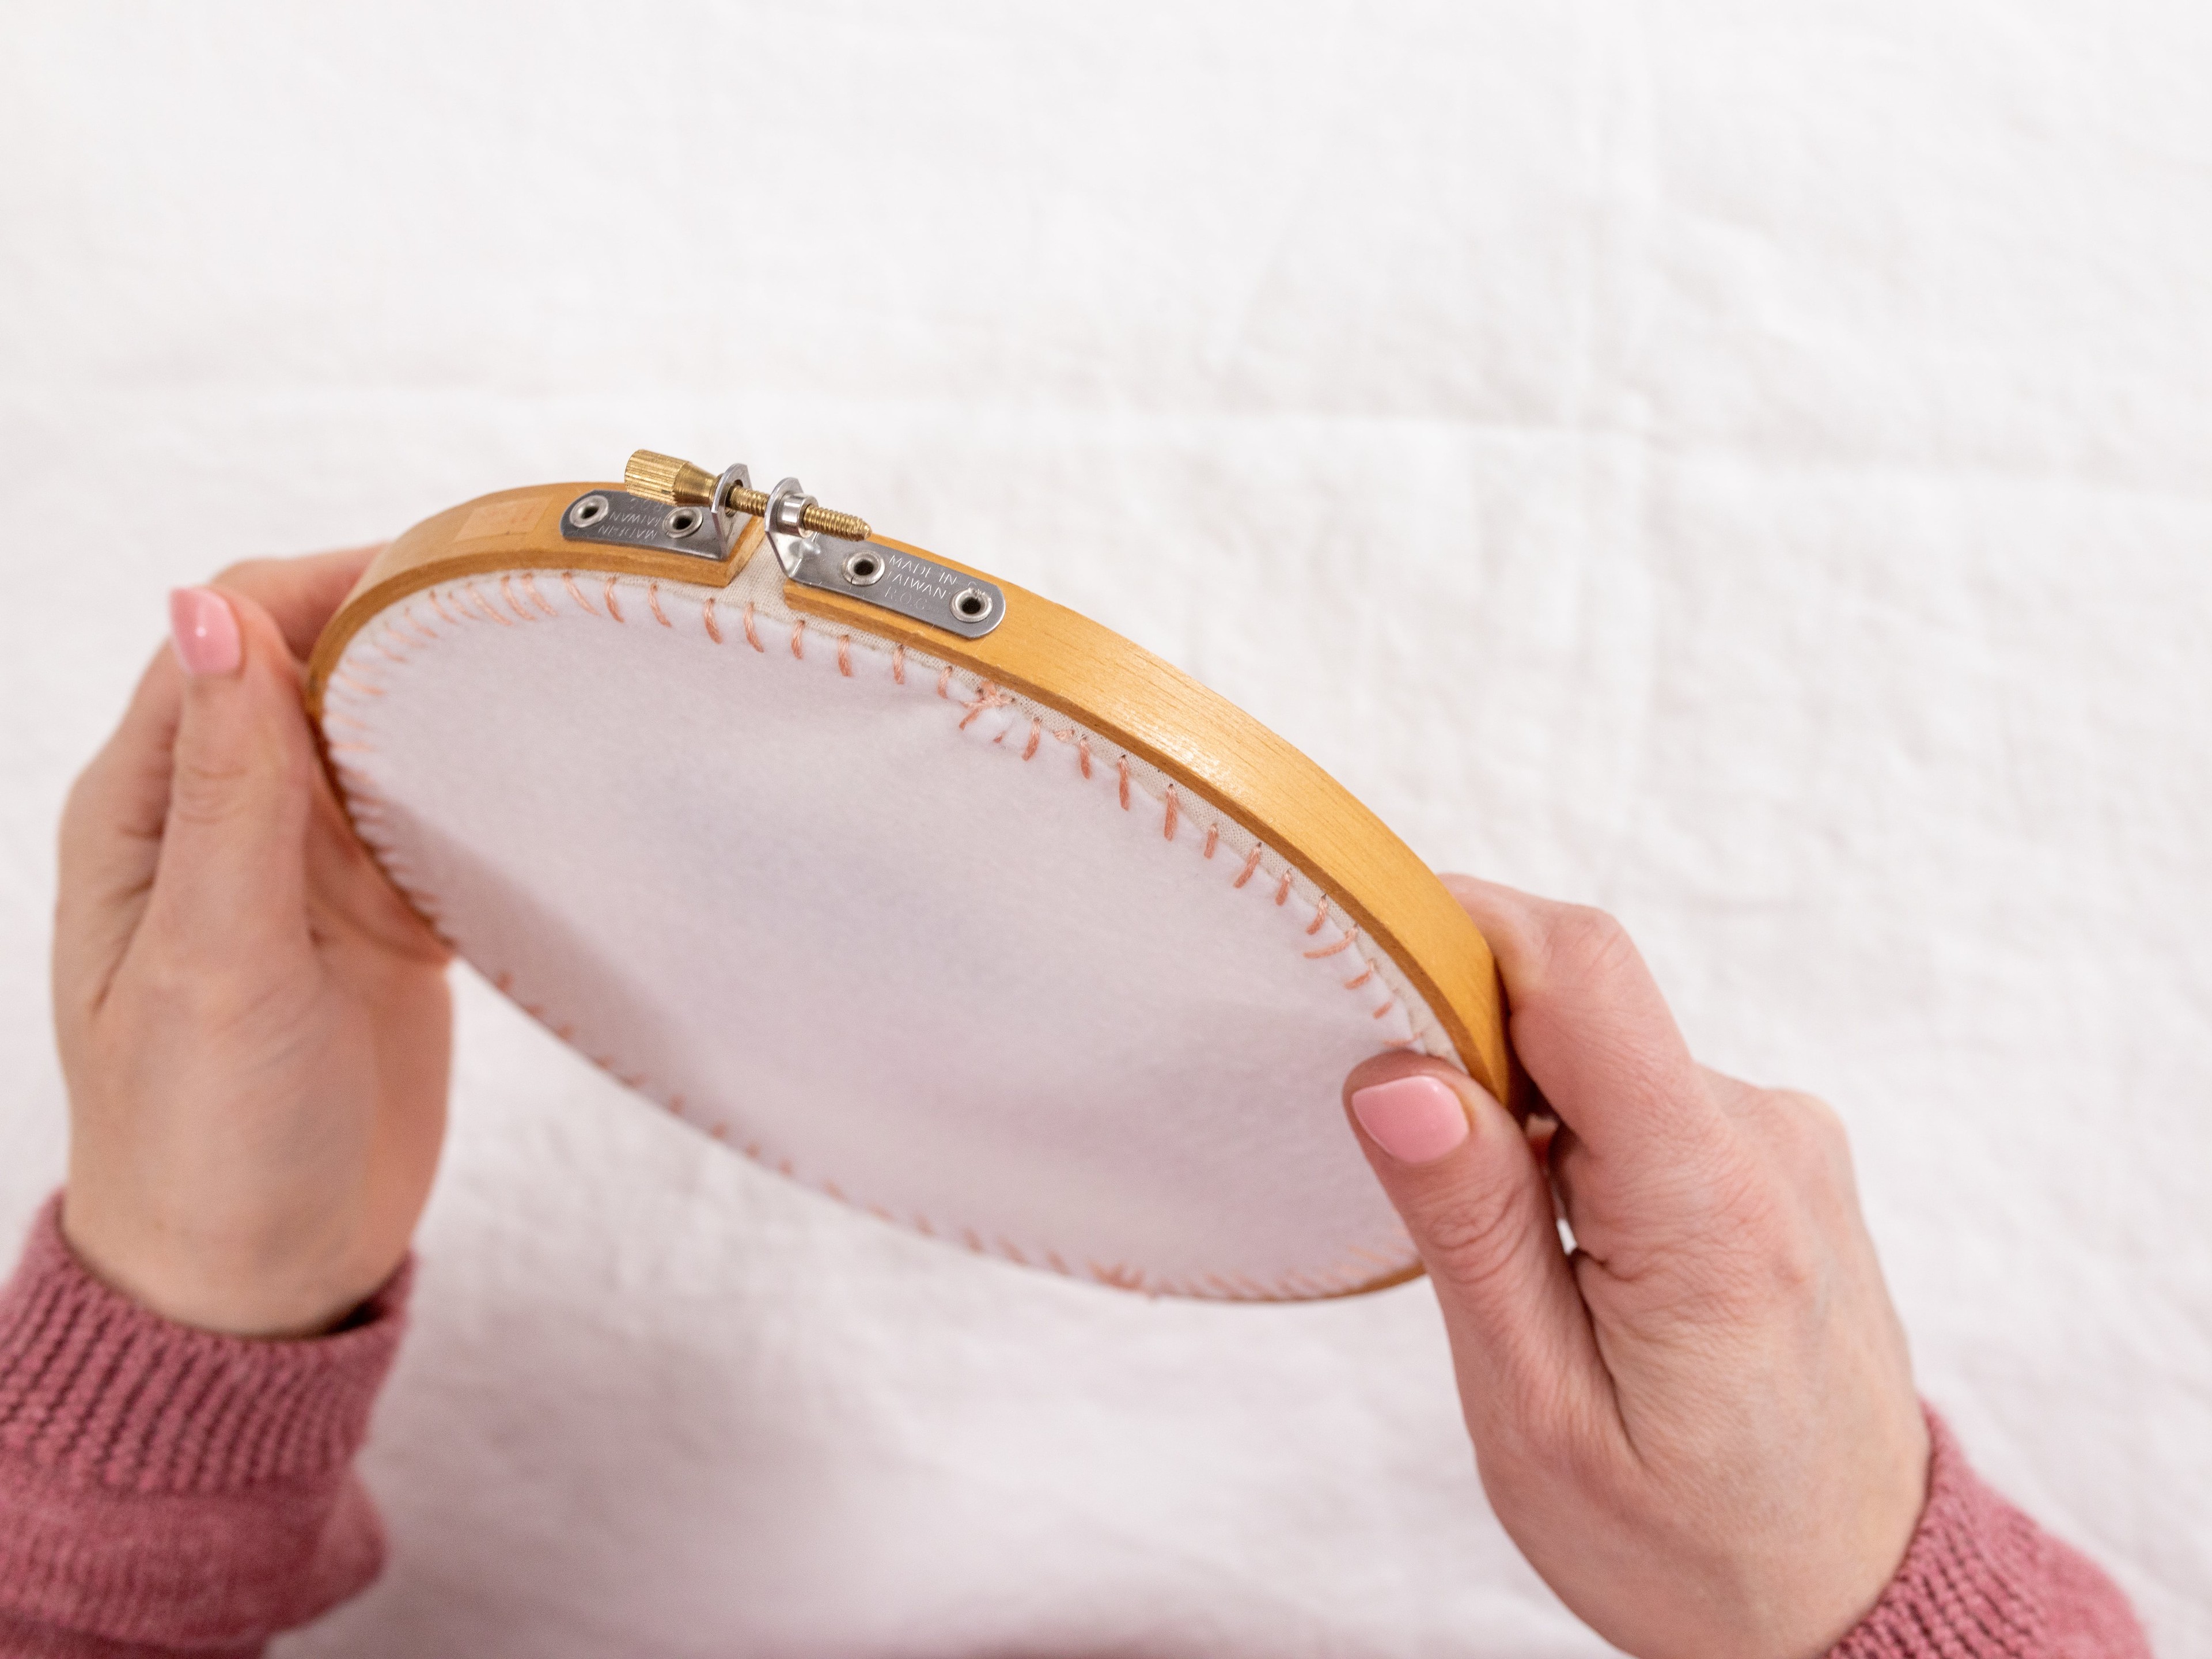
E. As you get to the end, you’ll hopefully find the felt is sitting nicely and fits the hoop with a firm finish. If you’re anything like me, I often end up with a little bump of excess fabric at the end, which I try to flatten and whipstitch into place. It’s not a major, and I’m sure with practice we will all get a good result. And in any case, this will all be hidden against the wall once your hoop is on display.
F. Once you’ve finished stitching, knot off your thread. I did this by creating a loop as I threaded through, which I poked the needle back through to form a knot. I usually do this a couple of times.
And that’s all there is to it, I hope you love the result!
Conclusion
So there you have it, all the beginner techniques and knowledge you need to tidily finish your first modern embroidery pattern.
I’m so excited for you!
What's next?
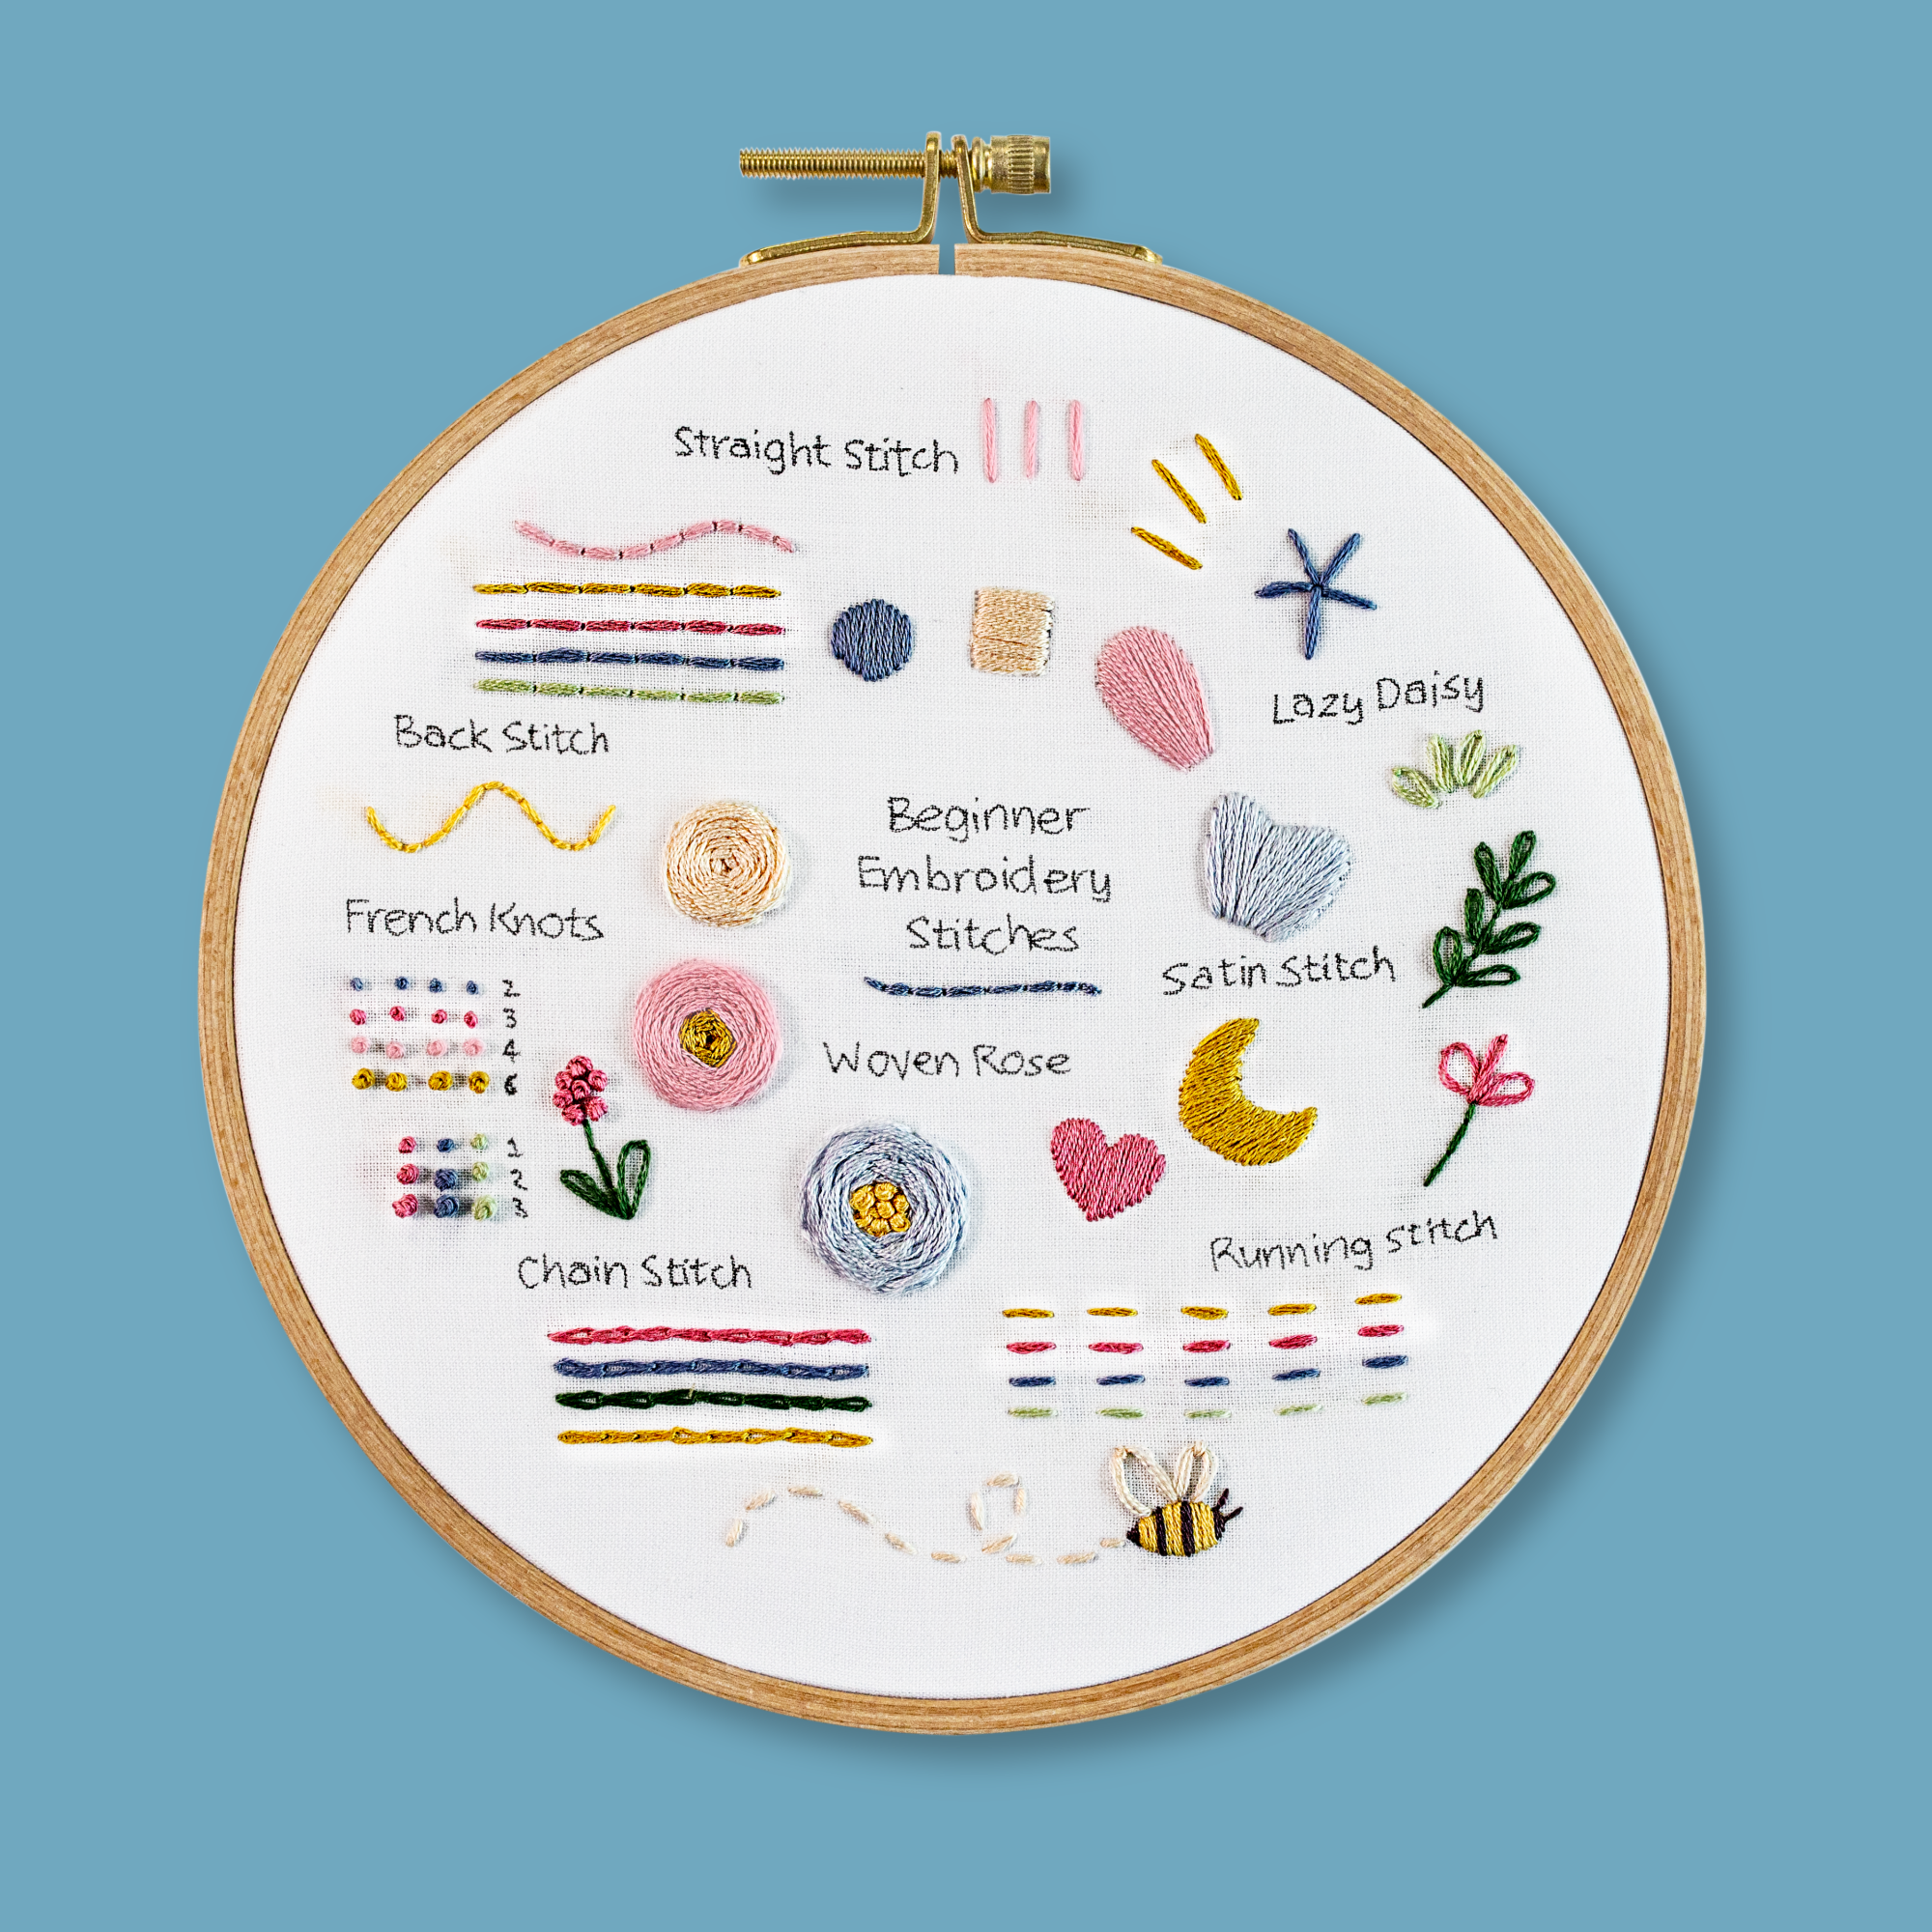
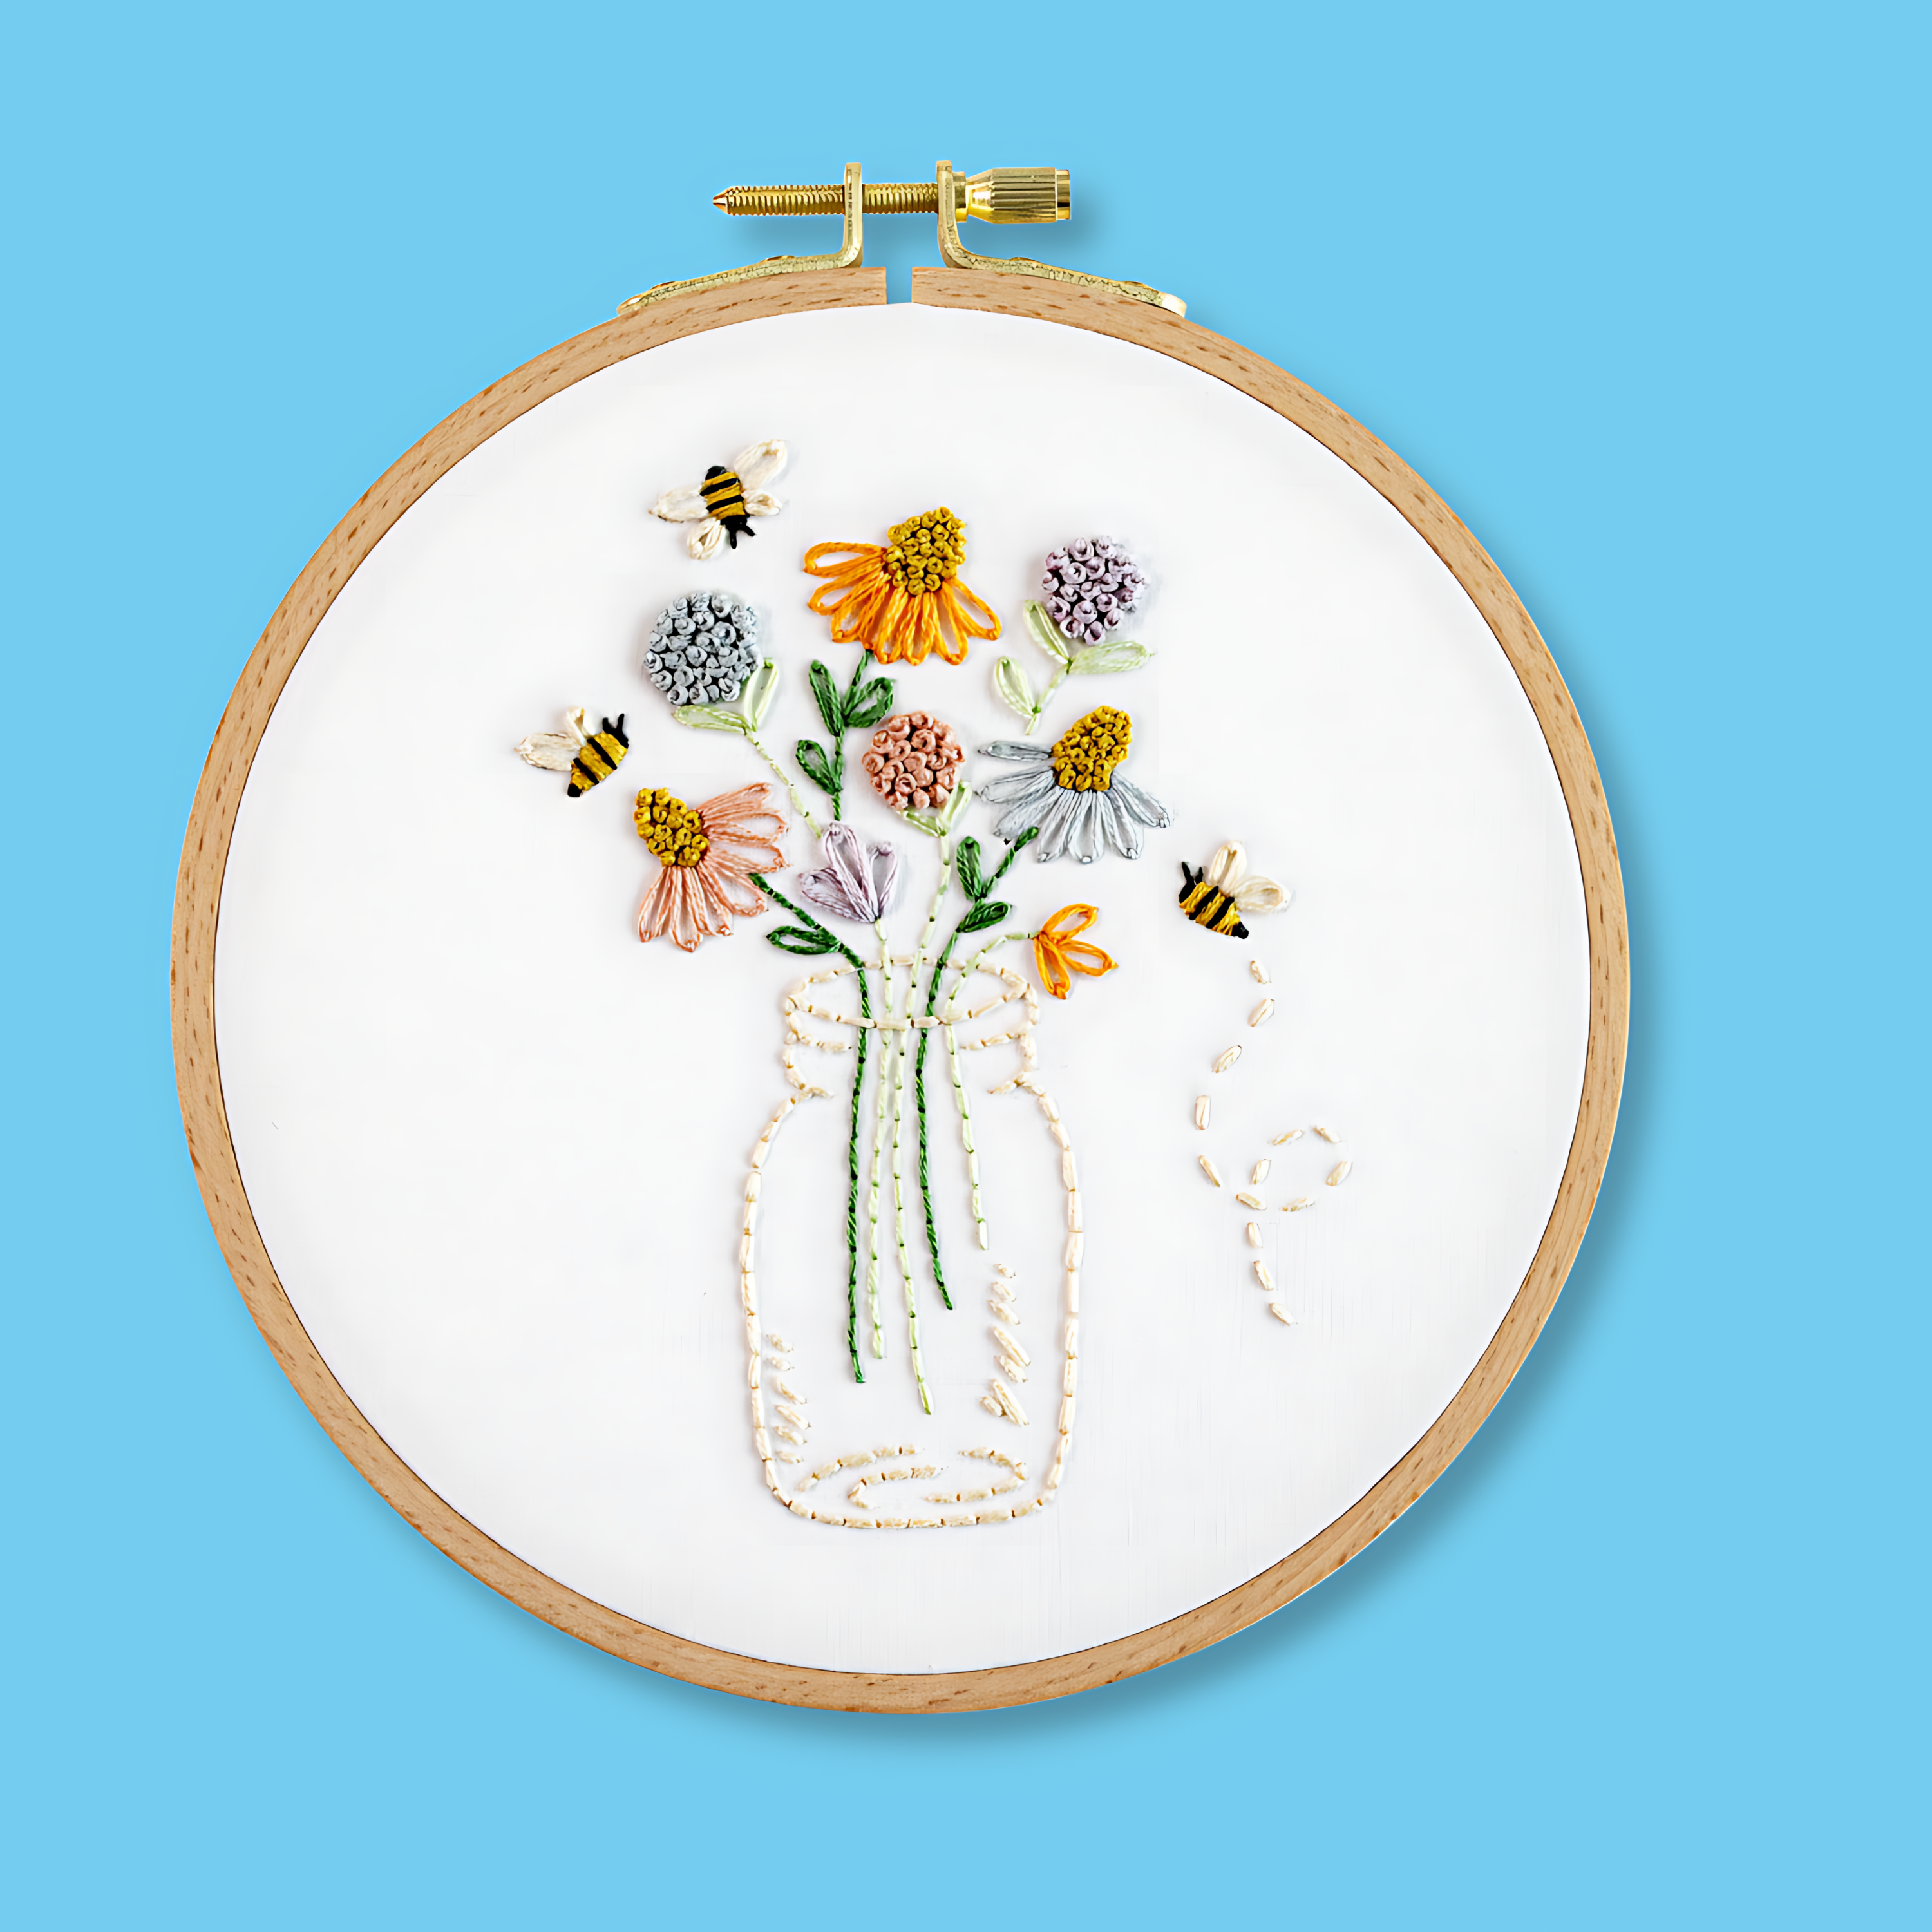
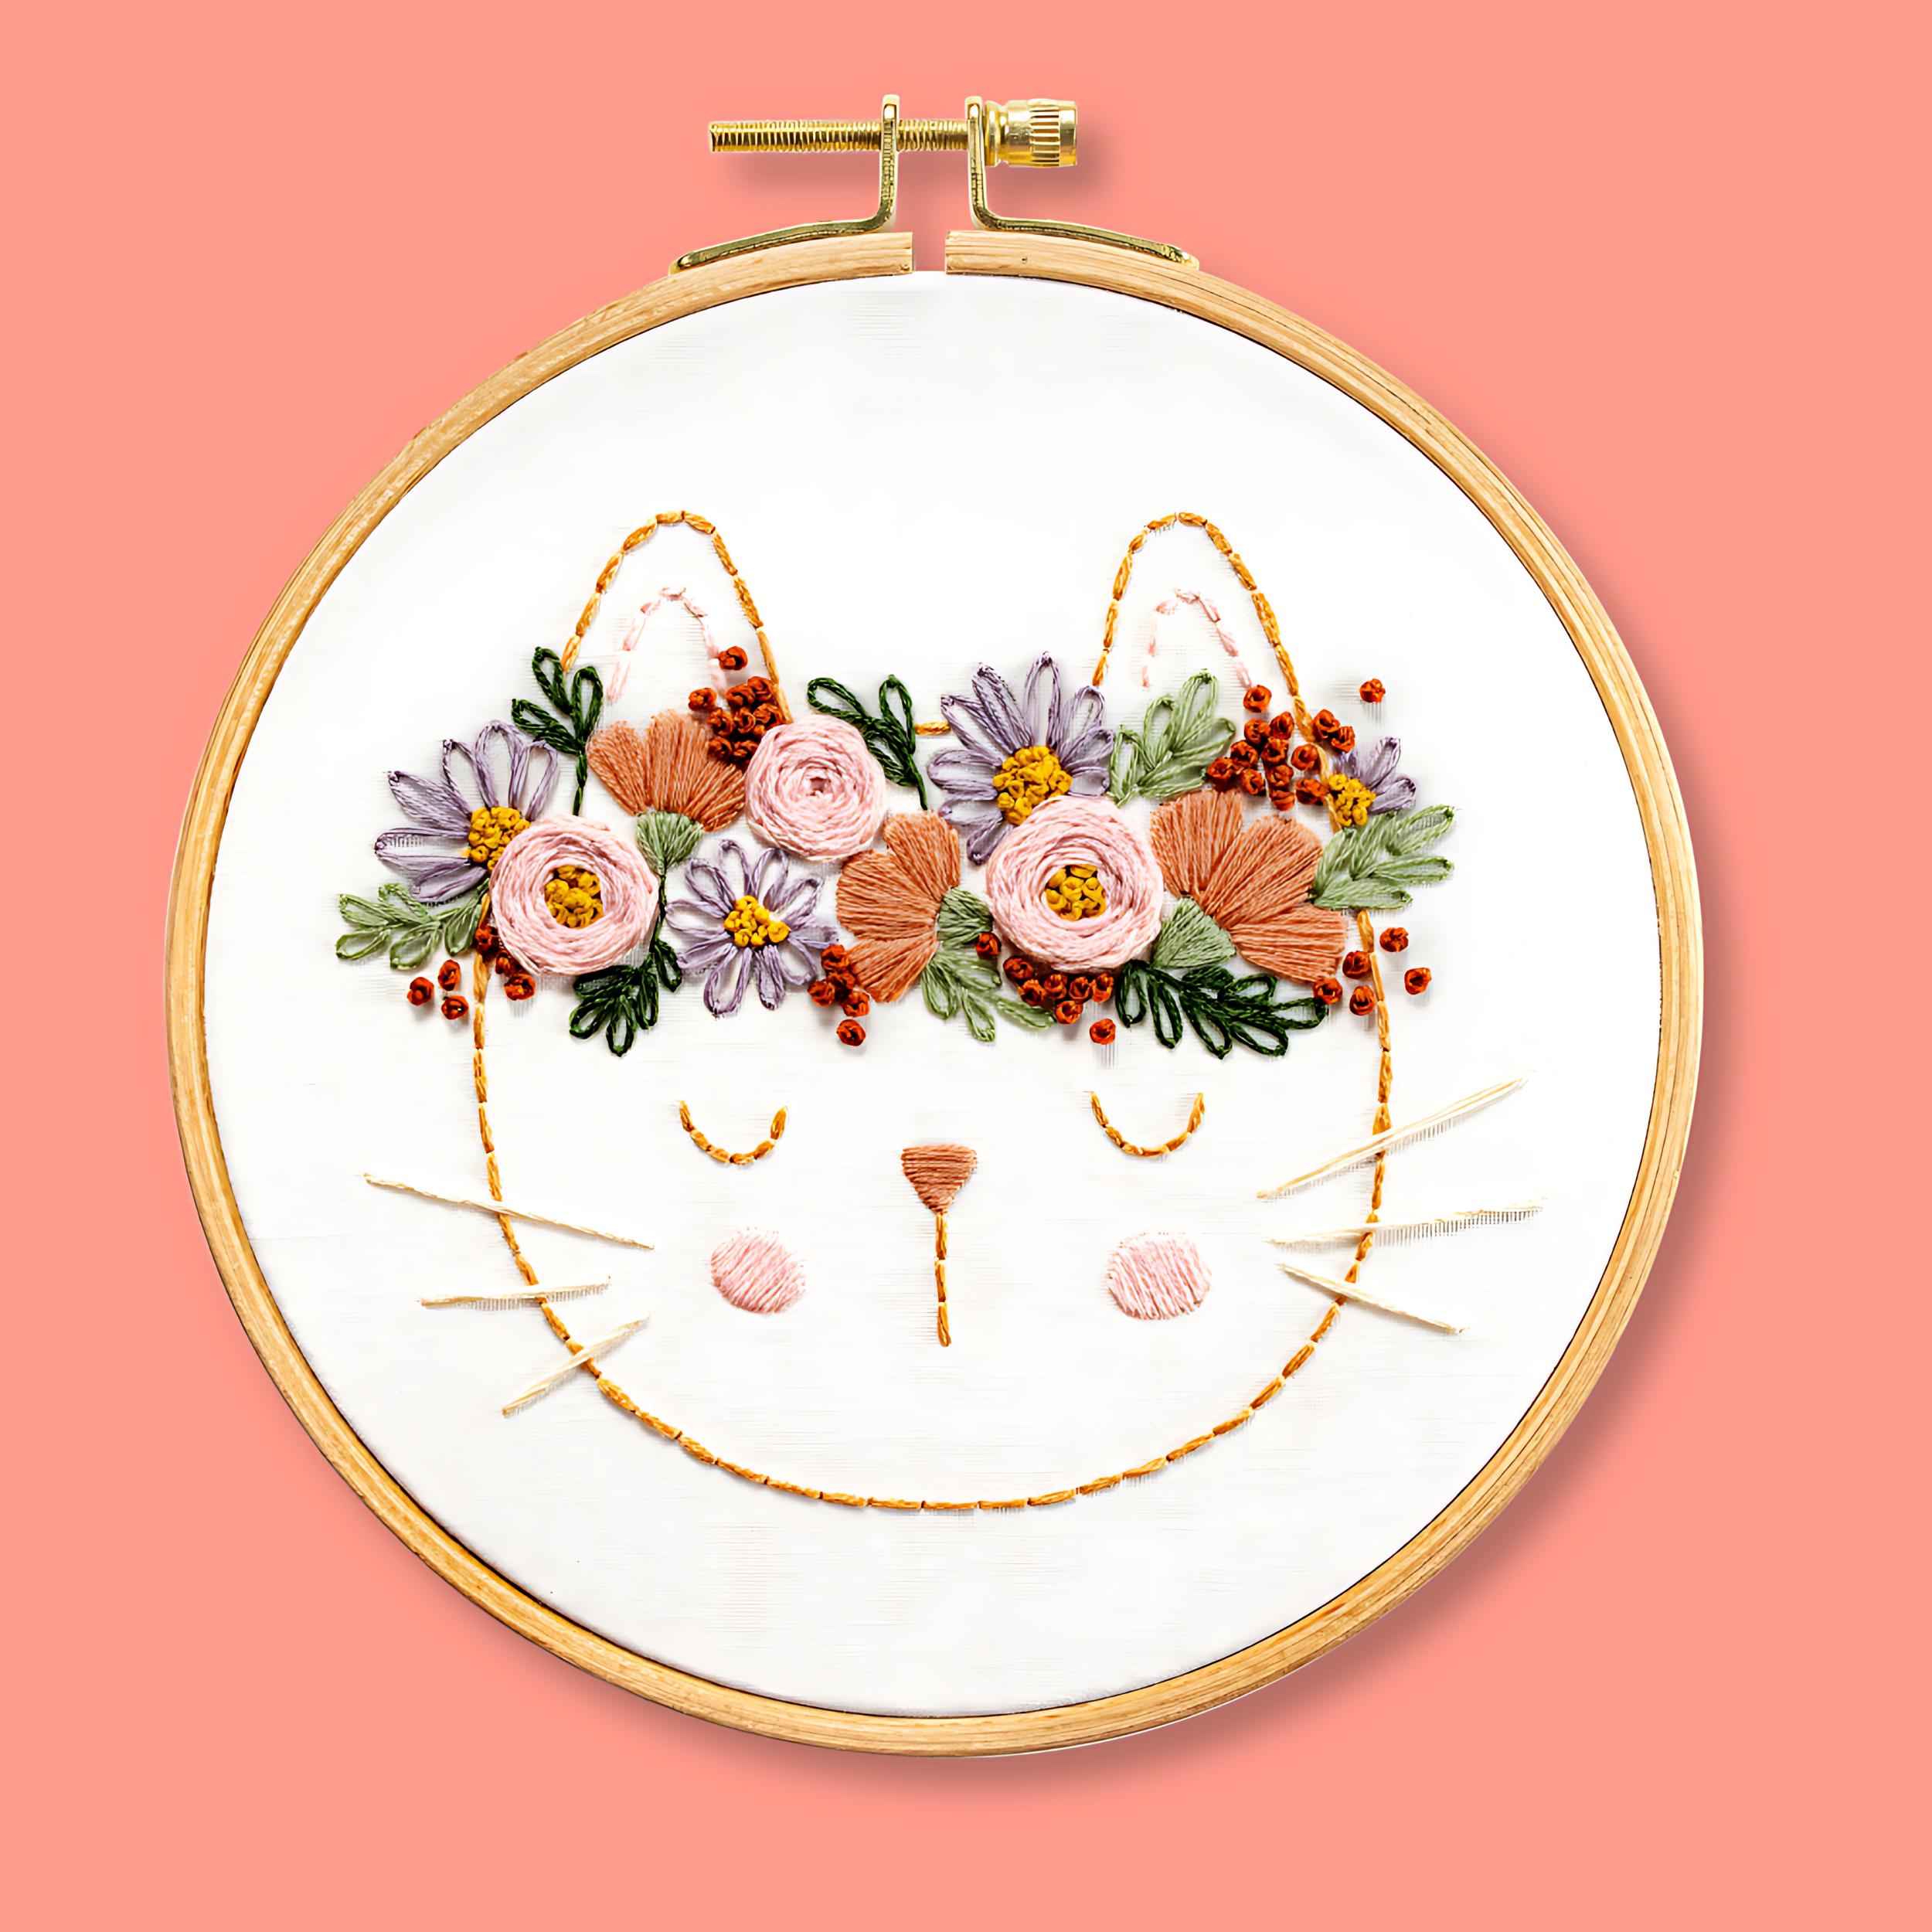
Our beginner embroidery kits are a favourite among new stitchers for their simple, step-by-step instructions and beautiful designs that make learning easy and fun. Whether you’ve been wanting to learn embroidery or are just searching for your next creative hobby. These kits are the perfect introduction to embroidery.
Why people love our beginner kits:
-
Everything you need is included: fabric, thread, hoop, and more!
-
Clear instructions to guide you every step of the way.
-
Gorgeous designs you’ll be proud to display.
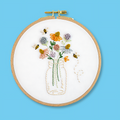
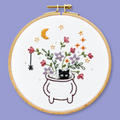
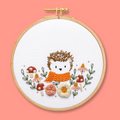
Our most popular beginner kits
If you liked this article, then you may also like this one,
What Essential Supplies do You Need to Get Started in Modern Embroidery?
Ready to get started? Explore our full Beginner Embroidery Collection and find the perfect kit to kick off your stitching journey!