

Satin Stitch Tunnels - Learn How to do This Modern Embroidery Technique
Introduction
Hello makers!
One of the fun parts of modern embroidery, is using little tools to create stitches with wow factor. And wrapping your threads around a pen is one of these.
It’s a simple way to experiment with adding height to your stitches, because it creates a really cool tunnel style effect. Plus, it’s relatively quick to stitch up.
I love using this little hack for creating bun style hair dos. And I’m sure we’ll also be able to use this in other designs along our embroidery journey.
Let’s look at how to make one:
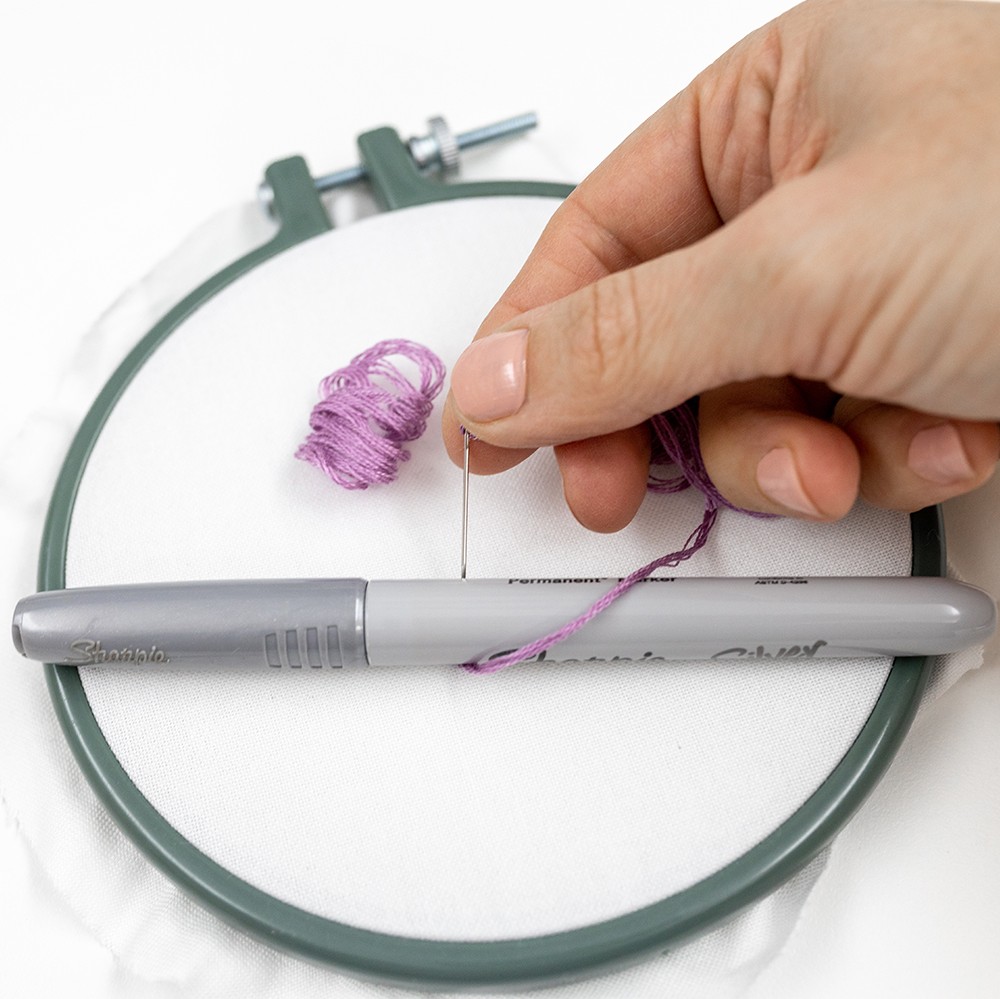
Step 1
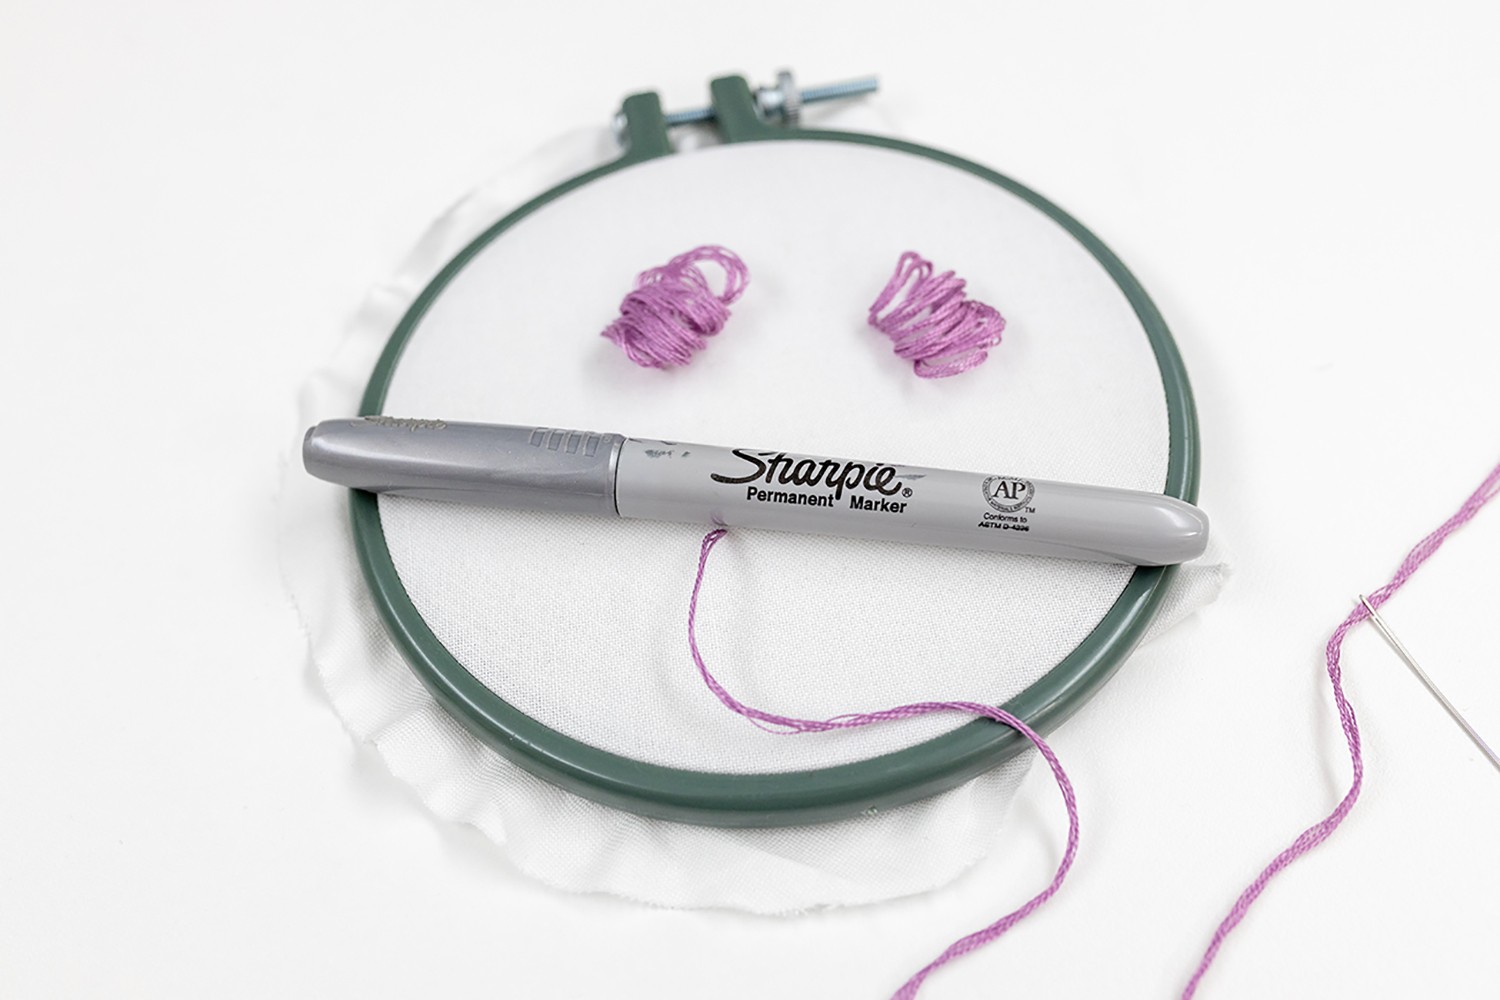
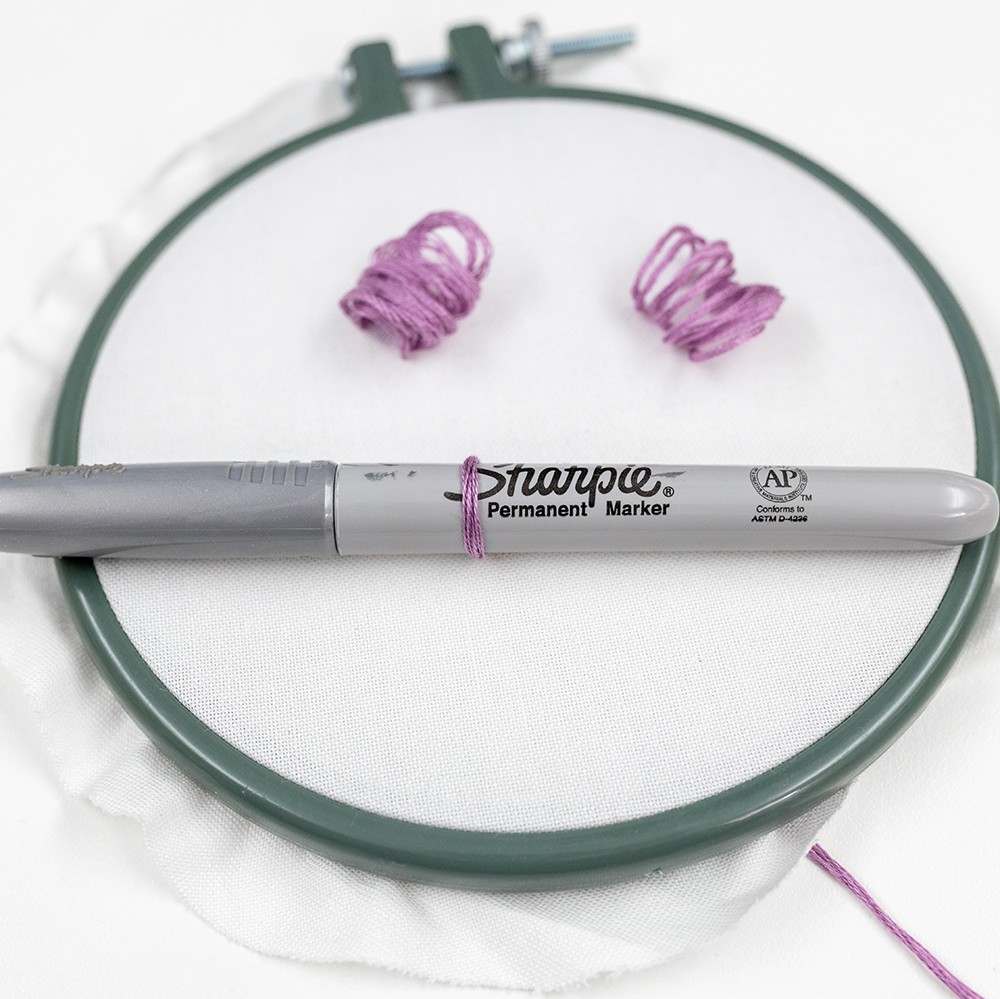
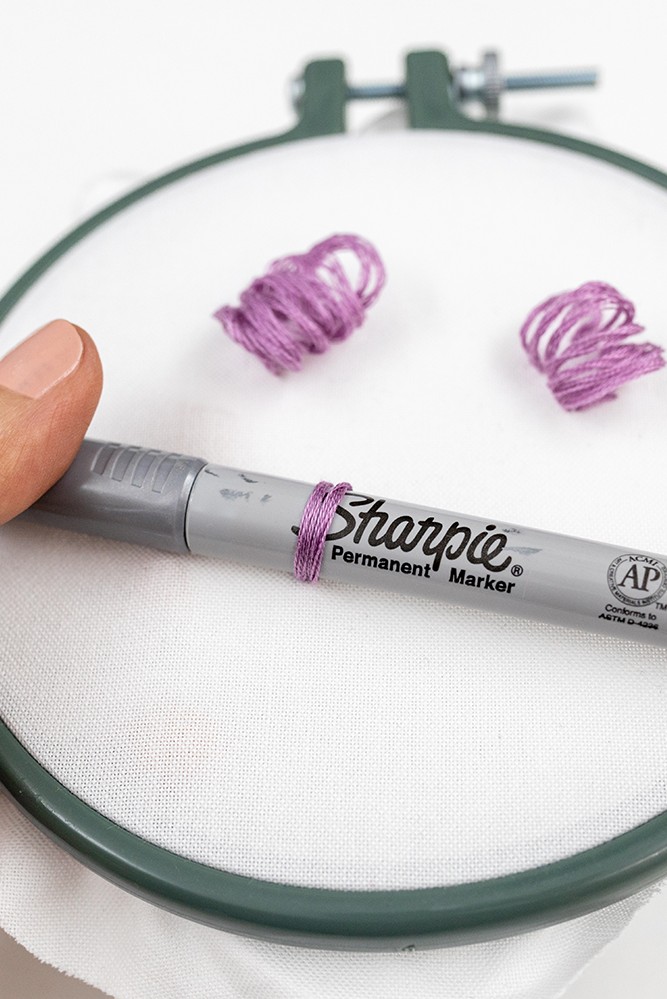
First, choose a pen (or anything cylindrical) that is about the right size for the tunnel of threads you wish to create. Make sure it doesn’t have ink on it that will mark your fabric, oops!
Bring your needle up to the front of the fabric. Lay the pen on the fabric, horizontal, just above where your thread is coming out. And bear in mind we’ll be stitching towards the right.
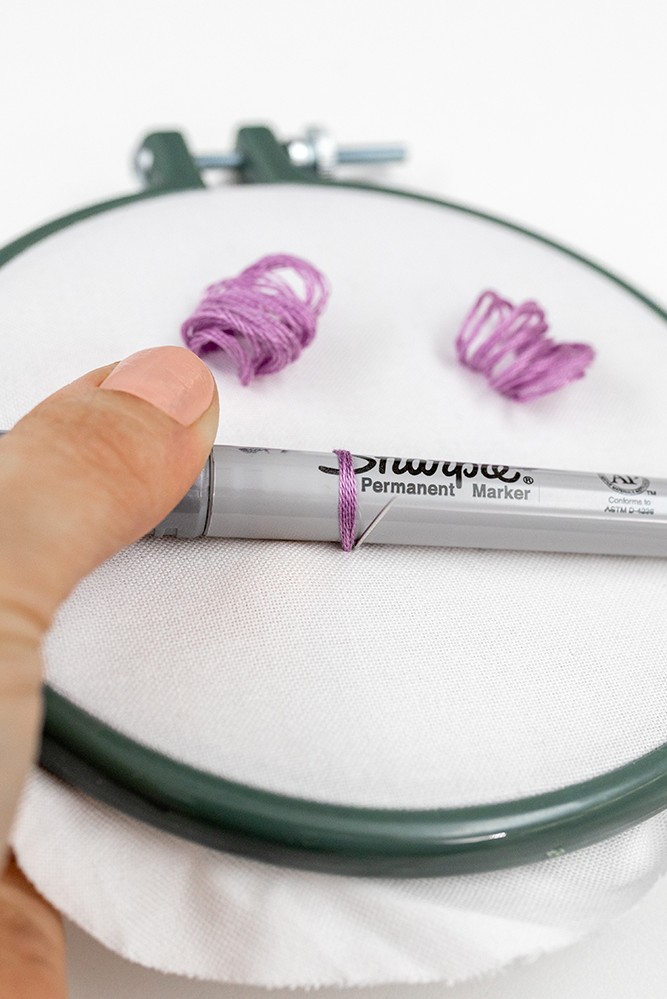
Step 2
Starting below the pen, do a stitch over the top of the pen. As you bring your needle over and down the far side of the pen, try to angle it in so that you poke your needle down on an angle towards where your stitch started (rather than straight down). This will help your thread follow the round curve of the pen too.
Step 3
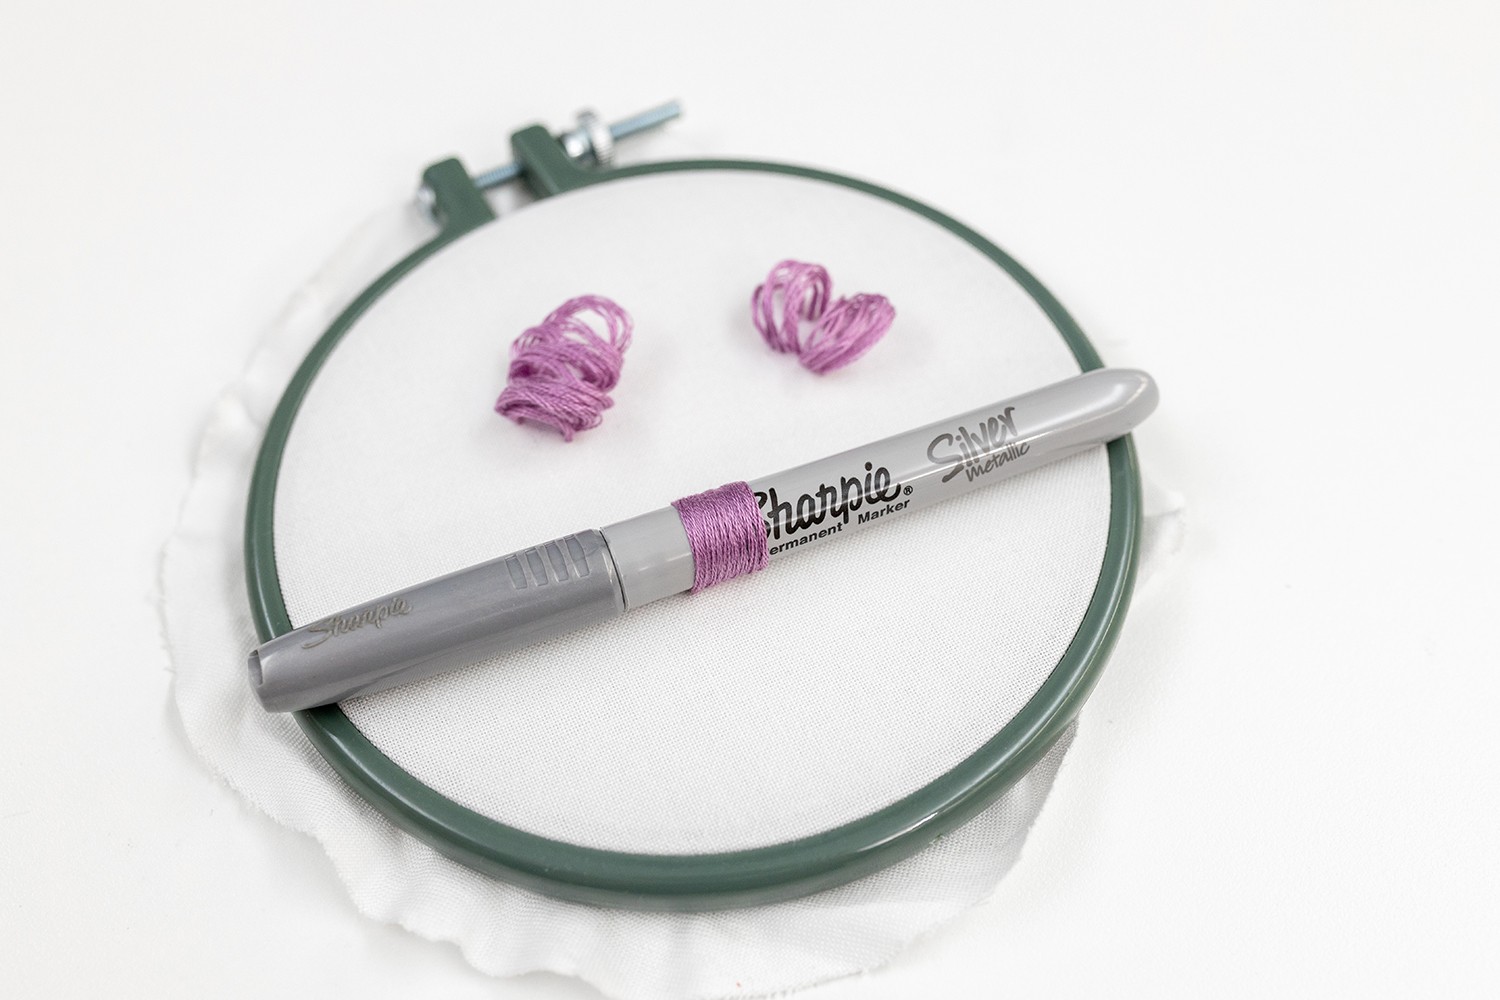
Do another stitch right beside your first stitch, so that it sits nice and flush against the first.
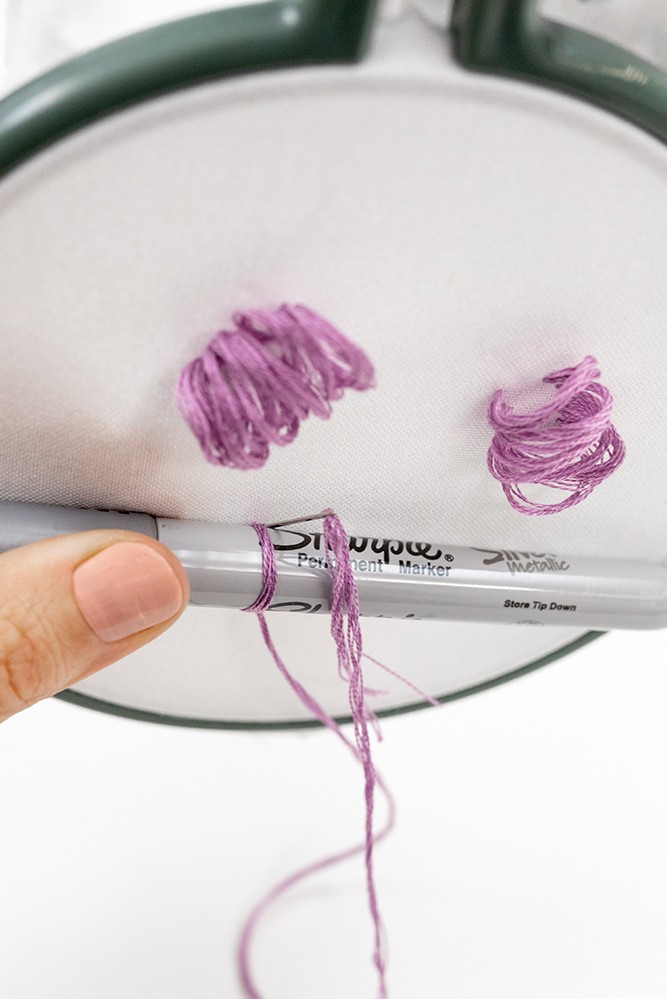
Step 4
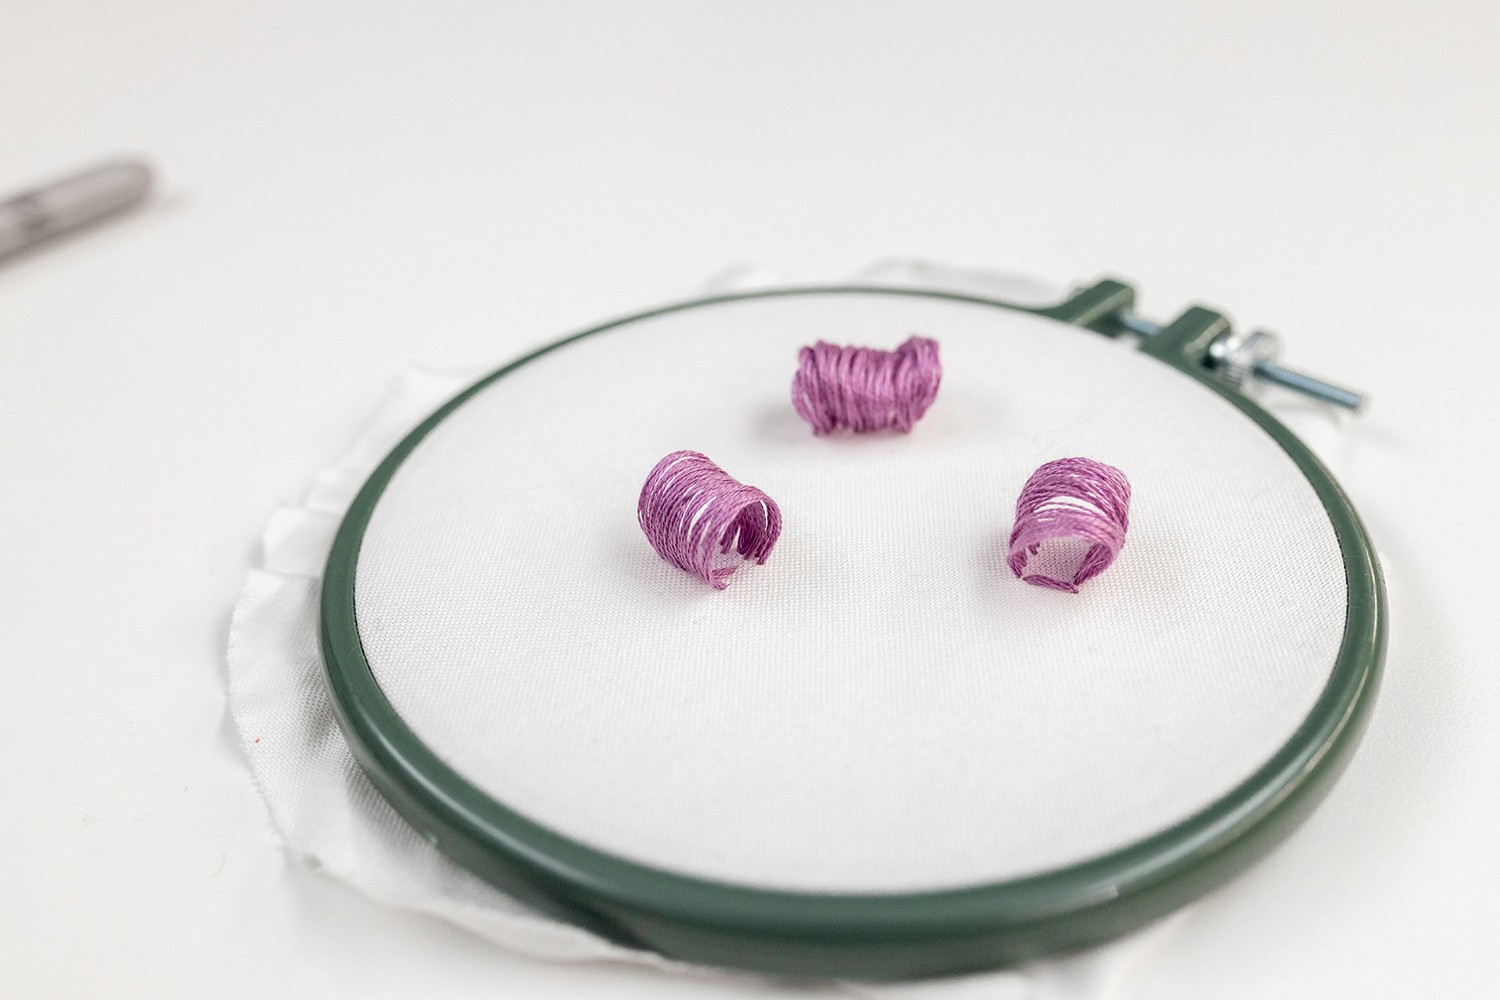
Keep stitching along, creating a satin stitch effect that is quite tightly wrapped around the pen. Not too tight though or you won’t be able to remove your pen!
Once you’ve built up enough stitches, secure off your thread on the underside.
Step 5
Now gently pull the pen out of the tunnel of stitches, and you’ll see how the stitches retain their lovely round shape.
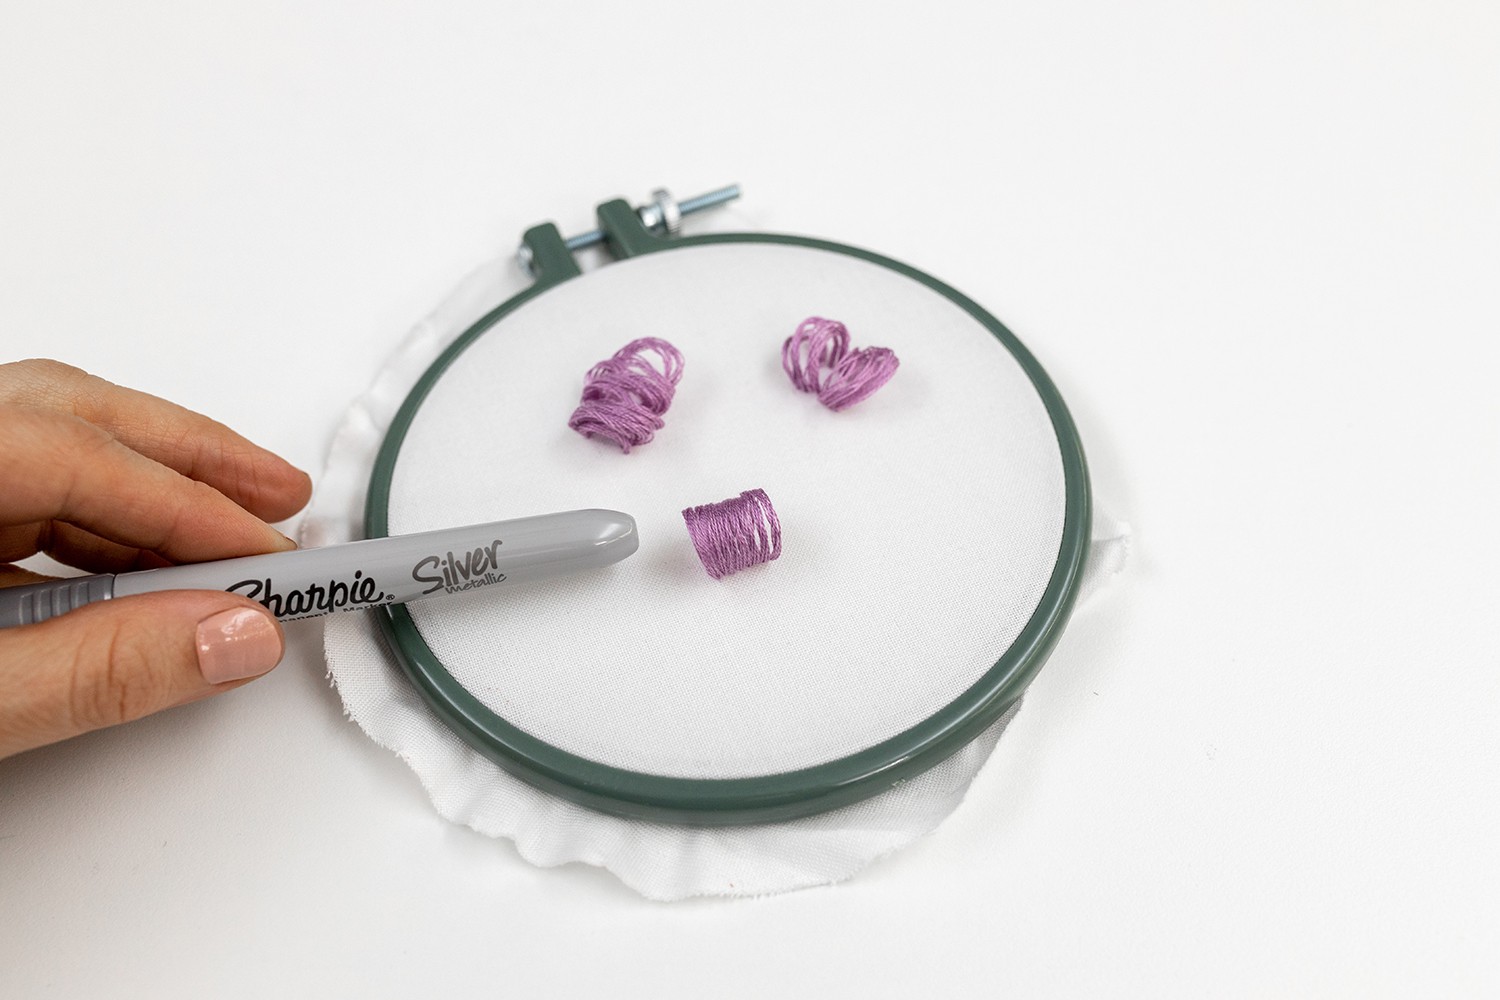
Note that the tunnels we create with this method aren’t the kind where each thread is knotted into place. So they can get pulled out of shape if you’re not careful – which I’ve found out the hard way!
But if you do, by mistake, pull the threads out of whack, or press the tunnel flat, you can fix this. Just nudge it back into place by gently pulling the threads.
You can also pop the pen back into the tunnel and give it a massage back into shape that way.
Isn’t that such a fun way to create some height and interest in your embroidery pieces?
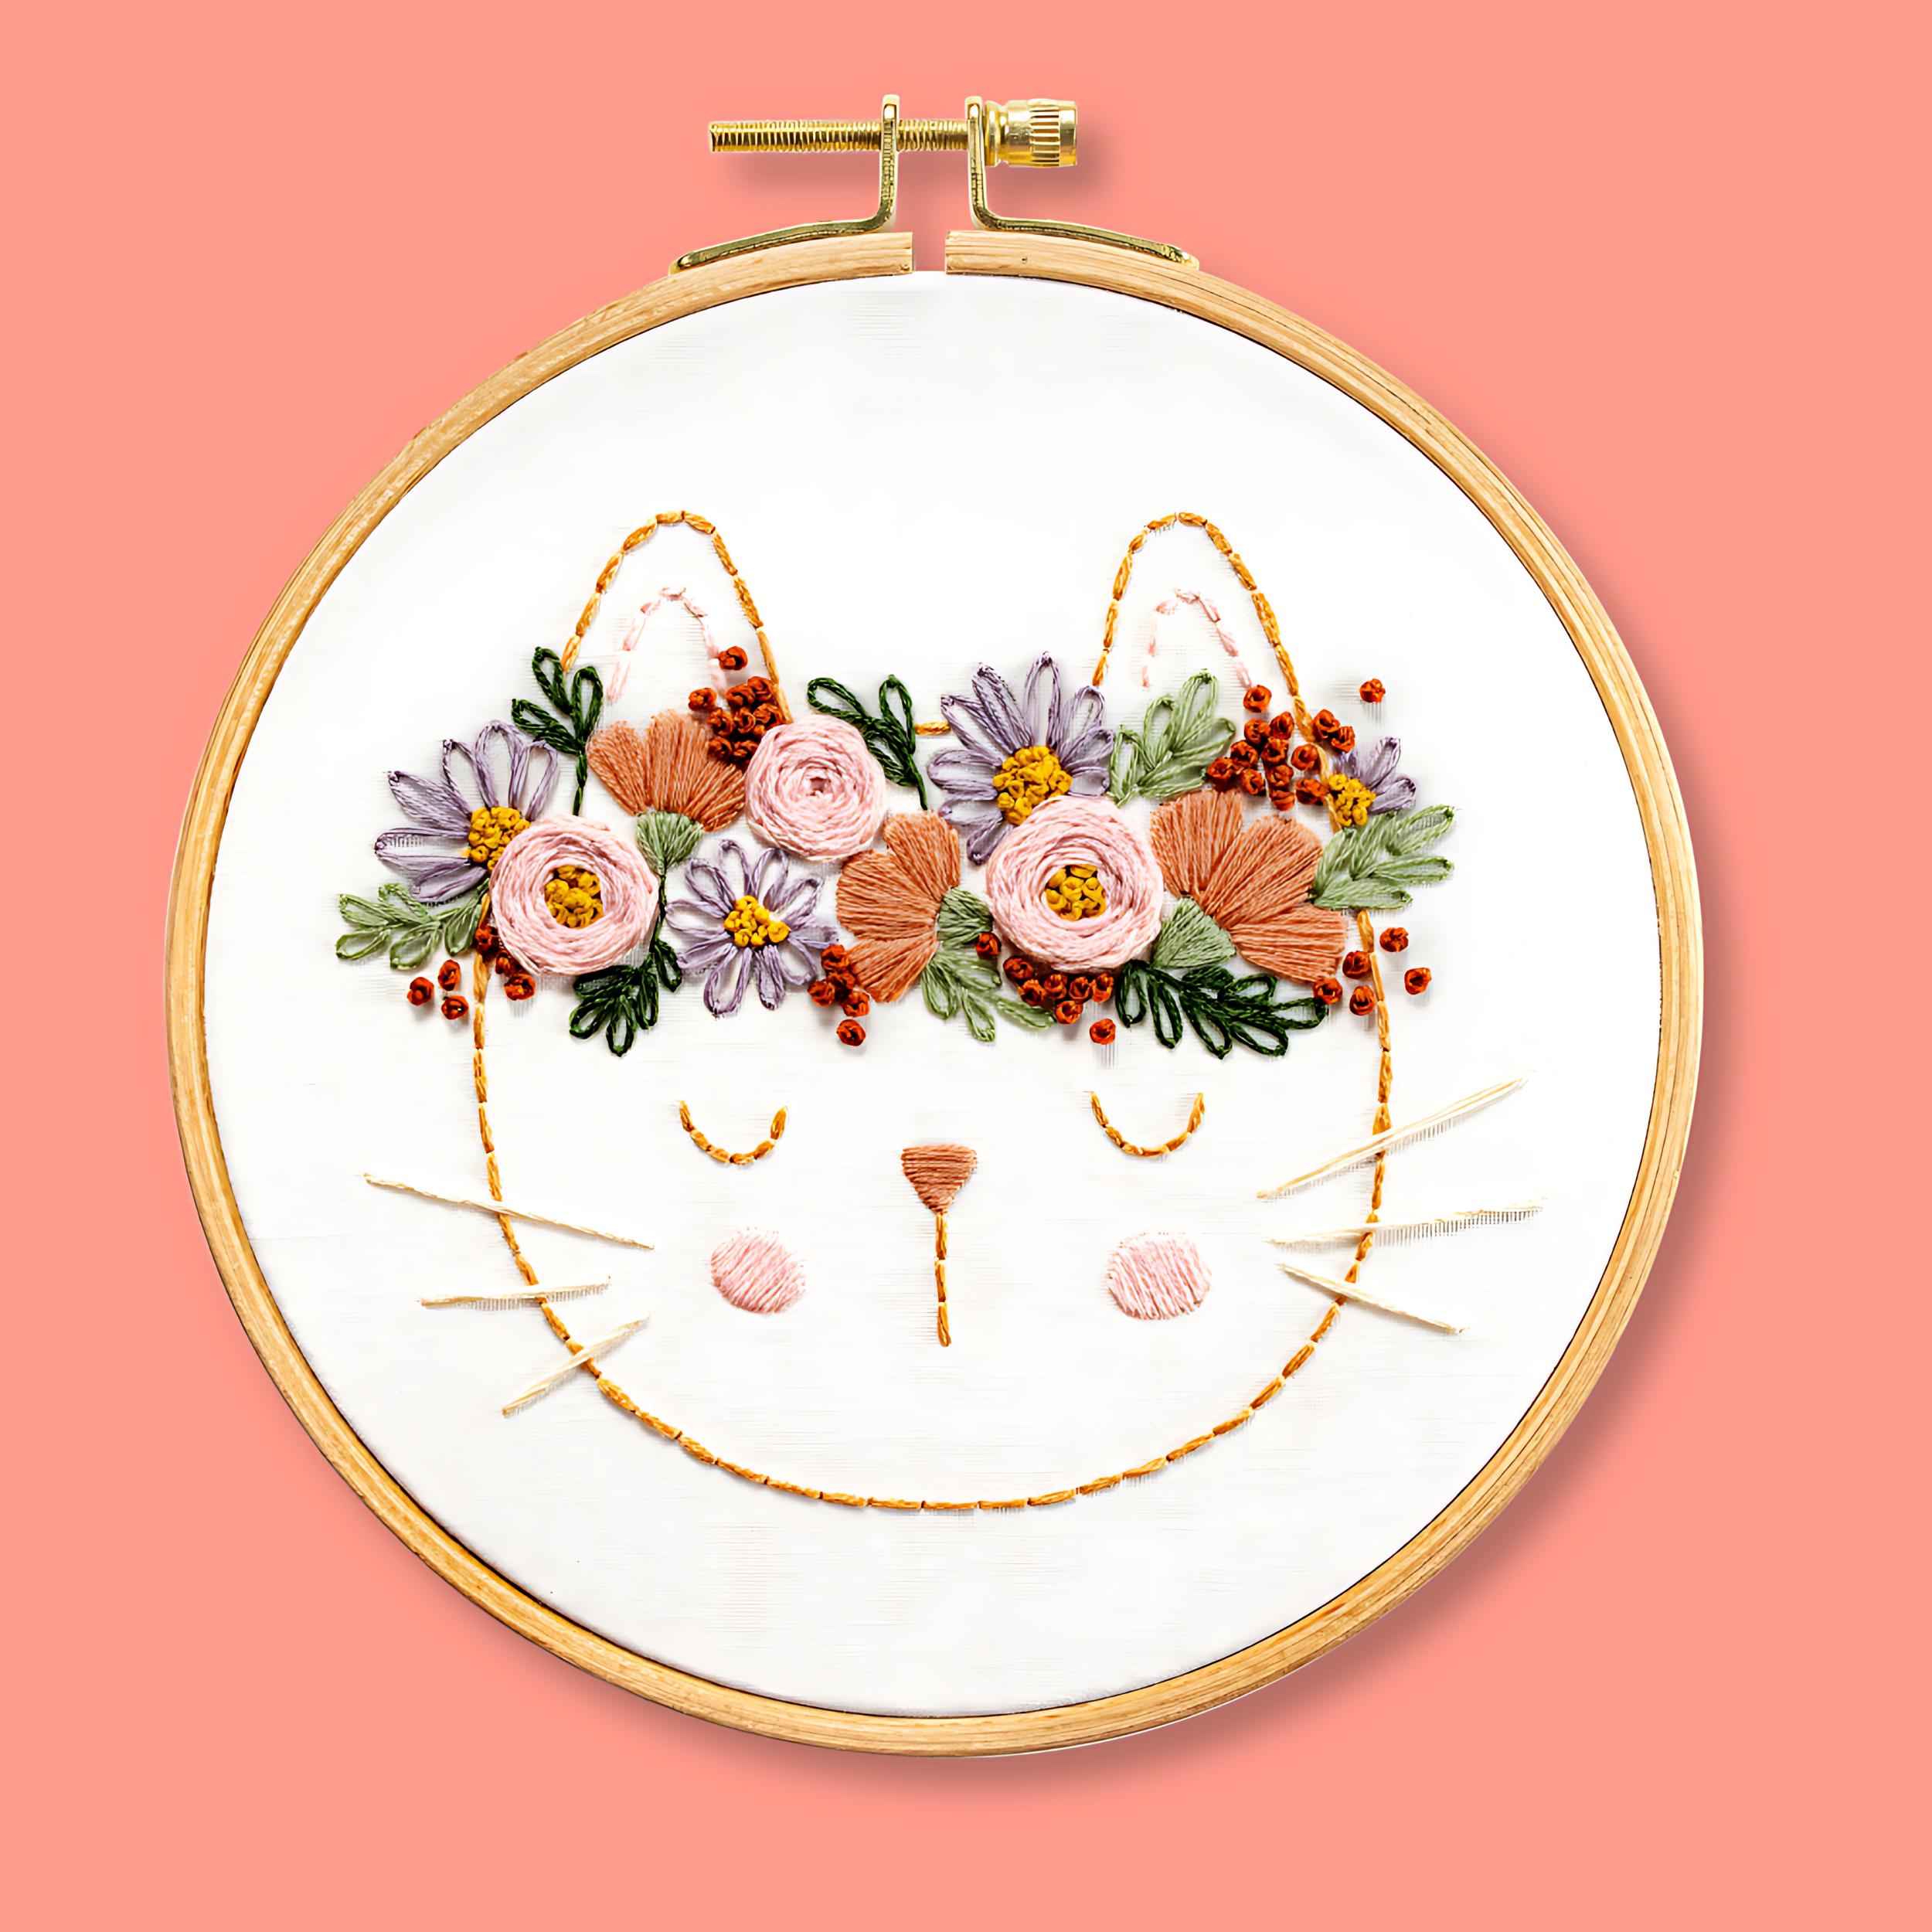
Examples of Thread Bundle Flowers in my patterns
Let's look at some examples of how you can use this beautiful modern technique stitch in your work!
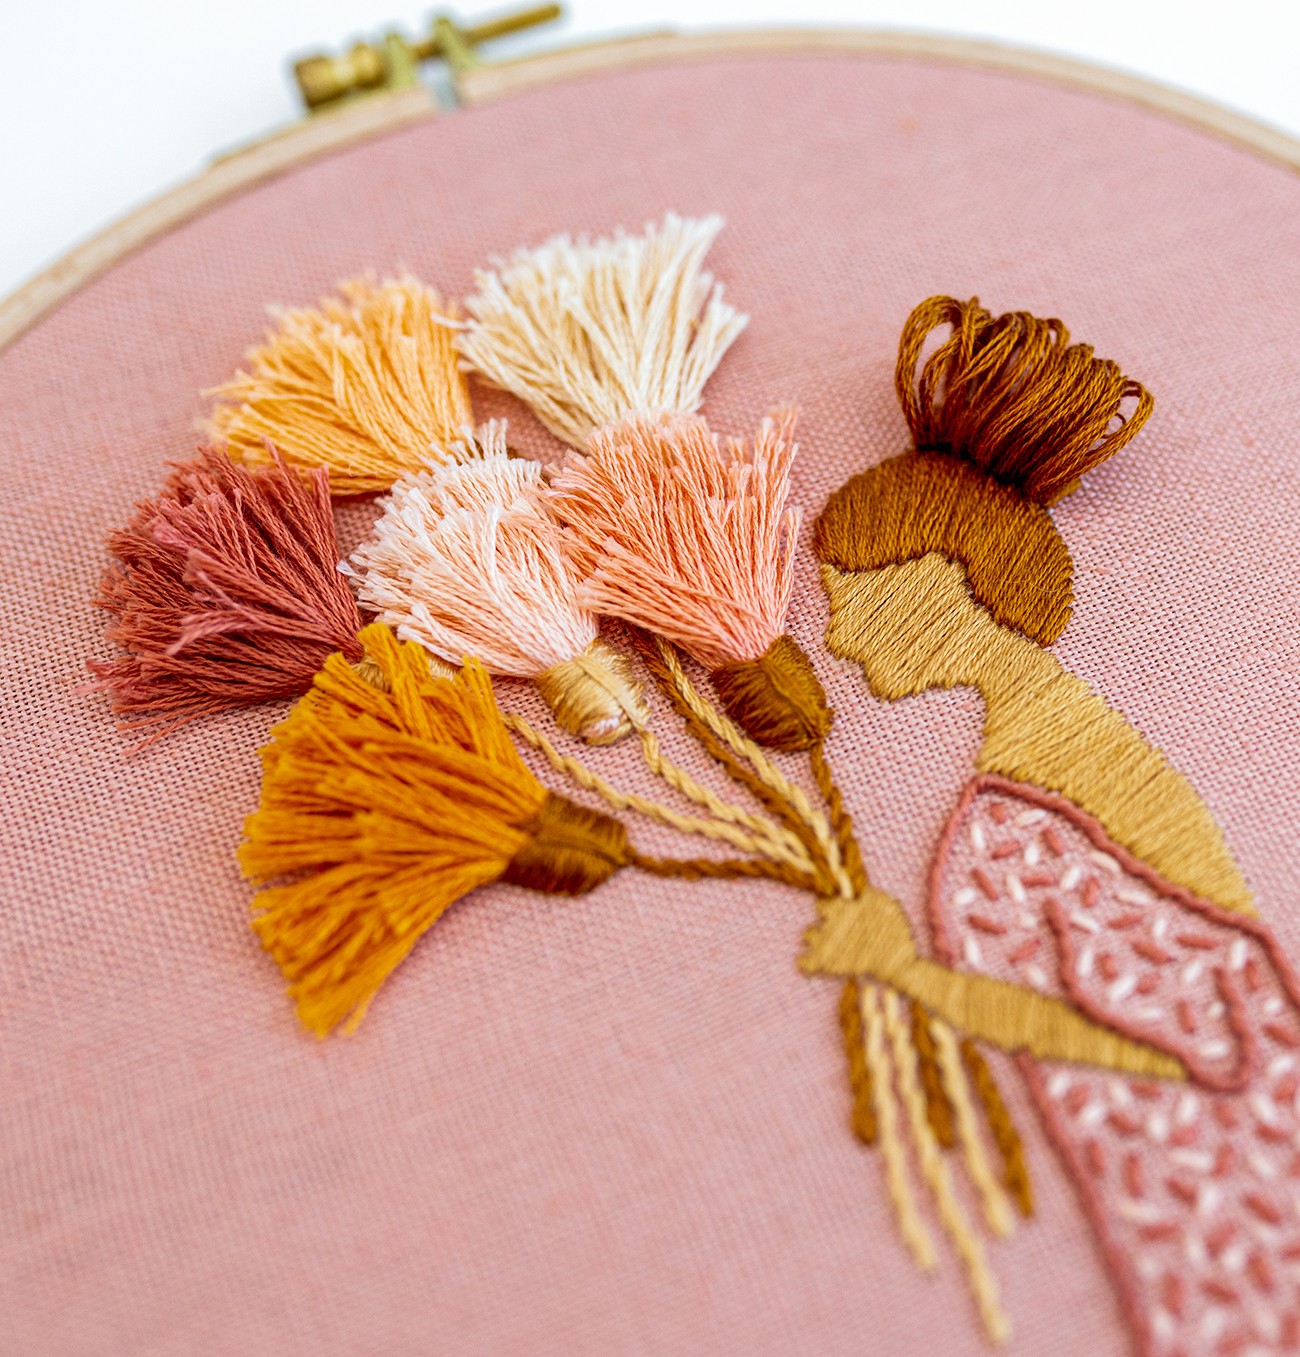
Here's my pattern The Florist. Her bun is worked with this Satin Stitch Tunnel Technique. Doesn't it look sooooo amazing?!
Conclusion
Satin stitch tunnels are such a fun way to create gorgeous bun hairstyles for your patterns. I love this technique, and I hope you do too.
What's next?
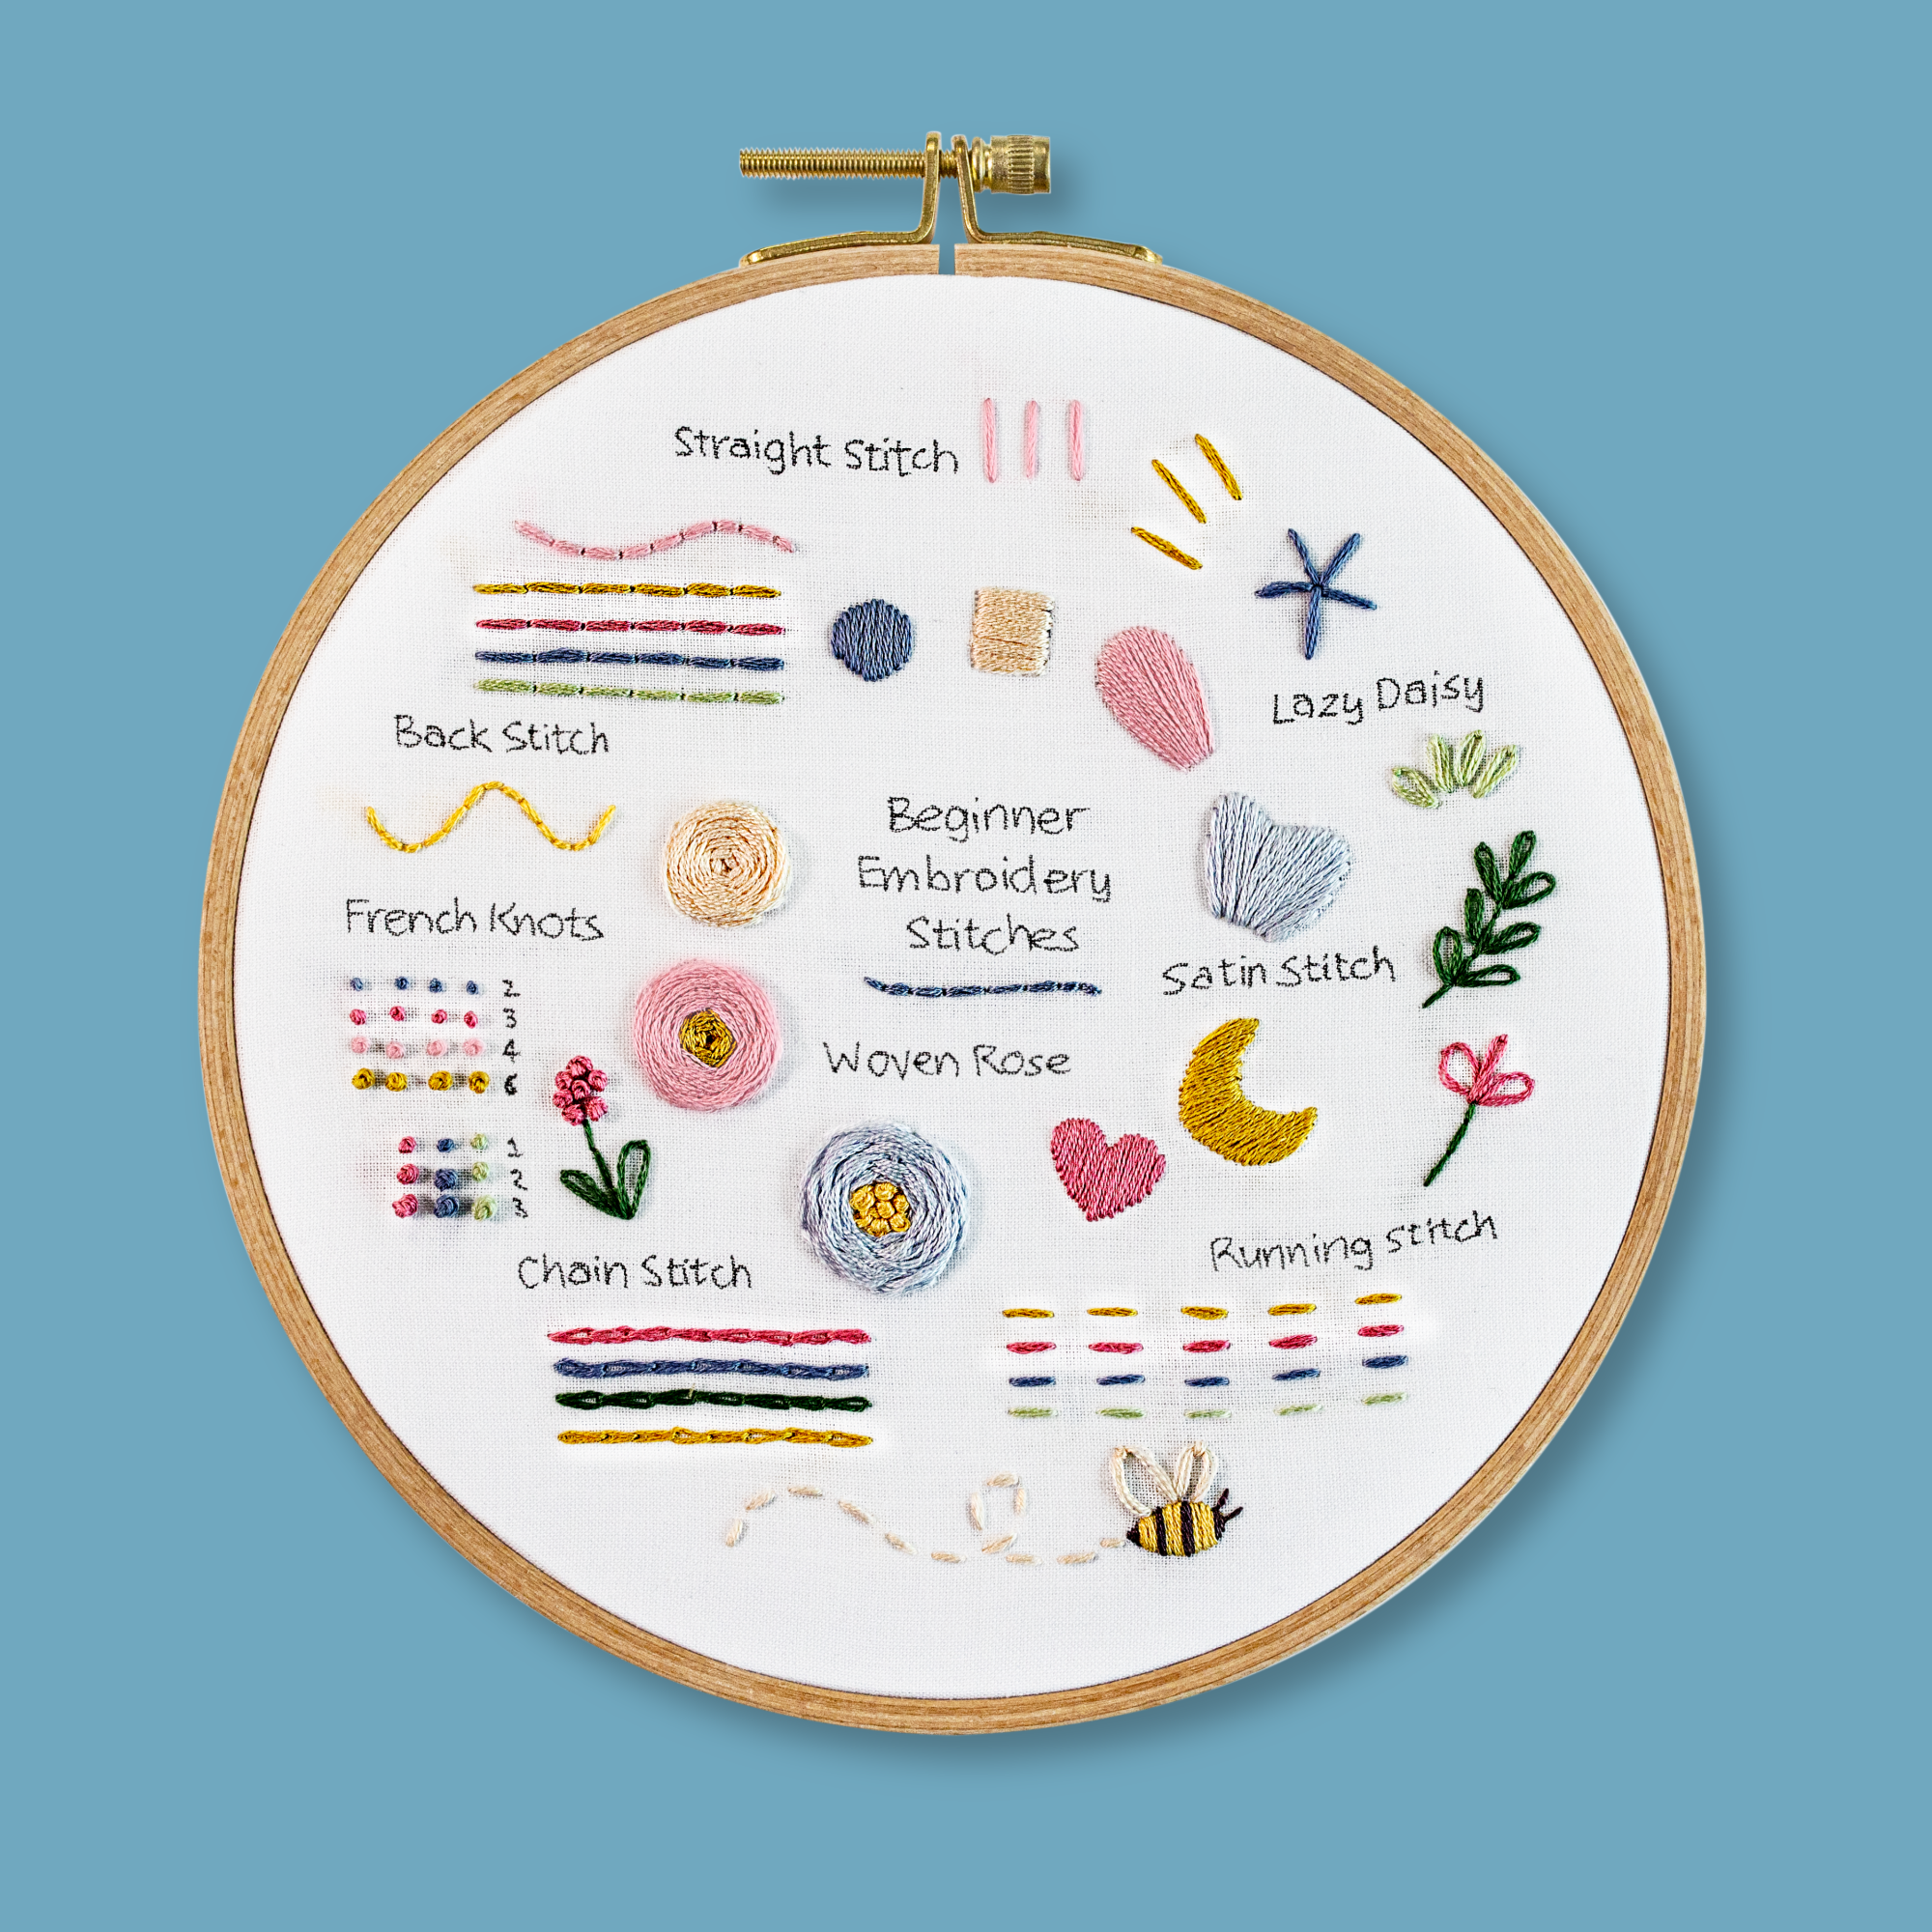
Our beginner embroidery kits are a favourite among new stitchers for their simple, step-by-step instructions and beautiful designs that make learning easy and fun. Whether you’ve been wanting to learn embroidery or are just searching for your next creative hobby. These kits are the perfect introduction to embroidery.
Why people love our beginner kits:
-
Everything you need is included: fabric, thread, hoop, and more!
-
Clear instructions to guide you every step of the way.
-
Gorgeous designs you’ll be proud to display.
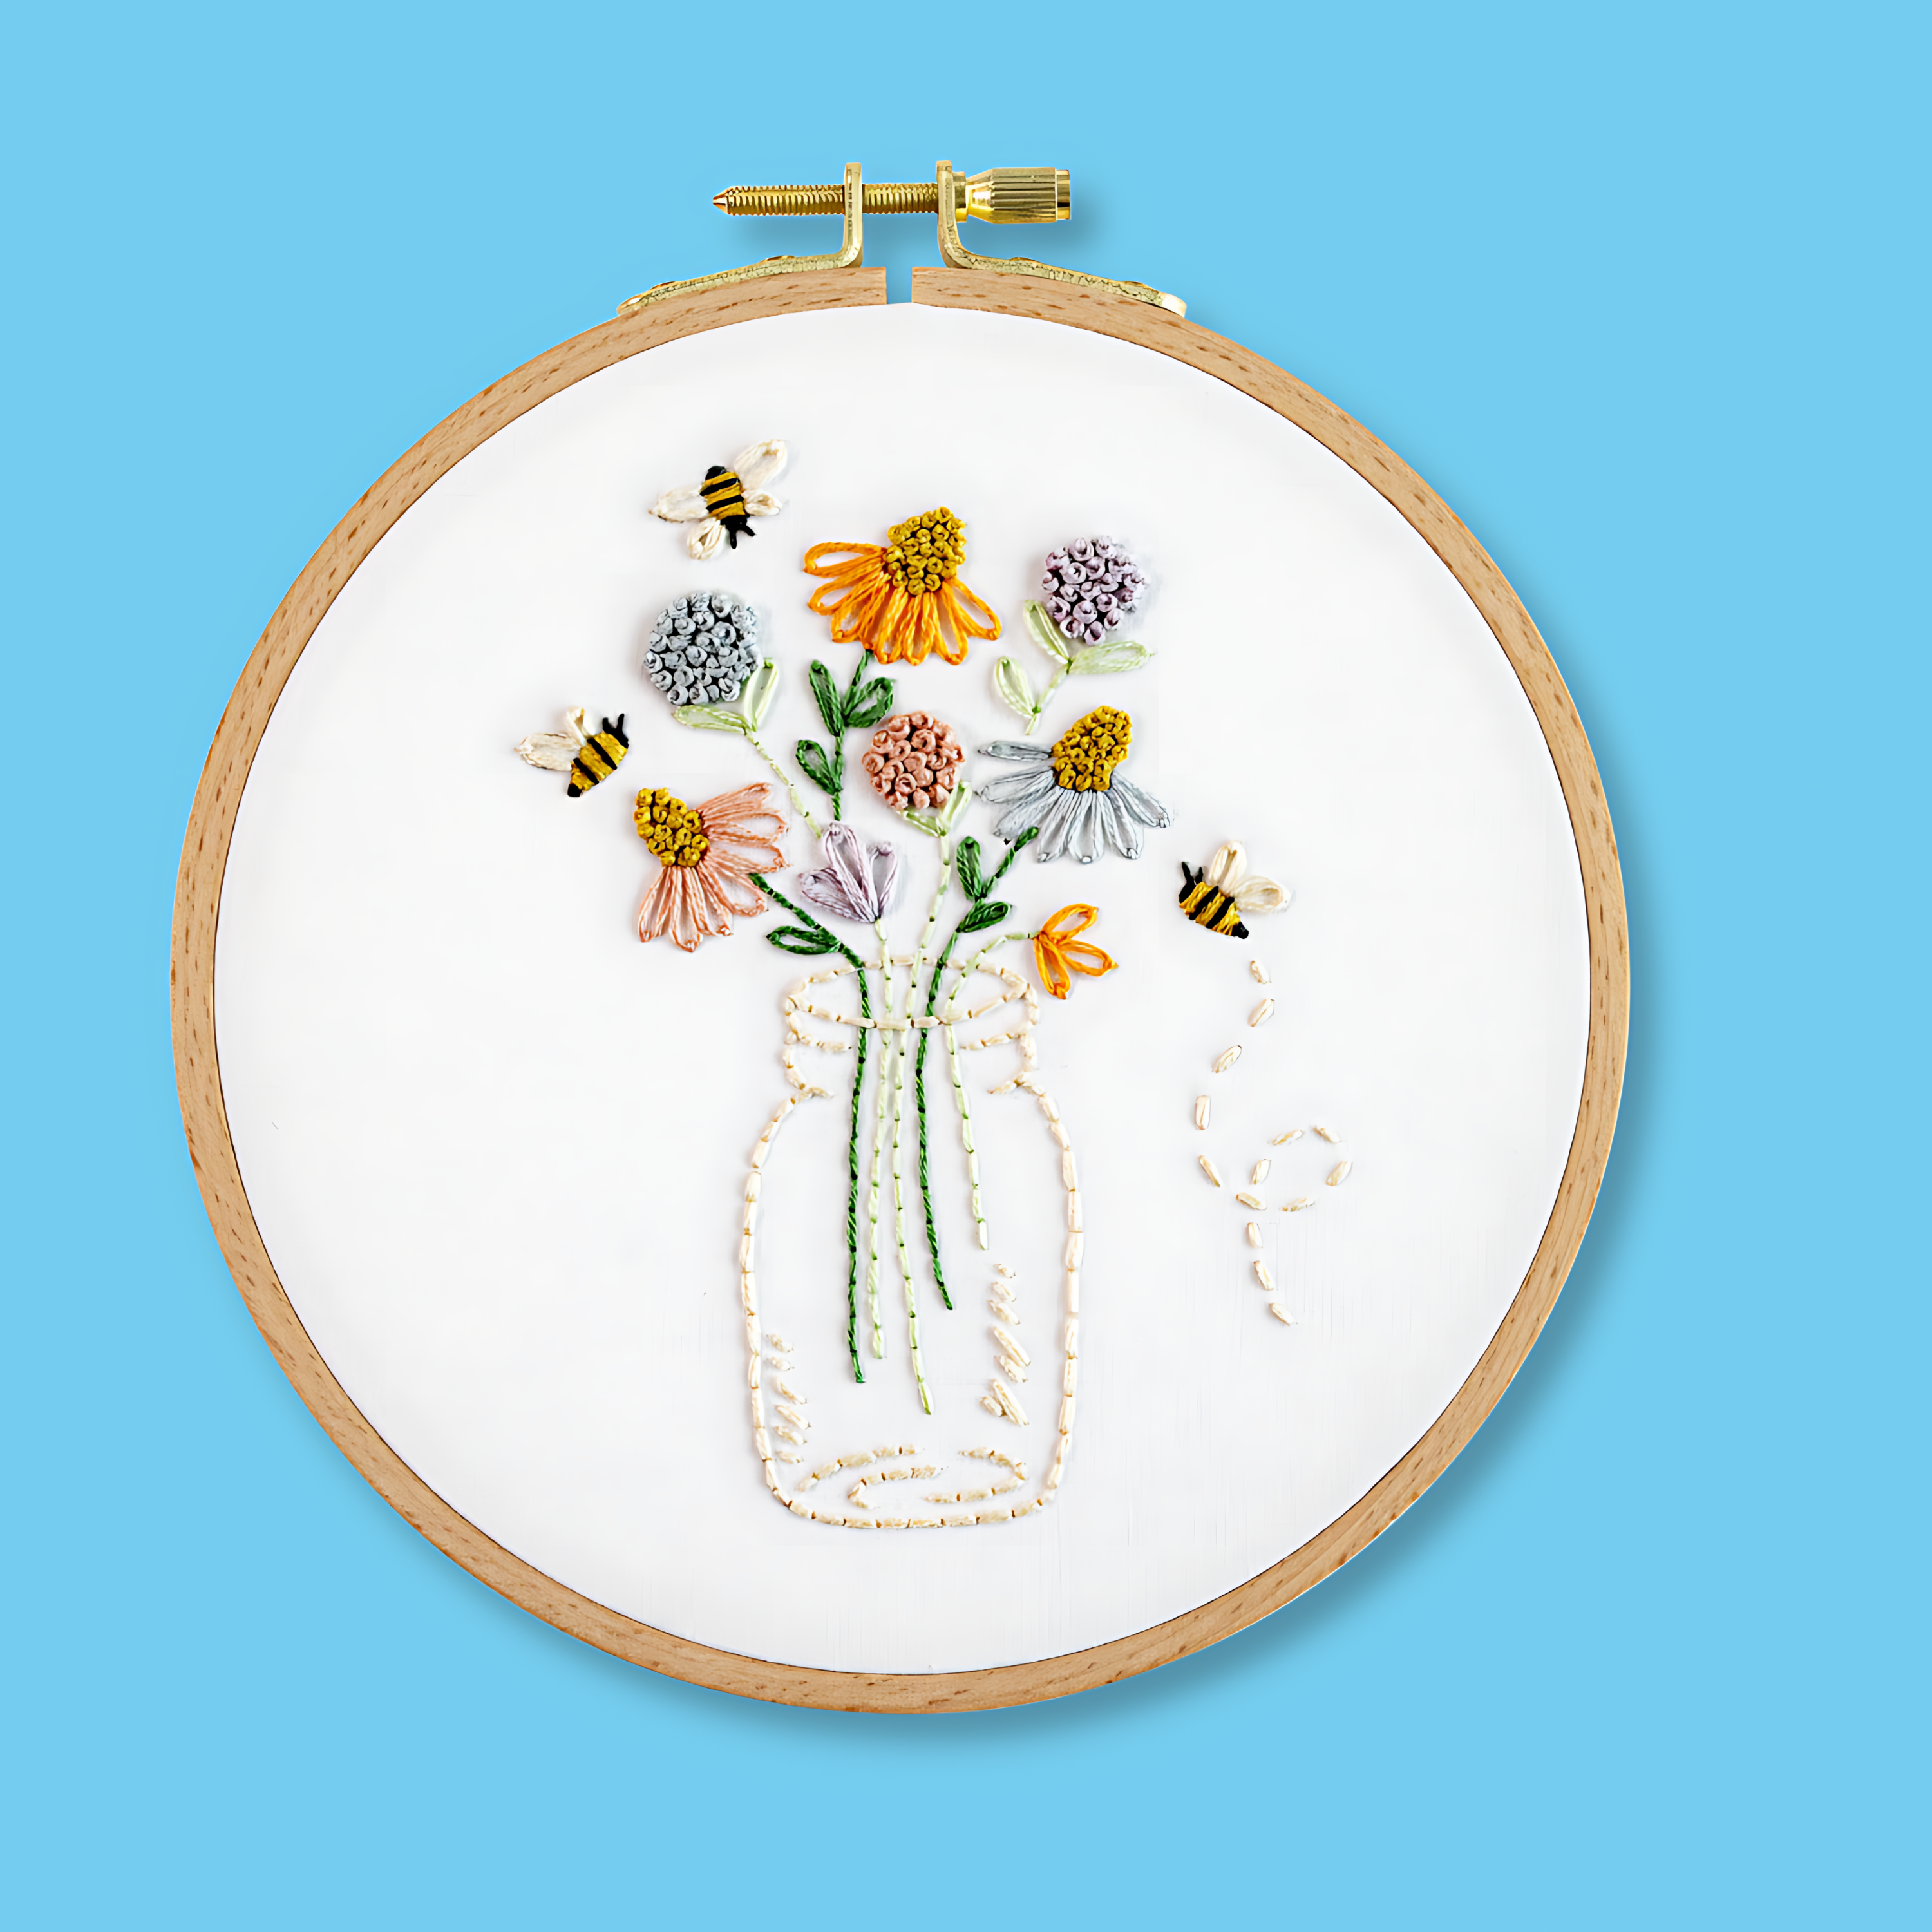
Our most popular beginner kits