


French Braid - Learn This Modern Embroidery Hairstyle

Introduction
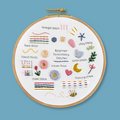
If you've leapt into the world of embroidery, then you may be interested in trying hair embroidery. With hair embroidery, you can create realistic hairstyles such as French Braids and 'up-do's' to elevate any pattern. For example - don't you just love the gorgeous texture and 3D effect of the hairstyles in the pattern above?
Today we will be focusing on one of my favourite embroidered hairstyles, a French Braid.
This is such a gorgeous intricate hairstyle to create for long hair.
But before you get into embroidered hairstyles, you will need to learn Turkey Stitch, the stitch which makes up the strands of hair on the head. So before you read this blog, I would suggest you read my blog Turkey Stitch - Learn This Modern Embroidery Technique.
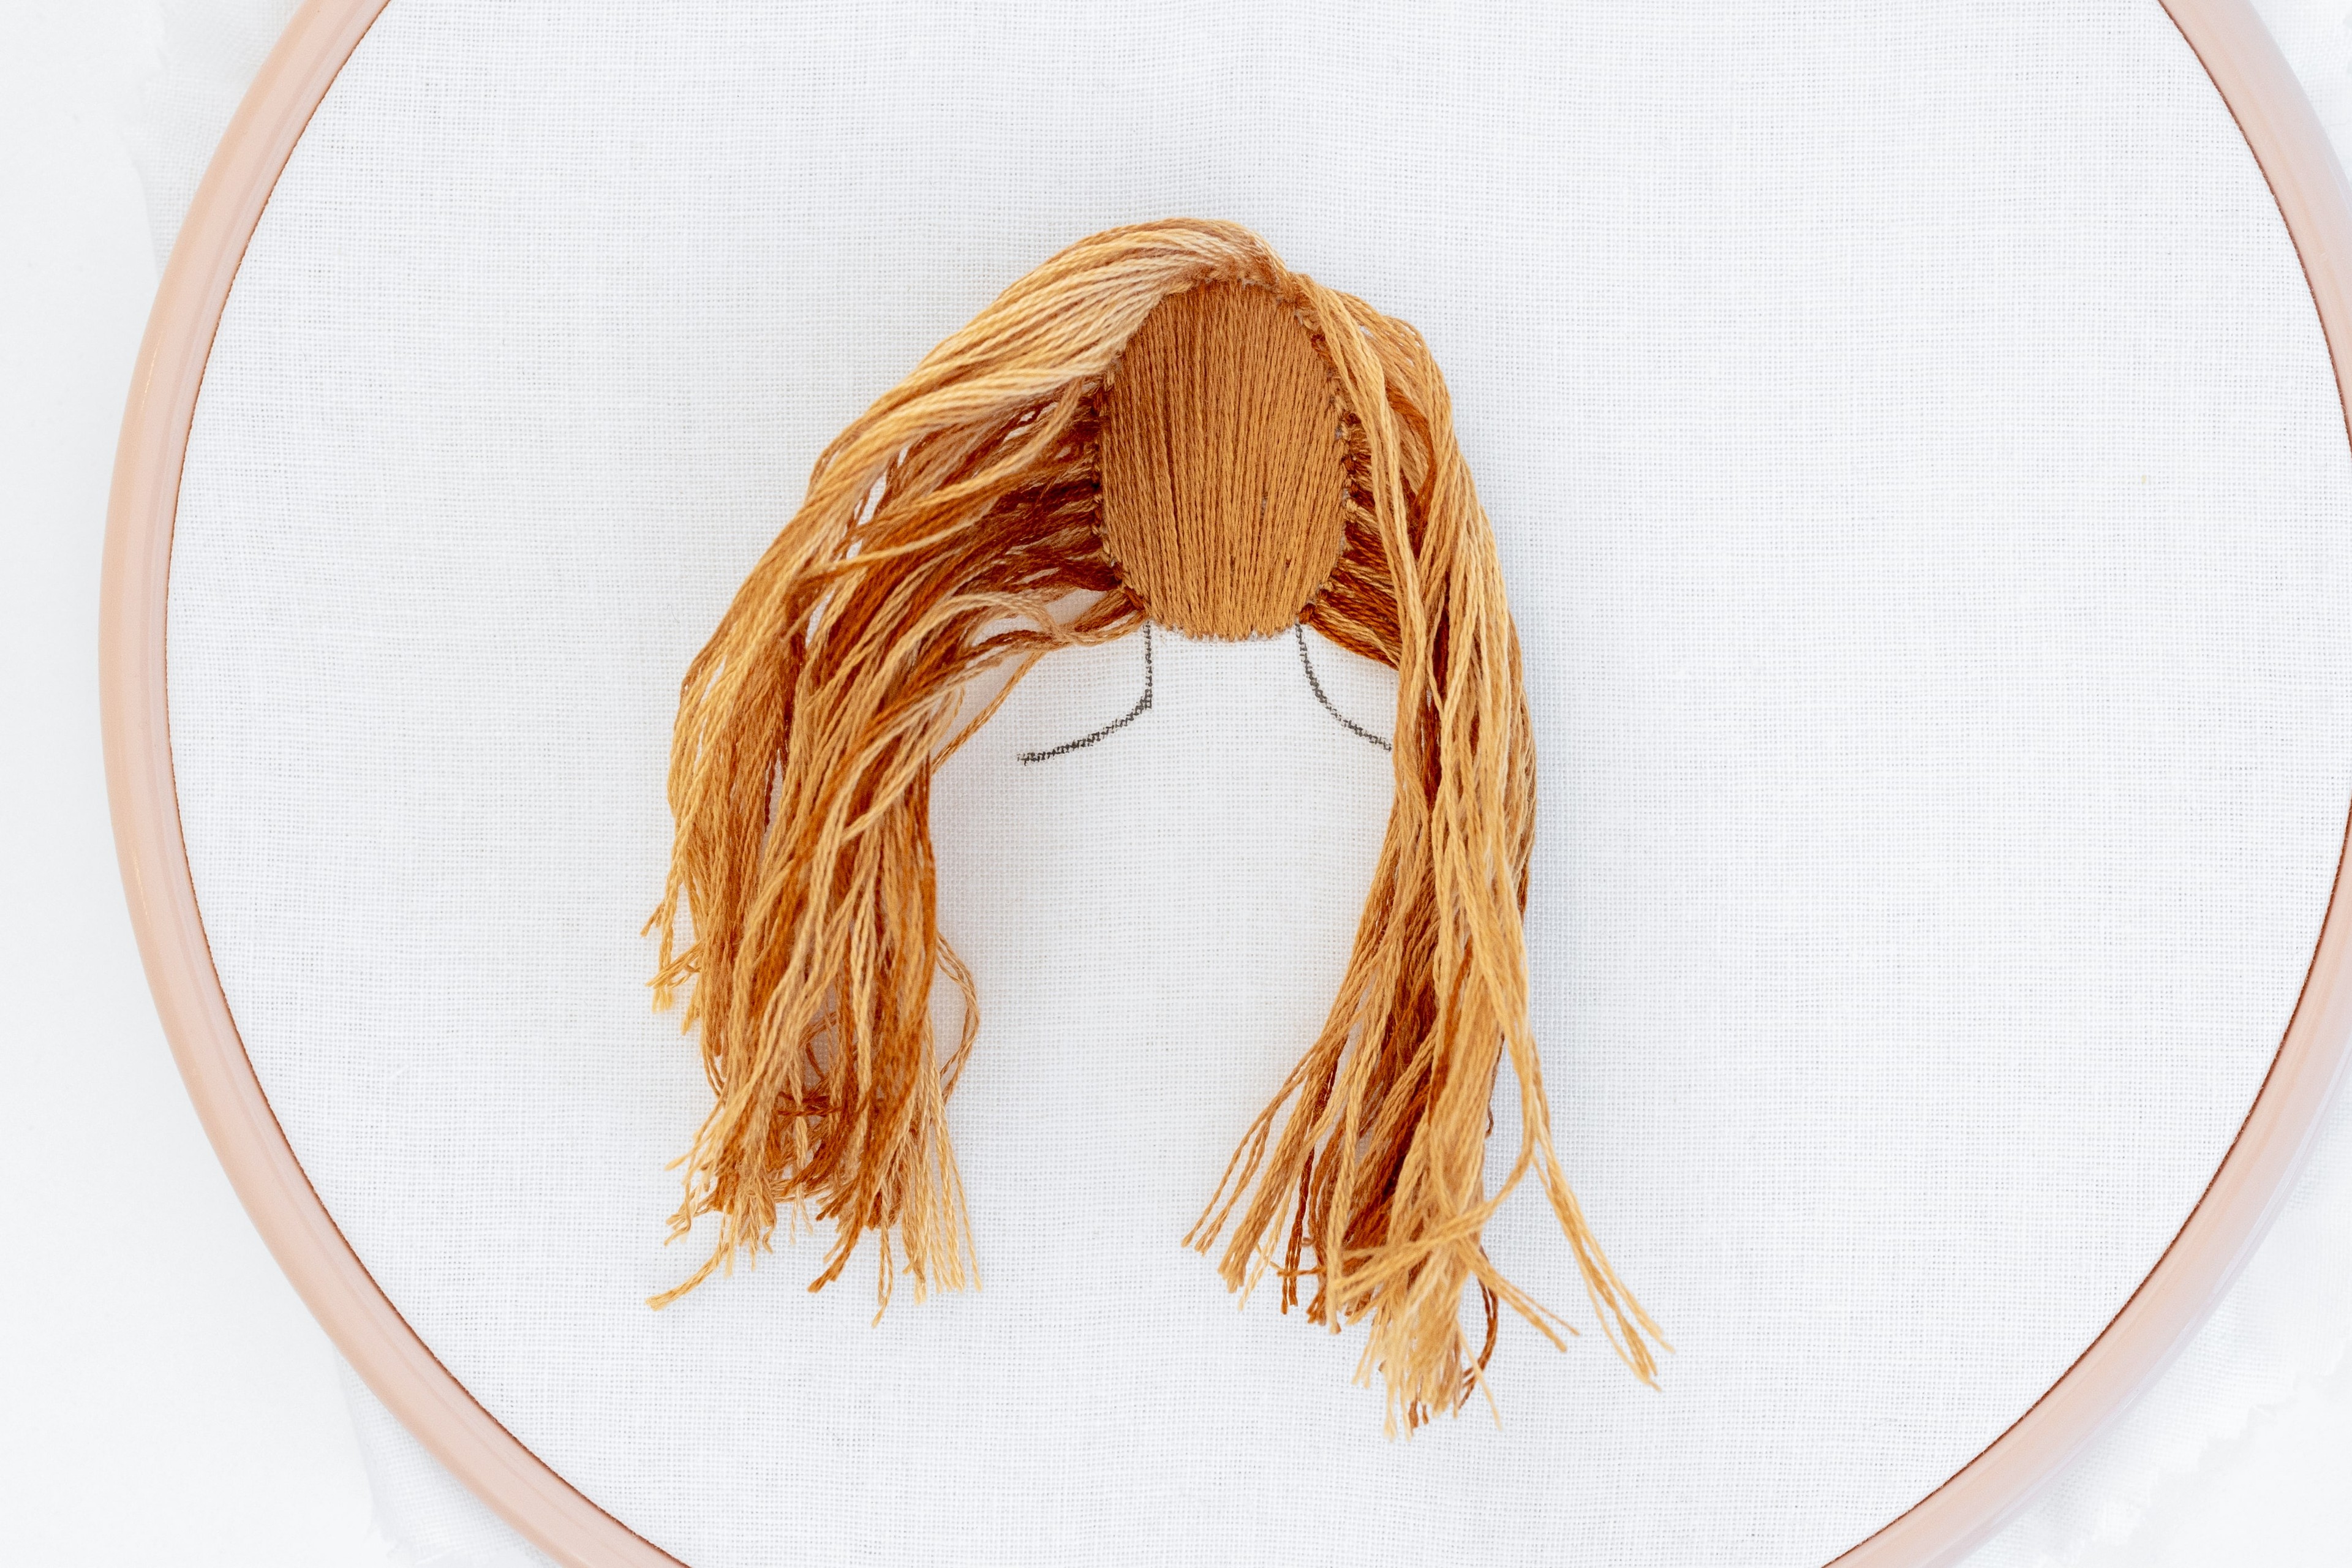
Step 1.
Stitch the hair the whole way around the hairline, except you can leave the nape of the neck free. In this example, I’ve used 3 strands of floss, with the Turkey Stitch method. The tails are about 9cm long. Go around and gently comb out the hair with the blunt tip of a needle, to separate the threads.
Recommendation: The fabric often shows through underneath a French Braid, so I also recommend that you fill in the head with Satin Stitch.
Step 2.
Cut a section of thread or ribbon and have it ready to tie the braid at the end.
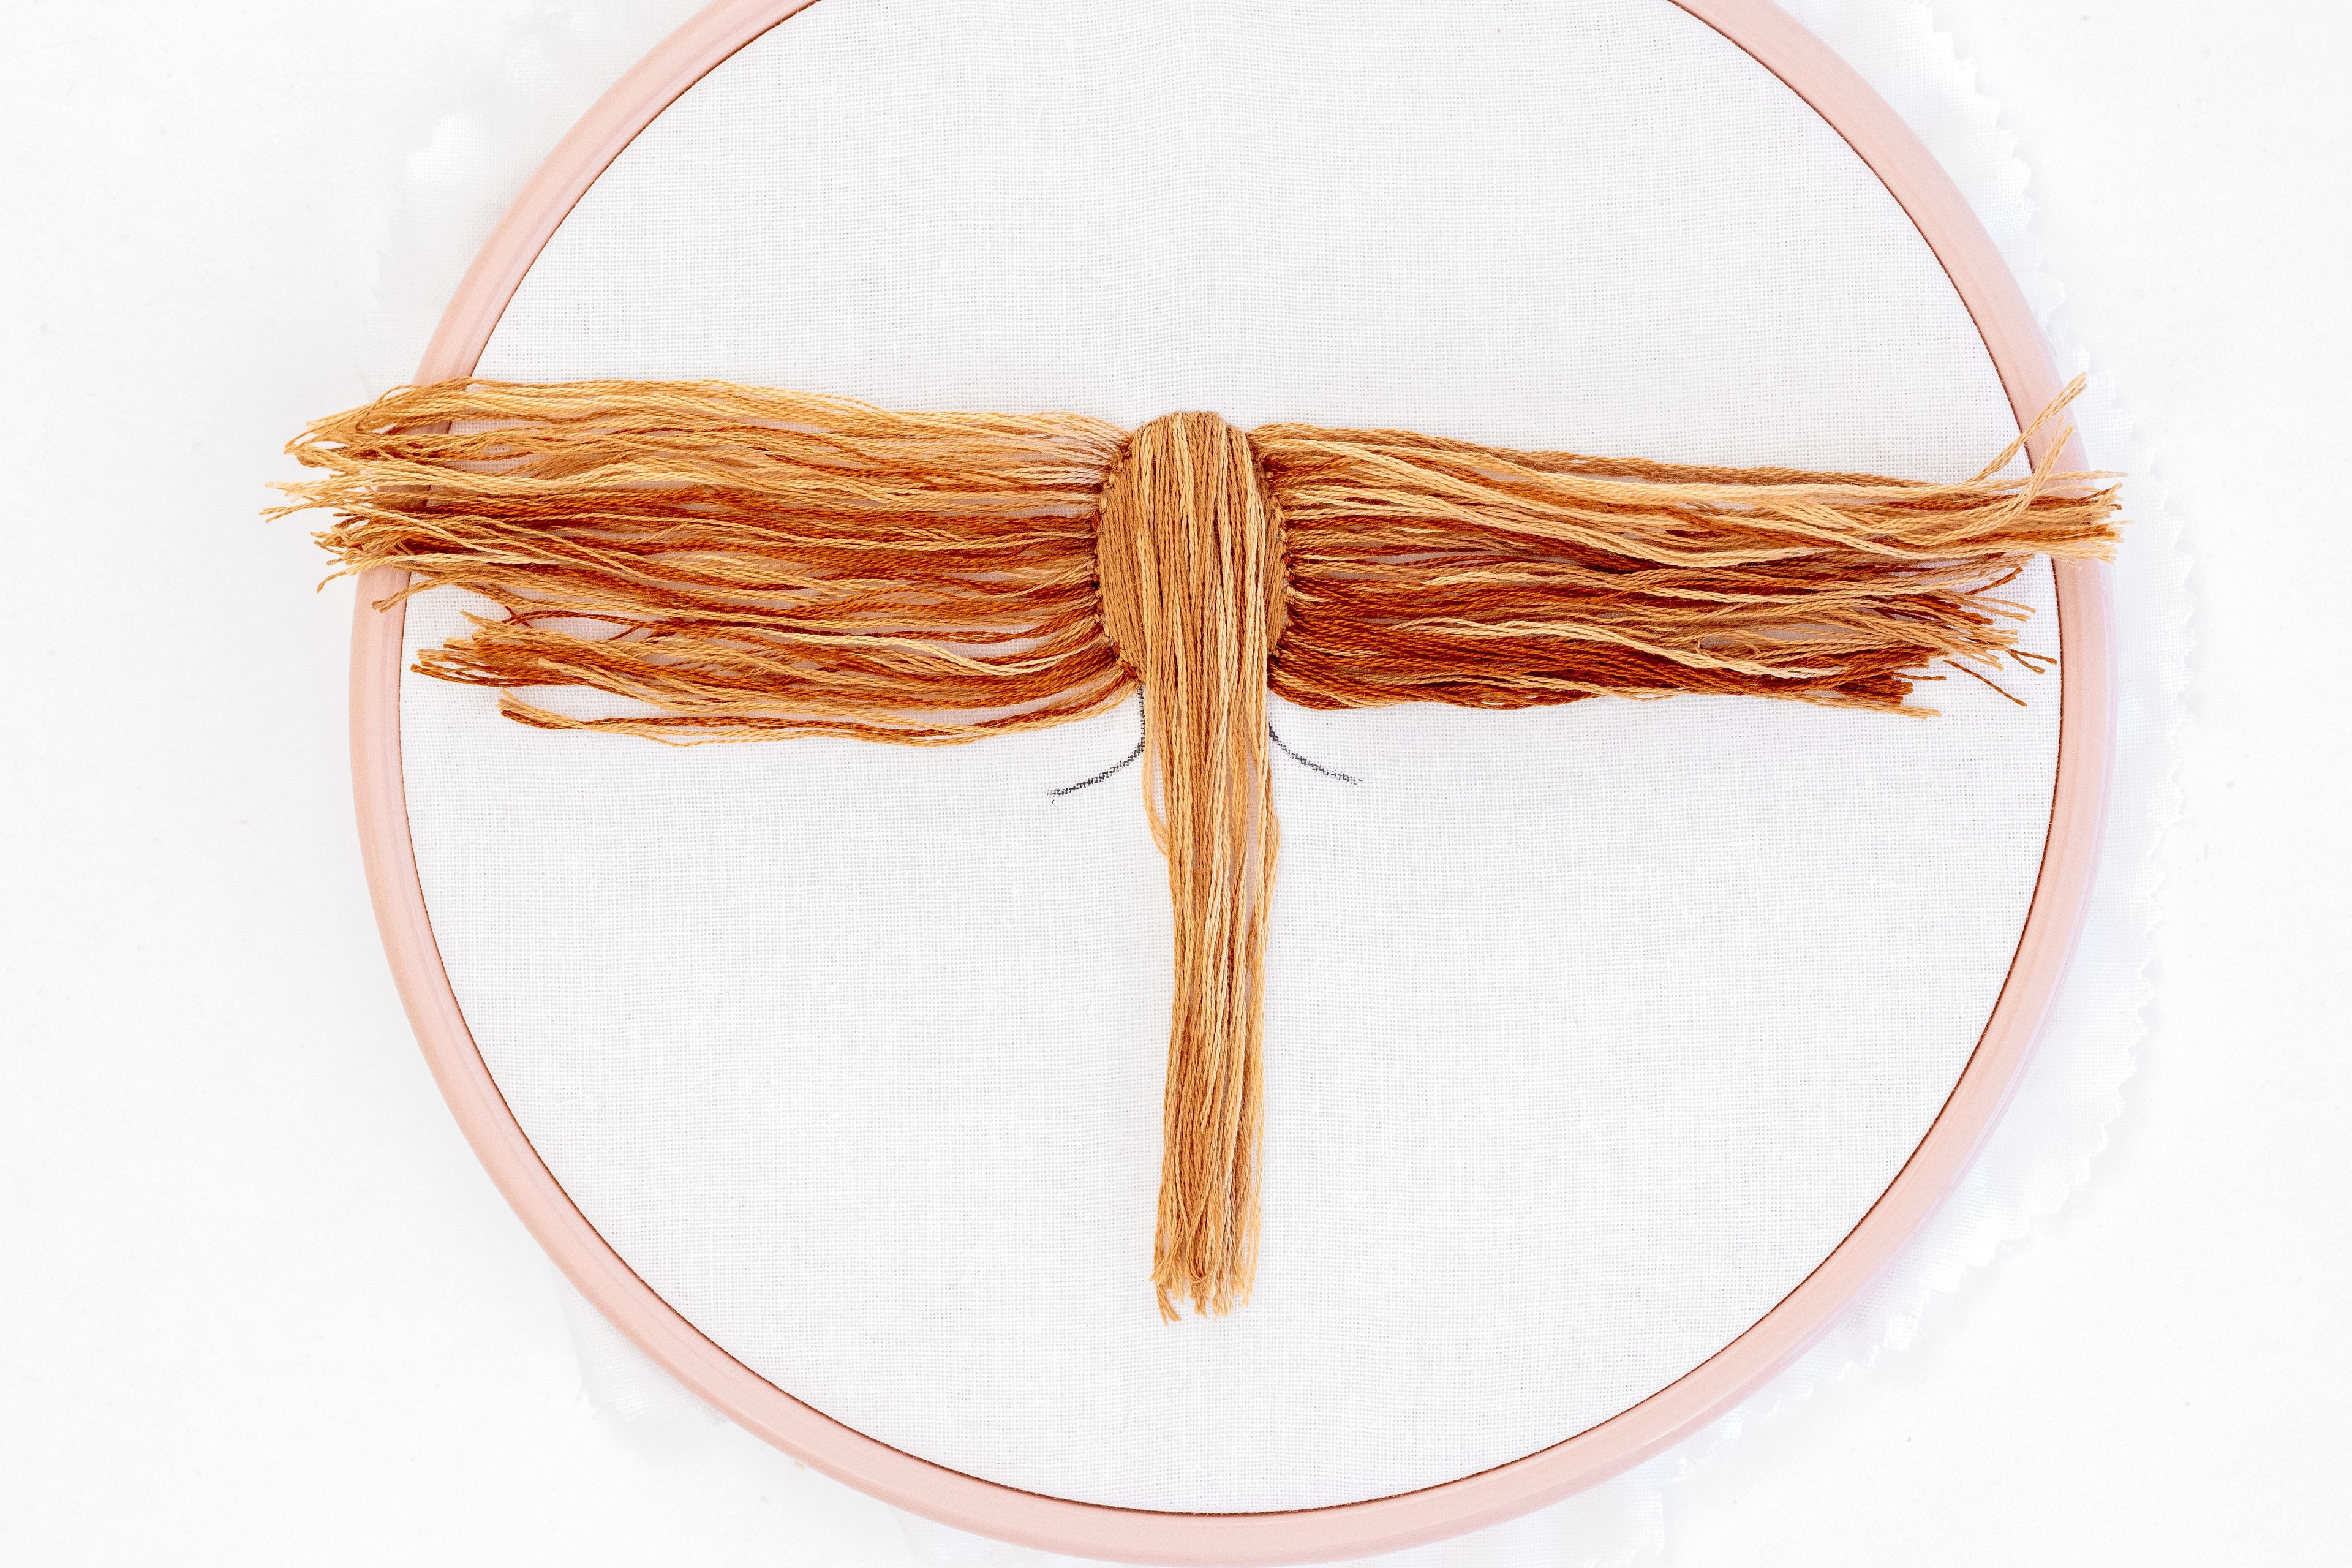
Step 3.
Section off the middle portion of hair, and position it so that it’s hanging straight down. The wider this middle section is, the lower your French Braid will begin on the back of the head.
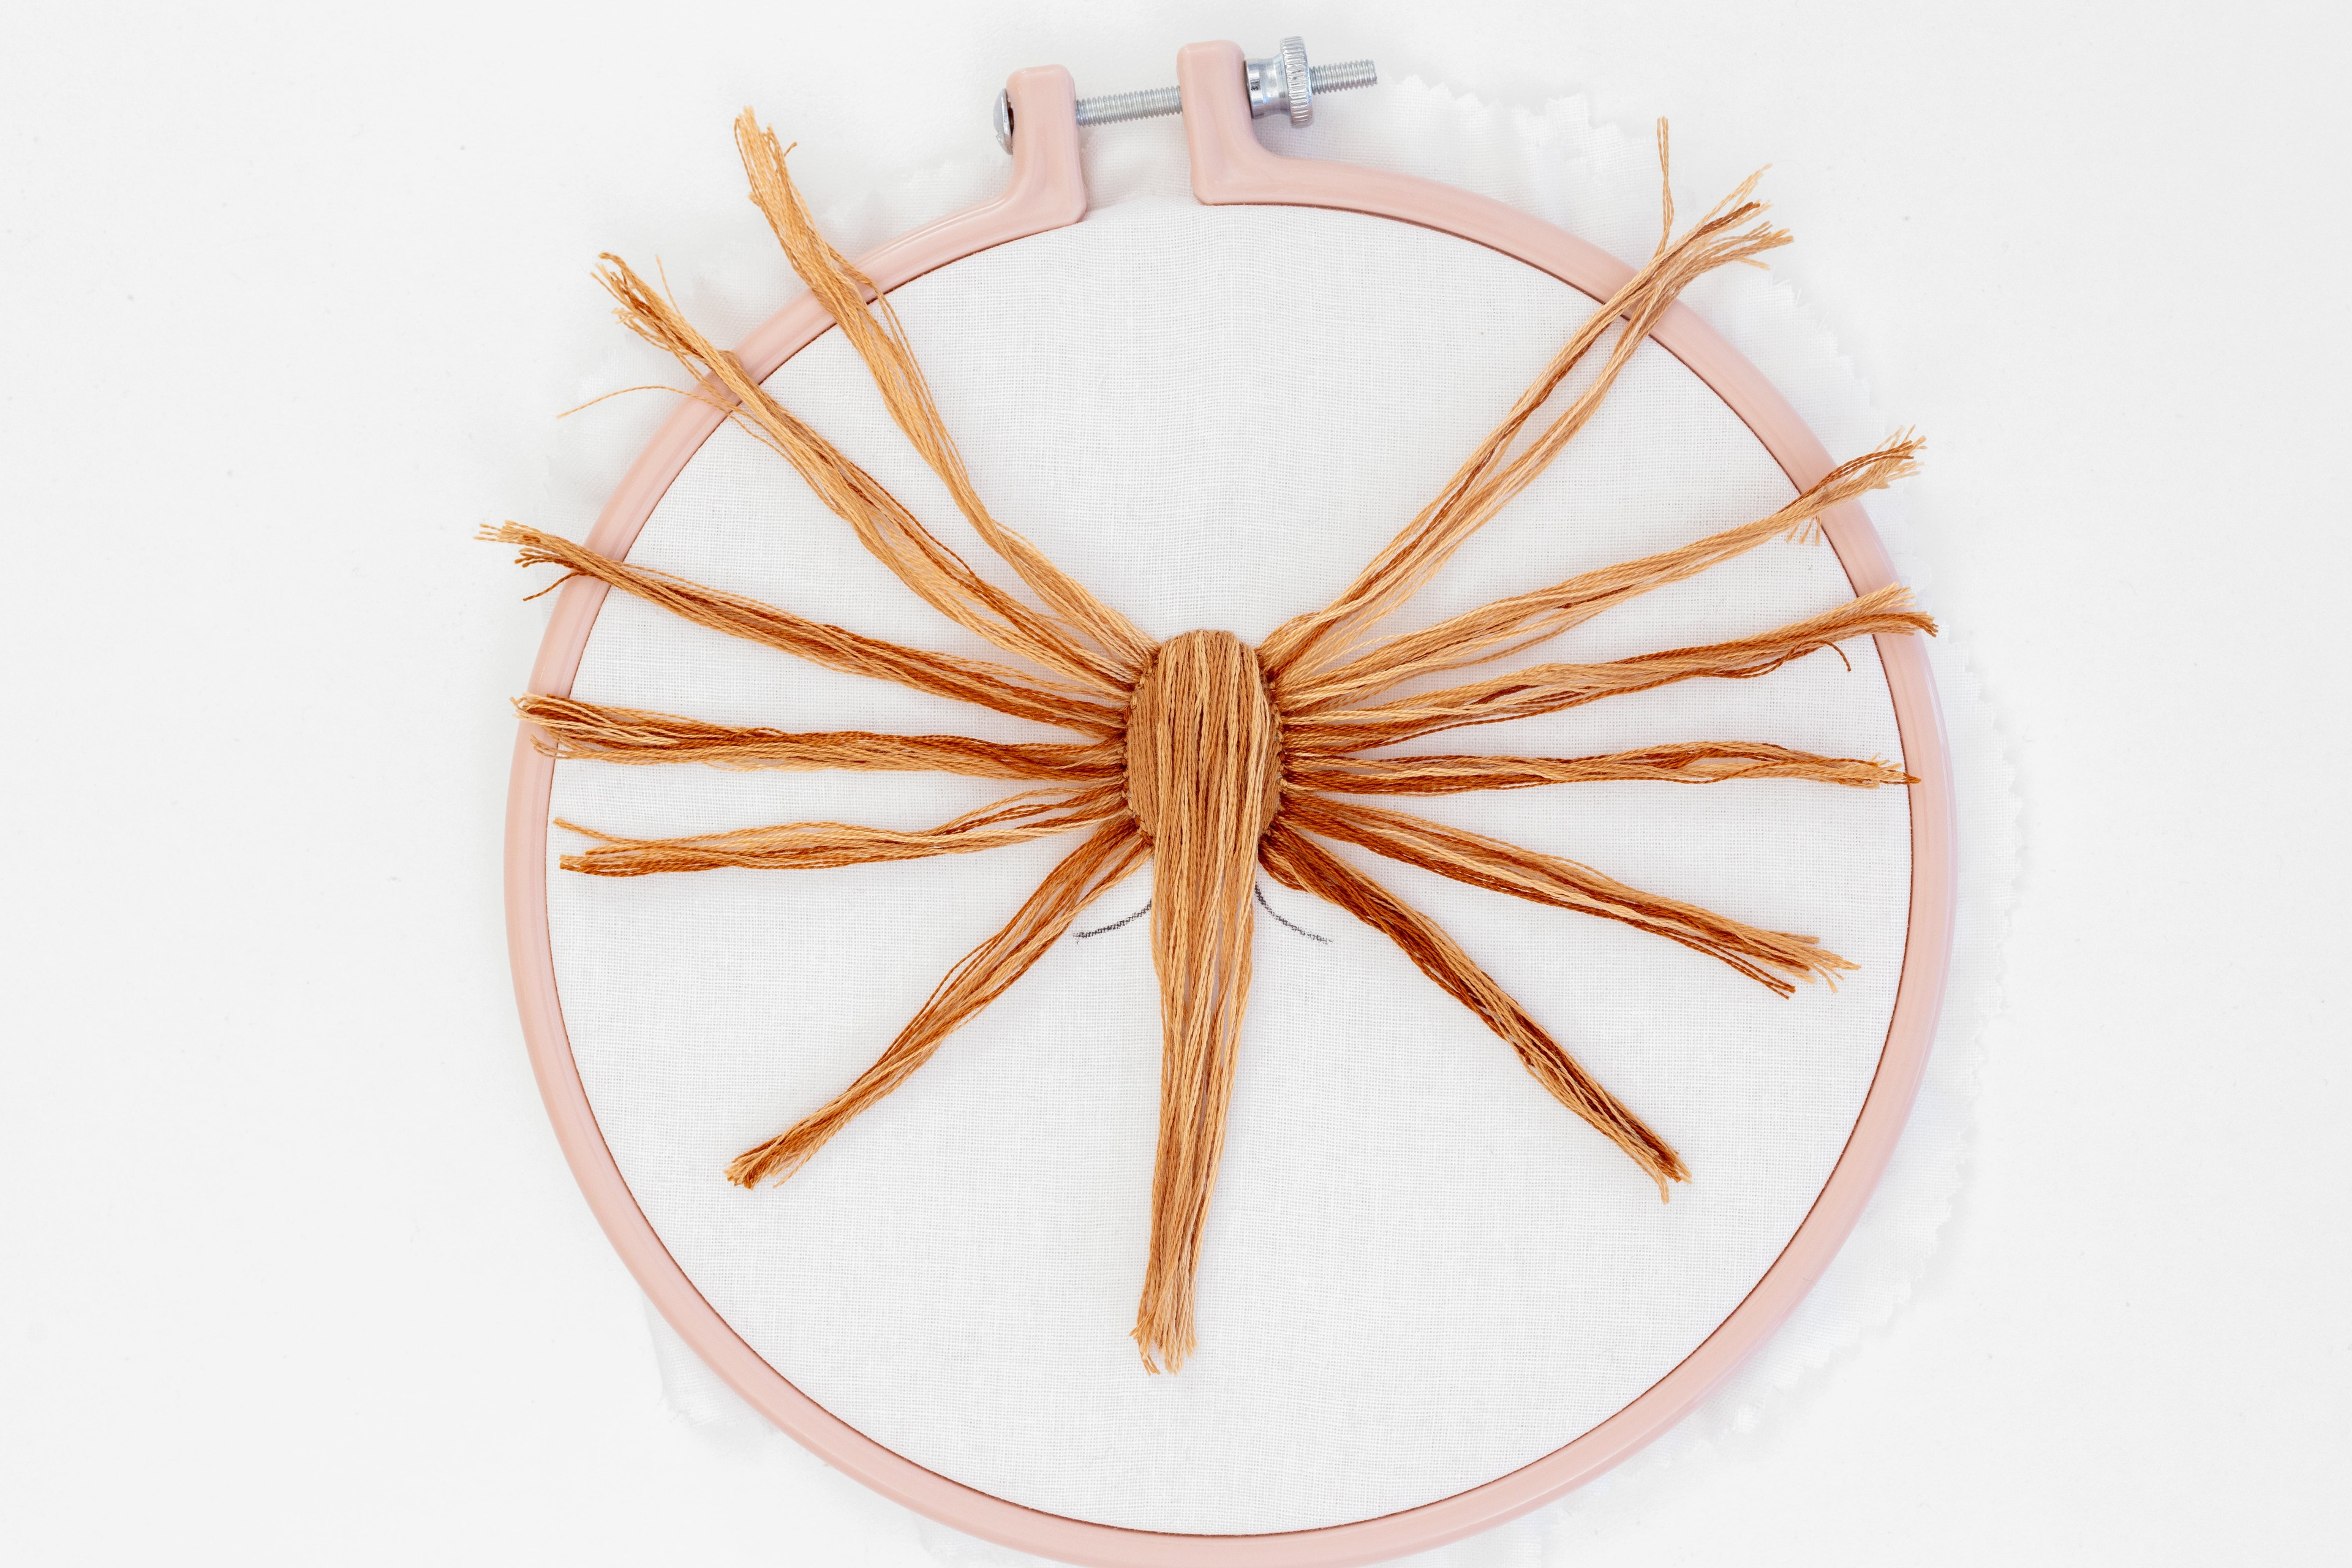
Step 4.
Then pre-split the rest of the hair into sections, so that it’s easier to handle. I like to section off about 6 portions of hair on each side, but you can do these as thick or thin as you like.
Step 5.
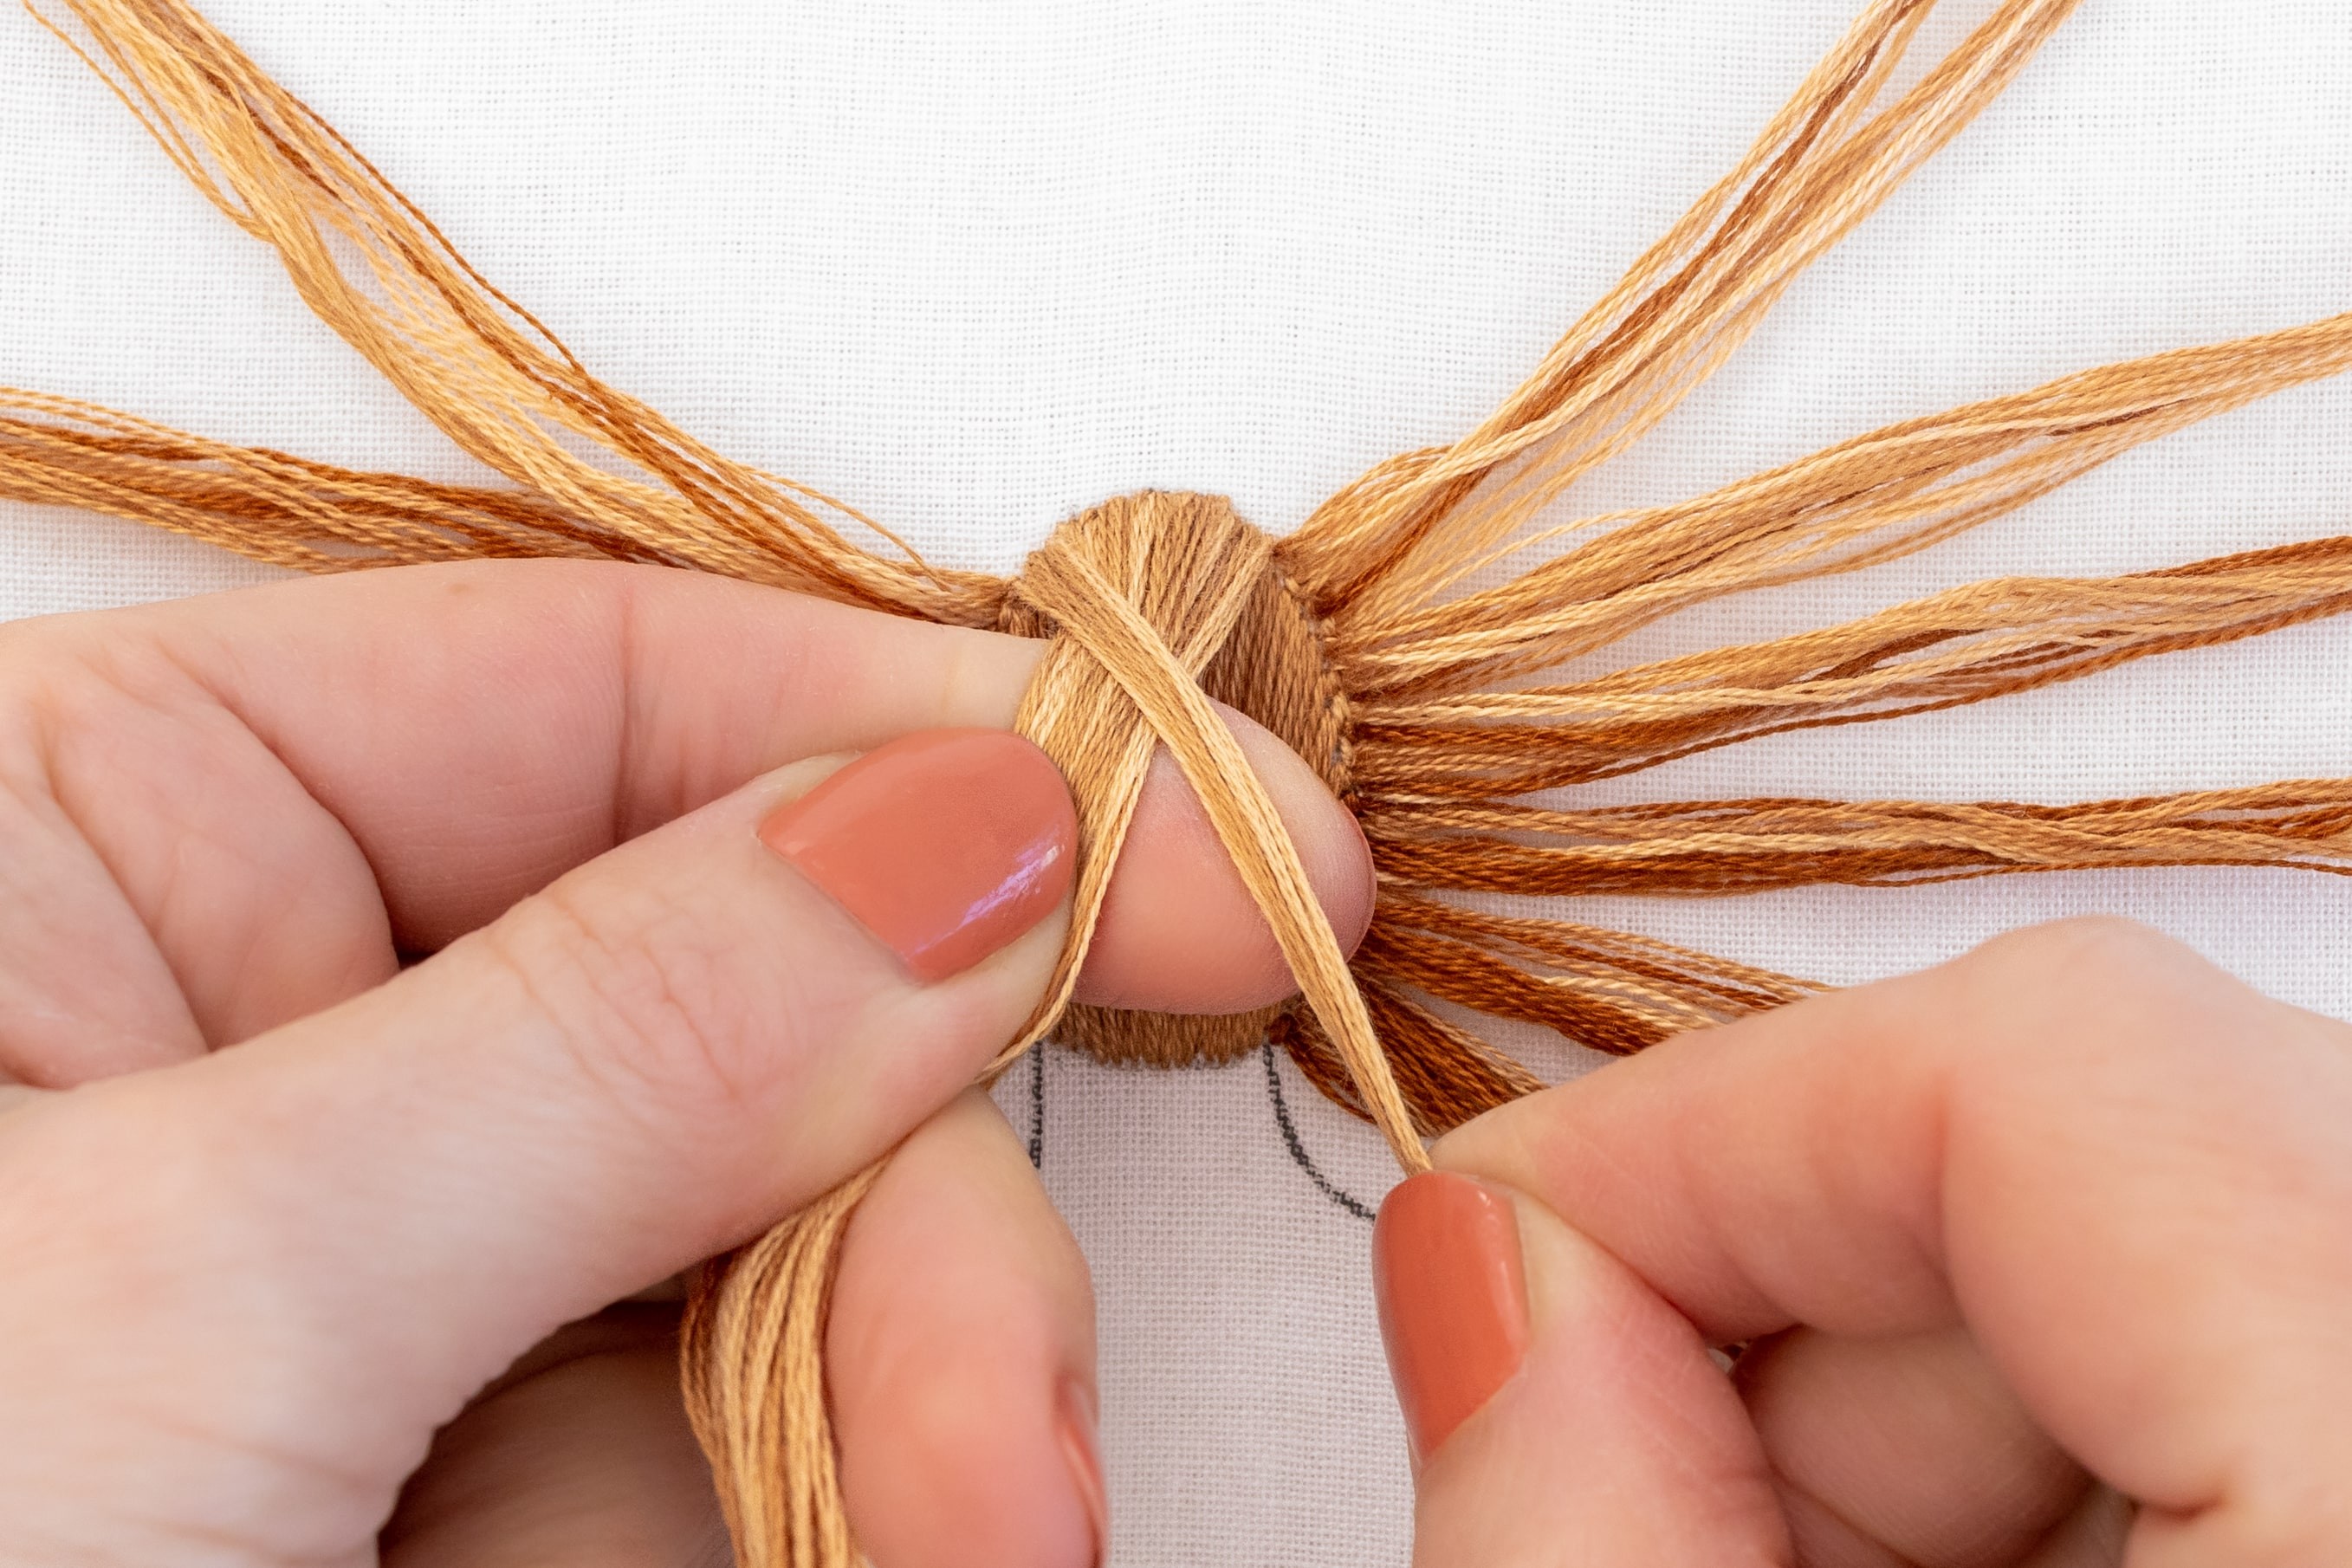
Start with a standard braid. So bring the top left section towards the right and over the top of the middle section, so that it now sits in the middle.
It really helps if you use your free hand to keep the pressure on the braid in the middle (pushing it against the fabric), while you grab each new section with your other hand.
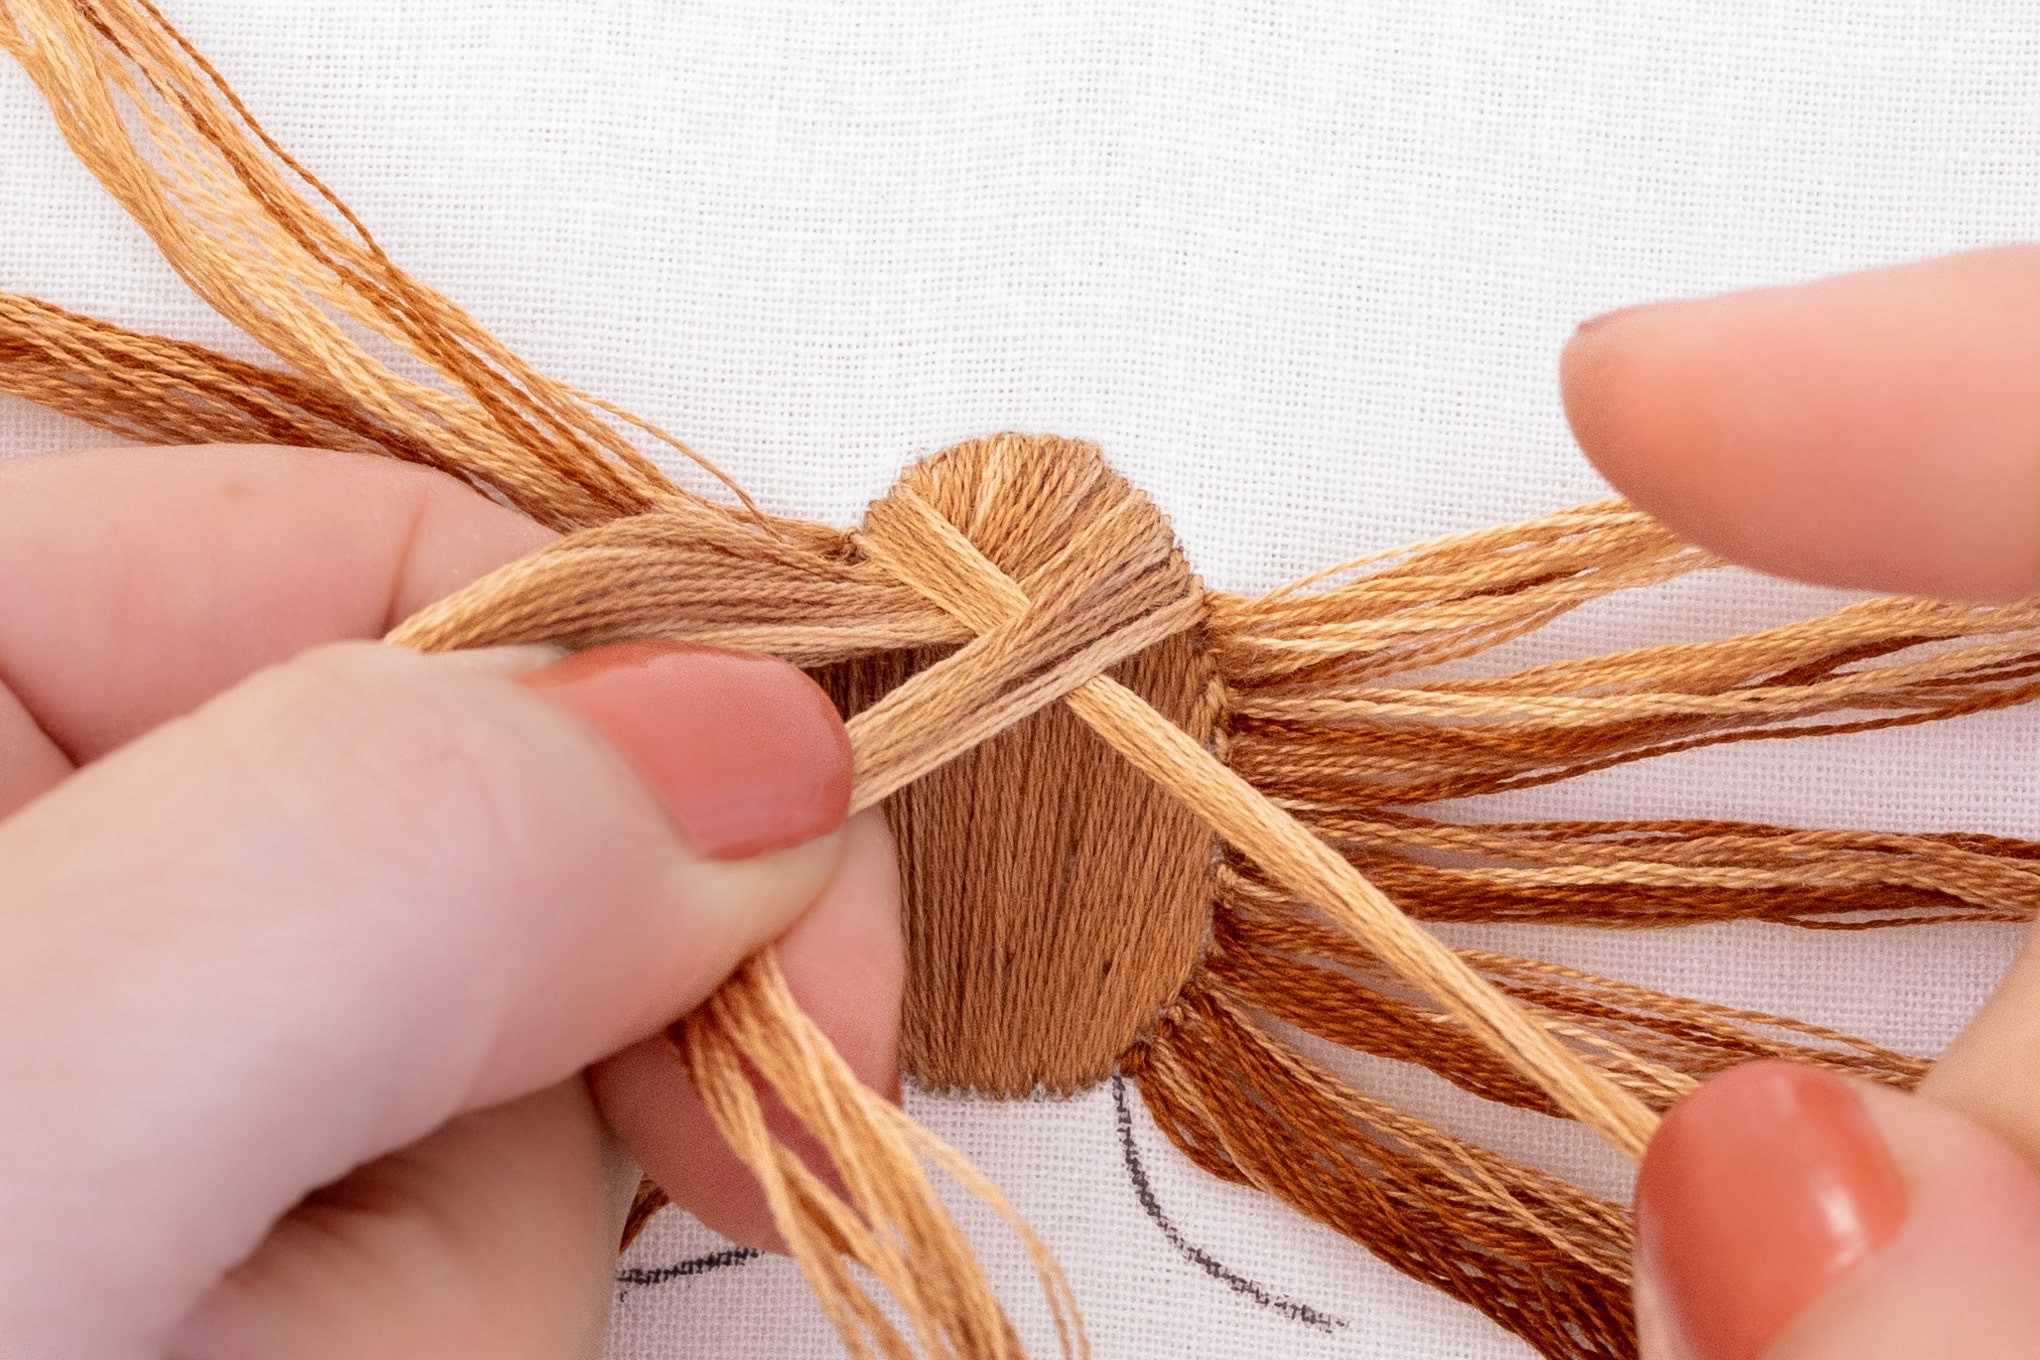
Step 6.
Bring the top right section towards the left and cross it over the middle section, so that it now sits in the middle. That’s the start done, and now we move on to the French style of braiding.
You basically do a standard braid but add sections of hair into the braid as you go, working your way down the hairline.
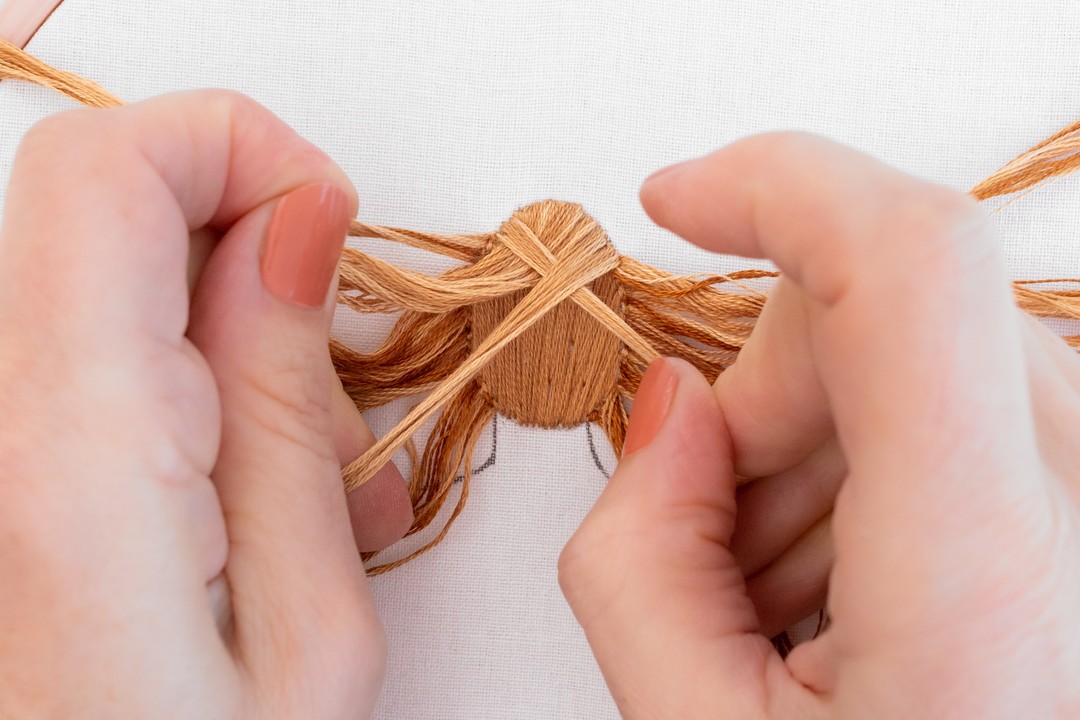
Step 7.
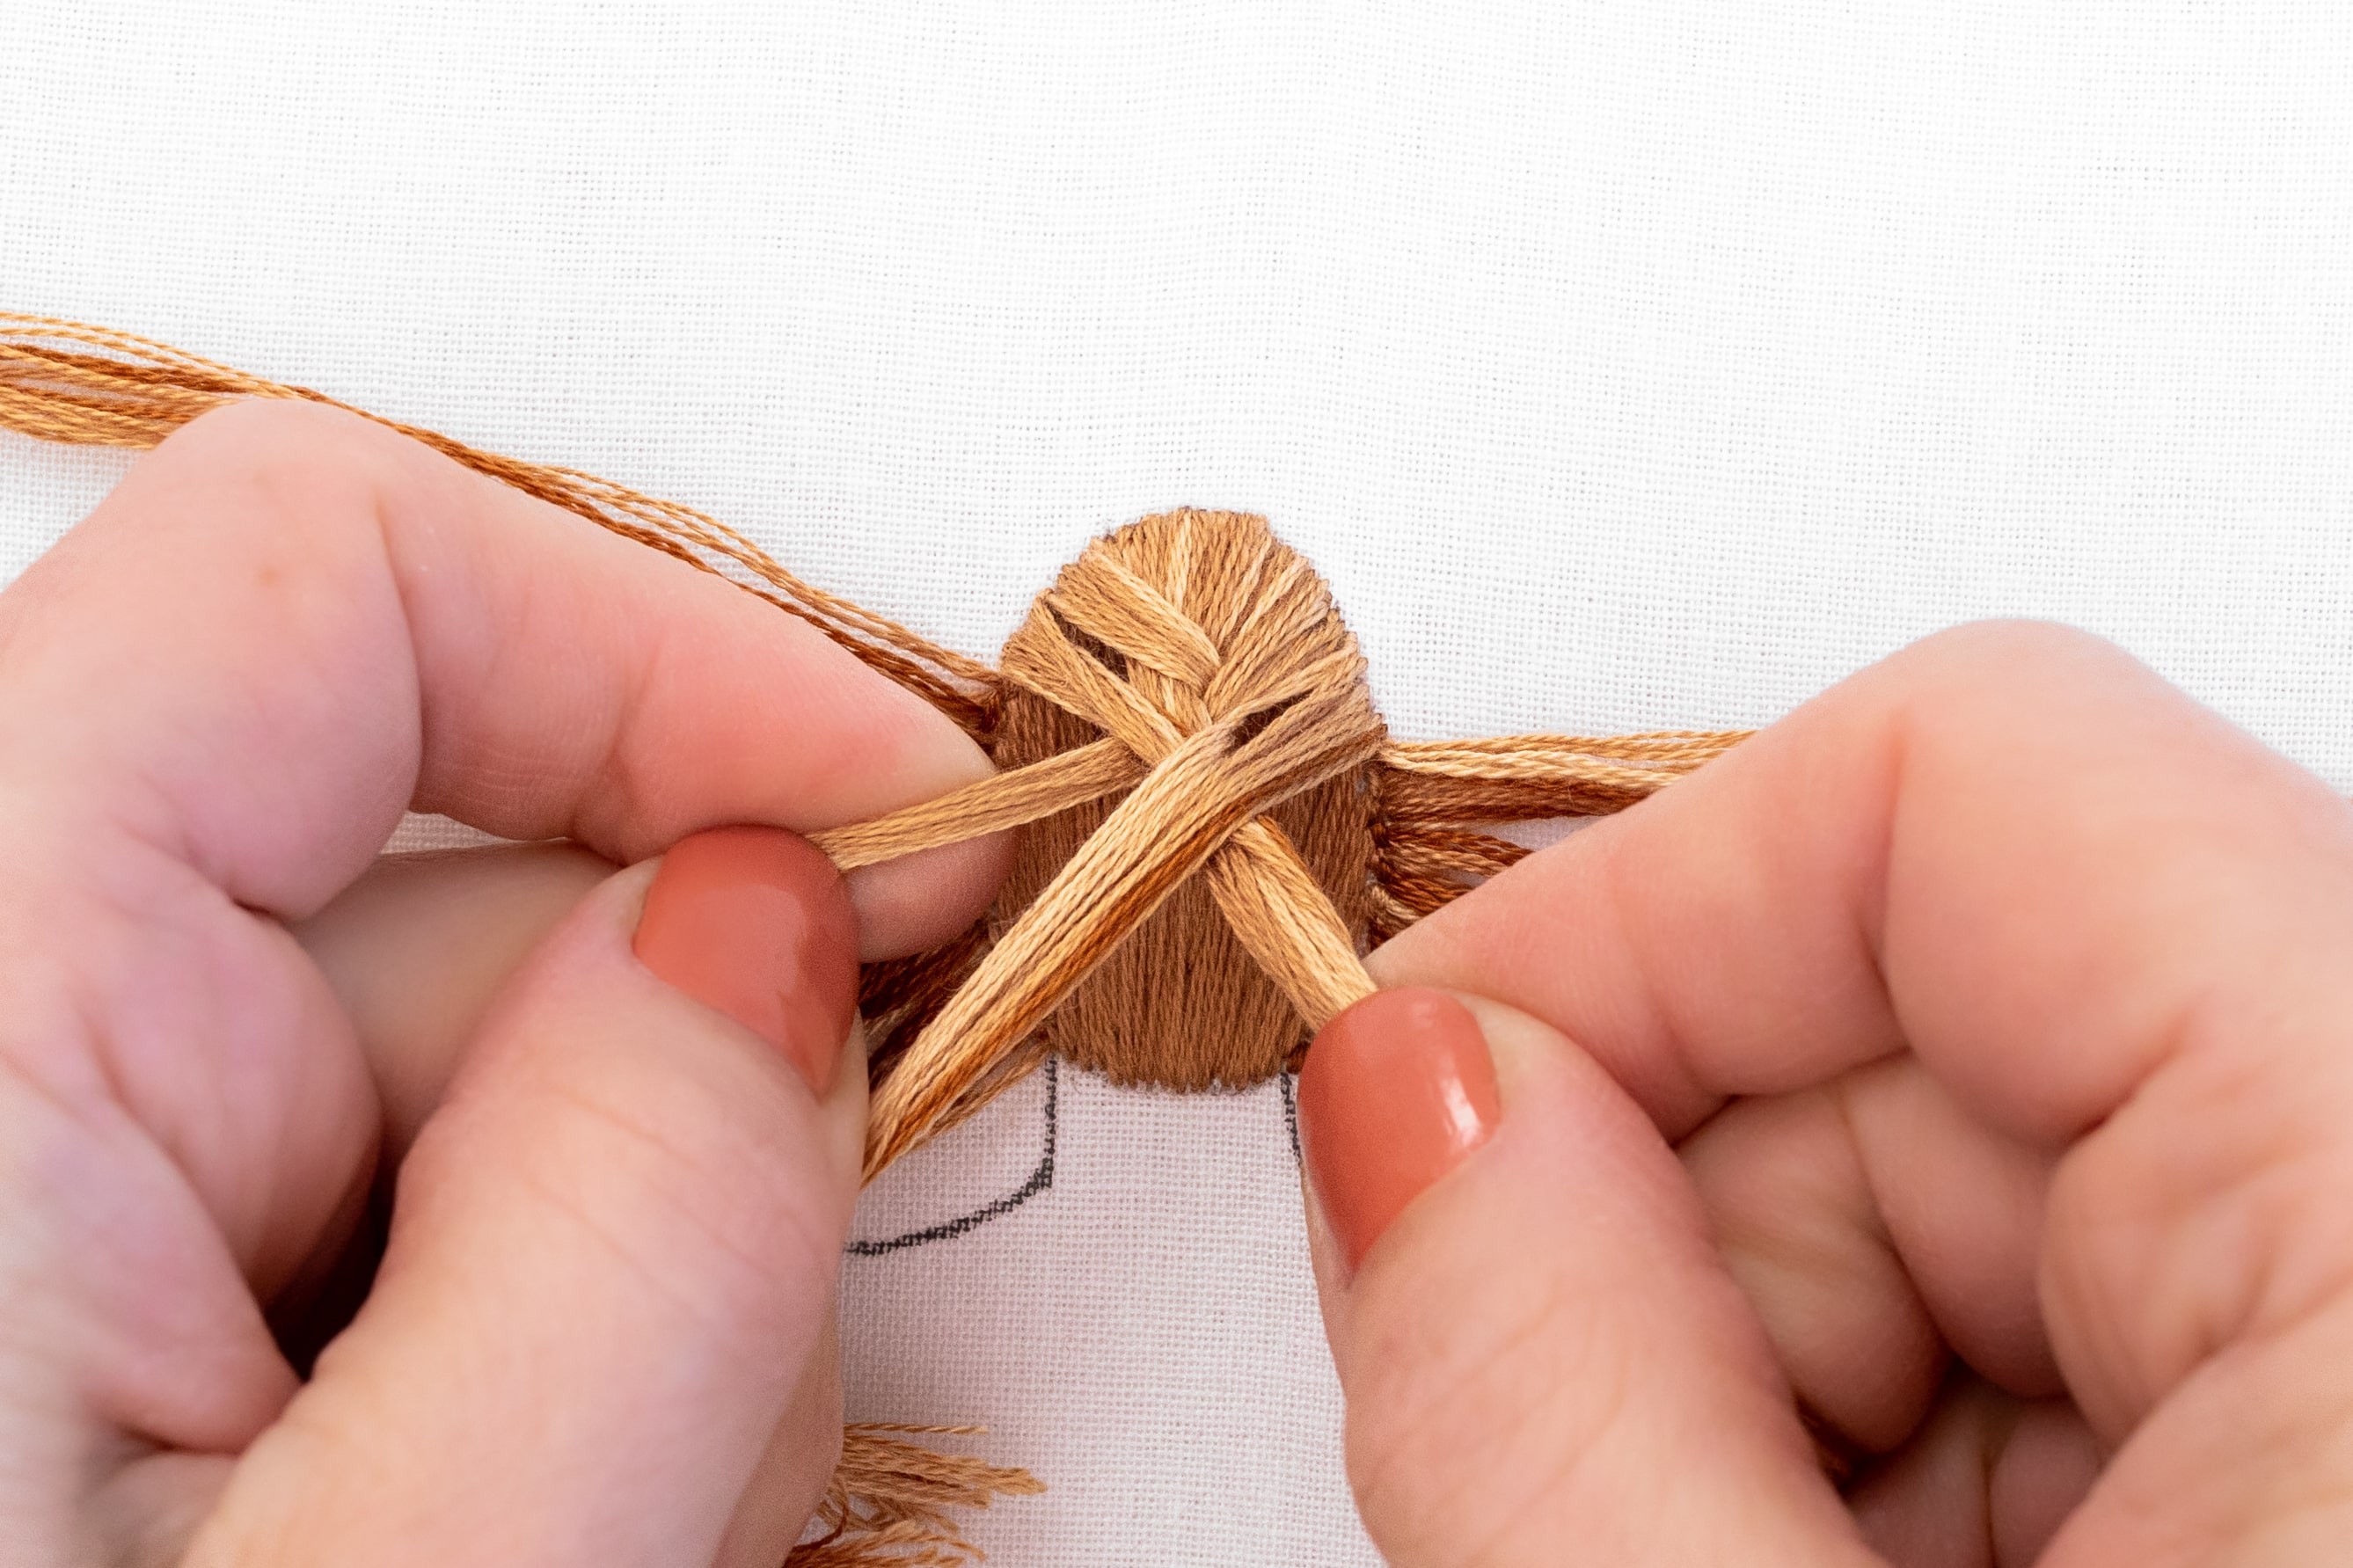
Take a look, and see how you’ve been working with the first 3 sections of the braid? Now grab the top most section on the left, and add it into the left section (so that it becomes part of that group of threads).
Then cross this section over to the middle, just like you do with a standard braid.
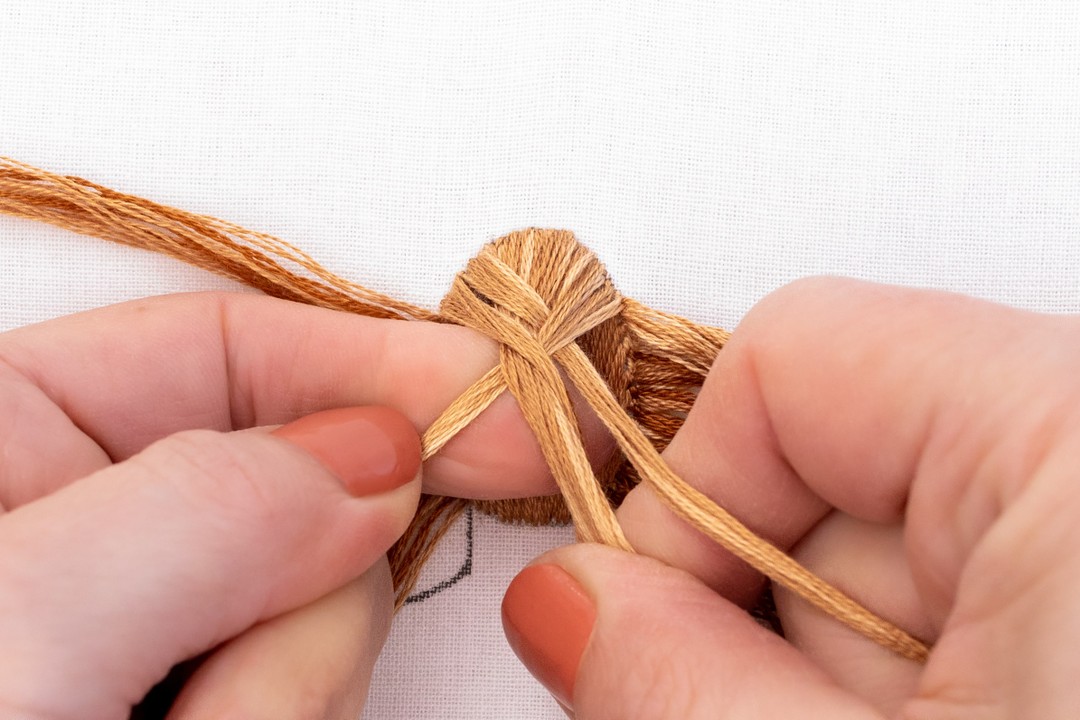
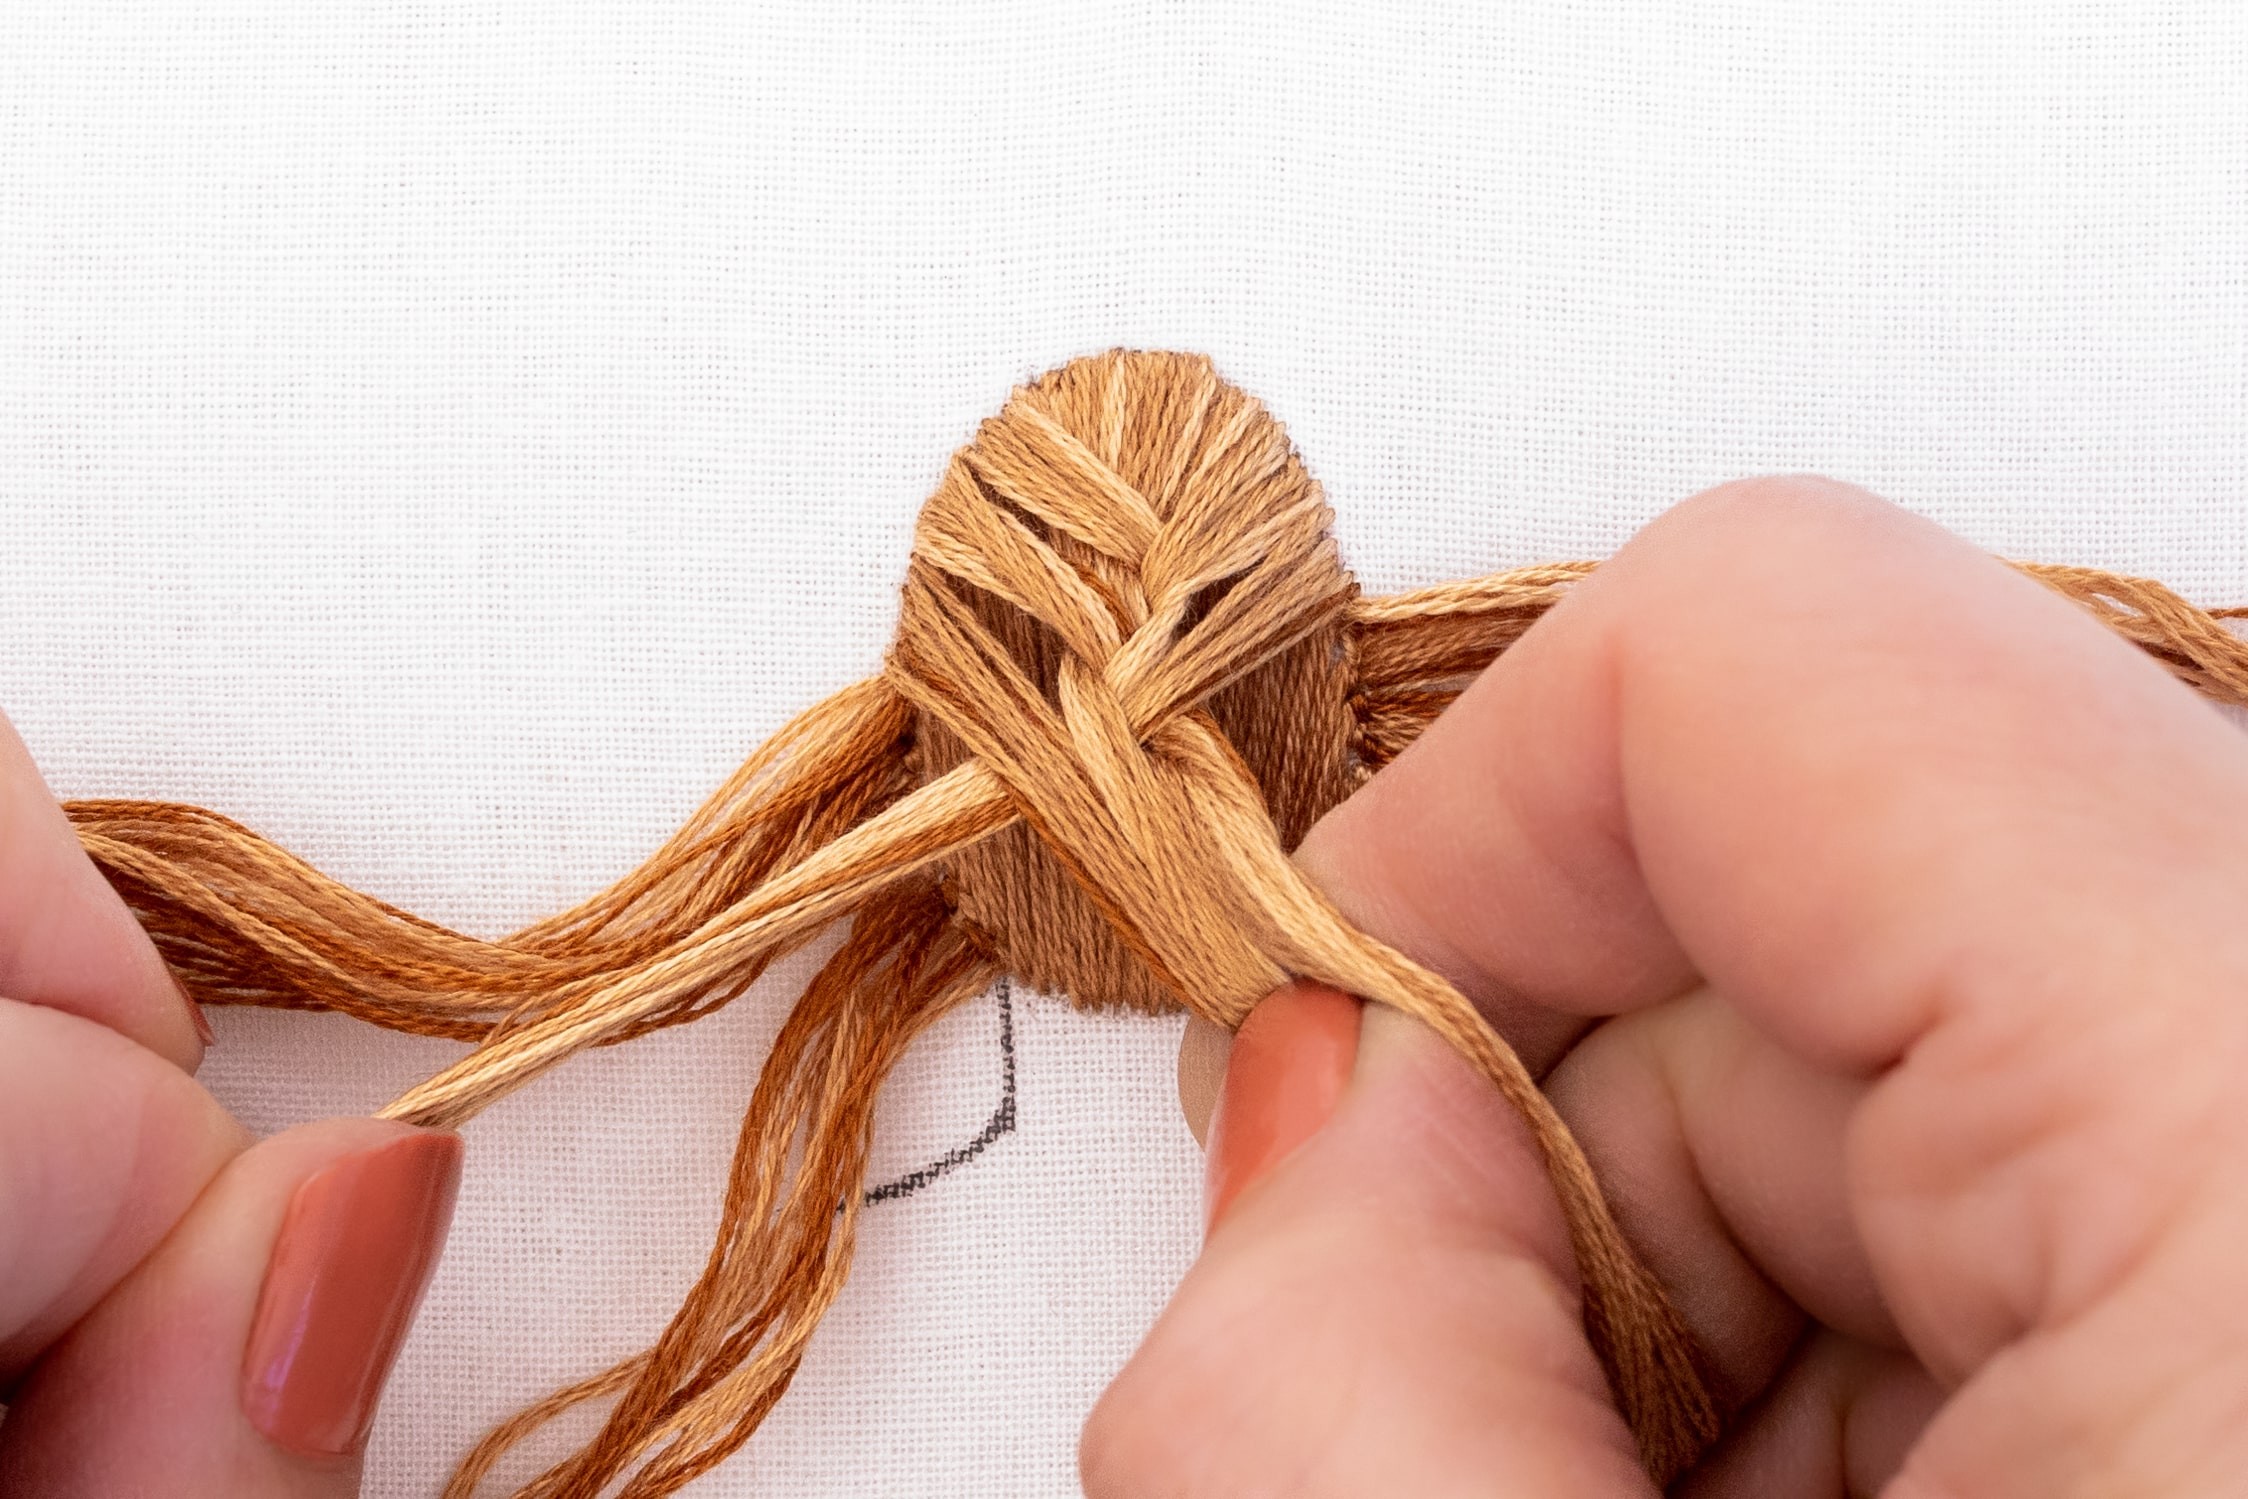
Step 8.
Now do the same on the other side – grab the topmost section on the right, and add it to the right section. Then cross it over to the middle.
Step 9.
Keep following this pattern, alternating right and left sides. You’ll notice that each of the 3 sections becomes bigger in volume because you’re adding in more sections of hair each time you cross over to the middle.
It can be quite tricky to keep the tension on the braid and manage multiple sections of hair at a time.
Just persevere, practice helps, and use your free hand a lot to keep the tension on the braid.
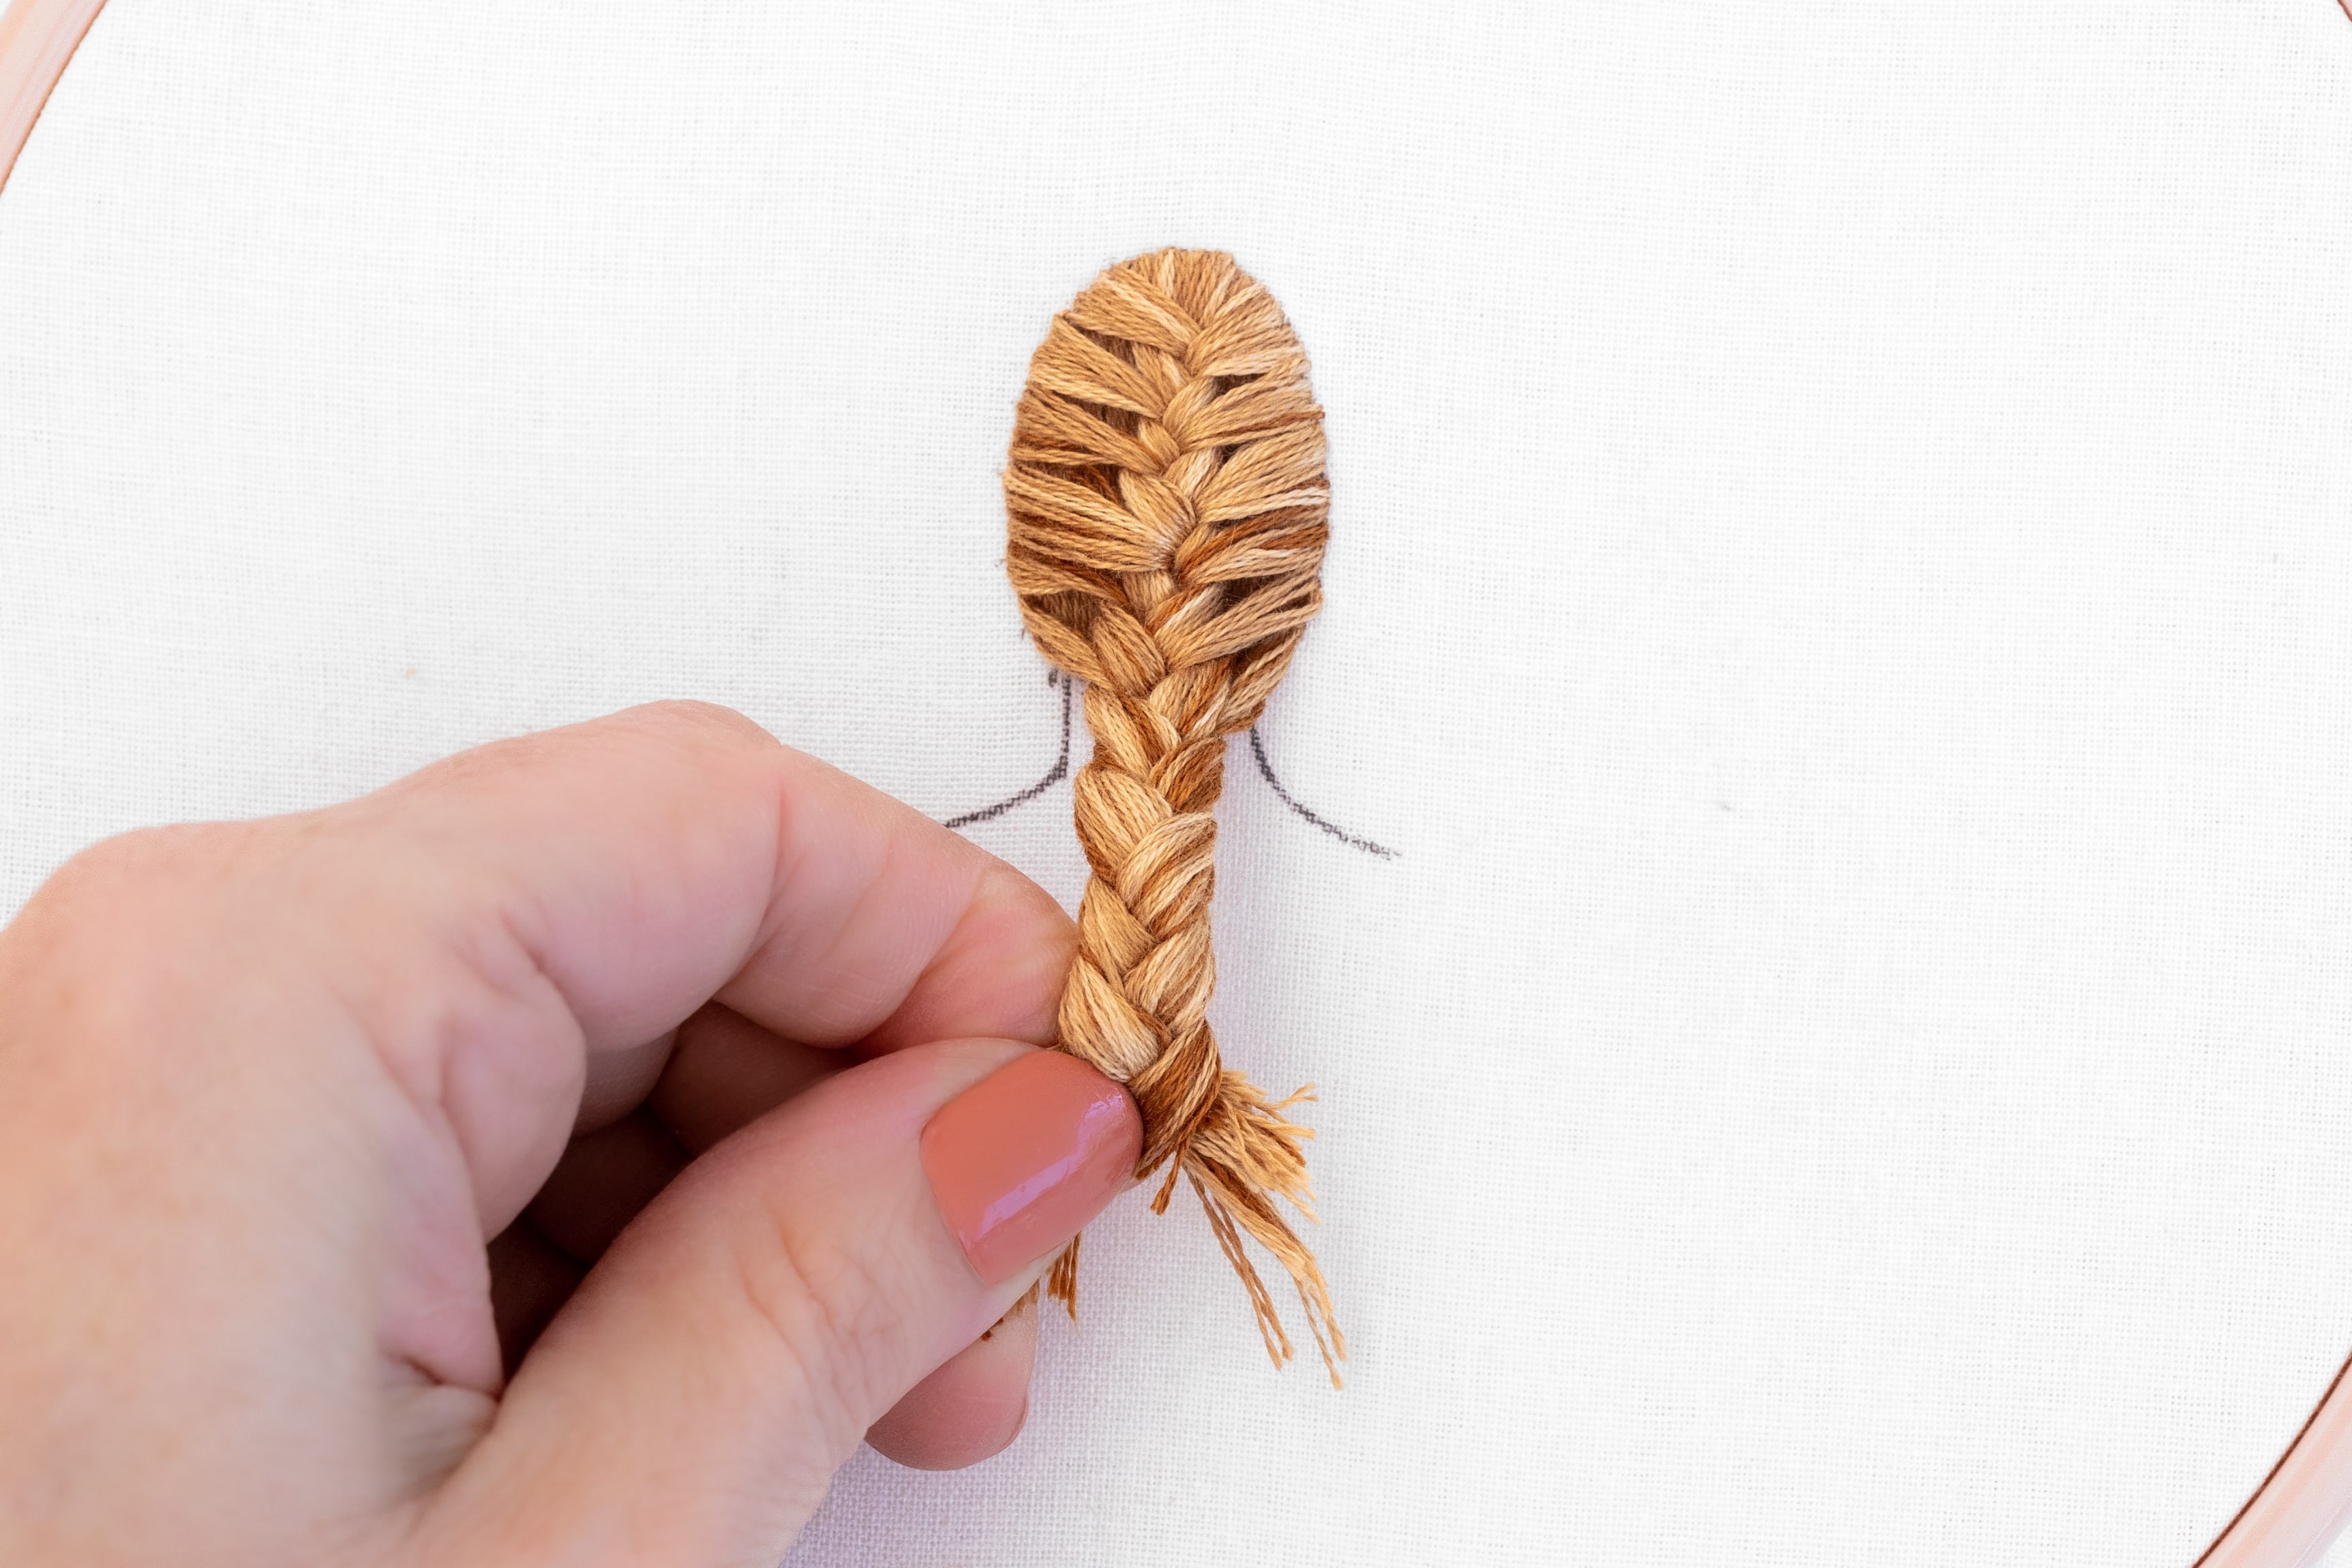
Step 10.
Continue until you reach the point where all of the hair has been incorporated into the braid. Then finish off the rest with a standard braid.
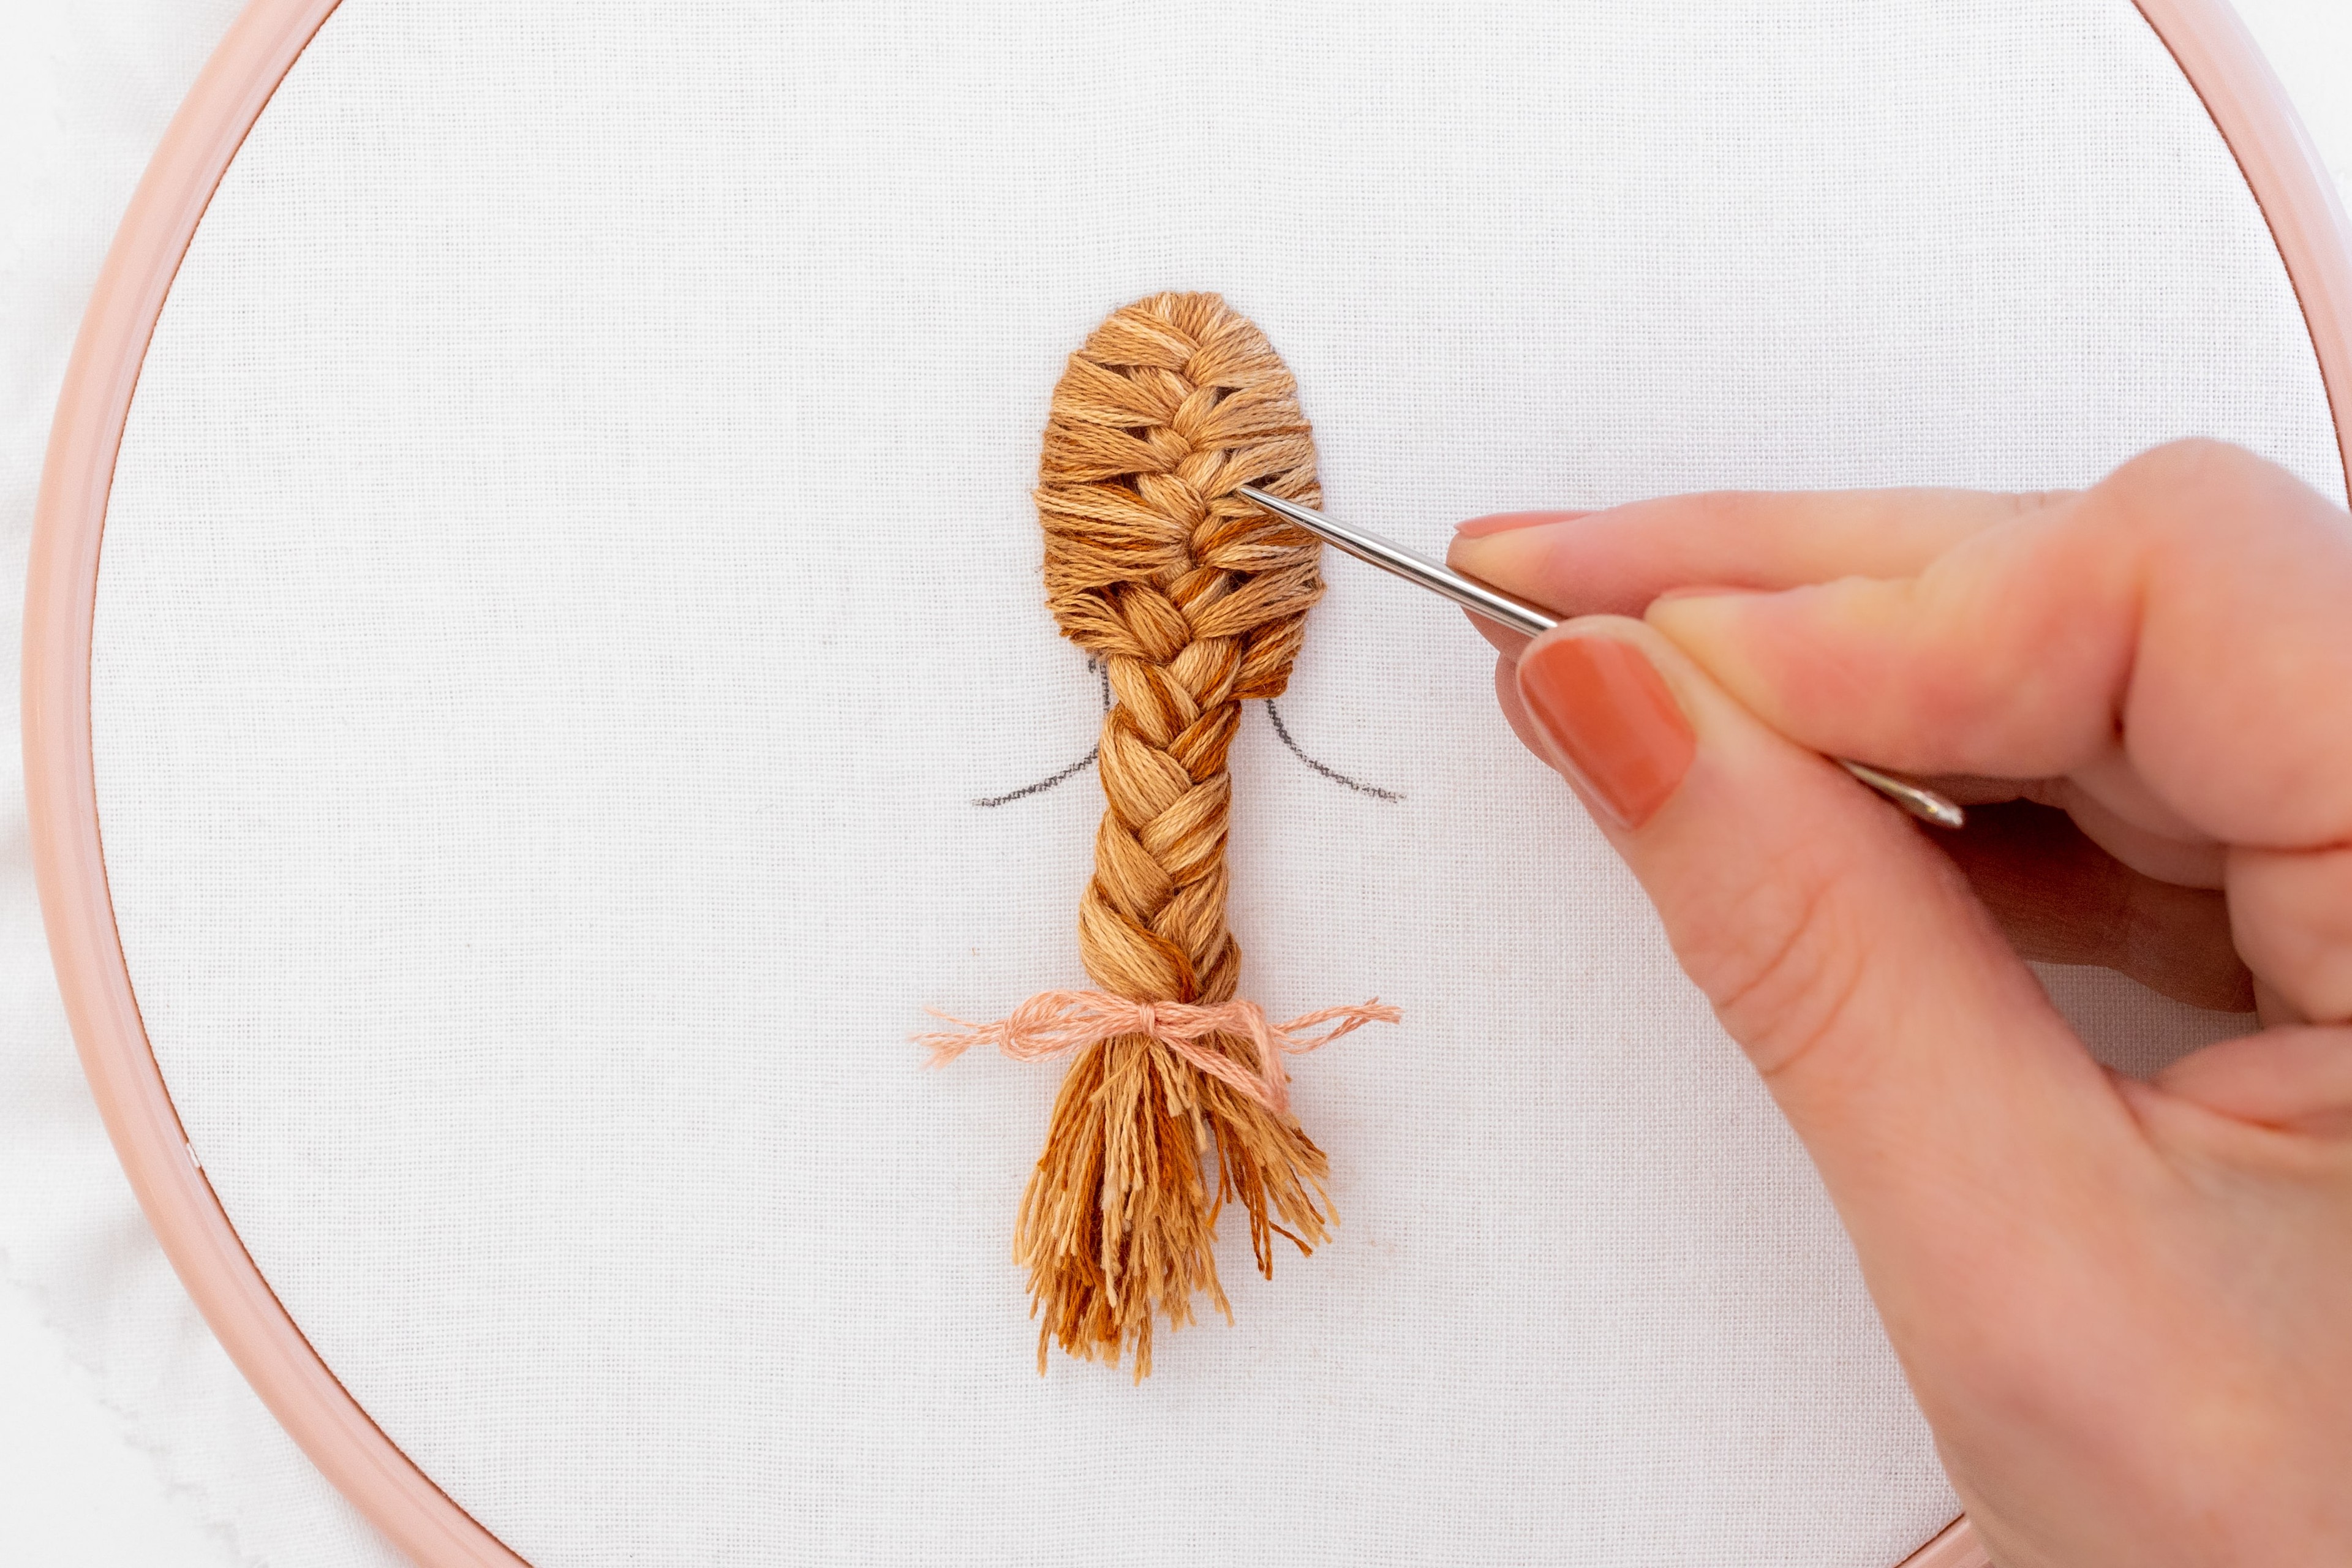
Step 11.
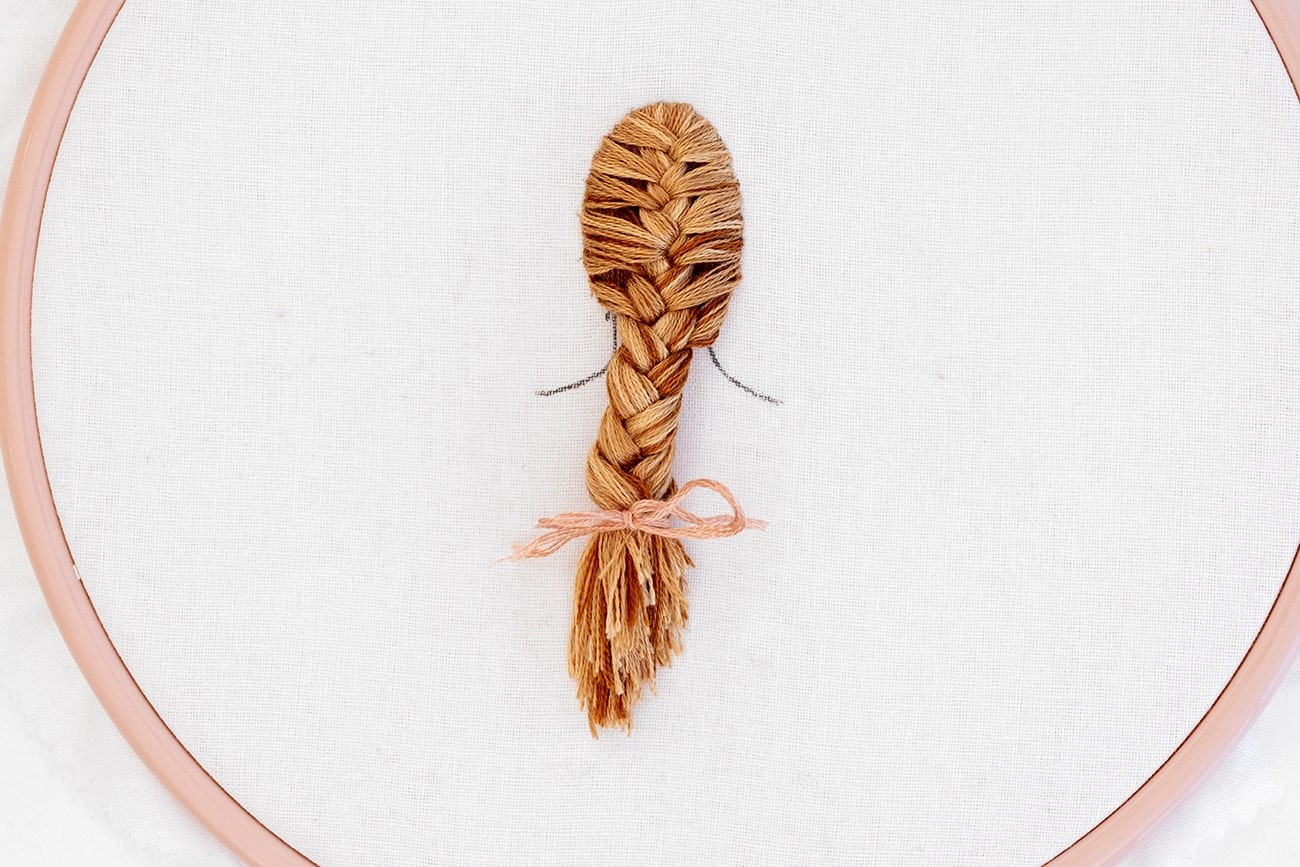
Secure the bottom of the braid with the piece of thread that you prepared. It helps to push it against the fabric, to hold the tension on while you secure the knot.
Then you can tie the thread into a bow, and cut off the tails to your desired length.
TIP: This style of braid often has little gaps along the hairline because of the limited volume of hair overall.
But don’t worry, you can use the blunt end of your needle to nudge the braid into shape and or loosen it up a bit.
And there you have it - a gorgeous french braid woven from embroidered hair.

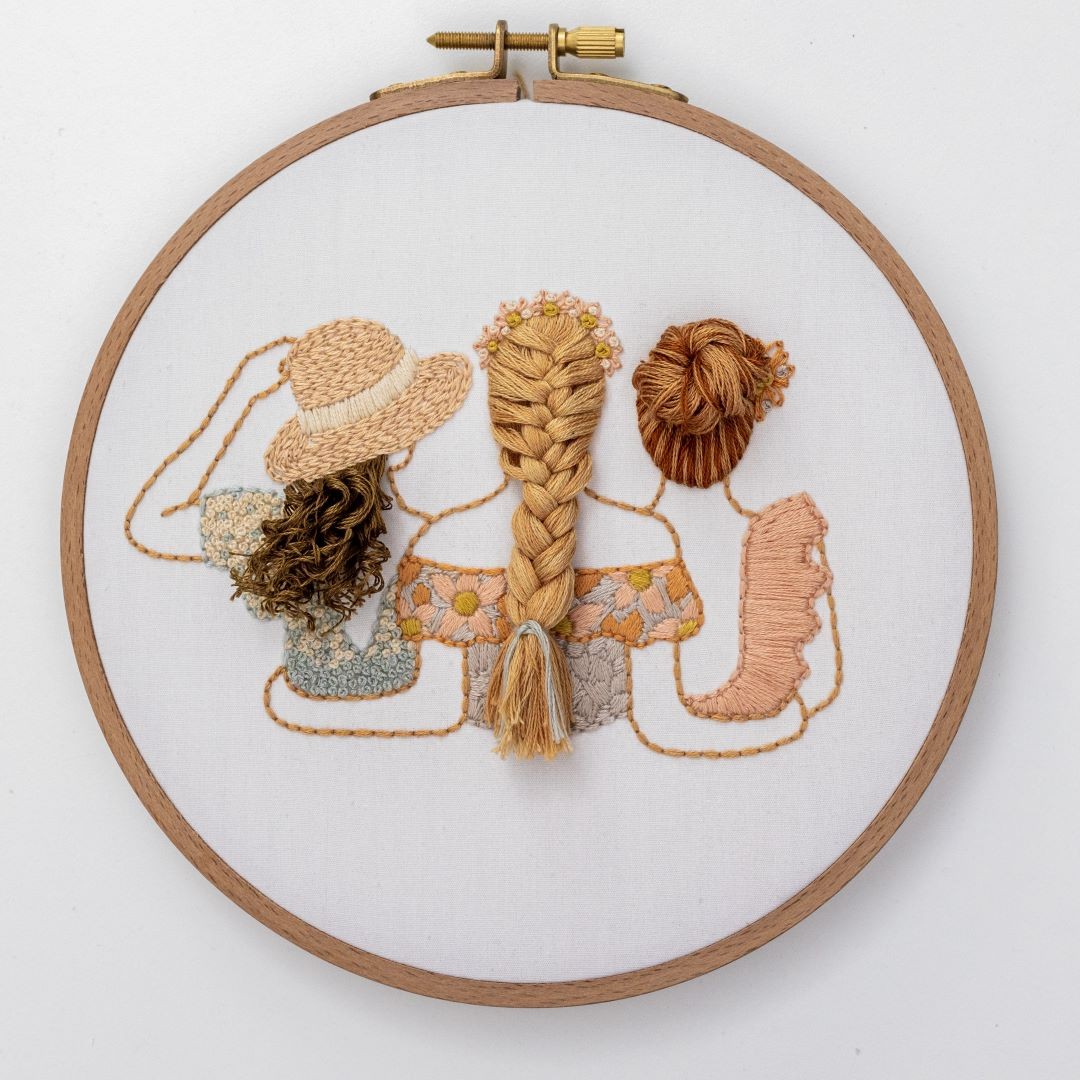
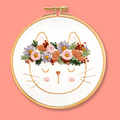
Examples of a French Braid
A french braid hairstyle has been created for this gorgeous pattern, Soul Sisters.
Conclusion
And there you have it—all the beginner knowledge you need to create a beautiful French Braid! It can be tricky at first, but with a little practice, you'll soon be adding stunning braids to elevate your embroidery projects.
If you're looking for a simple and beginner-friendly way to try embroidered hairstyles, my Daphne Beginner Hairstyle Kit is a great place to start! This kit is perfect for building your confidence with hair embroidery while creating a lovely design.
If you liked this article, then you may also like this one,
What Essential Supplies do You Need to Get Started in Modern Embroidery?
So, are you excited to add French Braids to your embroidery creations?
