


Buttonhole Wheel - Learn This Modern Embroidery Technique
Introduction
Hello makers!
This technique is a super fun way to create a circular design in your patterns!
It can be used for flowers, wheels, abstract shapes and more. I just love the textured, round detail it adds to your patterns.
Here’s how to stitch your own Buttonhole Wheel:
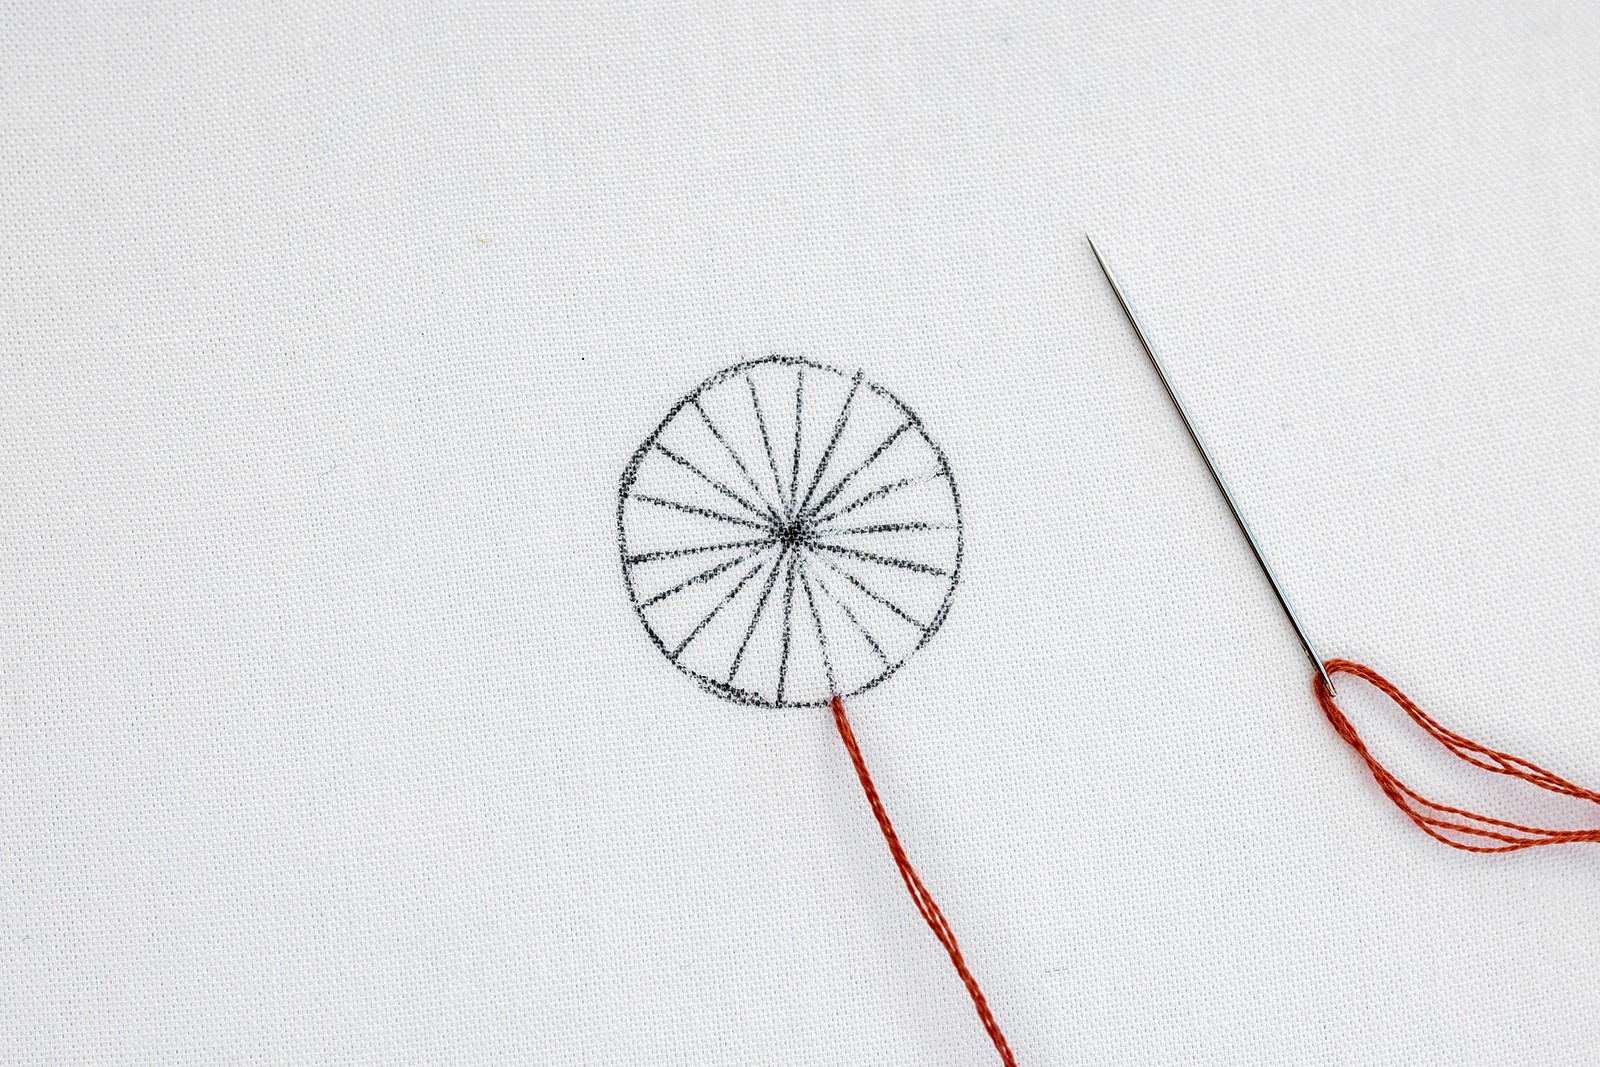
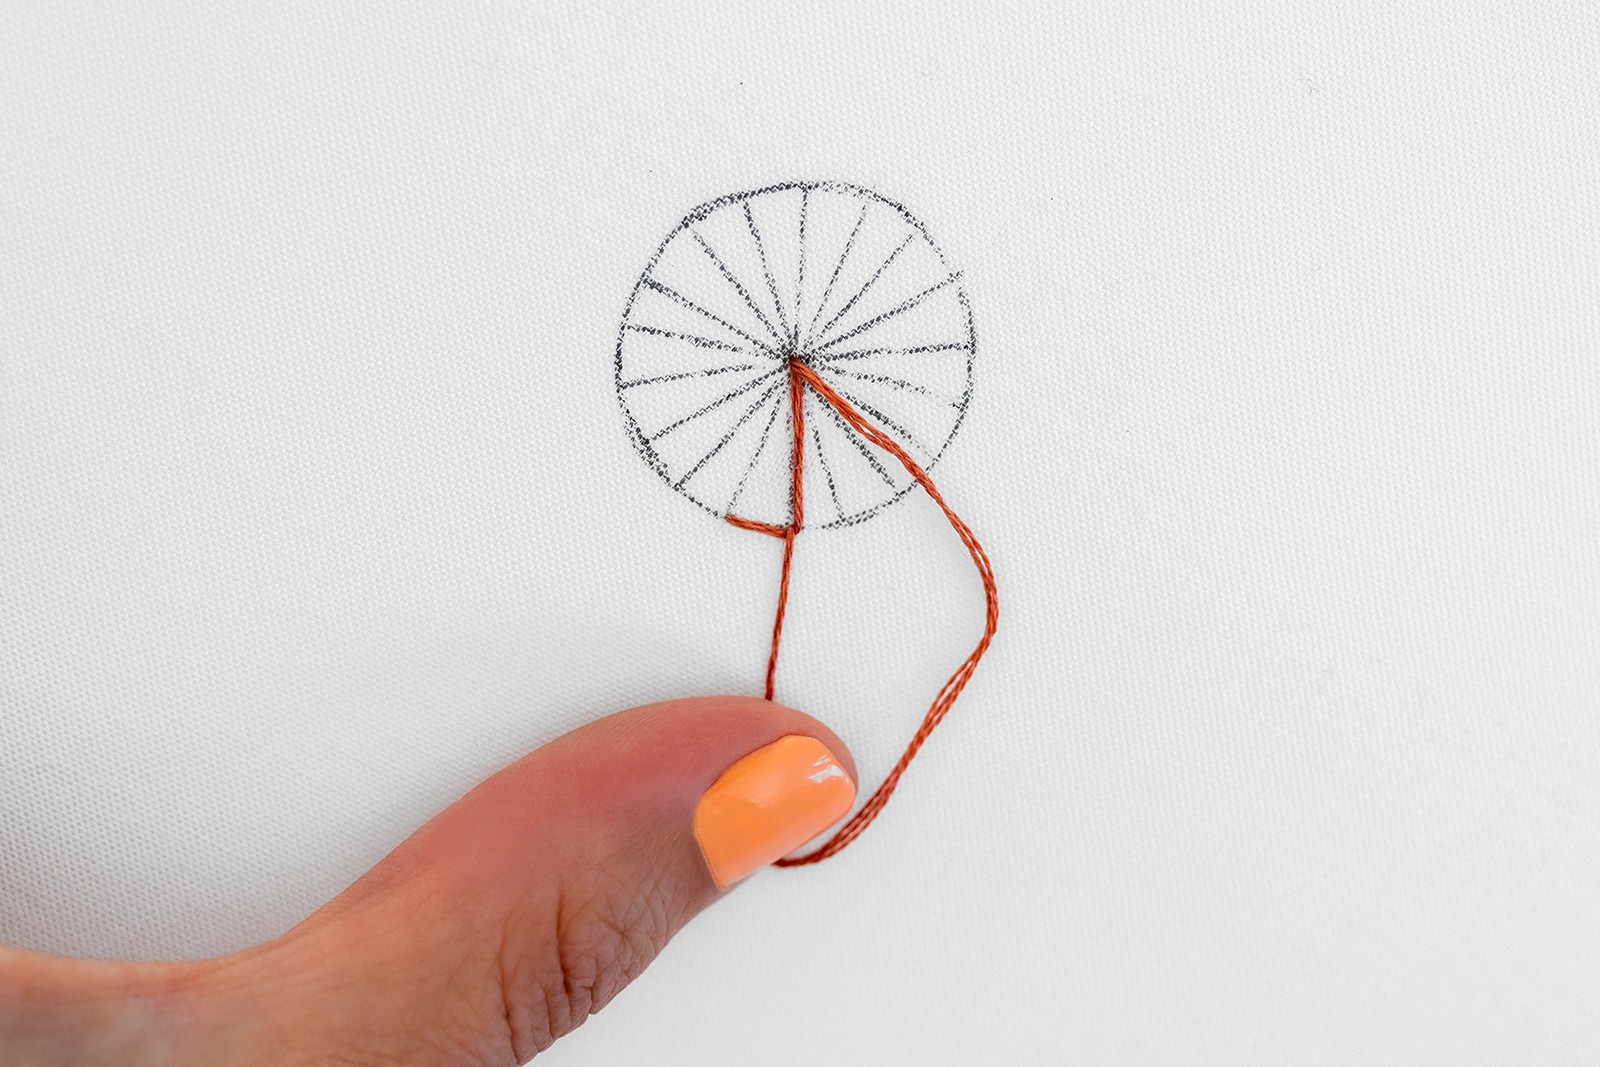
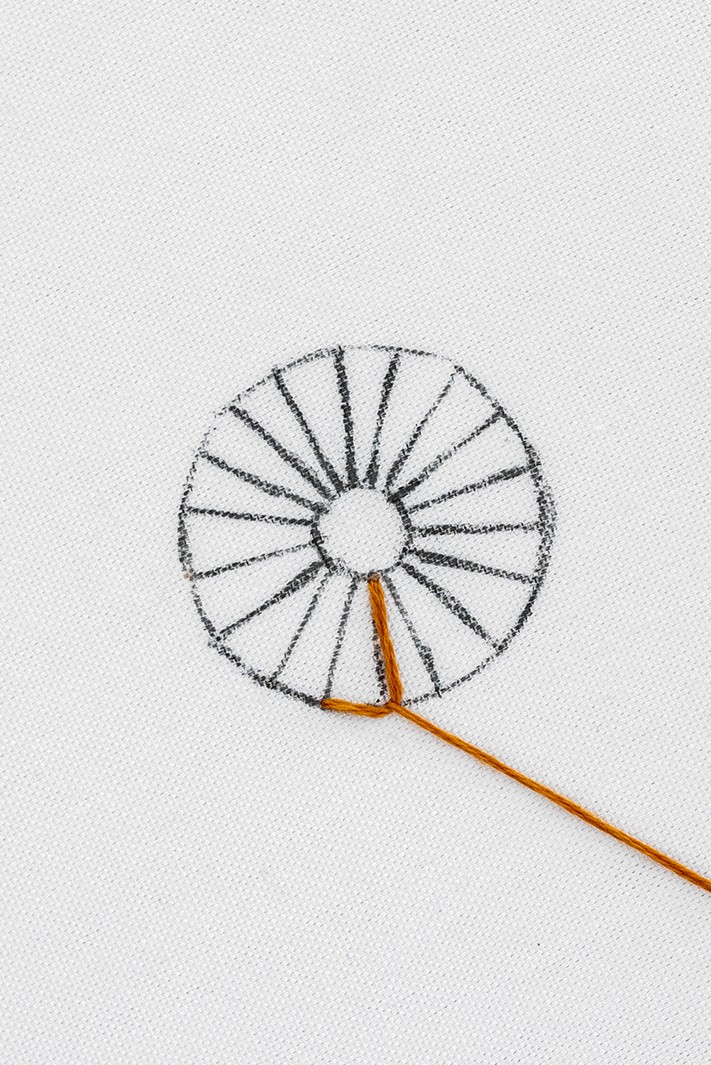
Step 1.
Bring your needle up at the bottom of the circle outline. Draw through all the slack, so that your thread is secured on the back with your knot.
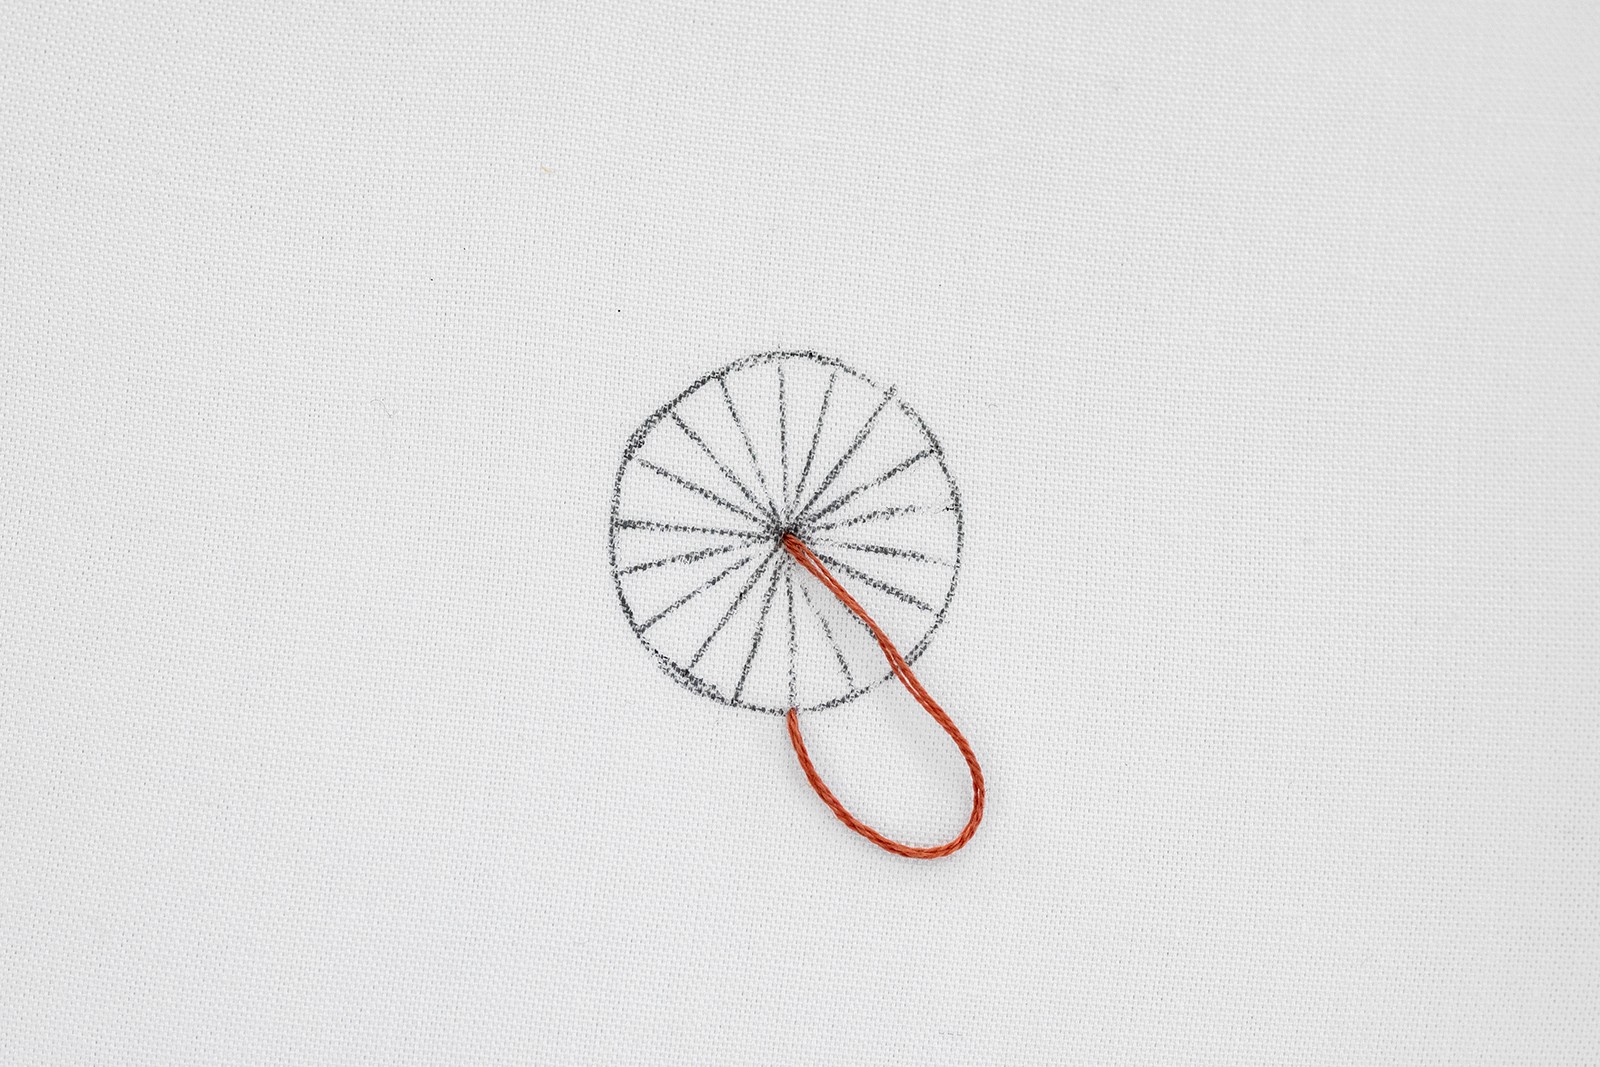
Step 2.
Now poke your needle down in the middle of the circle, but before you pull through all the slack, leave a loop of working thread on the top.
Tip: At this point, you can position the loop so that it’s sitting out to the right.
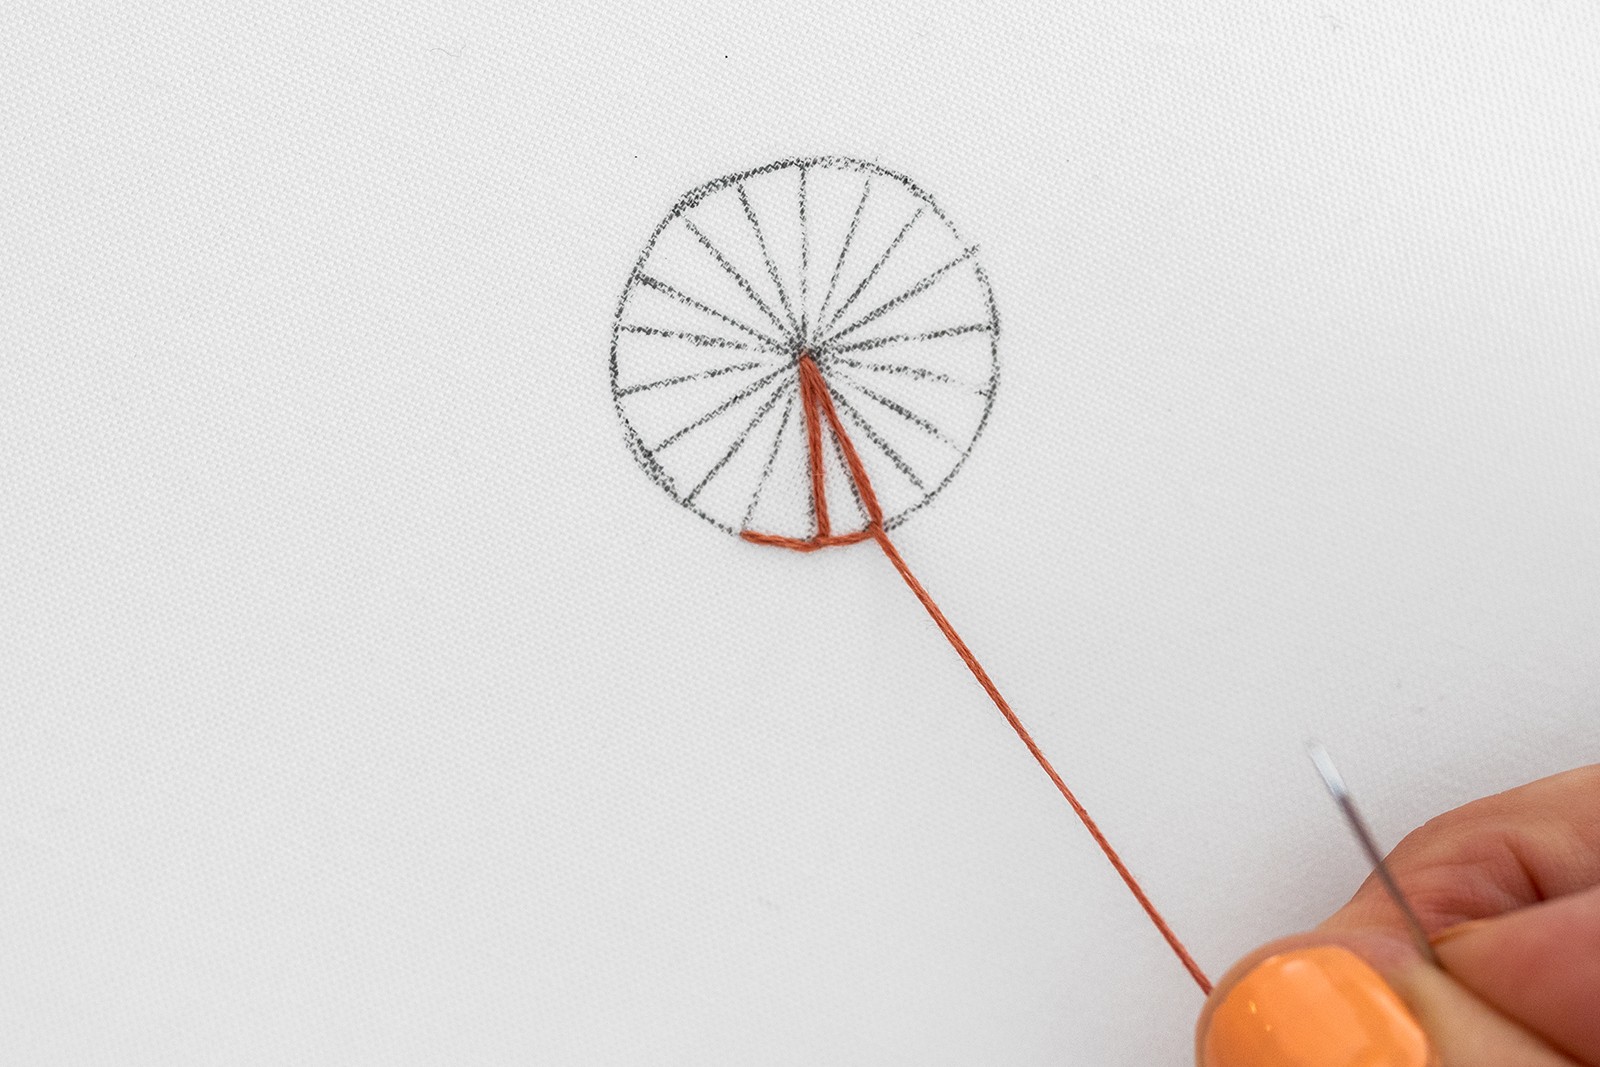
Step 3.
Next, bring your needle back up on the outline of the circle, a stitch-length along, working in a counter-clockwise direction (to the right).
But here’s the key – bring your needle up inside the loop of the working thread.
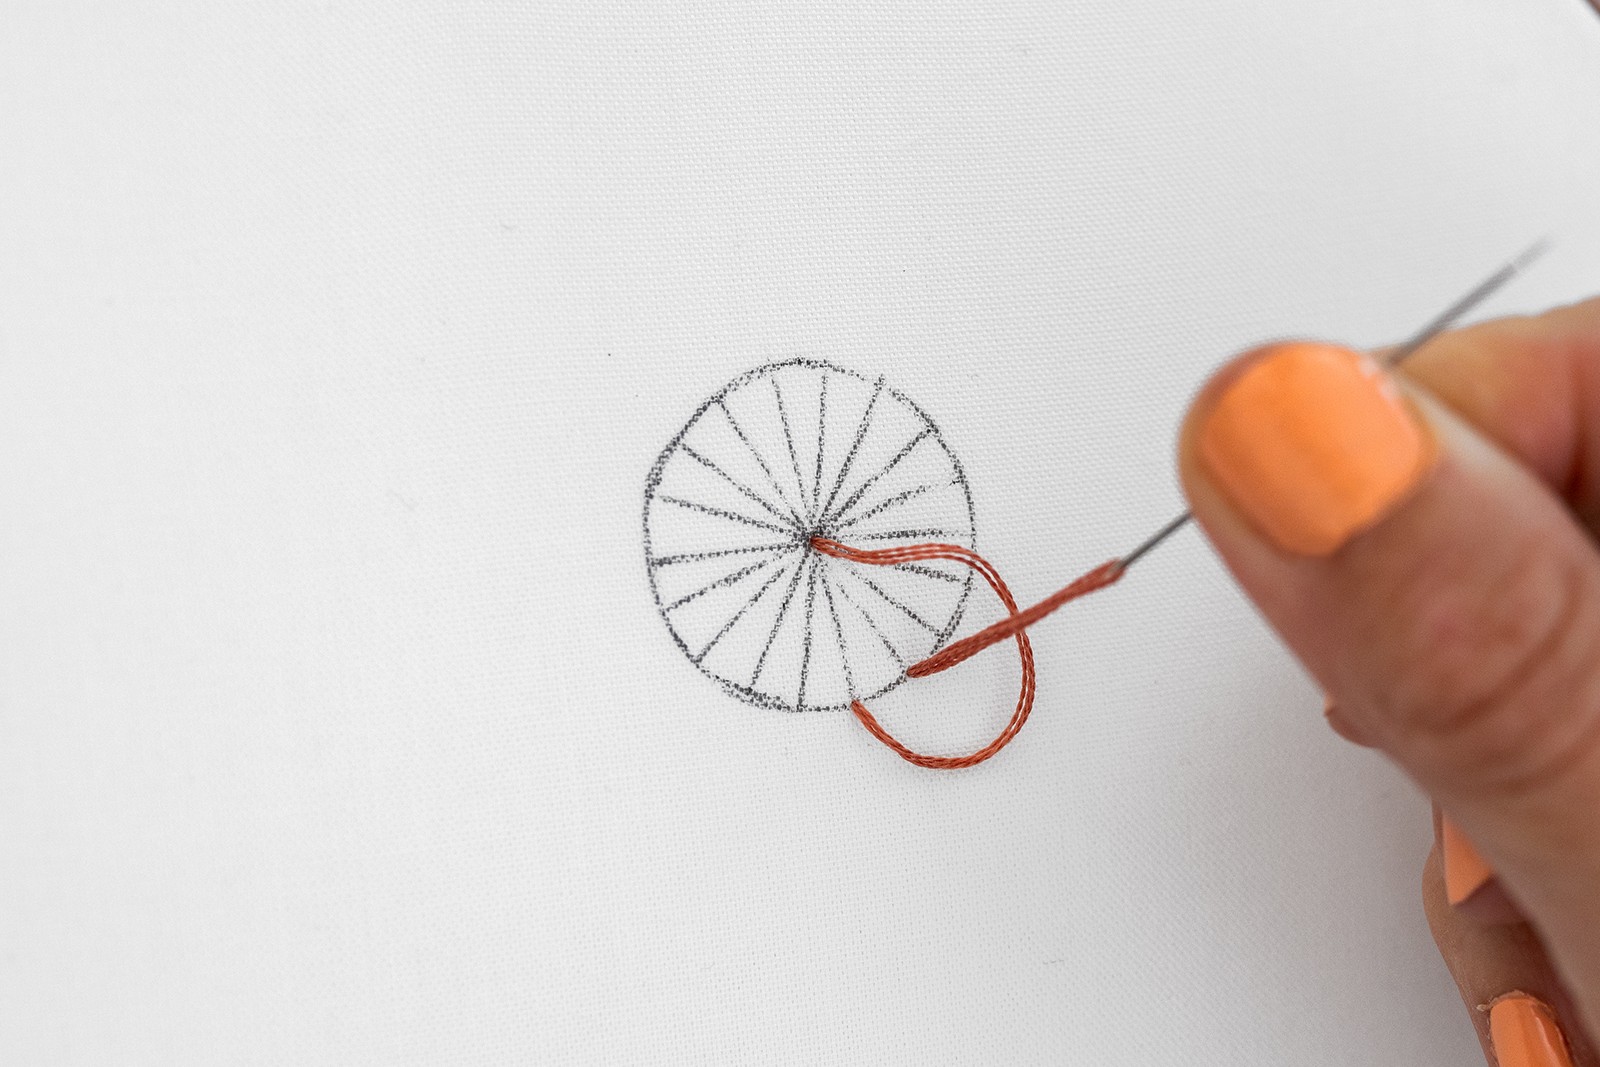
Pull all of the slack through, so that the stitch tightens up, with the loop of working thread caught to the right, in a backwards ‘L’ shape. See how you’ve created the first spoke of the wheel? Isn’t that cool!
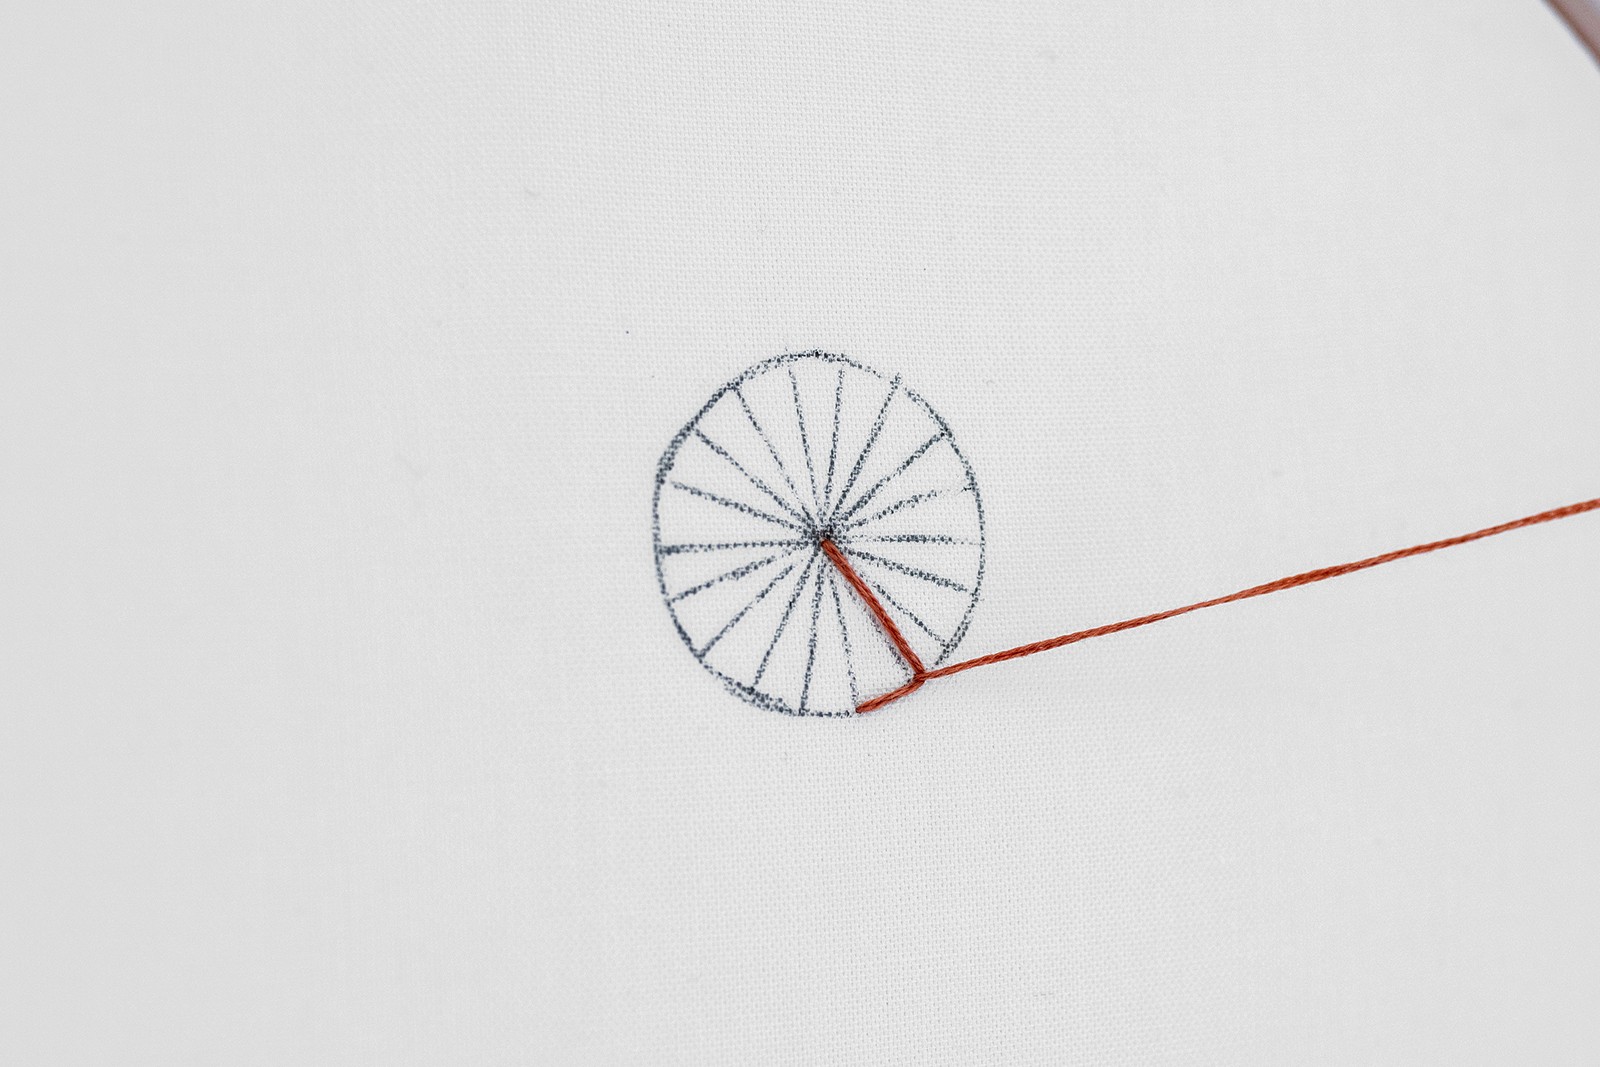
Tip: When you draw the slack through for this step, it helps if you pull your needle towards the right (in the counter-clockwise direction), quite firmly. This helps to pull the stitch into the right shape – whereas if you pull the other way, you won’t create that backwards ‘L’ shape which forms the wheel.
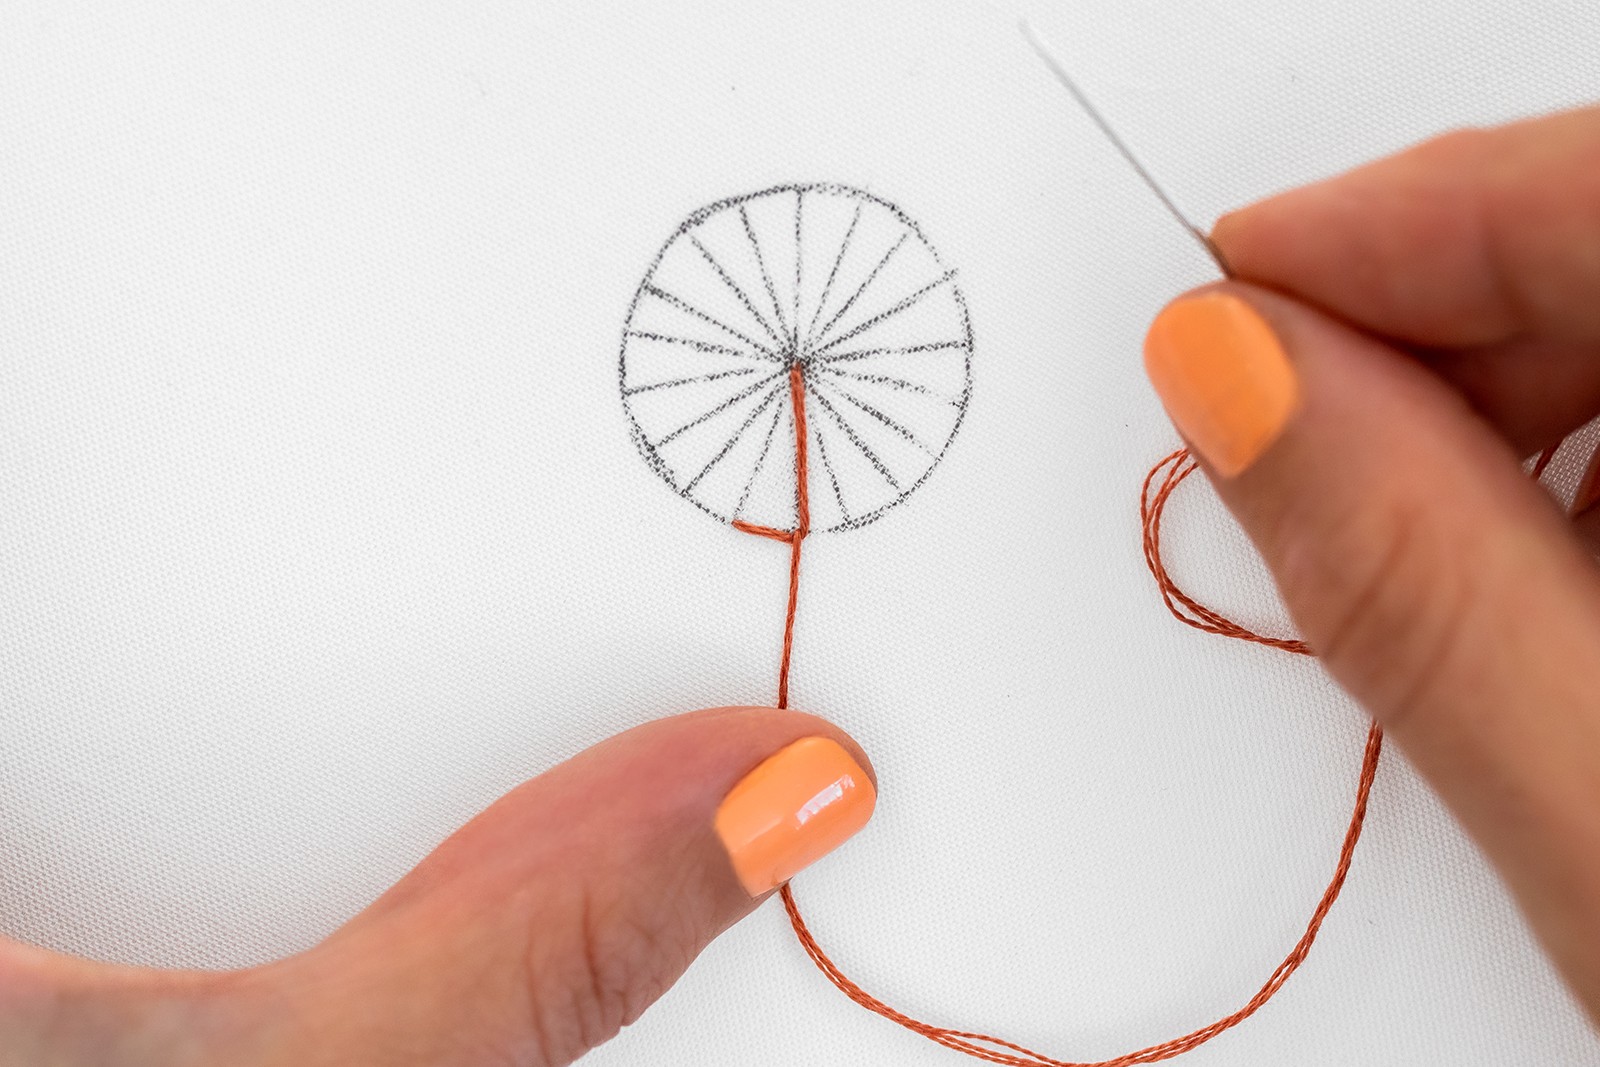
Step 4.
Pull the working thread down quite firmly, and use the thumb on your free hand to keep the tension on the working thread.
I’ve added this as an extra step because it’s really key for keeping your wheel in shape. Trust me on this one!
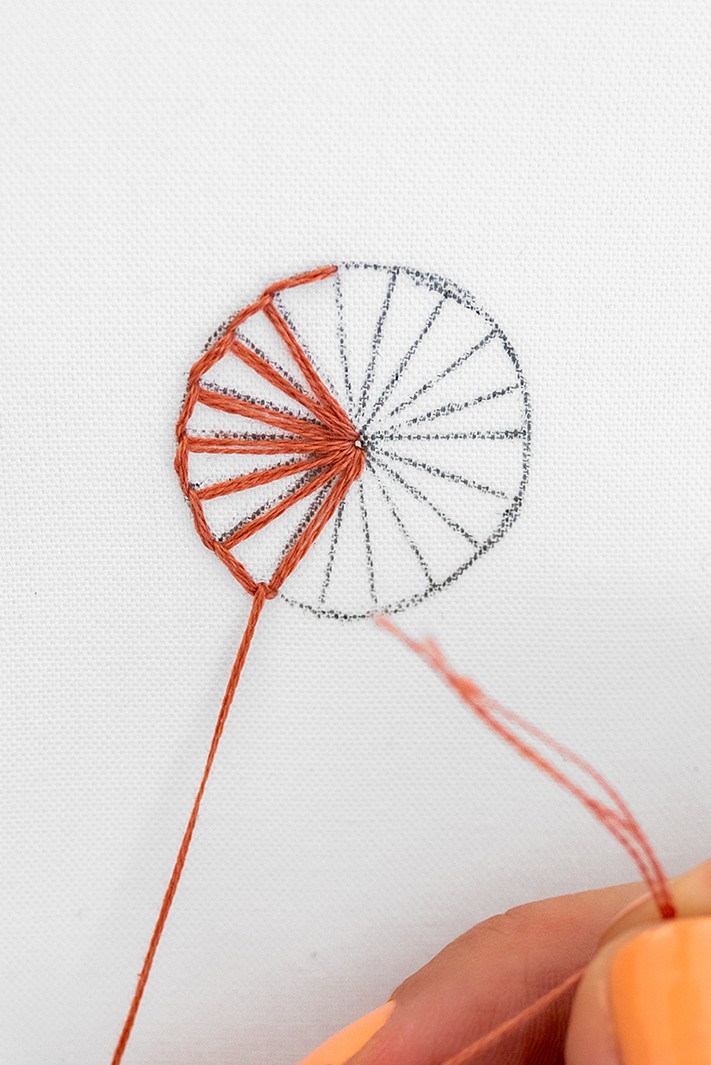
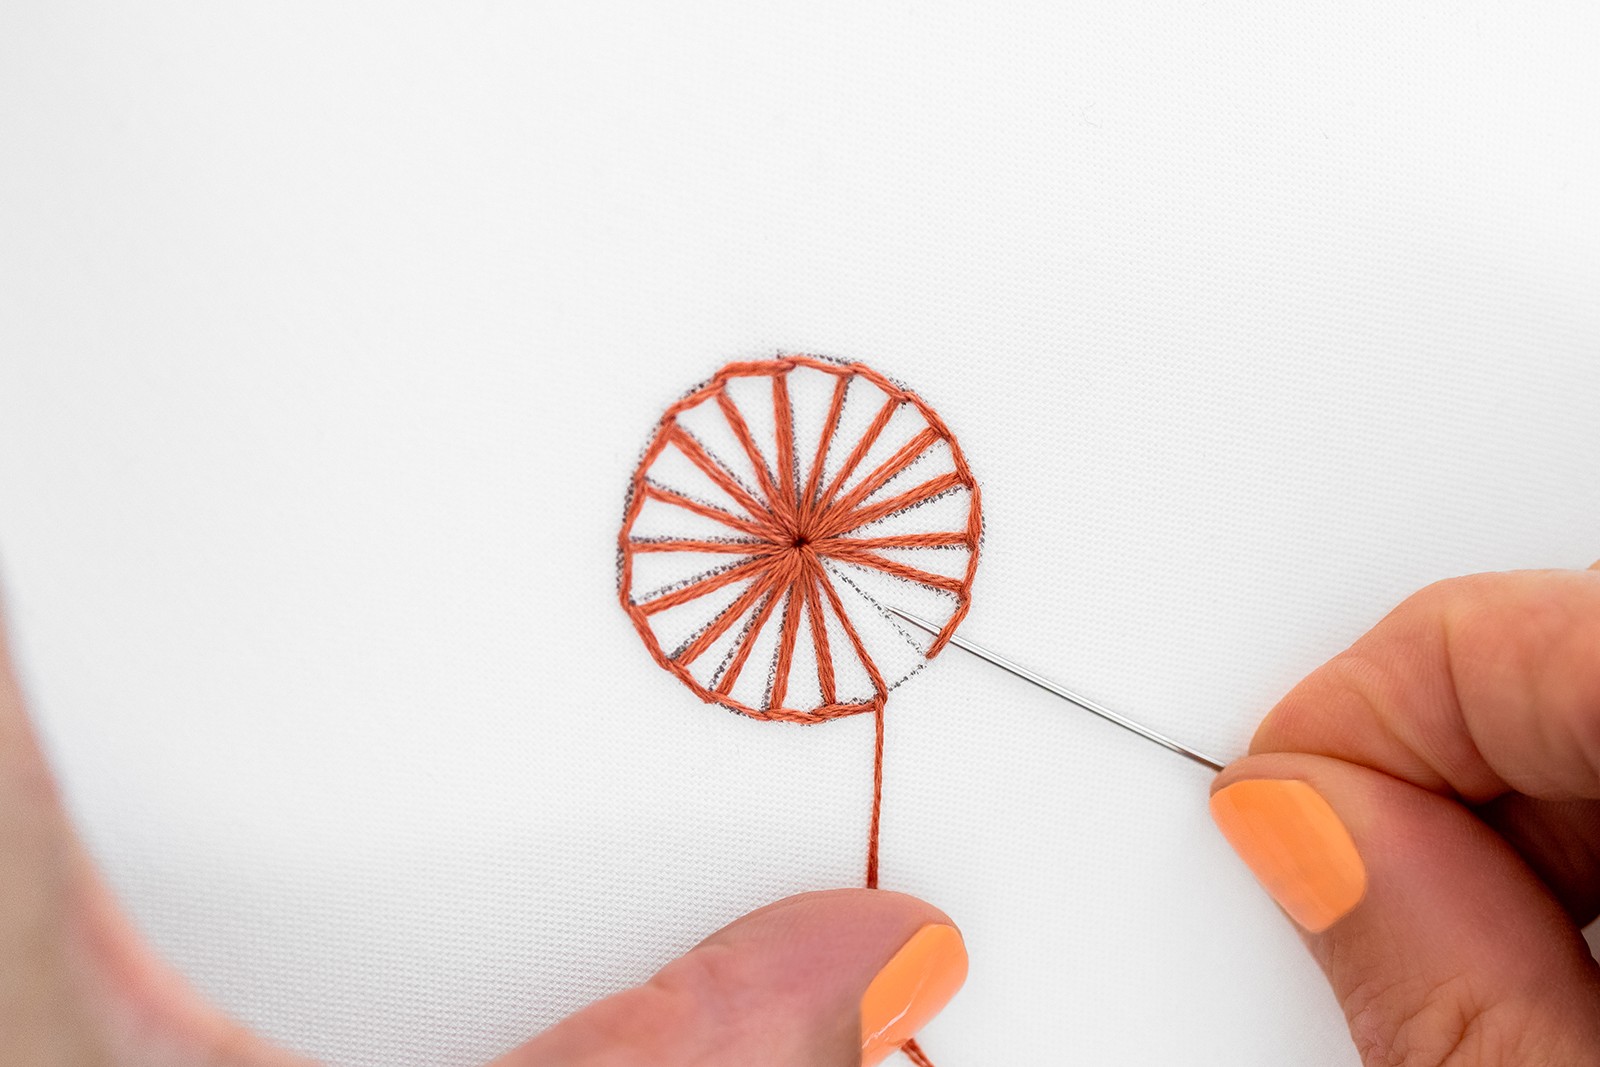
Step 5.
Now poke your needle back down in the middle of the circle, and once again leave a loop of thread on the top of the fabric. Keep the tension on with your thumb.
Step 6.
Follow the same process as before, to bring your needle up a stitch length along, on the inside of the loop. Keep the tension on with your thumb until the last moment, as you tighten the stitch. Don’t forget to pull down and towards the right.
Tip: If you pull too tight, the circle will draw in a bit. So you can use your needle to pull a bit more slack back into your working thread and loosen it up a bit.
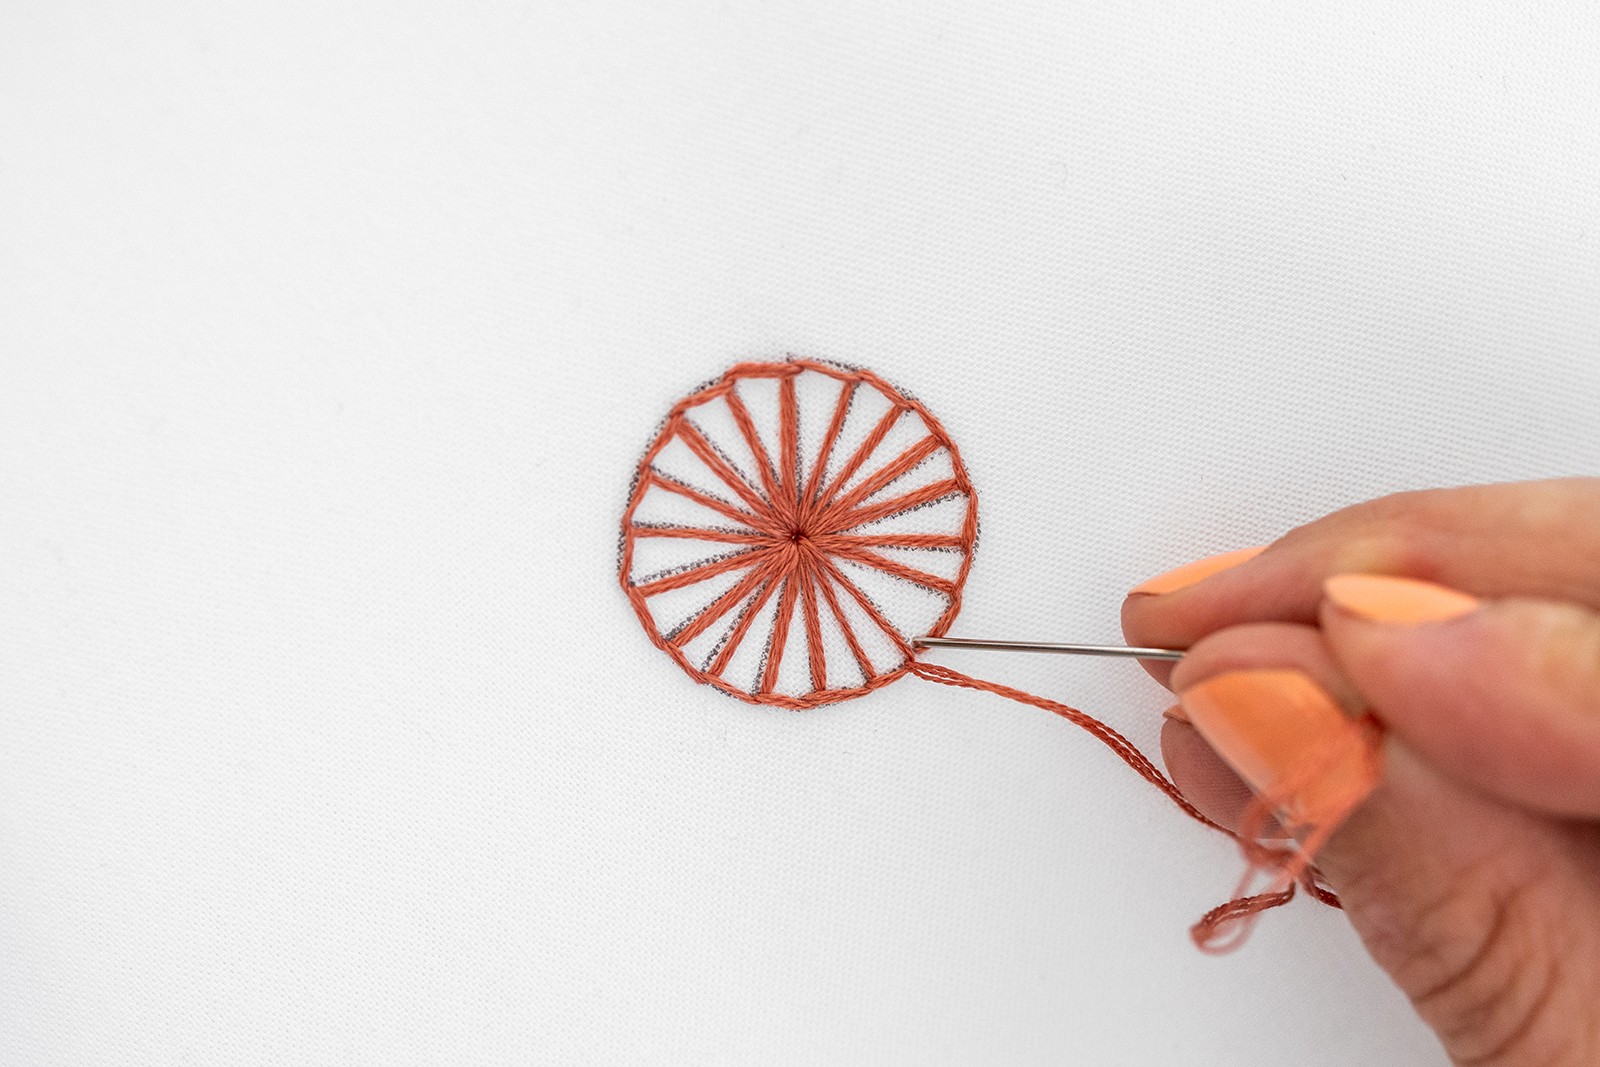
Step 7.
Repeat this process, until you have just one spoke to go. It’s important to keep the tension on so that all of the spokes hold their shape nicely. But don’t worry if you get a bit out of shape at times, you can use your fingers and needle to work the wheel back into shape.
Tip: The centre of the wheel will get quite congested with stitches, but that’s ok. And if you’re pulling on a LOT of tension, you’ll notice the centre of the wheel becomes a larger hole (which is totally fine!).
What if you need to change thread halfway through?
Just do a little anchor stitch where your last spoke meets the outside of the circle. Then to start a new thread, bring it up just on the inside of the last spoke you stitched. Then continue on to work your way around the wheel.

Step 8.
To do the final spoke of your wheel, there are a couple of options:
A. Easy peasy: Create the final spoke as per usual, then do a tiny little anchor stitch over where the spoke meets the outside of the circle, to secure it into place. OR
B. To create a seamless effect: Before you poke your needle down into the centre, weave it under the first stitch, moving from the outside towards the centre (you’re not piercing the fabric, just ducking your needle under the thread). Then poke your needle down in the centre of the circle, using the usual method to complete the final spoke. This means your wheel has a lovely seamless effect, and you can’t tell where it starts or ends.
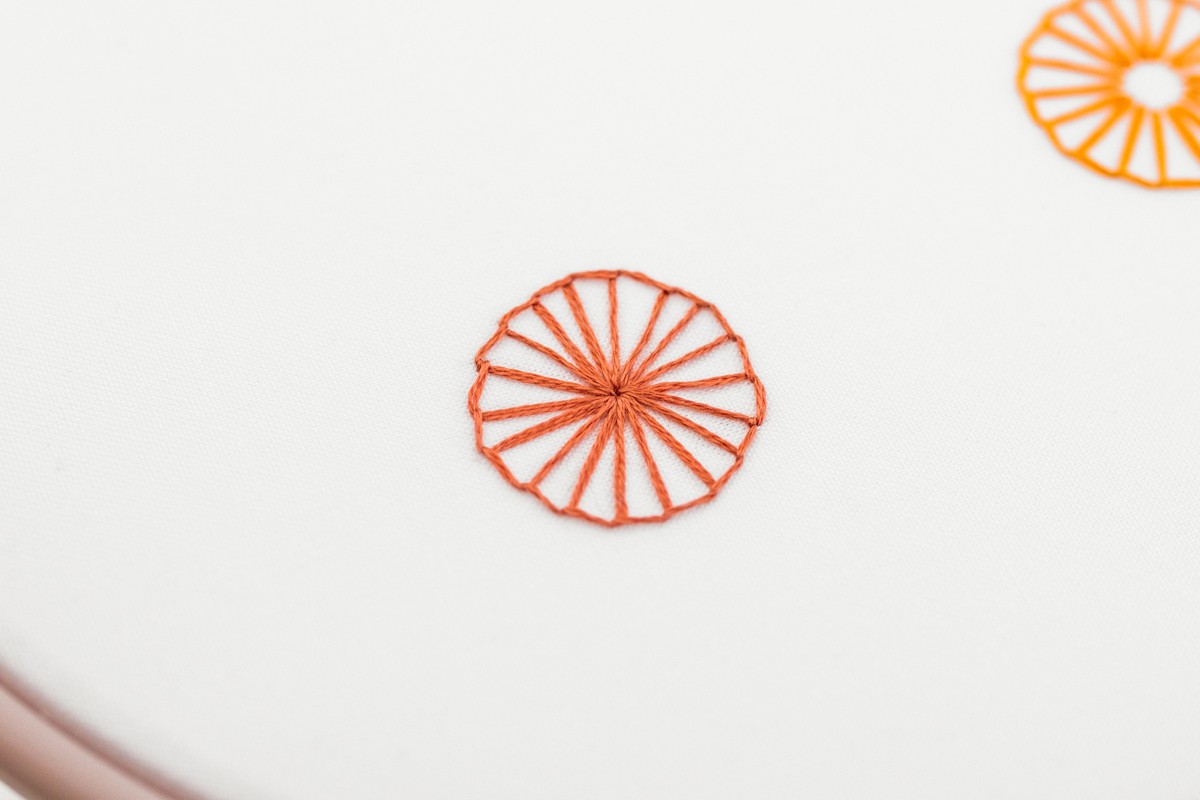
Step 9.
Finally, check your stitches are making a nice circular wheel shape. If not, use your fingers to push the threads into place. Then knot off your thread on the underside.
Tips to keep your Buttonhole Wheel ship-shape:
As you make each spoke, you might find that the previous ones come a bit loose. So try these tips to keep the wheel taut and in a nice even shape overall:
- Keep the tension on baby! I find it so helpful to use my thumb to hold the tension on the working thread as I form each spoke.
- Make sure you’re pulling the slack in the working thread downwards and towards the right, as you make your way around the wheel.
If you get out of shape, no problem! You can use your fingers to push the stitches back into a circular shape.
General Tips
- When you are drawing Buttonhole Wheels onto your design, it helps to draw the centre point and the spacing of the spokes. But you can totally wing it, especially if you have quite a lot of spokes.
- I find that if your wheel has more spokes, it's easier to create a nice round effect. Whereas if your wheel has few spokes, it ends up looking quite angular. Having said that - don't add too many spokes, or your wheel will get too congested with threads in the middle.
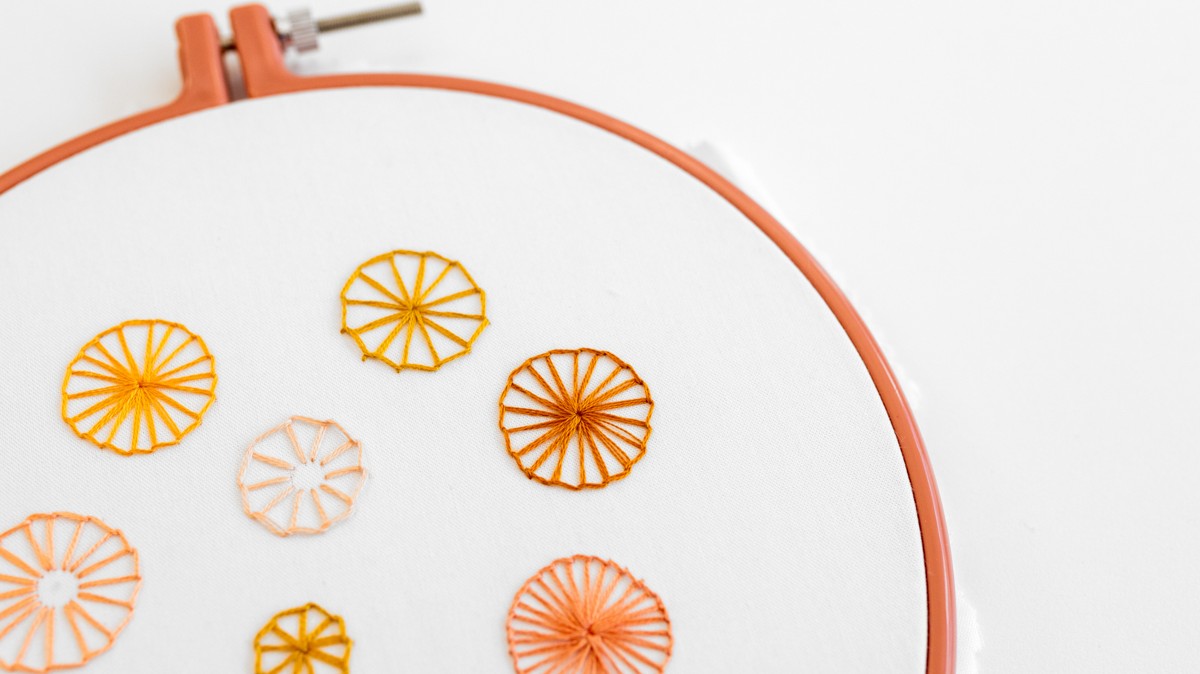
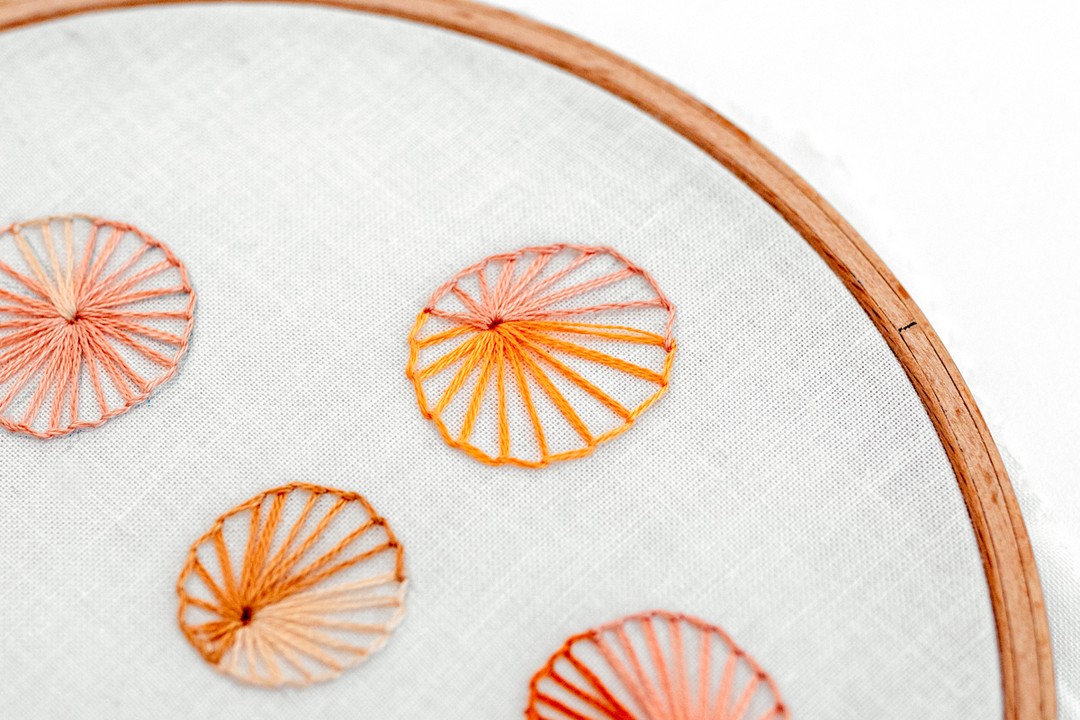
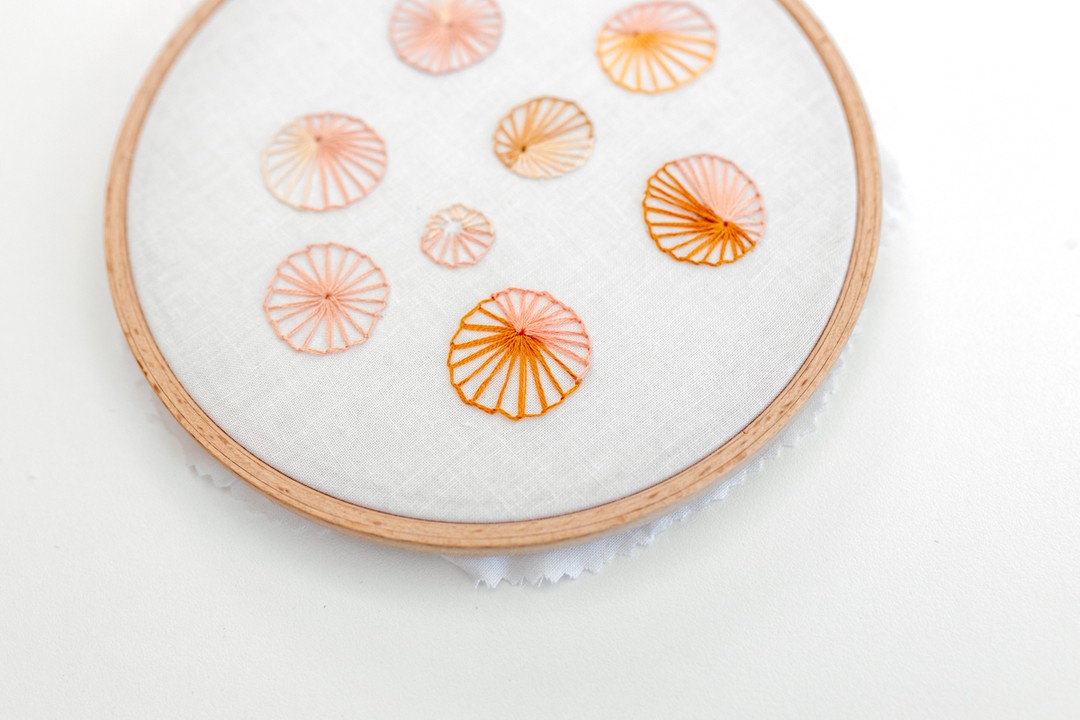
Variations
You can do lots of variations of this technique, to create different effects! Here are some ideas:
- Change the size of the circle and the number of spokes, to vary the density of the overall effect.
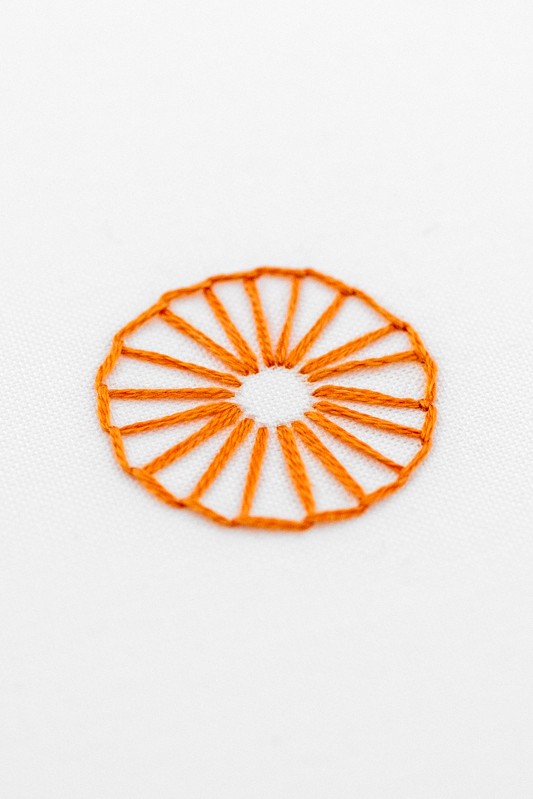
- Add a smaller circle to the middle, and use this as the inside point for each spoke (rather than the centre of the circle). Here's a tip – when you work your first stitch, poke your needle down one spoke length along, rather than straight up (in other words, poke your needle down at the top of the backwards L). This isn’t a major, so don’t worry if you forget. But it will help keep your spokes all lovely and even looking.
-
Move the inside point of the circle from the centre, to another spot in the circle. That means you’ll create a buttonhole wheel with a beautifully slanted effect.
-
Change the colours of your thread, to create a shadowed effect.
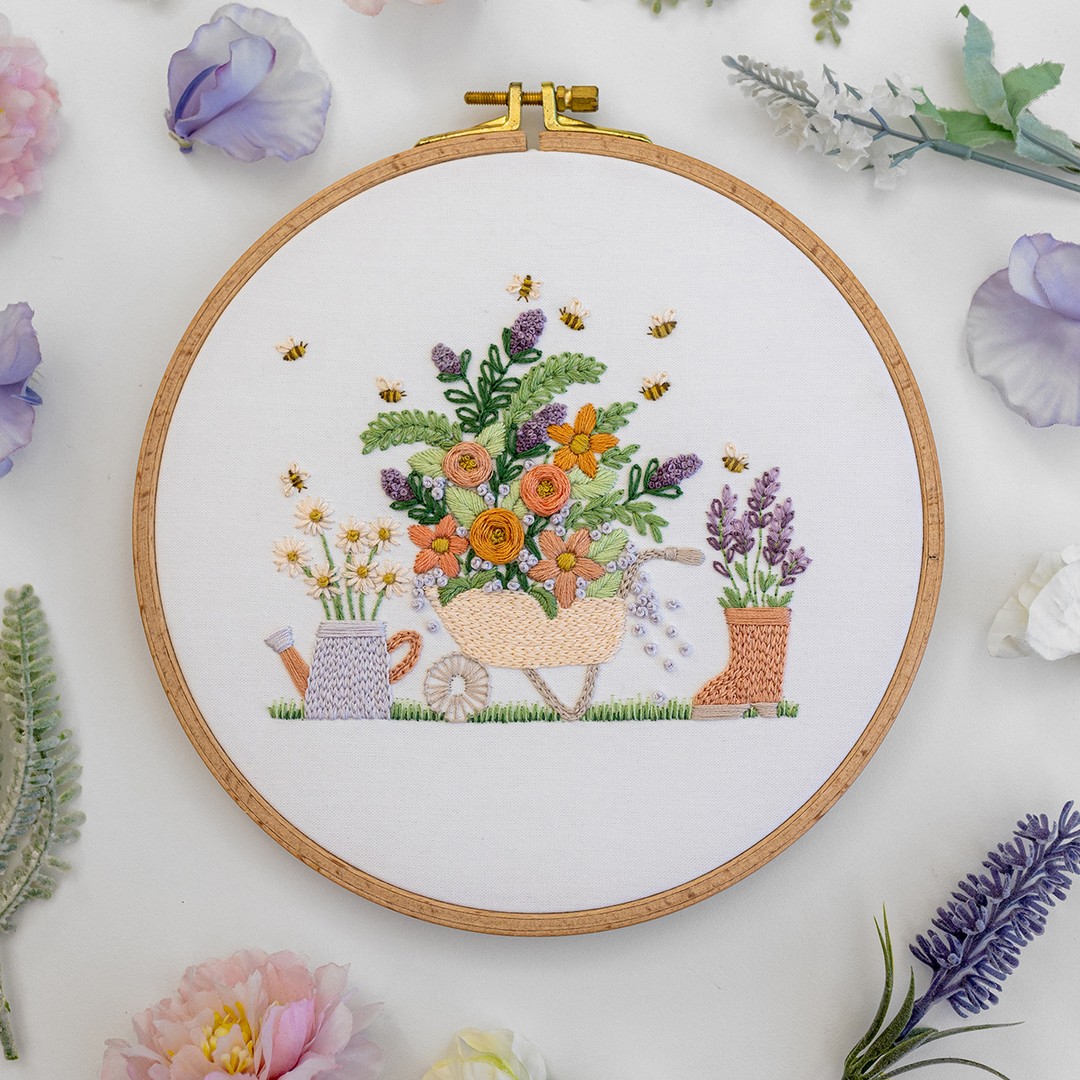
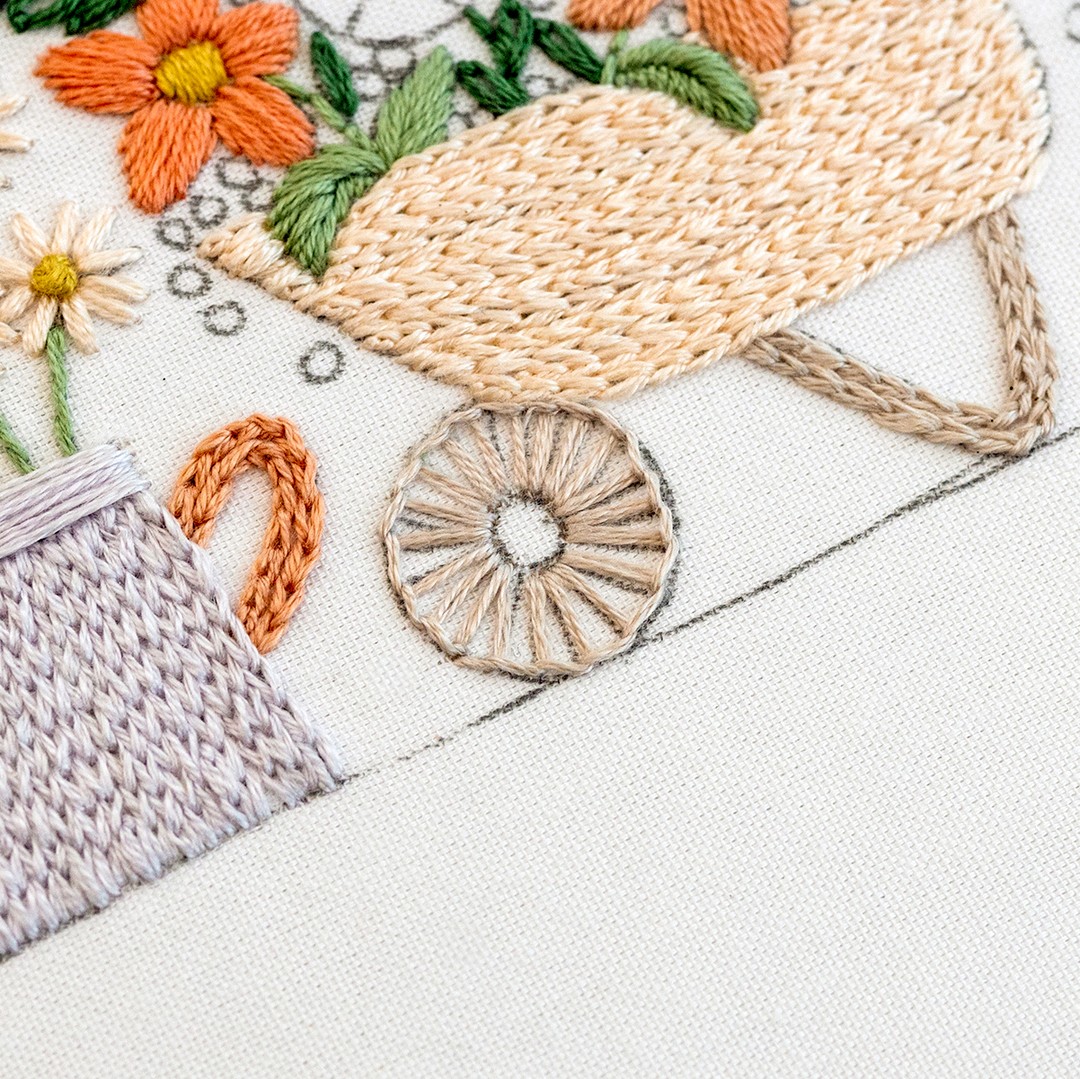
Examples of Buttonhole Wheels in my patterns
Let's look at an example of how you can use this beautiful modern technique stitch in your work!
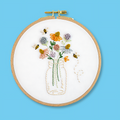
The Gardening Bee is available for purchase from my shop and uses this technique. The wheel of the barrow is made using the Buttonhole Wheel technique. Doesn't it look perfect in this setting?
Conclusion
So there we have it, my step-by-step method and top tips for making your own beautiful Buttonhole Wheels!
I hope you love learning this technique and expanding your repertoire of embroidery skills.
What's next?
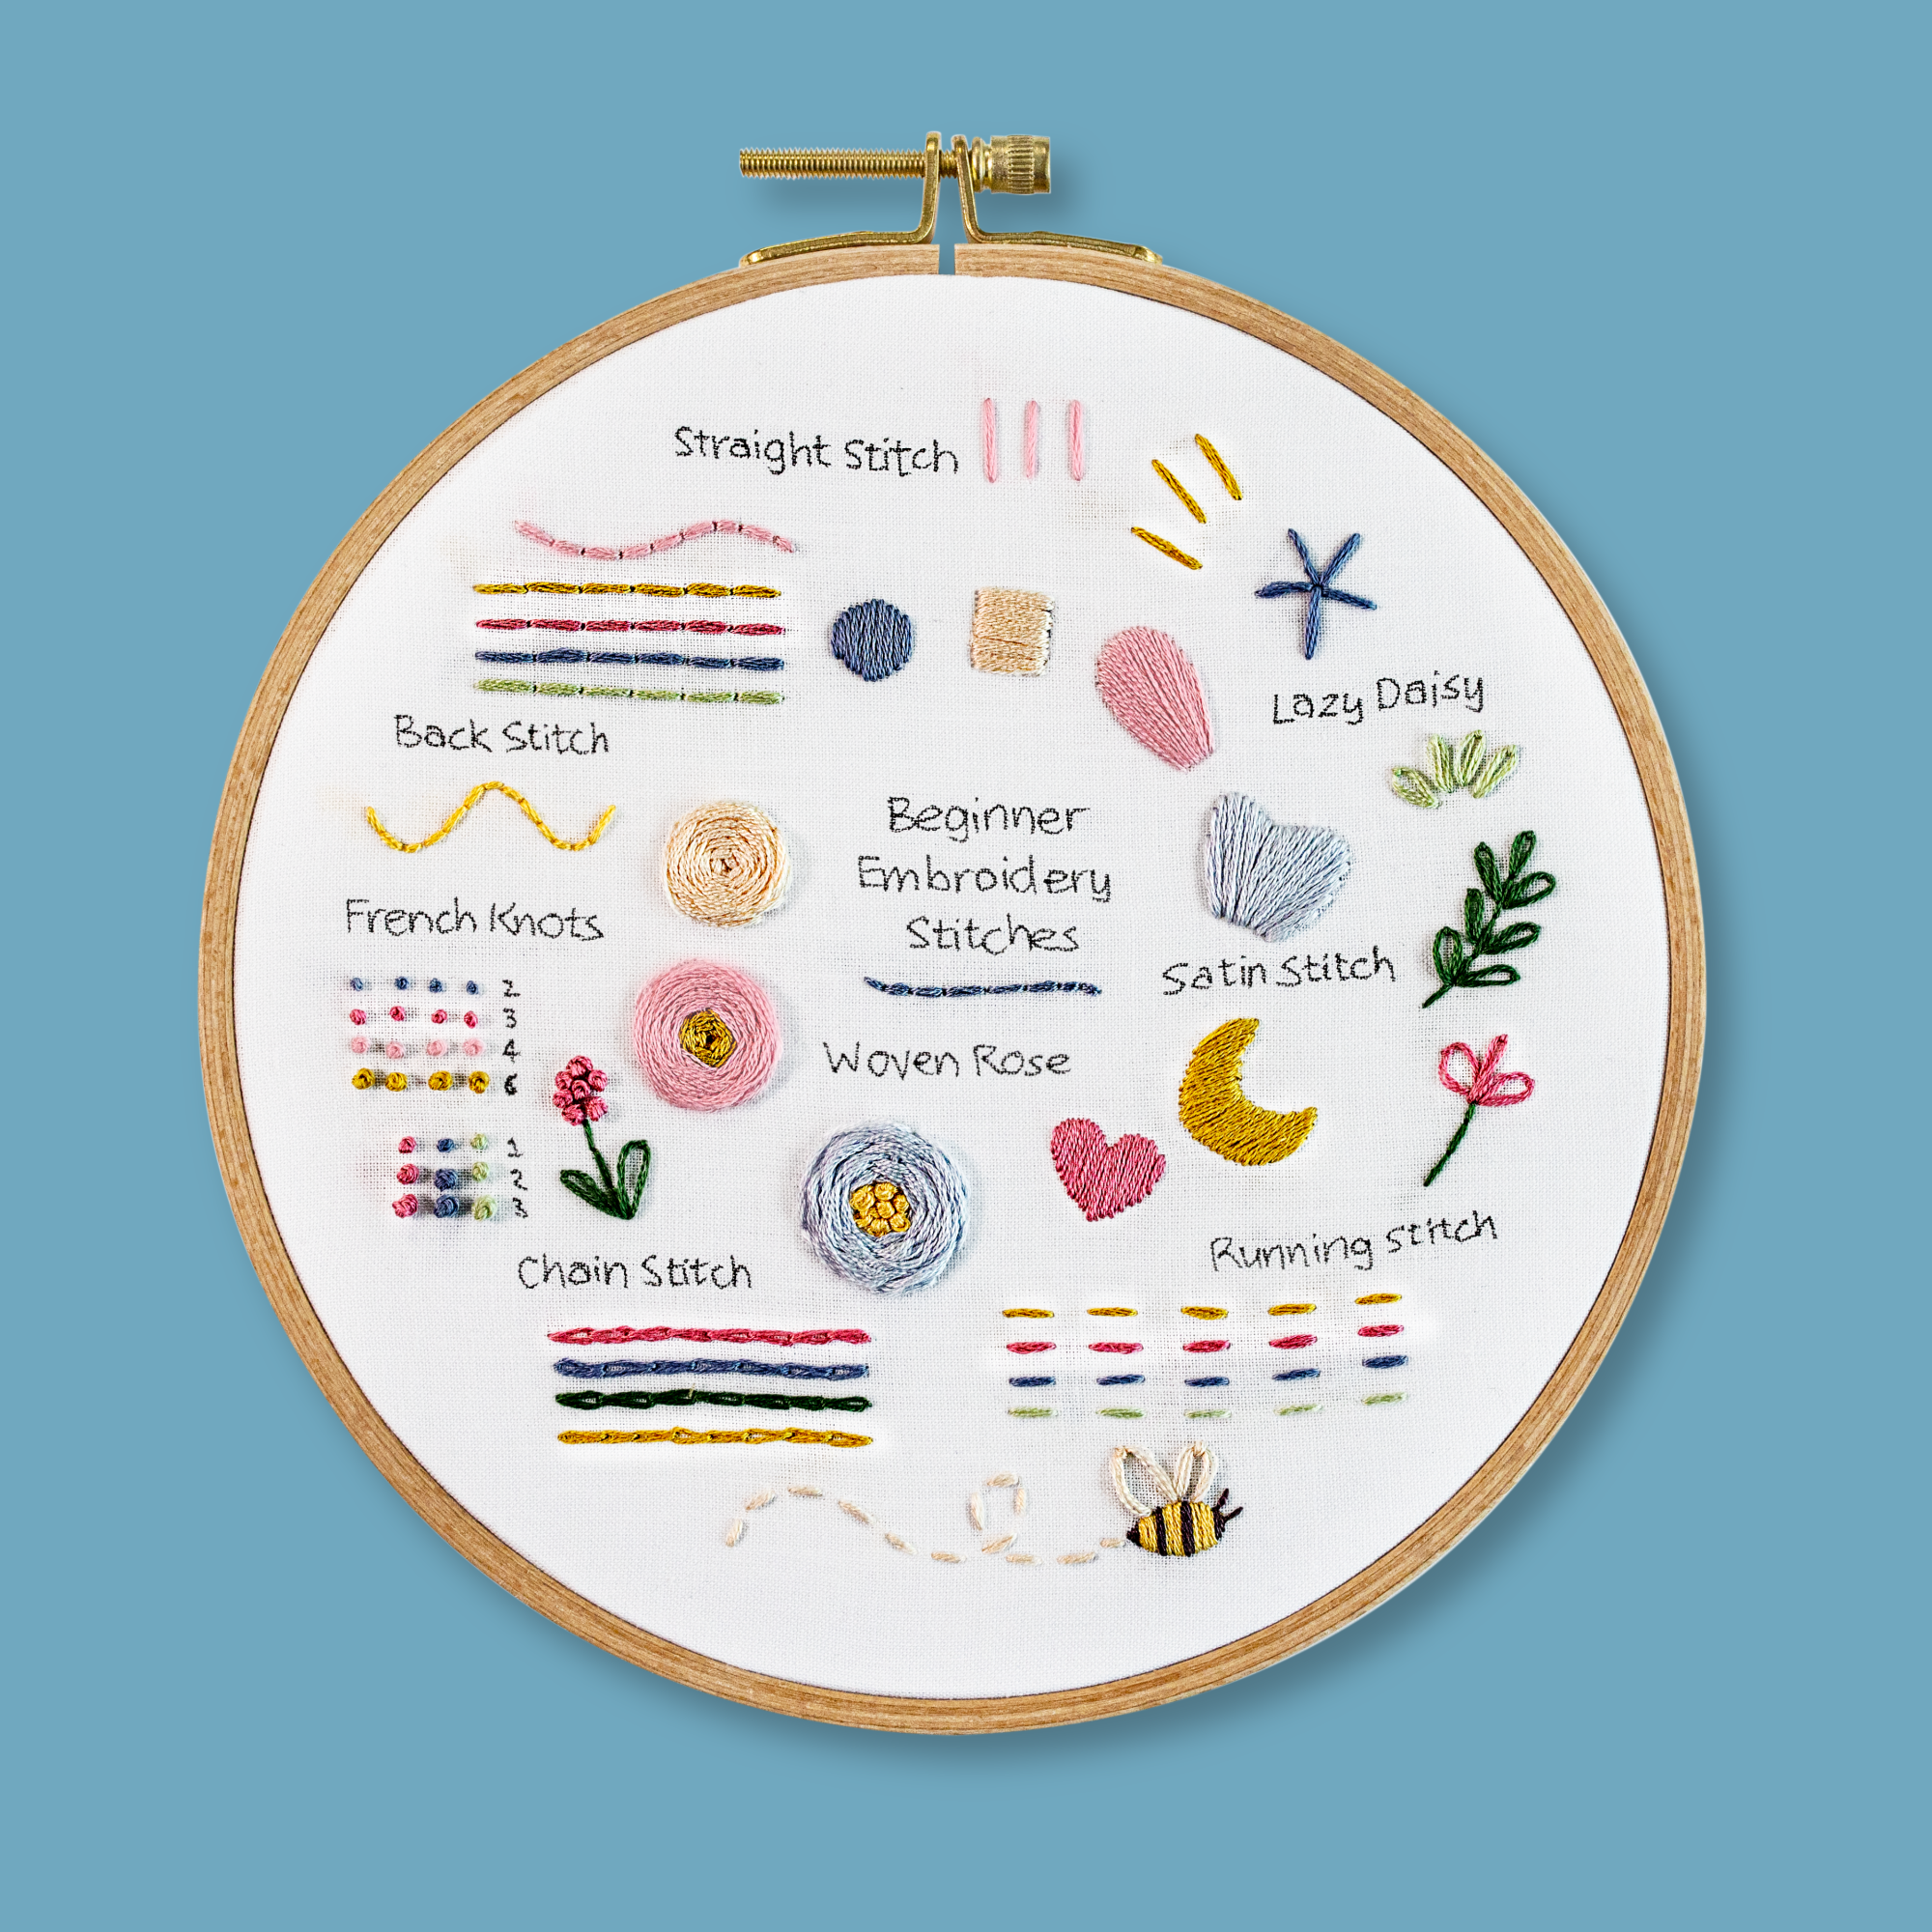
Now it's time to try this cool technique! I've created a super-easy way for you to do this - my stitch sampler.
Simply download your free Stitch Sampler here, and have fun learning and practising this technique!
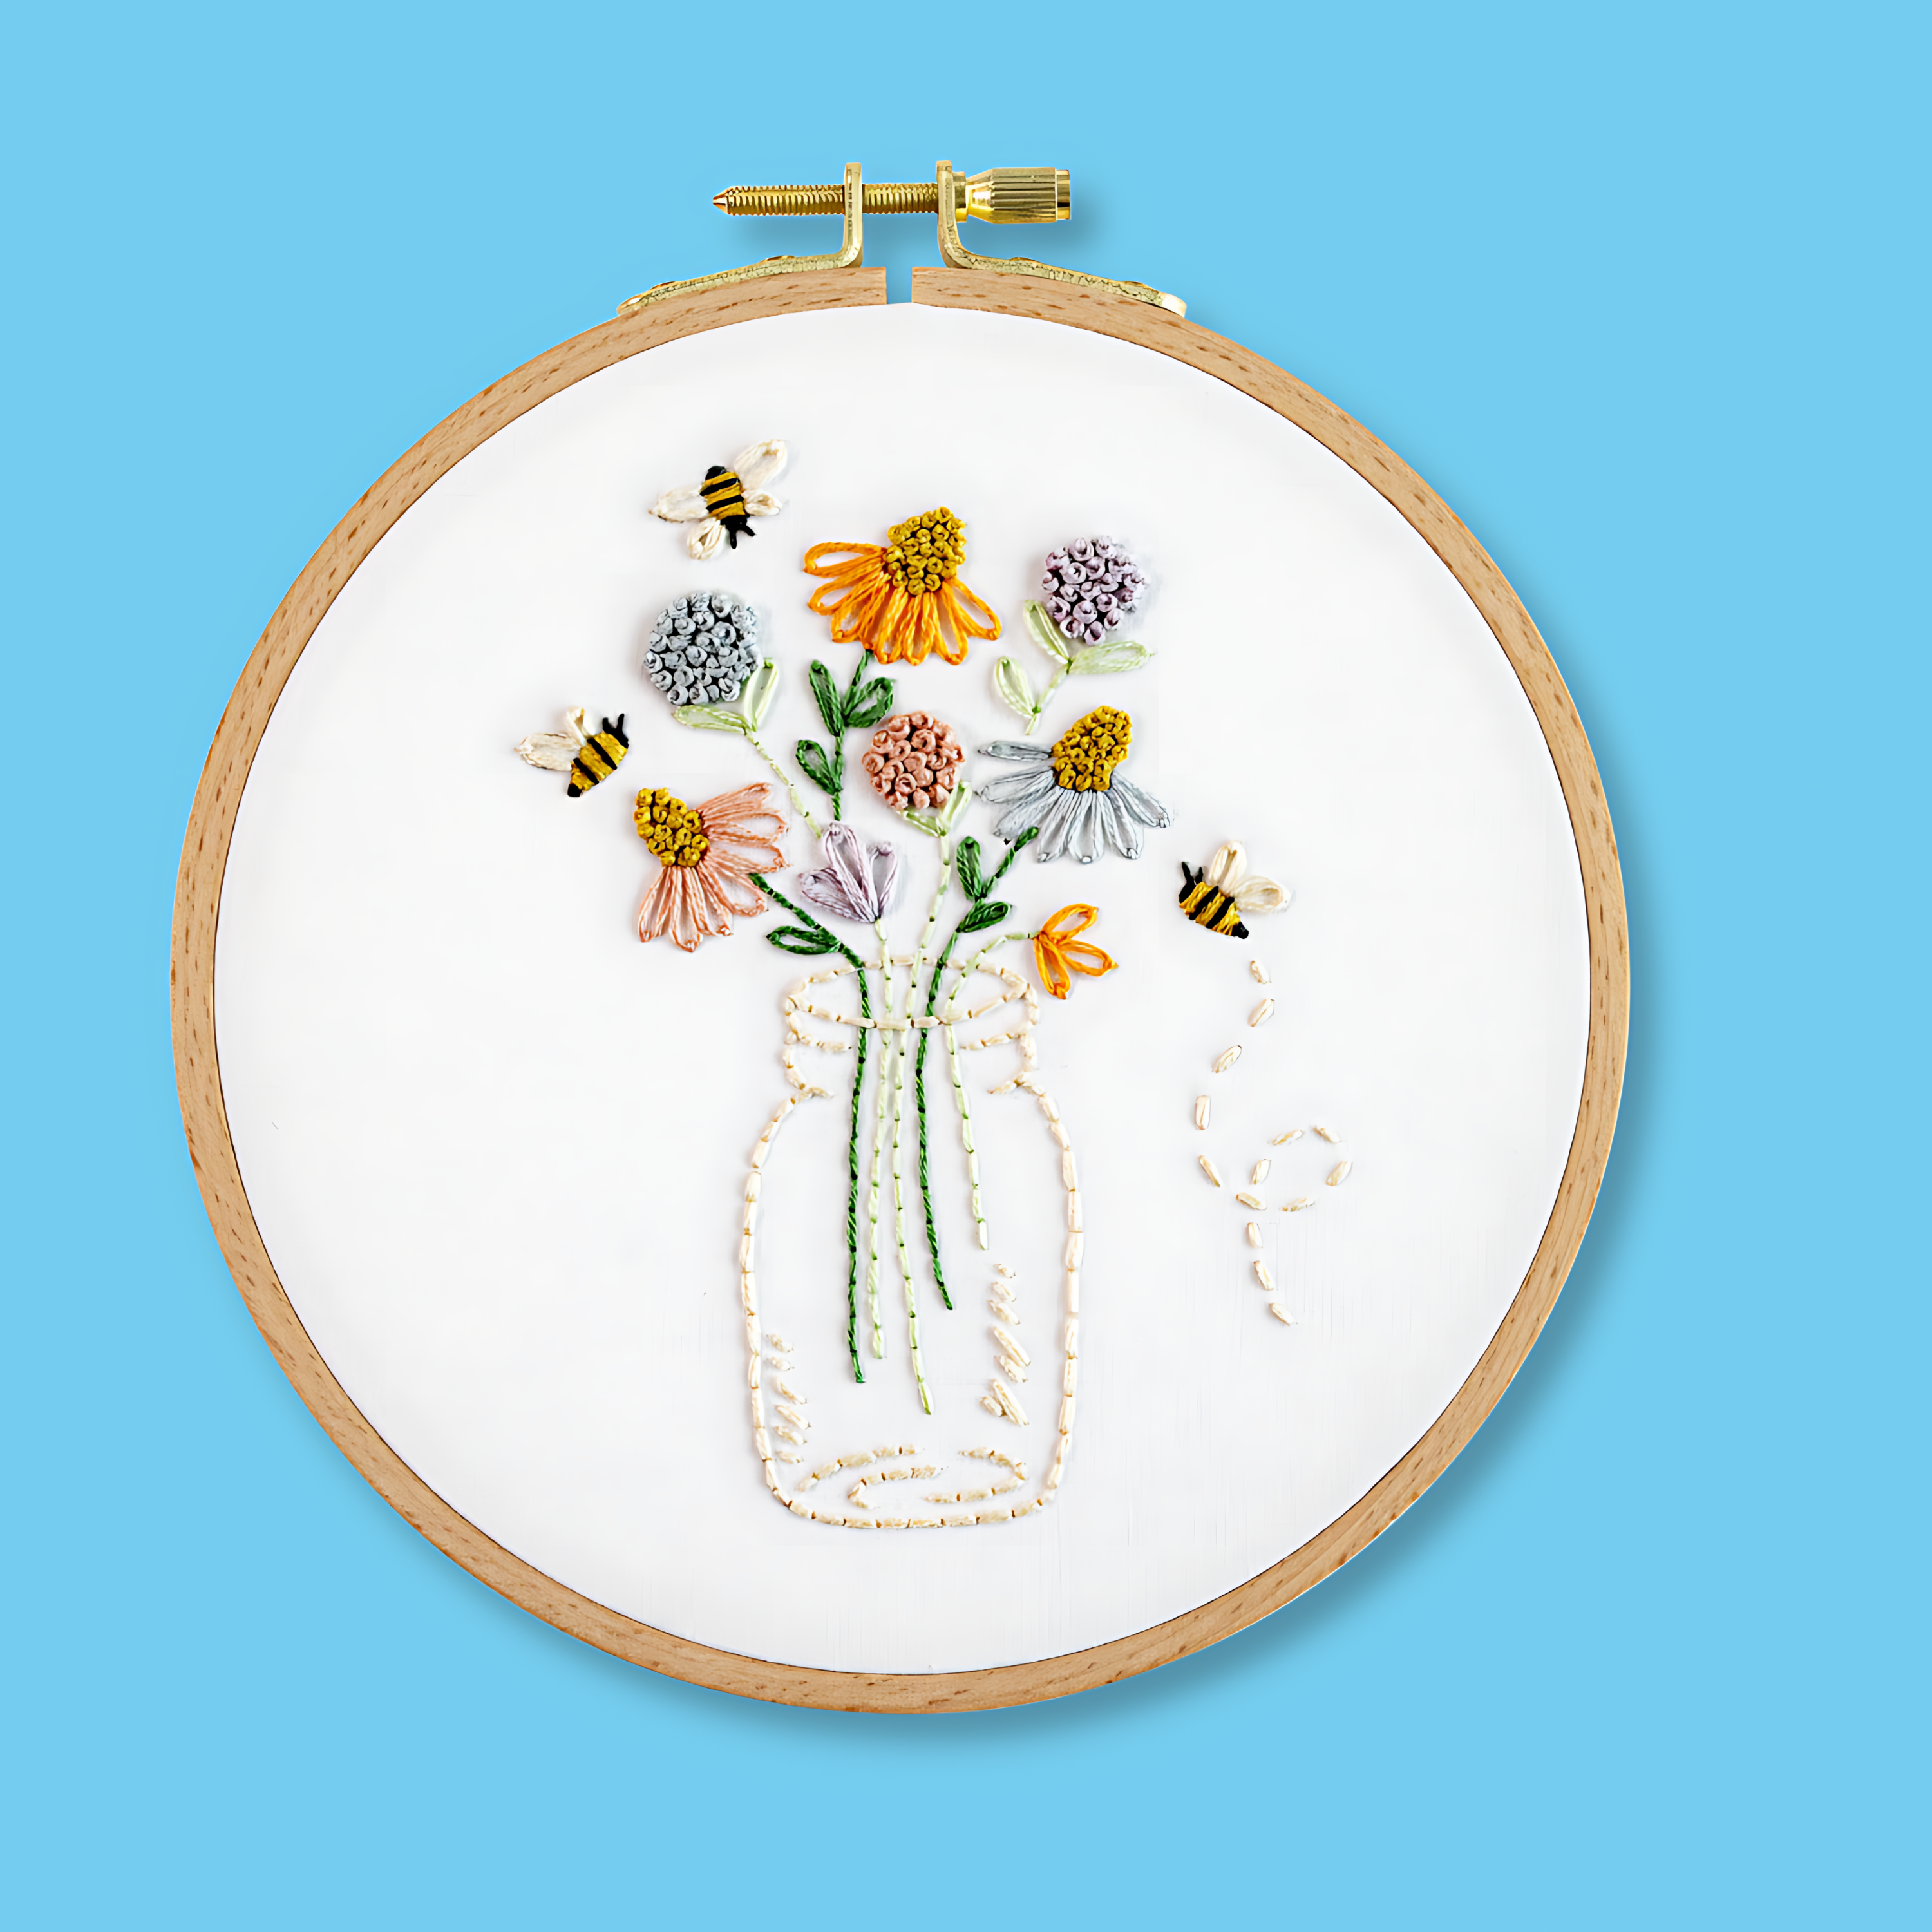
Our beginner embroidery kits are a favourite among new stitchers for their simple, step-by-step instructions and beautiful designs that make learning easy and fun. Whether you’ve been wanting to learn embroidery or are just searching for your next creative hobby. These kits are the perfect introduction to embroidery.
Why people love our beginner kits:
-
Everything you need is included: fabric, thread, hoop, and more!
-
Clear instructions to guide you every step of the way.
-
Gorgeous designs you’ll be proud to display.
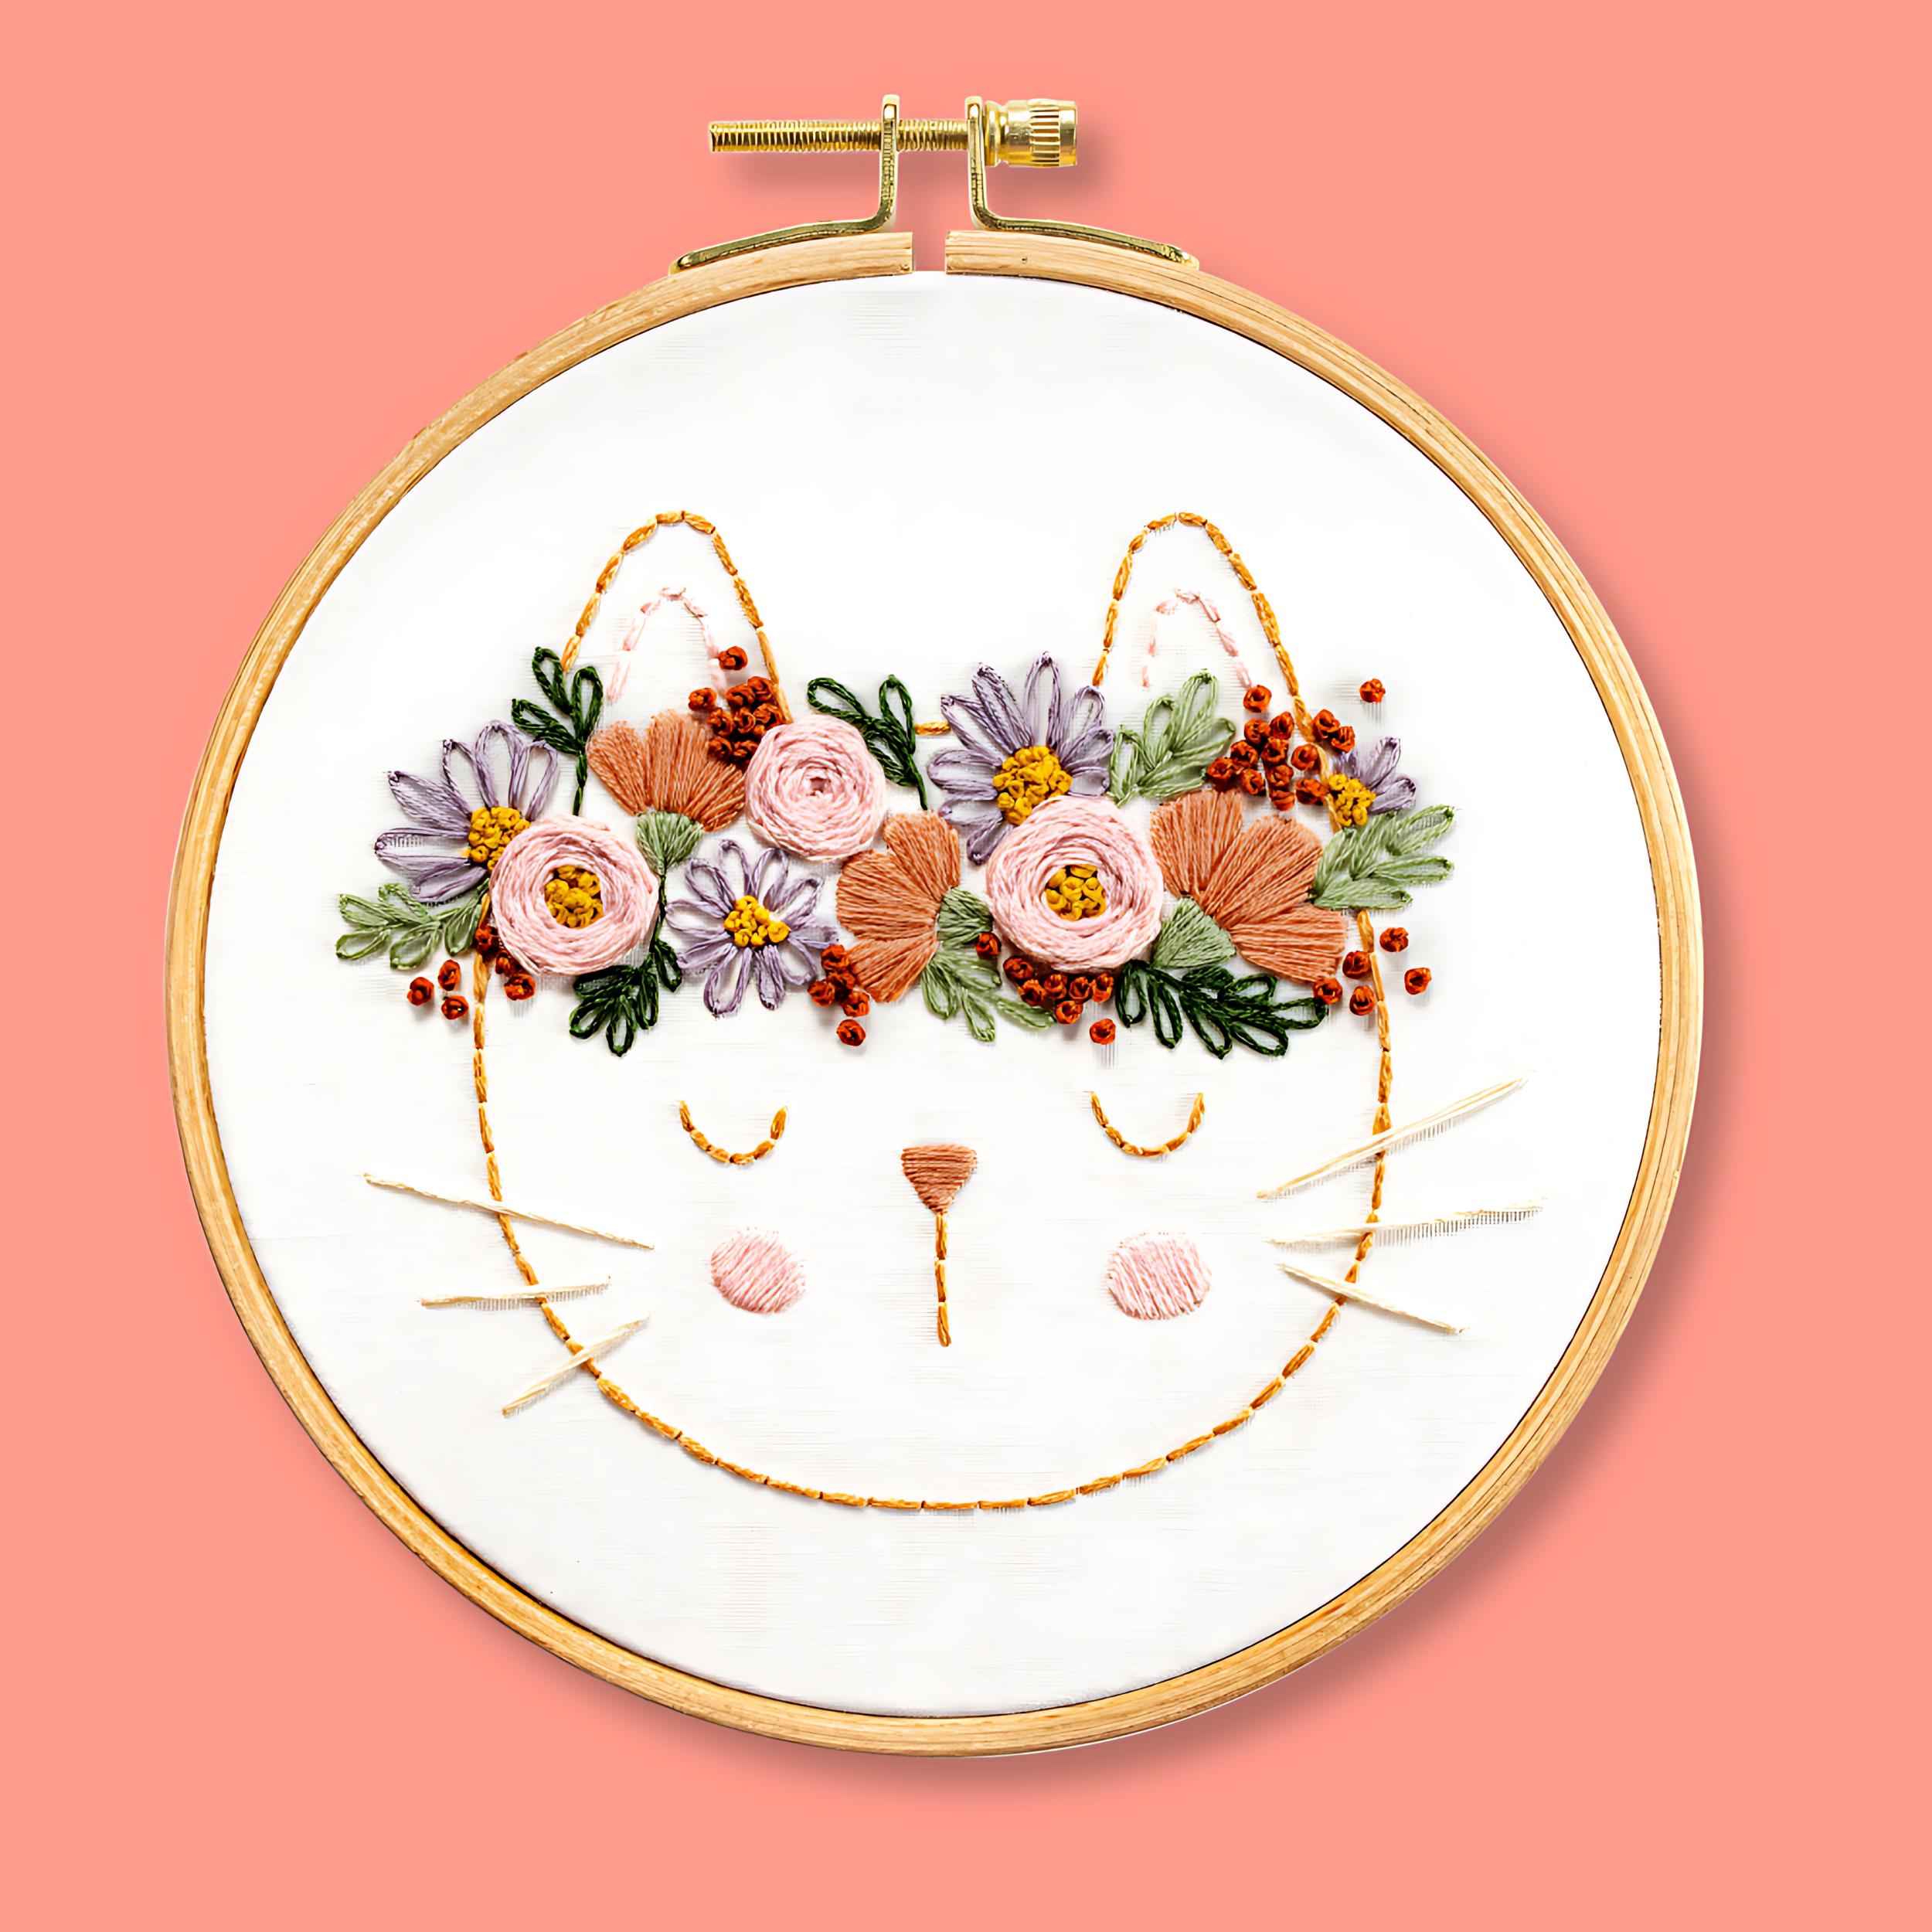
Our most popular beginner kits
Also, have you checked out this blog yet, 'Learn Modern Embroidery for Beginners with this FREE Pattern?'
Ready to get started? Explore our full Beginner Embroidery Collection and find the perfect kit to kick off your stitching journey!
